Install AWS CLI on macOS
This article is for those looking for a detailed and straightforward guide on installing AWS CLI on macOS.
The AWS CLI is a single tool for managing AWS services. With just one tool download, you can control many AWS services from the command line and automate them with scripts.
Note that we will be using the iTerm2 terminal emulator.
Download the AWS CLI installer using the command:
curl "https://awscli.amazonaws.com/AWSCLIV2.pkg" -o "AWSCLIV2.pkg"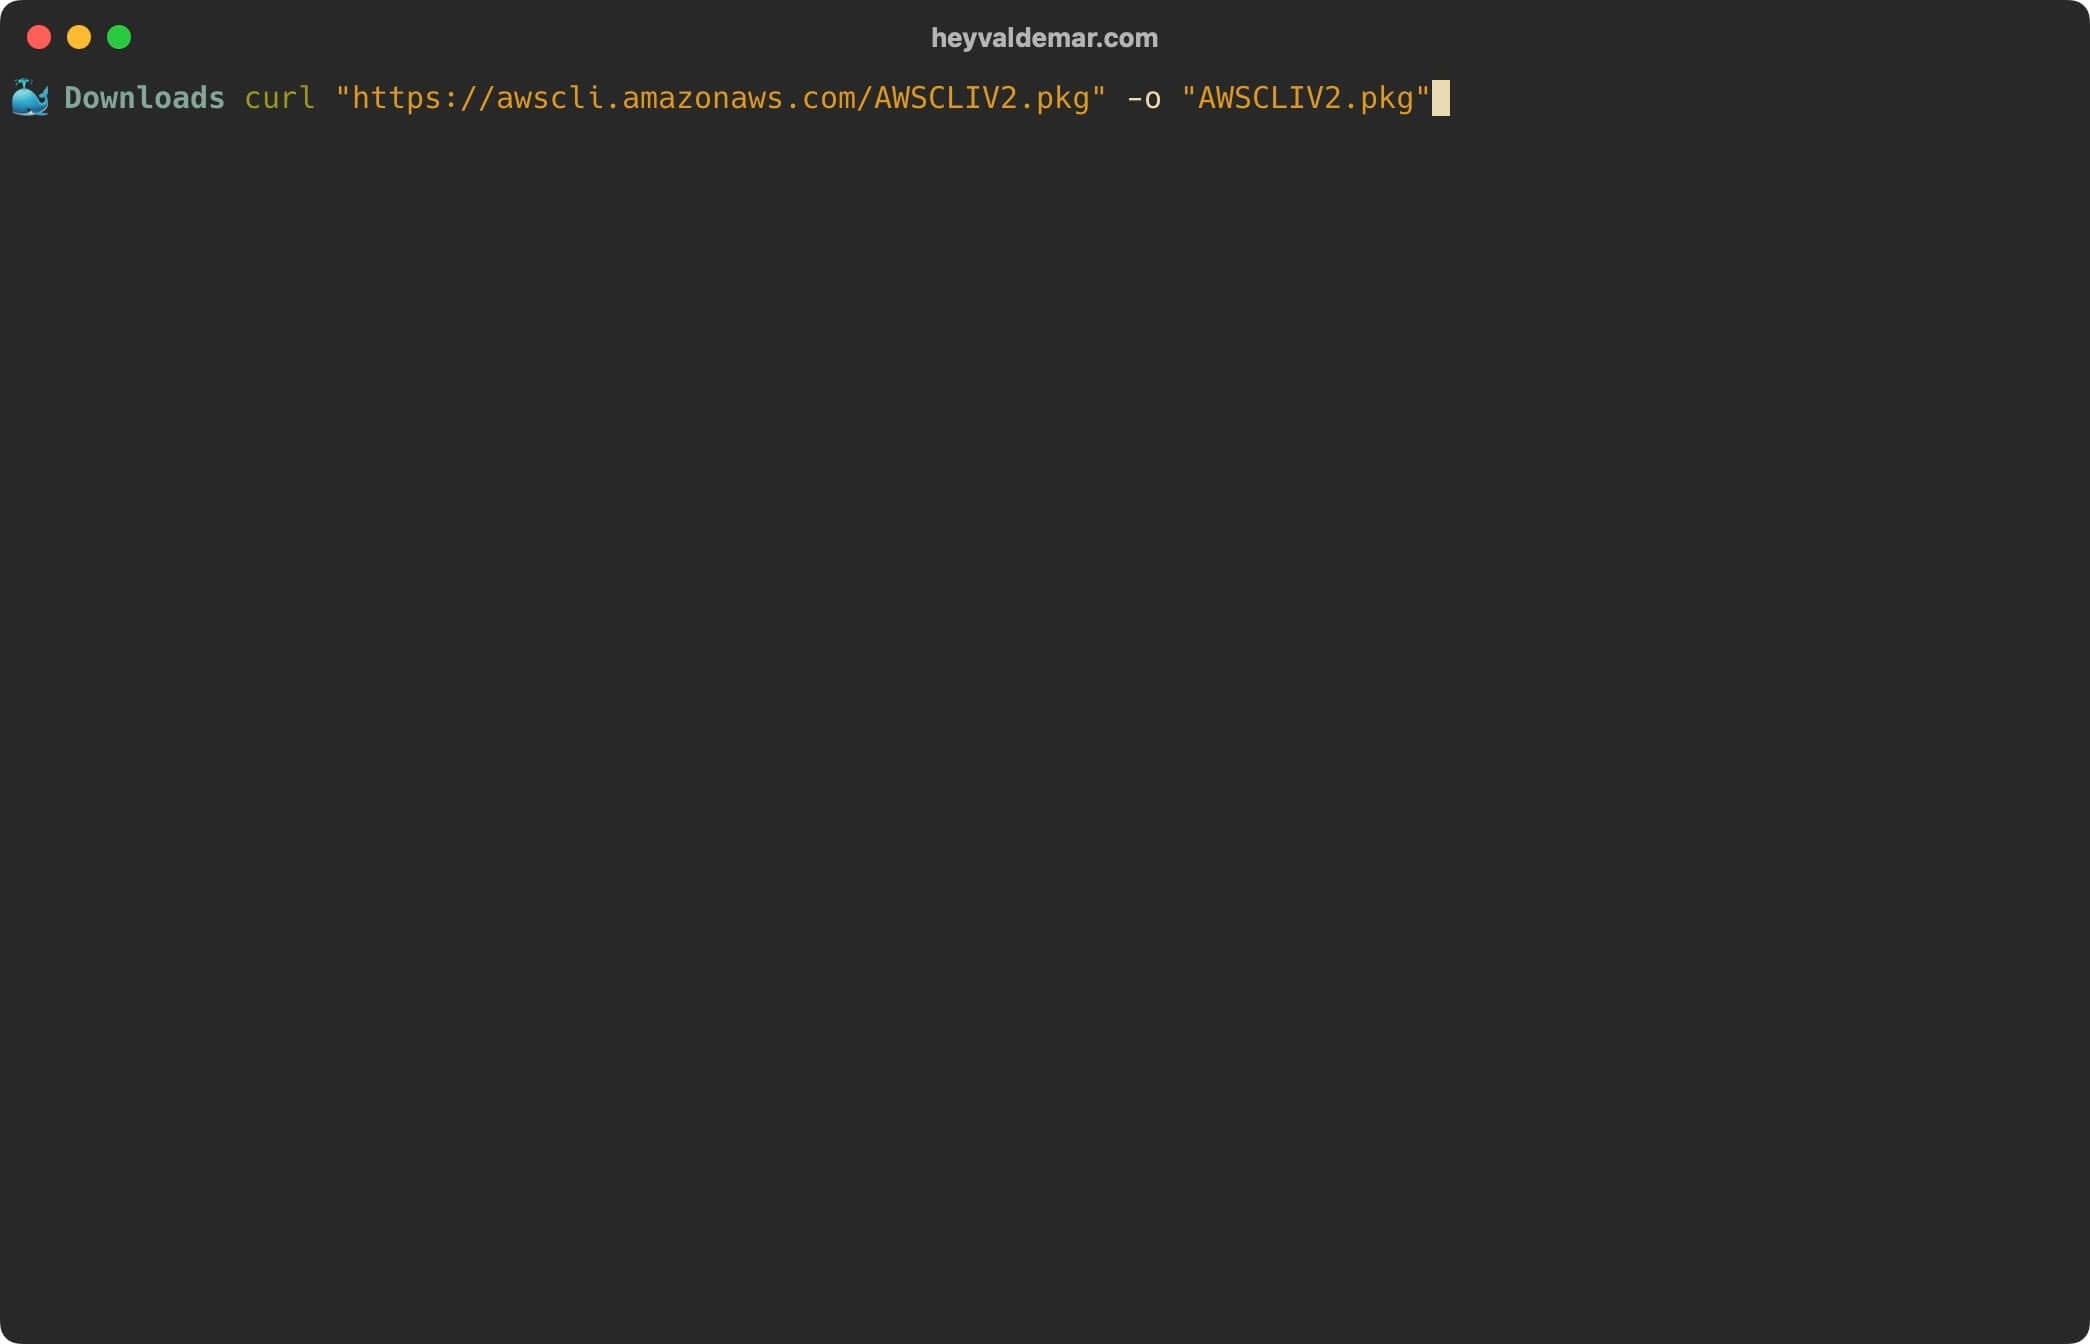
Let’s start the AWS CLI installation using the command:
sudo installer -pkg AWSCLIV2.pkg -target /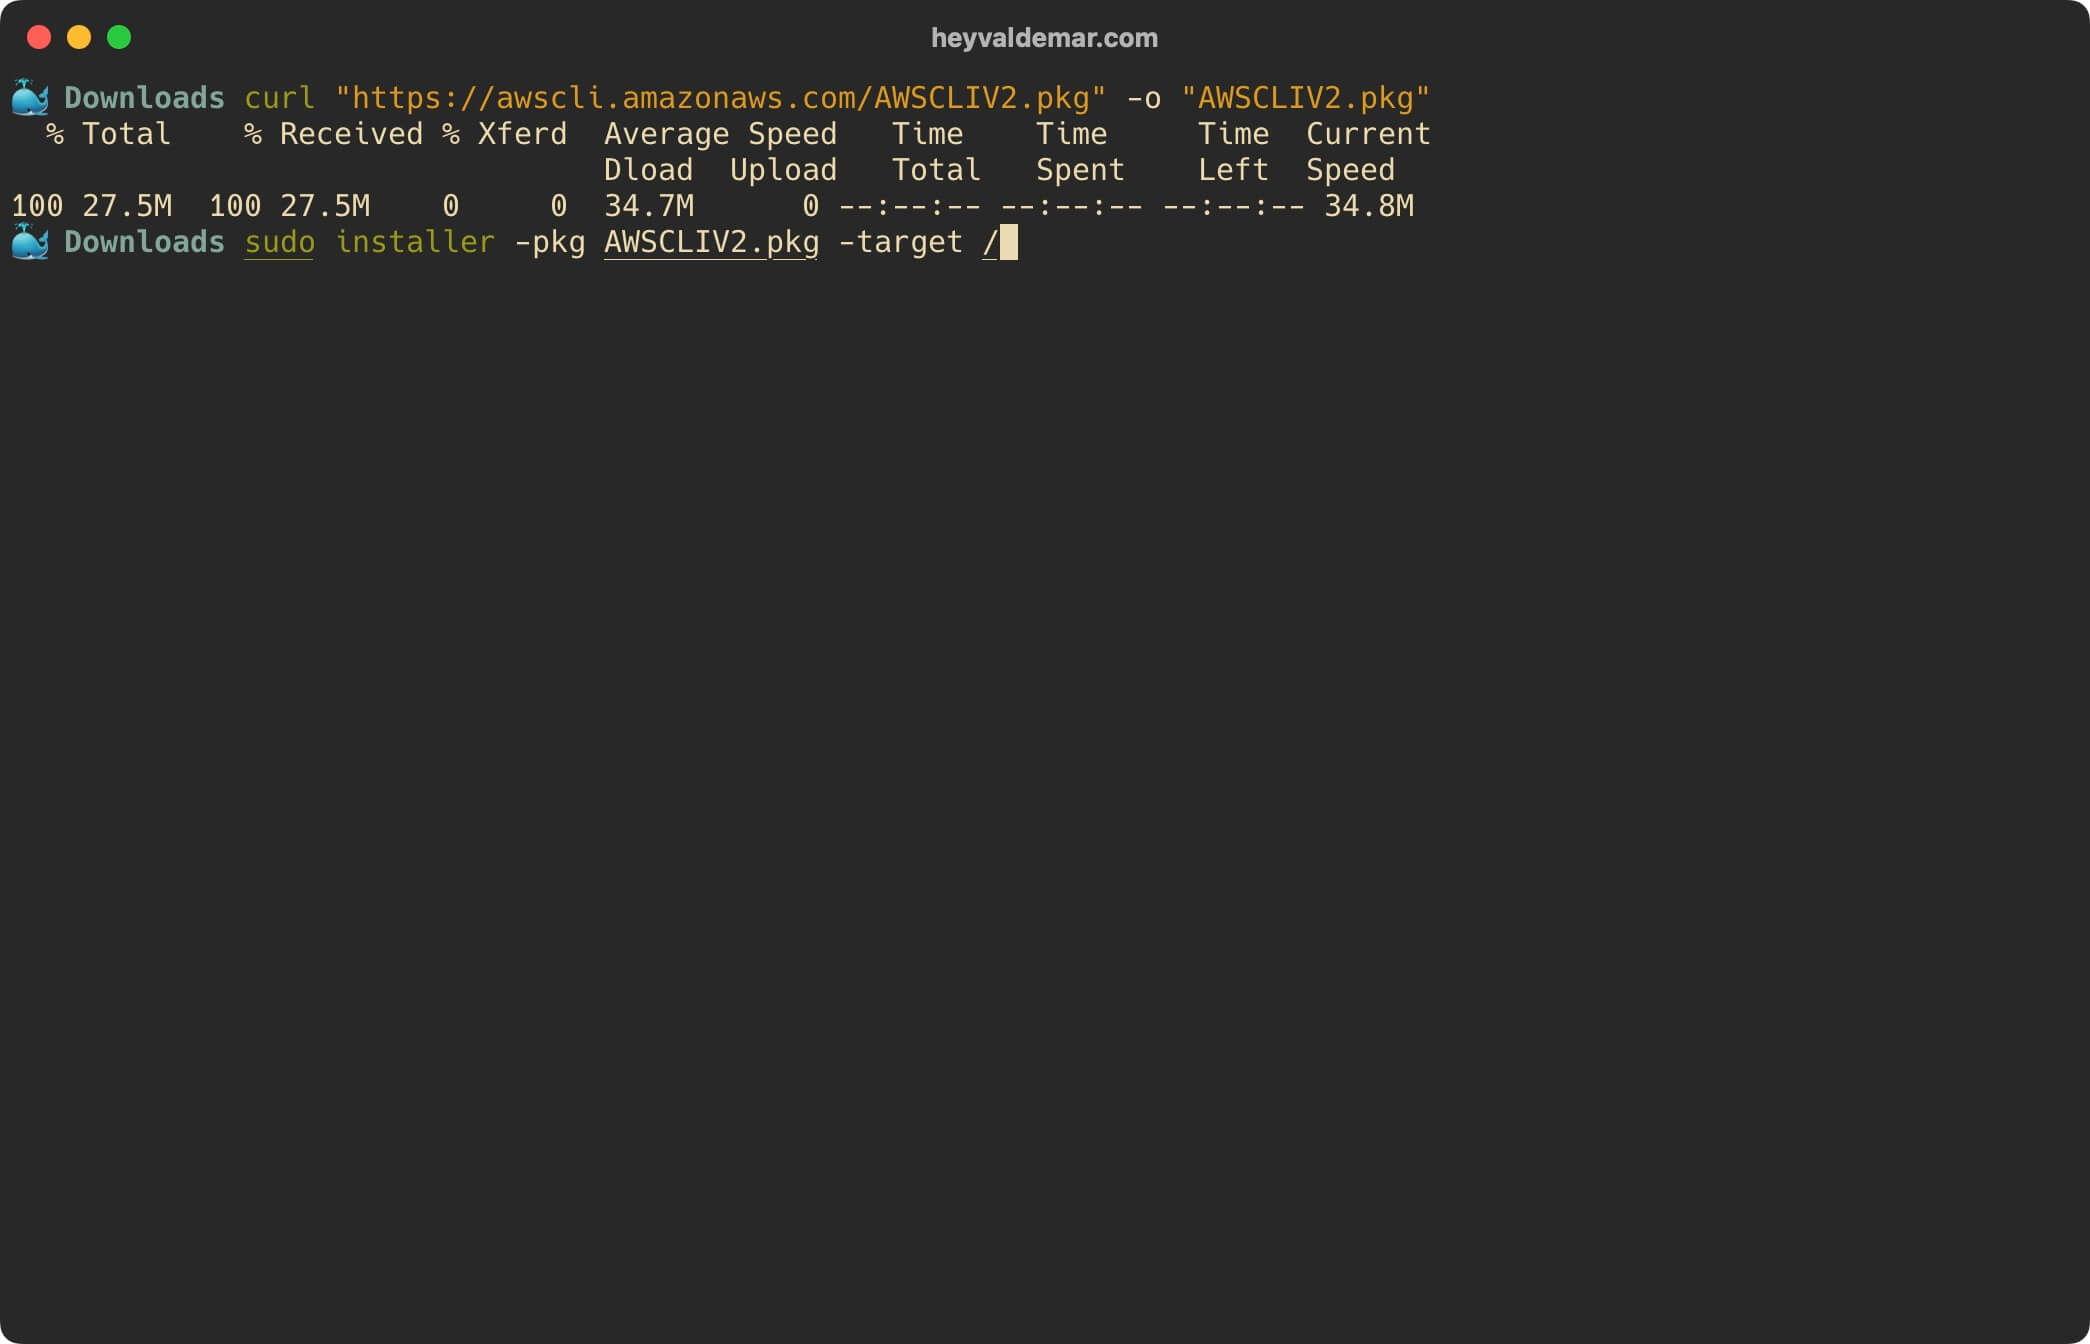
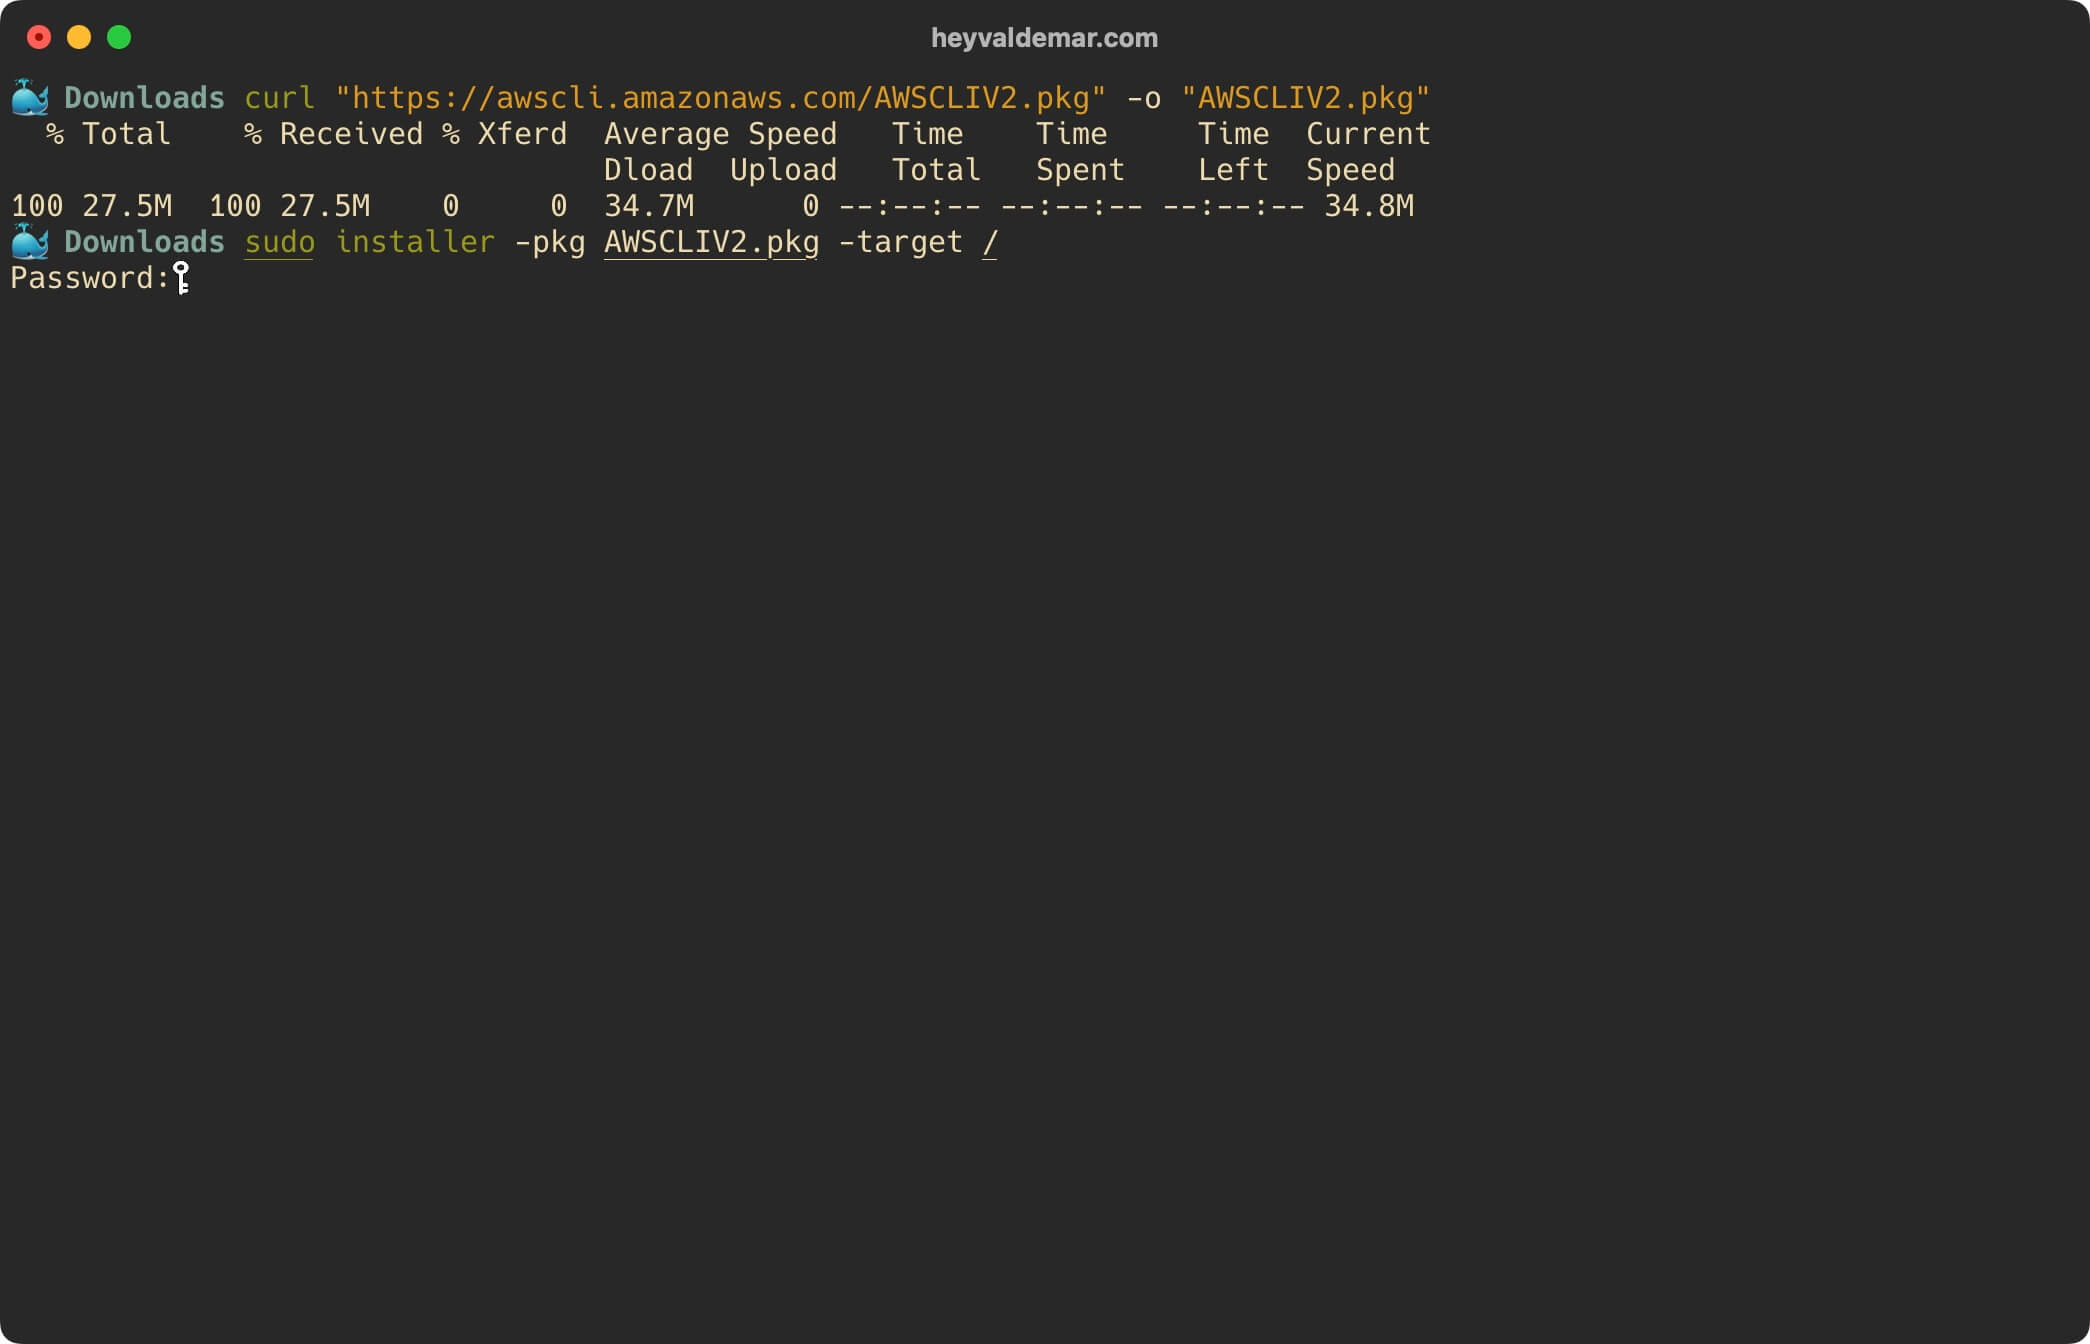
Specify the password for the account and press “Enter”.
Now you can see the location of the executable file with the command:
which aws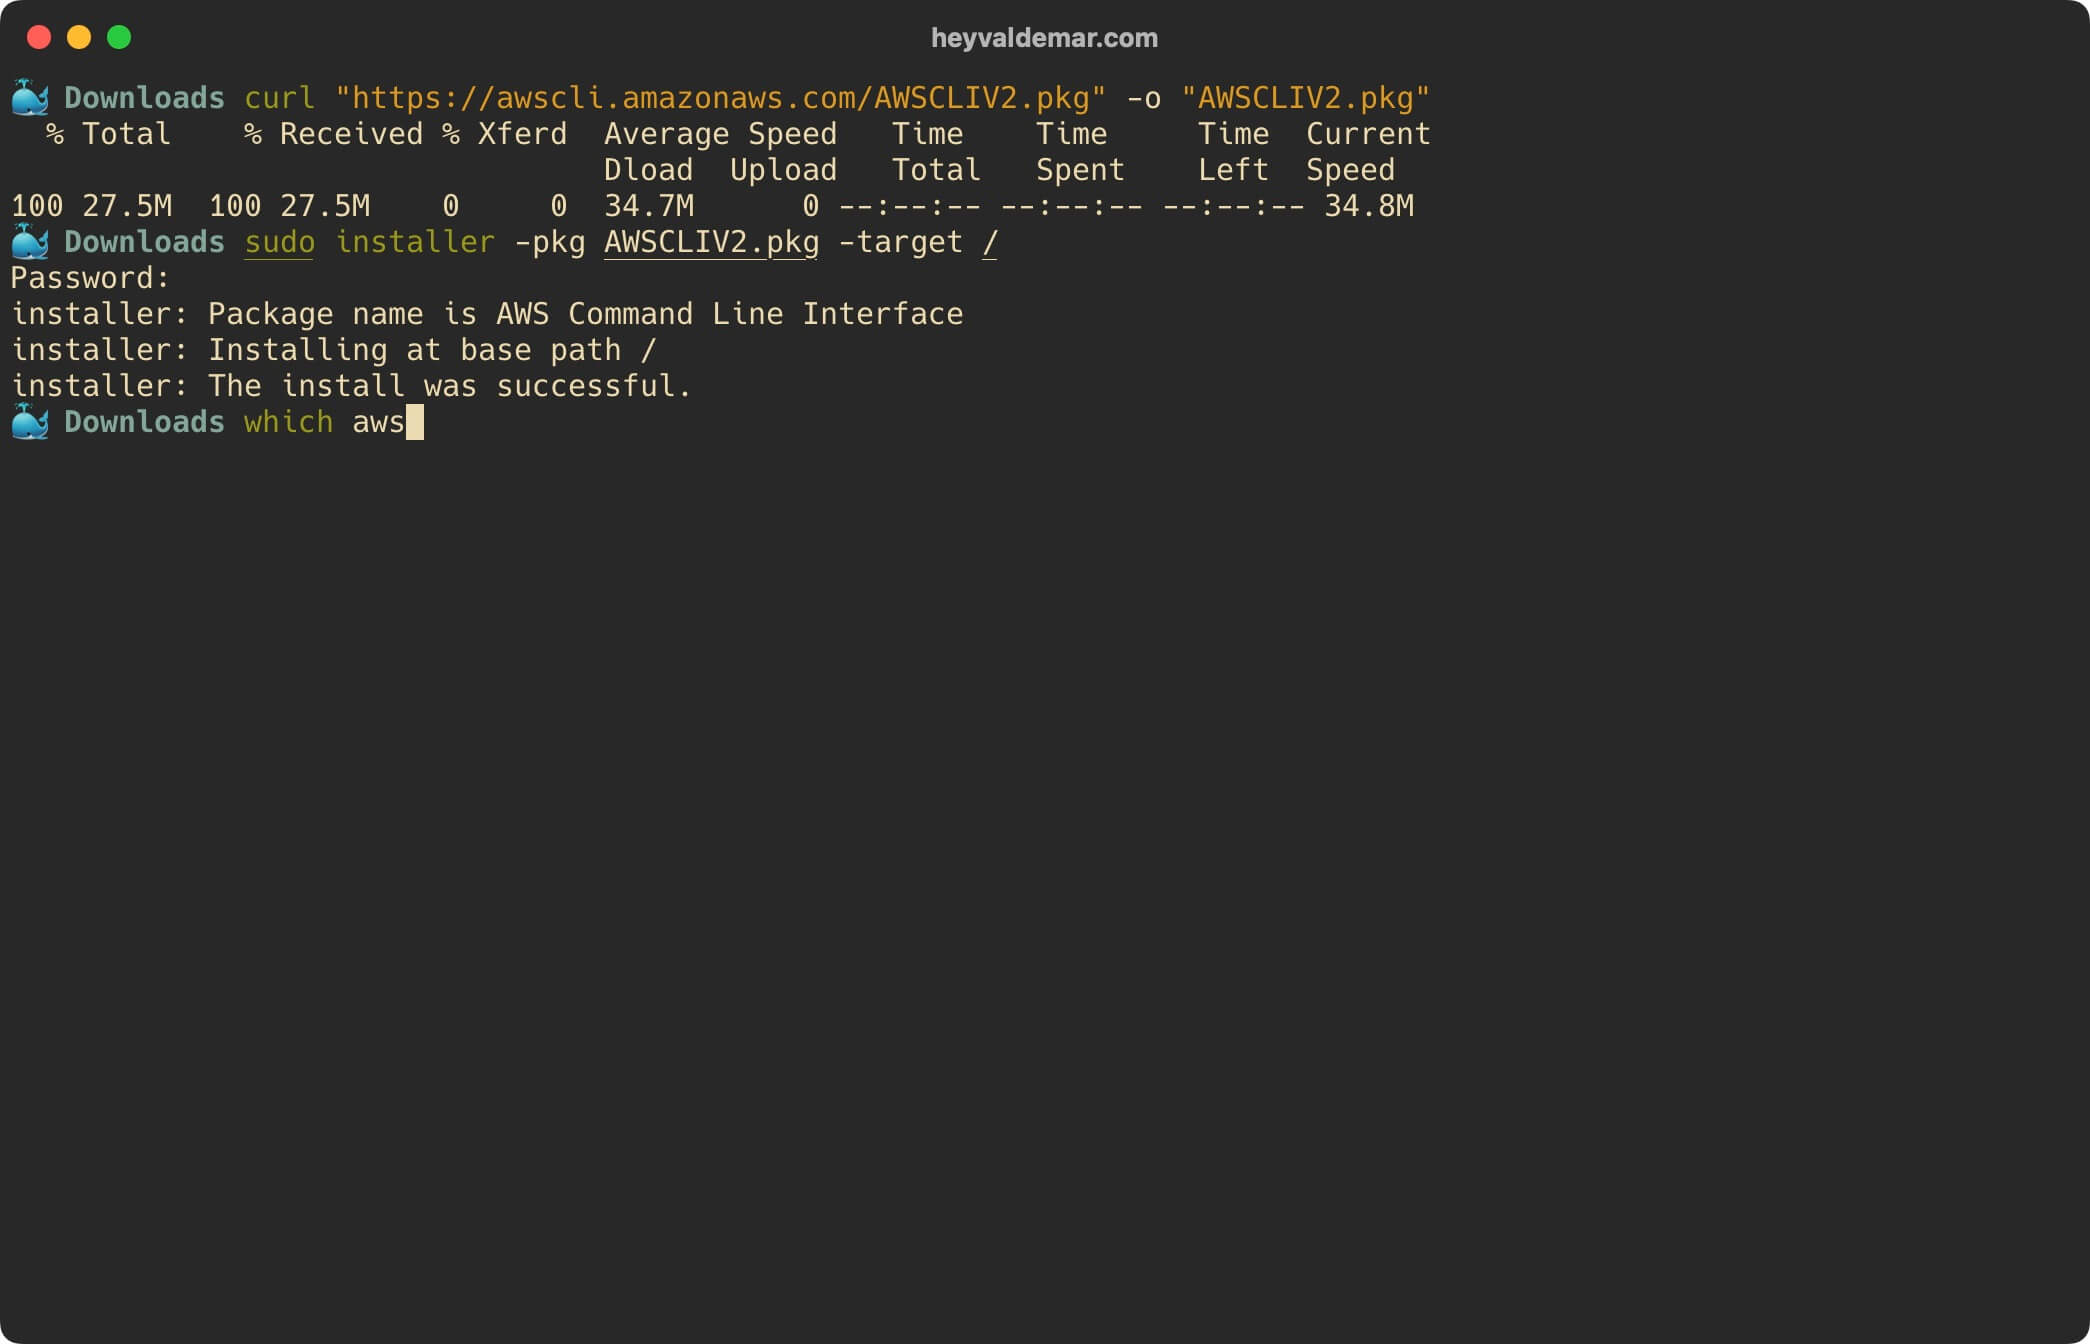
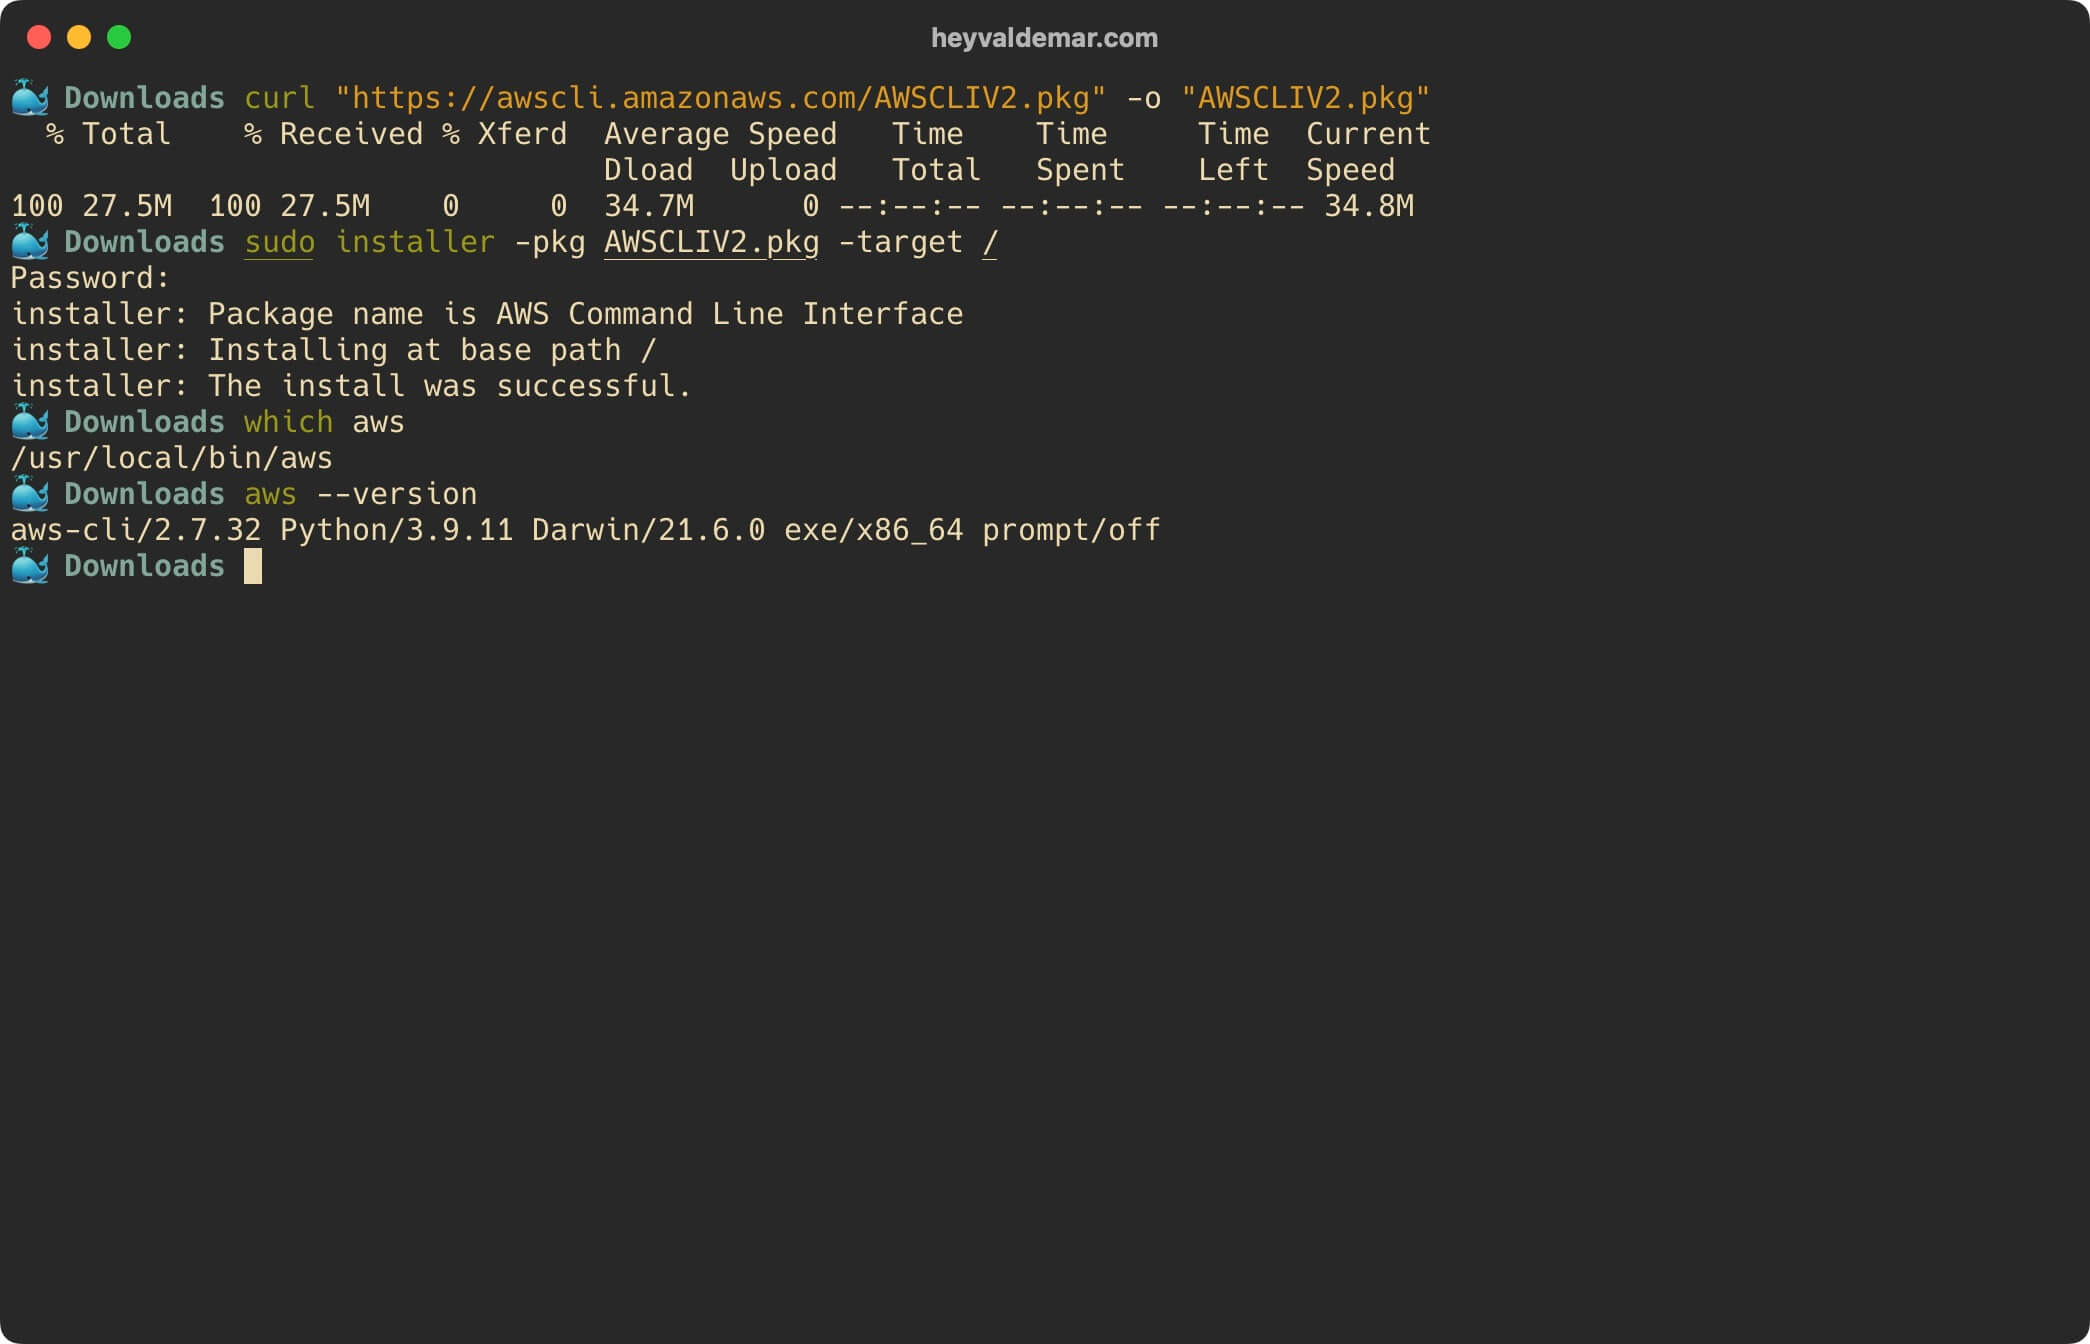
You can now view the installed version of AWS CLI using the command:
aws --version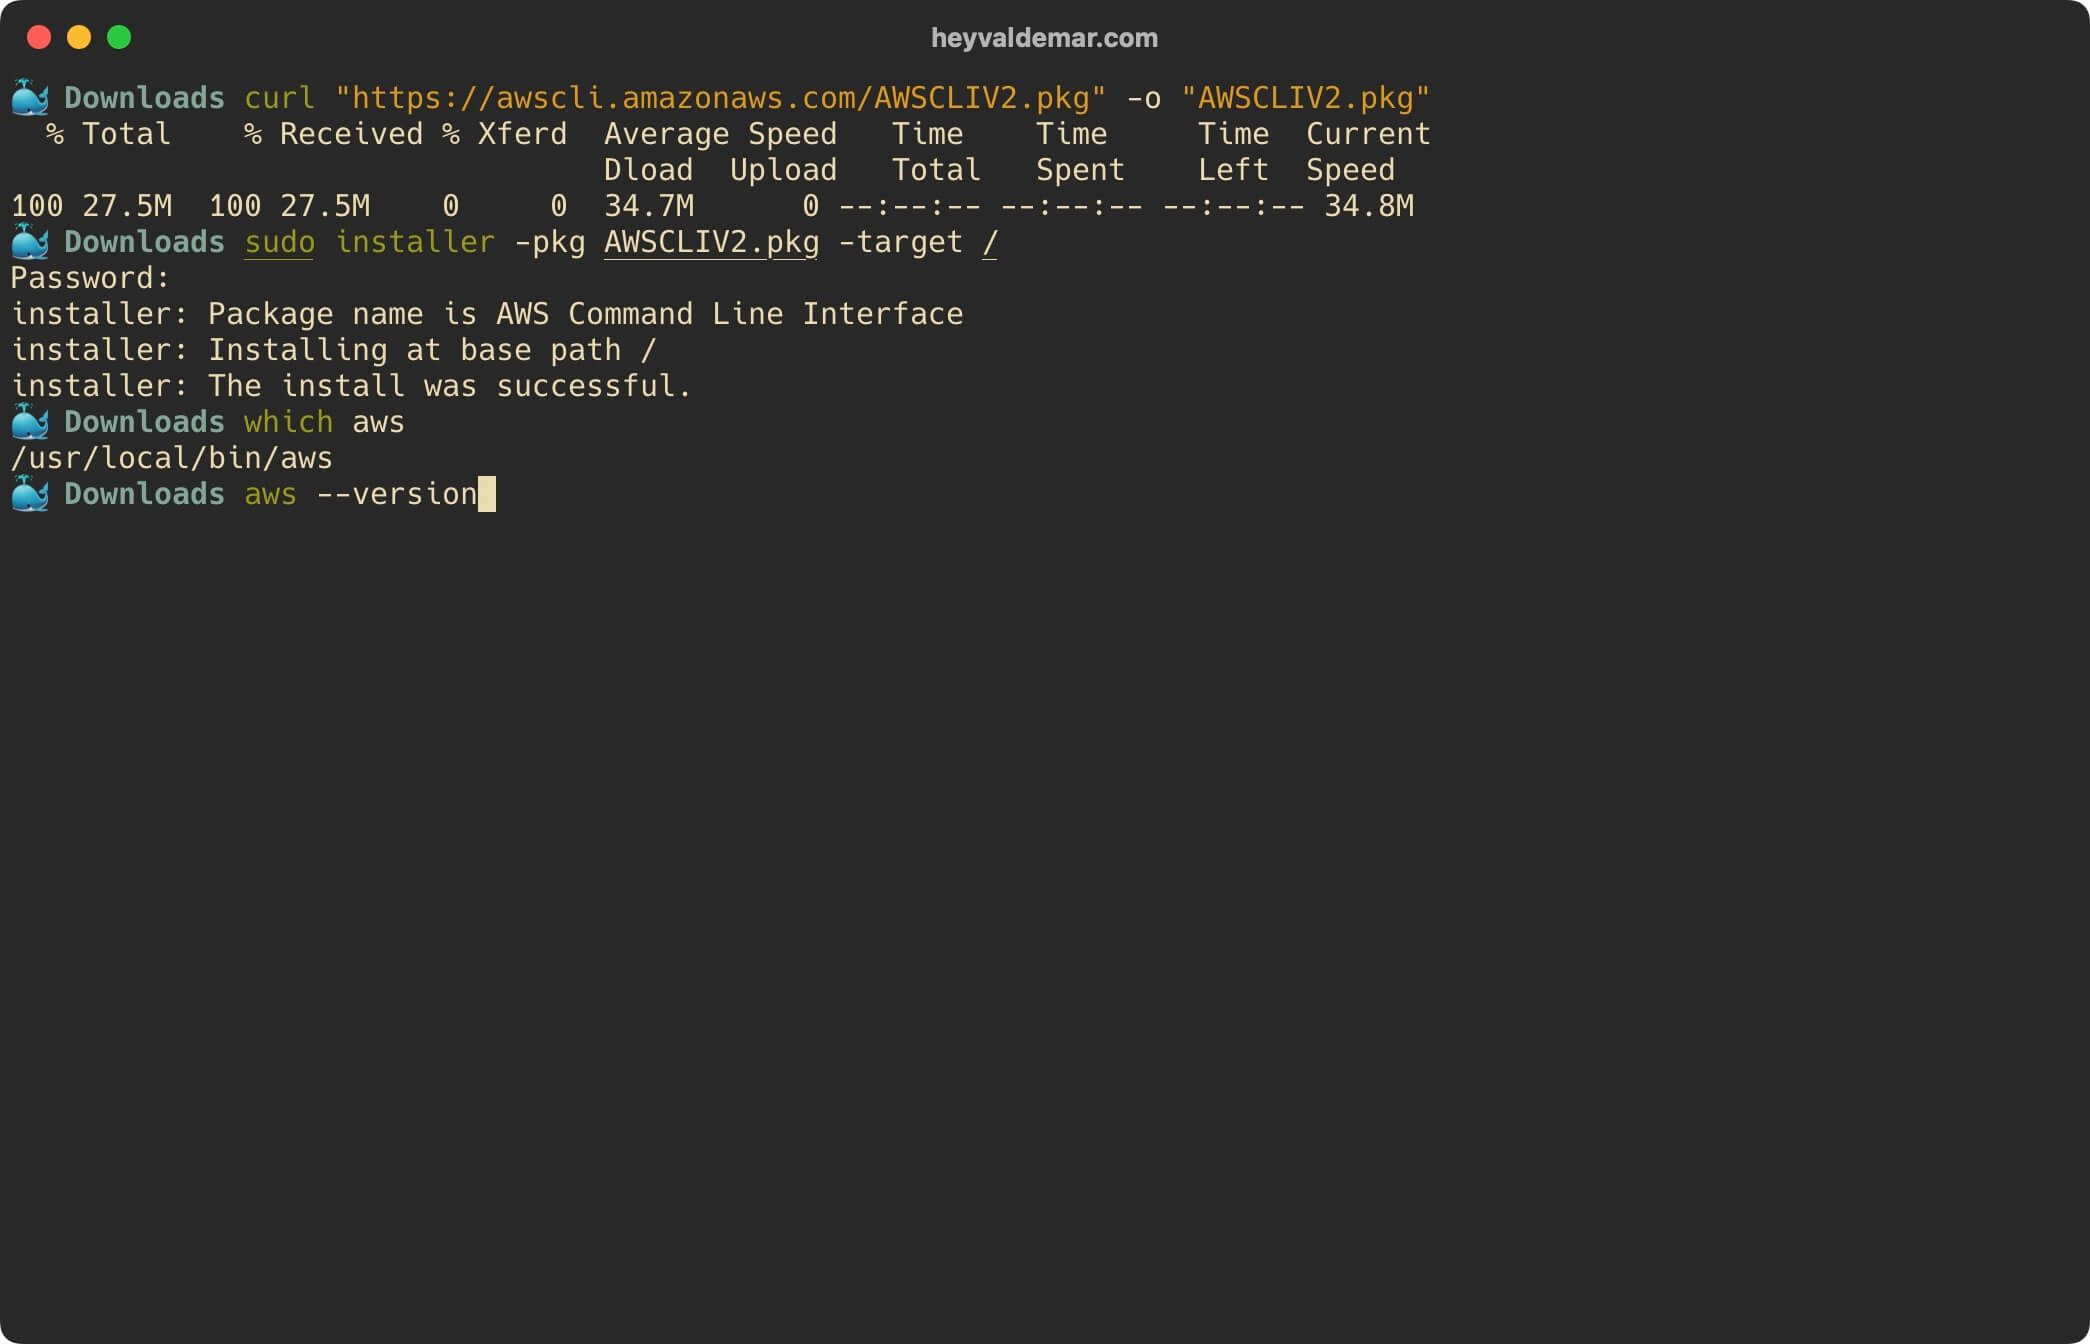
Everything is ready to use the AWS CLI.
You can read more about how to configure AWS CLI in my guide “Configure AWS CLI”.
My Courses
🎓 Dive into my comprehensive IT courses designed for enthusiasts and professionals alike. Whether you’re looking to master Docker, conquer Kubernetes, or advance your DevOps skills, my courses provide a structured pathway to enhancing your technical prowess.
My Services
💼 Take a look at my service catalog and find out how we can make your technological life better. Whether it’s increasing the efficiency of your IT infrastructure, advancing your career, or expanding your technological horizons — I’m here to help you achieve your goals. From DevOps transformations to building gaming computers — let’s make your technology unparalleled!
Refill My Coffee Supplies
💖 PayPal
🏆 Patreon
💎 GitHub
🥤 BuyMeaCoffee
🍪 Ko-fi
Follow Me
🎬 YouTube
🐦 Twitter
🎨 Instagram
🐘 Mastodon
🧵 Threads
🎸 Facebook
🧊 Bluesky
🎥 TikTok
🐈 GitHub
Is this content AI-generated?
Nope! Each article is crafted by me, fueled by a deep passion for Docker and decades of IT expertise. While I employ AI to refine the grammar—ensuring the technical details are conveyed clearly—the insights, strategies, and guidance are purely my own. This approach may occasionally activate AI detectors, but you can be certain that the underlying knowledge and experiences are authentically mine.
