Install Ubuntu Server 22.04 LTS
This article is for those looking for a detailed and straightforward guide on installing Ubuntu Server 22.04 LTS.
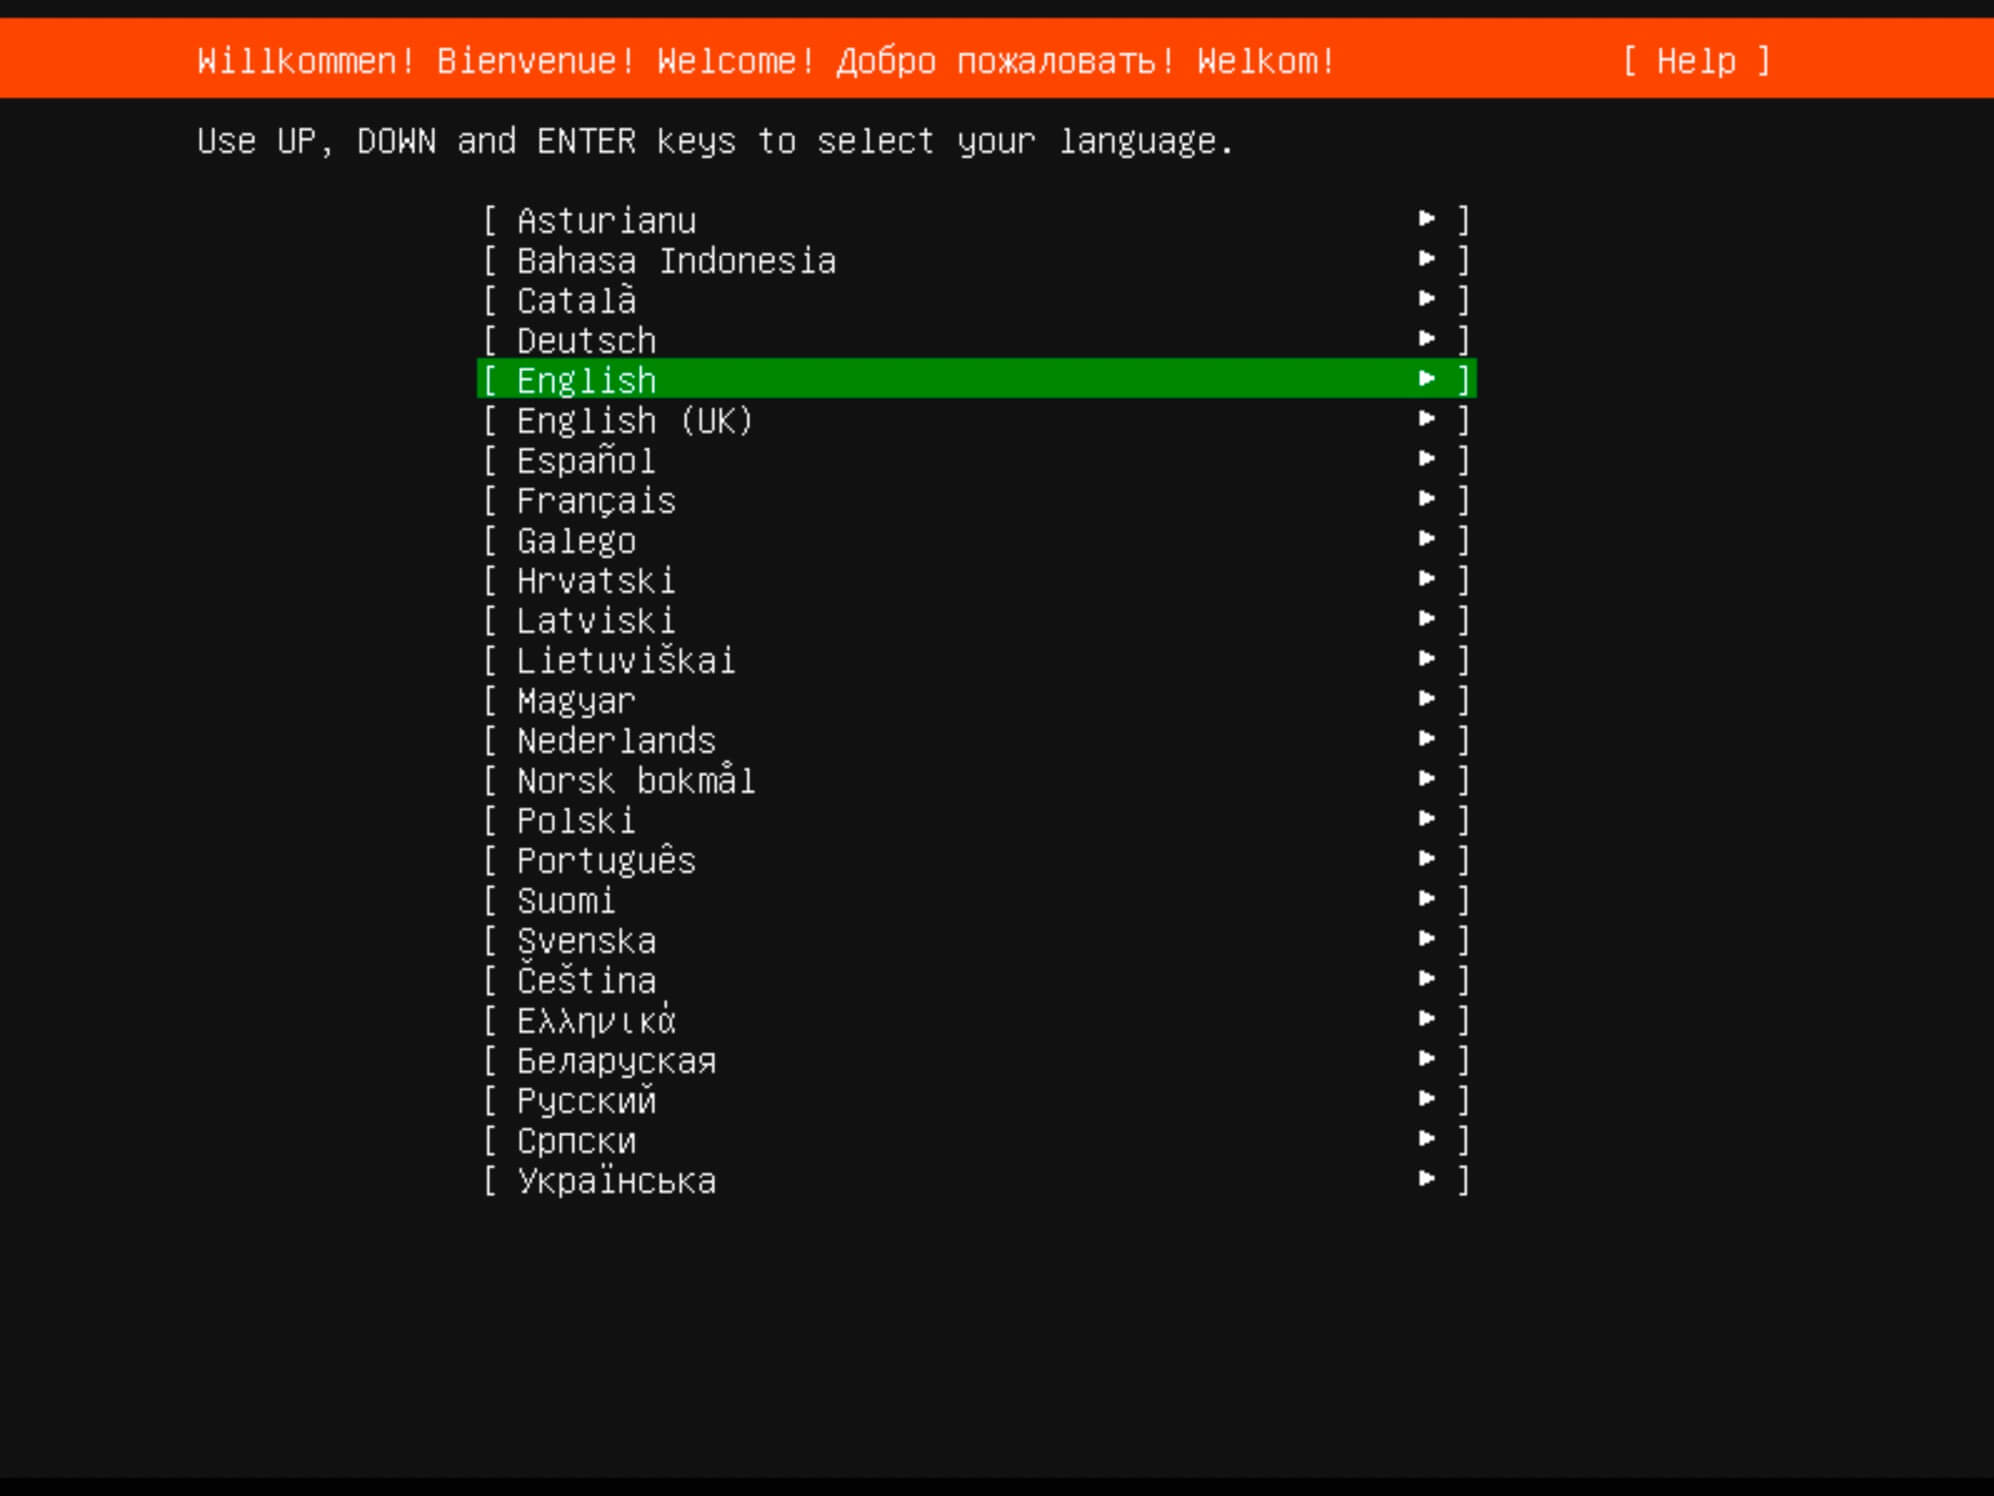
After booting from the Ubuntu Server 22.04 installation USB stick or DVD, begin by selecting the desired language for the welcome menu.
Select “English” and press “Enter”.
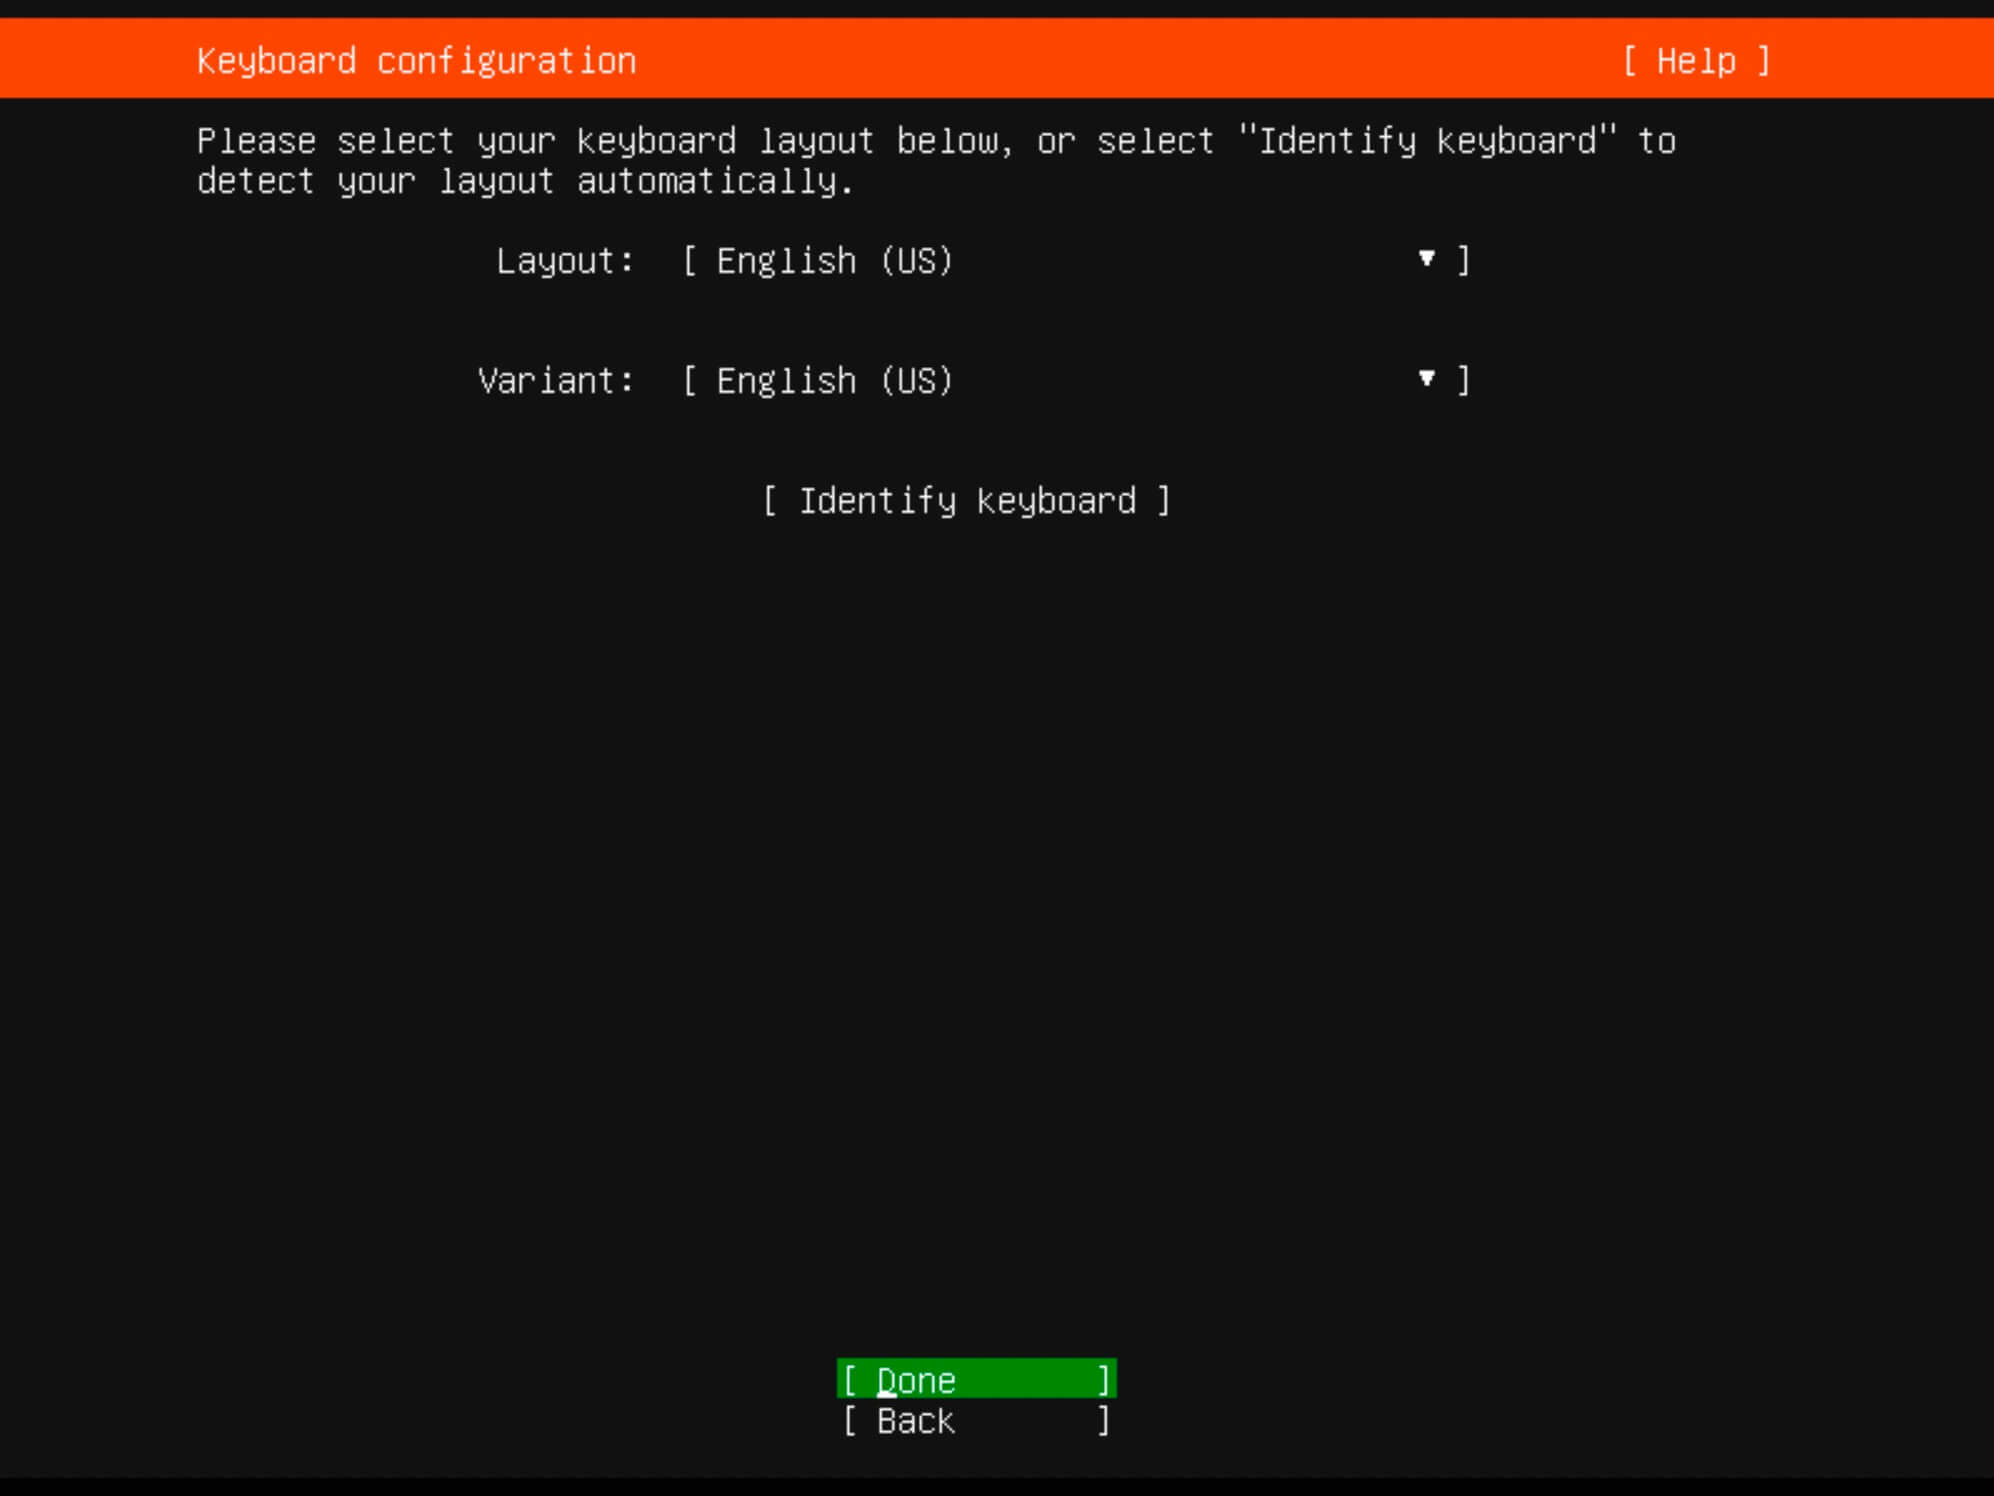
Next, you can choose a keyboard layout.
Select your desired keyboard layout and click “Done”.
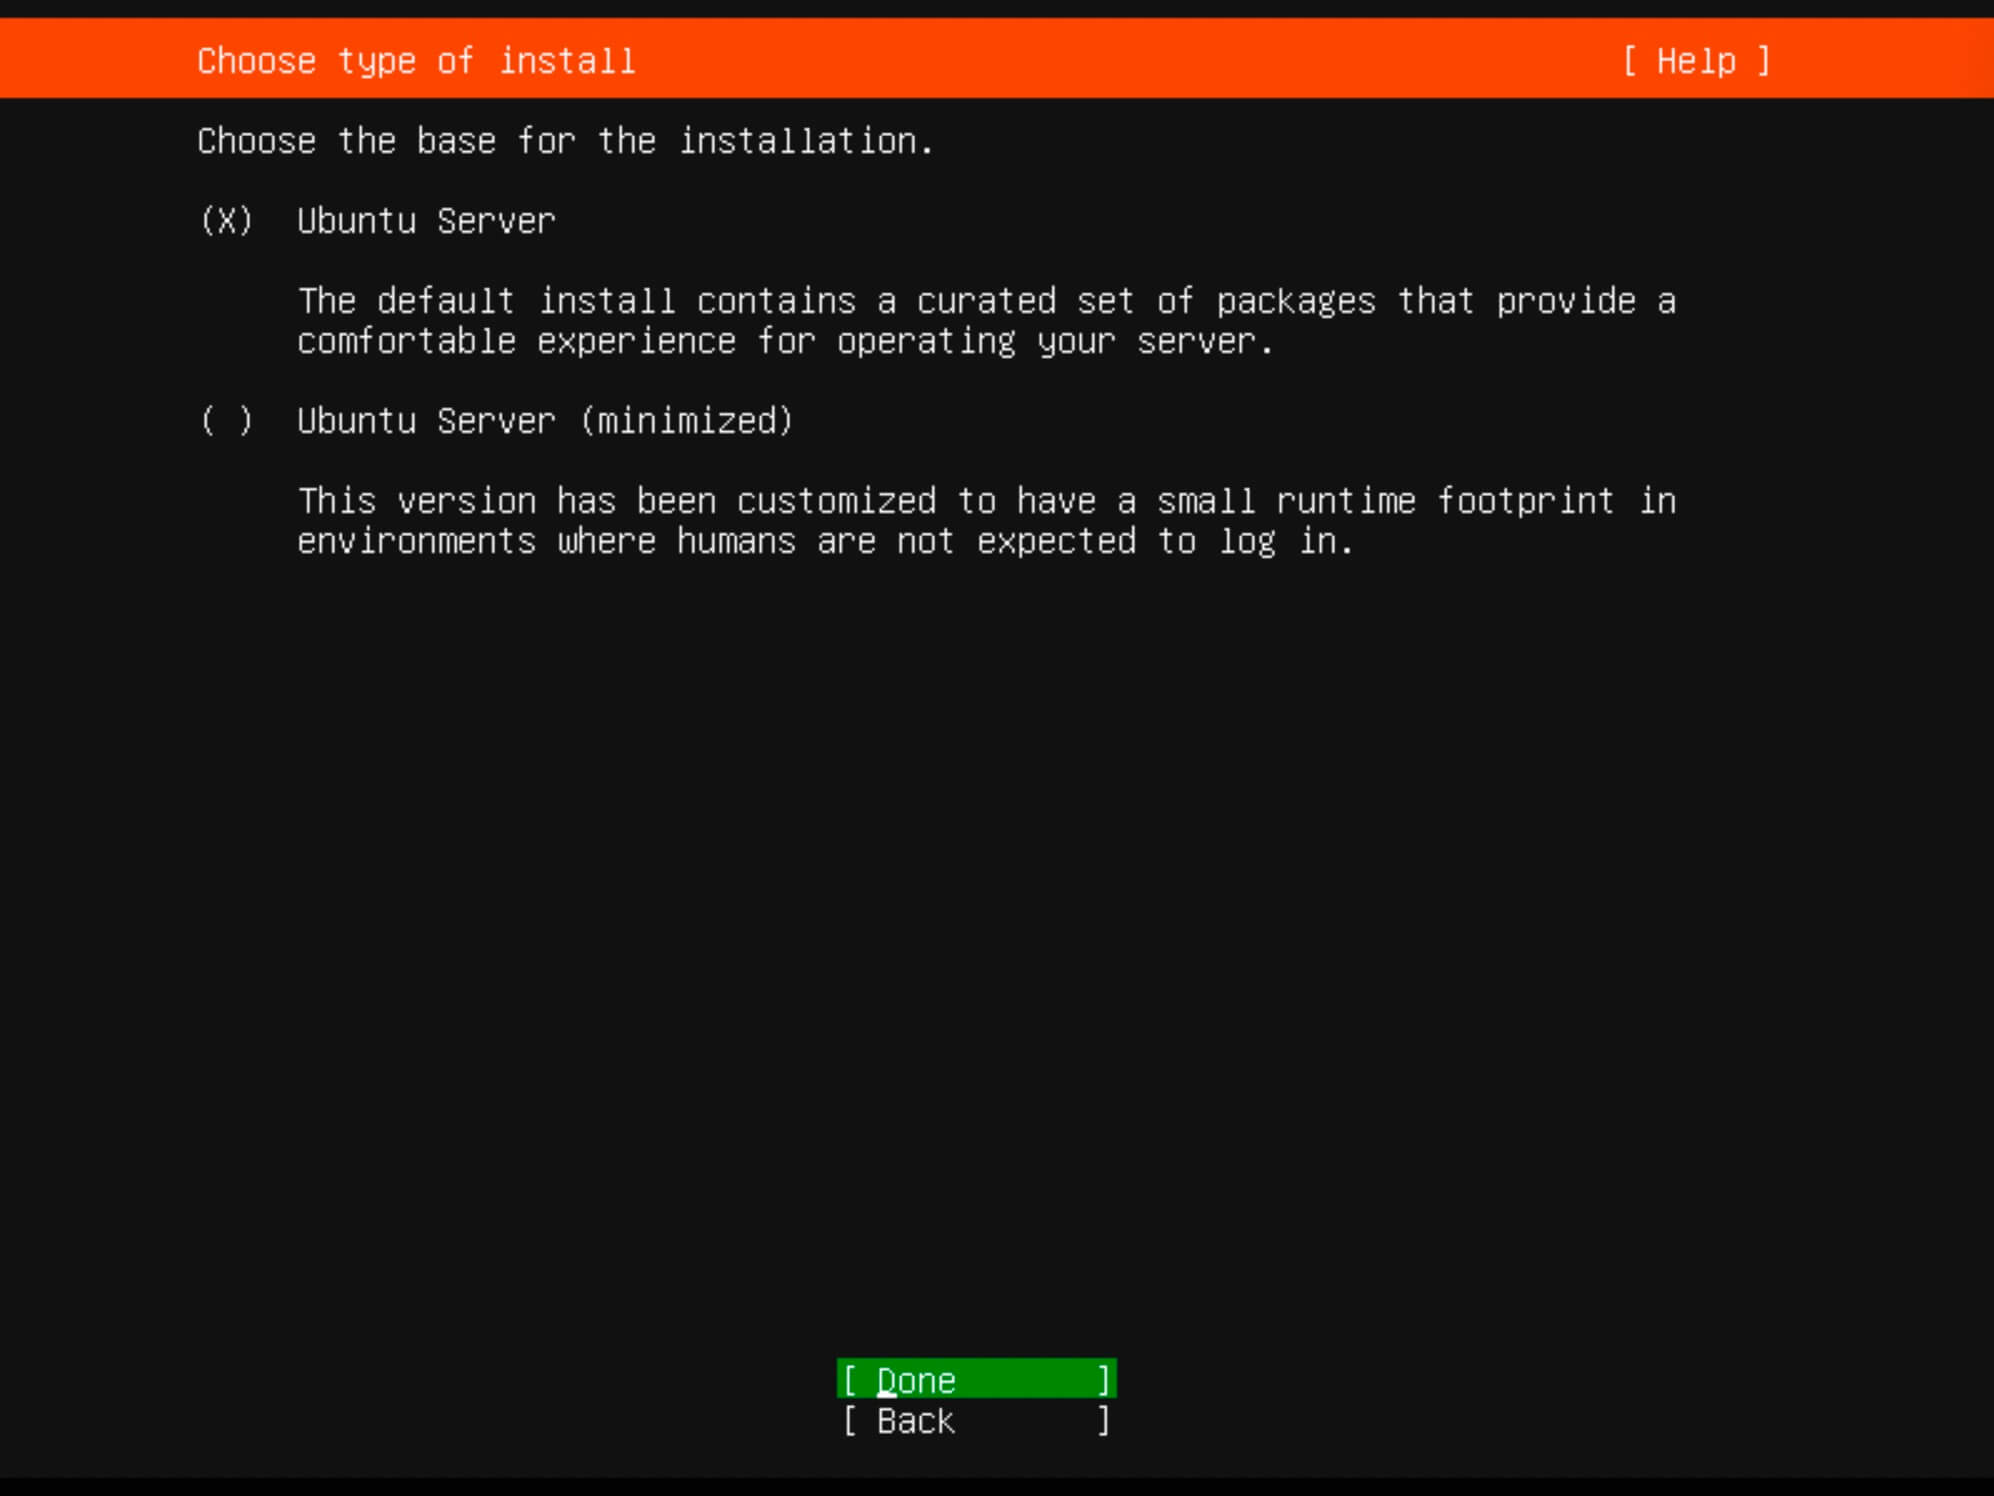
Now you need to specify the installation type.
Choose “Ubuntu Server” and click “Done”.
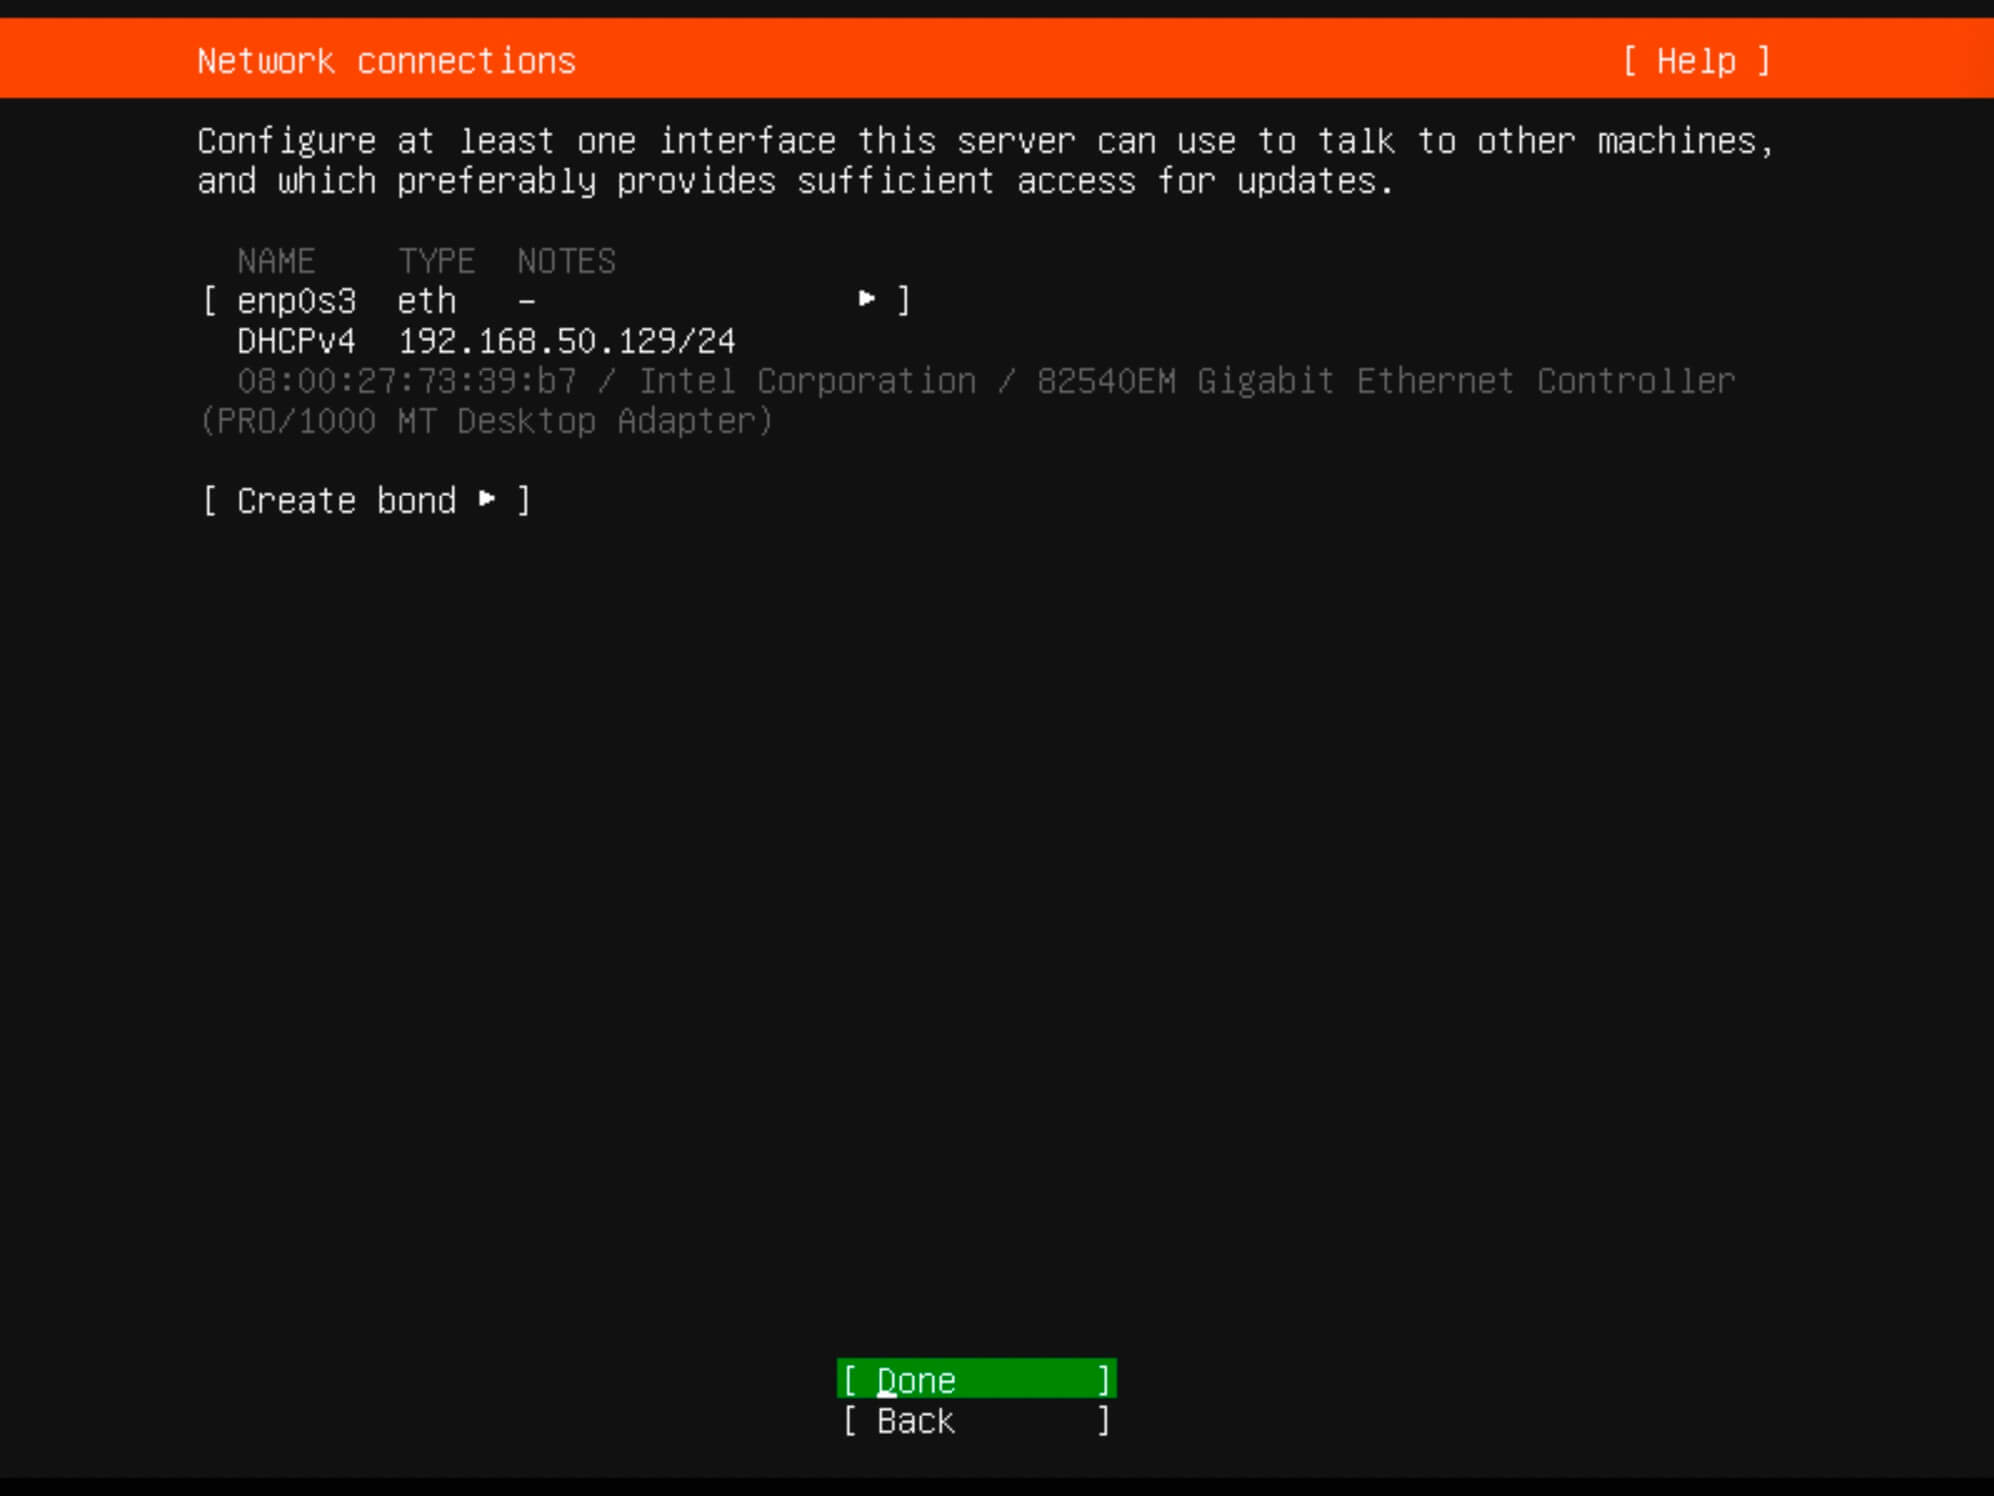
The installer will try to retrieve network settings using DHCP. You can adjust the IP address now or later.
Click “Done”.
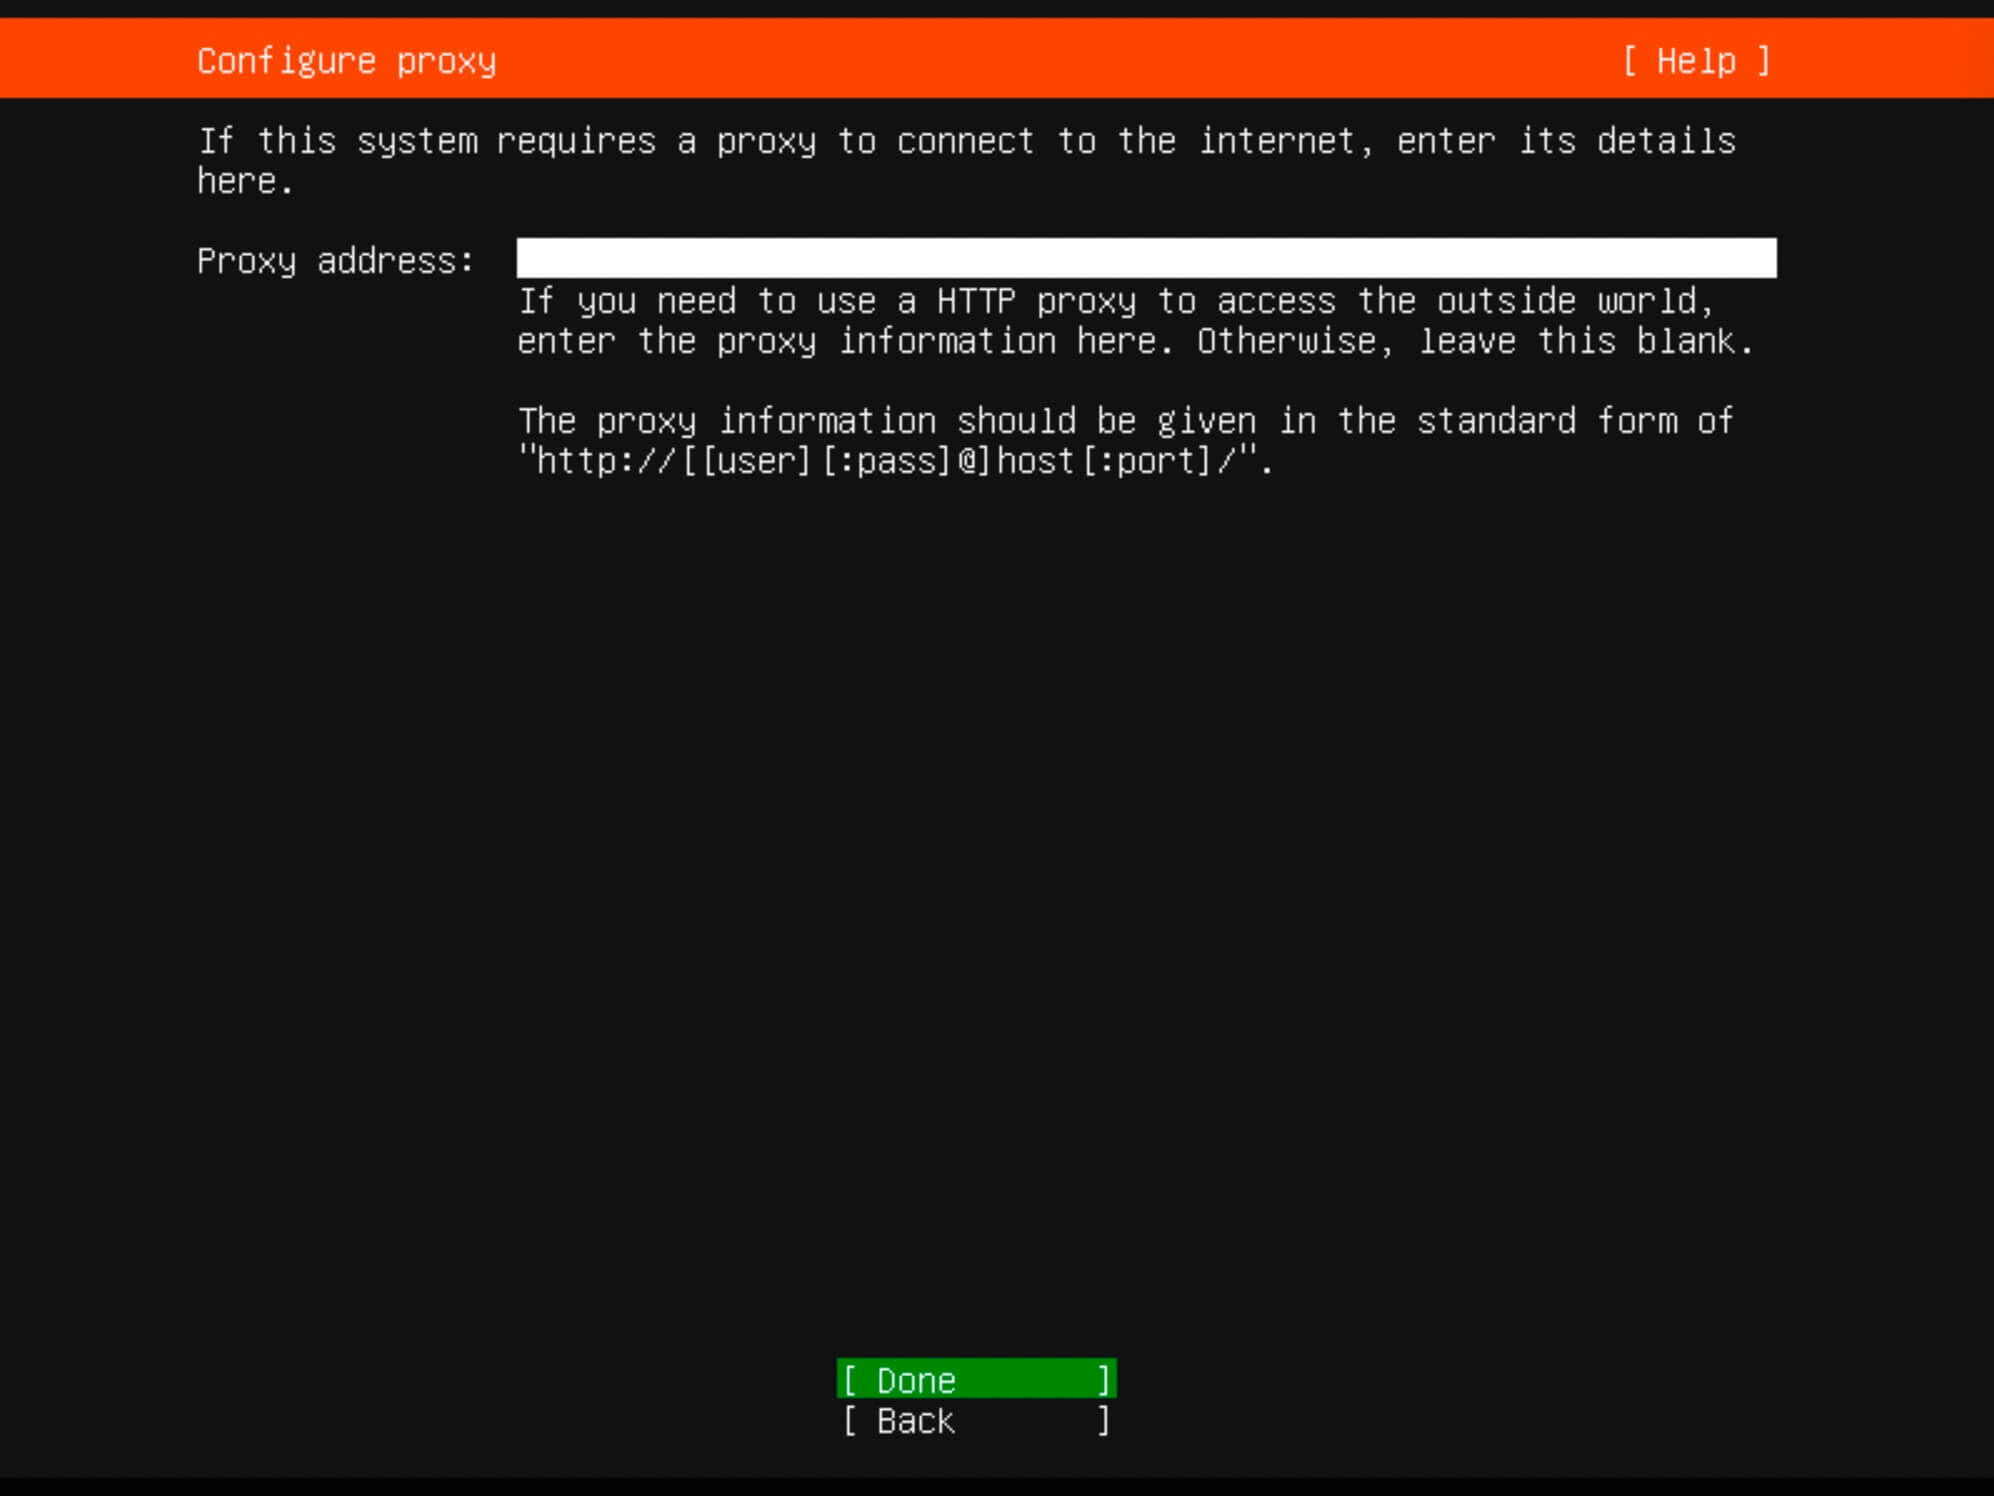
For proxy settings, we’ll skip this step in our guide.
Simply click “Done”.
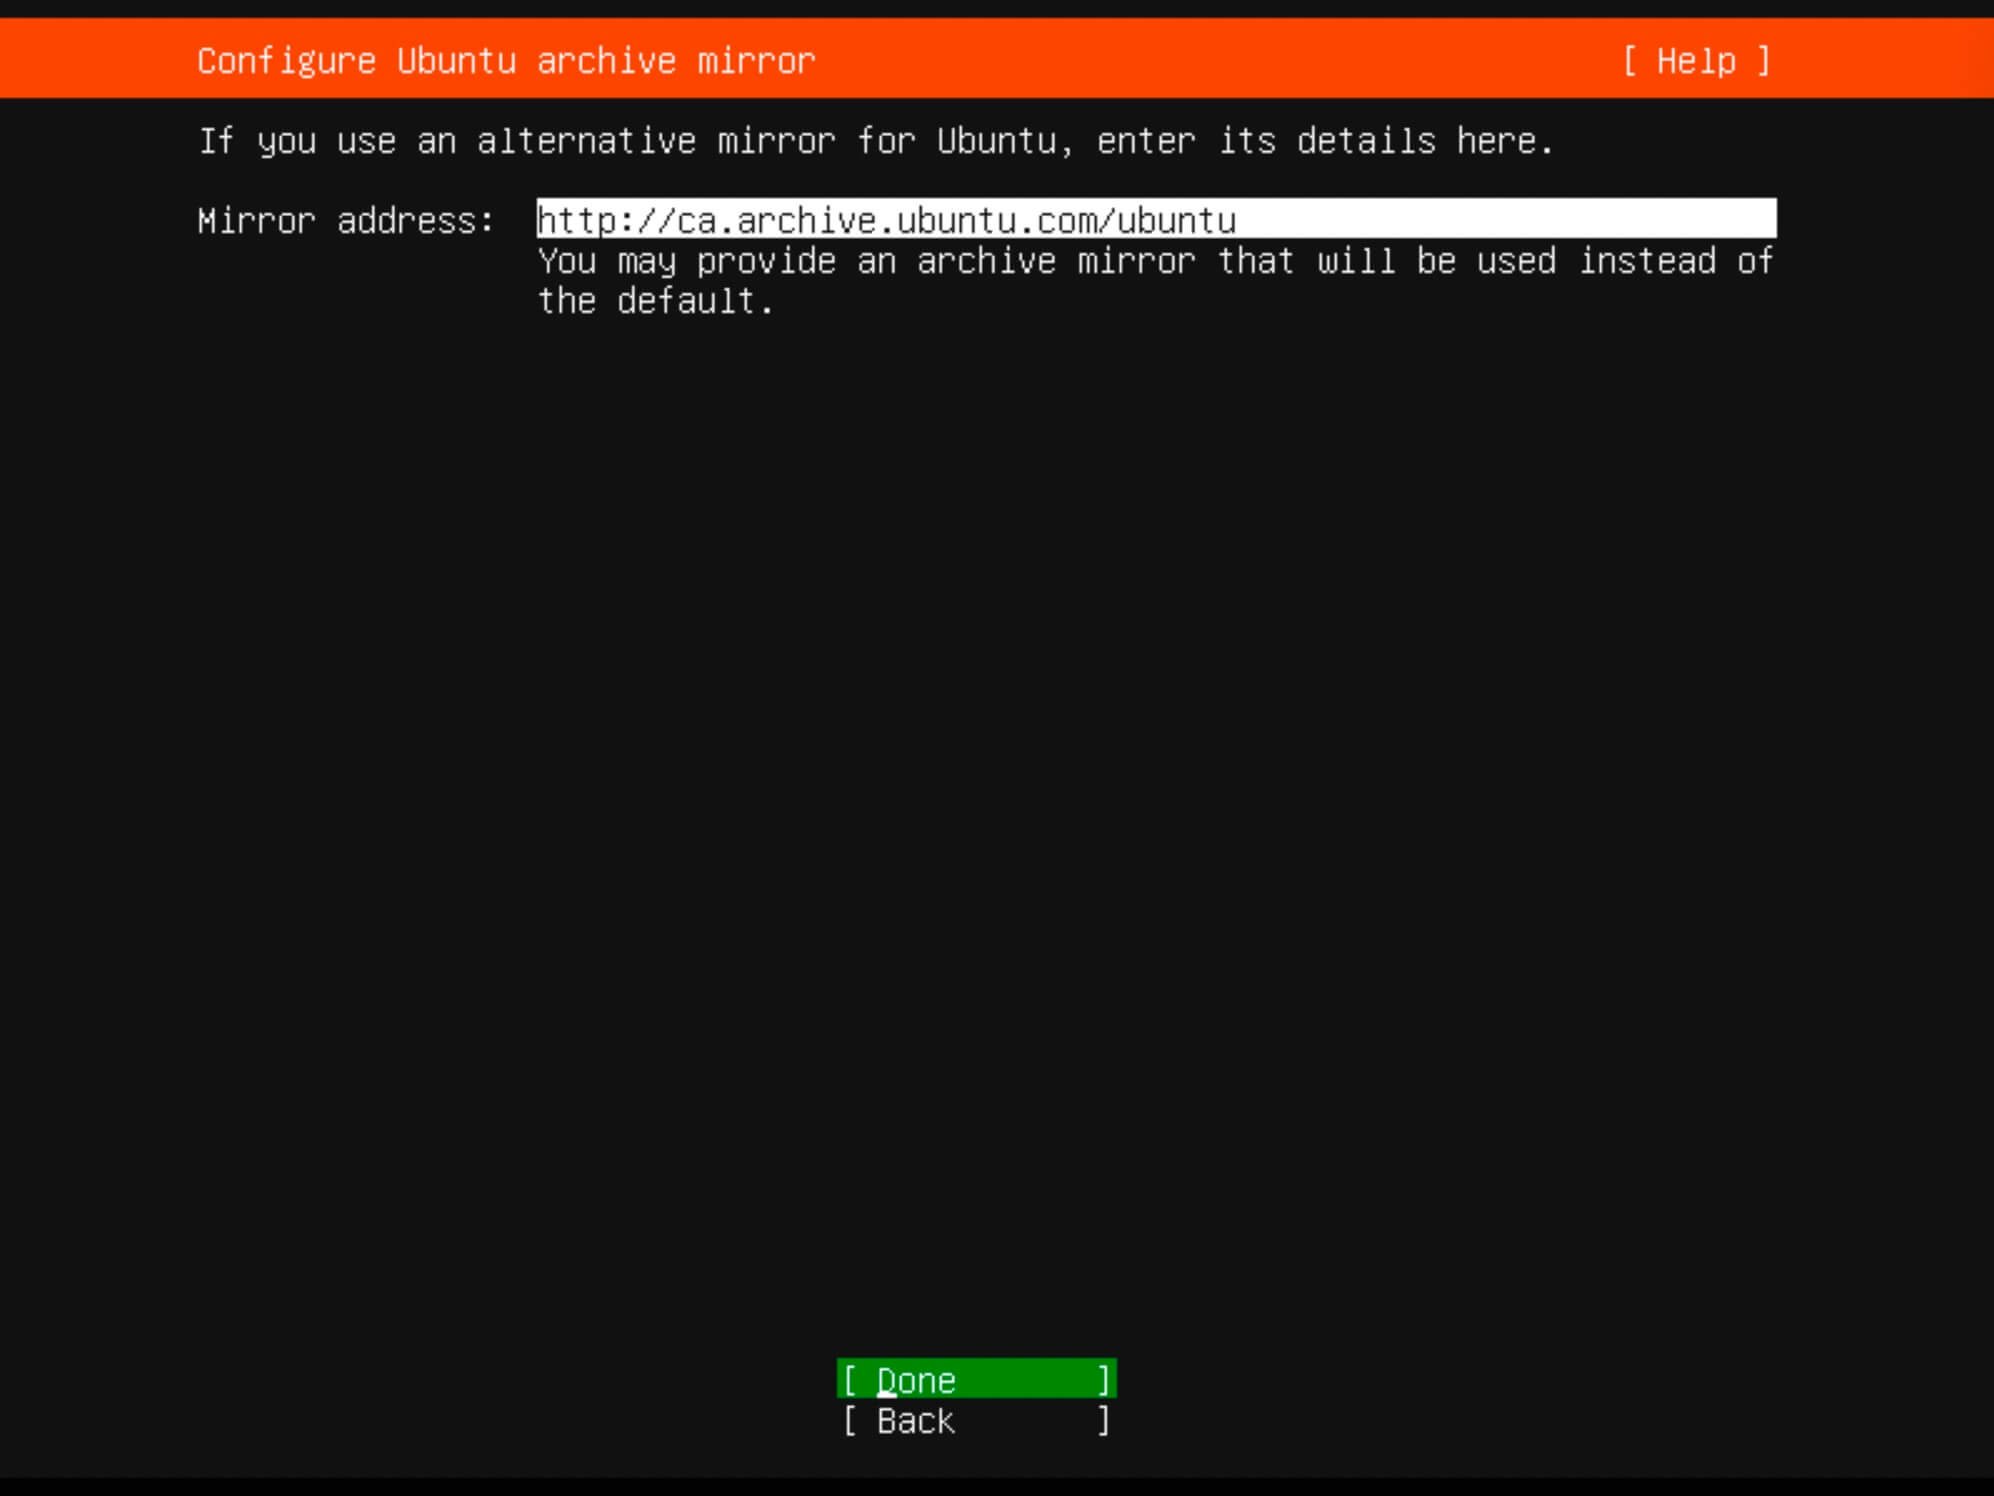
You can specify an alternate mirror address if necessary.
For this guide, leave it as default and click “Done”.
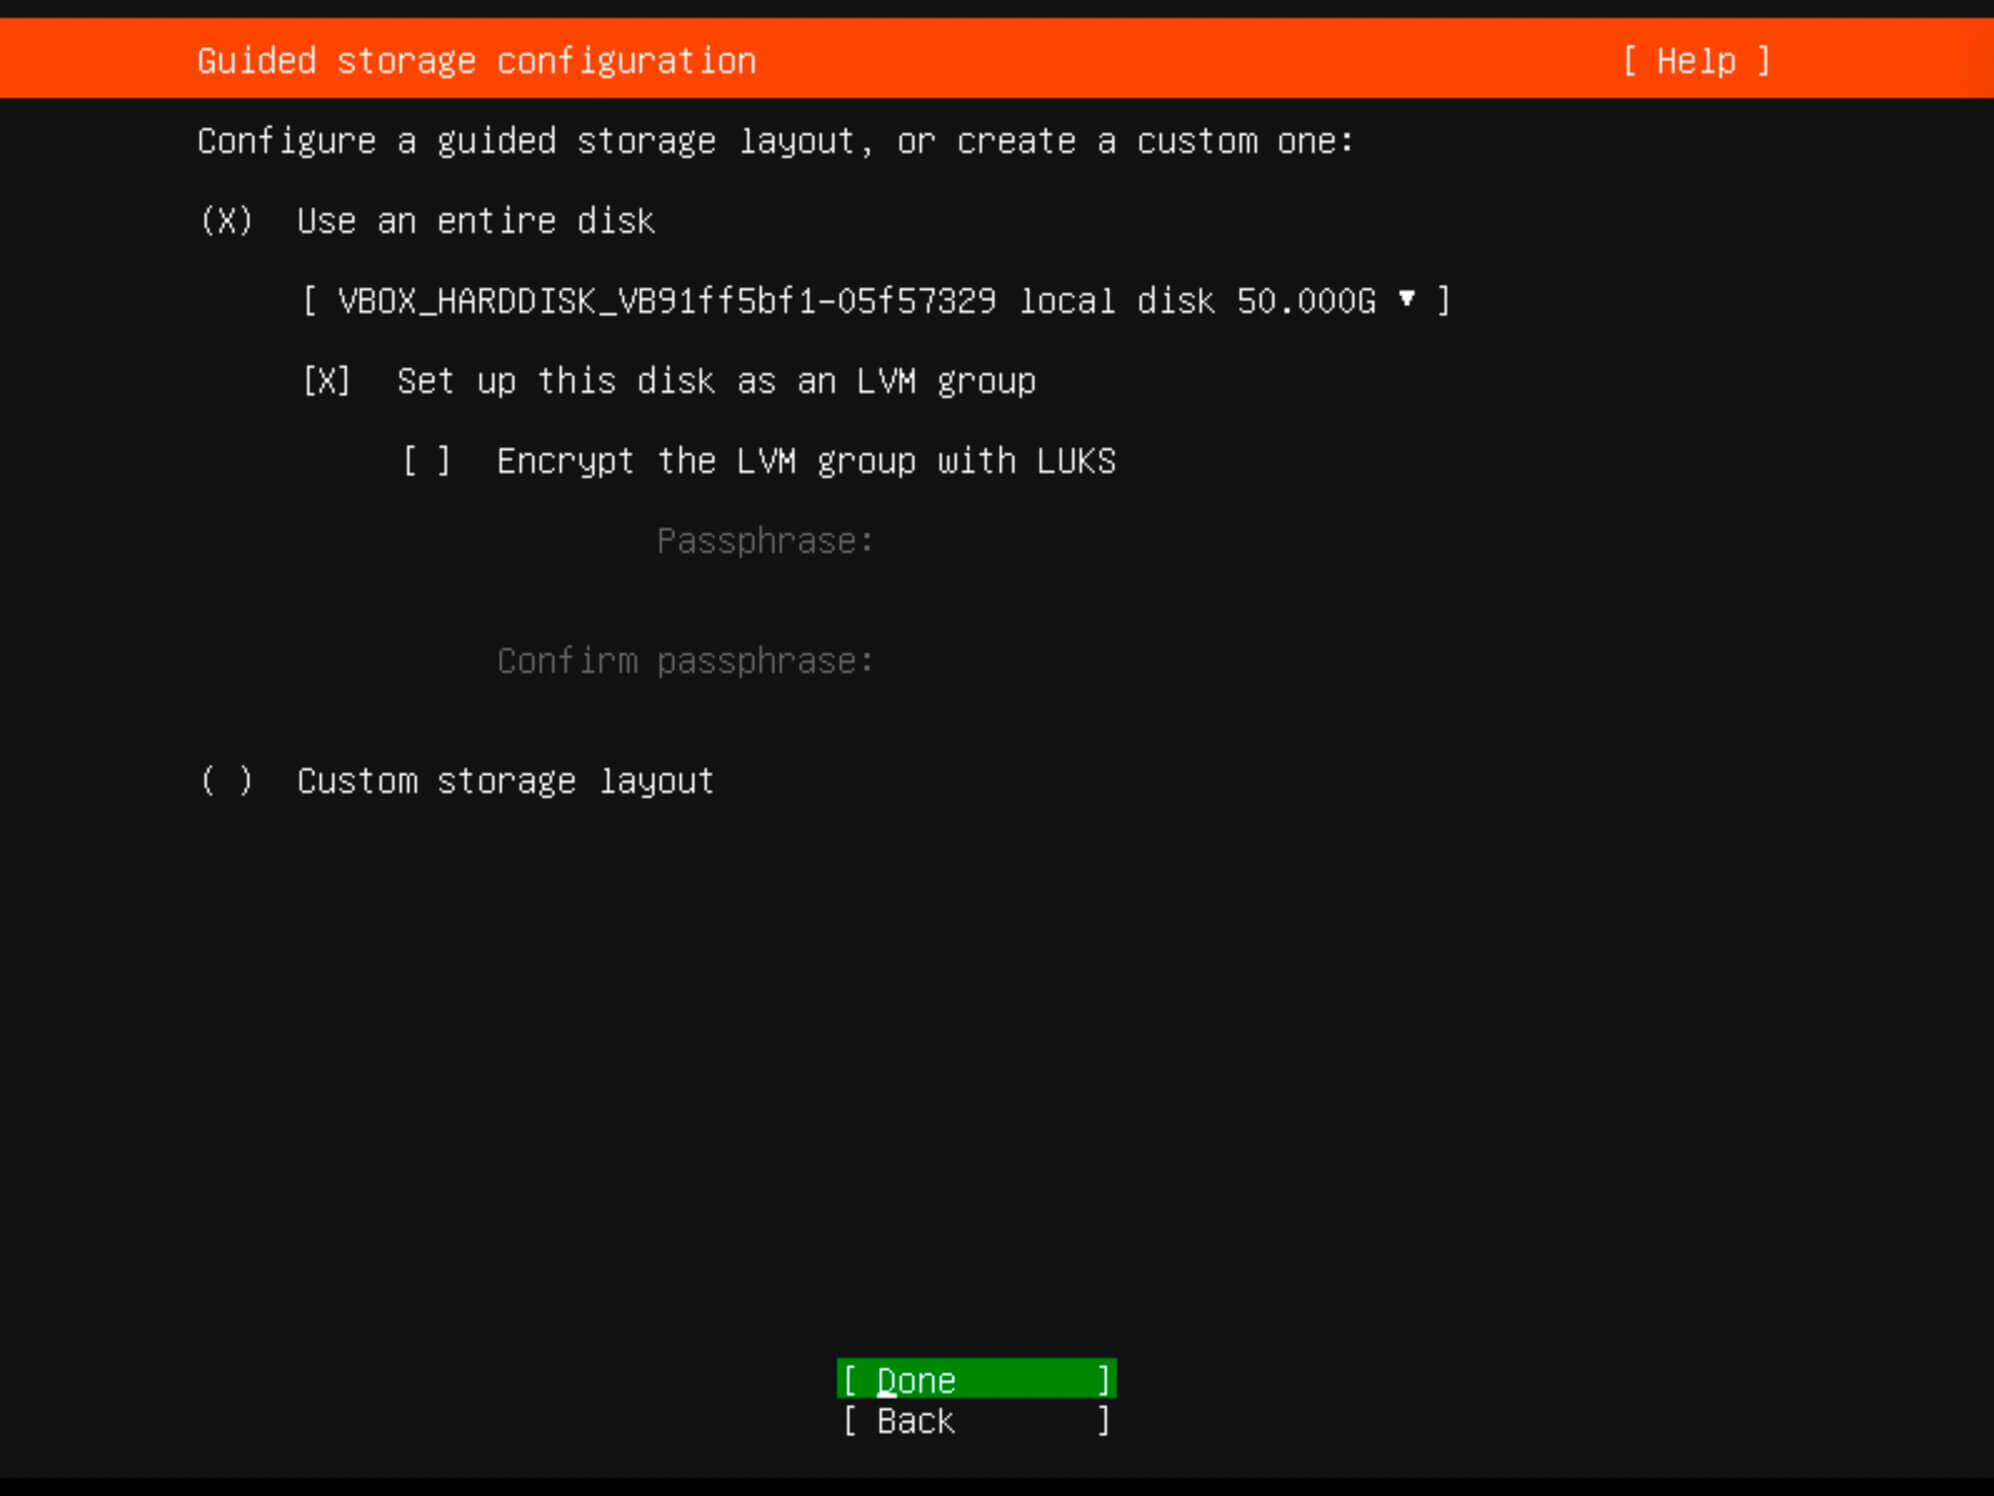
Determine the installation location. All available space will be utilized.
Choose “Use an entire disk” and then select “Set up this disk as an LVM group”.
Click “Done”.
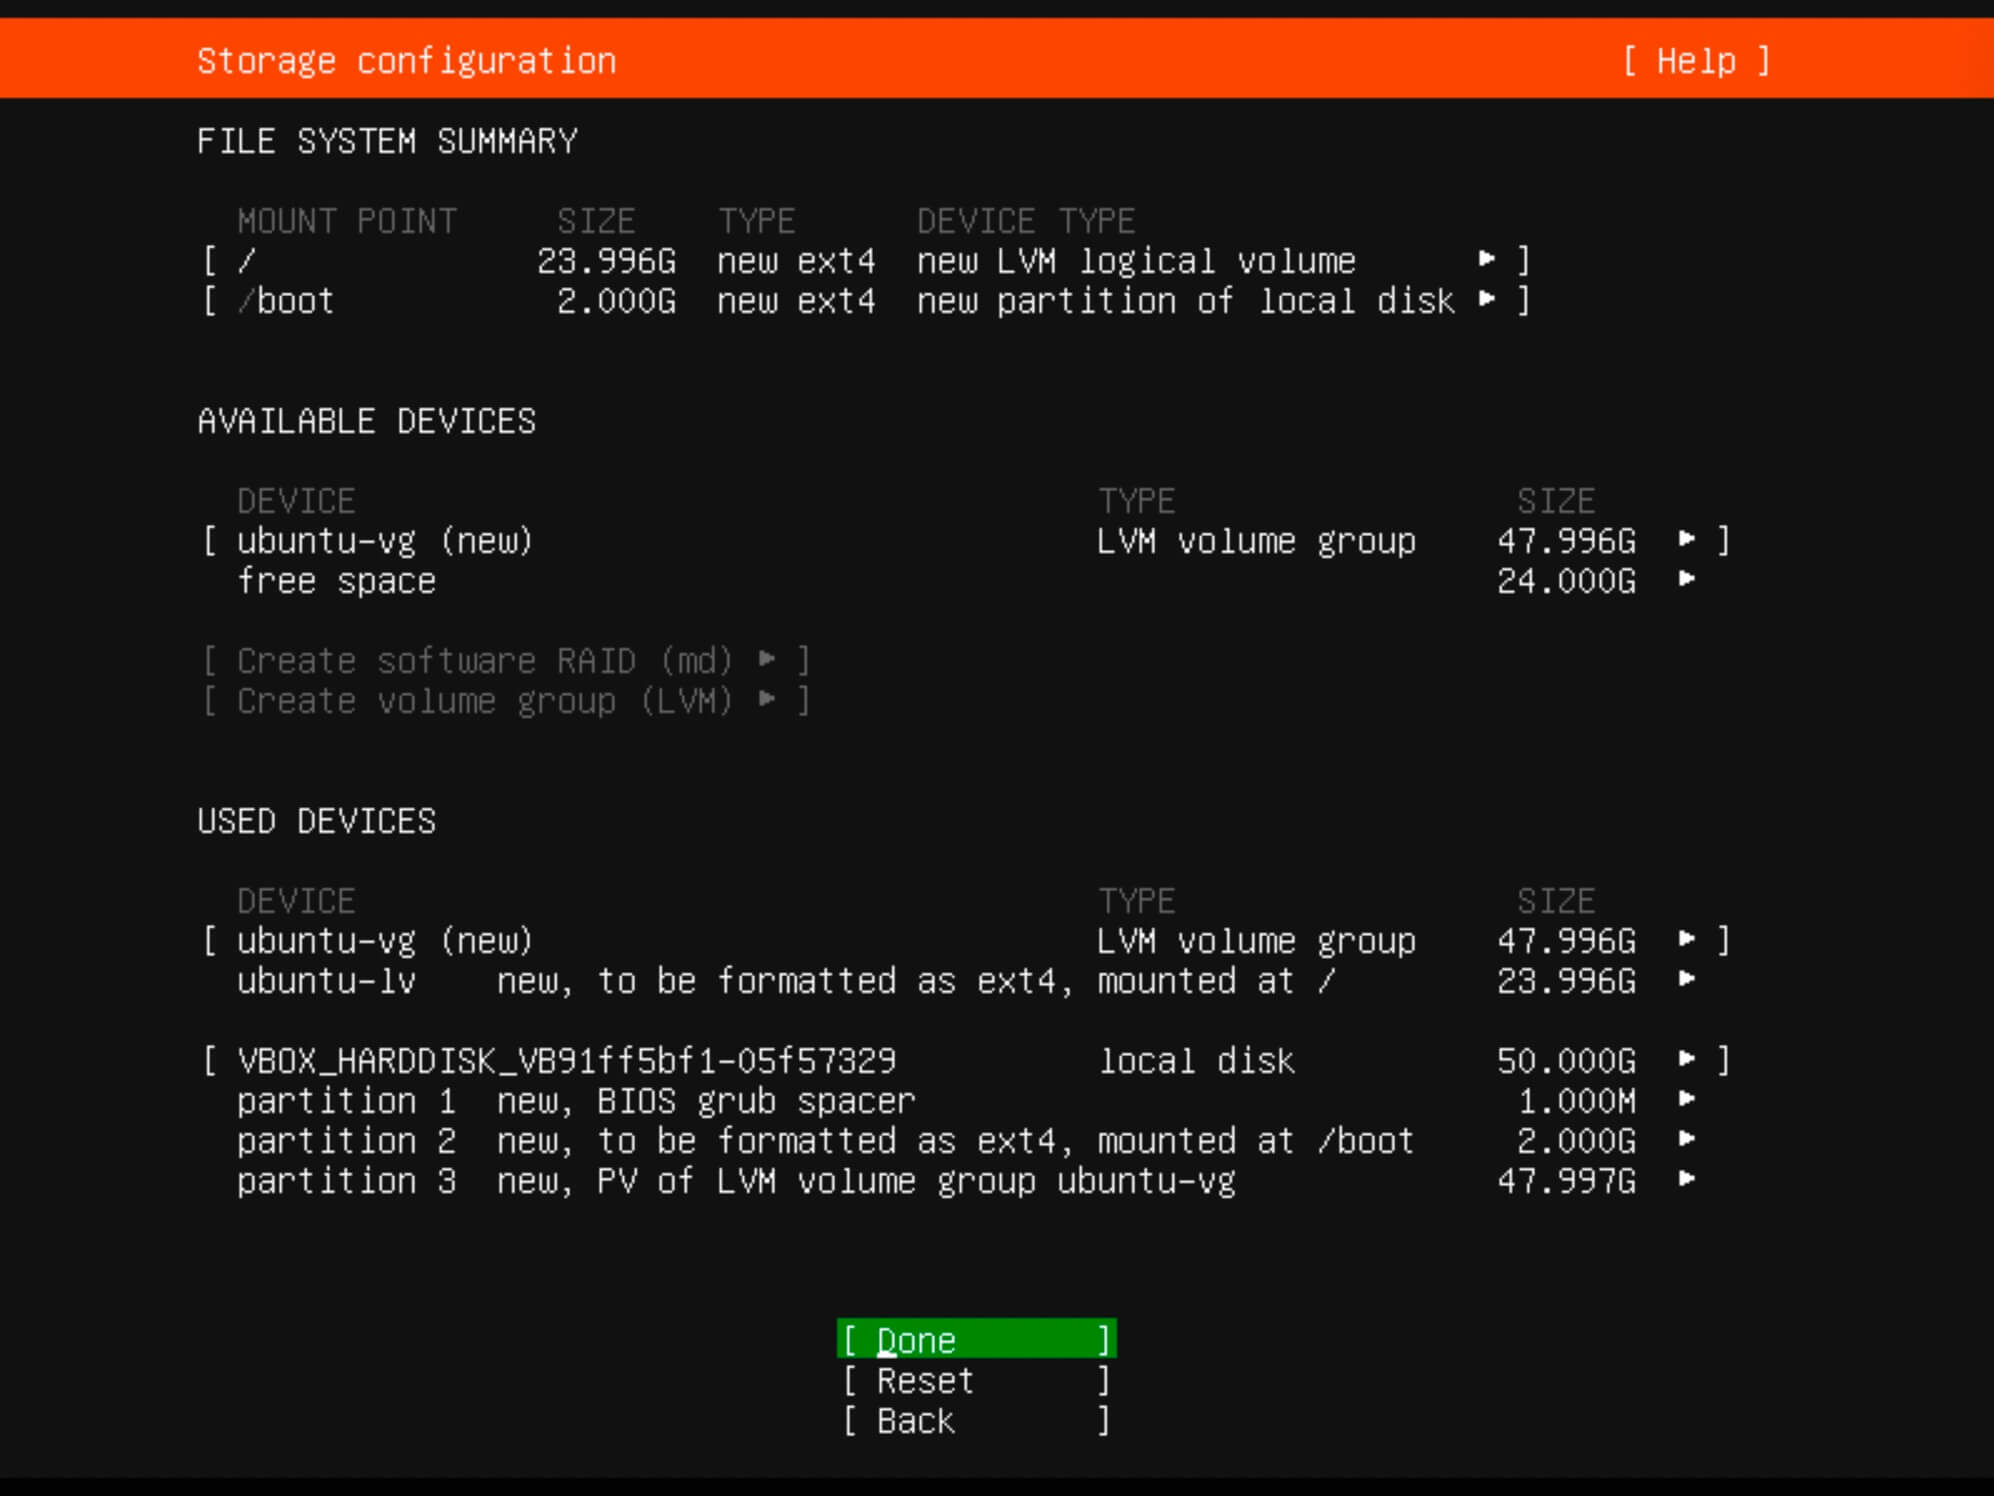
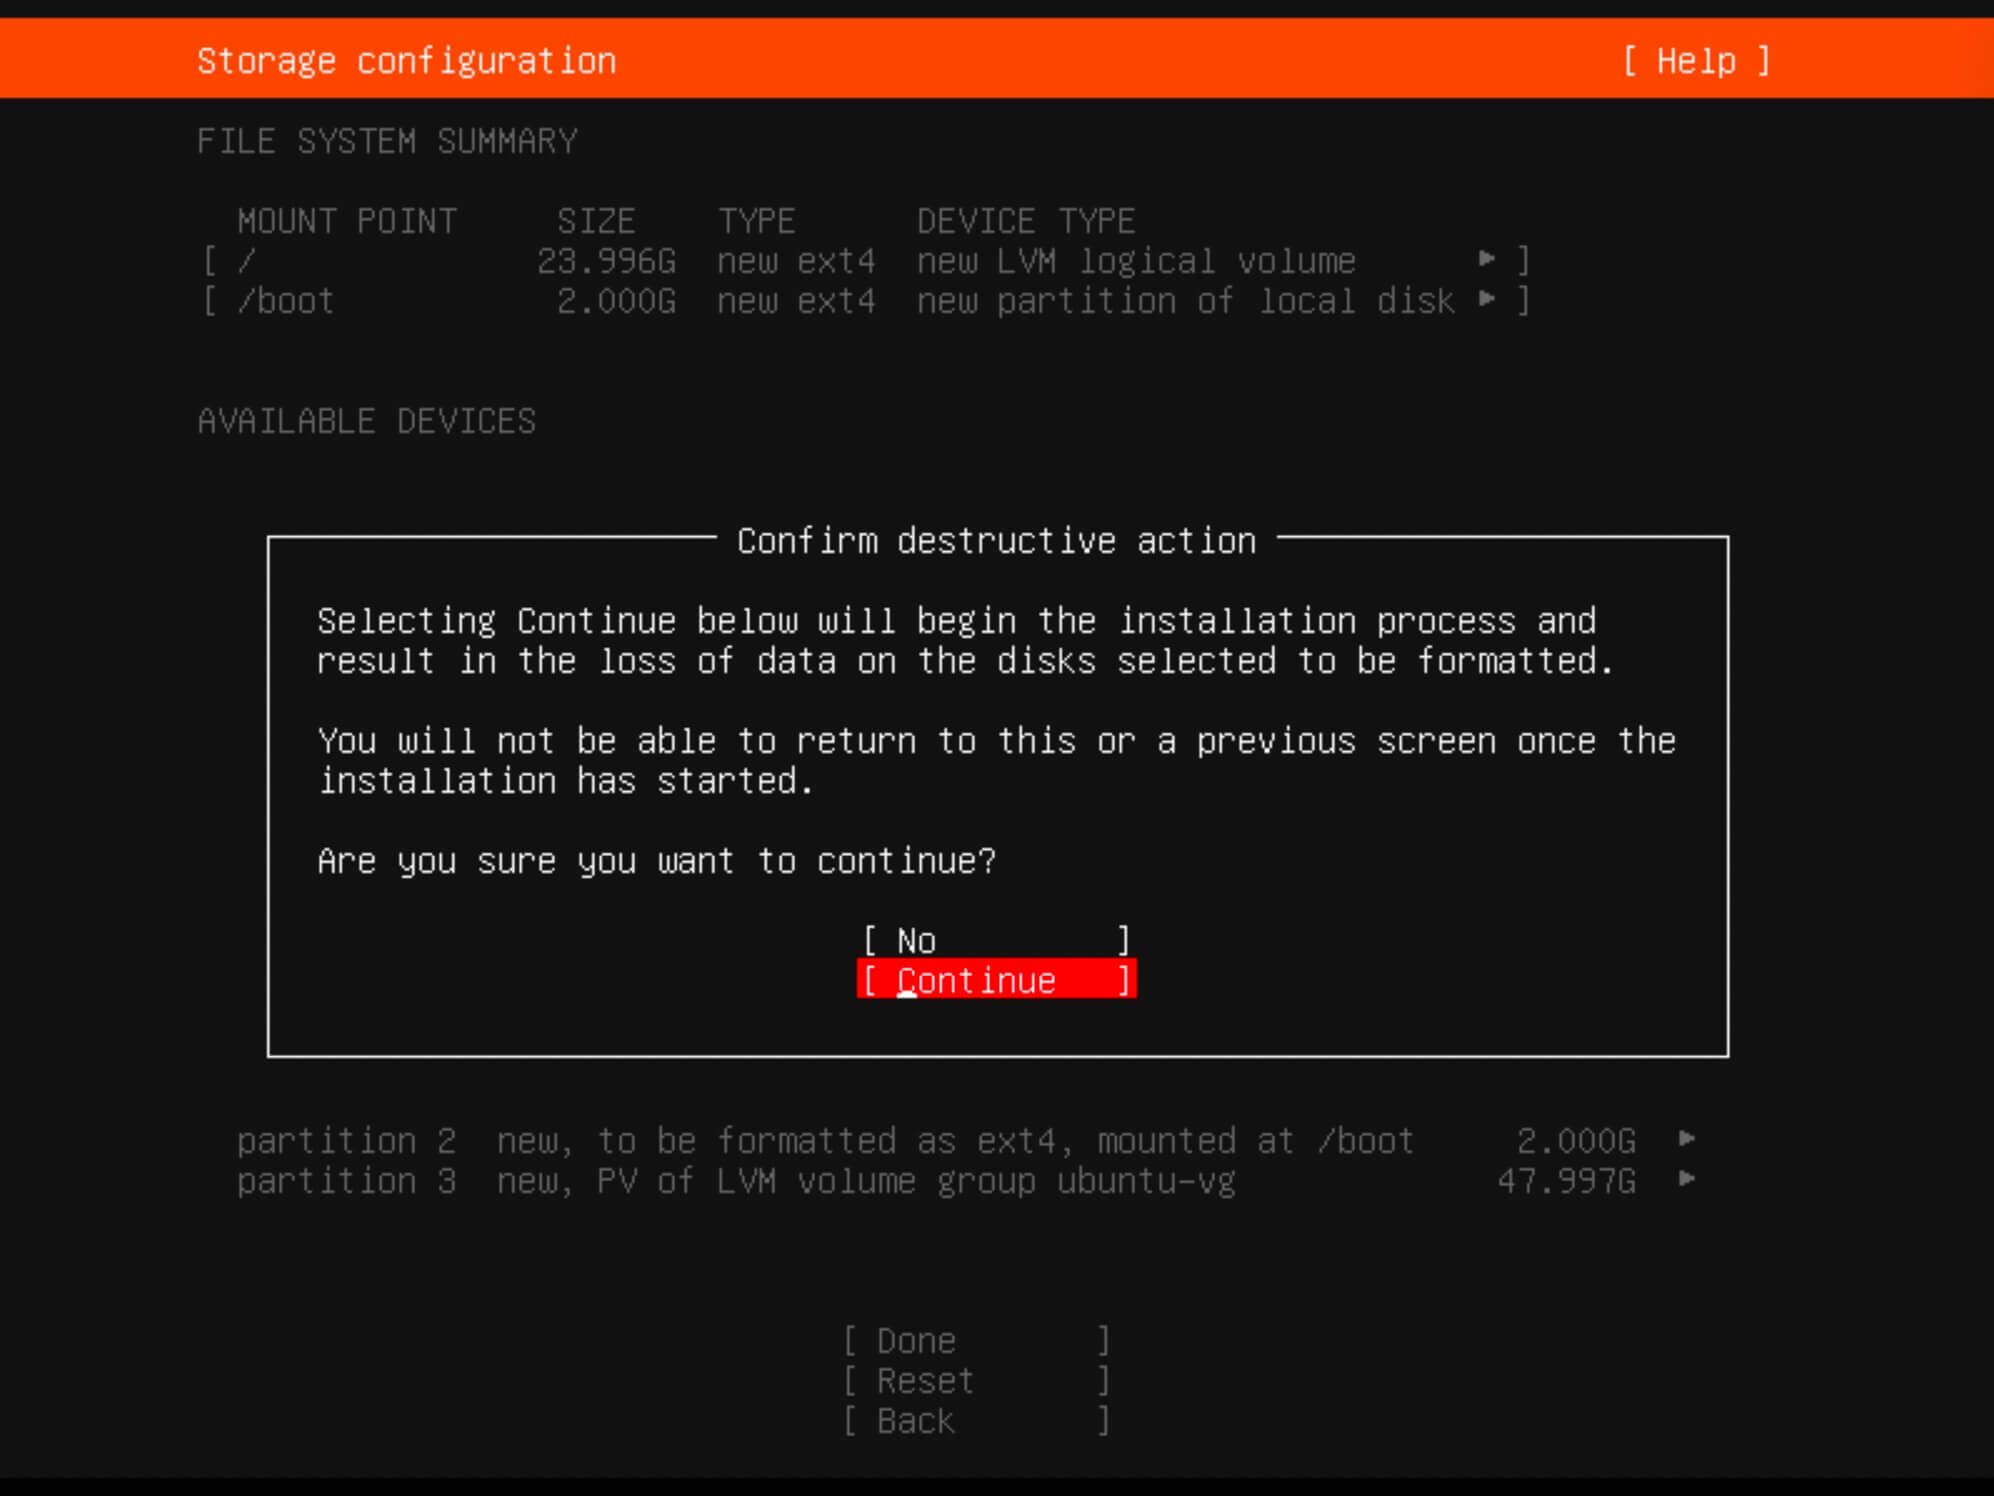
Verify the partitions and click “Done”.
Now you need to confirm your changes.
To continue, click “Continue” and press “Enter”.
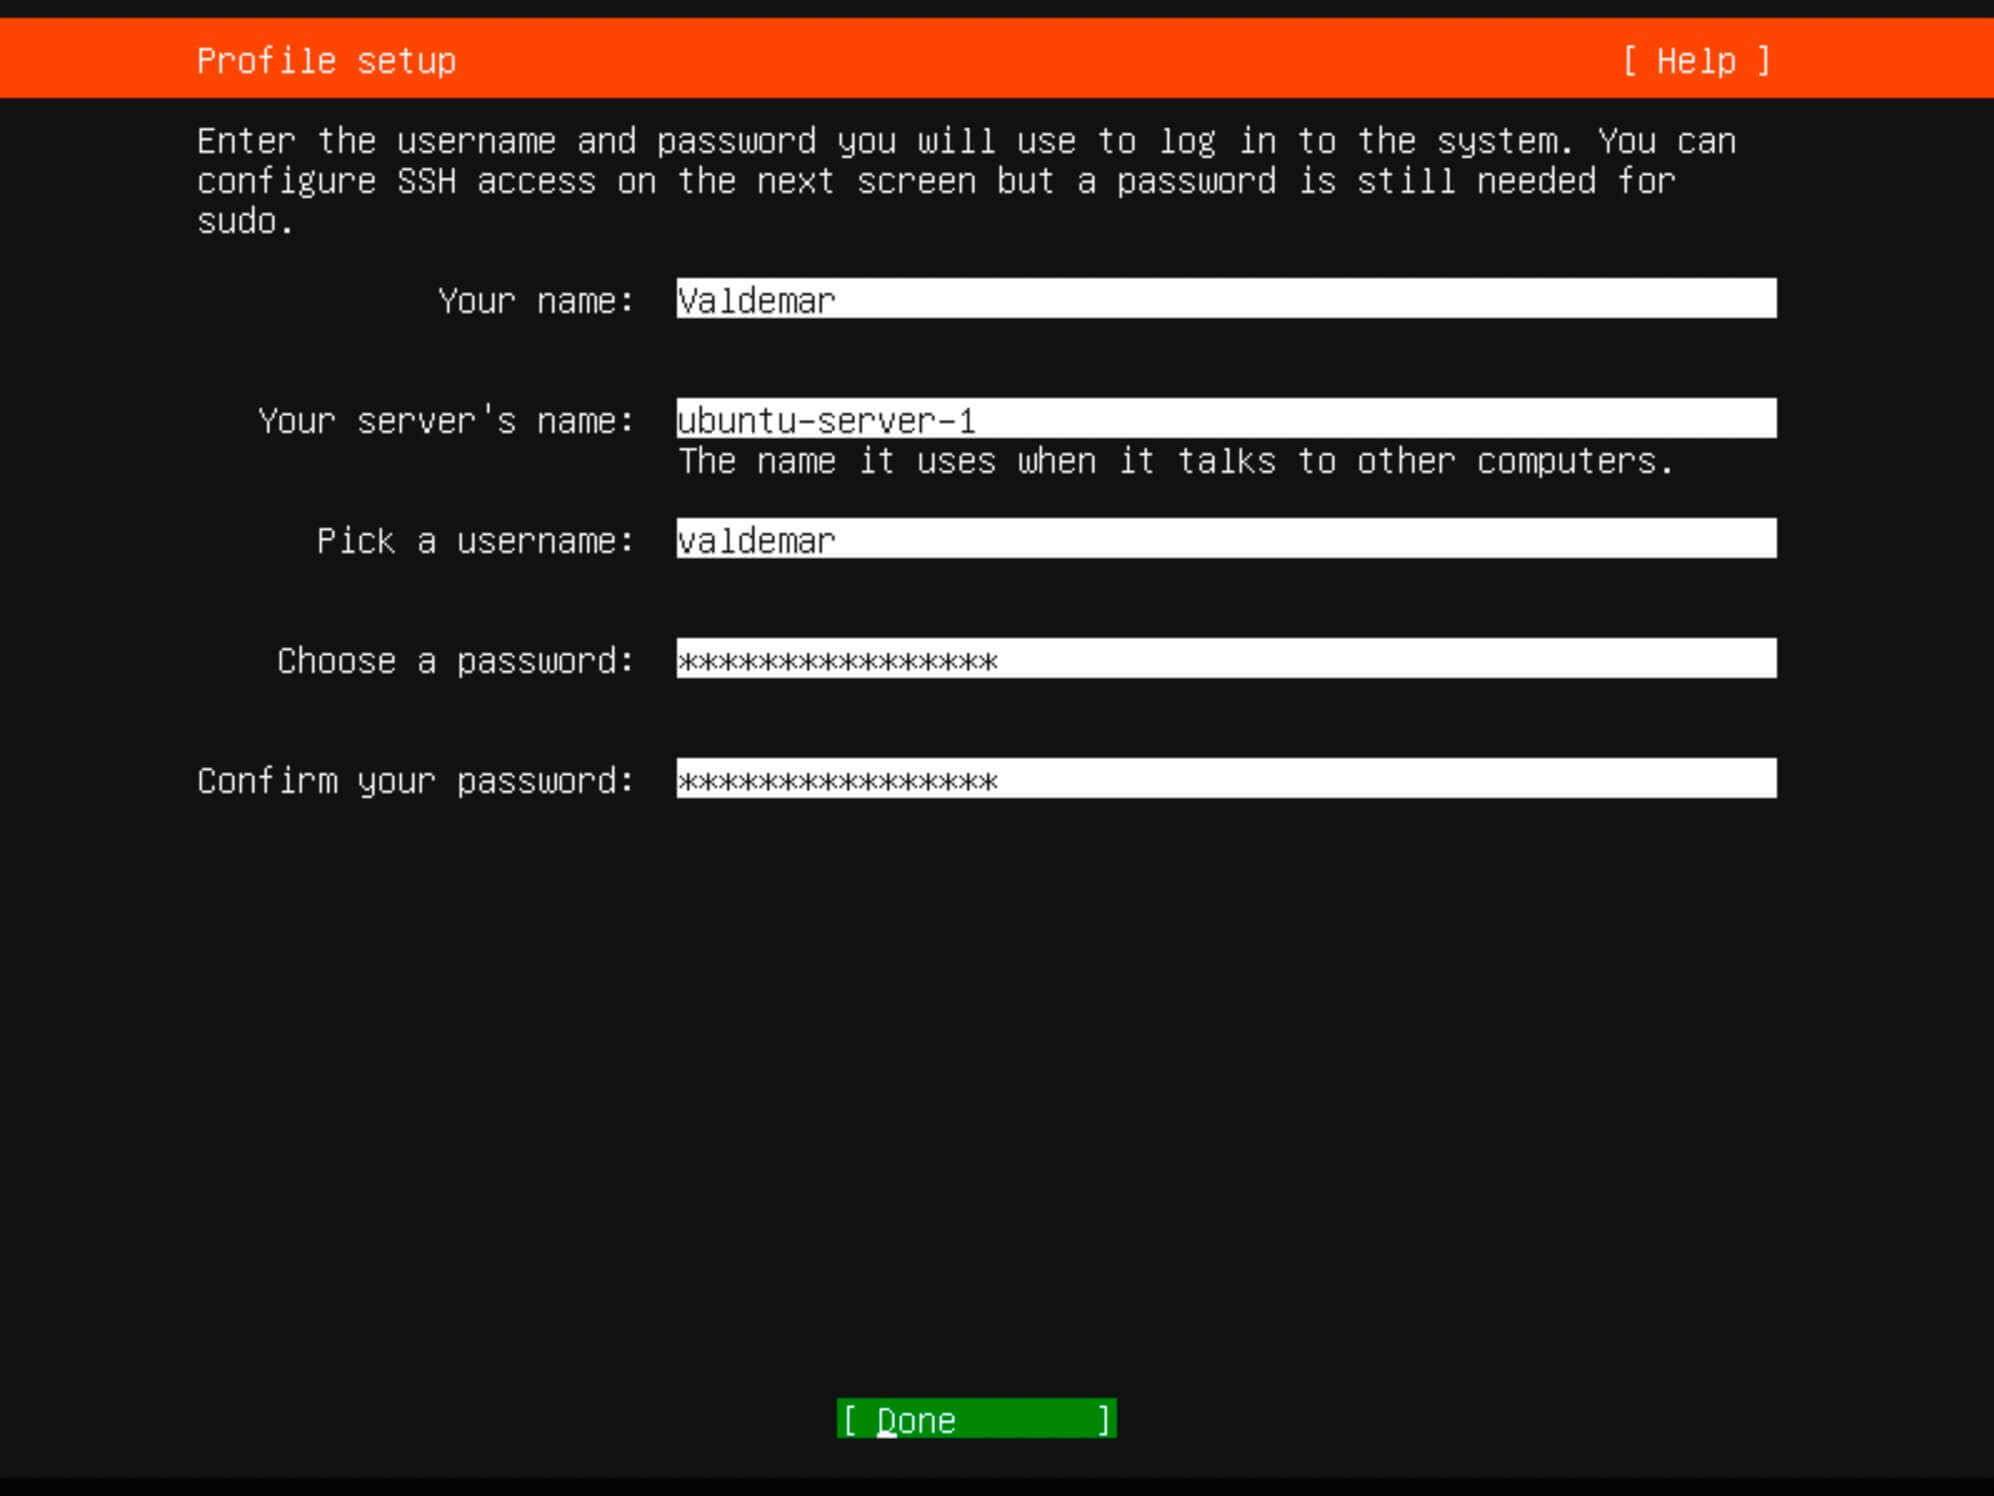
Provide the full username, server name, login, and password.
Click “Done”.
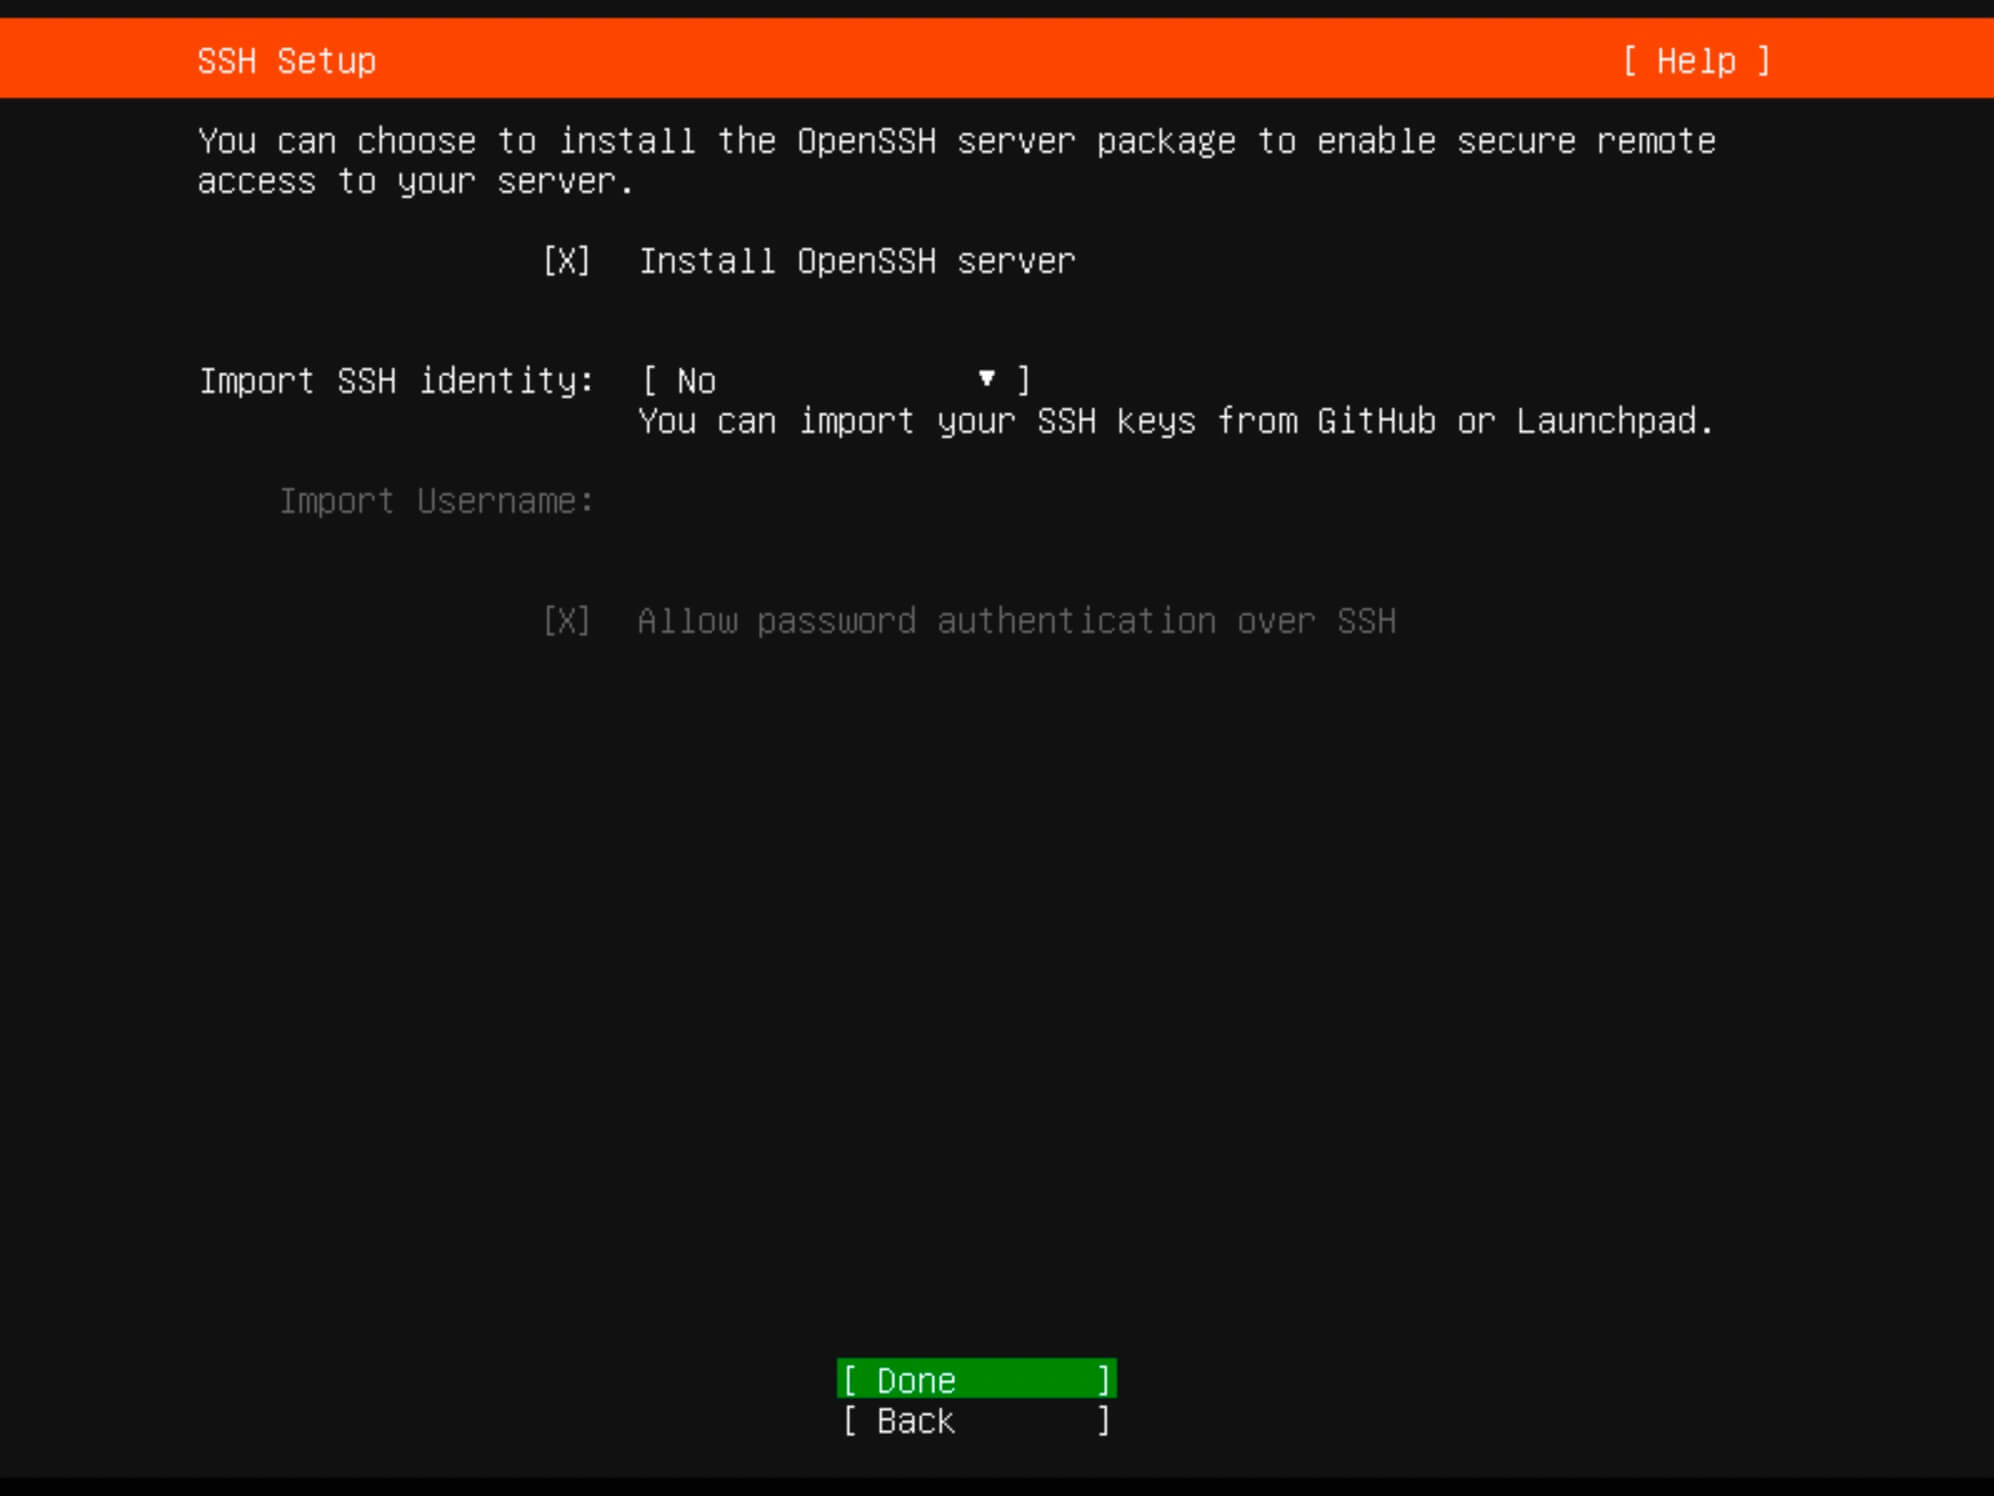
If you plan to use SSH, choose “Install OpenSSH server”.
Optionally, you can import SSH keys from Launchpad or Github.
Click “Done”.
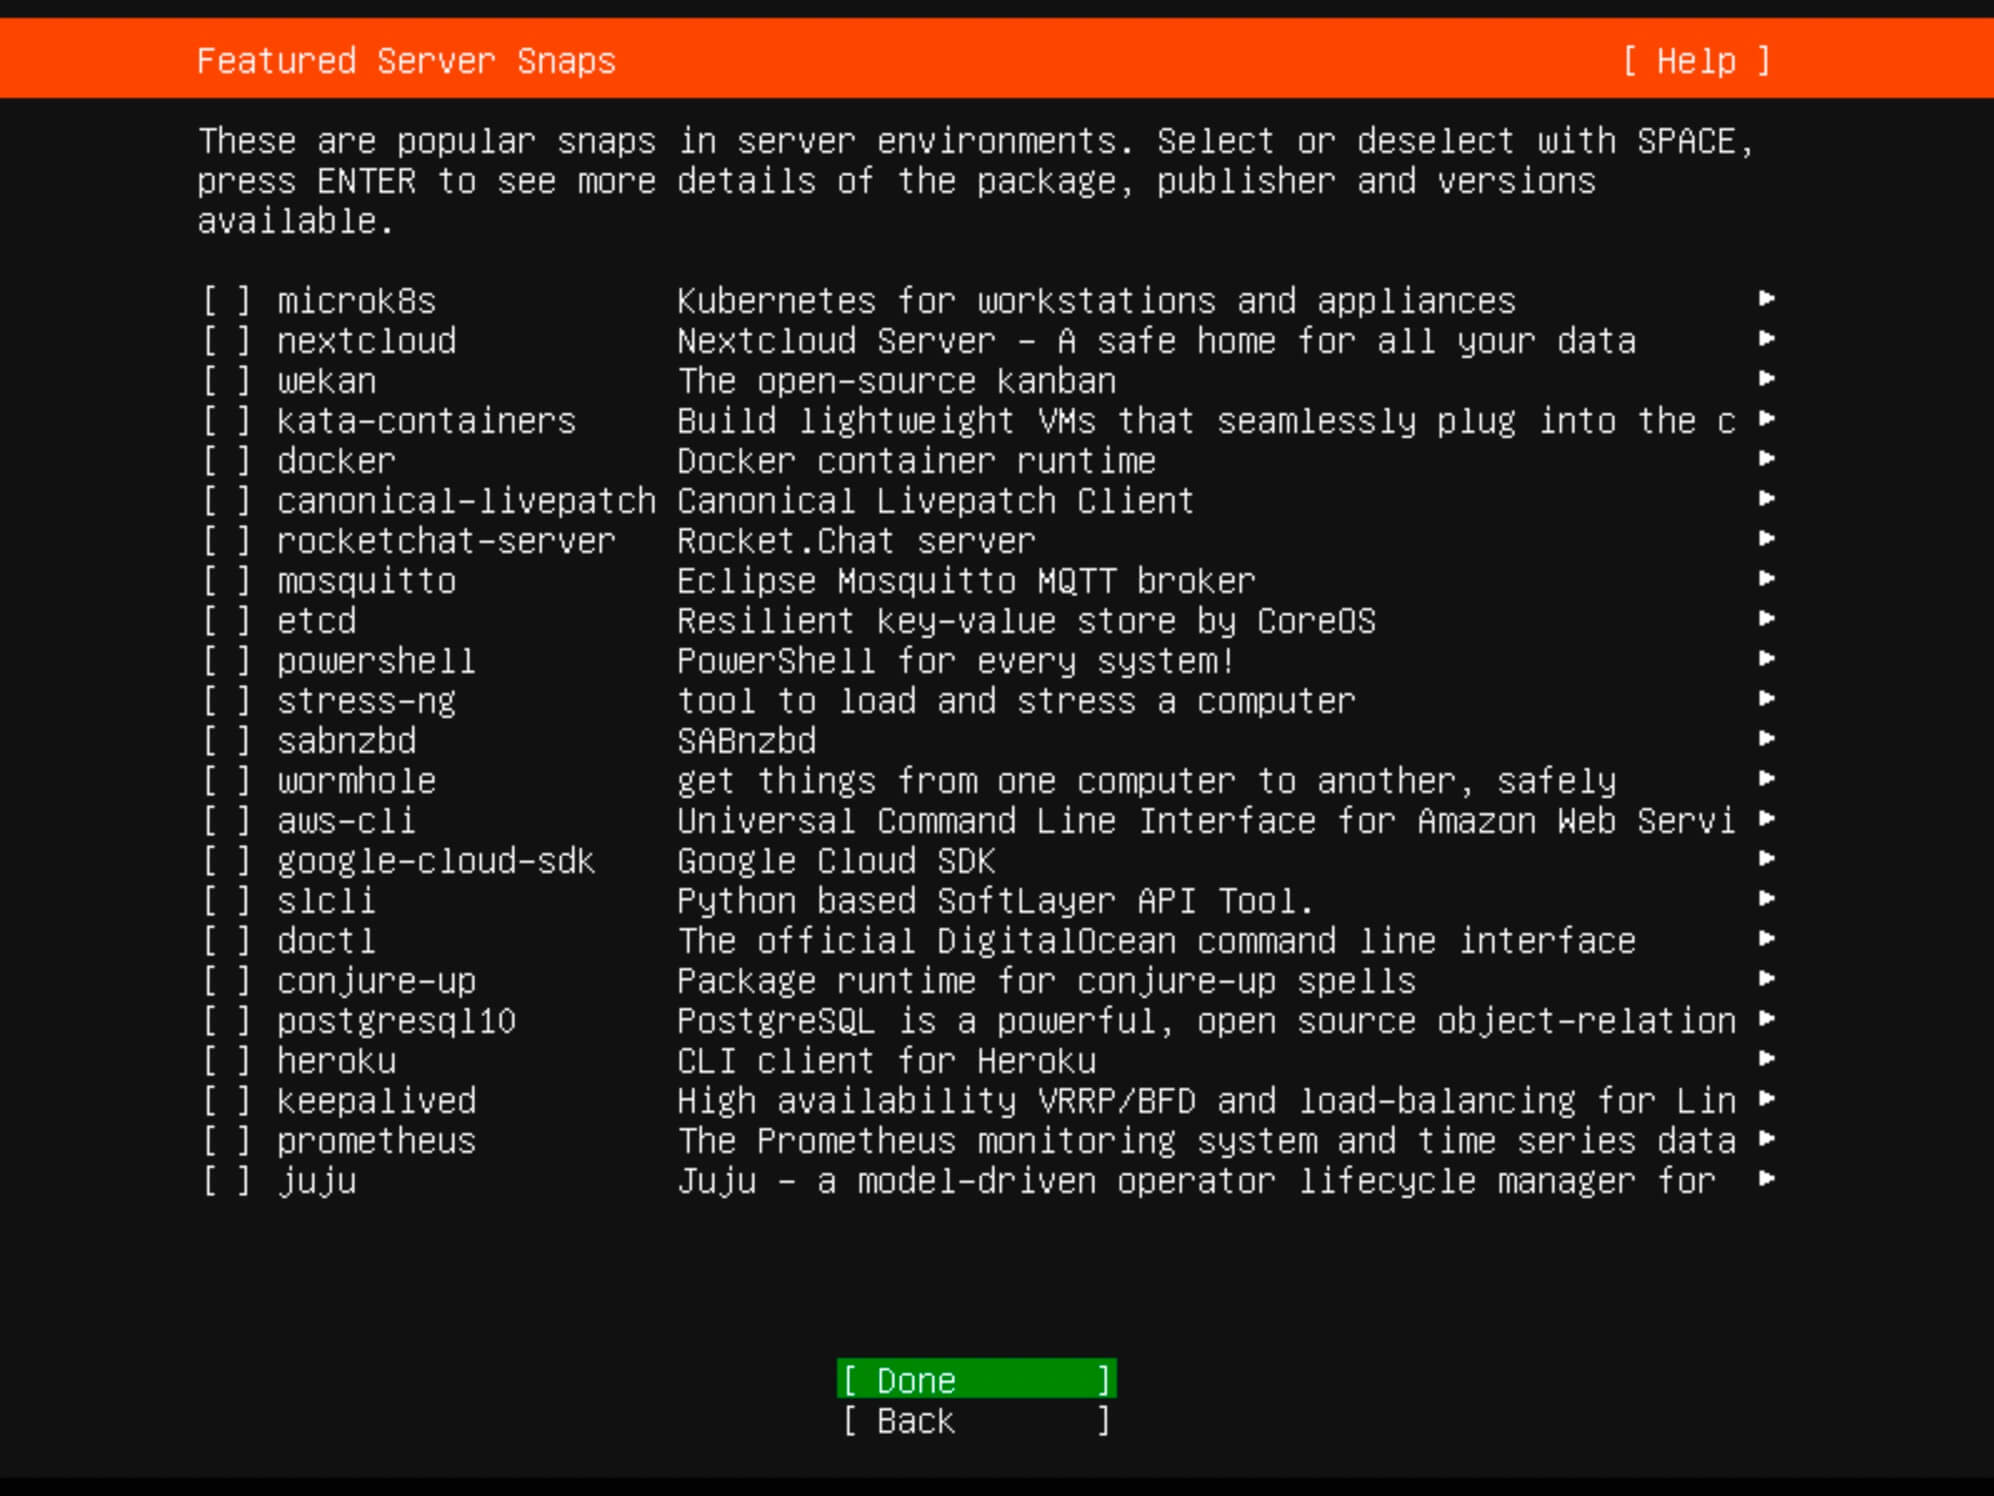
Select any other desired services or components.
Click “Done”.
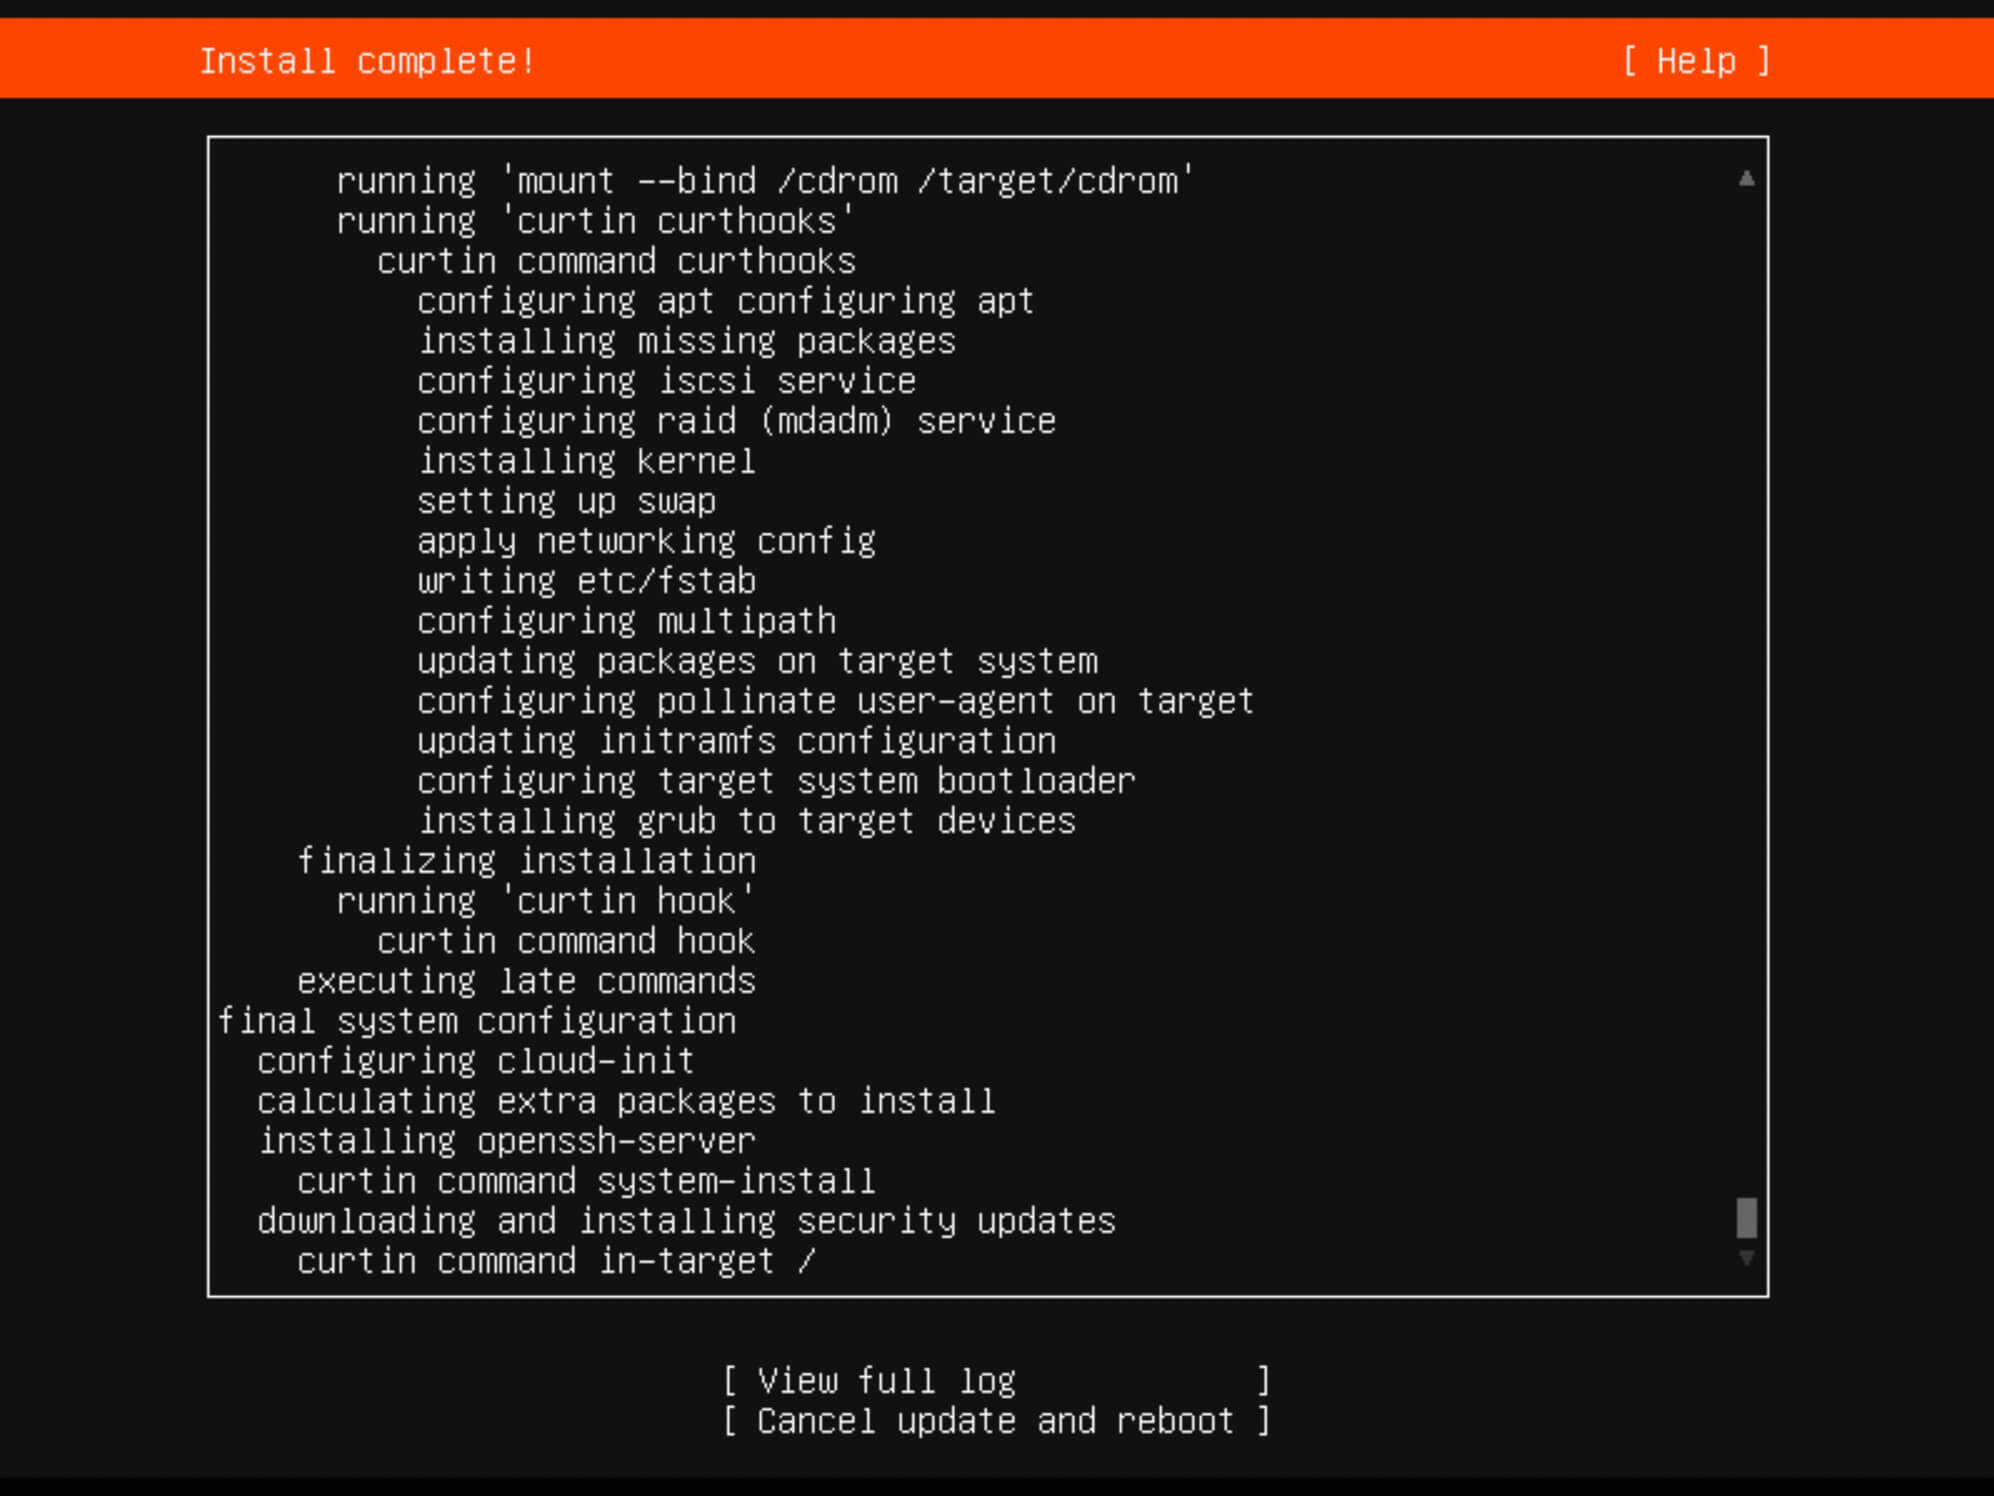
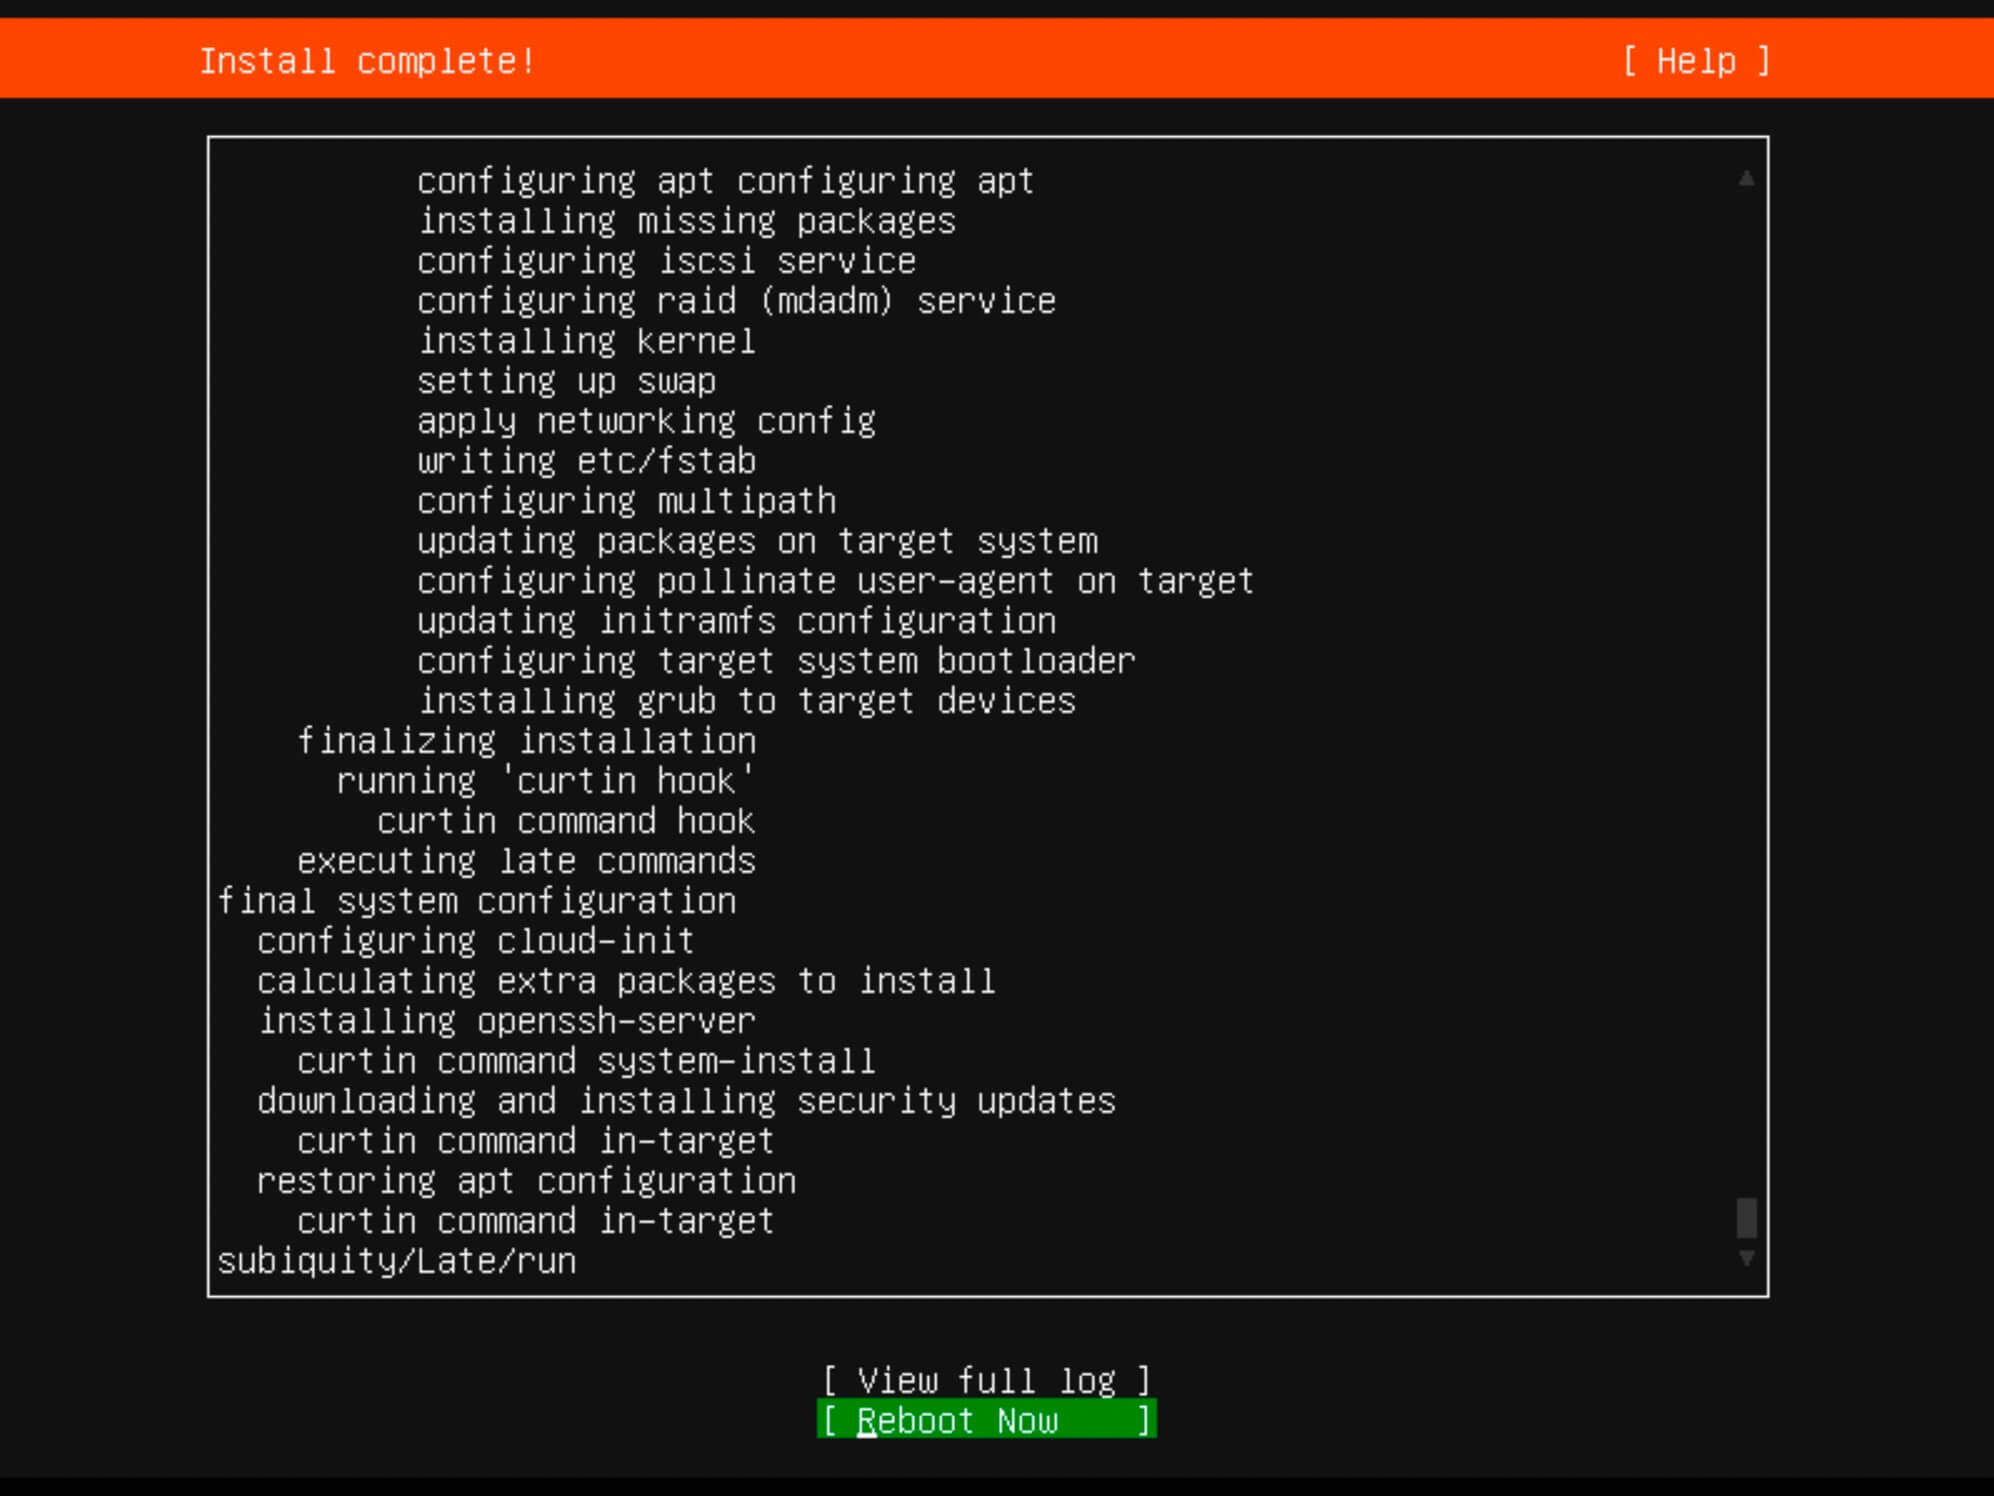
Monitor the installation progress until completion.
Once the installation is complete, click “Reboot”.
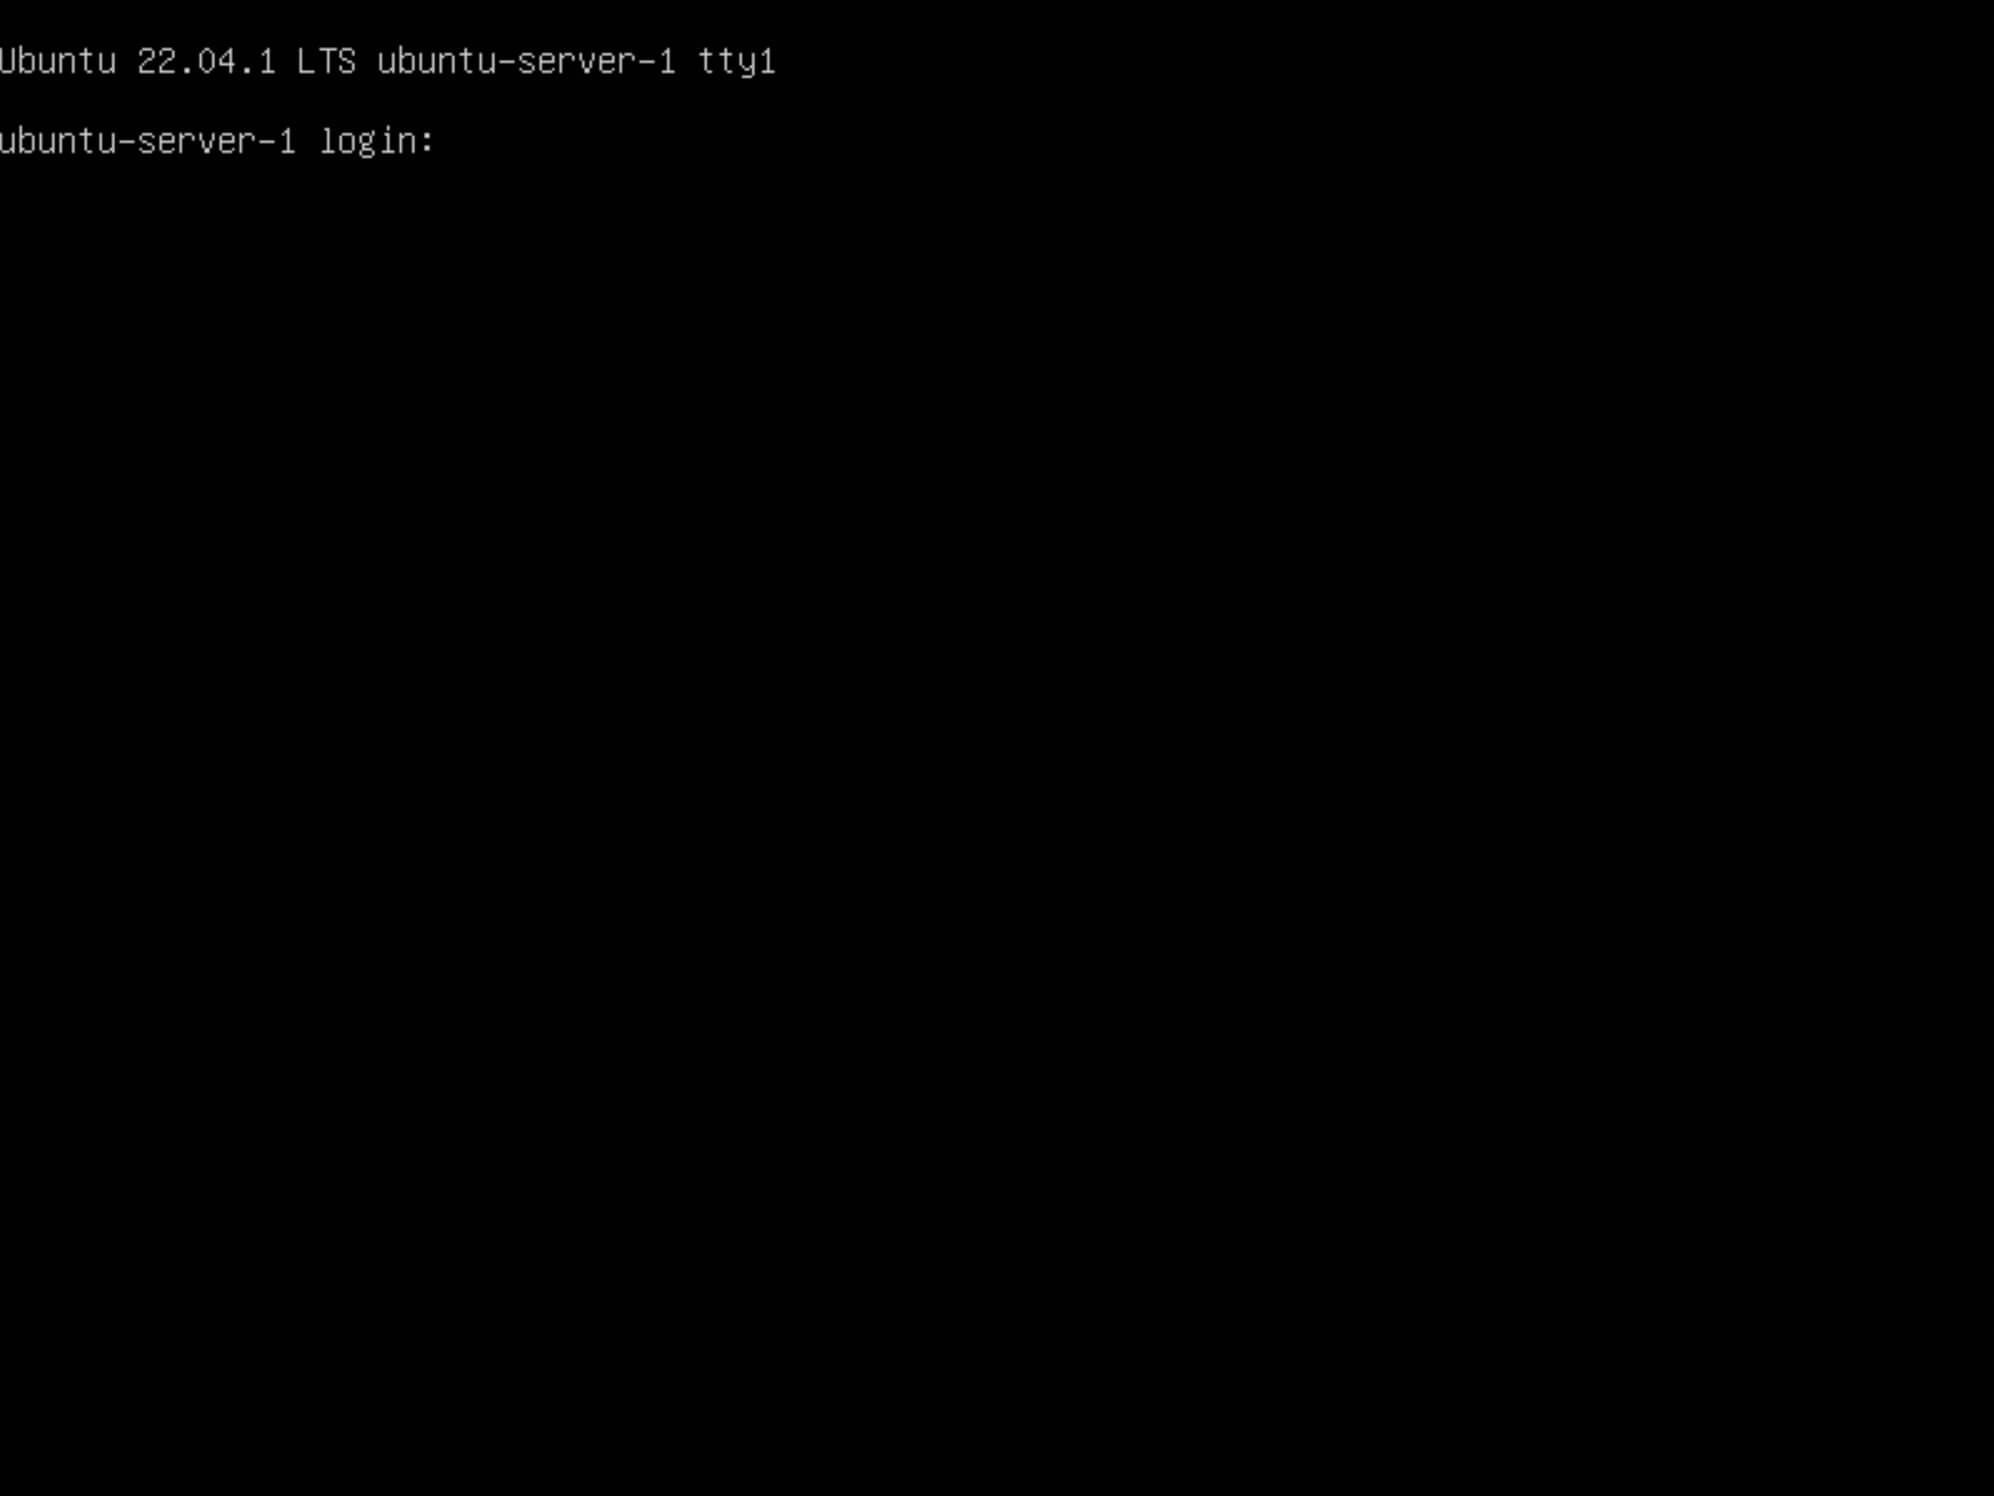
Remove the installation media.
Finally, enter the username and password you set up earlier during the installation for authentication.
Follow Me
🎬 YouTube
🐦 X / Twitter
🎨 Instagram
🐘 Mastodon
🧵 Threads
🎸 Facebook
🧊 Bluesky
🎥 TikTok
💻 LinkedIn
📣 daily.dev Squad
🧩 LeetCode
🐈 GitHub
Community of IT Experts
👾 Discord
Is this content AI-generated?
Nope! Each article is crafted by me, fueled by a deep passion for Docker and decades of IT expertise. While I employ AI to refine the grammar—ensuring the technical details are conveyed clearly—the insights, strategies, and guidance are purely my own. This approach may occasionally activate AI detectors, but you can be certain that the underlying knowledge and experiences are authentically mine.
