Export Drivers Using Windows PowerShell
This article is for those looking for a detailed and clear guide on how to export drivers using Windows PowerShell.
The ability to export third-party drivers using PowerShell using the Export-WindowsDriver cmdlet was first introduced with Update 1 for Windows 8.1 and Windows Server 2012 R2. This great feature is also present on later operating systems from Microsoft.
Exported drivers can be useful for manual installation on new computers or using automated solutions. In addition, drivers can be added to the Windows installation image.
The guide will discuss the export of drivers with their description.
We go into the system under an account with administrator rights.
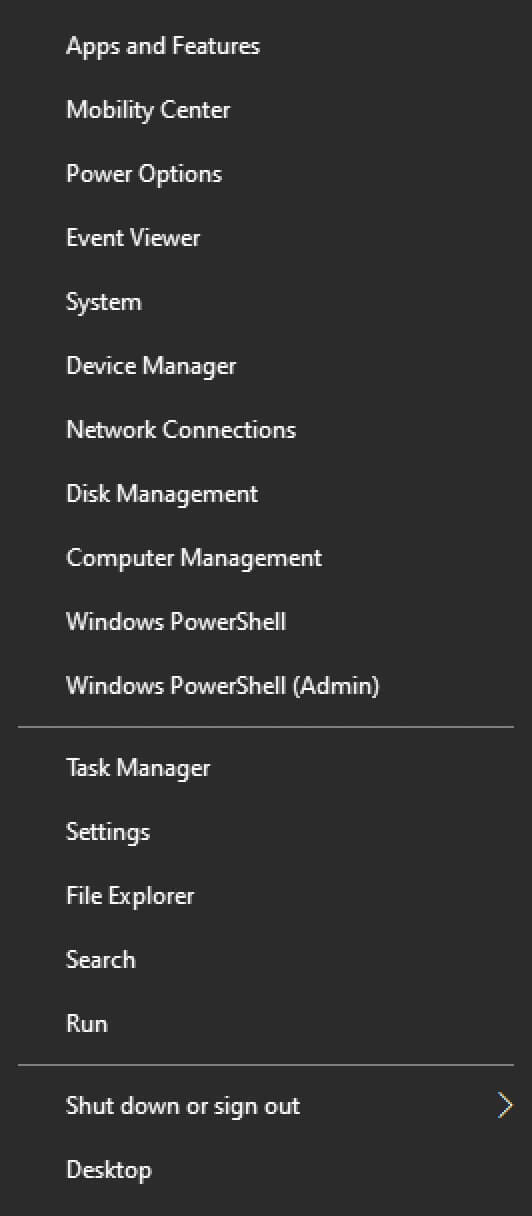
On the keyboard, press the key combination “Win” and “x” and in the menu that opens, select “Windows PowerShell (Admin)”.
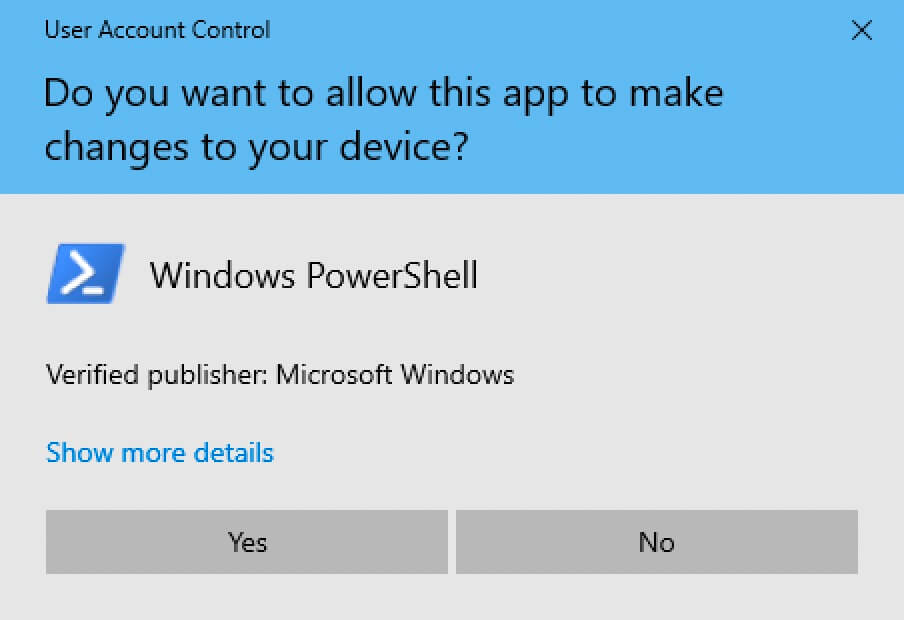
Click on the “Yes” button.
In this manual, the drivers and their descriptions will be exported to the “Temp” folder on the “C” drive. The description of the exported drivers will be saved to the “drivers.txt” file.
Let’s prepare the variable using the command:
$drivers = Export-WindowsDriver -Online -Destination C:\Temp\drivers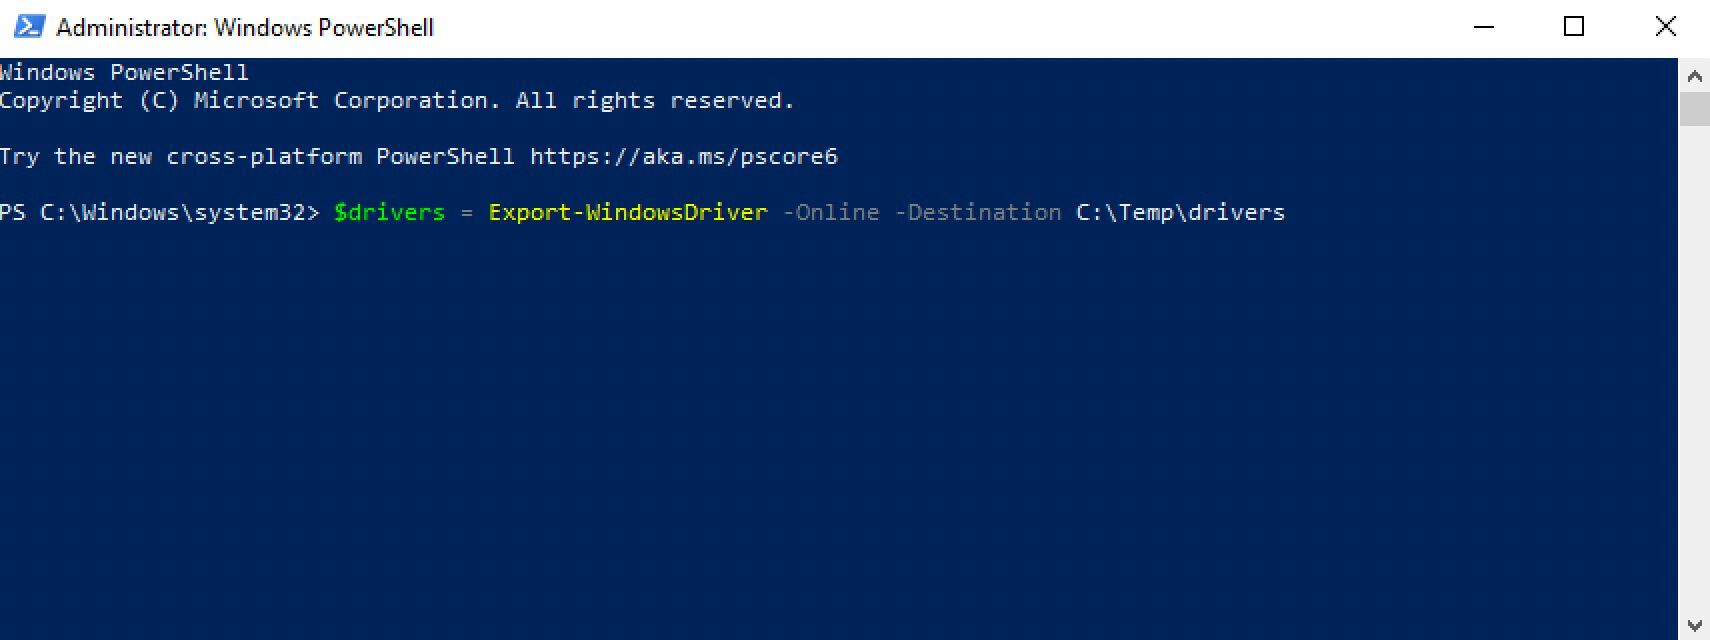
We export the drivers using the command:
$drivers | ft ProviderName, ClassName, Date, Version -auto | Out-File C:\Temp\Drivers\drivers.txt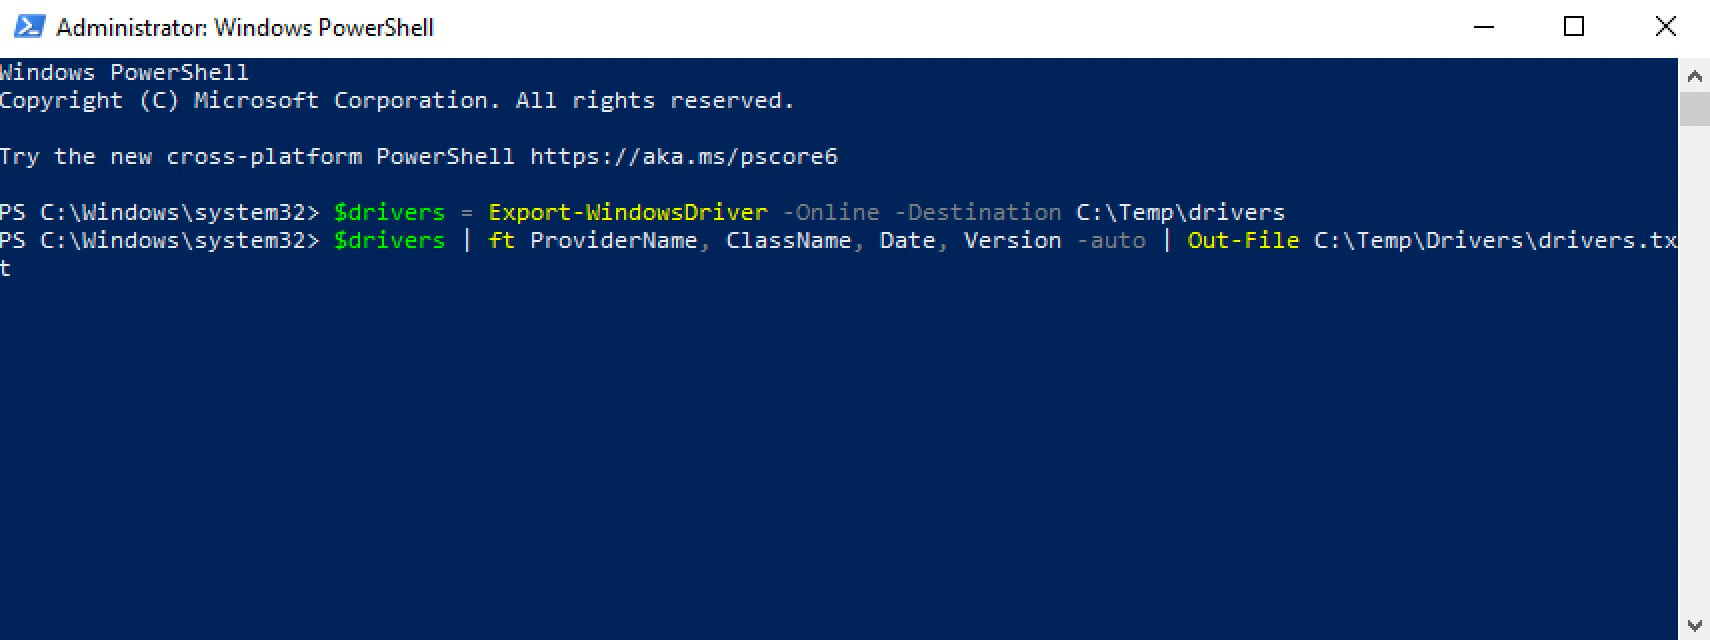
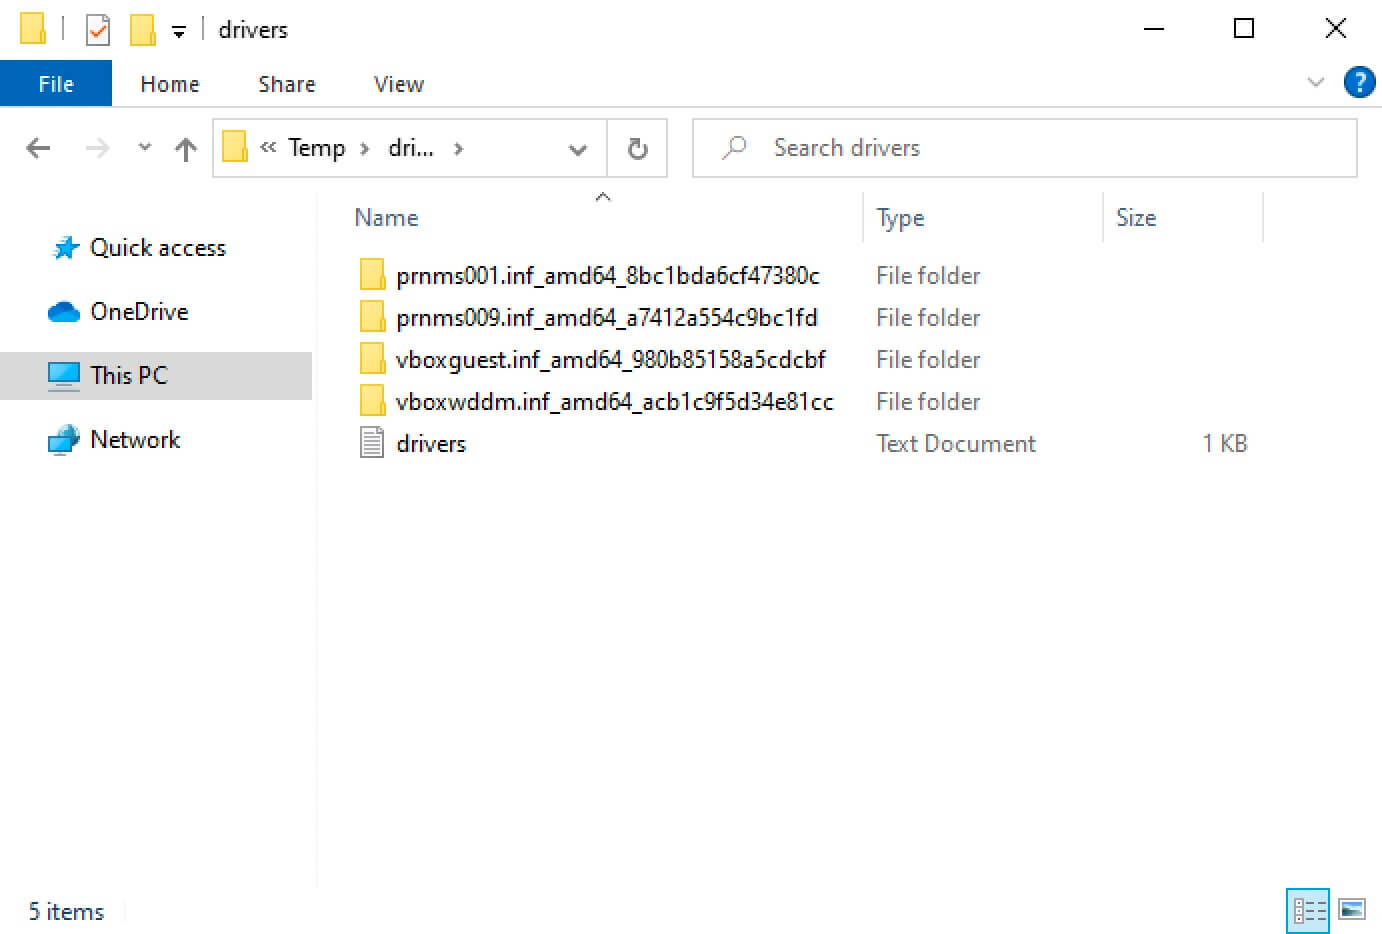
The drivers and their descriptions have been successfully exported to the “Temp” folder on the “C” drive.

My Courses
🎓 Dive into my comprehensive IT courses designed for enthusiasts and professionals alike. Whether you’re looking to master Docker, conquer Kubernetes, or advance your DevOps skills, my courses provide a structured pathway to enhancing your technical prowess.
My Services
💼 Take a look at my service catalog and find out how we can make your technological life better. Whether it’s increasing the efficiency of your IT infrastructure, advancing your career, or expanding your technological horizons — I’m here to help you achieve your goals. From DevOps transformations to building gaming computers — let’s make your technology unparalleled!
Refill My Coffee Supplies
💖 PayPal
🏆 Patreon
💎 GitHub
🥤 BuyMeaCoffee
🍪 Ko-fi
Follow Me
🎬 YouTube
🐦 Twitter
🎨 Instagram
🐘 Mastodon
🧵 Threads
🎸 Facebook
🧊 Bluesky
🎥 TikTok
🐈 GitHub
Is this content AI-generated?
Nope! Each article is crafted by me, fueled by a deep passion for Docker and decades of IT expertise. While I employ AI to refine the grammar—ensuring the technical details are conveyed clearly—the insights, strategies, and guidance are purely my own. This approach may occasionally activate AI detectors, but you can be certain that the underlying knowledge and experiences are authentically mine.
