Install and Configure DHCP Server on Windows Server 2012 R2
This article is for those looking for a detailed and straightforward guide on installing and configure DHCP Server on Windows Server 2012 R2.
In this guide, we will consider the case when you already have a server with the Windows Server 2012 R2 operating system installed on it.
You can read more about how to install Windows Server 2012 R2 in my guide “Install Windows Server 2012 R2”.
To learn how to install Active Directory Domain Services on Windows Server 2012 R2, you can read “Install Active Directory Domain Services on Windows Server 2012 R2”.
Before starting the installation of the DHCP Server role, you must give the server the correct name in accordance with your organization’s standards, and then specify a static IP address in the network connection settings. In addition, the server must be added to the domain.
In my guide “Basic Setup of Windows Server 2012 R2” you can read about how to make basic Windows Server 2012 R2 settings and add a server to a domain.
We go into the system under an account with domain administrator rights.
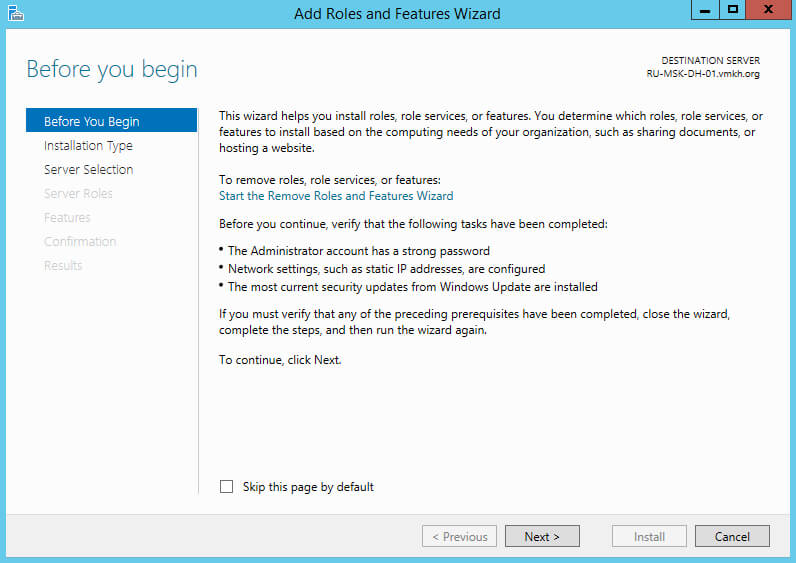
Open the “Server Manager”, click on the “Manage” button in the upper right corner of the screen and select “Add Roles and Features”.

Click on the “Next” button.
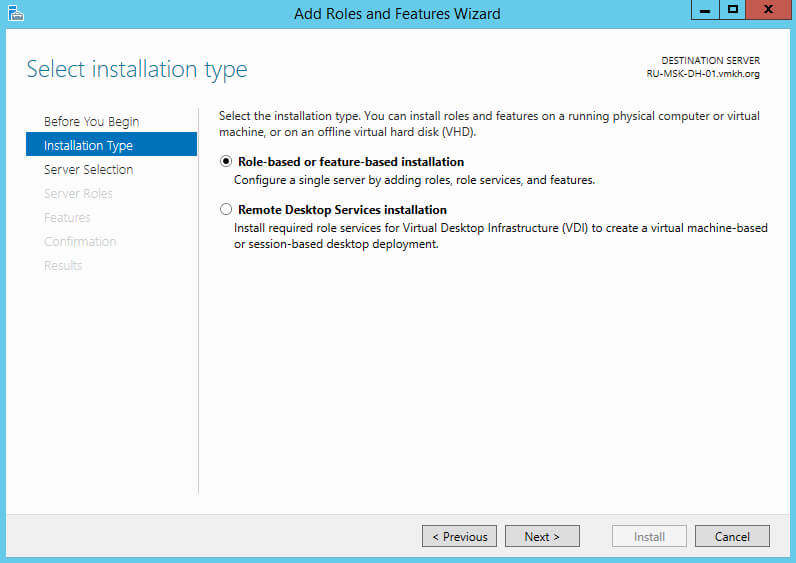
Select the installation type “Role-based or feature-based installation” and click on the “Next” button.
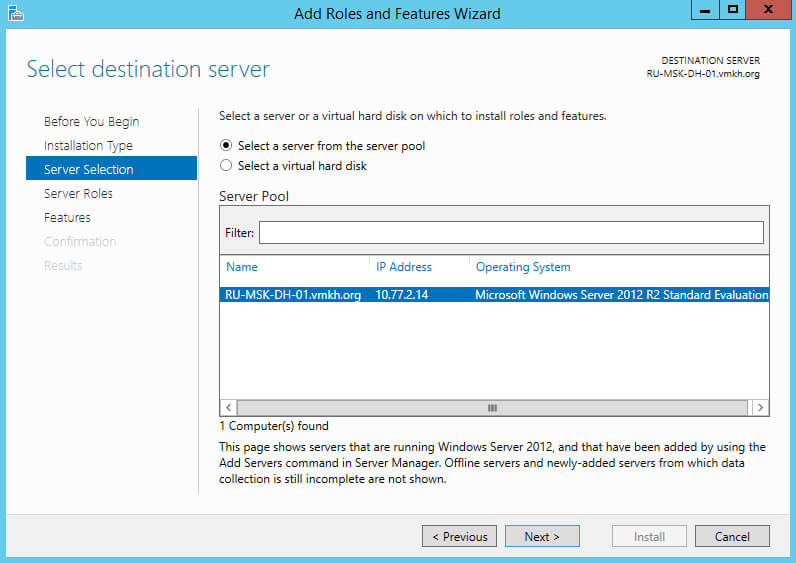
Next, select the server on which the role will be installed.
Click on the “Next” button.
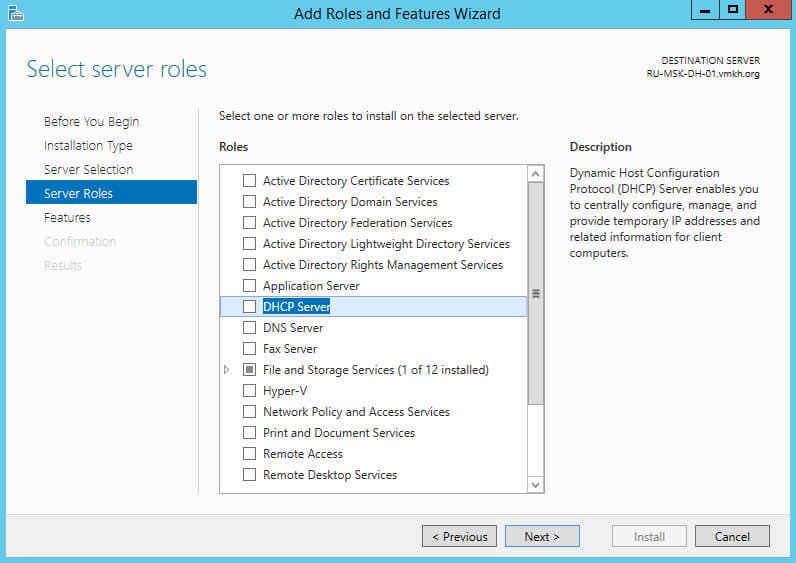
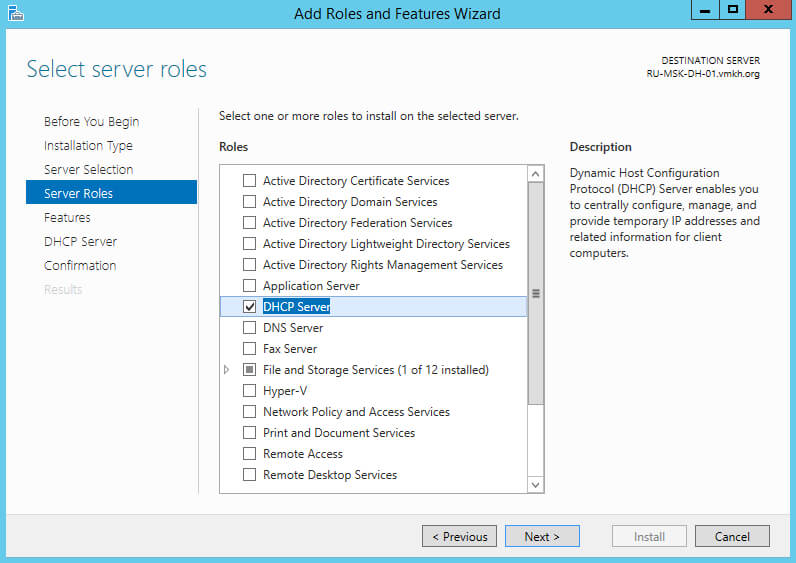
We select the role “DHCP Server”.
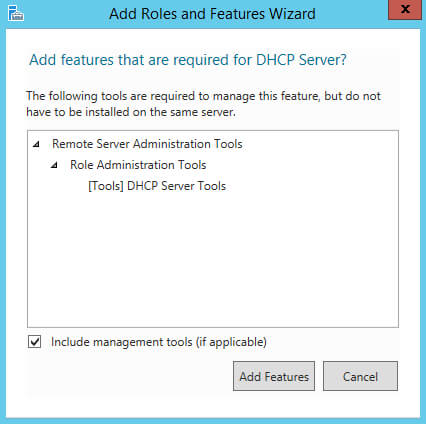
In the next step, the “Role Installation Wizard” will warn you that several components need to be installed to install the “DHCP Server” role.
Click on the “Add Features” button.
Click on the “Next” button.
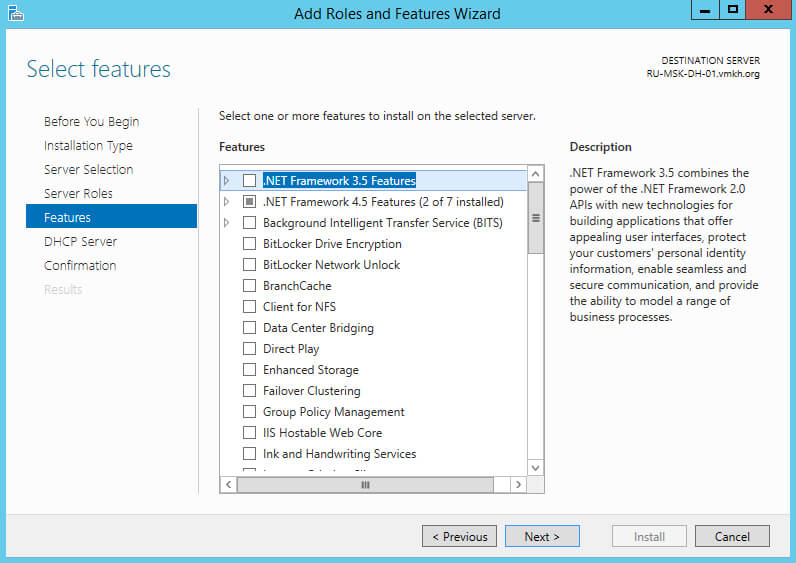
At the stage of adding components, we leave all the default values.
Click on the “Next” button.
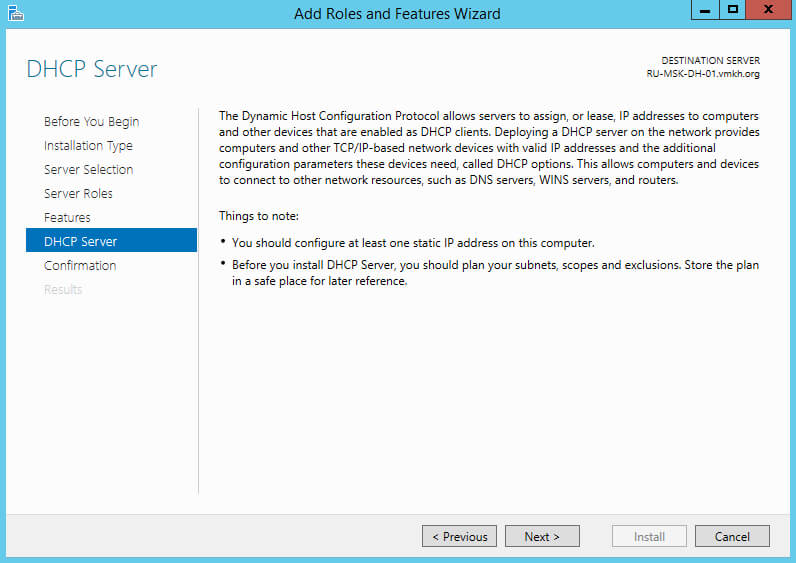
Next, the “Role Installation Wizard” invites you to familiarize yourself with additional information regarding the “DHCP Server” role.
Click on the “Next” button.
In order to start the installation of the selected role, click on the “Install” button.
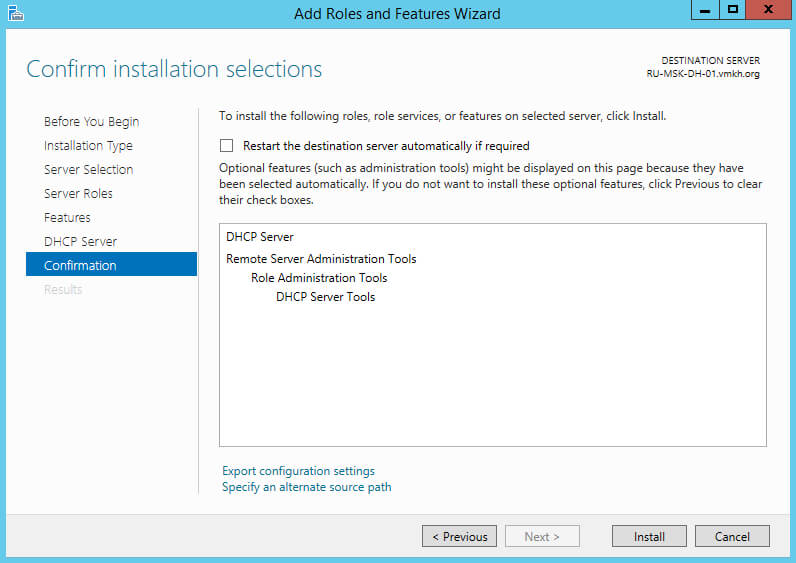
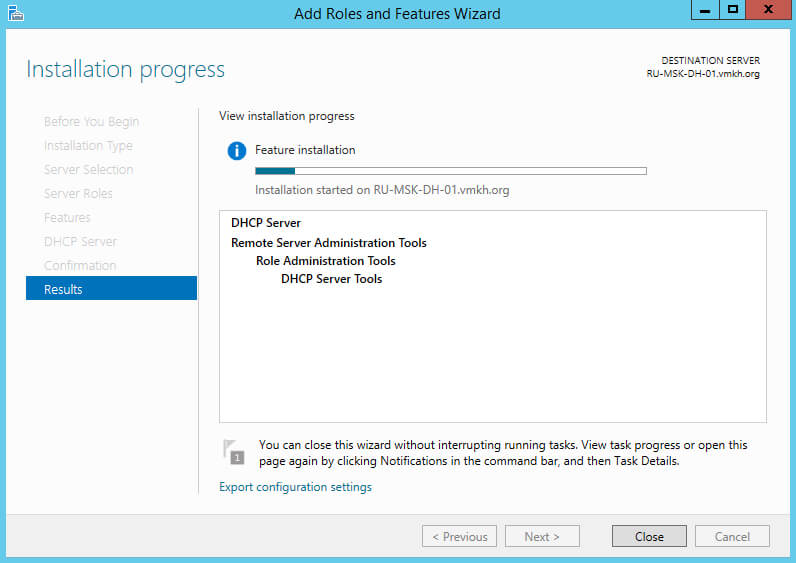
The installation of the selected role and the components required for it has begun.
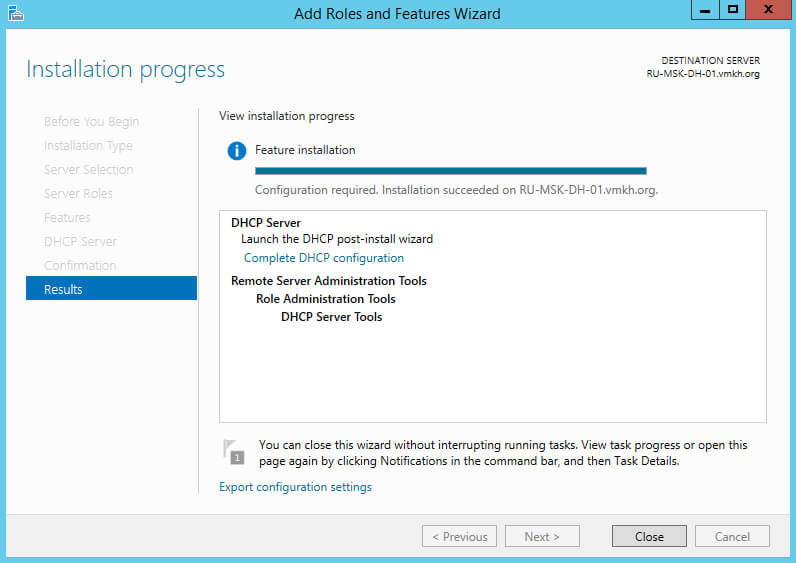
Installation of the DHCP Server role is complete.
Now click on the “Complete DHCP configuration” button in order to configure the DHCP server.
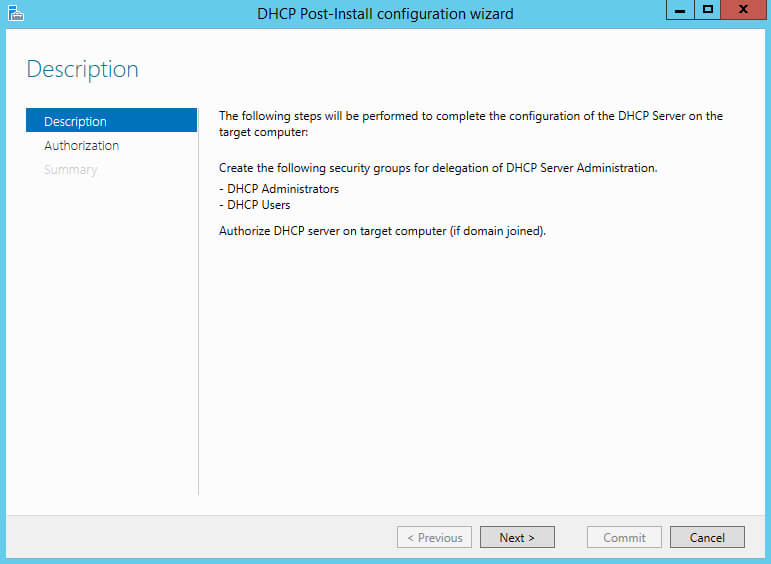
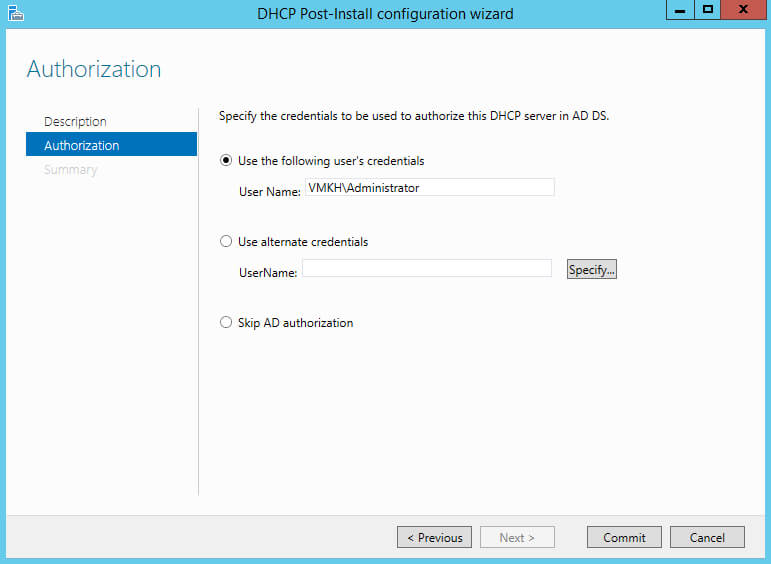
You are notified that the next two local security groups will be created to control access to the DHCP server, and then the DHCP server will be authorized in Active Directory.
Click on the “Next” button.
In the “Use the following user’s credentials” section, specify an account with domain administrator rights.
Click on the “Commit” button.
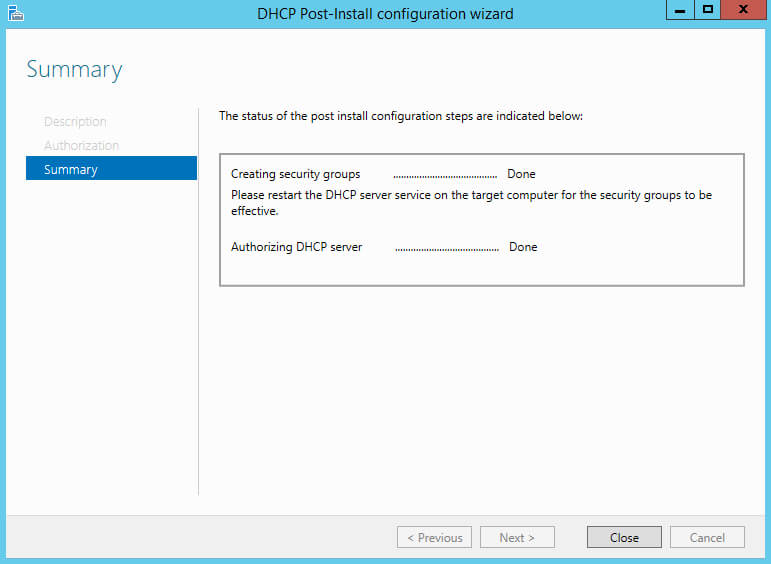
In the “Use the following user’s credentials” section, specify an account with domain administrator rights.
Click on the “Close” button.
Return to the “Role Installation Wizard” and click on the “Close” button.

Now you need to check that the two security groups were created successfully.
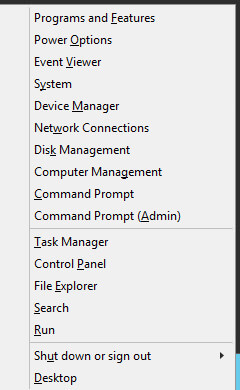
On the keyboard, press the key combination “Win” and “x”, then select “Computer Management” in the menu that opens.
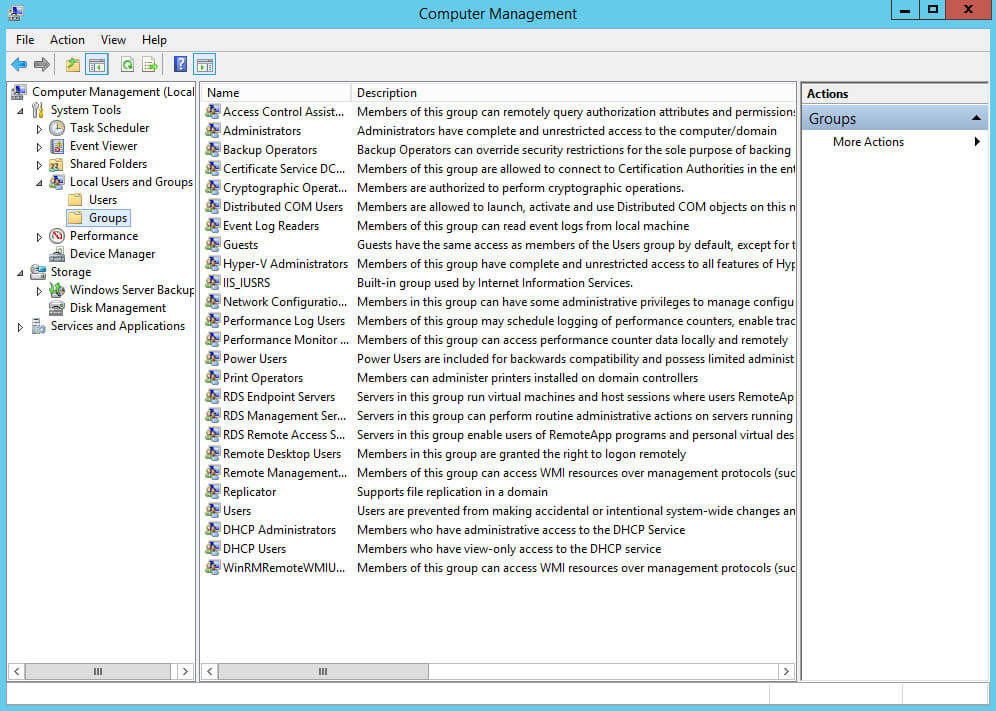
Further in the section “Local Users and Groups” we find “Groups”.
All local security groups are displayed on the right side of the screen. These should include the DHCP Administrators group, whose members have full access to DHCP management, and the DHCP Users group, whose members have access only to view DHCP settings.
Now let’s configure the DHCP server so that it distributes network settings (IP address, subnet mask, gateway, DNS) for all devices that will connect to the local network.
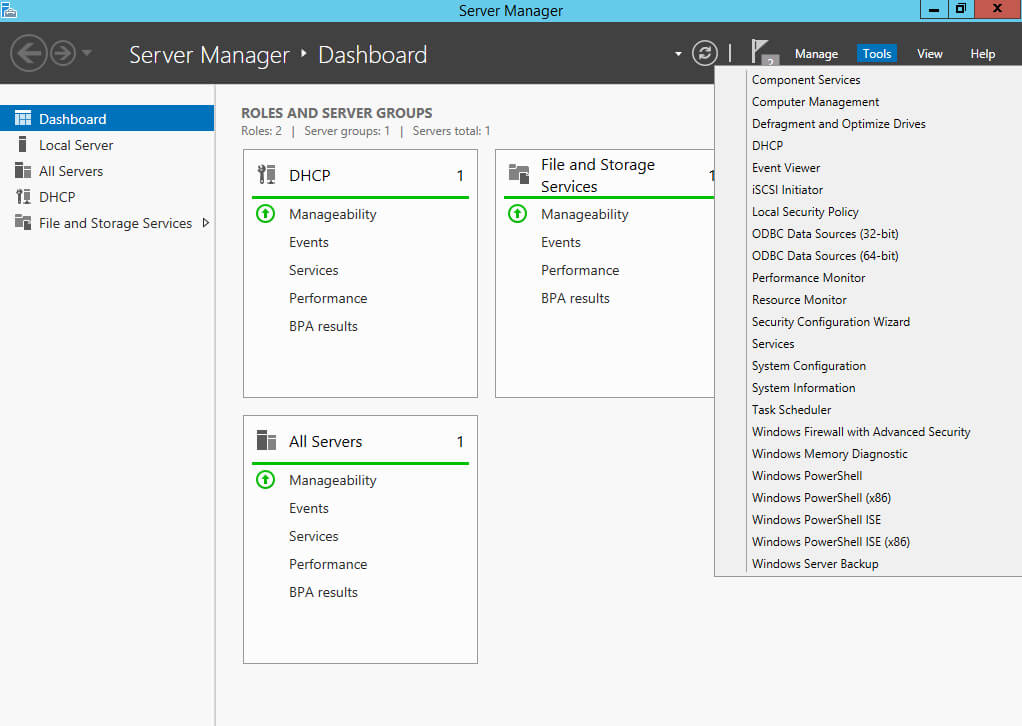
In Server Manager, click on the “Tools” button in the upper right corner of the screen and select “DHCP”.
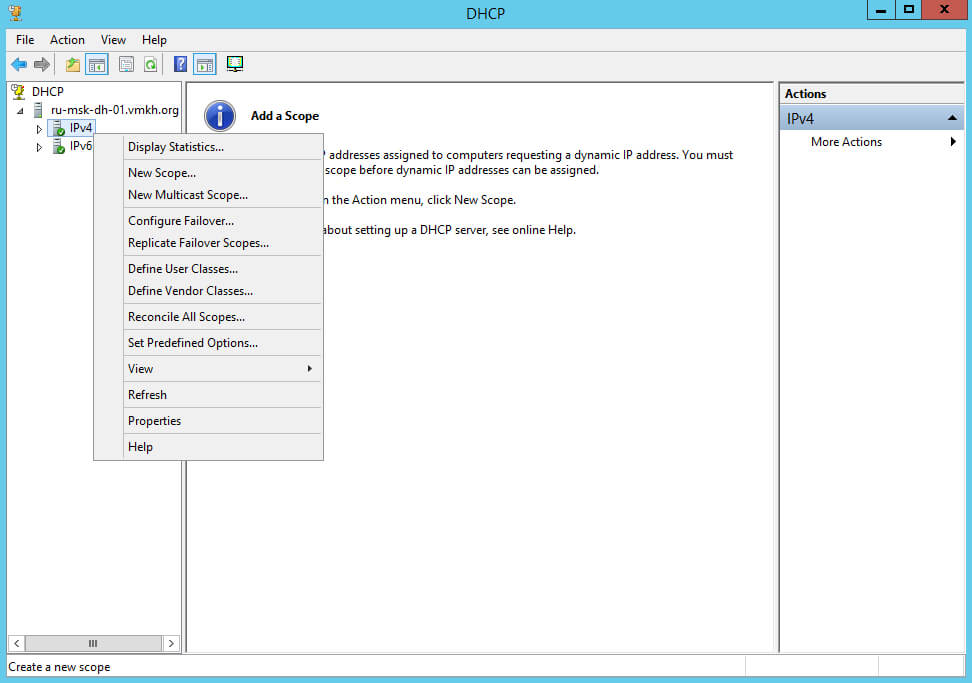
Let’s specify the range of addresses from which the DHCP server will distribute IP addresses for devices on the local network.
Right-click on “IPv4” and select “New Scope” in the menu that opens.
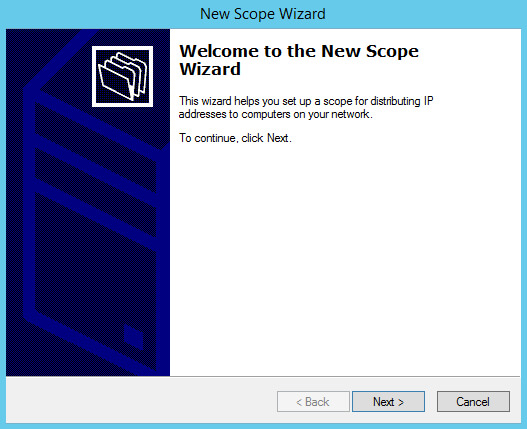
Click on the “Next” button.
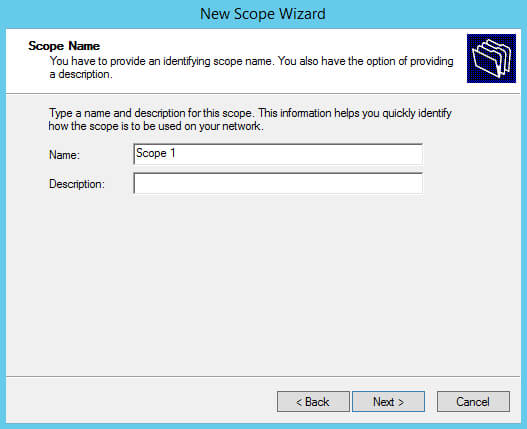
In the “Name” field, specify the name for the new address range.
Click on the “Next” button.
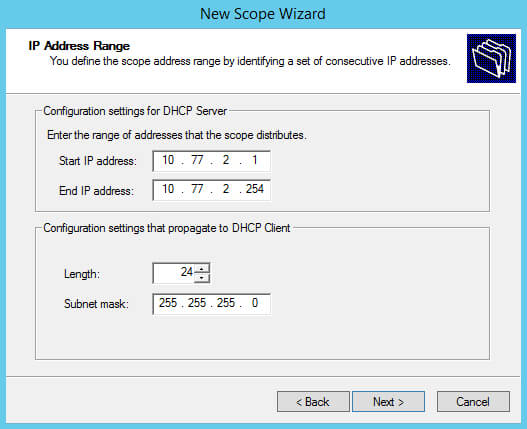
We indicate the subnet mask and the range of addresses from which the DHCP server will distribute IP addresses for devices on the local network.
Click on the “Next” button.
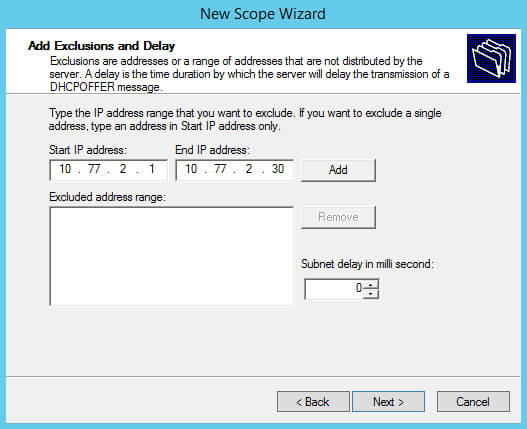
Now you can specify a range for which the DHCP server will not distribute settings.
This can be useful if you know that there are servers, printers, or other devices in a certain range of addresses that have already been assigned a static IP address. In this case, you need to exclude this part of the range, since the IP addresses from it are already in use. You also need to exclude the IP address that is assigned to the gateway.
Please note that to exclude one IP address, it is enough to fill in only the “Start IP address” field.
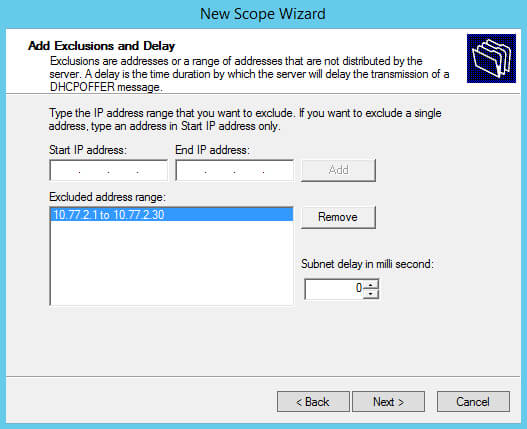
Specify the part of the range to be excluded and click on the “Add” button.
After the part of the range to be excluded is added, click on the “Next” button.
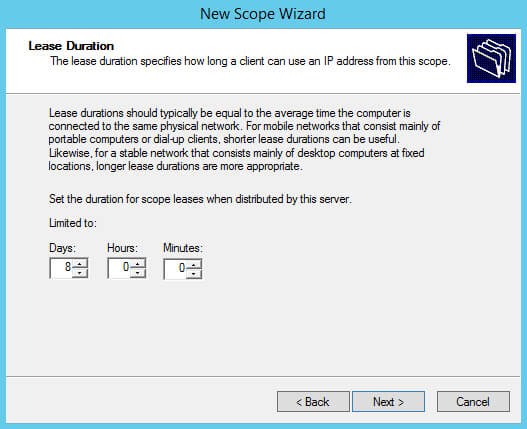
Then you can choose for how long IP addresses will be leased to devices.
Leave the settings unchanged and click on the “Next” button.
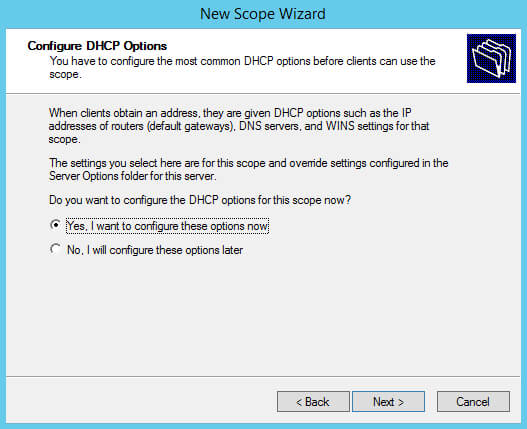
Now you need to specify the network settings (gateway, DNS) that the DHCP server will distribute to devices on the local network.
We select “Yes, I want to configure these options now”.
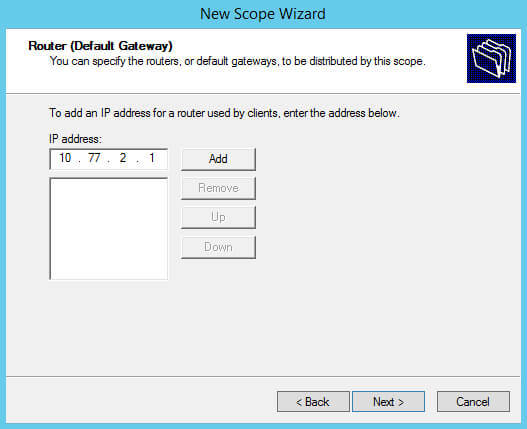
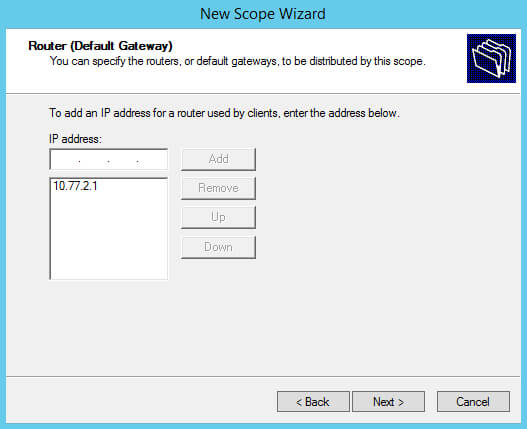
In the “IP address” field, specify the IP address of your gateway and click on the “Add” button.
After the IP address is added, click on the “Next” button.
Next, in the “Parent domain” field, specify the domain name.
In the “IP address” field, specify the IP address of the DNS server.
Click on the “Next” button.

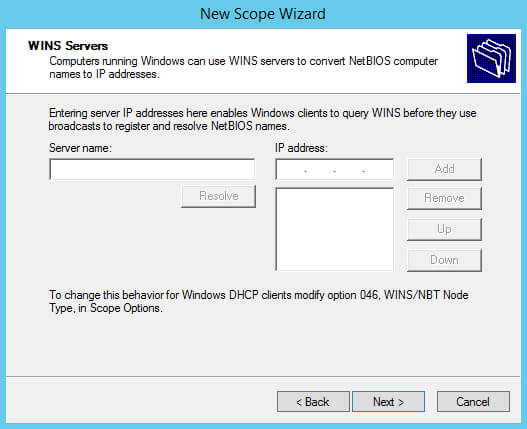
The WINS server is not used in this guide.
Click on the “Next” button.
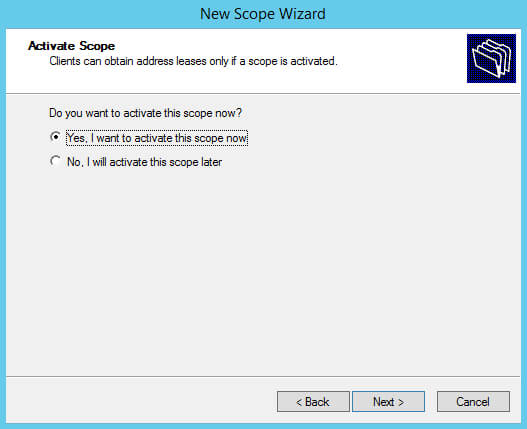
Now you need to activate the selected address range.
Select “Yes, I want to activate this scope now” and click on the “Next” button.
The DHCP server configuration is complete. Now all devices connected to the local network will receive network settings (IP address, subnet mask, gateway, DNS) and will be able to communicate with each other.
Click on the “Finish” button.

Now you can reserve a specific IP address for a specific device so that the device is always given the same IP address.
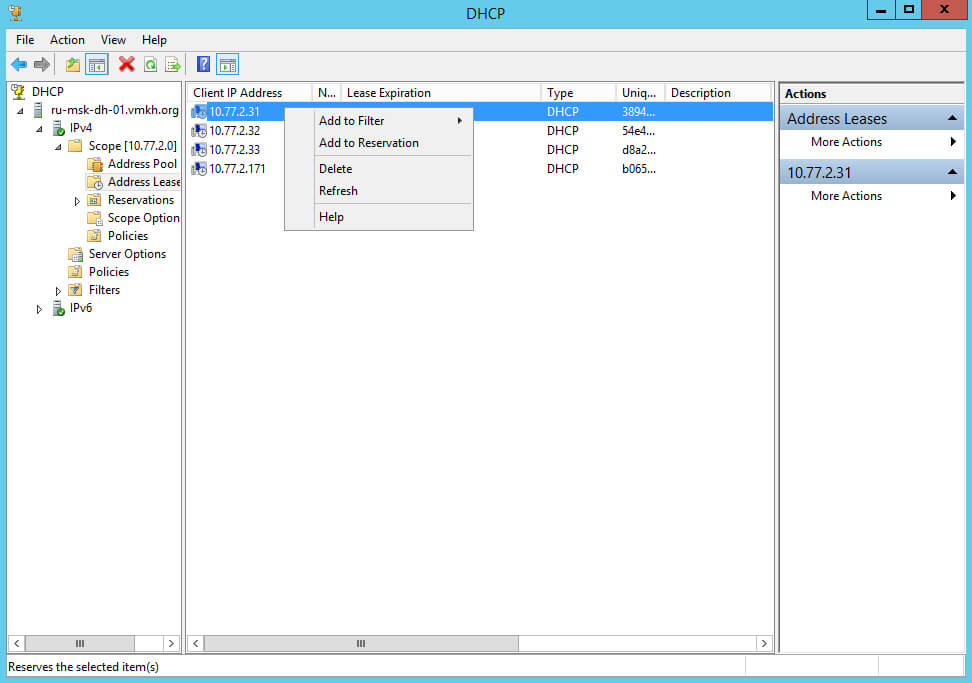
In the “Address Leases” section, you can see all devices and IP addresses that the devices received from your DHCP server.
In order to reserve an IP address for a device, in the “Address Leases” section, right-click on one of the devices that has already received an IP address, and select “Add to Reservation” in the menu that opens.
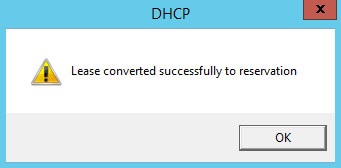
The IP address obtained by it has been successfully reserved for the specified device.
Click on the “OK” button.
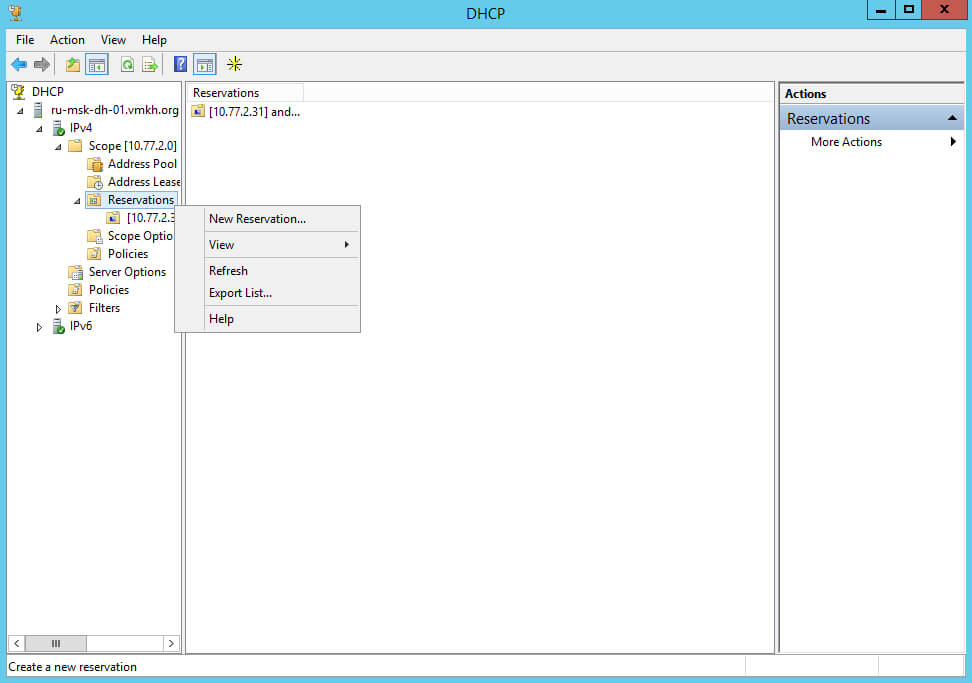
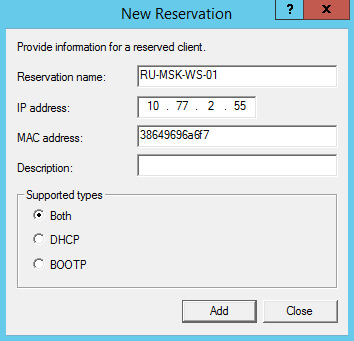
You can also add a reservation manually by specifying the required IP address and MAC address of the device’s network card.
Right-click on the “Reservations” section and select “New Reservation”.
In the “Reservation name” field, specify the name of the device for which you want to make a reservation for the IP address.
In the “IP address” field, specify the IP address that must be reserved for the device.
In the “MAC address” field, specify the MAC address (Physical Address) of the device’s network card for which you want to make a reservation for the IP address.
Please note that in fact, it is for the MAC address of the network card that the IP address is reserved. The MAC address on any device can be viewed in the properties of the network adapter. On Windows, you can run the ipconfig /all command at a command prompt to view the MAC address of a network adapter. On Linux, run the ifconfig command on the command line.
In the “Supported types” section, select “Both”.
Click on the “Add” button.
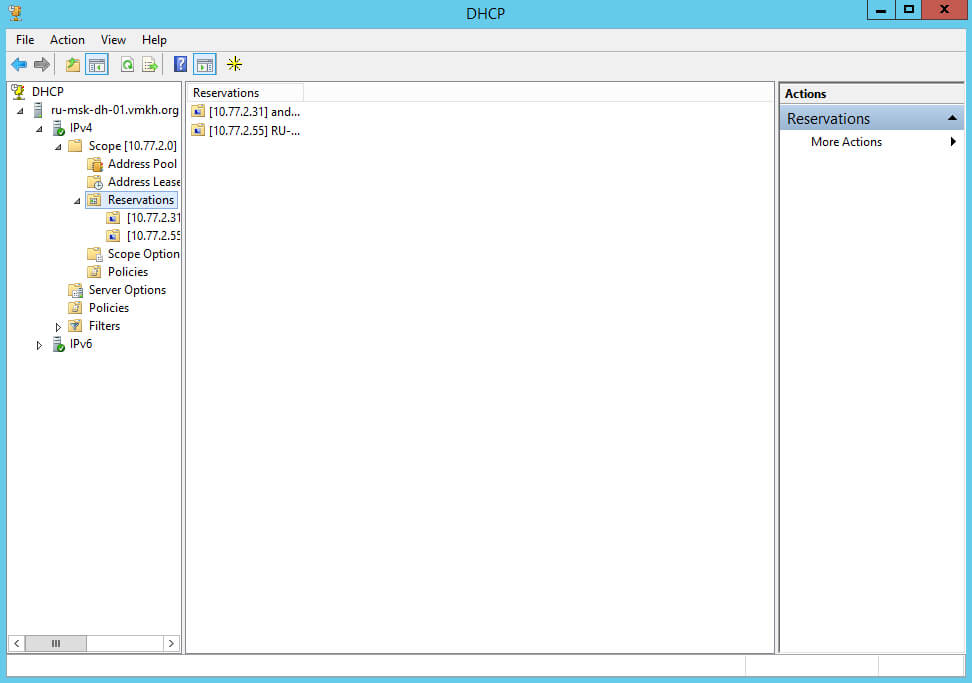
Reservation of the IP address for the specified MAC address of the device has been successfully added.
In the “Reservations” section, you can see all devices for which IP addresses have been reserved.
The DHCP server database and logs can be found in the “%systemroot%\system32\dhcp” directory. We recommend that you back up this directory.
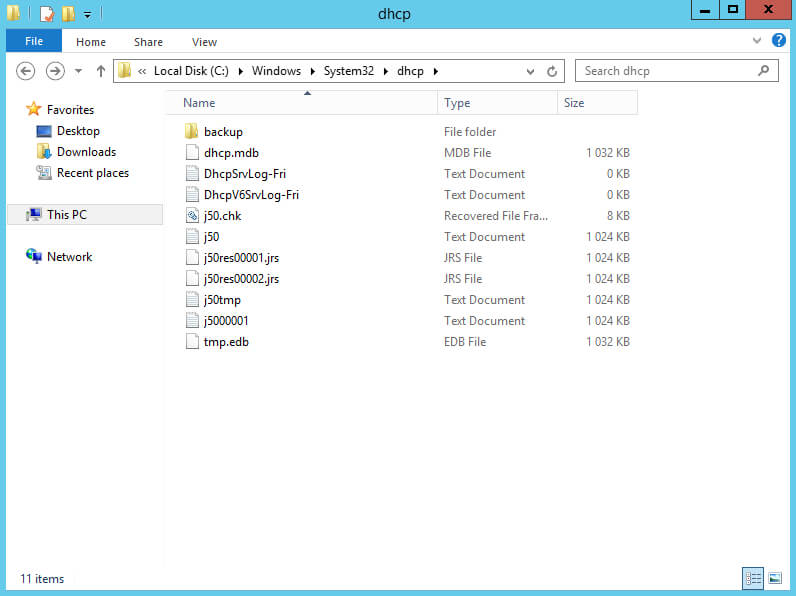
- dhcp.mdb - DHCP server database file
- j50.log - Log of all database transactions. This file is used by the DHCP database to restore data in case of need
- j50.chk - Checkpoint file
- tmp.edb - DHCP server temporary working file
My Courses
🎓 Dive into my comprehensive IT courses designed for enthusiasts and professionals alike. Whether you’re looking to master Docker, conquer Kubernetes, or advance your DevOps skills, my courses provide a structured pathway to enhancing your technical prowess.
My Services
💼 Take a look at my service catalog and find out how we can make your technological life better. Whether it’s increasing the efficiency of your IT infrastructure, advancing your career, or expanding your technological horizons — I’m here to help you achieve your goals. From DevOps transformations to building gaming computers — let’s make your technology unparalleled!
Refill My Coffee Supplies
💖 PayPal
🏆 Patreon
💎 GitHub
🥤 BuyMeaCoffee
🍪 Ko-fi
Follow Me
🎬 YouTube
🐦 Twitter
🎨 Instagram
🐘 Mastodon
🧵 Threads
🎸 Facebook
🧊 Bluesky
🎥 TikTok
🐈 GitHub
Is this content AI-generated?
Nope! Each article is crafted by me, fueled by a deep passion for Docker and decades of IT expertise. While I employ AI to refine the grammar—ensuring the technical details are conveyed clearly—the insights, strategies, and guidance are purely my own. This approach may occasionally activate AI detectors, but you can be certain that the underlying knowledge and experiences are authentically mine.
