Install Bitbucket on Ubuntu Server
This article is for those looking for a detailed and straightforward guide on installing Bitbucket on Ubuntu Server.
Bitbucket is a web-based project hosting and collaborative development service based on the Mercurial and Git version control system.
In this guide, we will consider the case when you already have a server with the Ubuntu Server 22.04 LTS operating system installed on it.
You can read more about how to install Ubuntu Server 22.04 LTS in my guide “Install Ubuntu Server 22.04 LTS”.
In addition, OpenSSH must be installed on the server, and port 22 must be open in order to be able to connect to the server using the SSH protocol.
To install OpenSSH on a server, you can use the command:
sudo apt install openssh-serverIf you plan to connect to the server using the Windows operating system, you can use PuTTY or MobaXterm.
This guide describes how to connect to a server using the iTerm2 terminal emulator installed on the macOS operating system.
Please note that you will need to open the following TCP ports to access your server:
- TCP port 80 - to get a free cryptographic certificate through Let’s Encrypt CA.
- TCP port 443 - to access the Bitbucket web interface.
- TCP port 7990 - to access the Bitbucket web interface.
We connect to the server on which you plan to install Bitbucket.
Update the local package index to the latest changes in the repositories using the command:
sudo apt update
This tutorial walks you through obtaining a free cryptographic certificate through the Let’s Encrypt CA. To obtain and subsequently renew a free SSL certificate, we will use the Certbot software client, which is designed to make it as easy as possible to obtain and renew a certificate through the Let’s Encrypt certification authority.
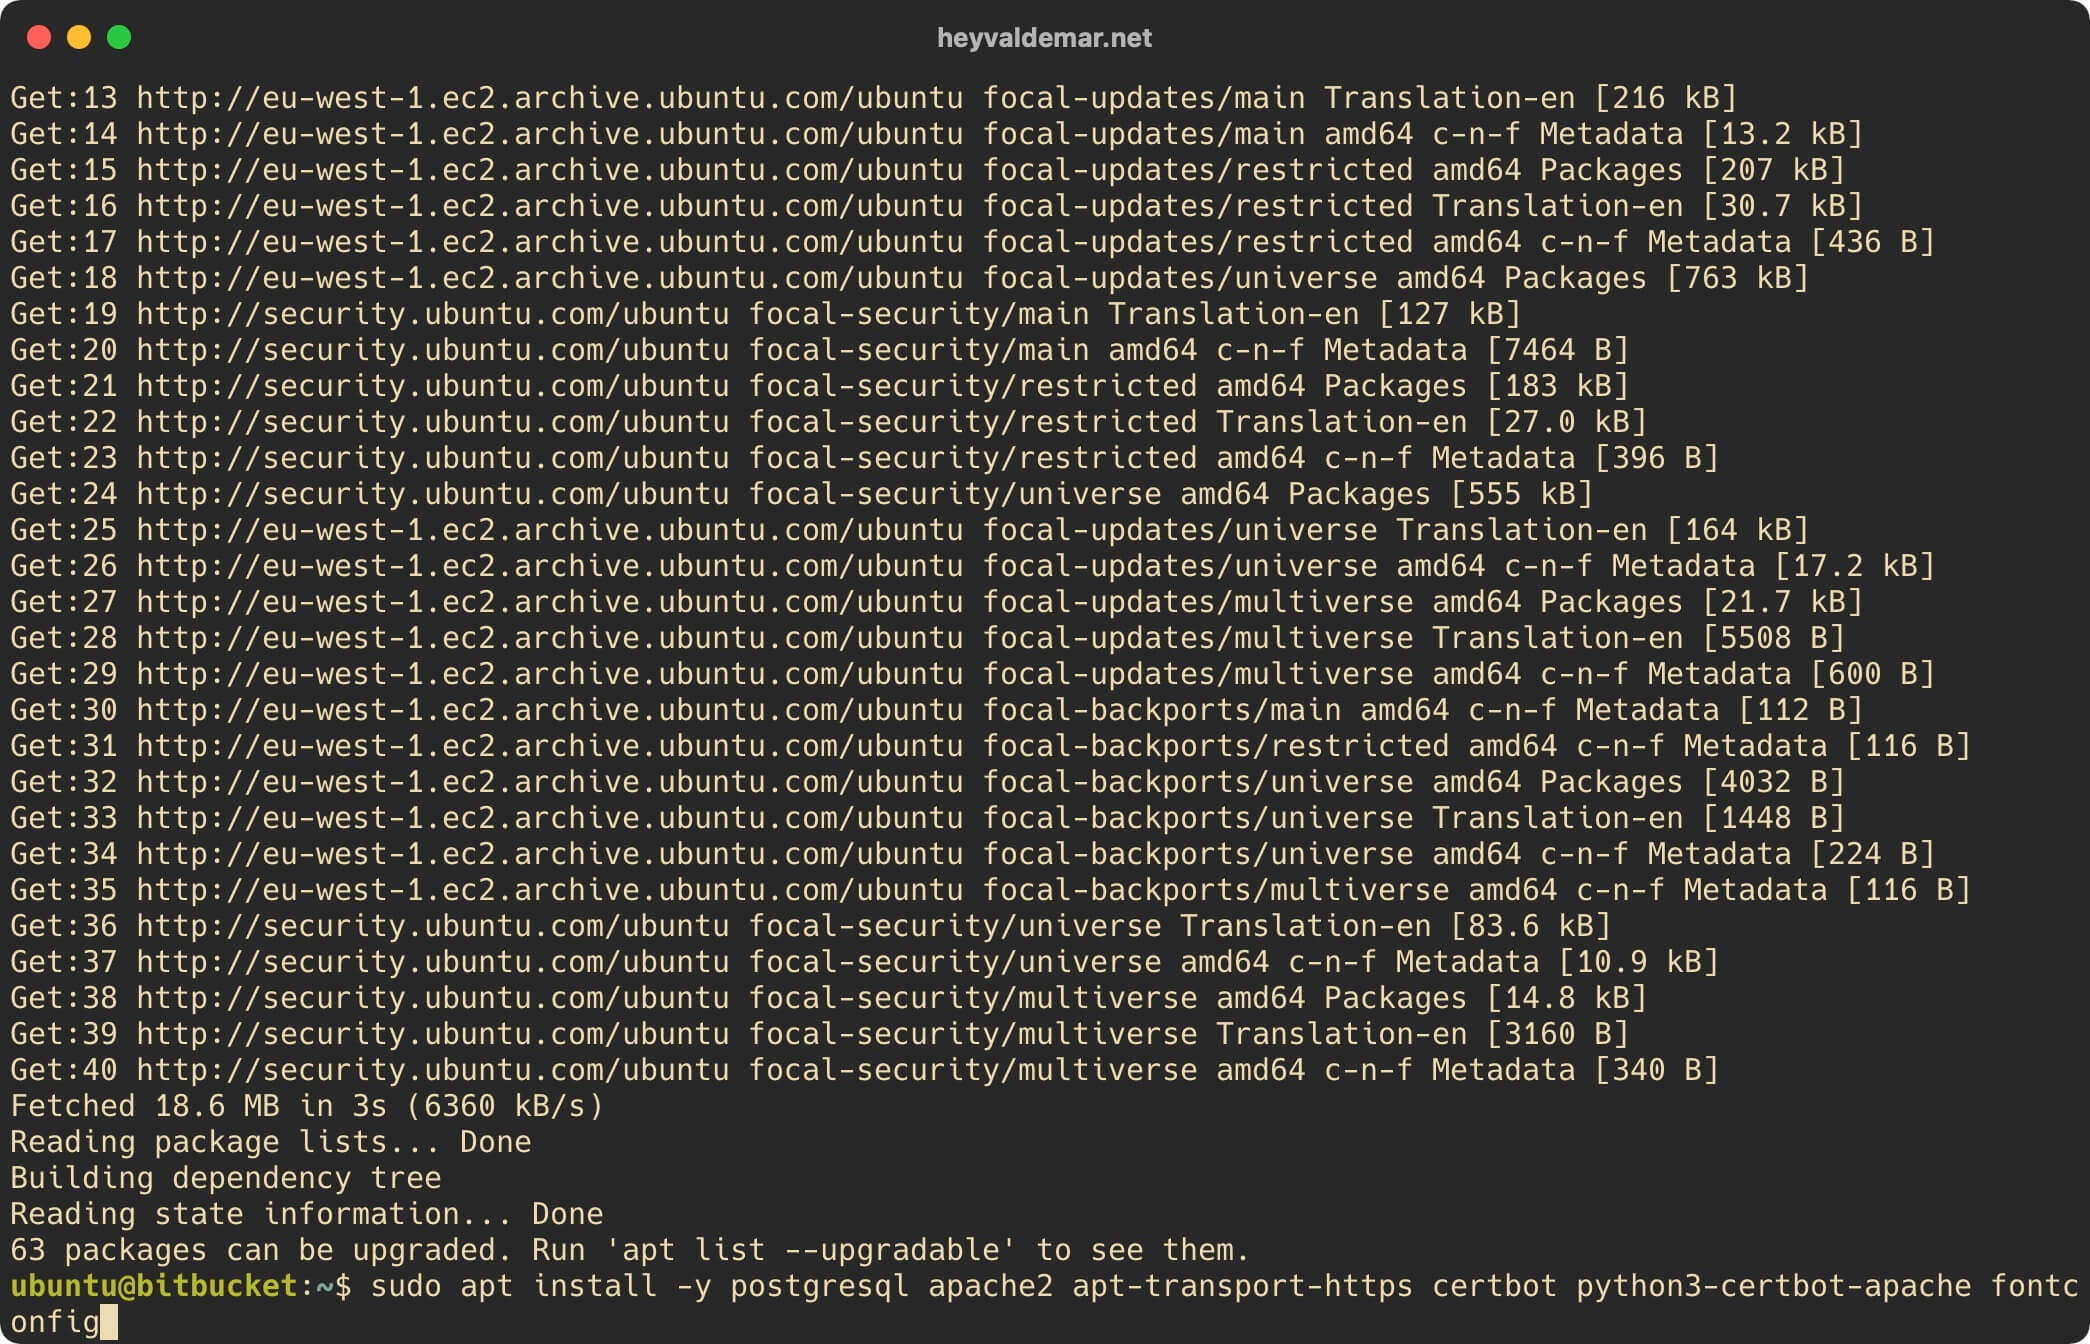
Now we will install the packages required for Bitbucket to work using the command:
sudo apt install -y postgresql apache2 apt-transport-https certbot python3-certbot-apache fontconfigPlease note that in this tutorial, PostgreSQL will be used as a database management system, and Apache will be used as a webserver.
Let’s configure Apache for further work with Bitbucket.
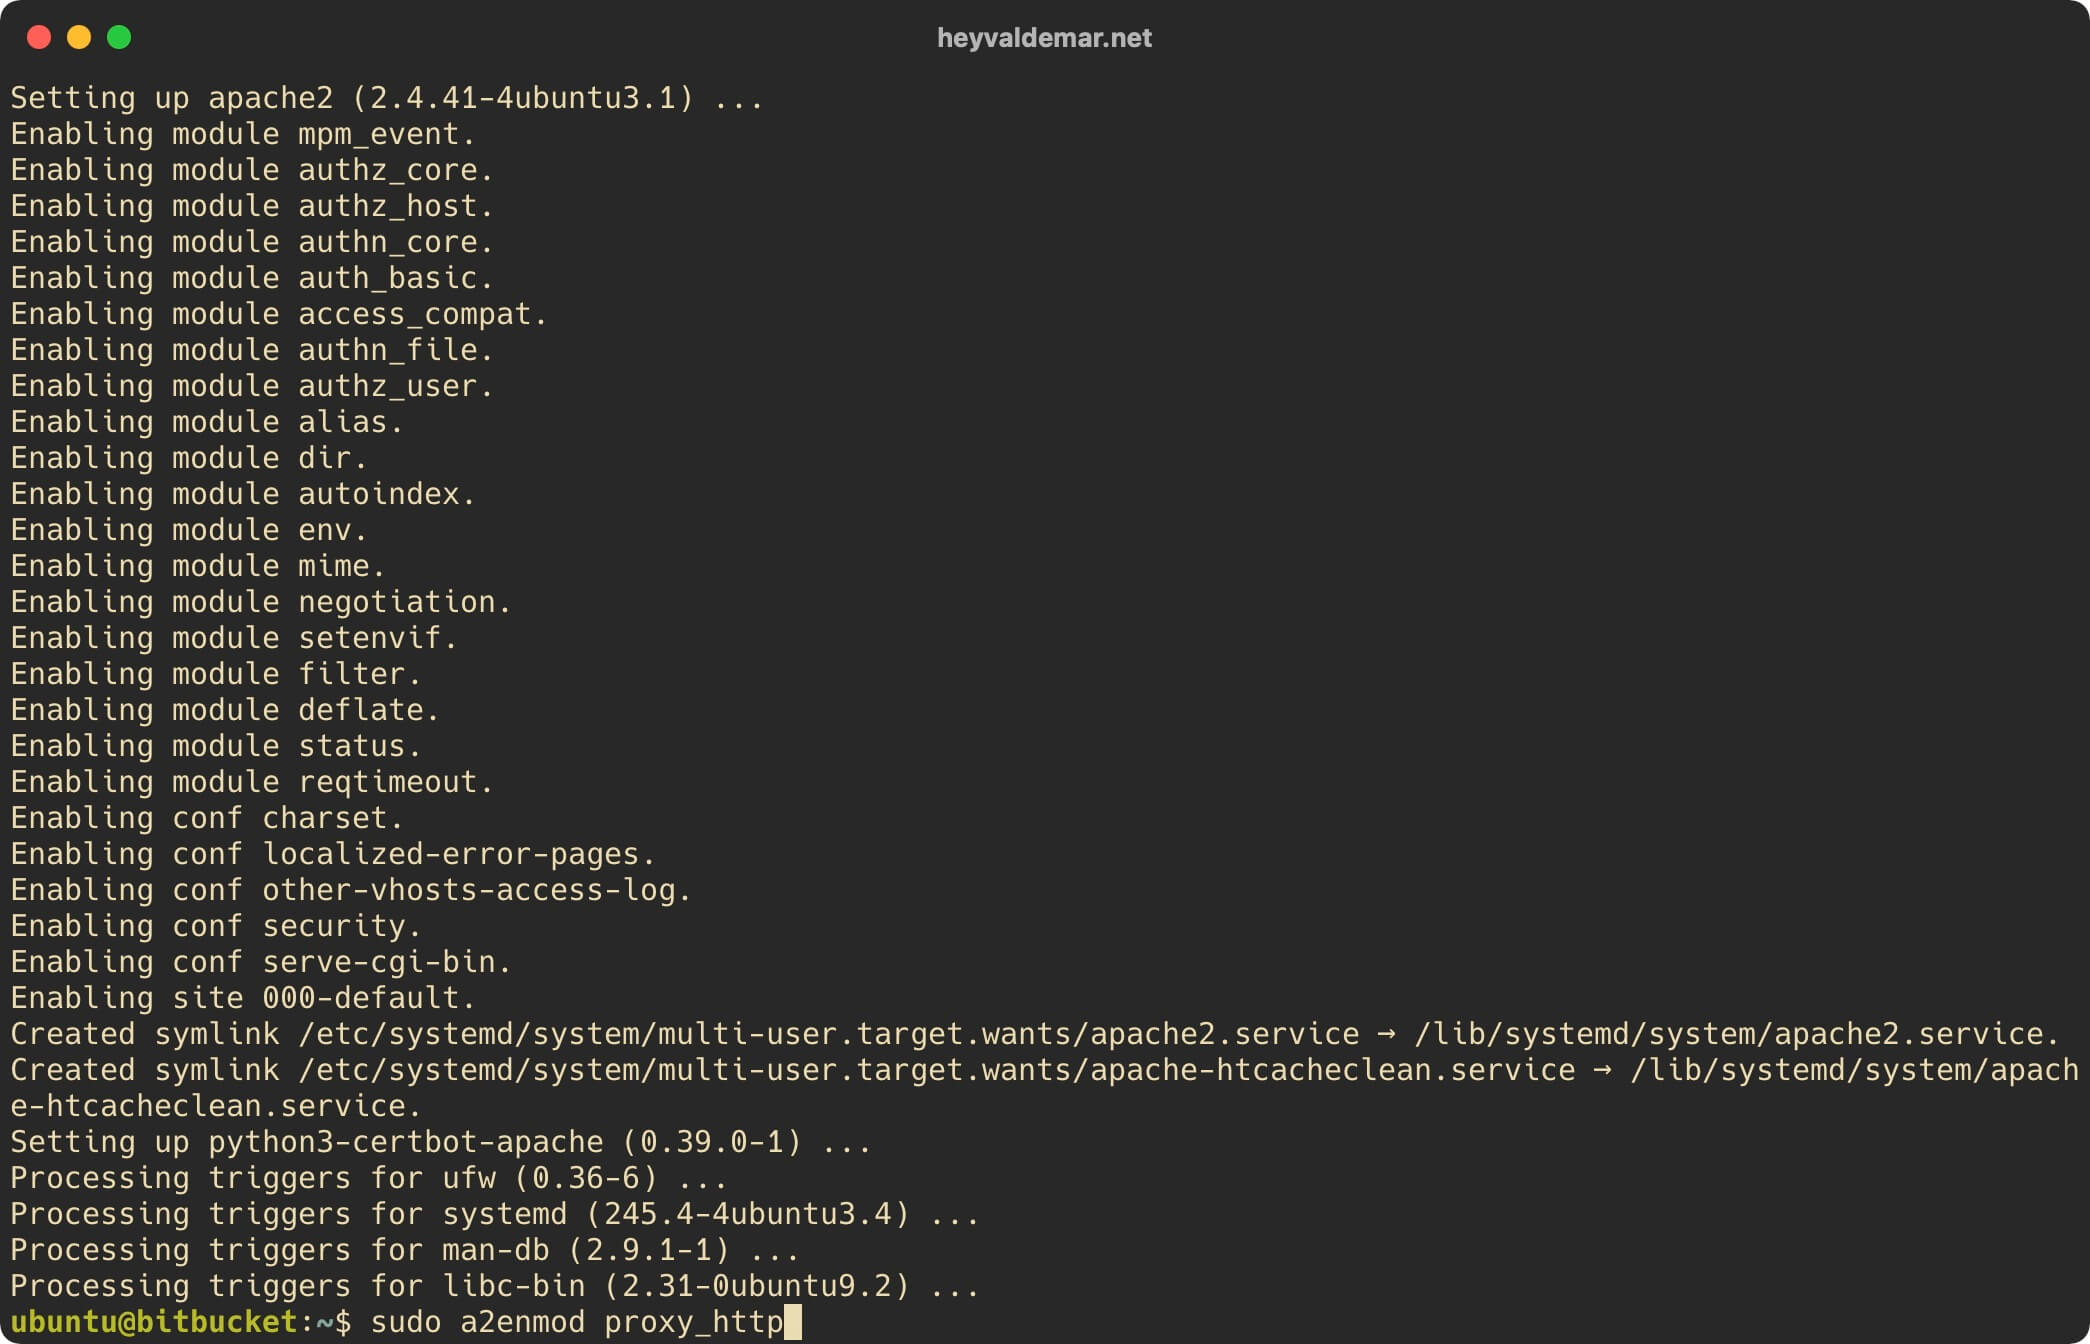
We enable the Apache webserver module called “proxy_http” using the command:
sudo a2enmod proxy_httpPlease note that the “proxy_http” module acts like a proxy server for the HTTP and HTTPS protocols.
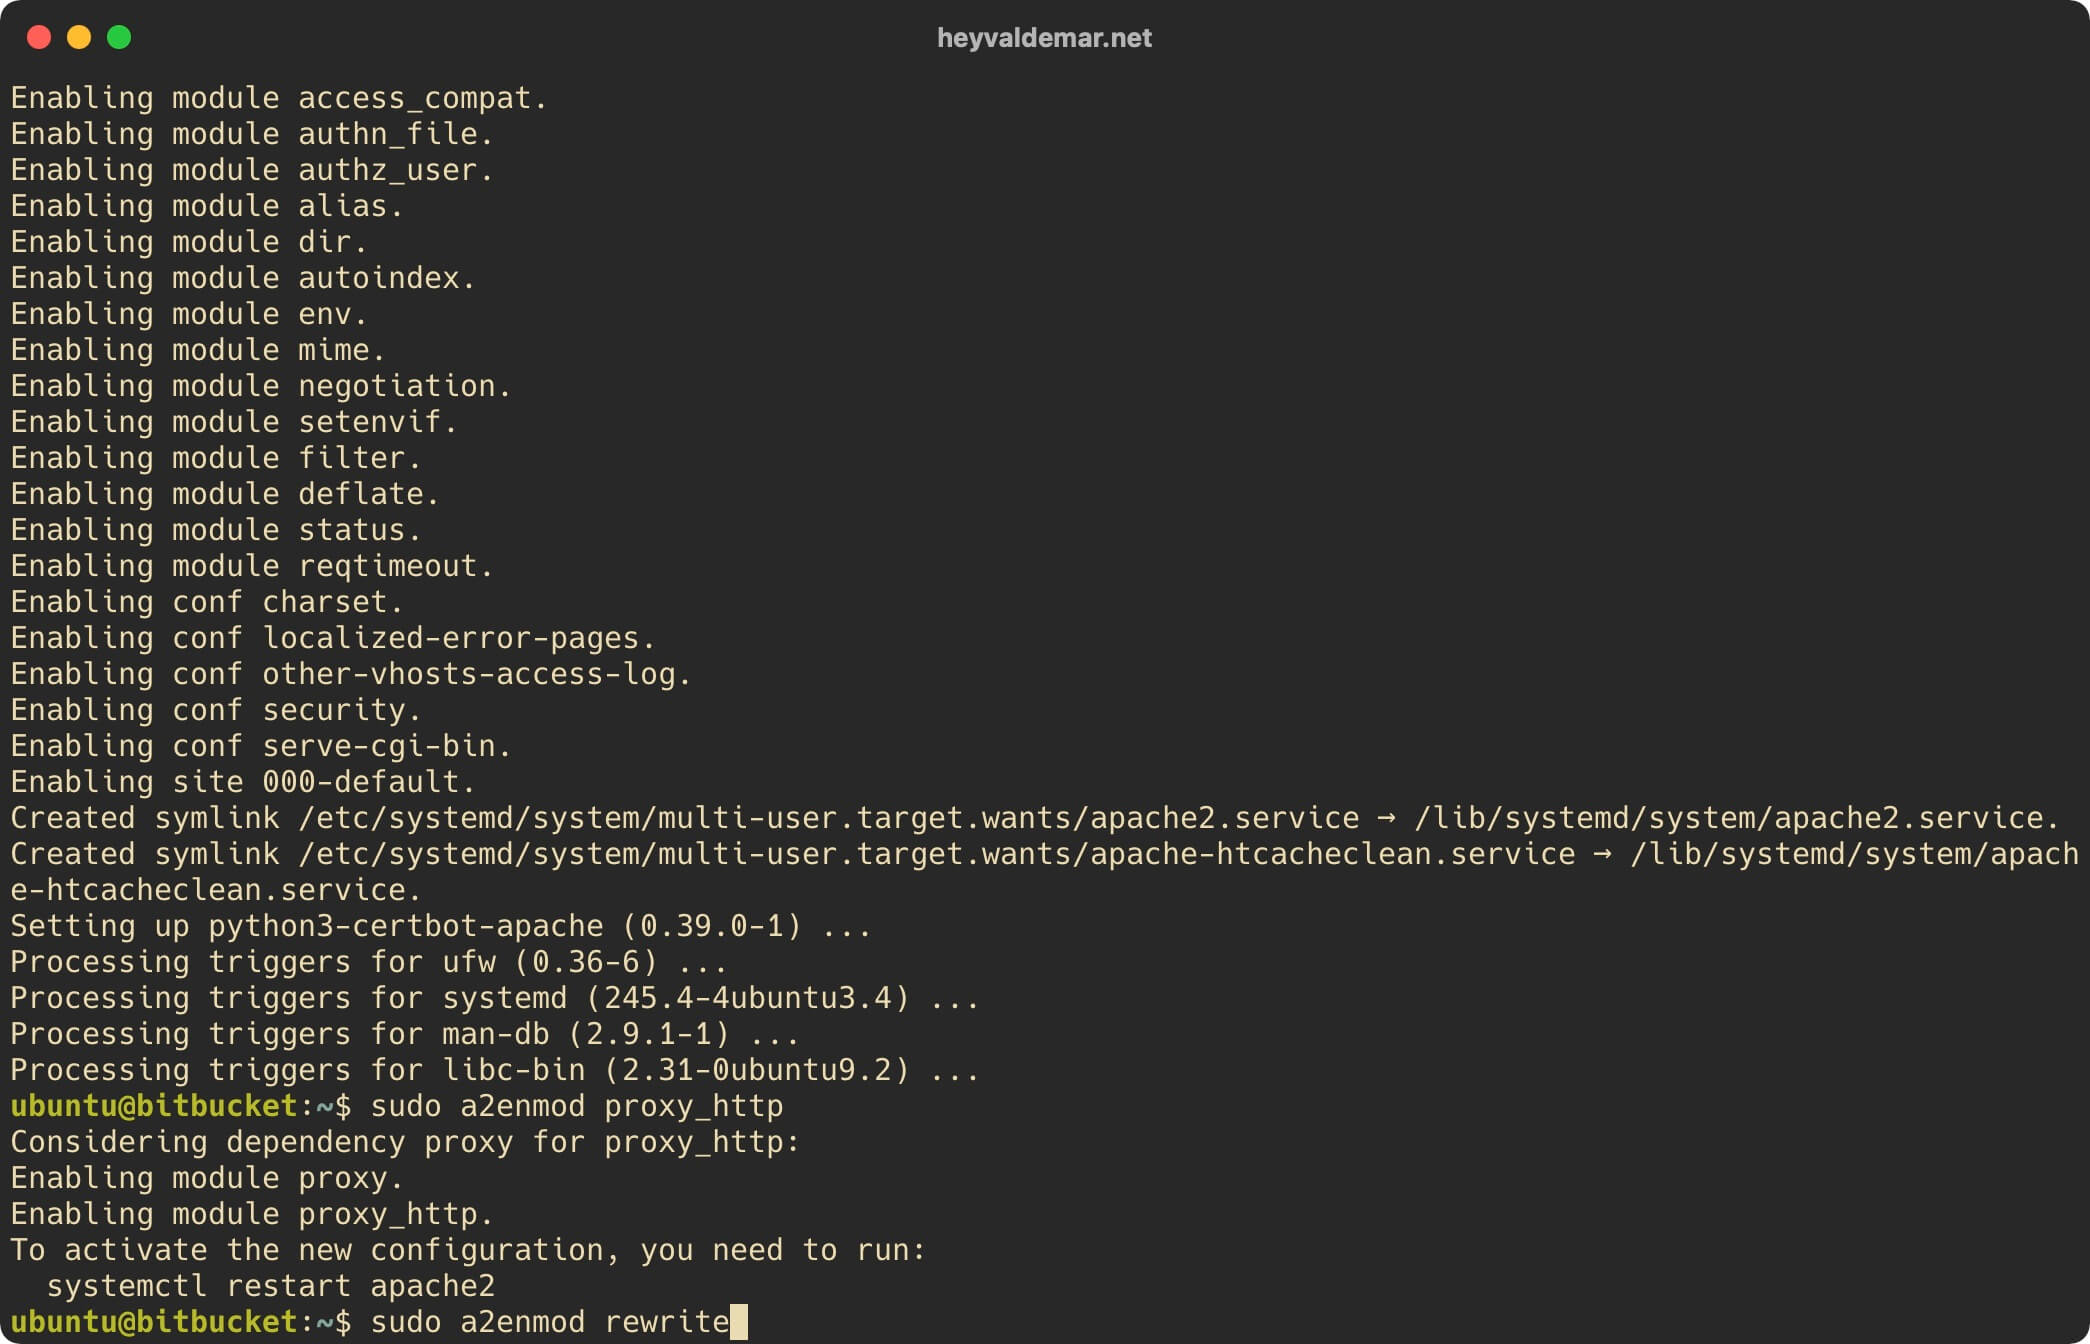
We enable the Apache webserver module called “rewrite” using the command:
sudo a2enmod rewriteNote that the “rewrite” module is one of the most commonly used modules in the Apache webserver and provides a flexible and powerful way to manipulate URLs.
Now you need to create two virtual host files (called a block in Nginx), with which Bitbucket will work in the future.
Two virtual host files are required to provide access to Bitbucket over HTTPS, and to enable Bitbucket to be used at https://bitbucket.heyvaldemar.net, without specifying port 7990 in the browser address bar.
In this tutorial, the subdomain bitbucket.heyvaldemar.net will be used to access Bitbucket from the Internet. You will need to specify your domain or subdomain under which your Bitbucket will be accessible from the Internet.
Let’s create the first virtual host file using a text editor using the command:
sudo vim /etc/apache2/sites-available/bitbucket.heyvaldemar.net.conf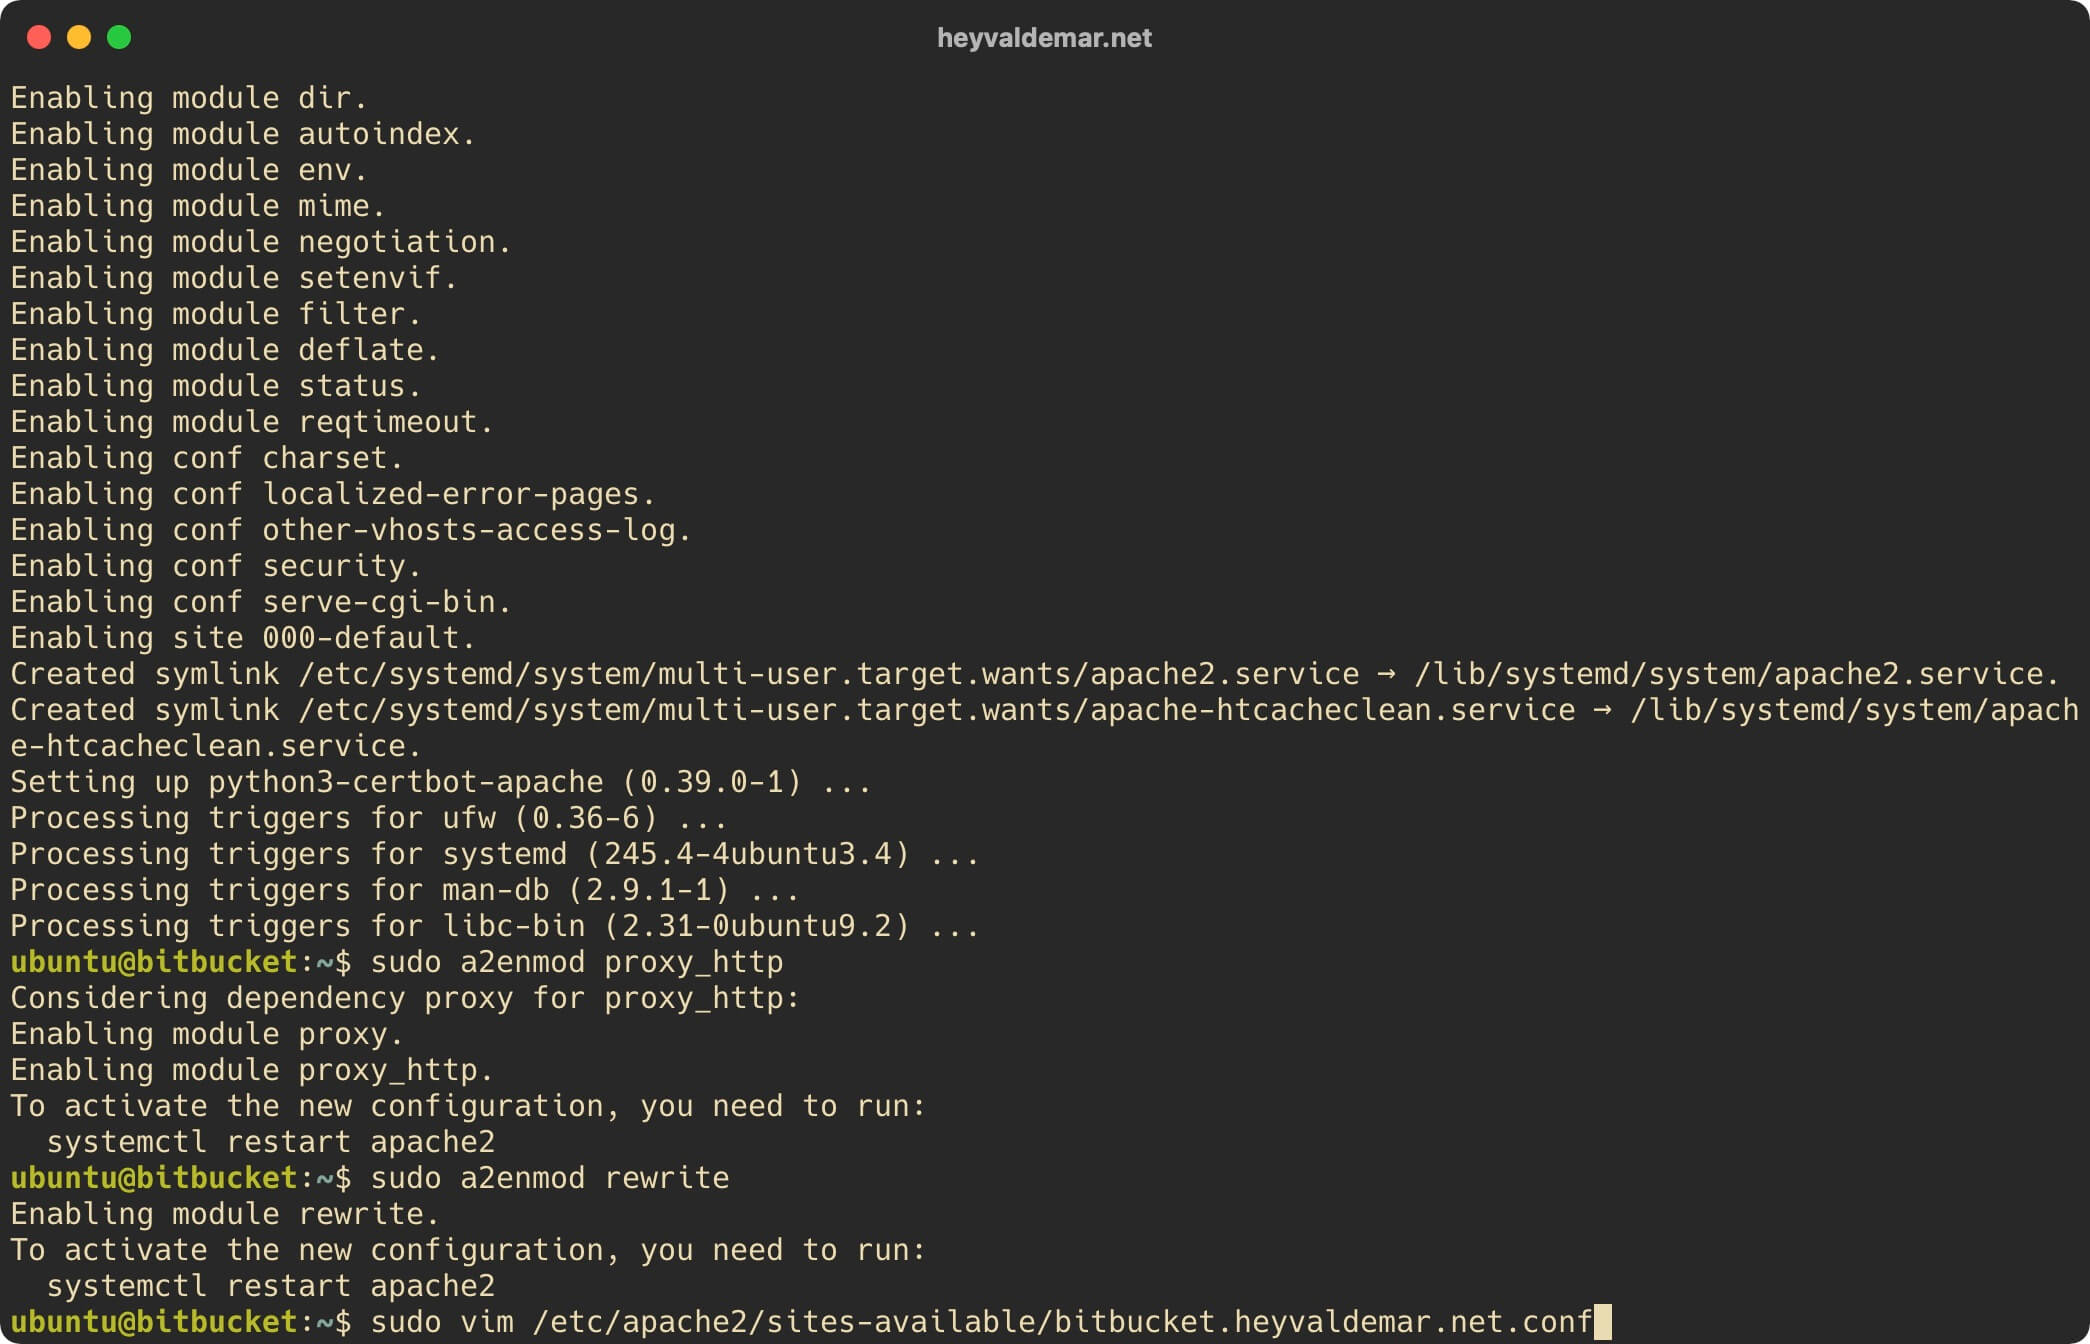
Hit the “i” button to go into edit mode, then insert the following configuration for the webserver to work.
In this tutorial, the subdomain bitbucket.heyvaldemar.net will be used to access Bitbucket from the Internet. You will need to specify your domain or subdomain under which your Bitbucket will be accessible from the Internet.
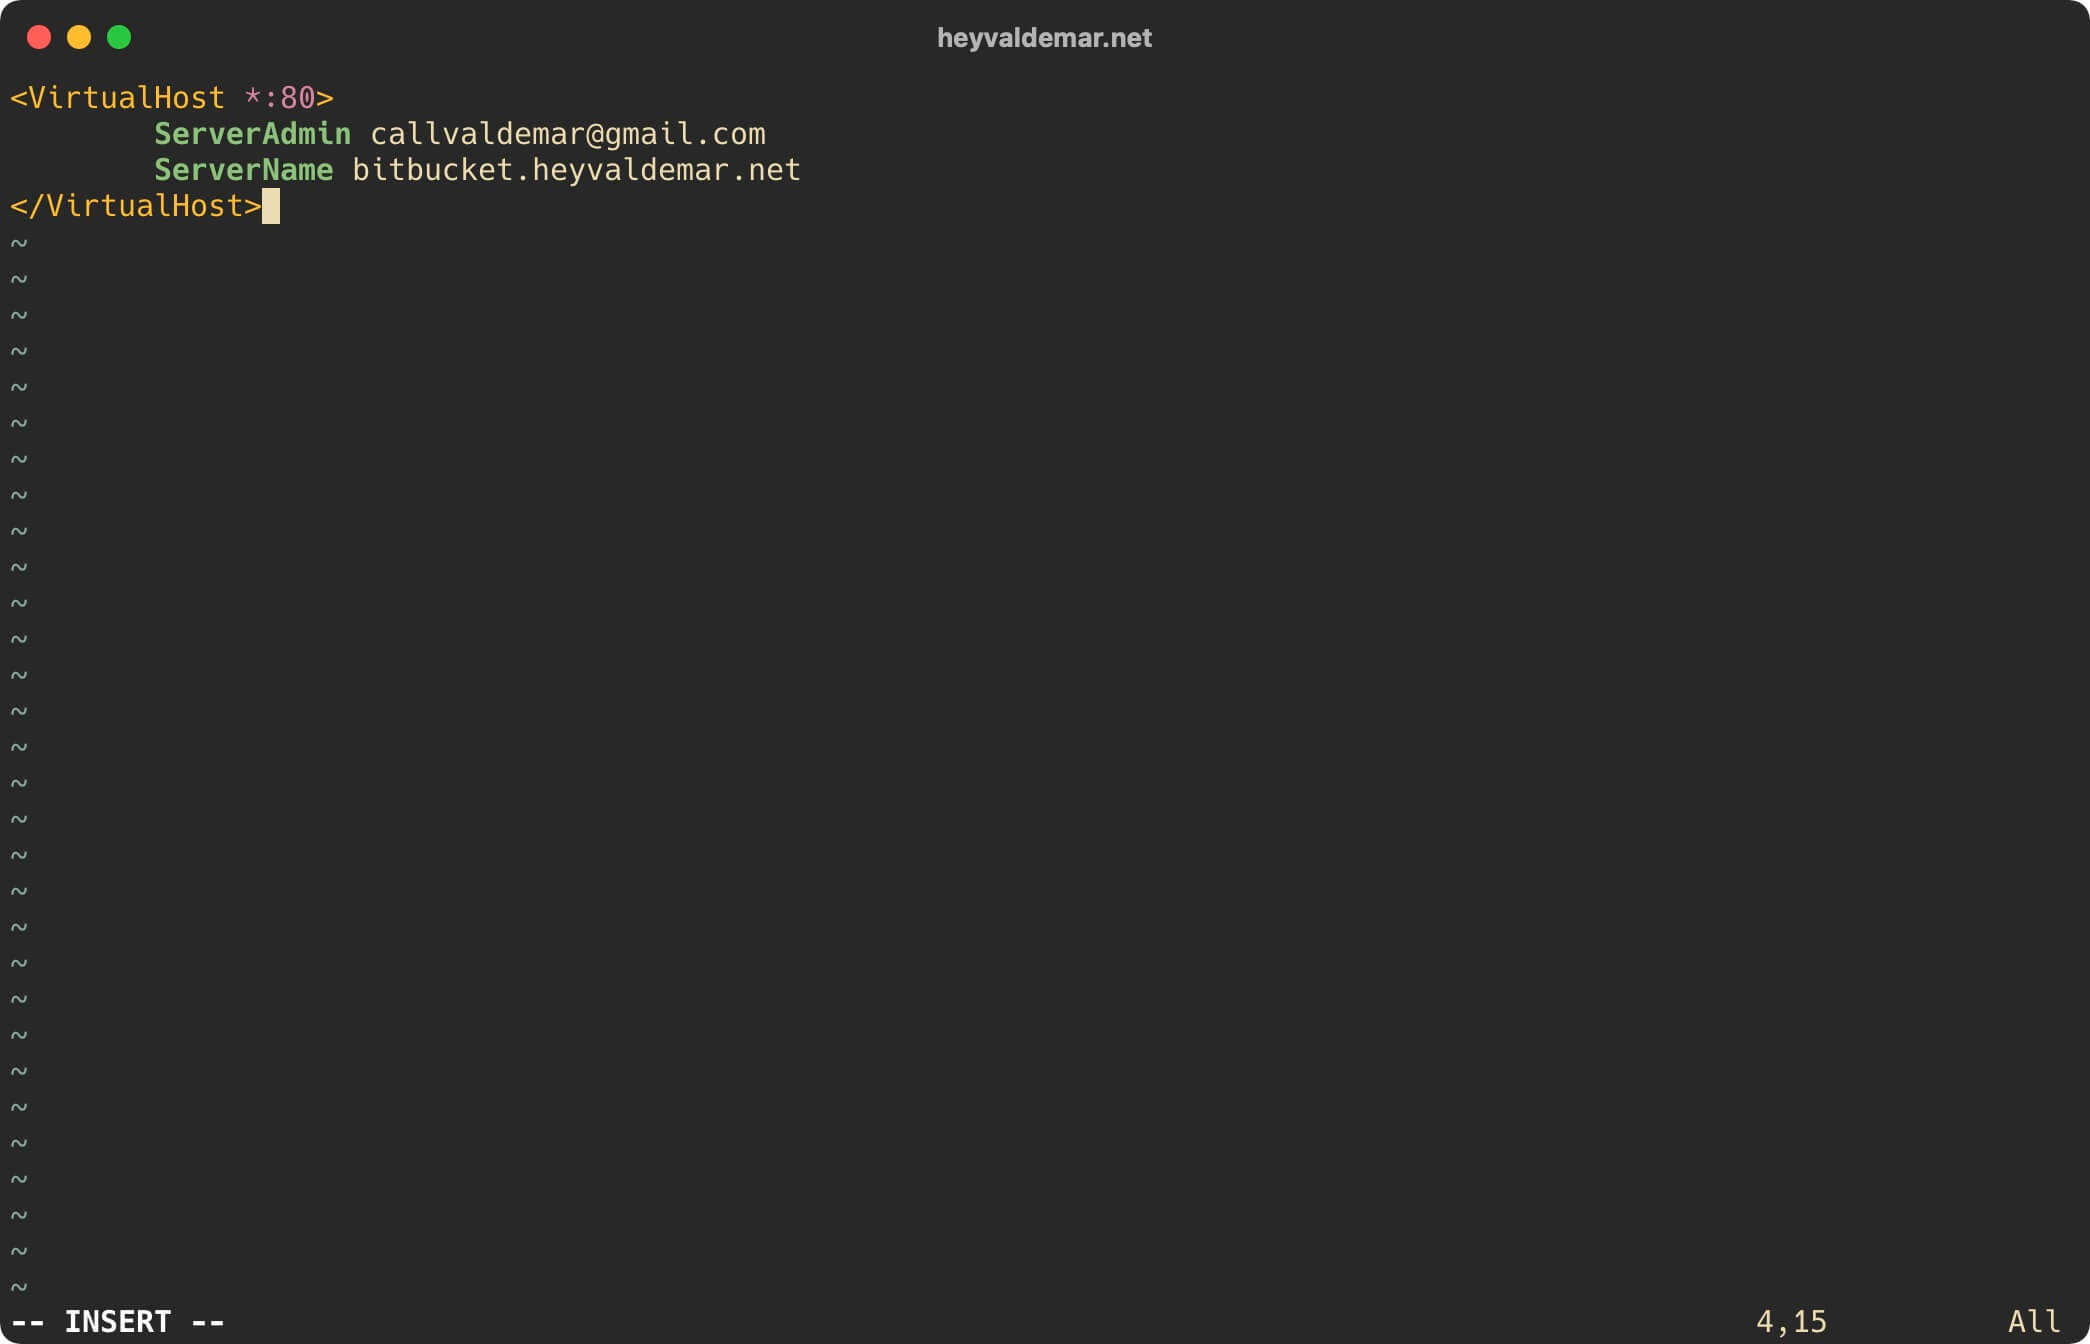
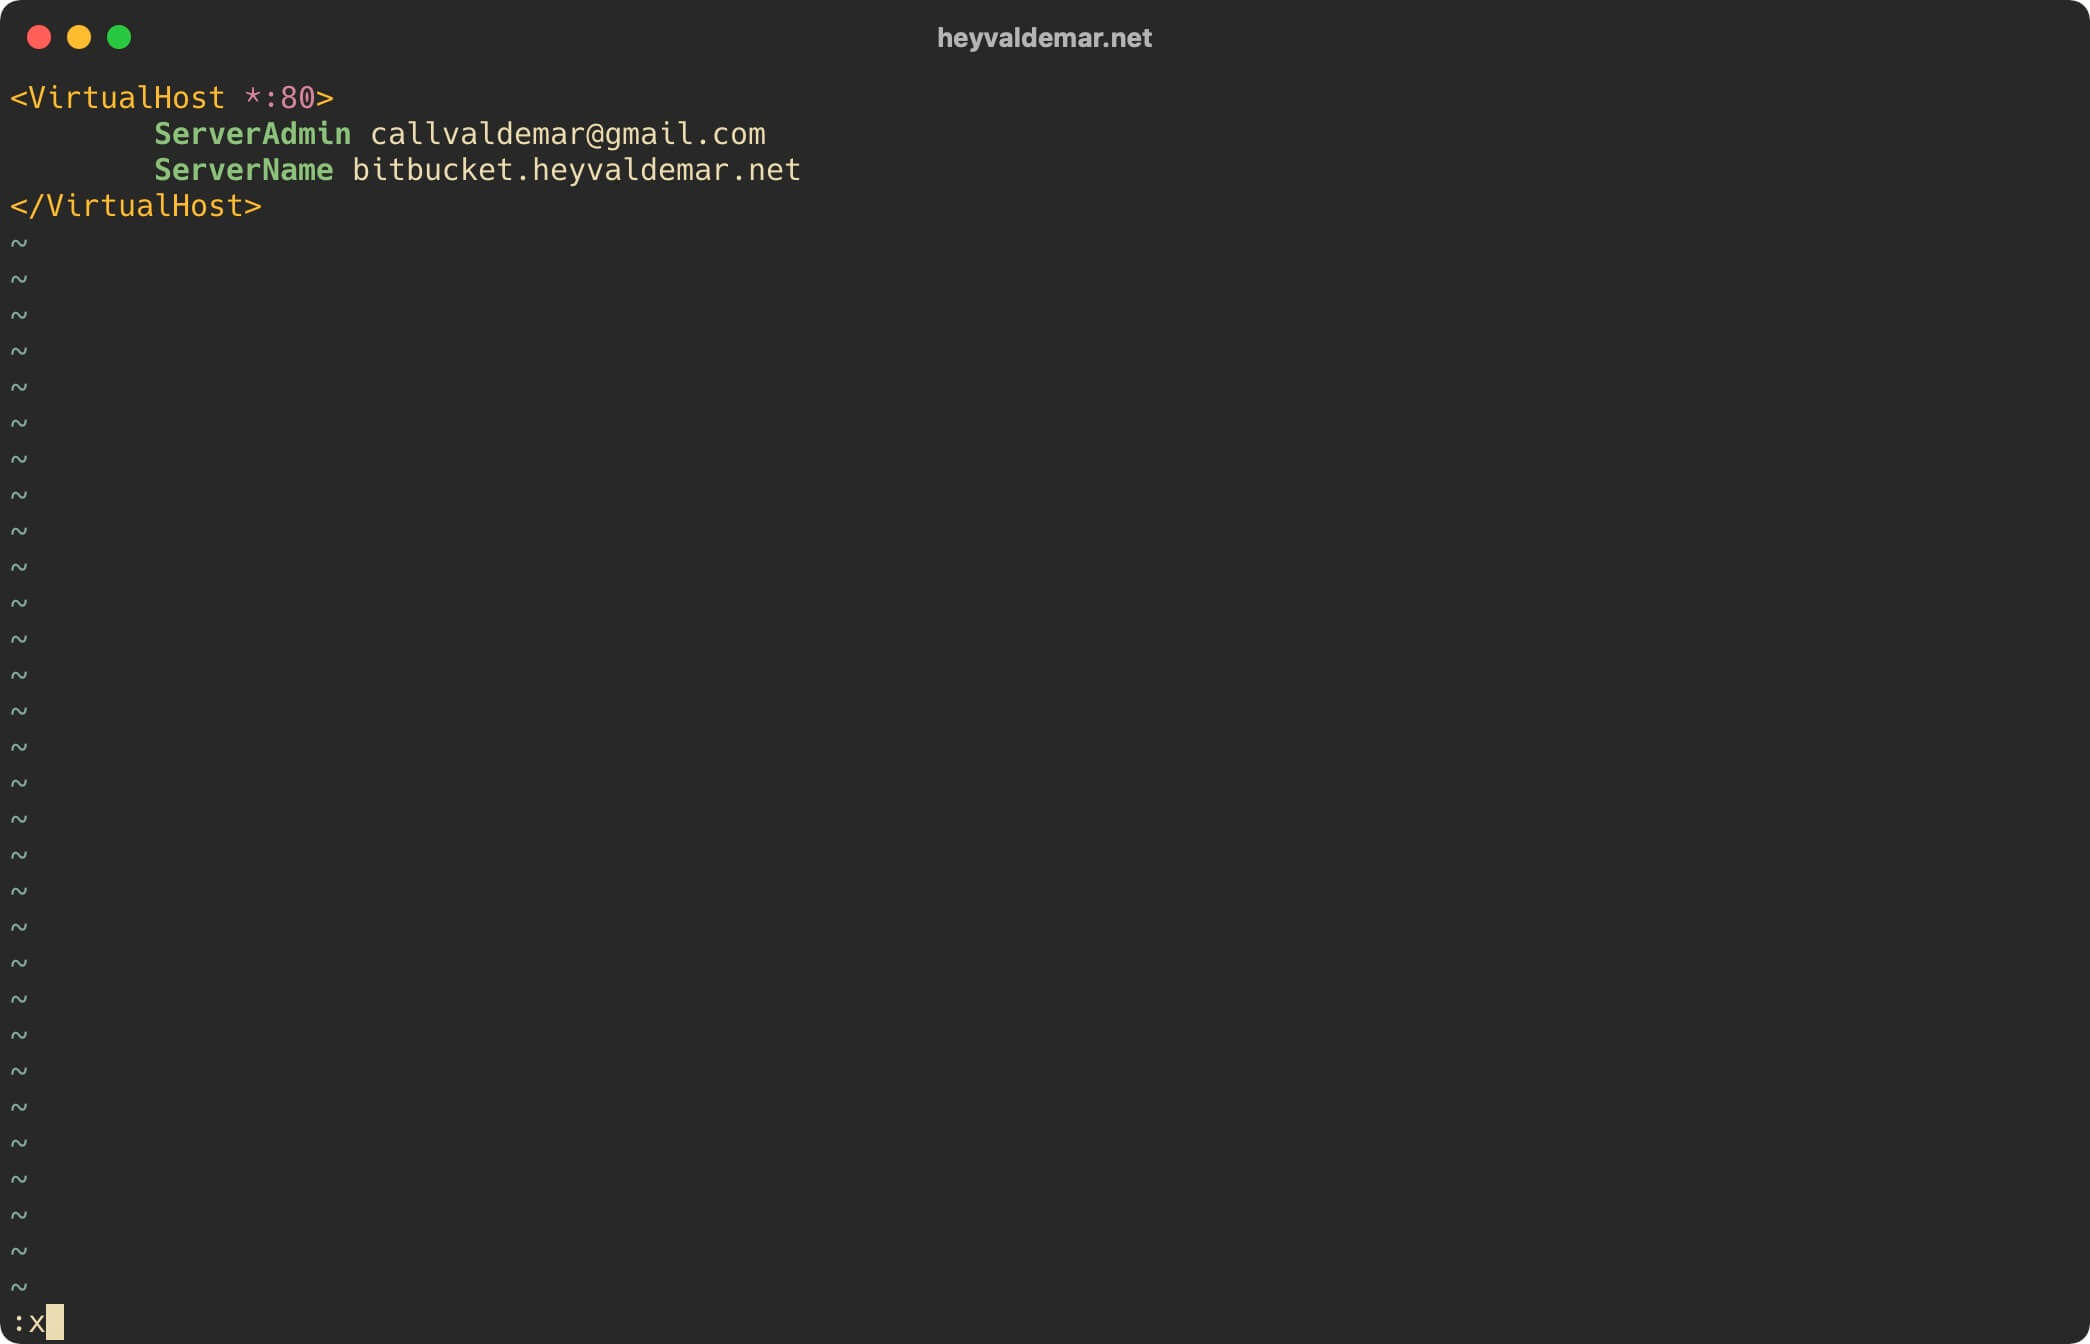
Now press the “Esc” button to exit edit mode, then type “:x” and press the “Enter” button to save your changes and exit the editor.
Let’s create a second virtual host file using a text editor using the command:
sudo vim /etc/apache2/sites-available/bitbucket.heyvaldemar.net-ssl.conf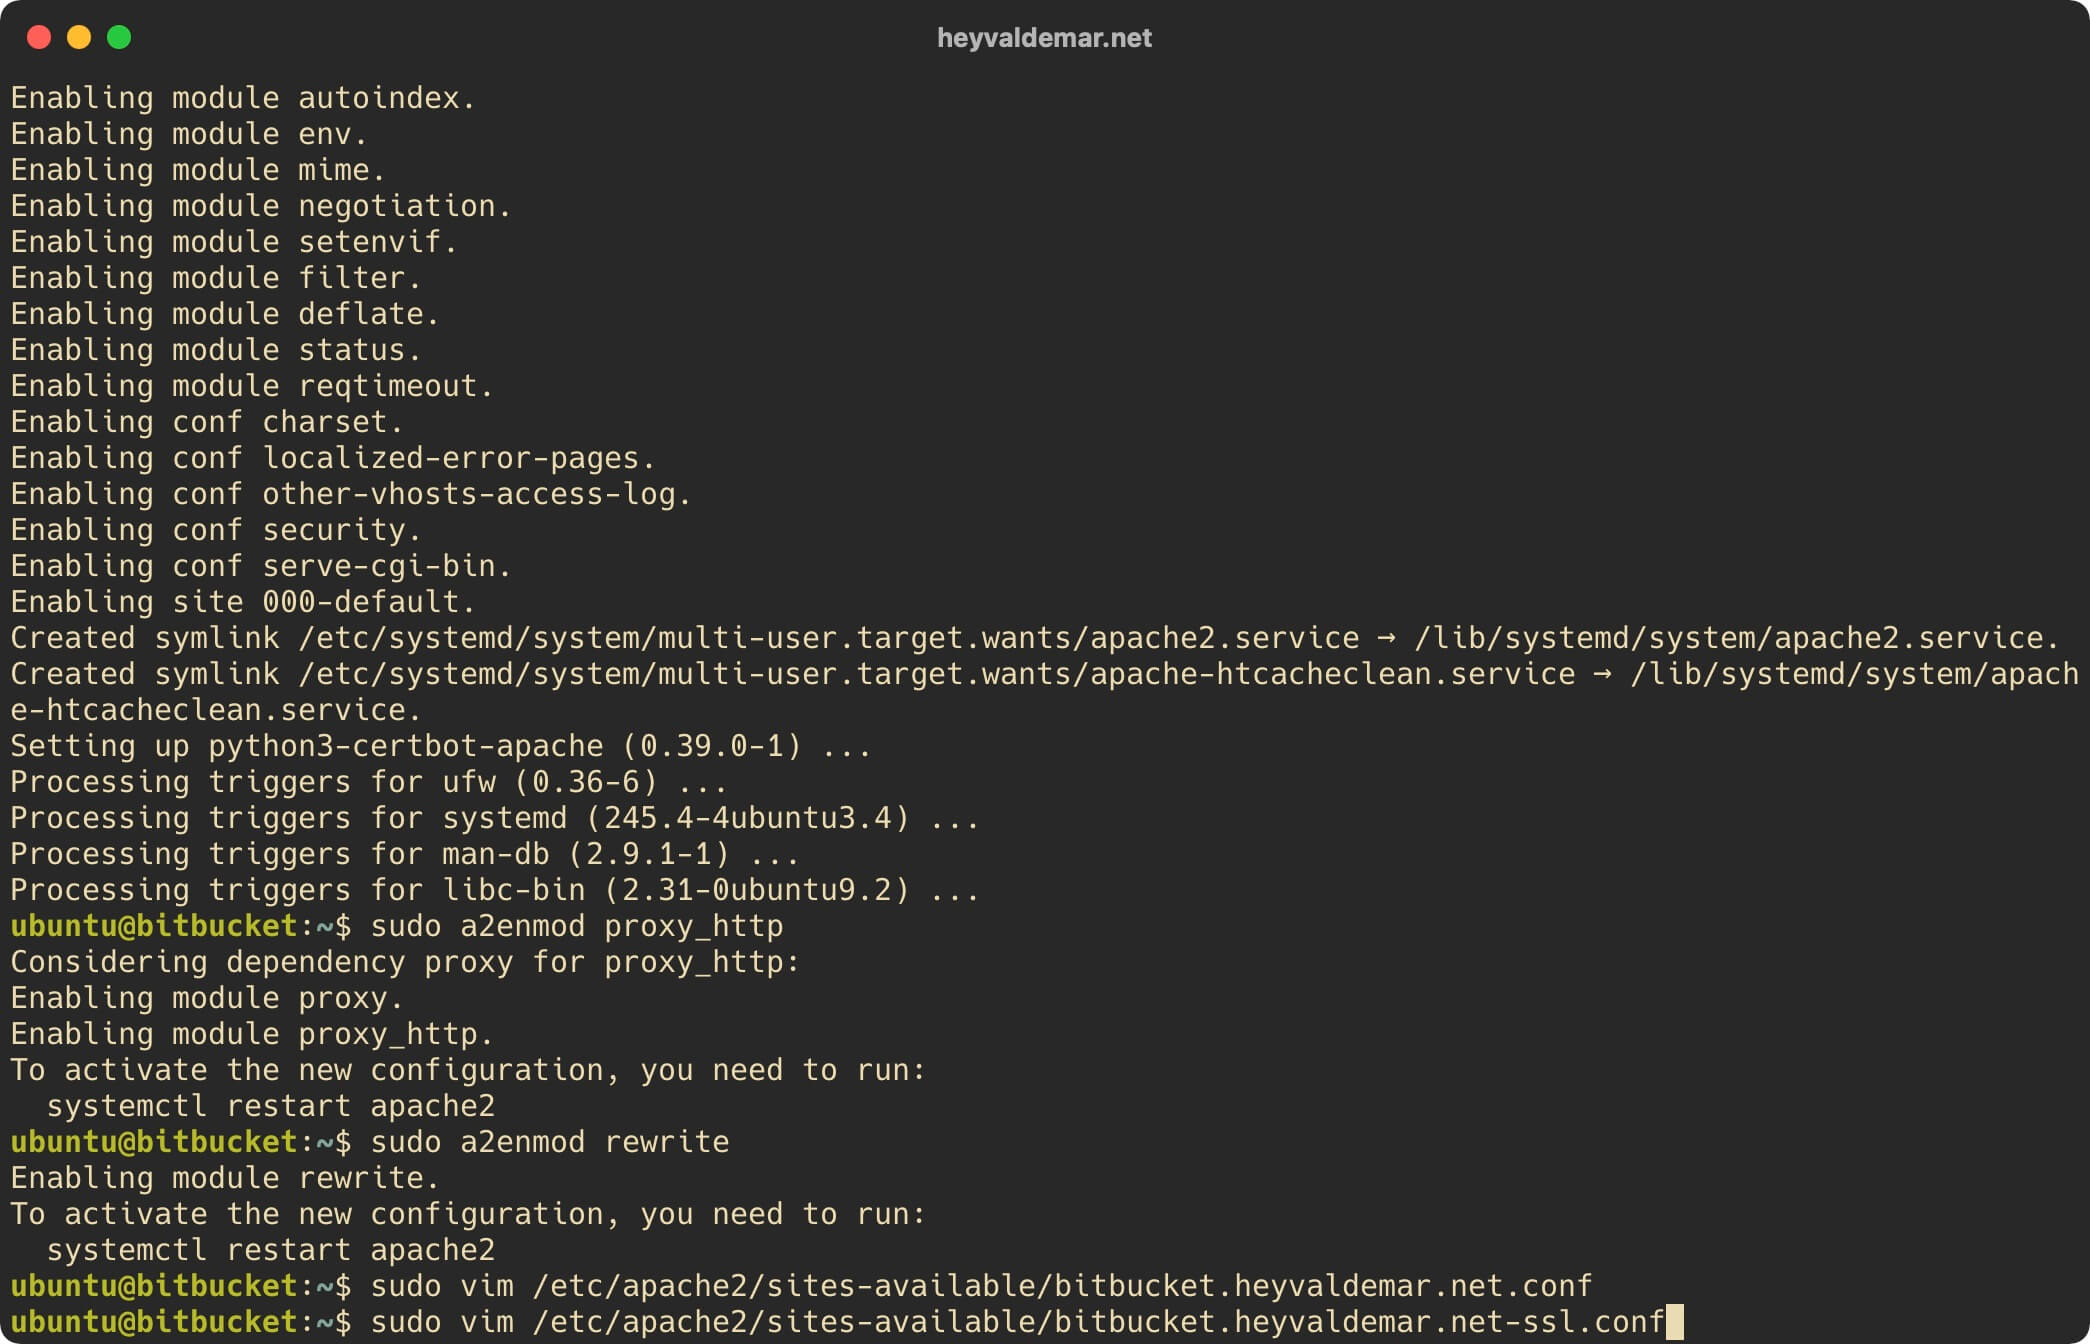
Hit the “i” button to go into edit mode, then insert the following configuration for the webserver to work.
In this tutorial, the subdomain bitbucket.heyvaldemar.net will be used to access Bitbucket from the Internet. You will need to specify your domain or subdomain under which your Bitbucket will be accessible from the Internet.
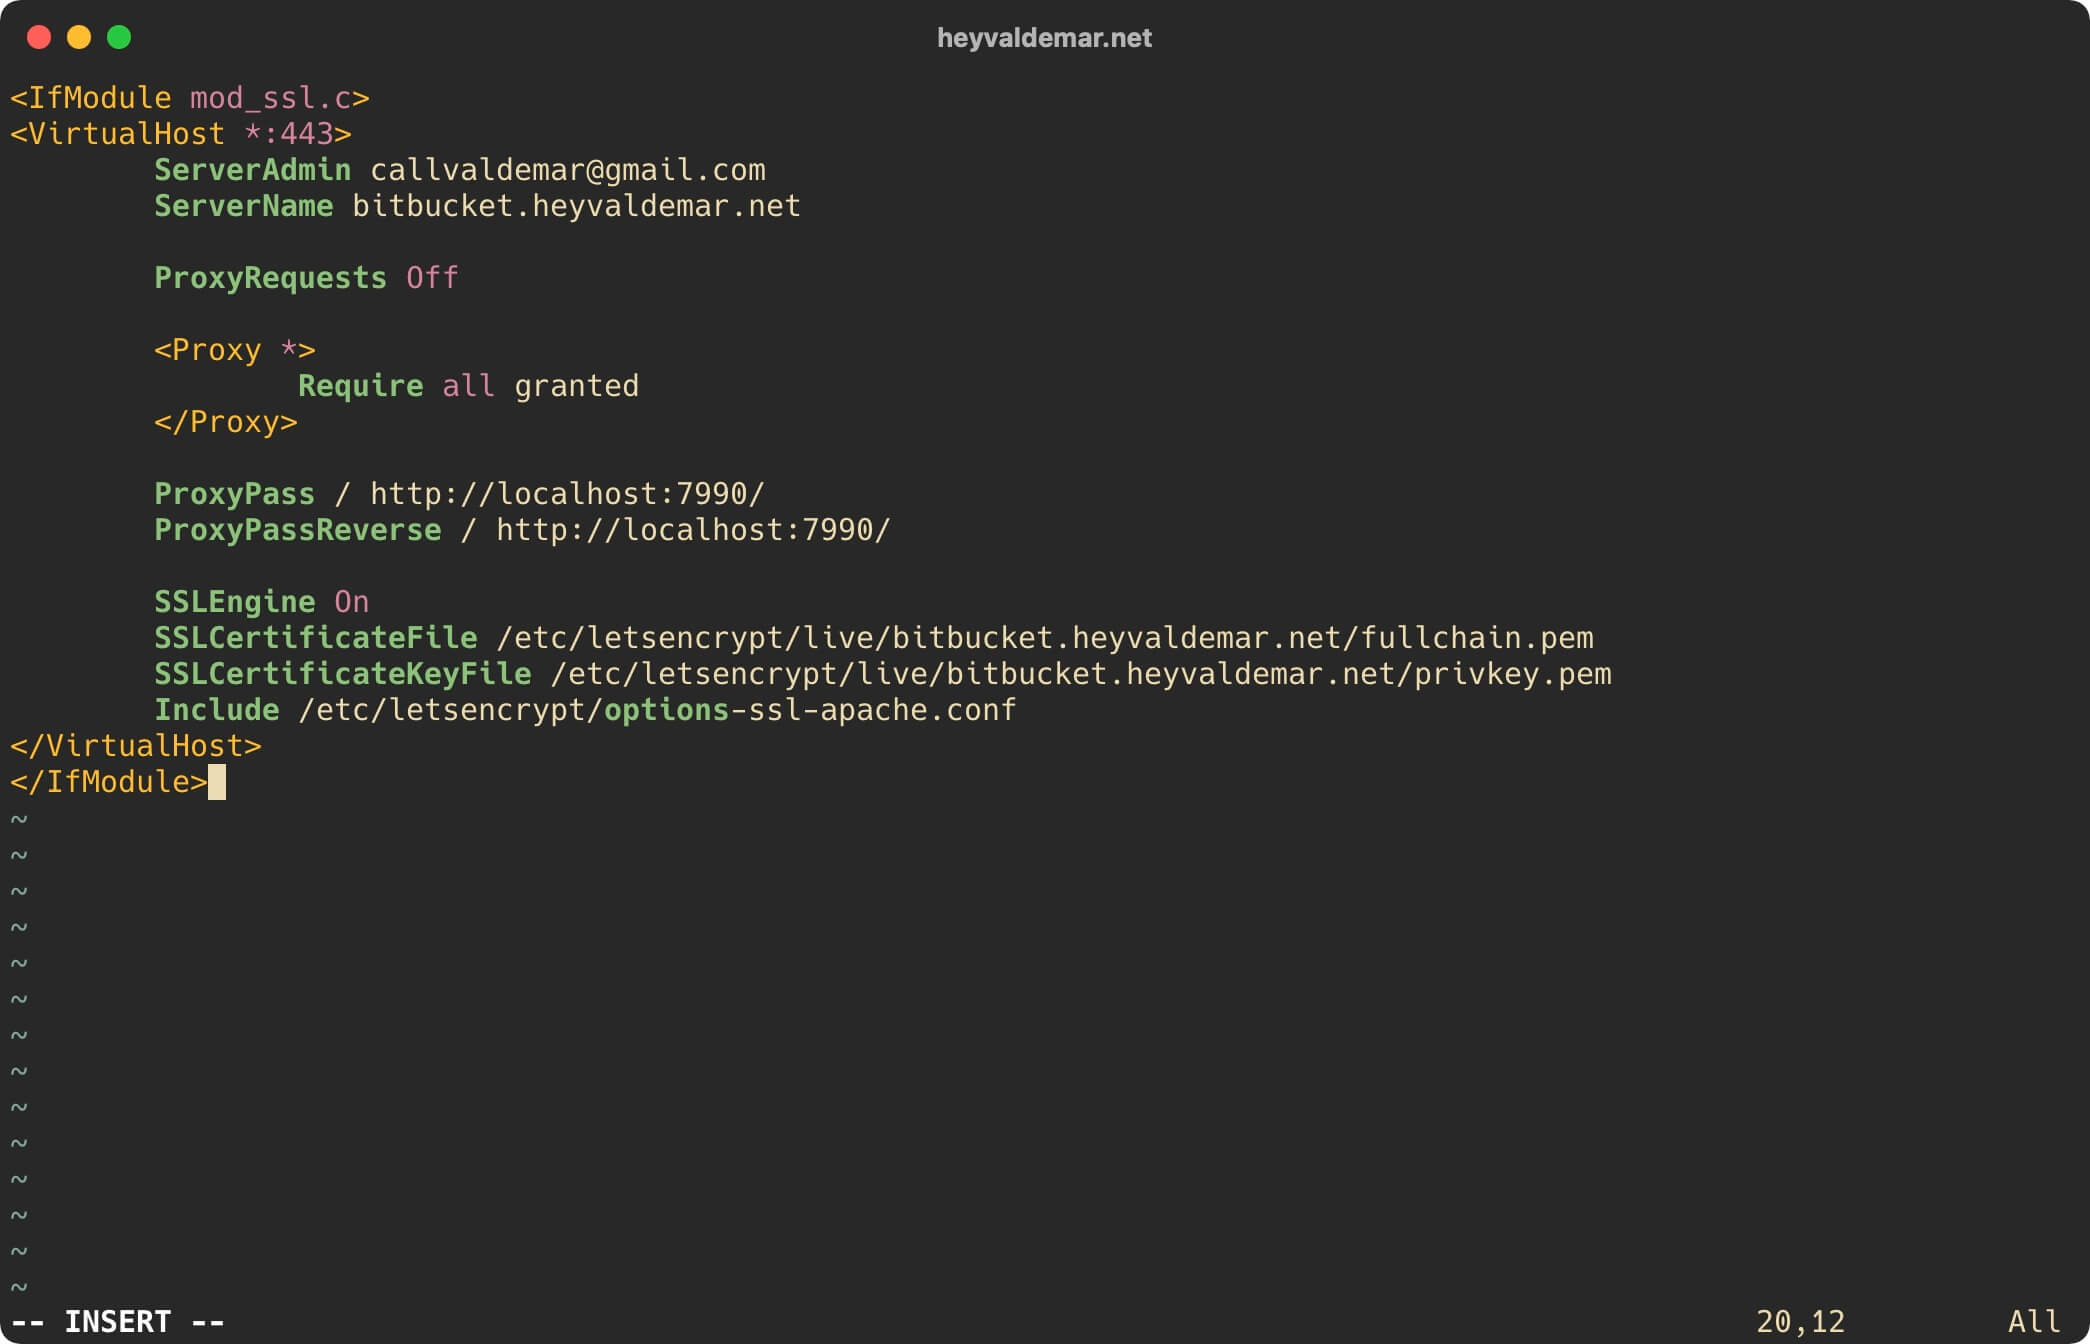
Now press the “Esc” button to exit edit mode, then type “:x” and press the “Enter” button to save your changes and exit the editor.
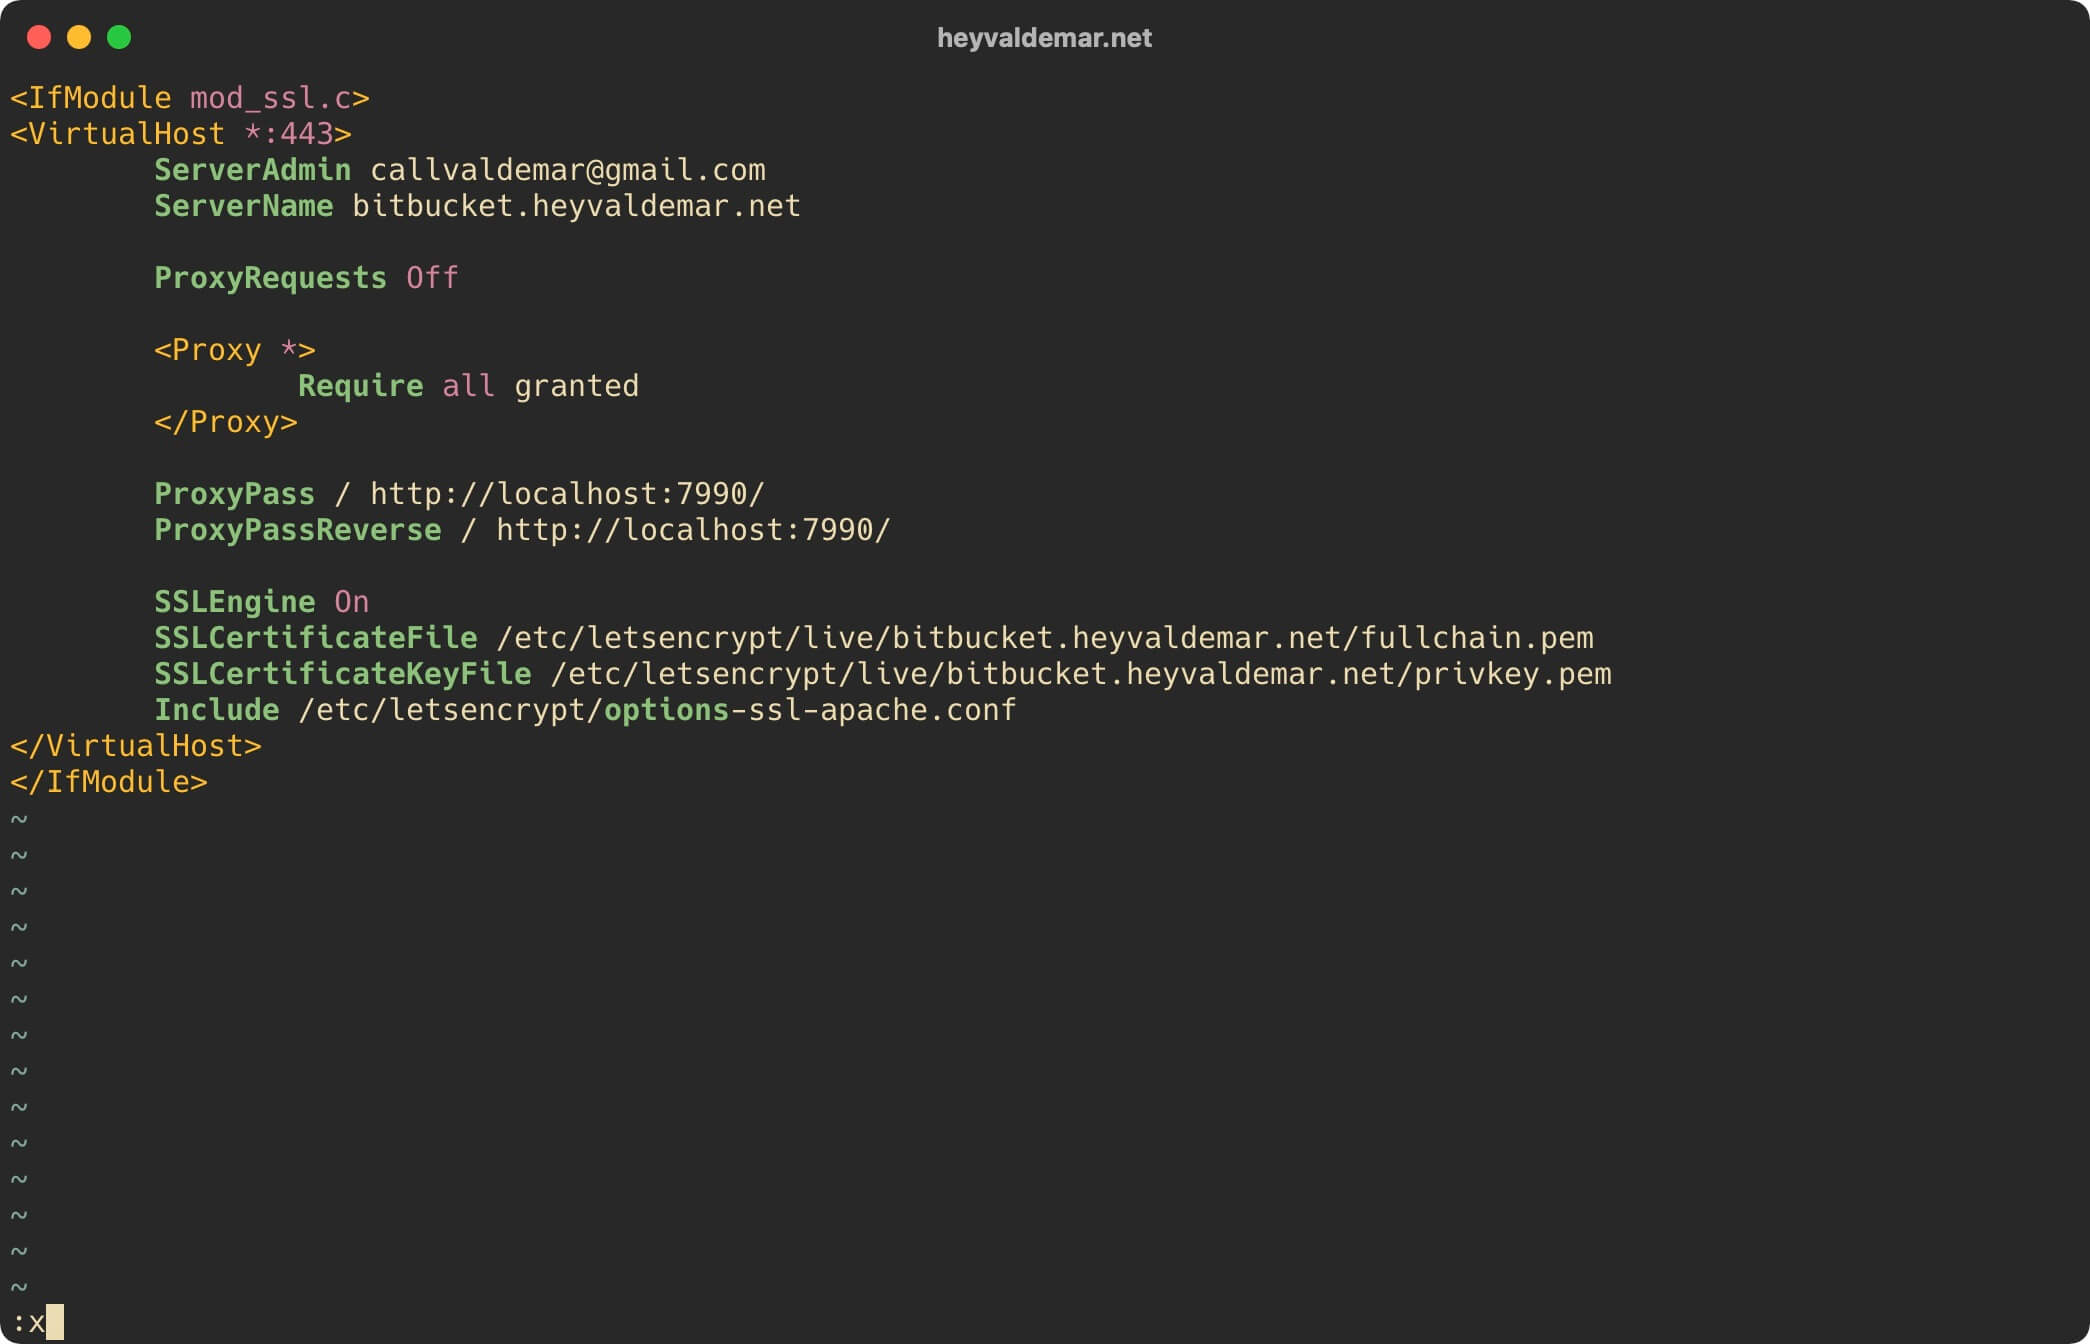
We activate the first virtual host using the command:
sudo a2ensite bitbucket.heyvaldemar.net.conf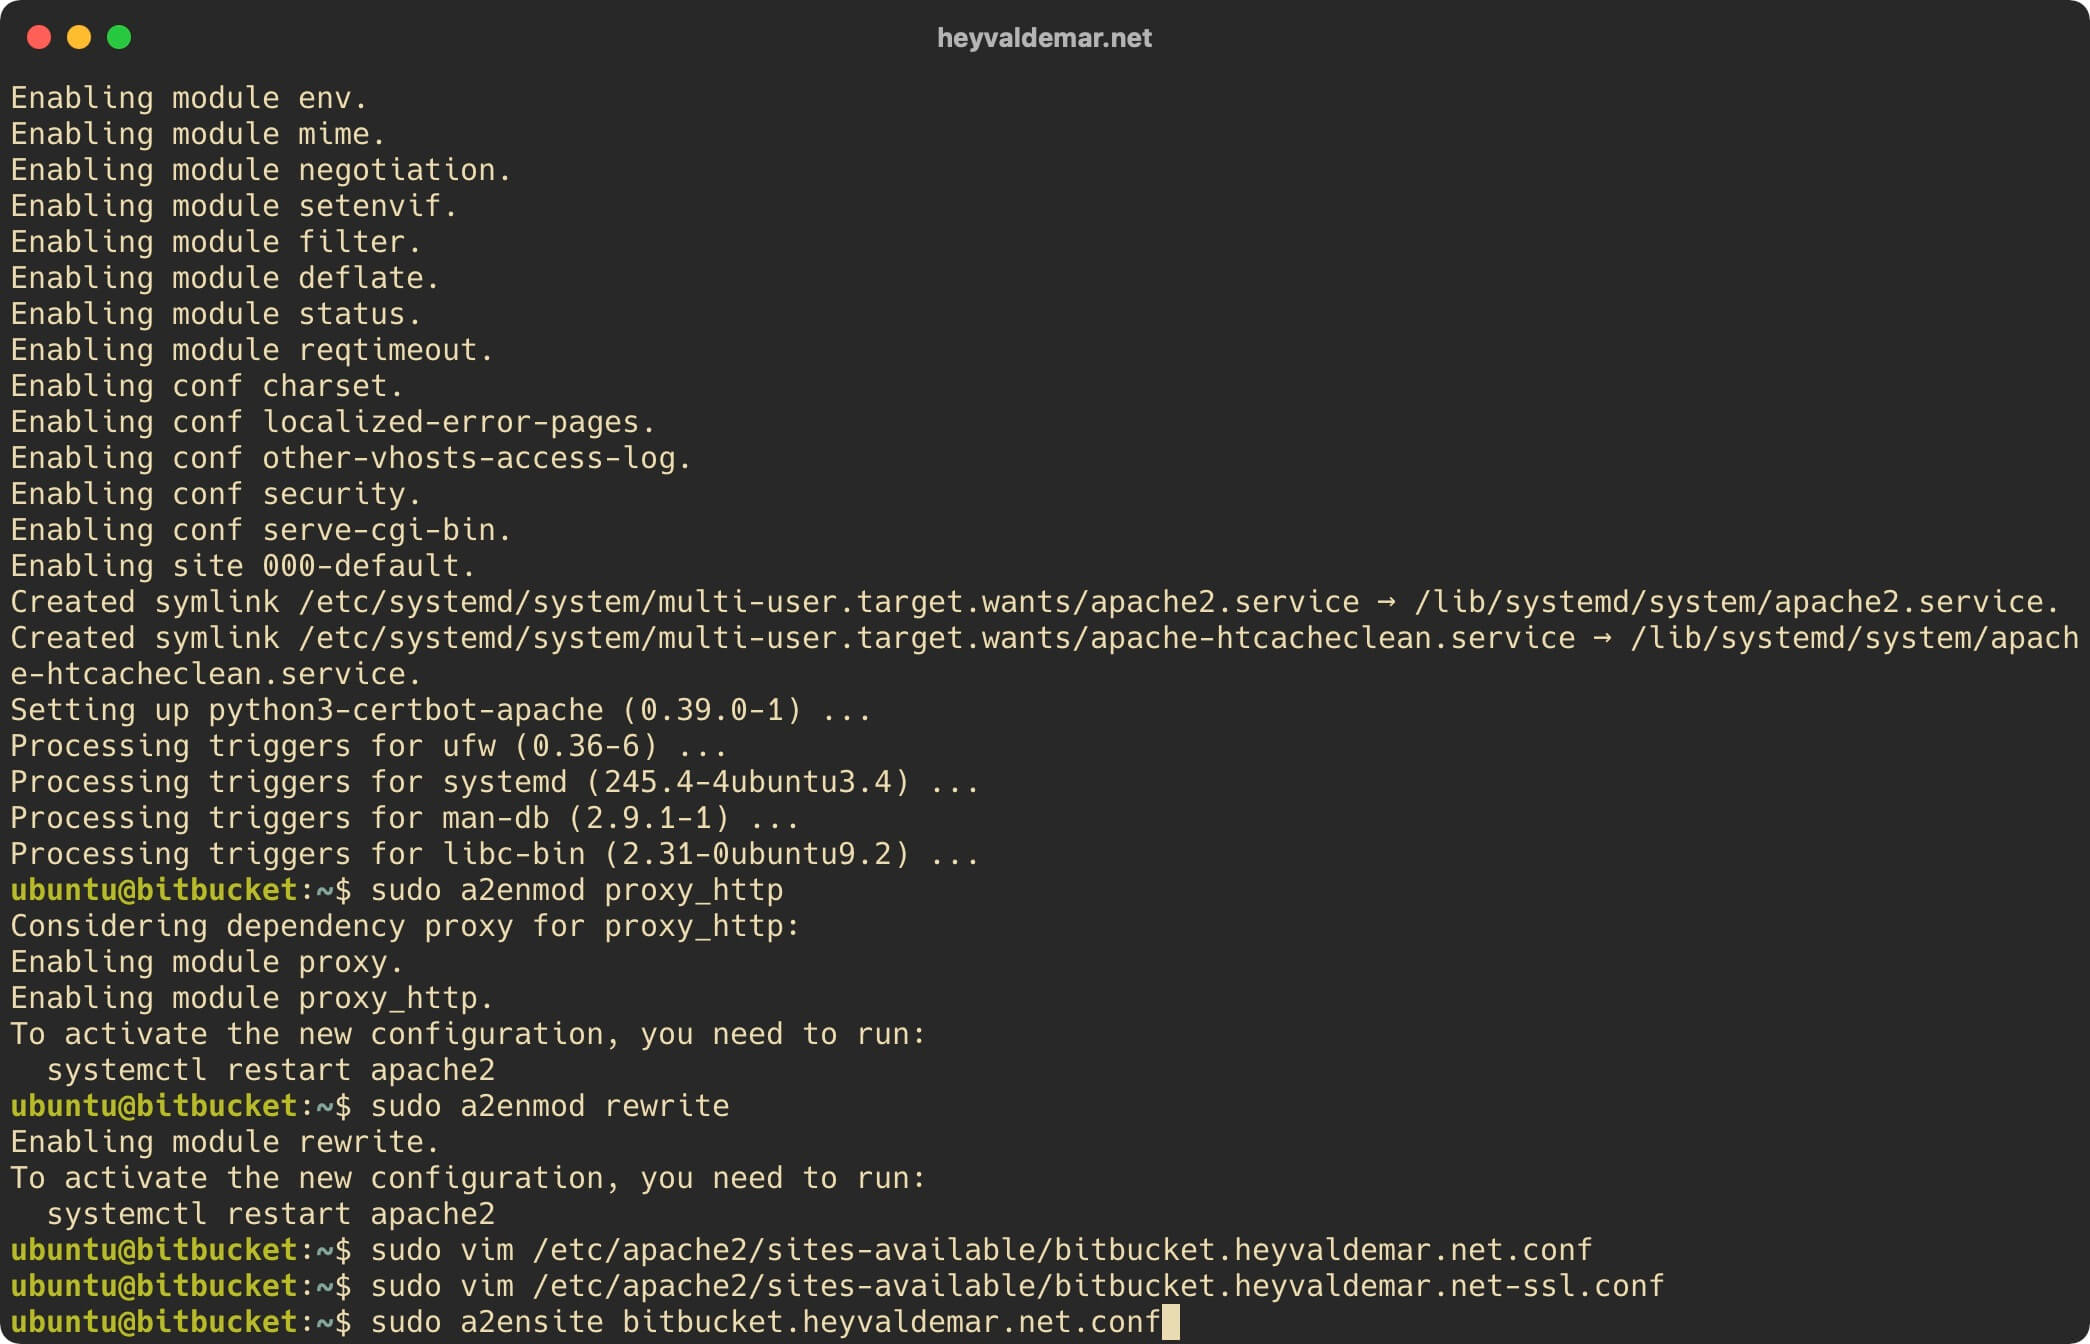
We activate the second virtual host using the command:
sudo a2ensite bitbucket.heyvaldemar.net-ssl.conf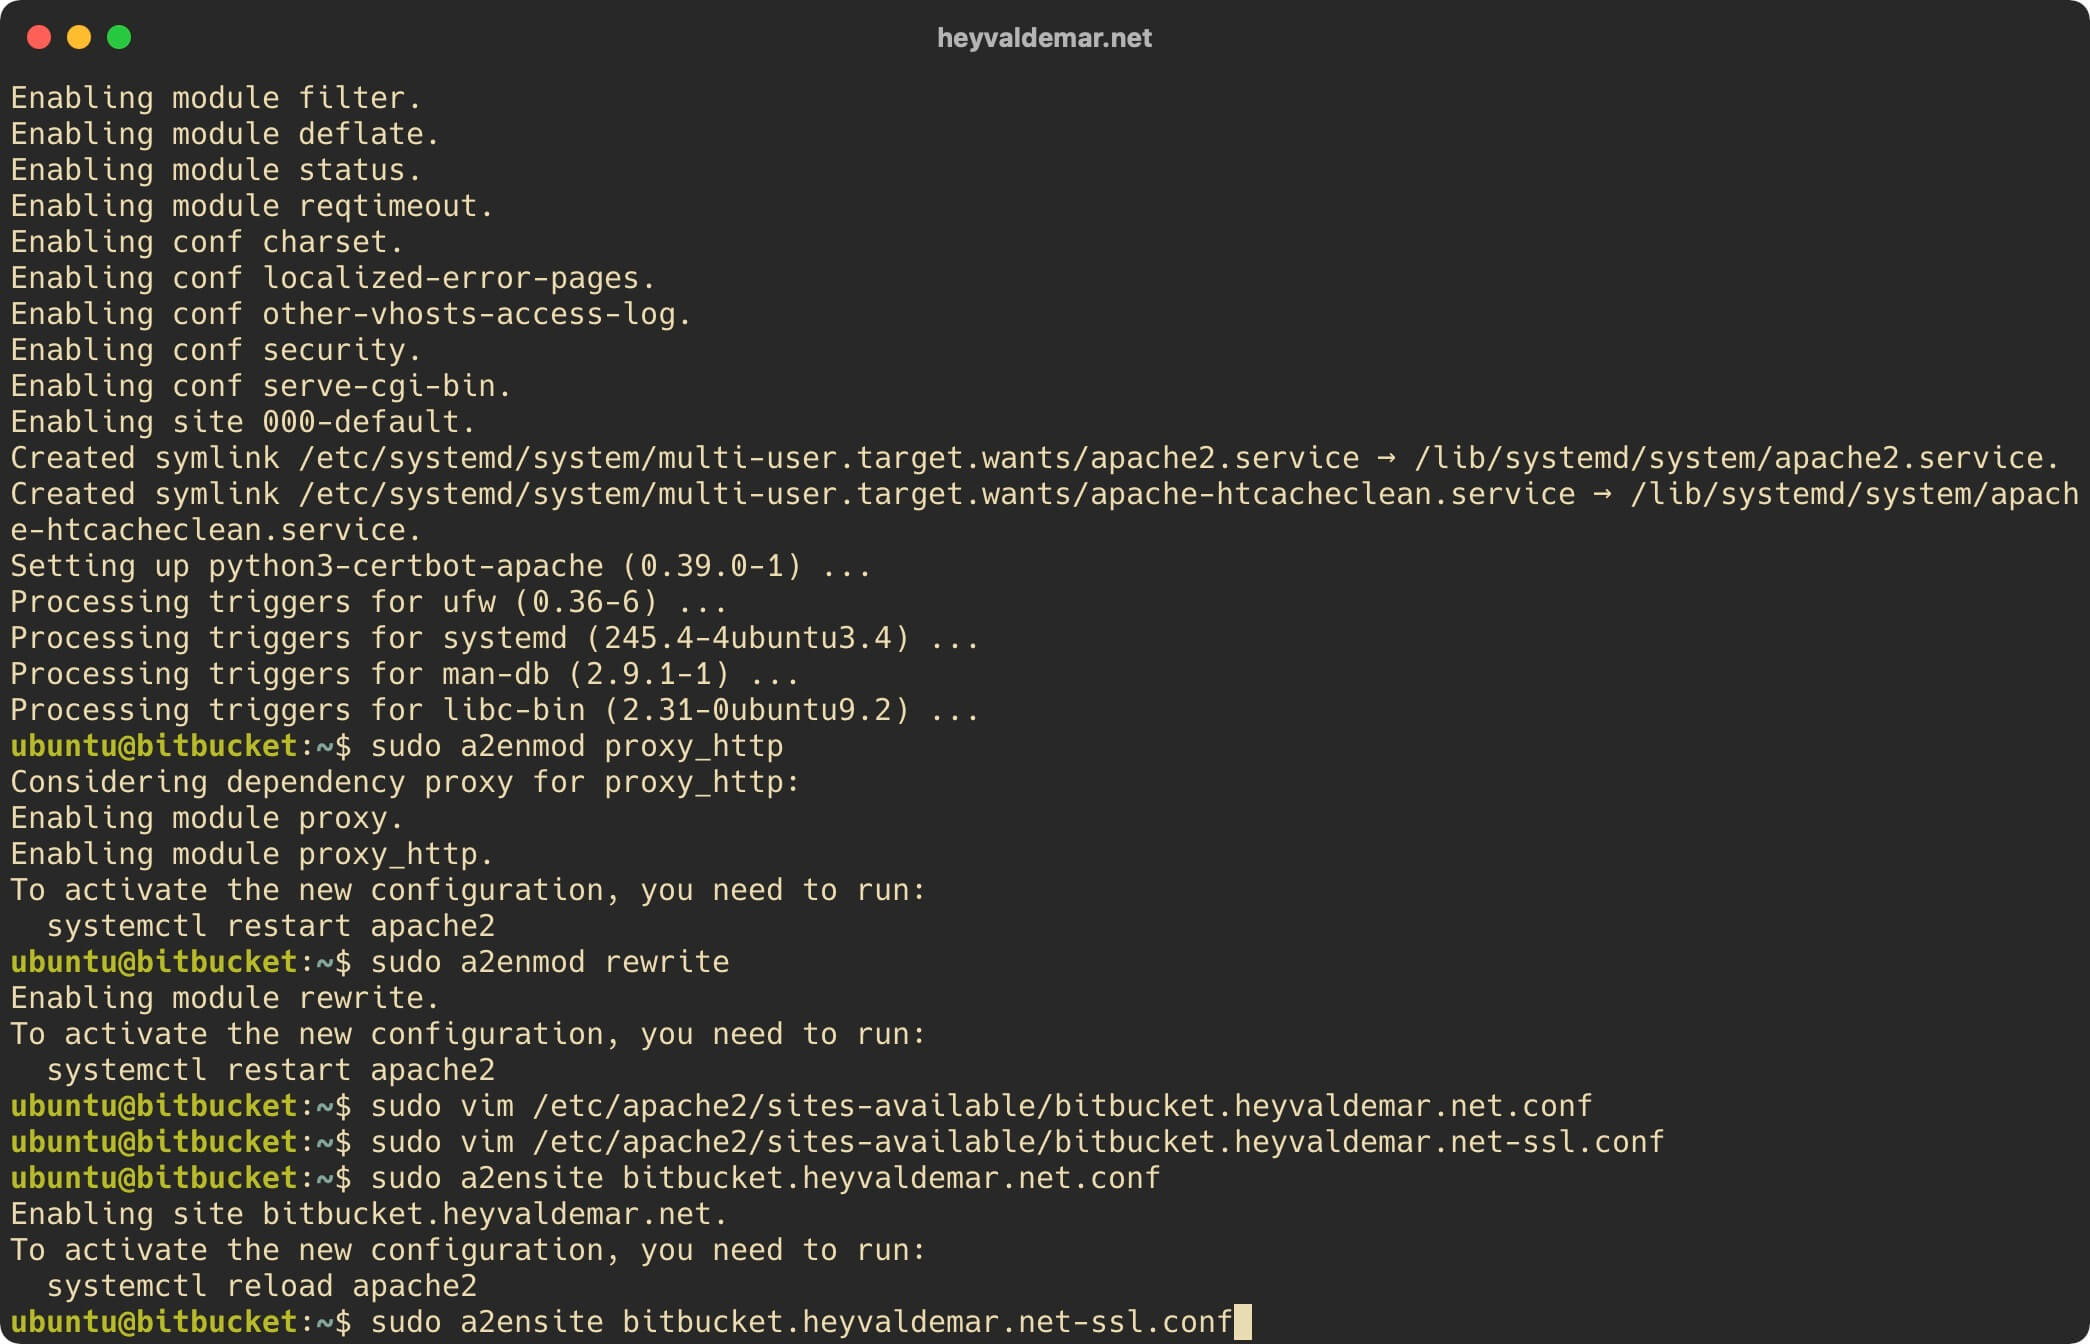
Deactivate the default virtual host using the command:
sudo a2dissite 000-default.conf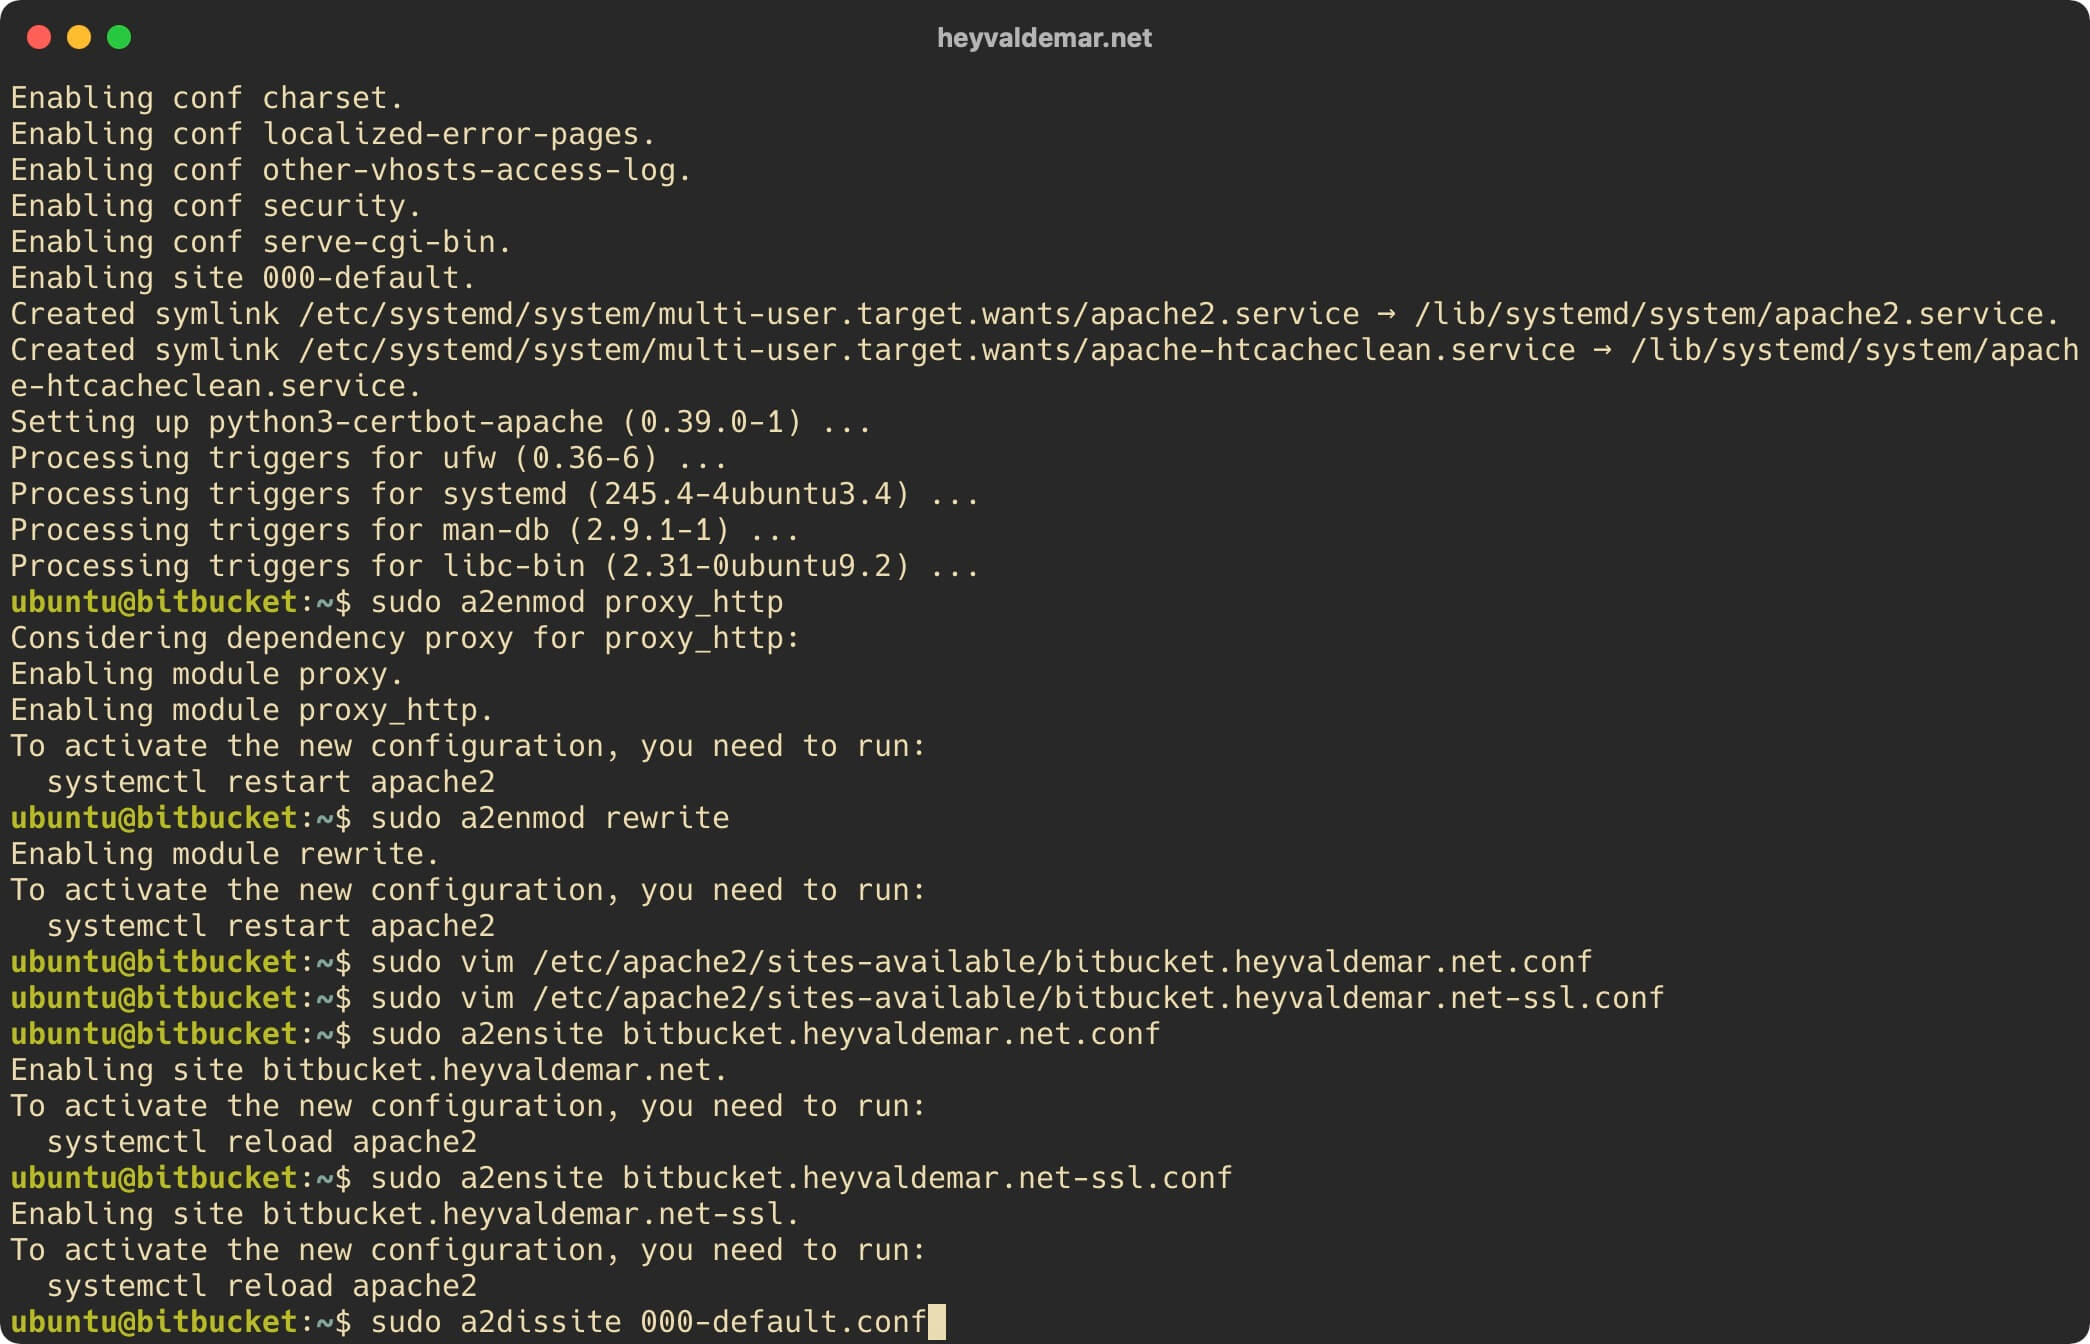
Verify that there are no errors in the syntax of the new Apache config file using the command:
sudo apache2ctl configtest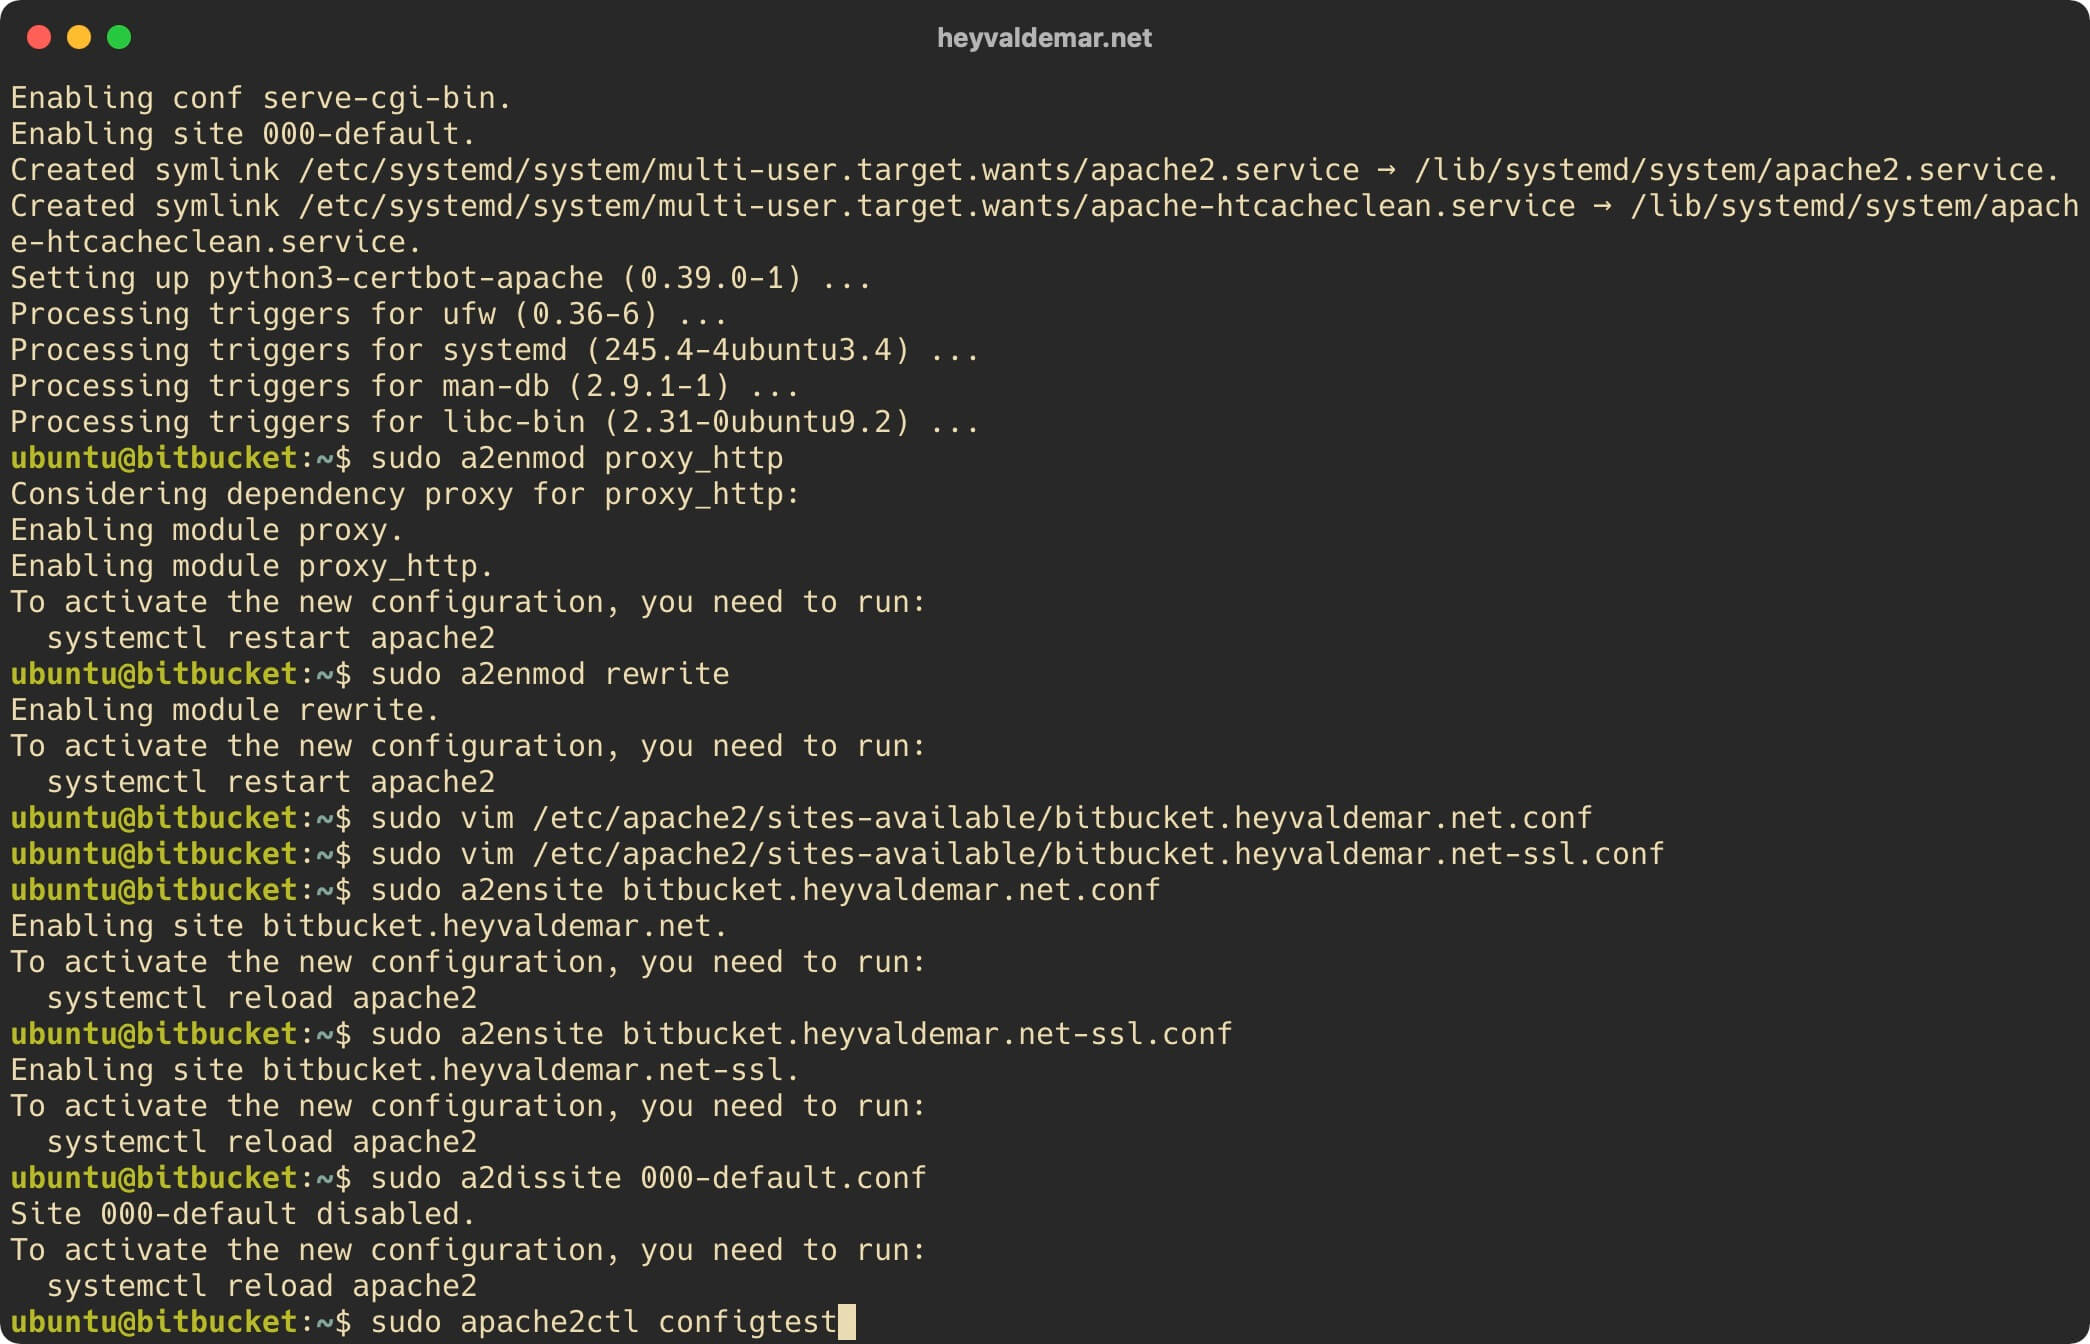
Restart Apache to apply the changes made using the command:
sudo systemctl restart apache2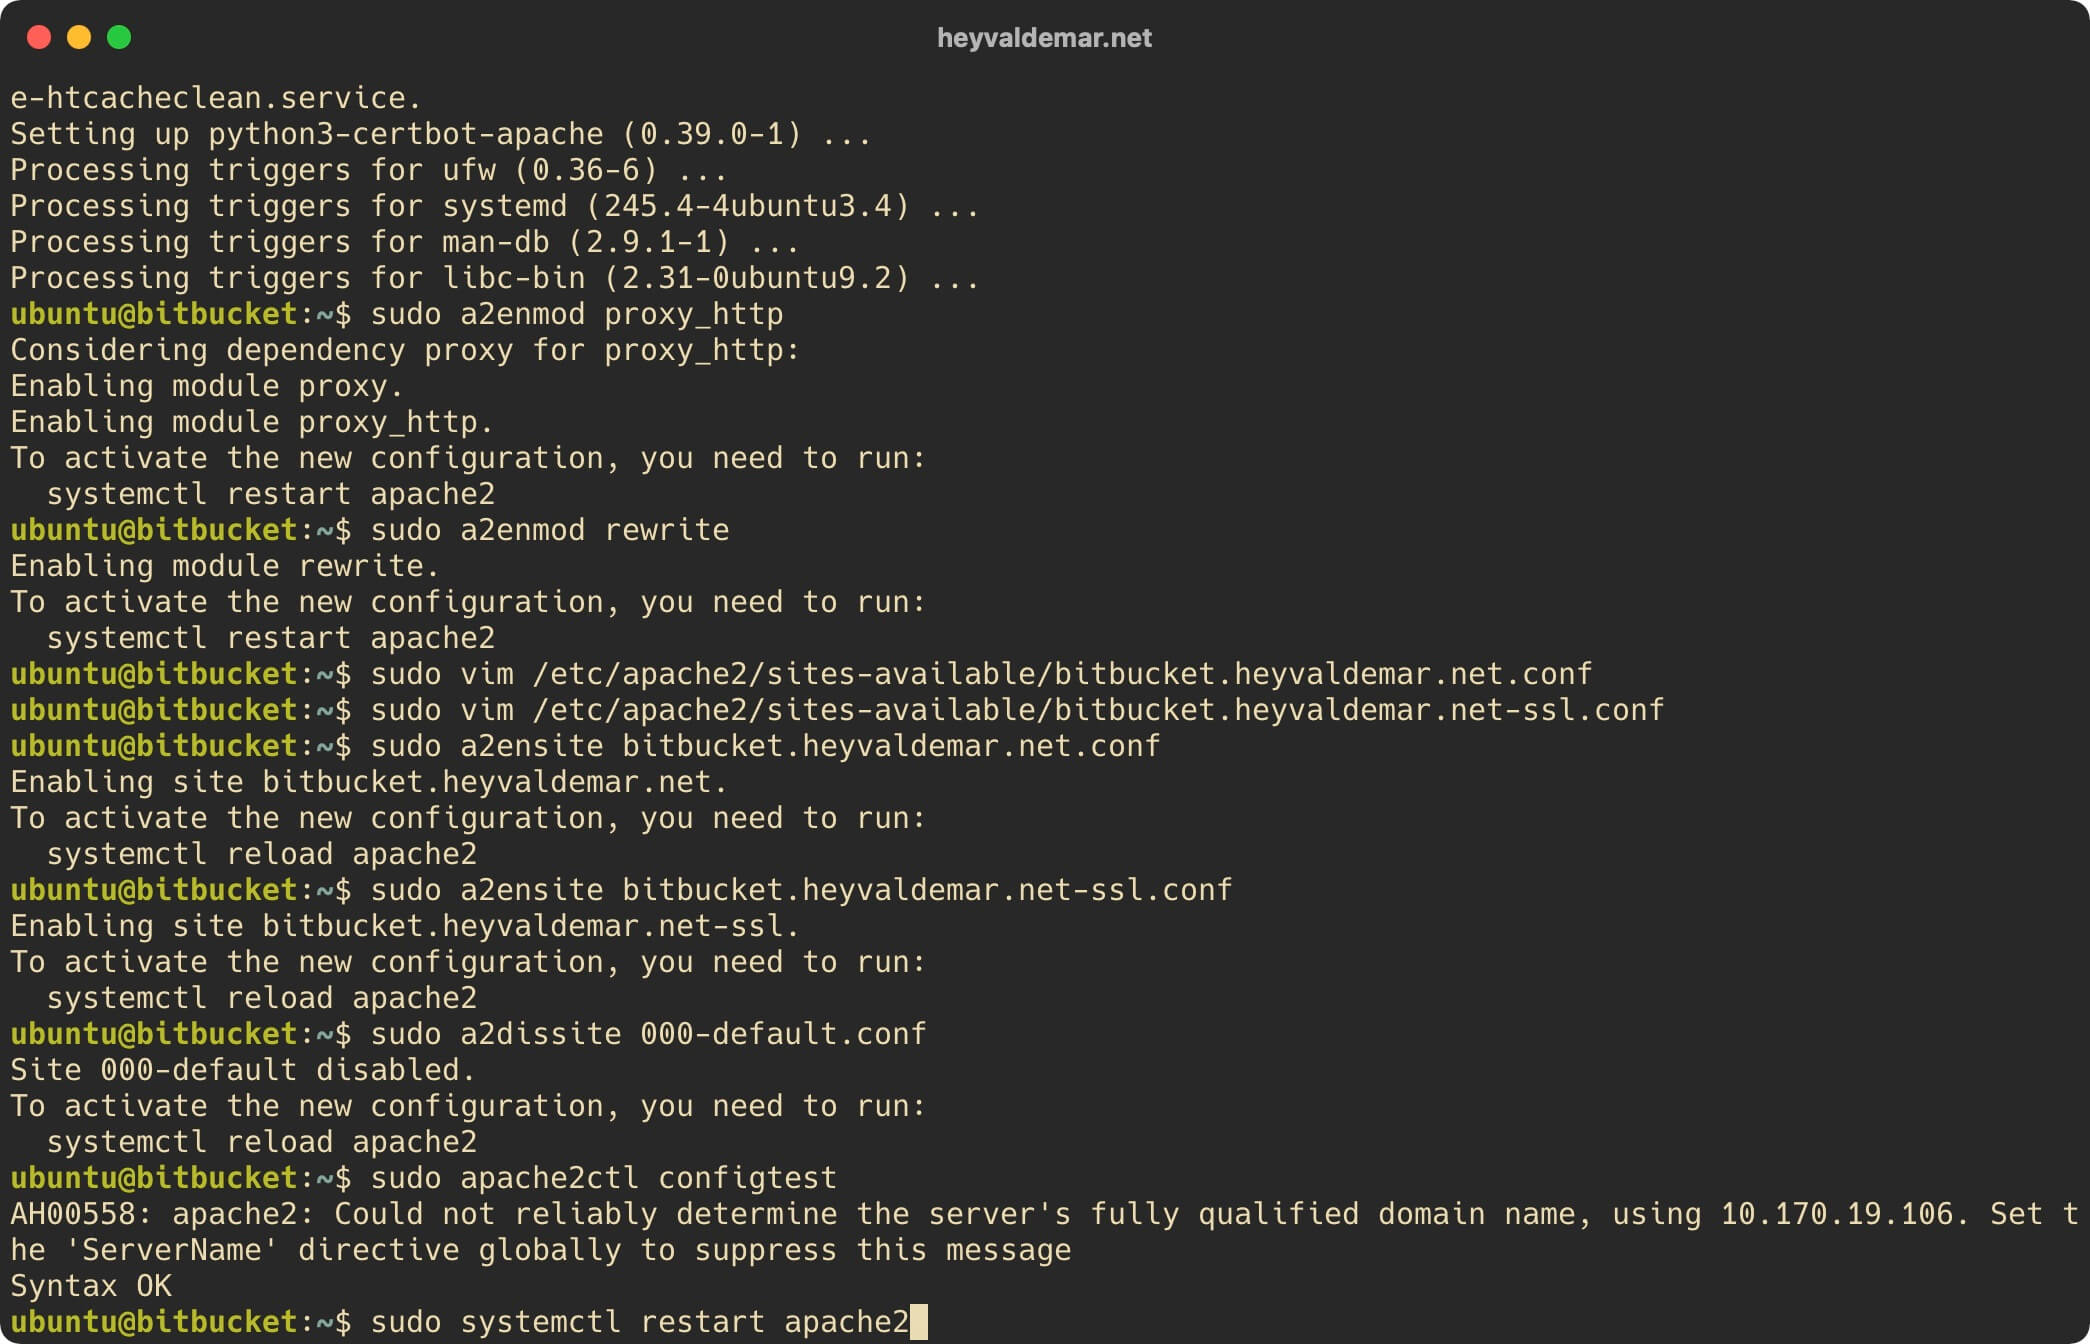
Let’s check that Apache has started successfully using the command:
sudo systemctl status apache2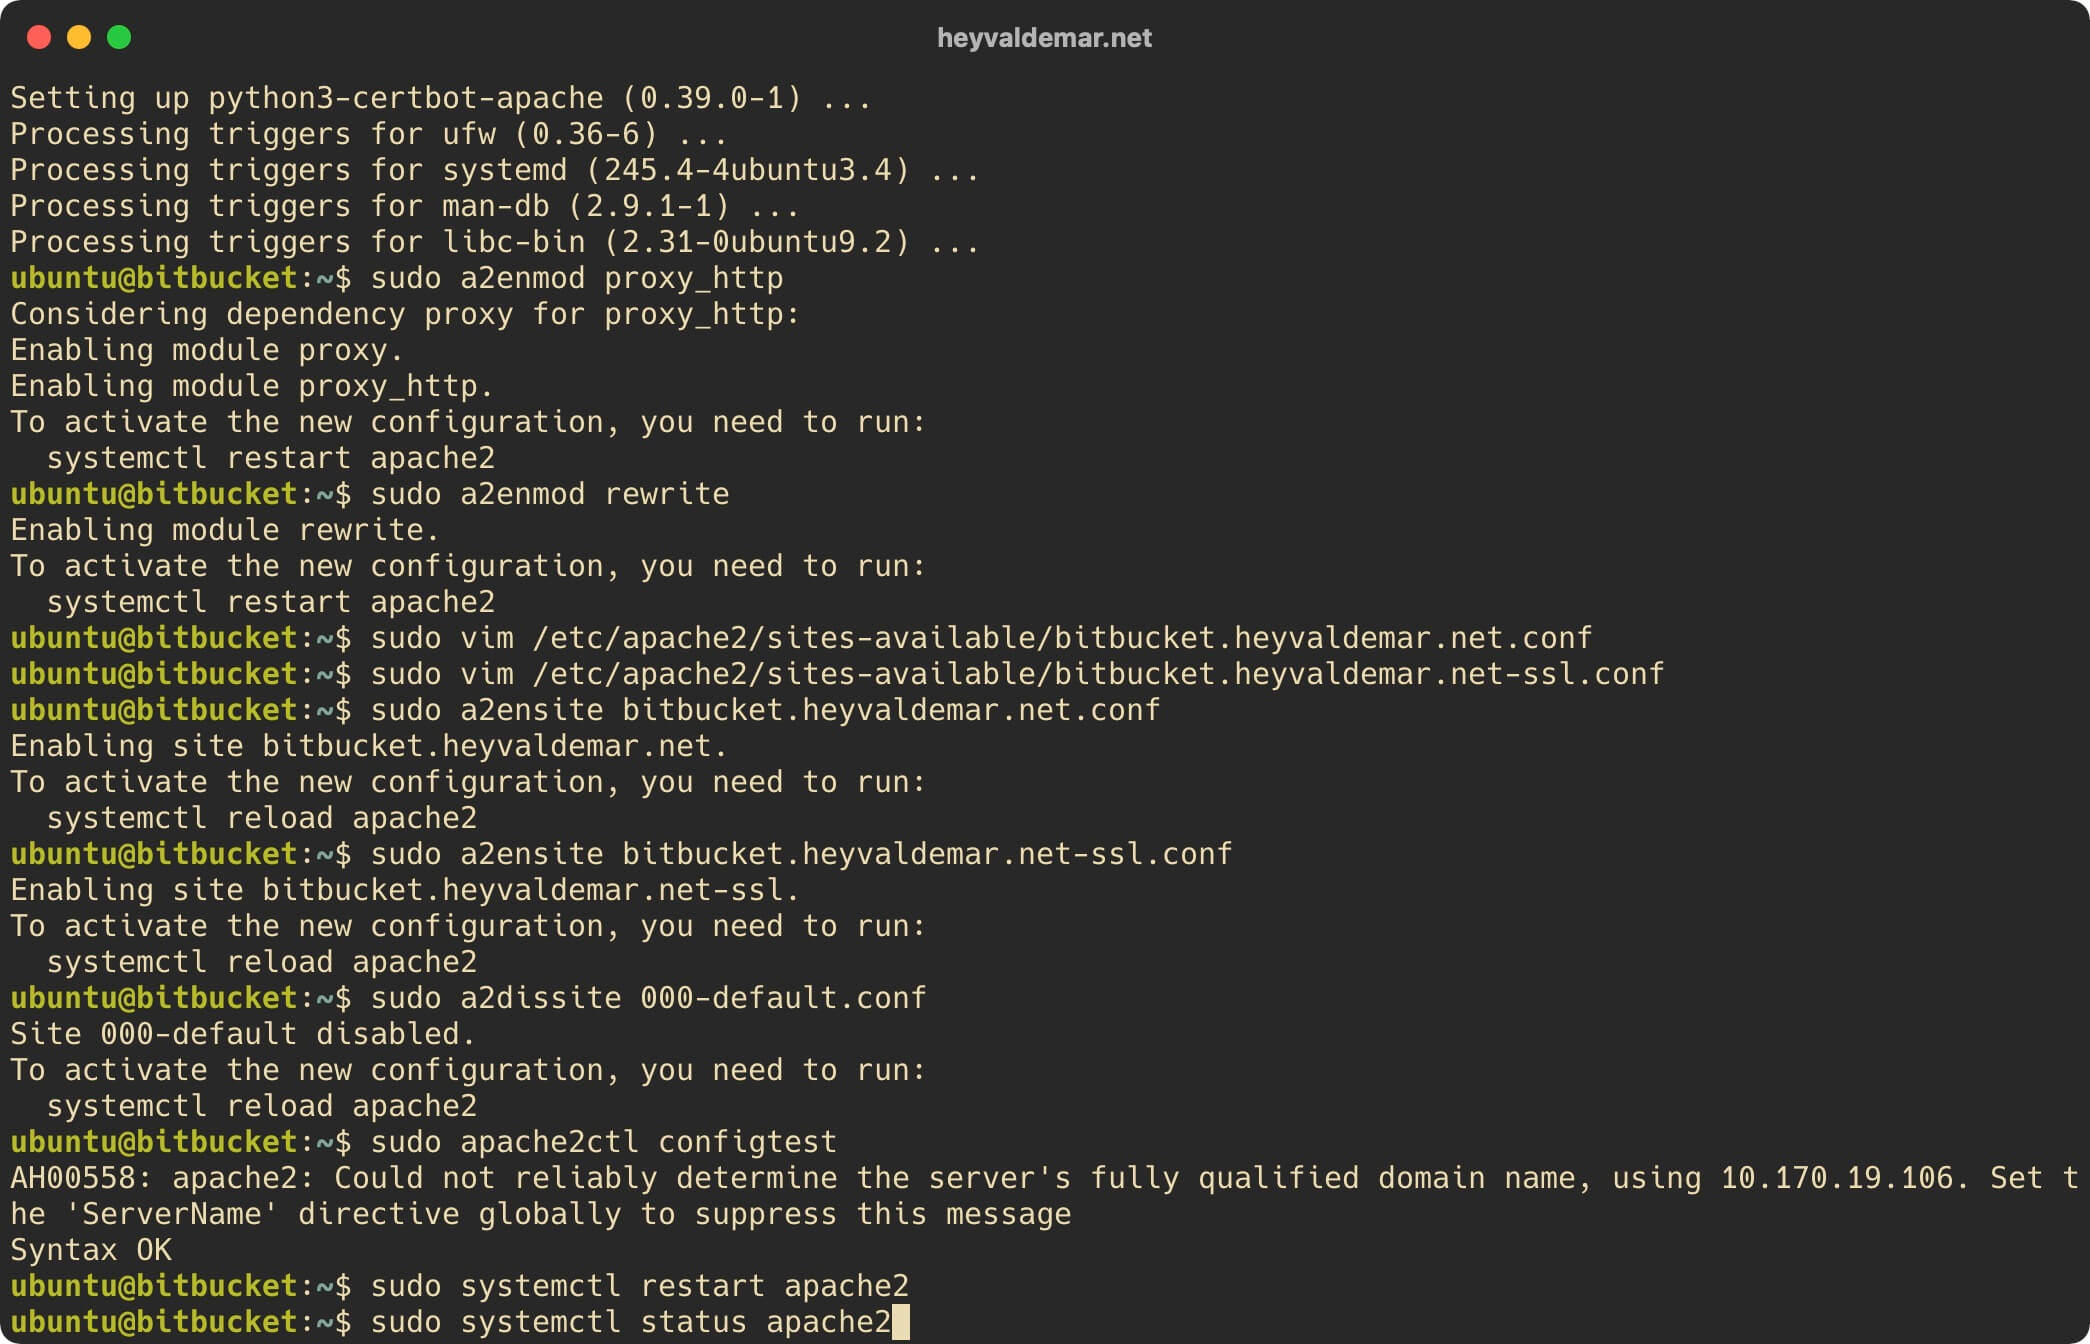
Now, to improve the security of your webserver, you need to obtain a cryptographic certificate for the domain or subdomain through which the Bitbucket control panel will be accessible from the Internet.
To obtain and subsequently renew a free SSL certificate, we will use the Let’s Encrypt certification authority, as well as the Certbot software client, which is designed to make it as easy as possible to obtain and renew a certificate through the Let’s Encrypt certification authority.
In this tutorial, the subdomain bitbucket.heyvaldemar.net will be used to access Bitbucket from the Internet. You will need to specify your domain or subdomain under which your Bitbucket will be accessible from the Internet.
Request a cryptographic certificate using the command:
sudo certbot --apache -d bitbucket.heyvaldemar.net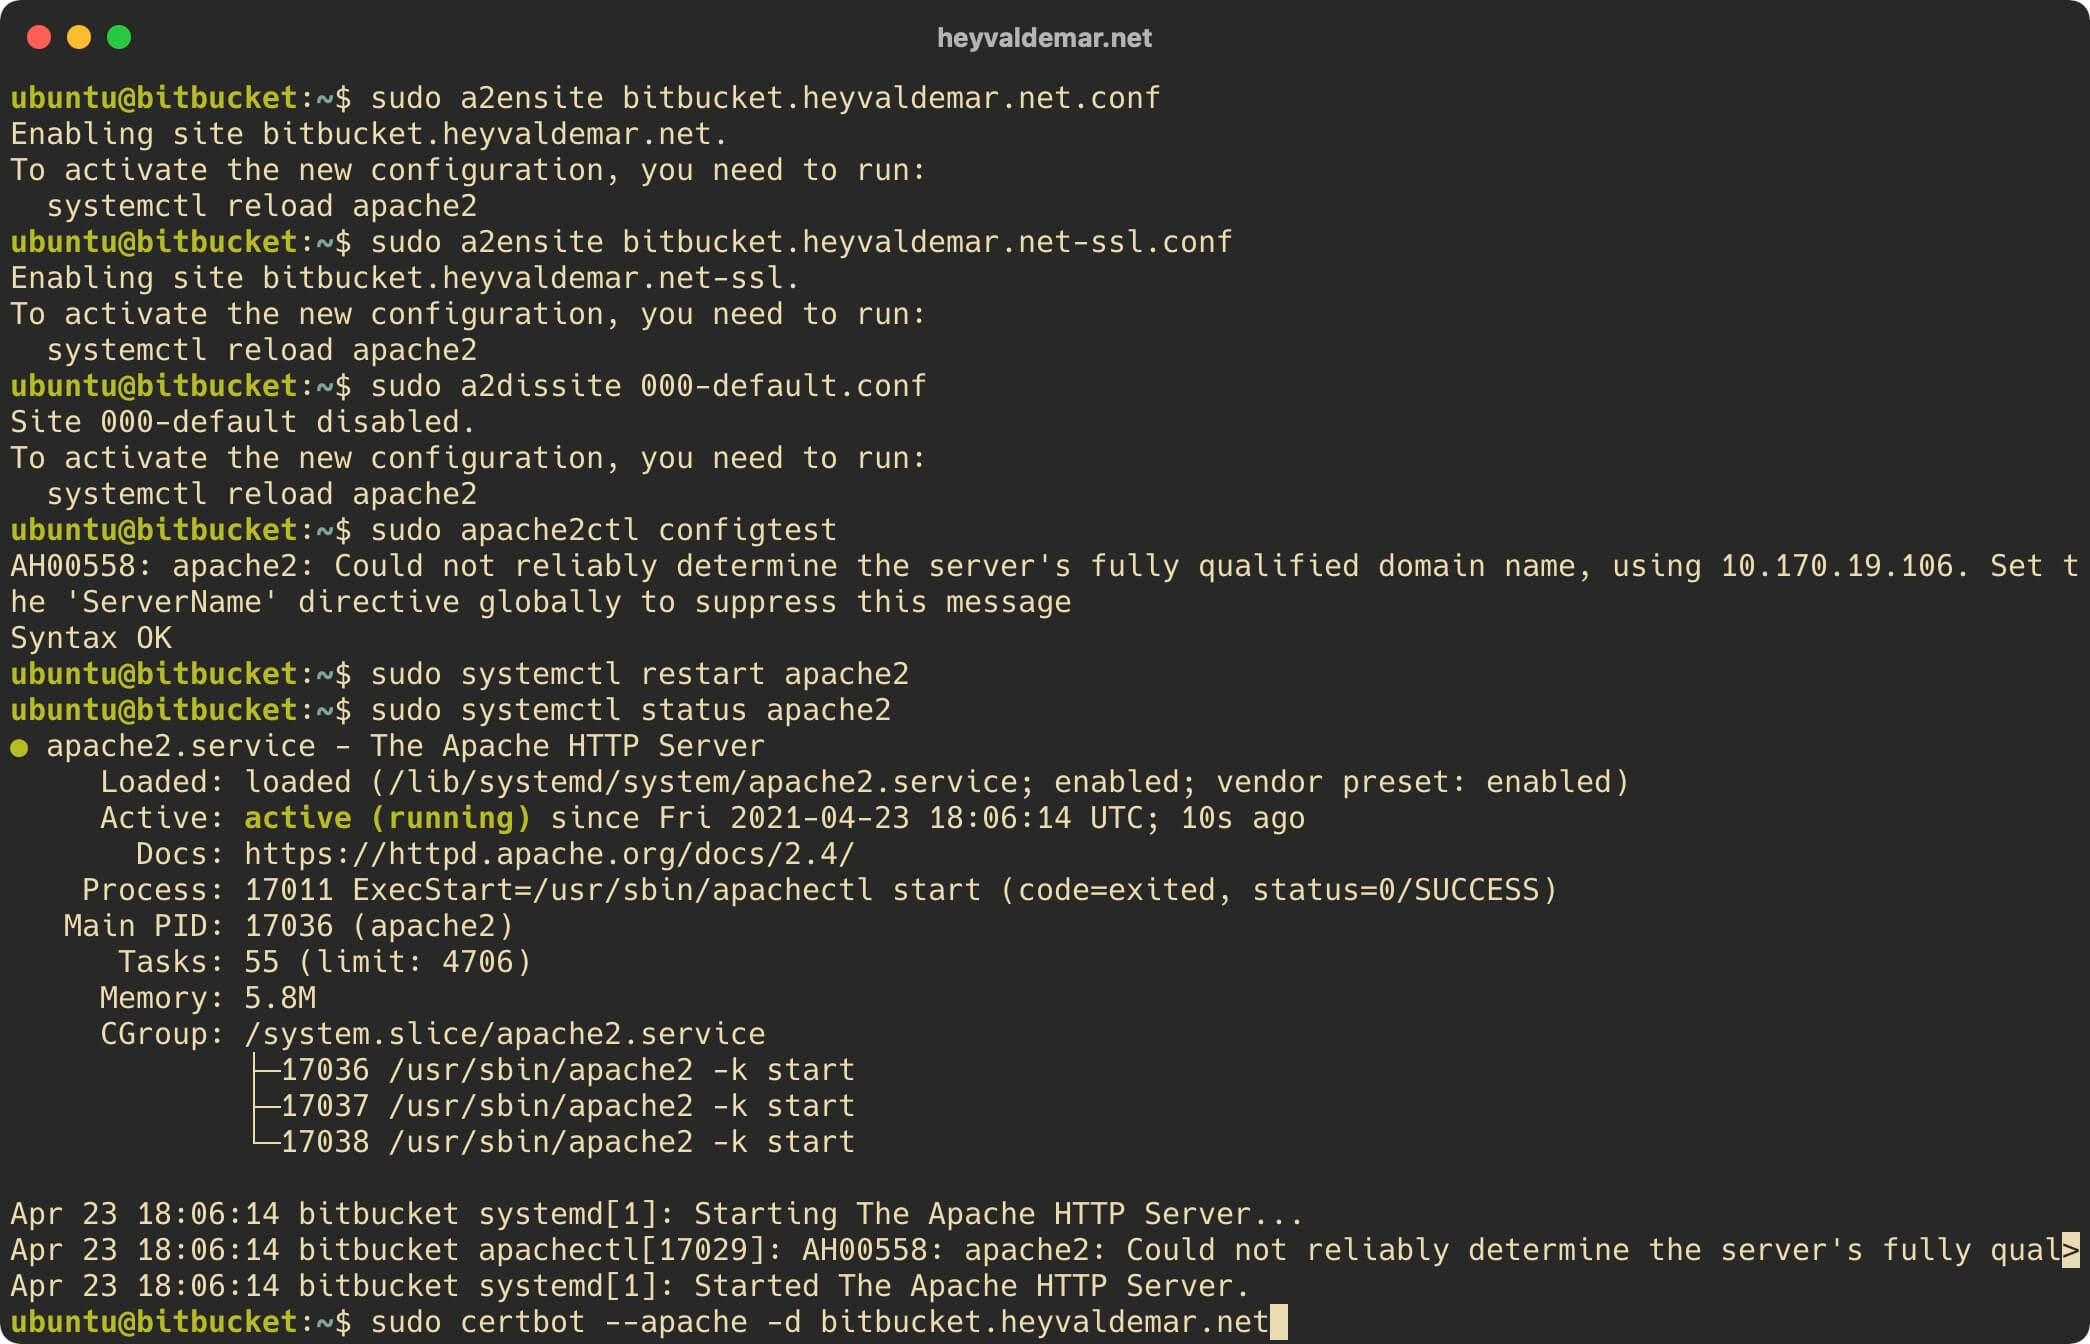
Next, we indicate the email address to which Let’s Encrypt will send notifications about the expiration of the cryptographic certificate and press the “Enter” button.
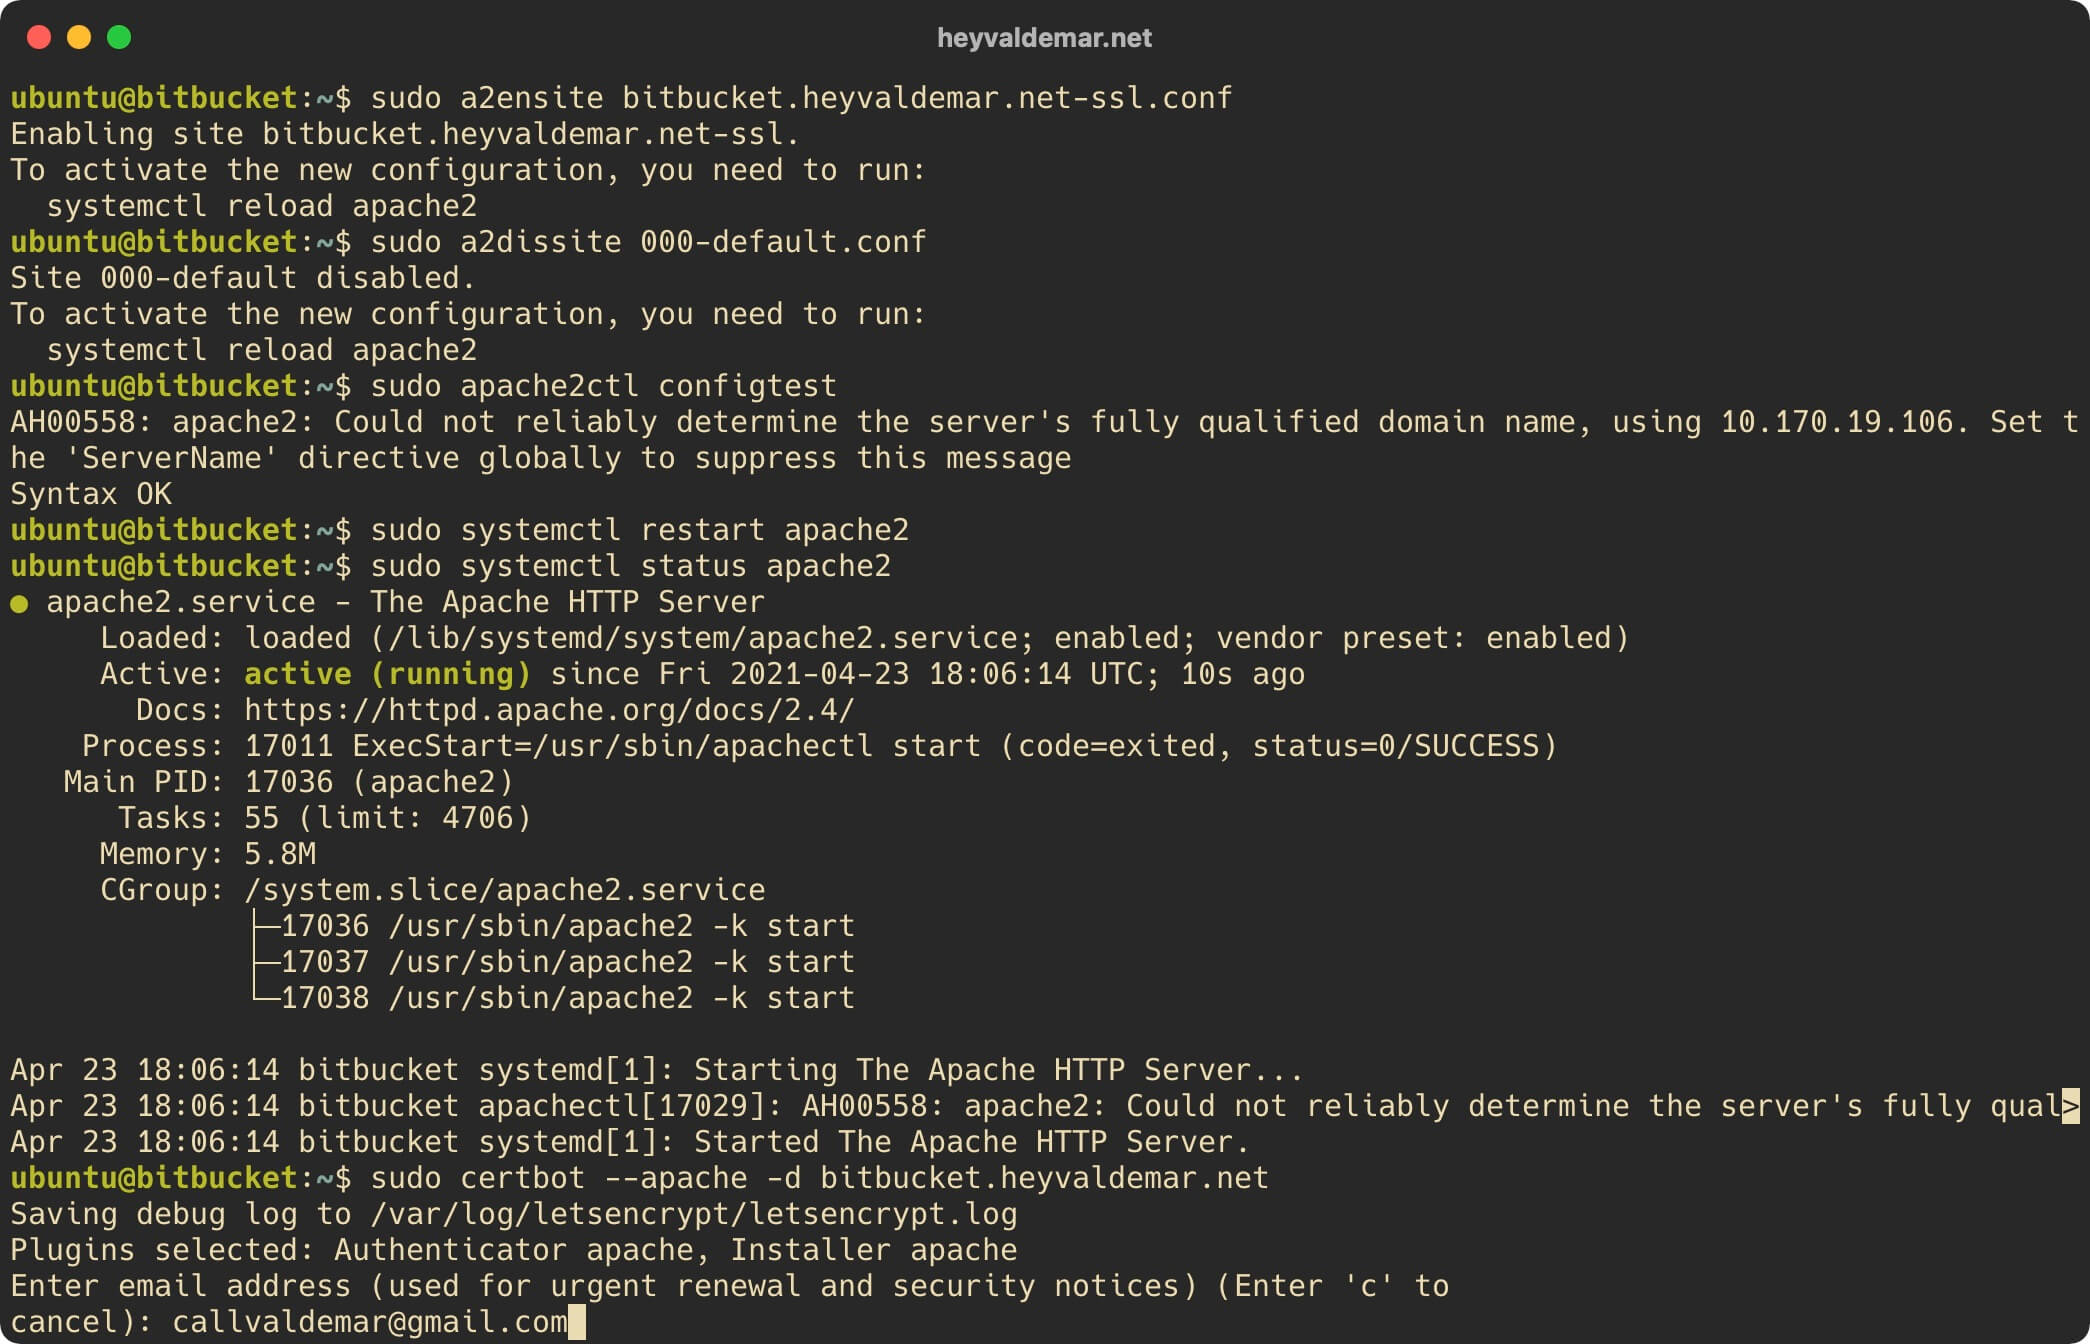
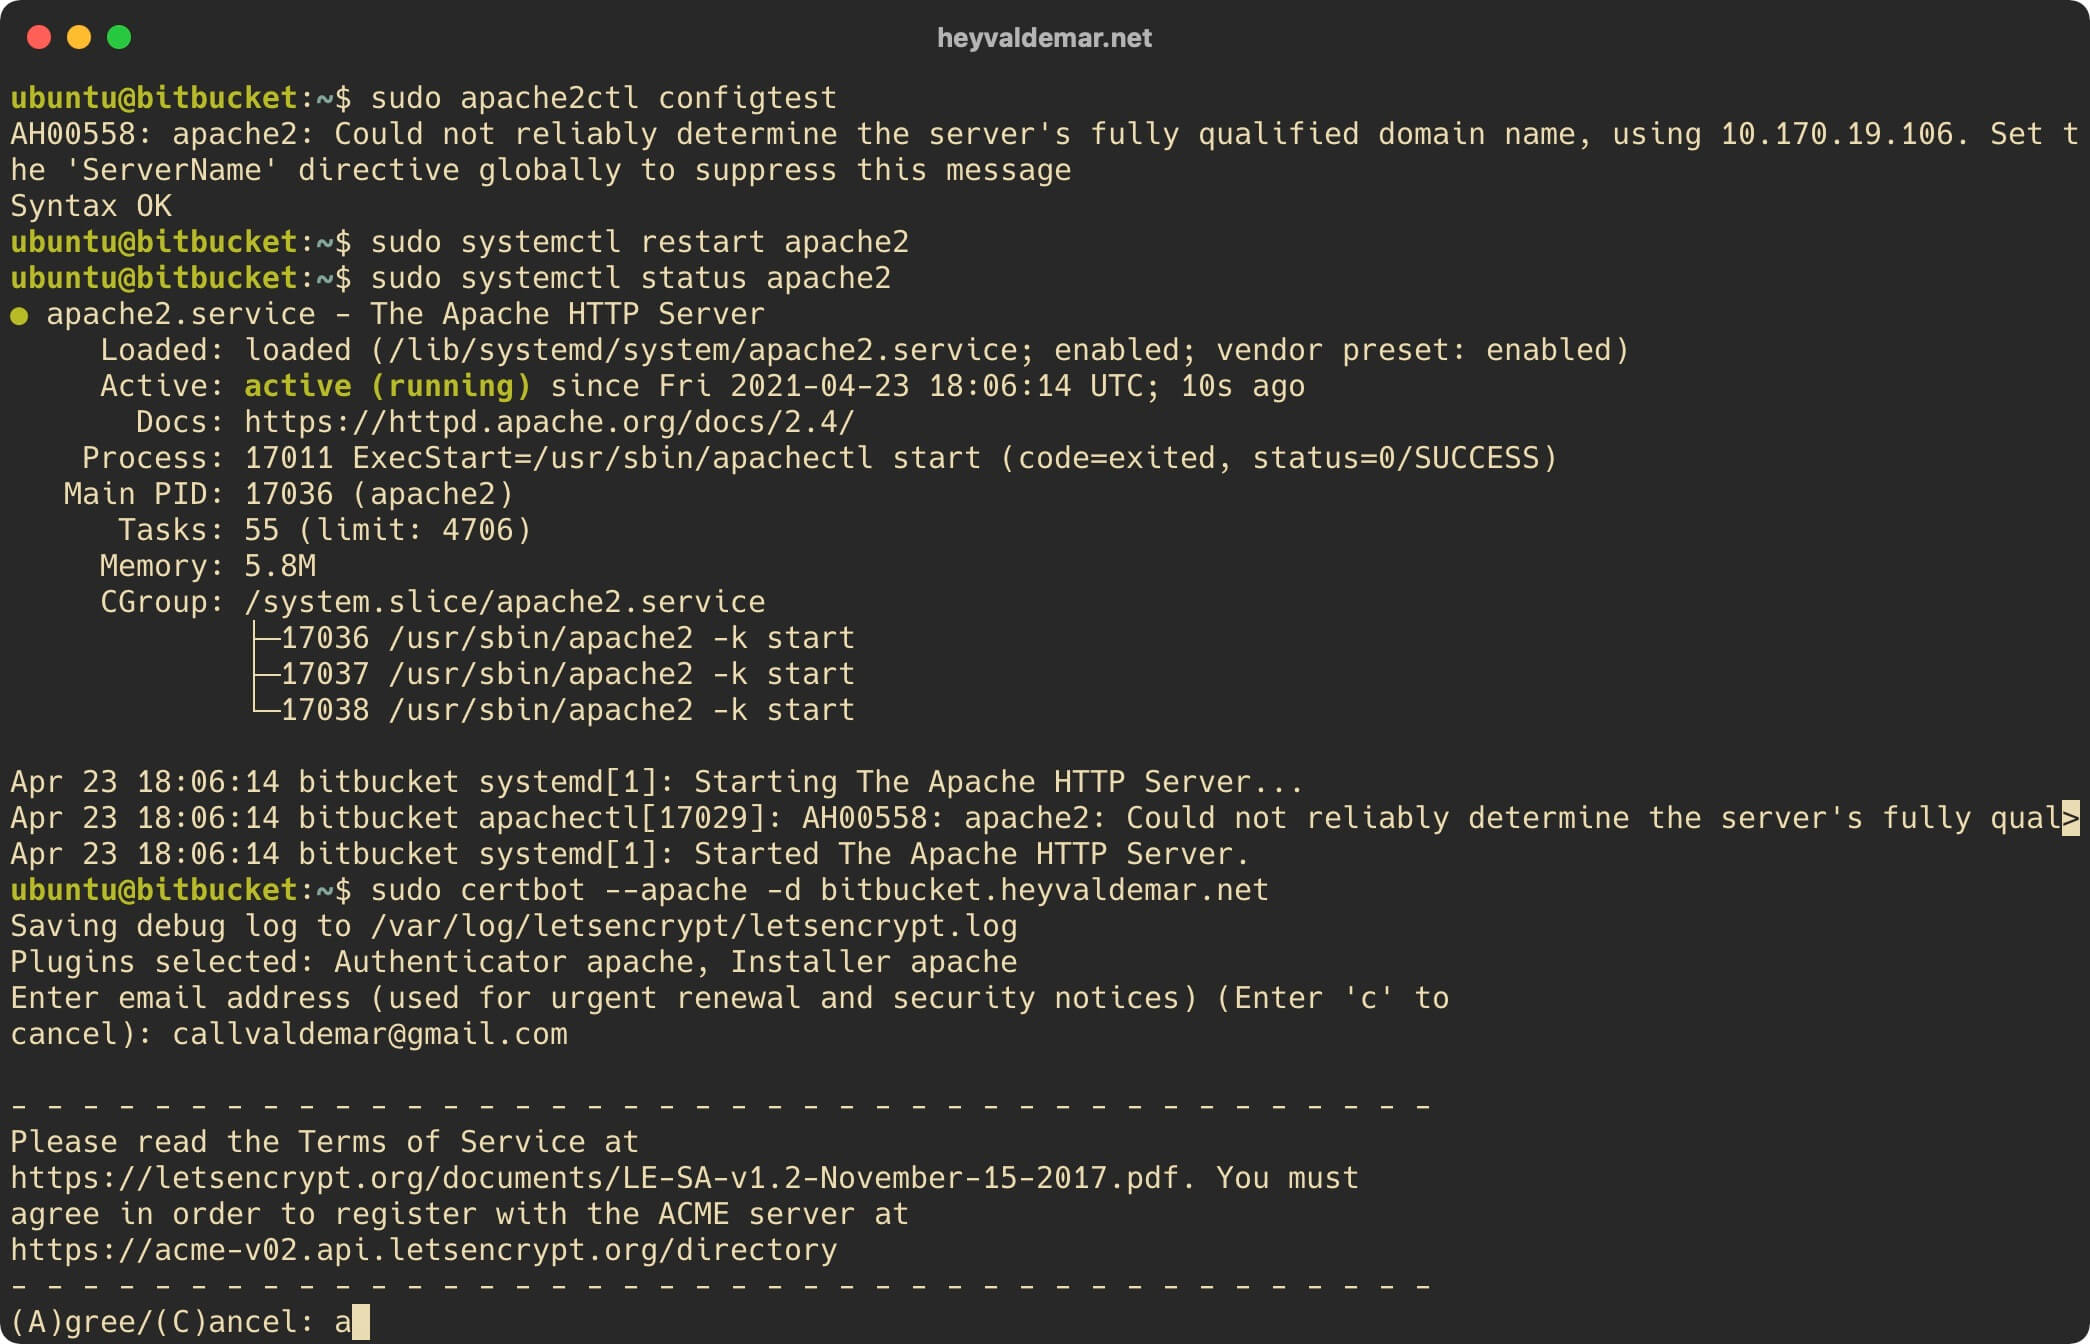
The next step is to read and accept the terms of use of the services provided.
Press the button “a”, then “Enter”, if you agree with the terms of use of the services provided.
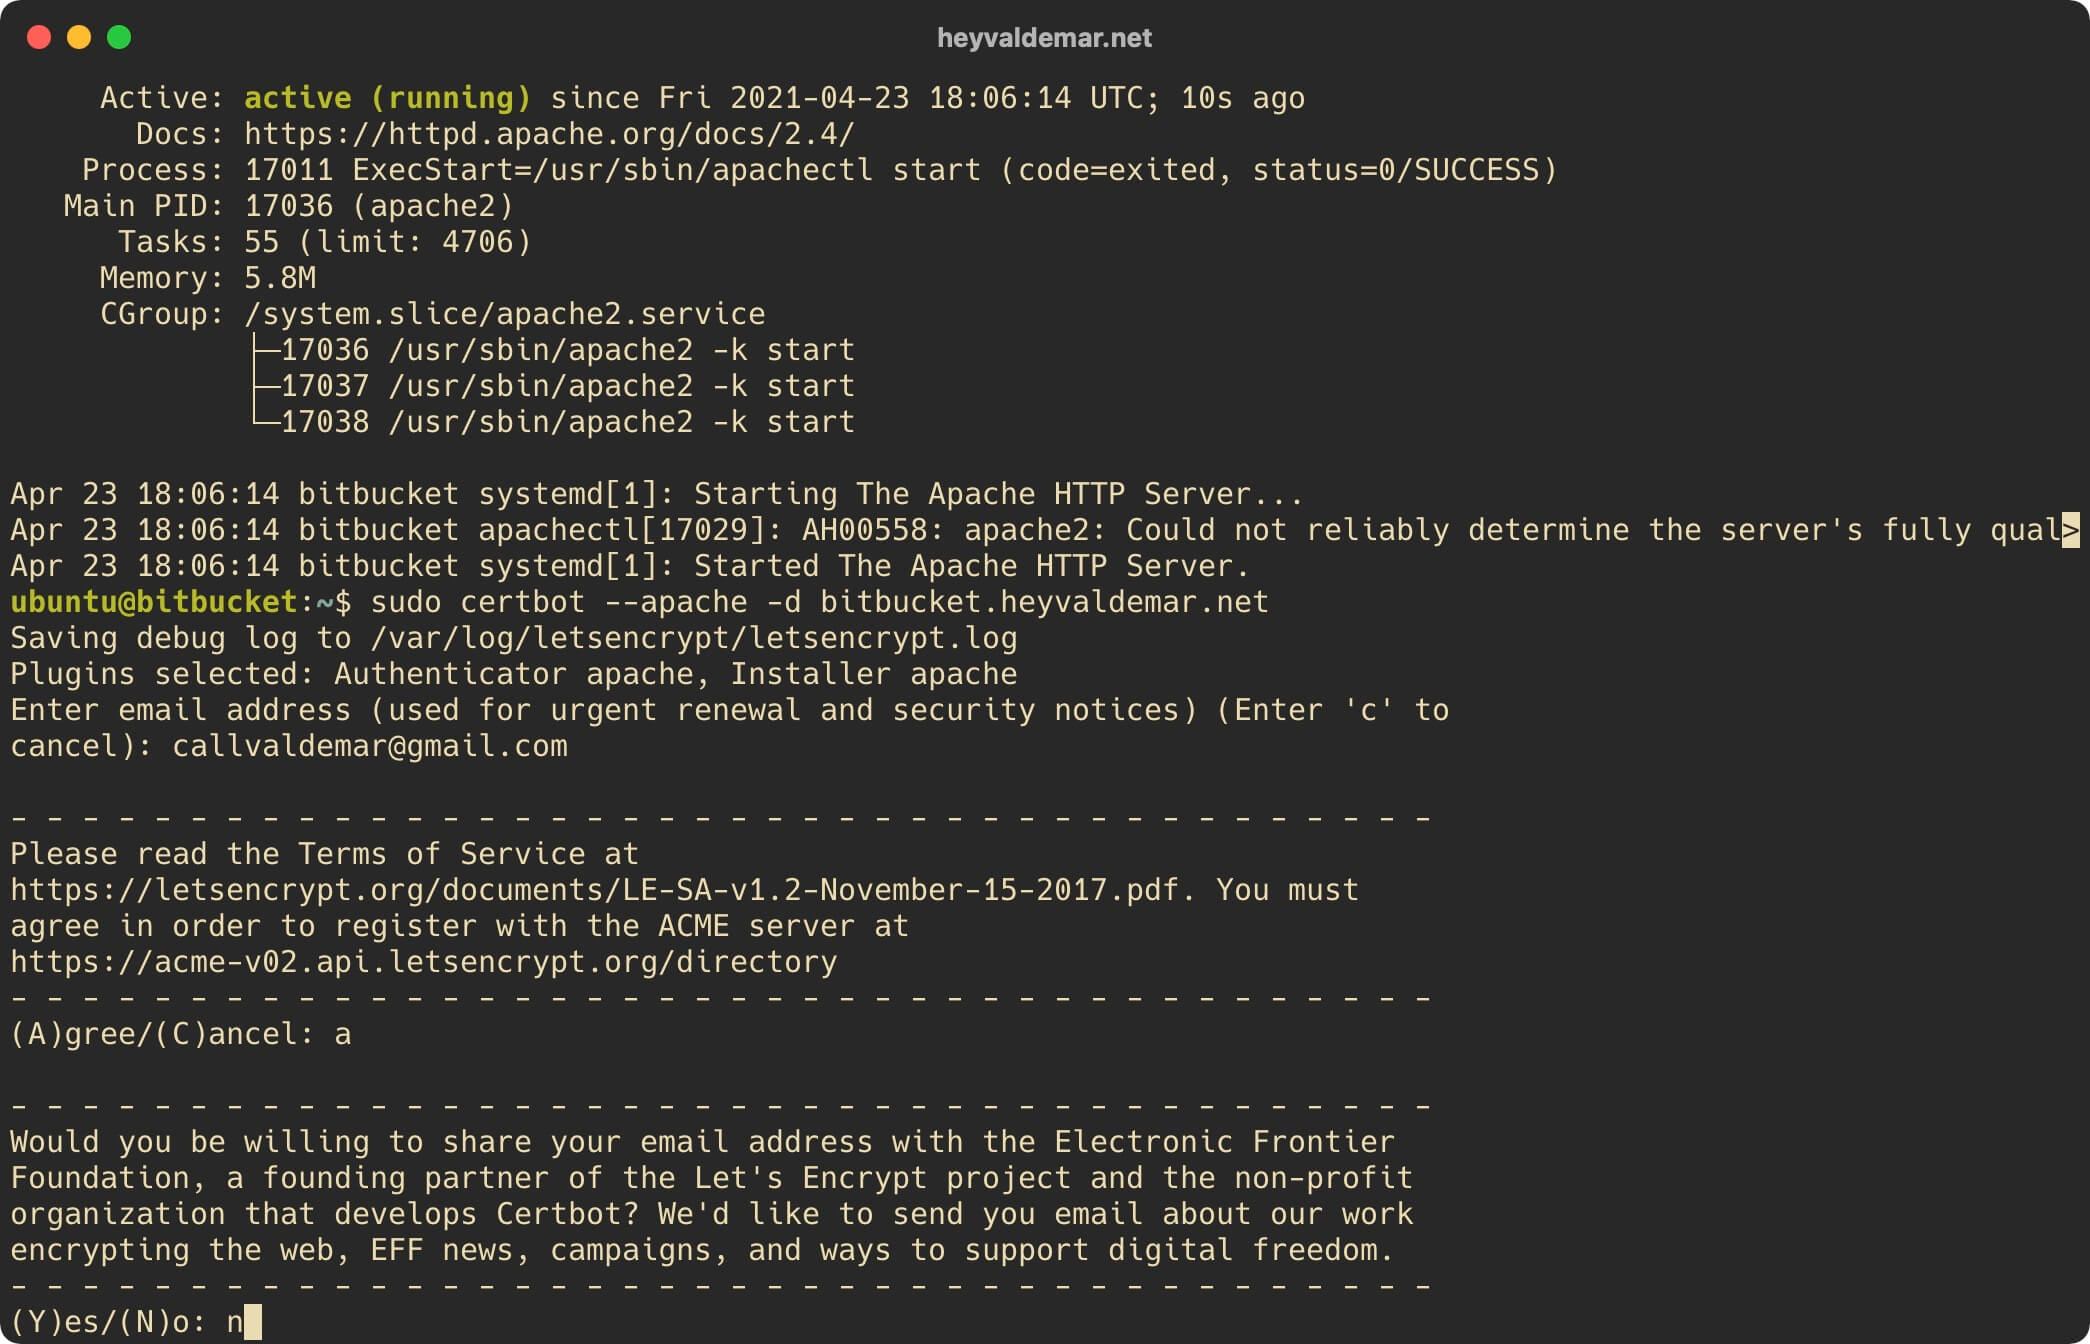
The next step is to choose whether you would like to share the above email address with the Electronic Frontier Foundation in order to receive newsletters.
Press the “n” button, then “Enter”.
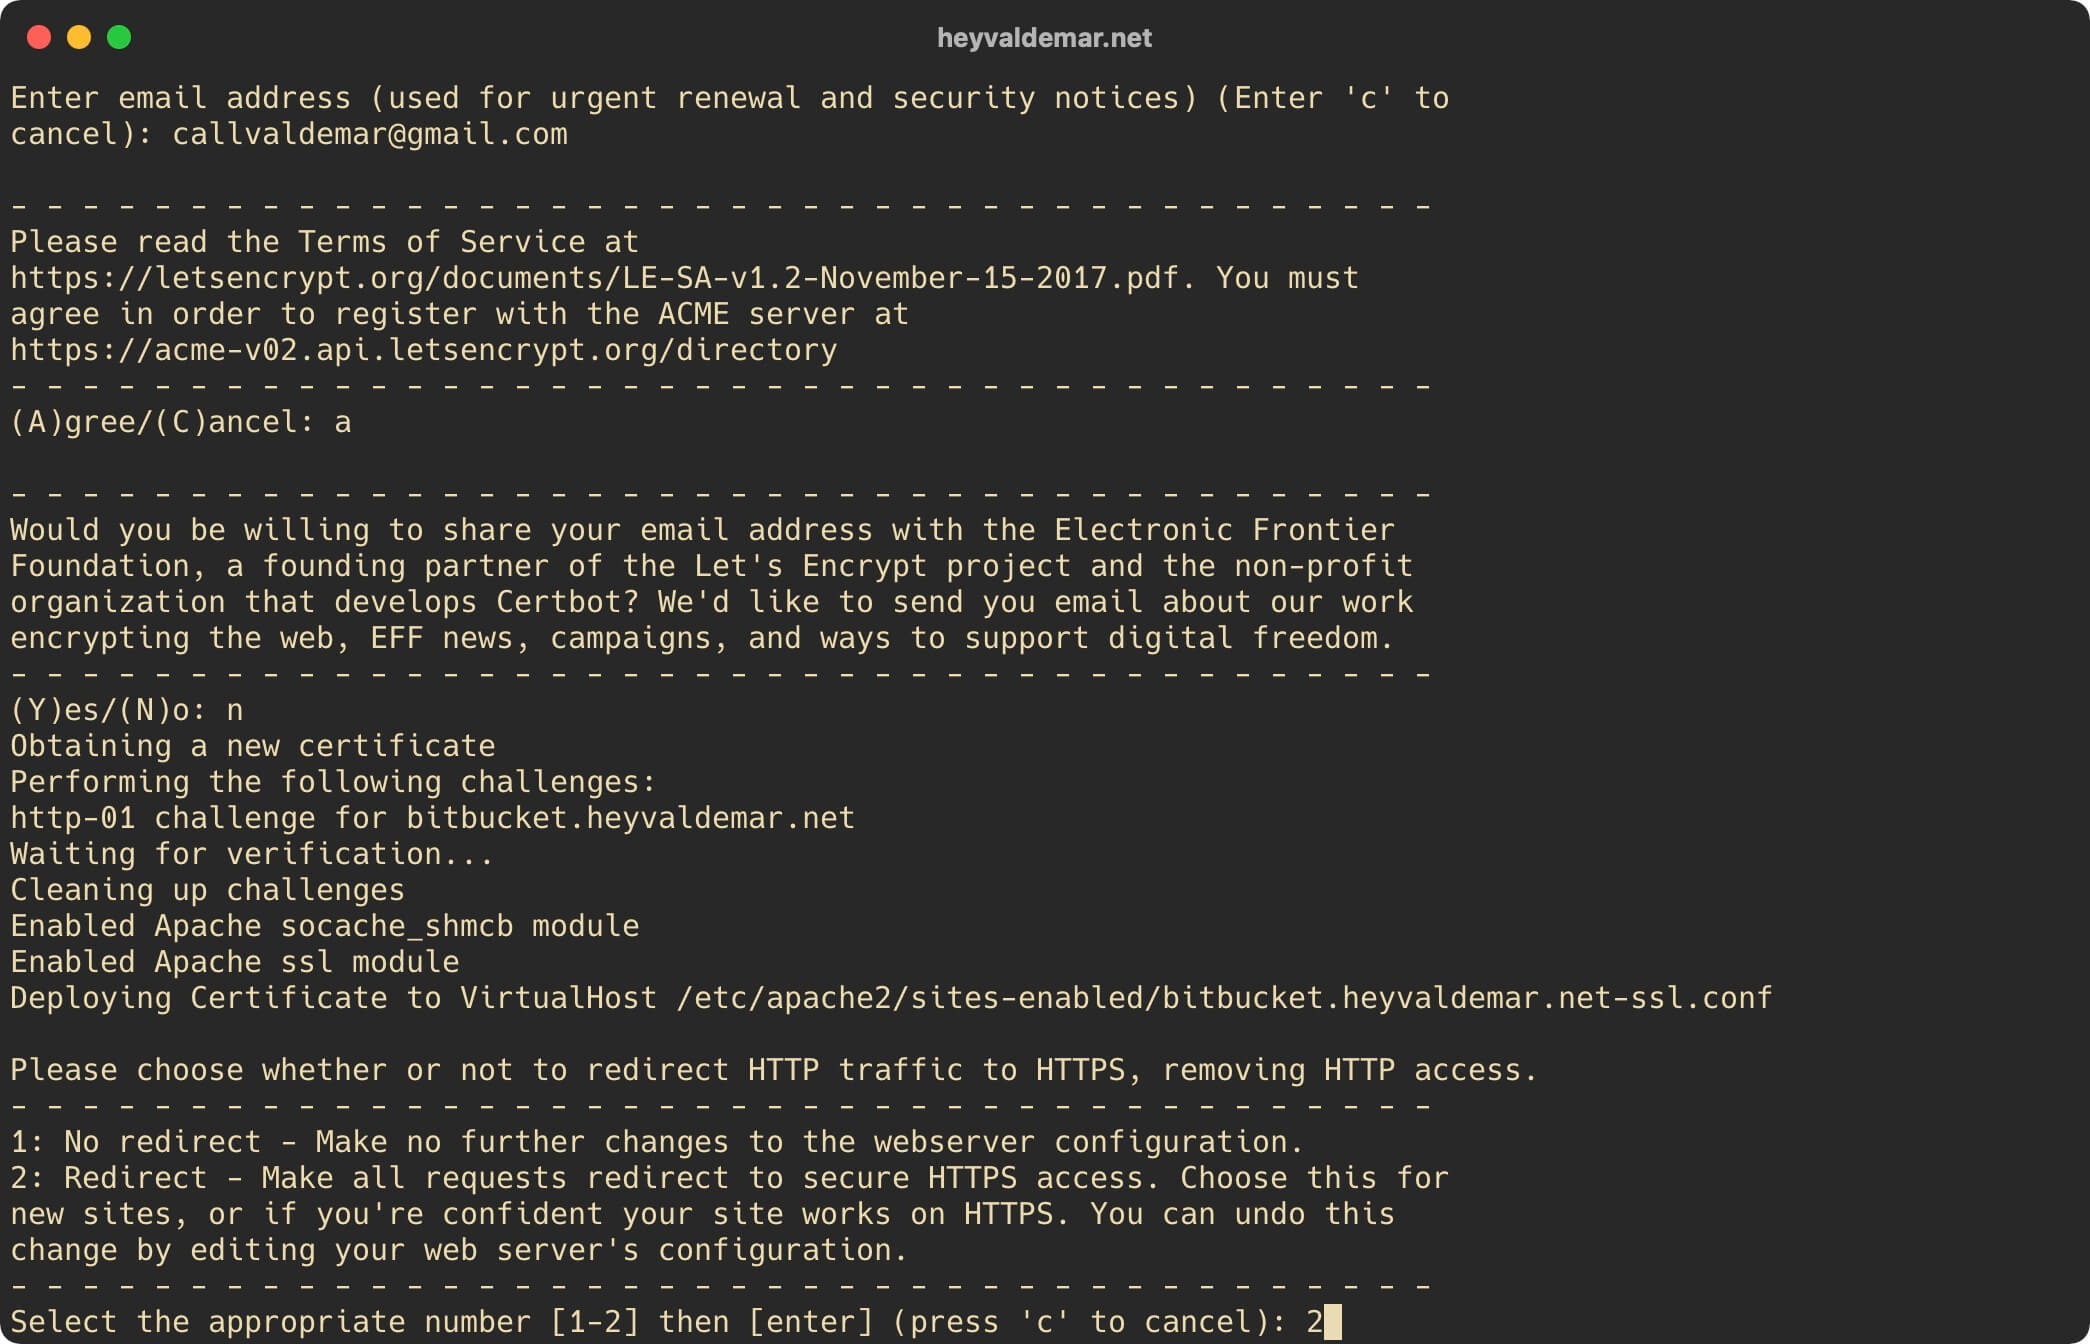
At the next stage, you need to choose: do you want the parameters to be automatically added to the Apache configuration file for automatically redirecting HTTP traffic to HTTPS.
Press the button “2”, then “Enter”.
Please note that cryptographic certificates obtained through Let’s Encrypt CA are valid for ninety days. Certbot automatically adds a script to renew the certificate to the task scheduler and the script runs twice a day, automatically renewing any cryptographic certificate that expires within thirty days.
You can check the functionality of the cryptographic certificate renewal process using the command:
sudo certbot renew --dry-run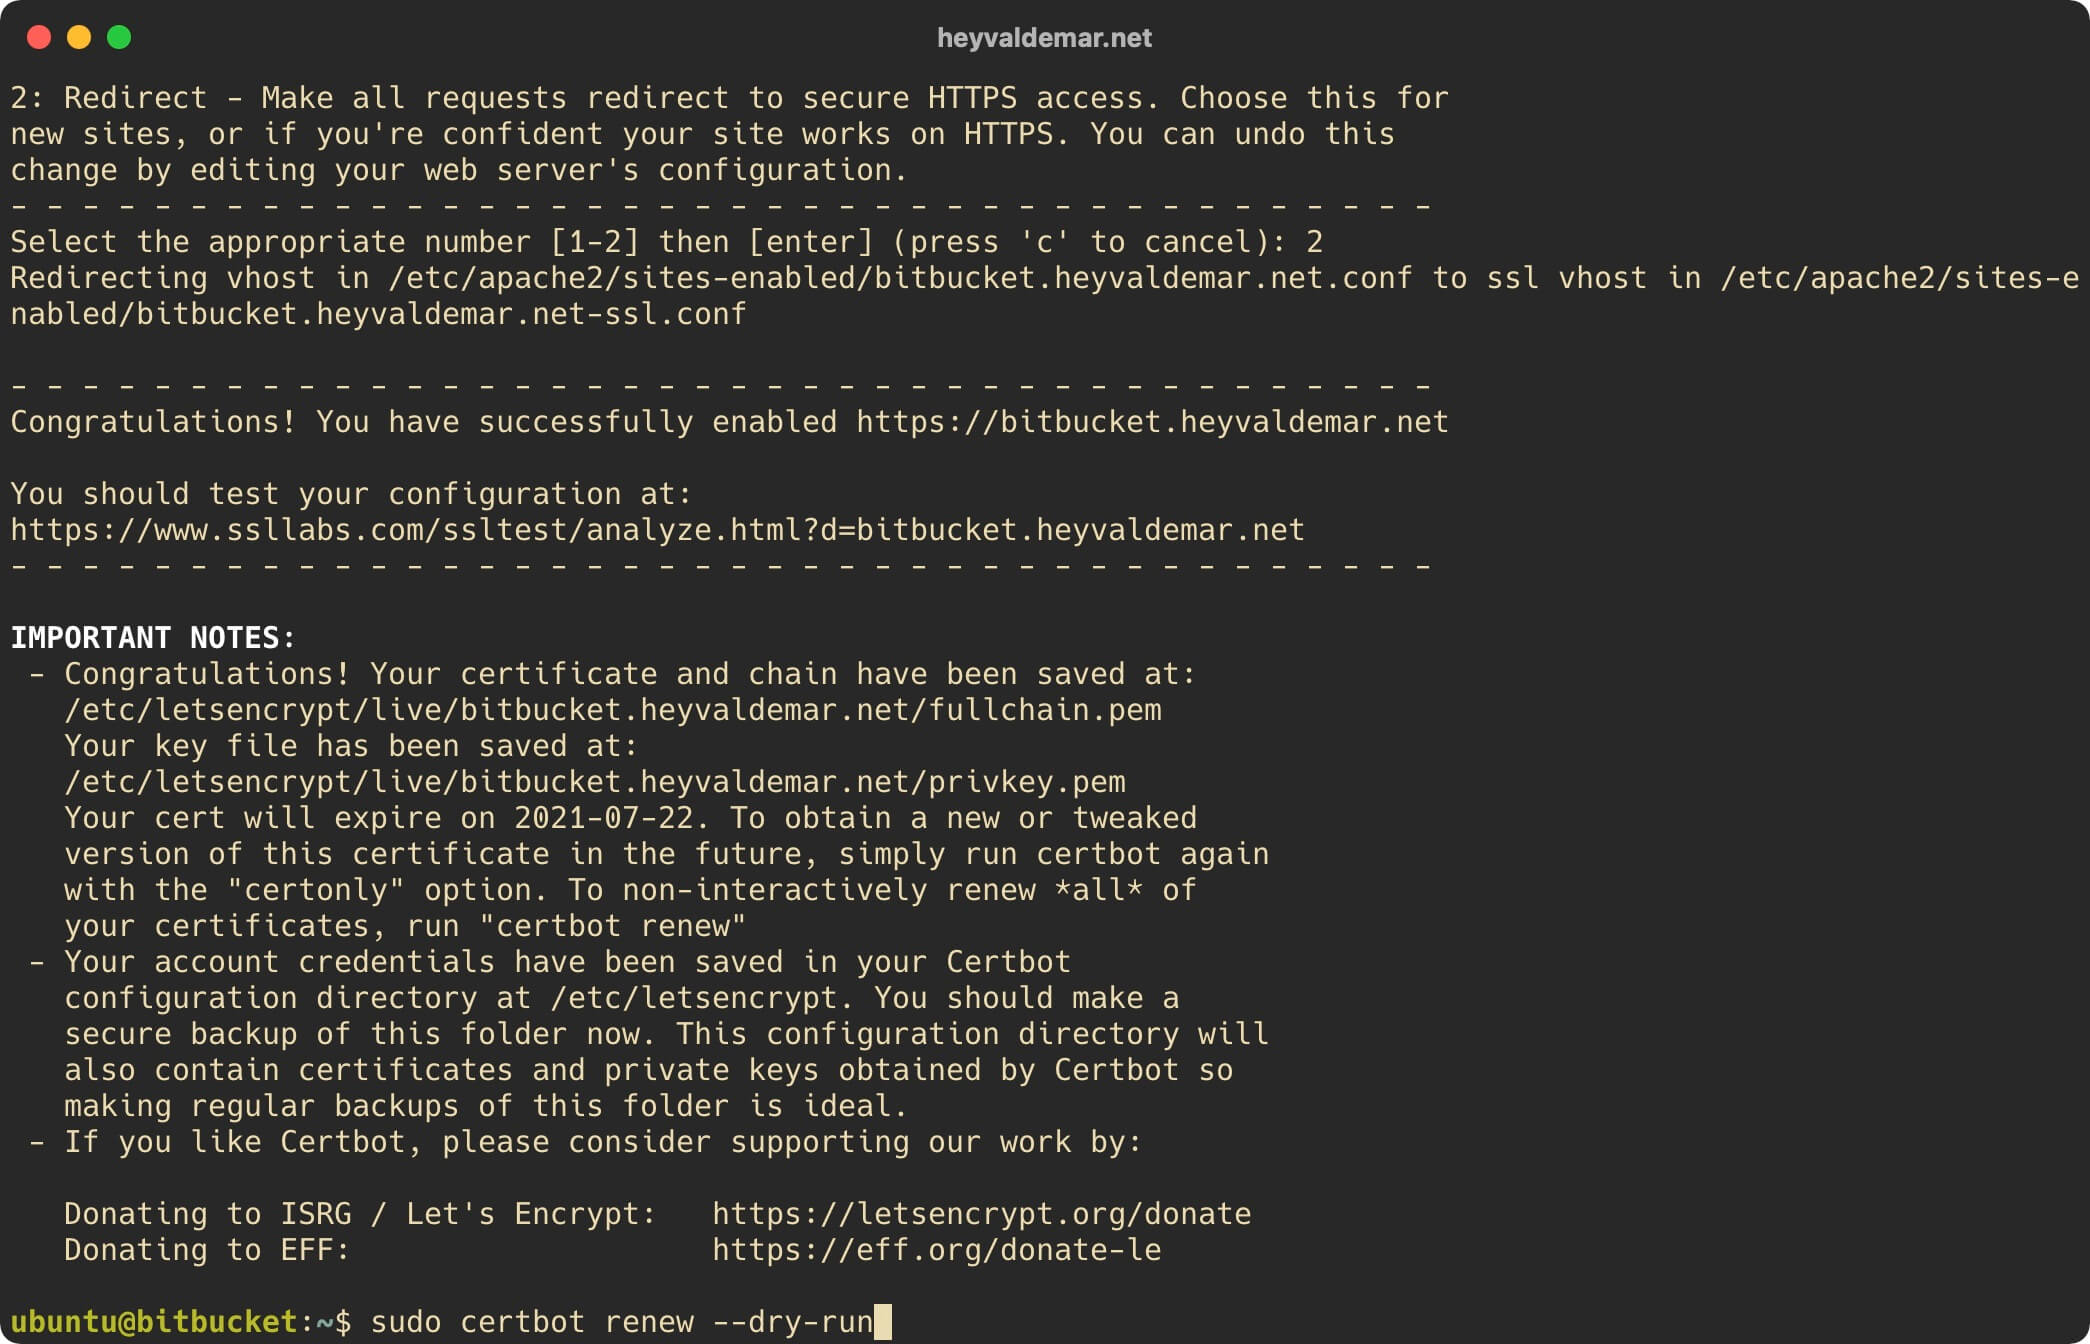
Now you need to create a database that Bitbucket will use in the future, as well as a user with the necessary rights in this database.
Switch to the “postgres” user who has administrator rights in PostgreSQL using the command:
sudo su - postgres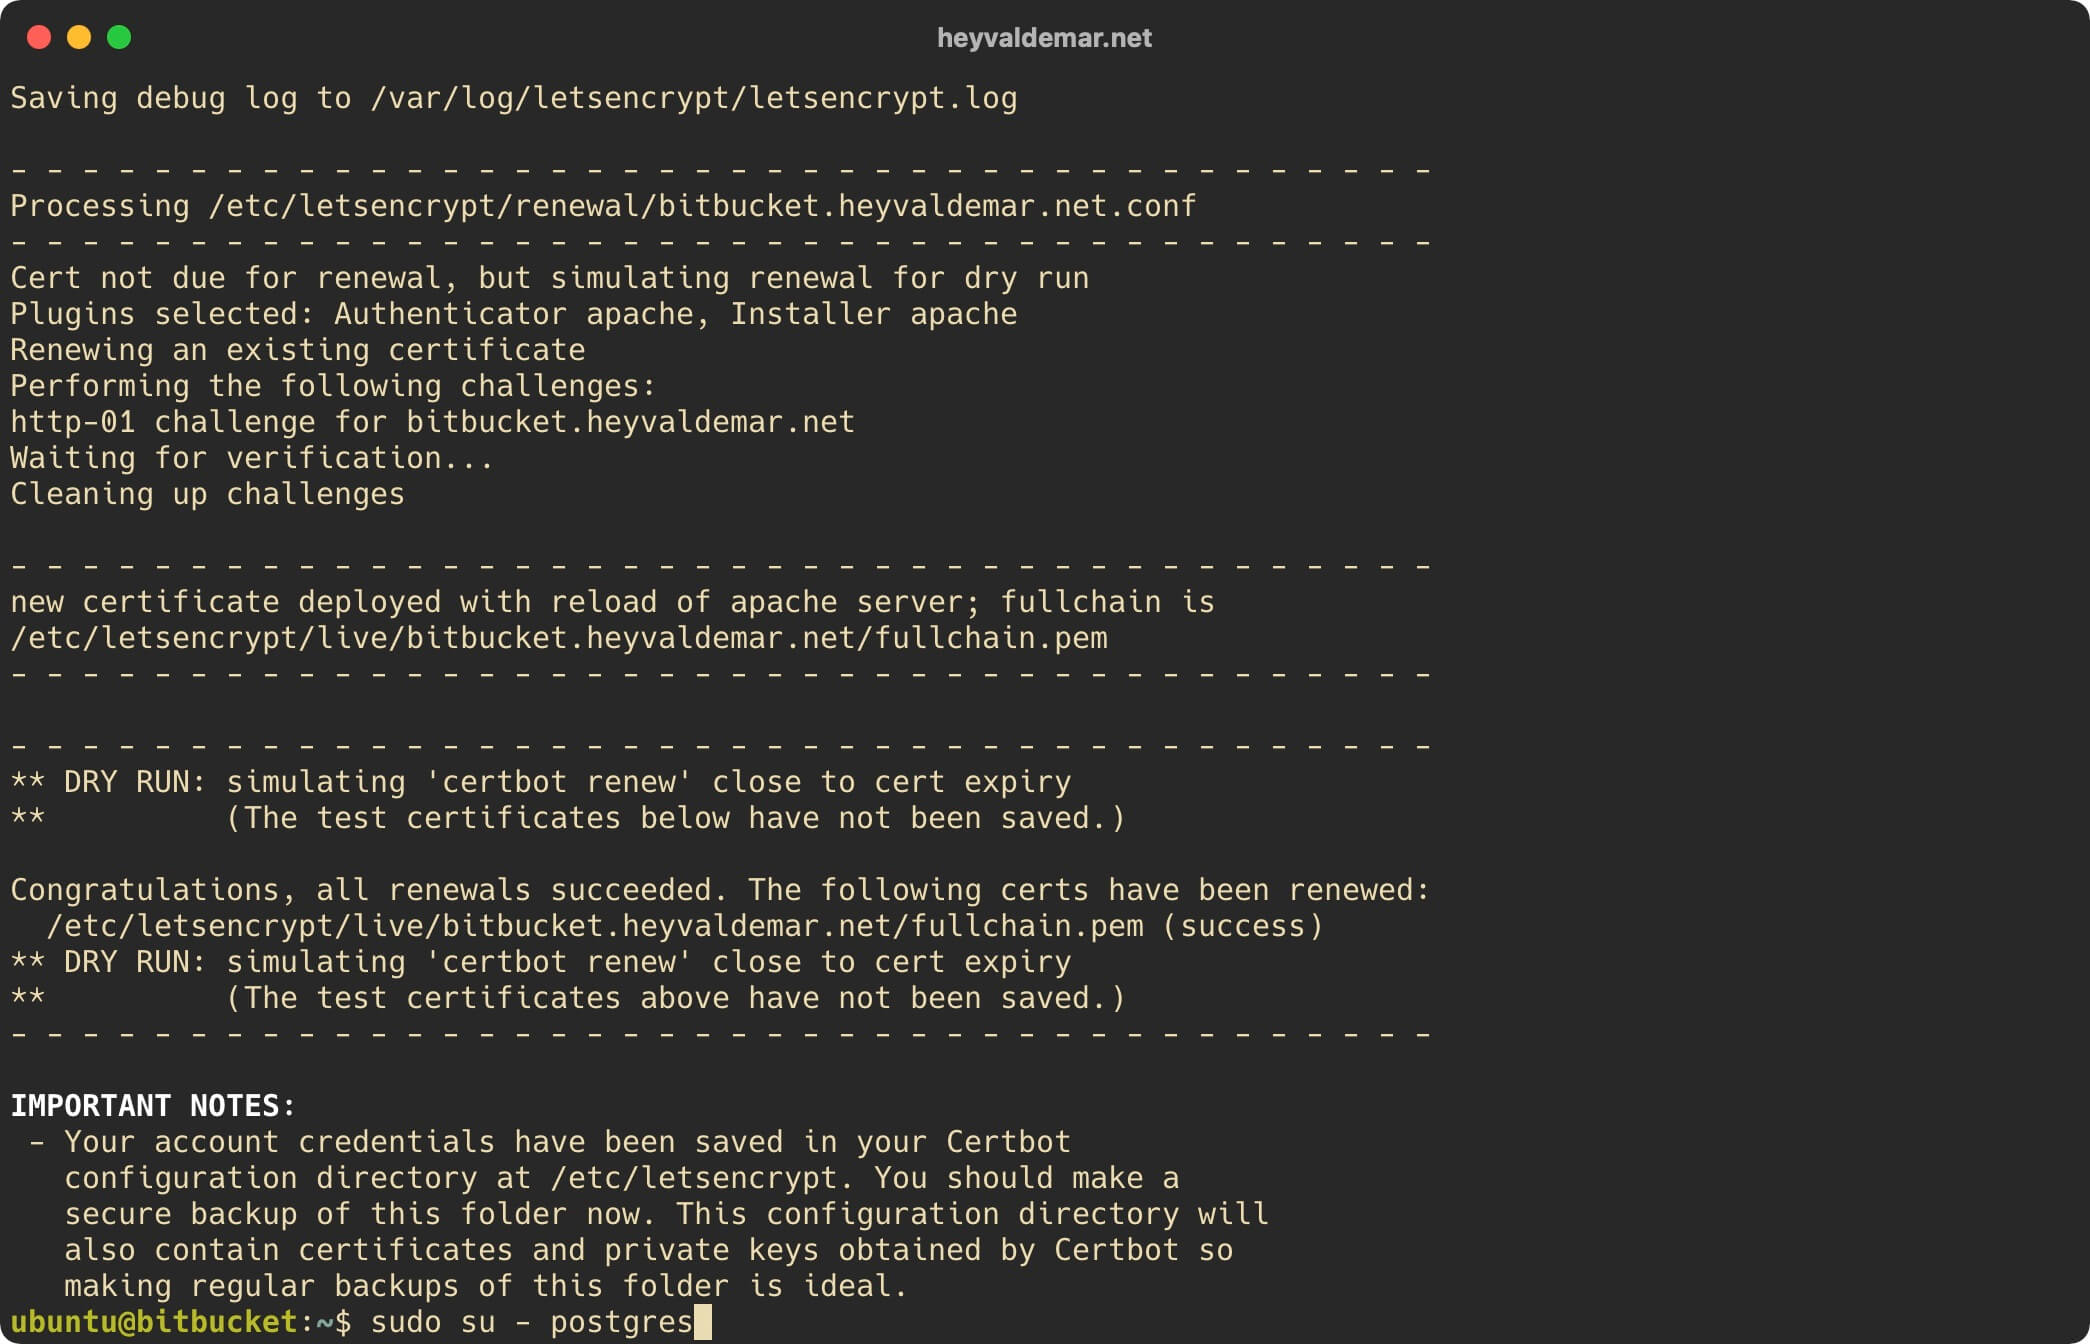
Next, switch to the PostgreSQL command line using the command:
psql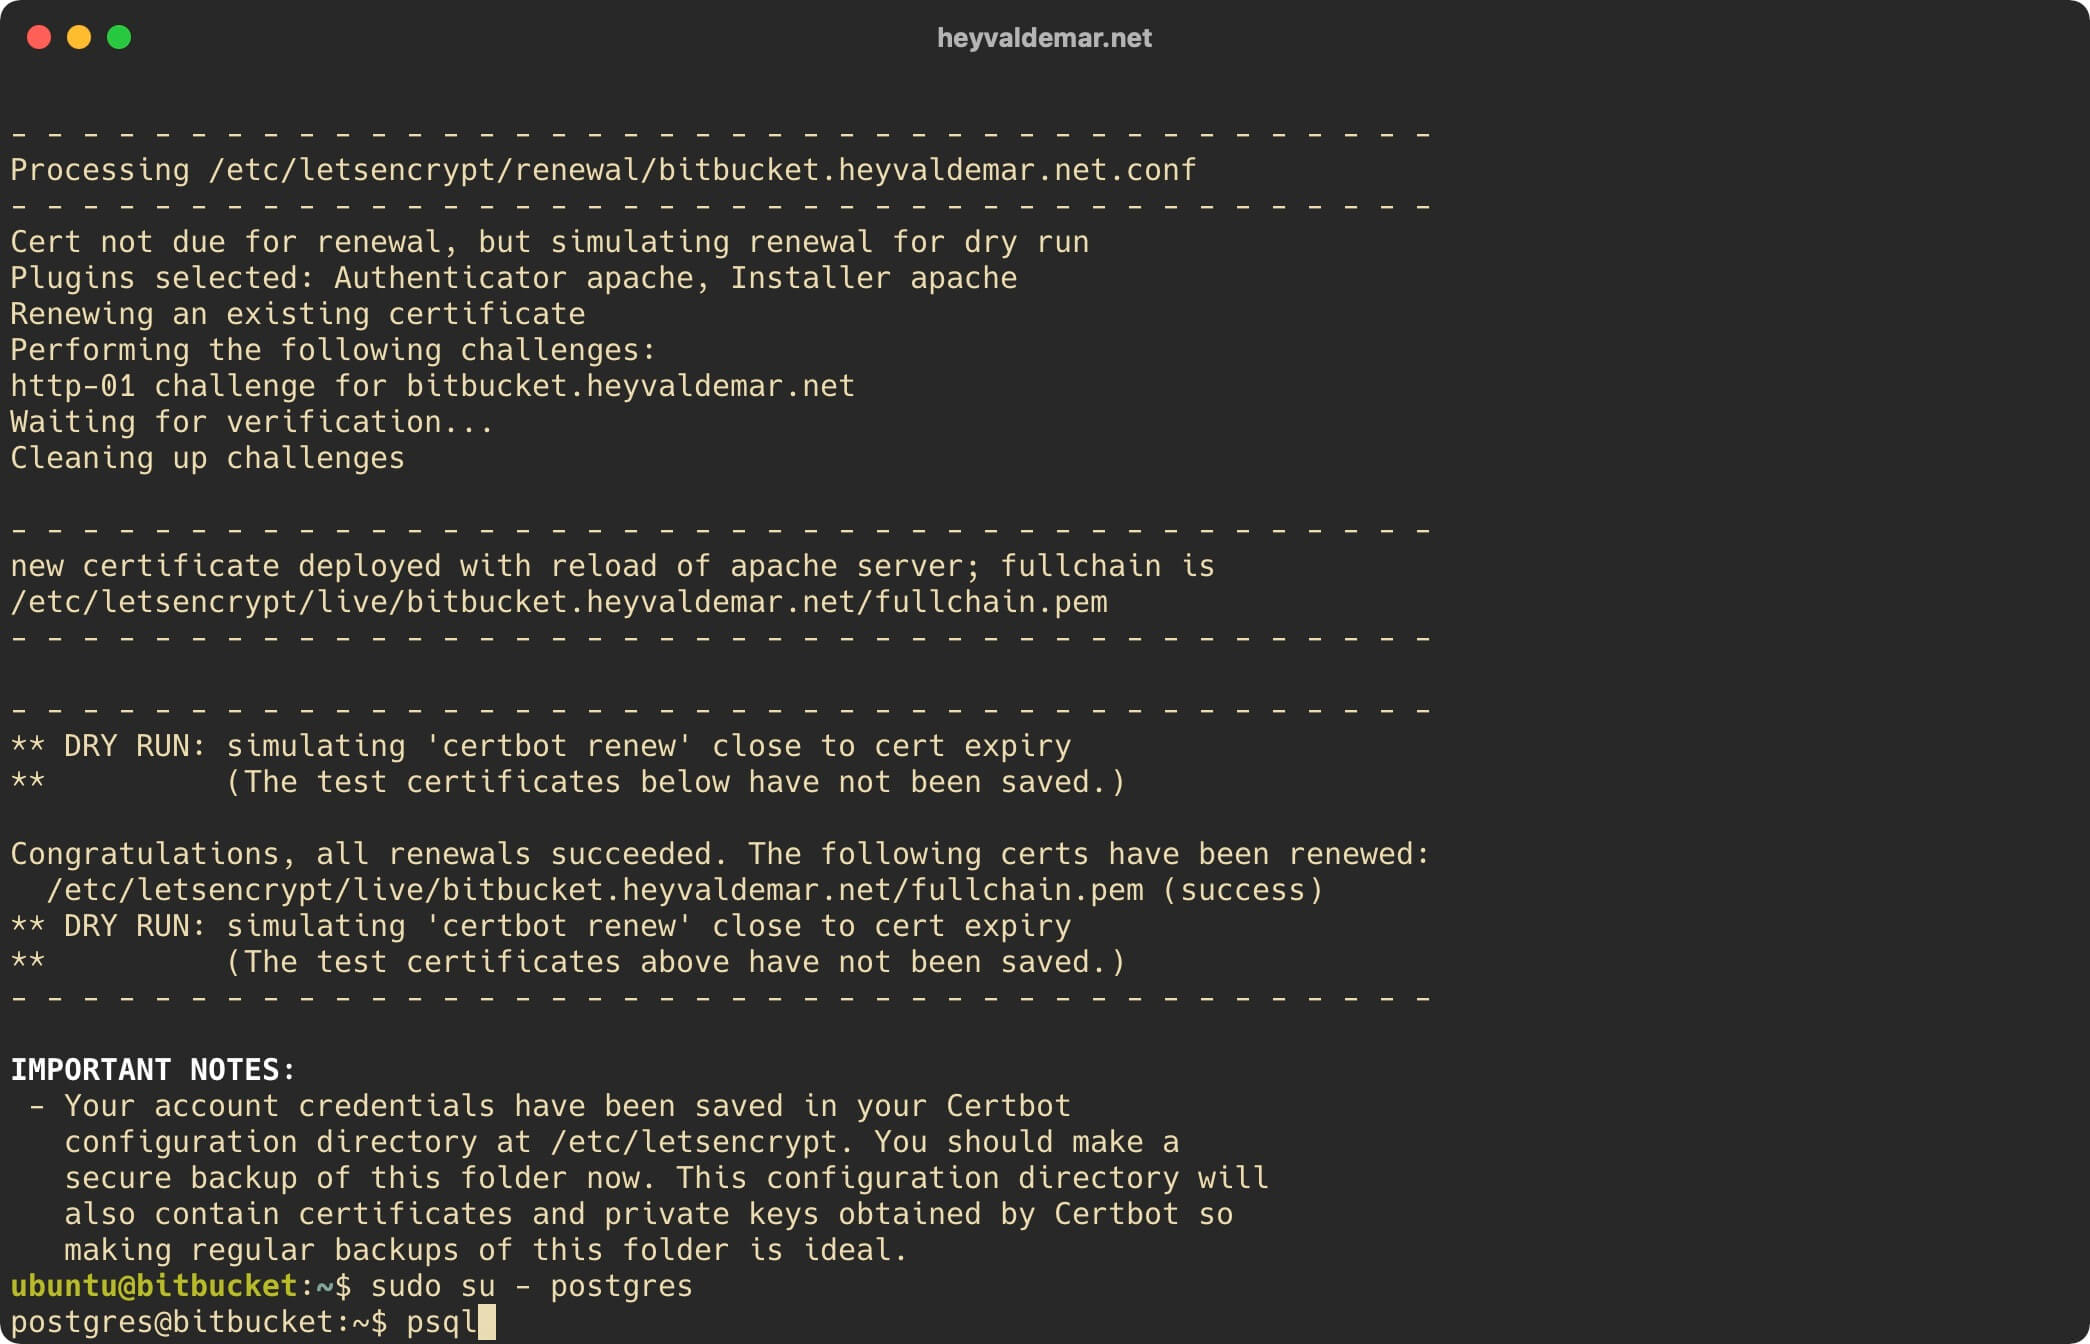
We create a new user using the command:
CREATE USER bitbucketdbuser WITH PASSWORD 'mU%g673b=6])?8E6R9M3T';In this tutorial, “bitbucketdbuser” will be used as the username, with the password “mU%g673b=6])?8E6R9M3T”.
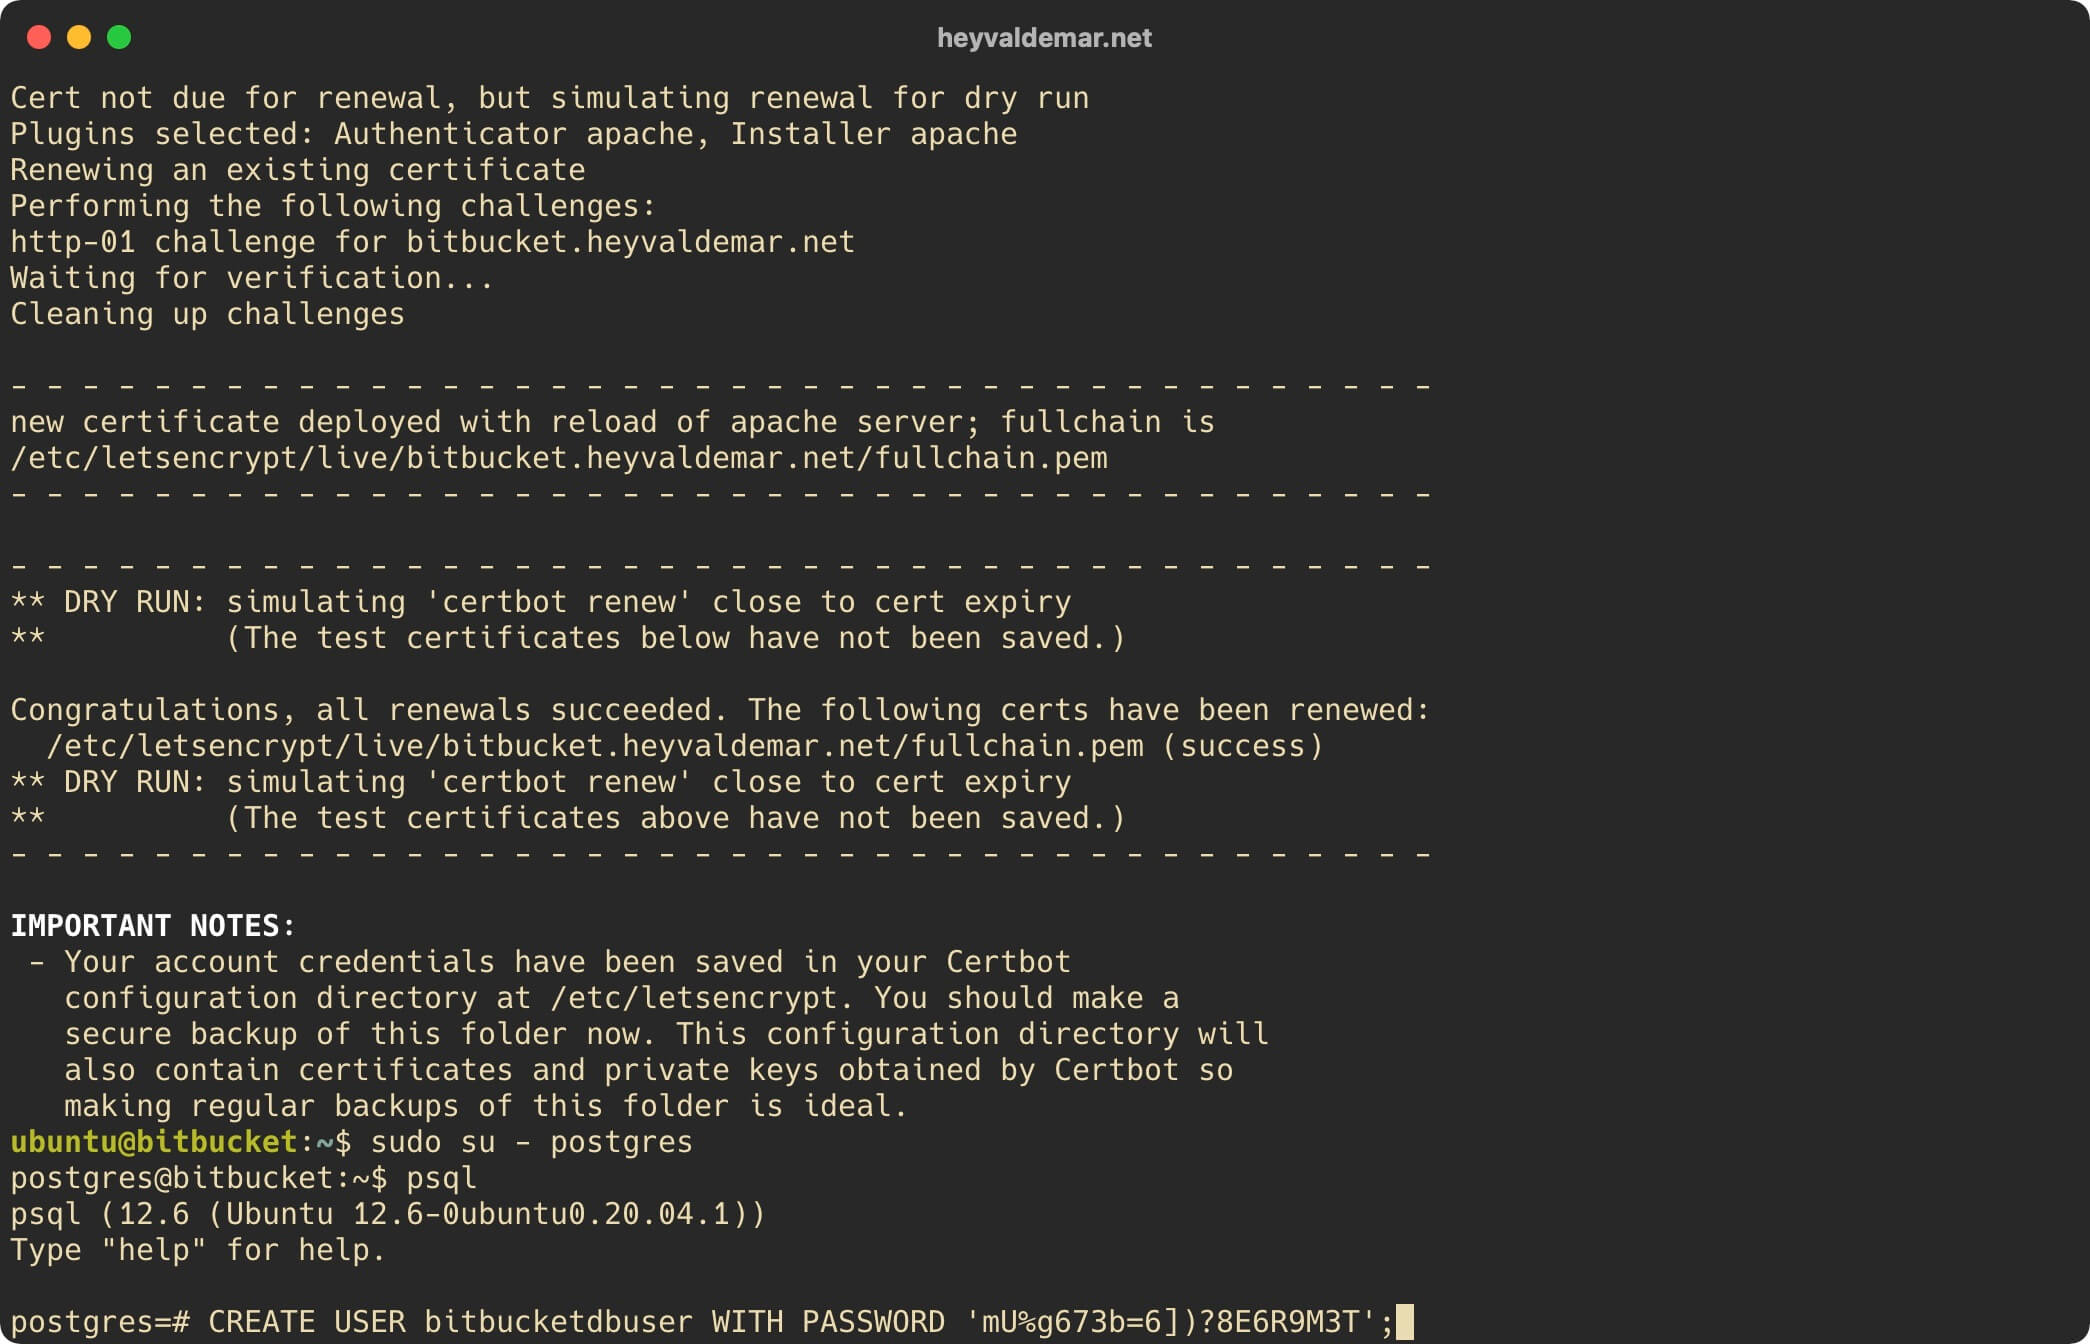
We create a new database and grant the rights to it to the previously created user using the command:
CREATE DATABASE bitbucketdb WITH OWNER "bitbucketdbuser" ENCODING='UTF8' CONNECTION LIMIT=-1;This tutorial will use “bitbucketdb” as the name for the database.
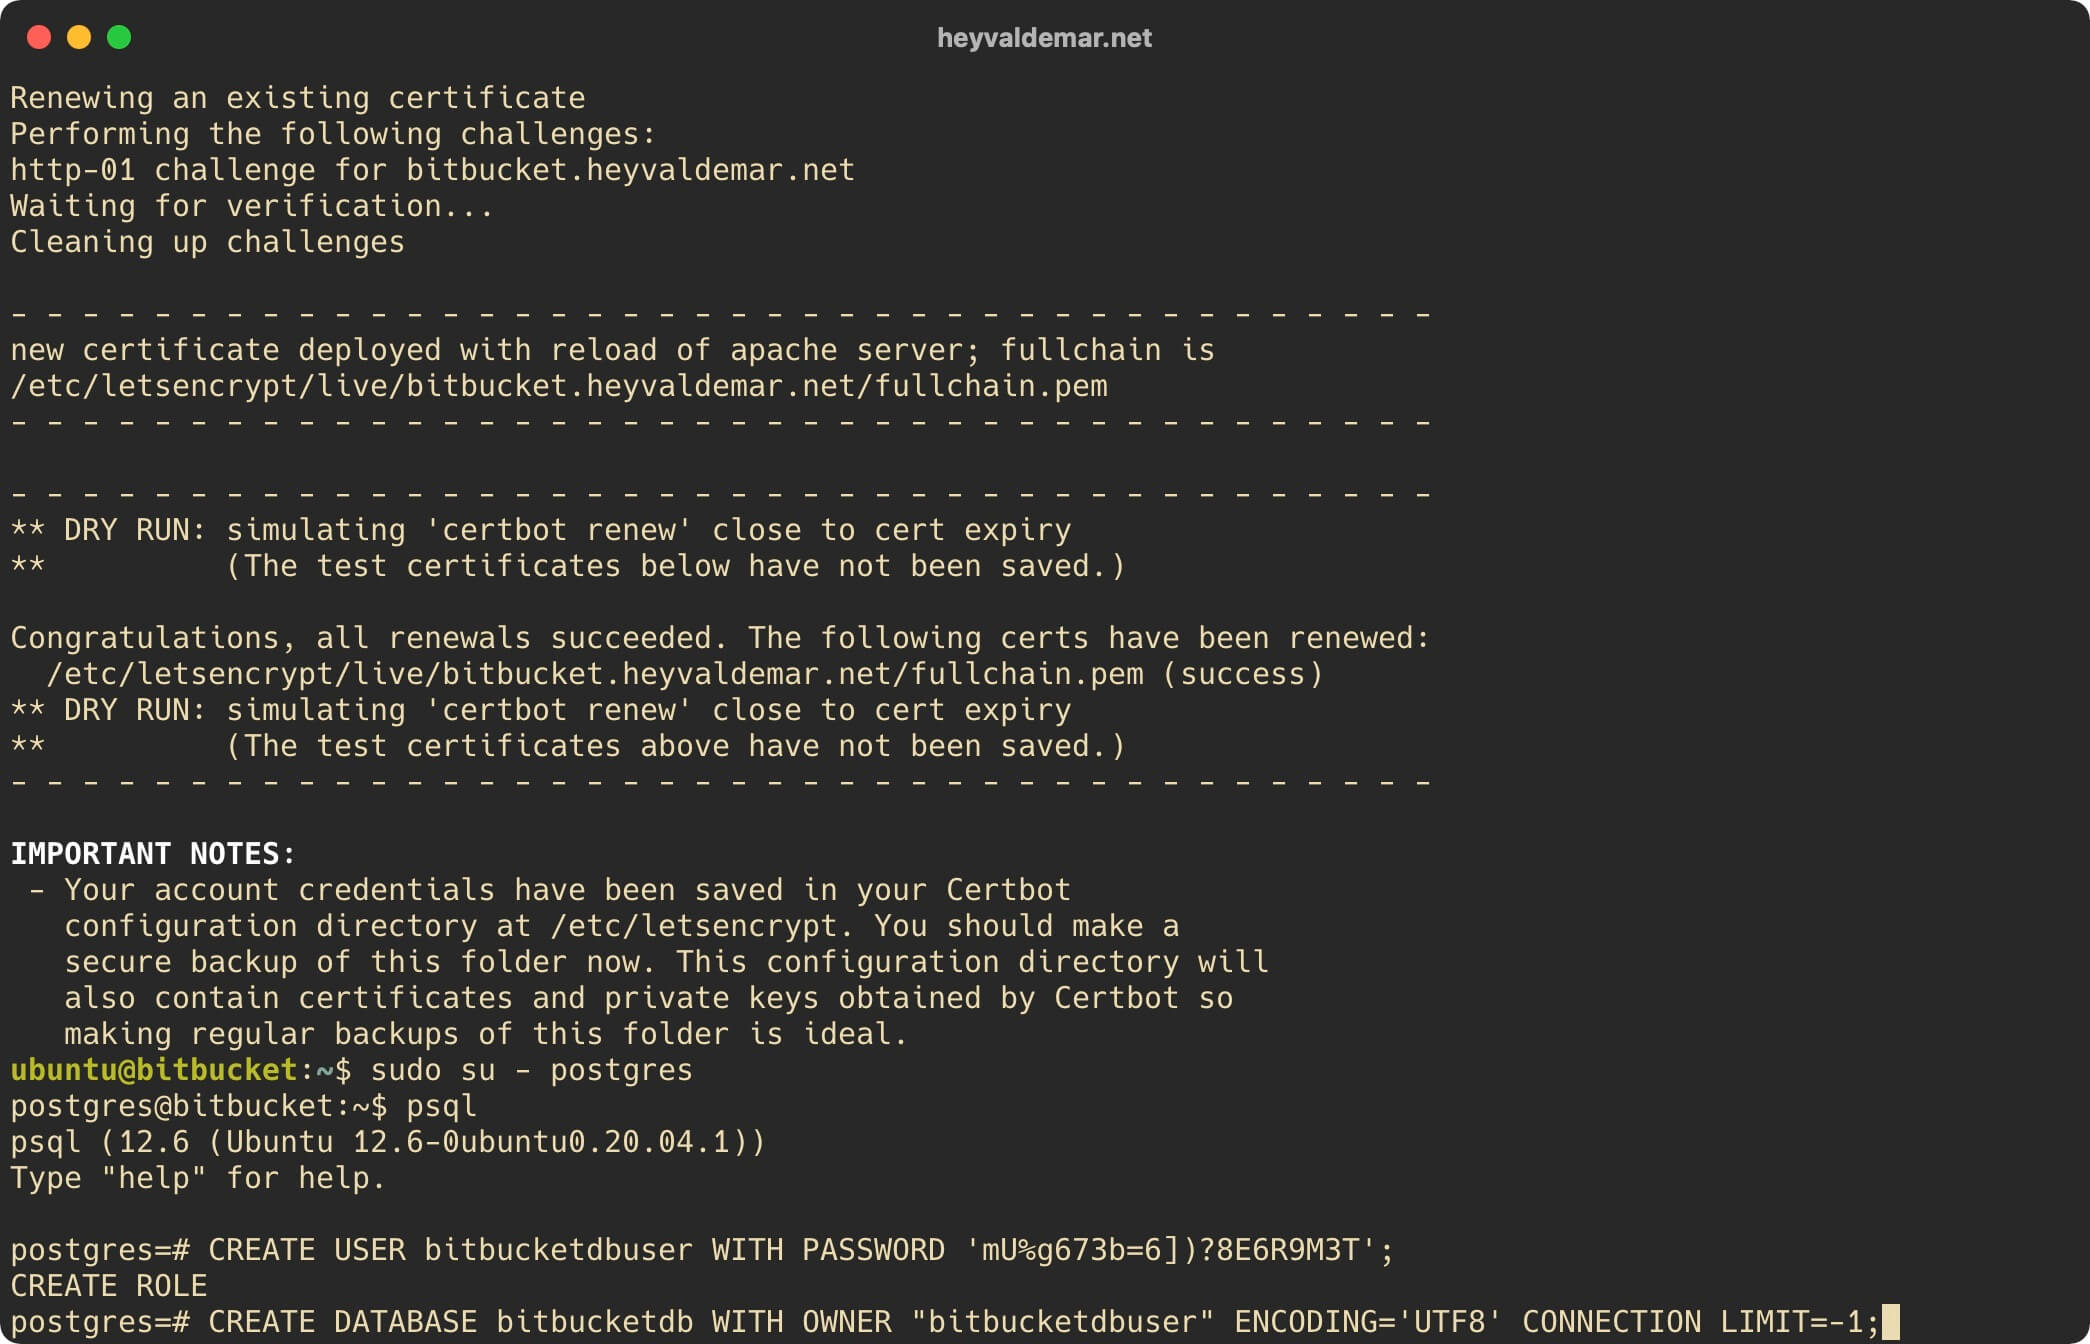
Exit the “PostgreSQL” command line using the command:
\q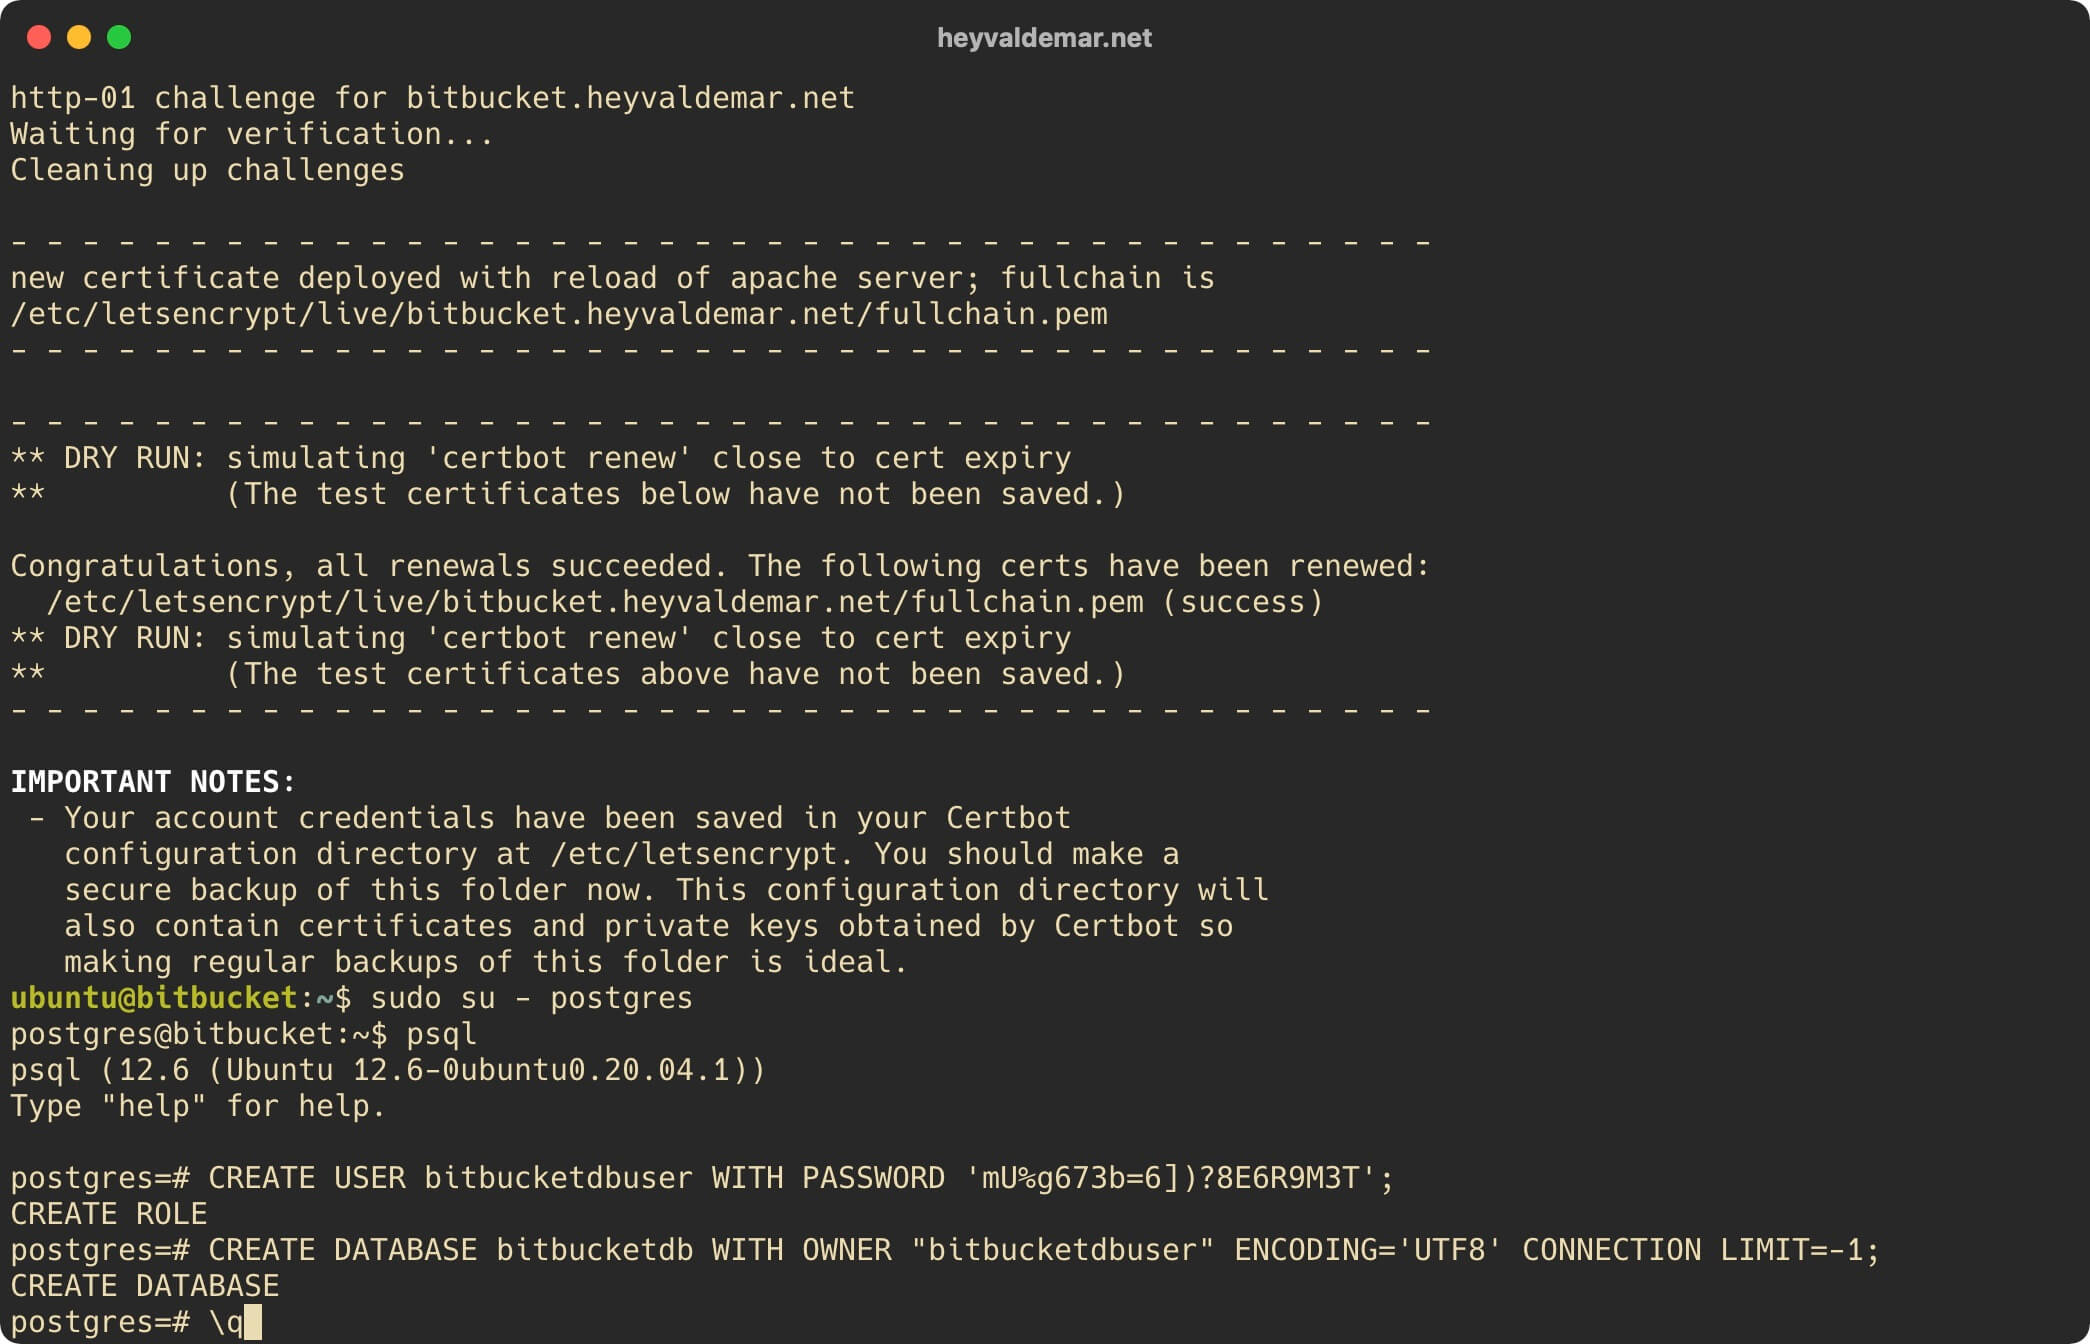
Log out as user “postgres” using the command:
exit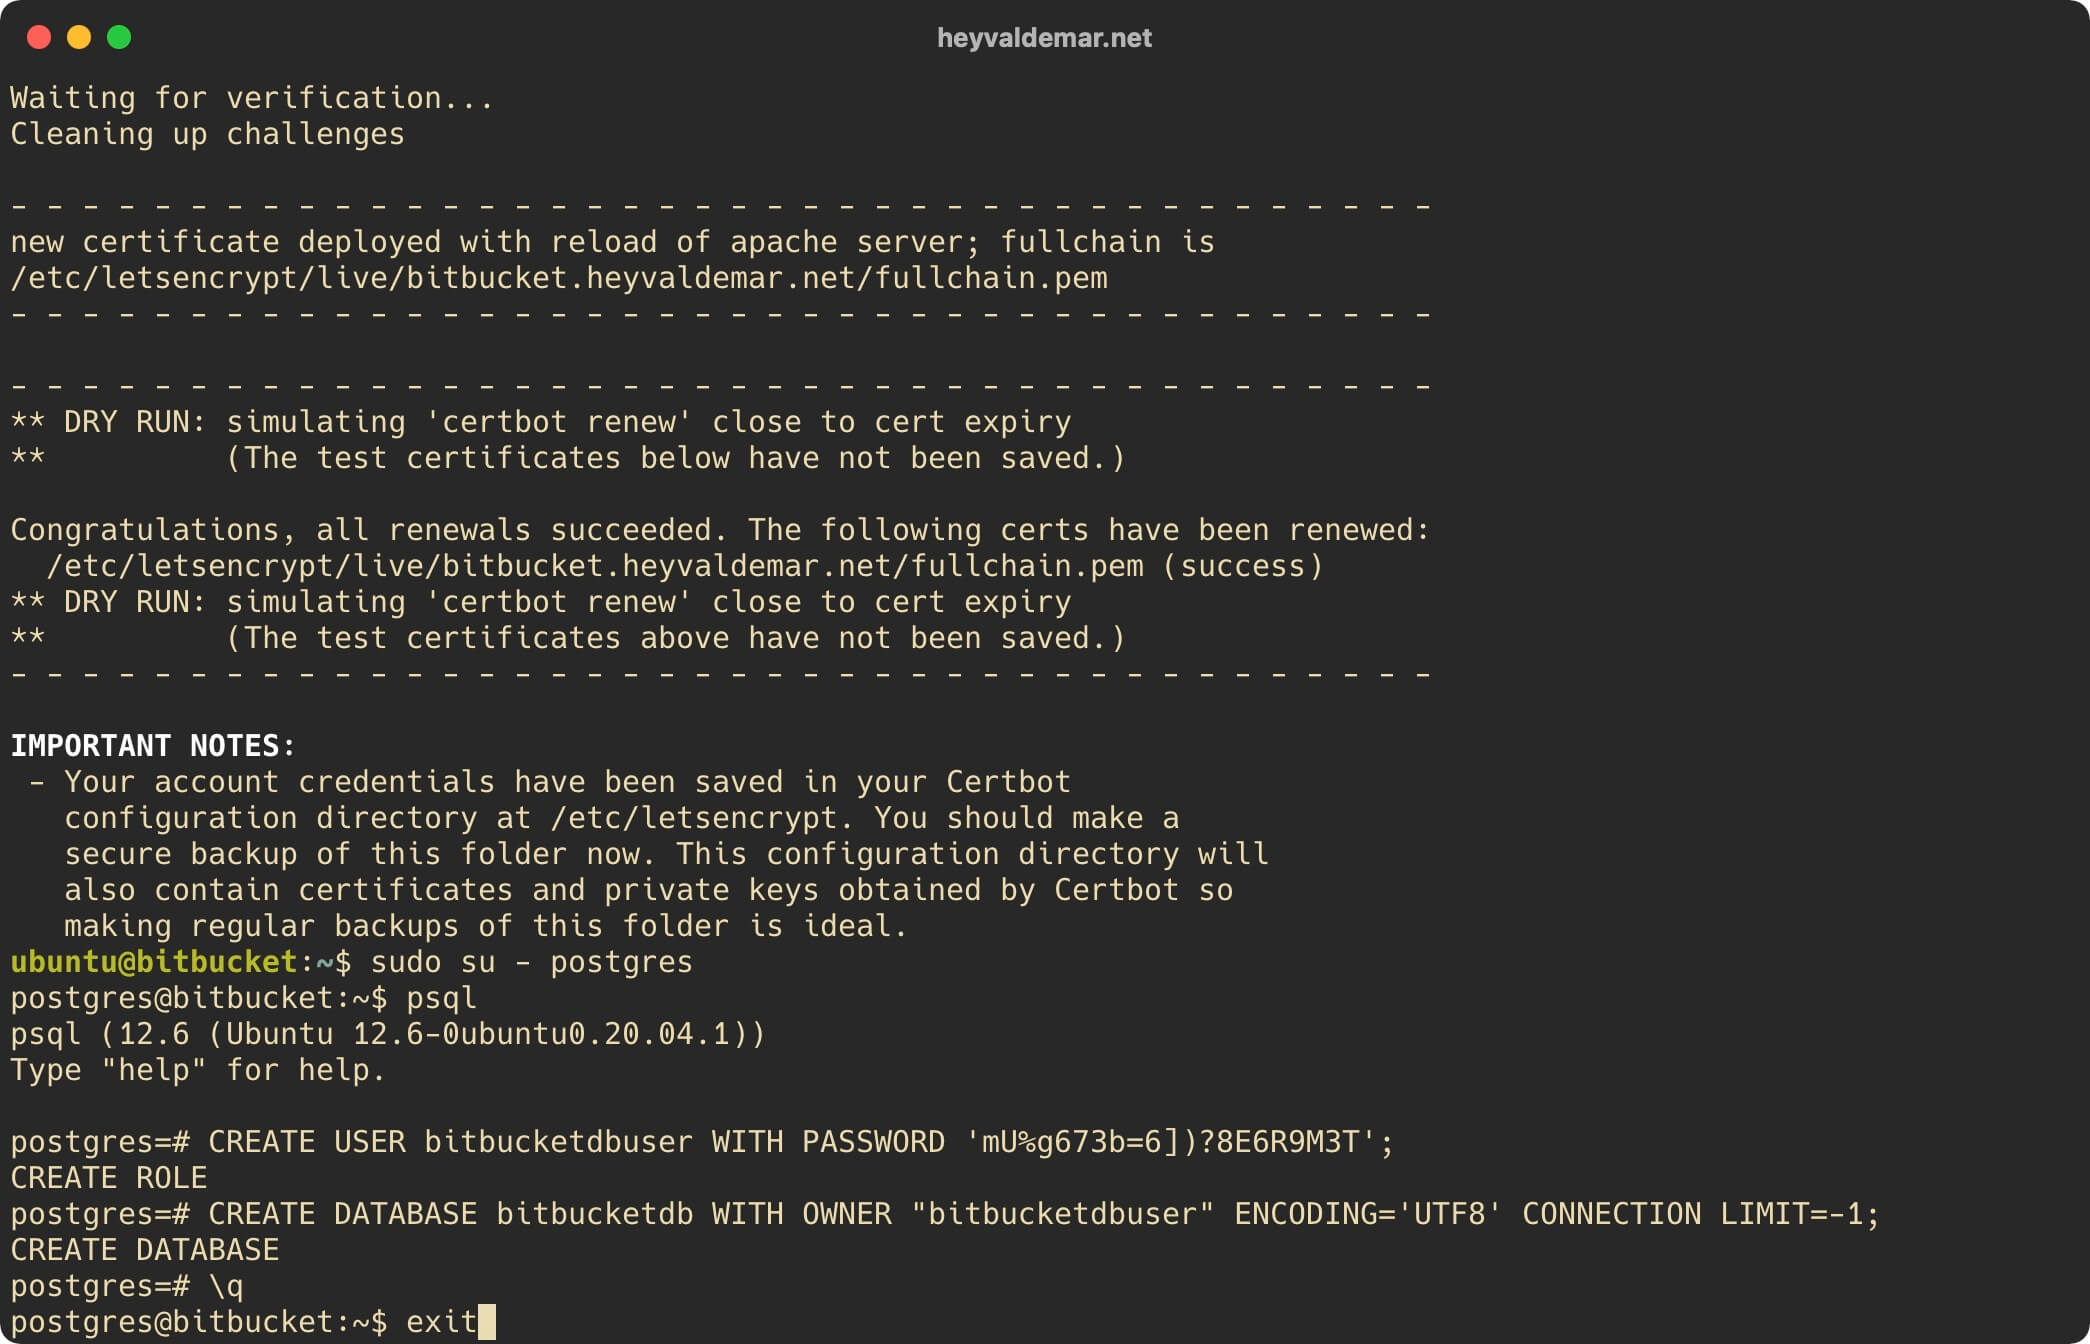
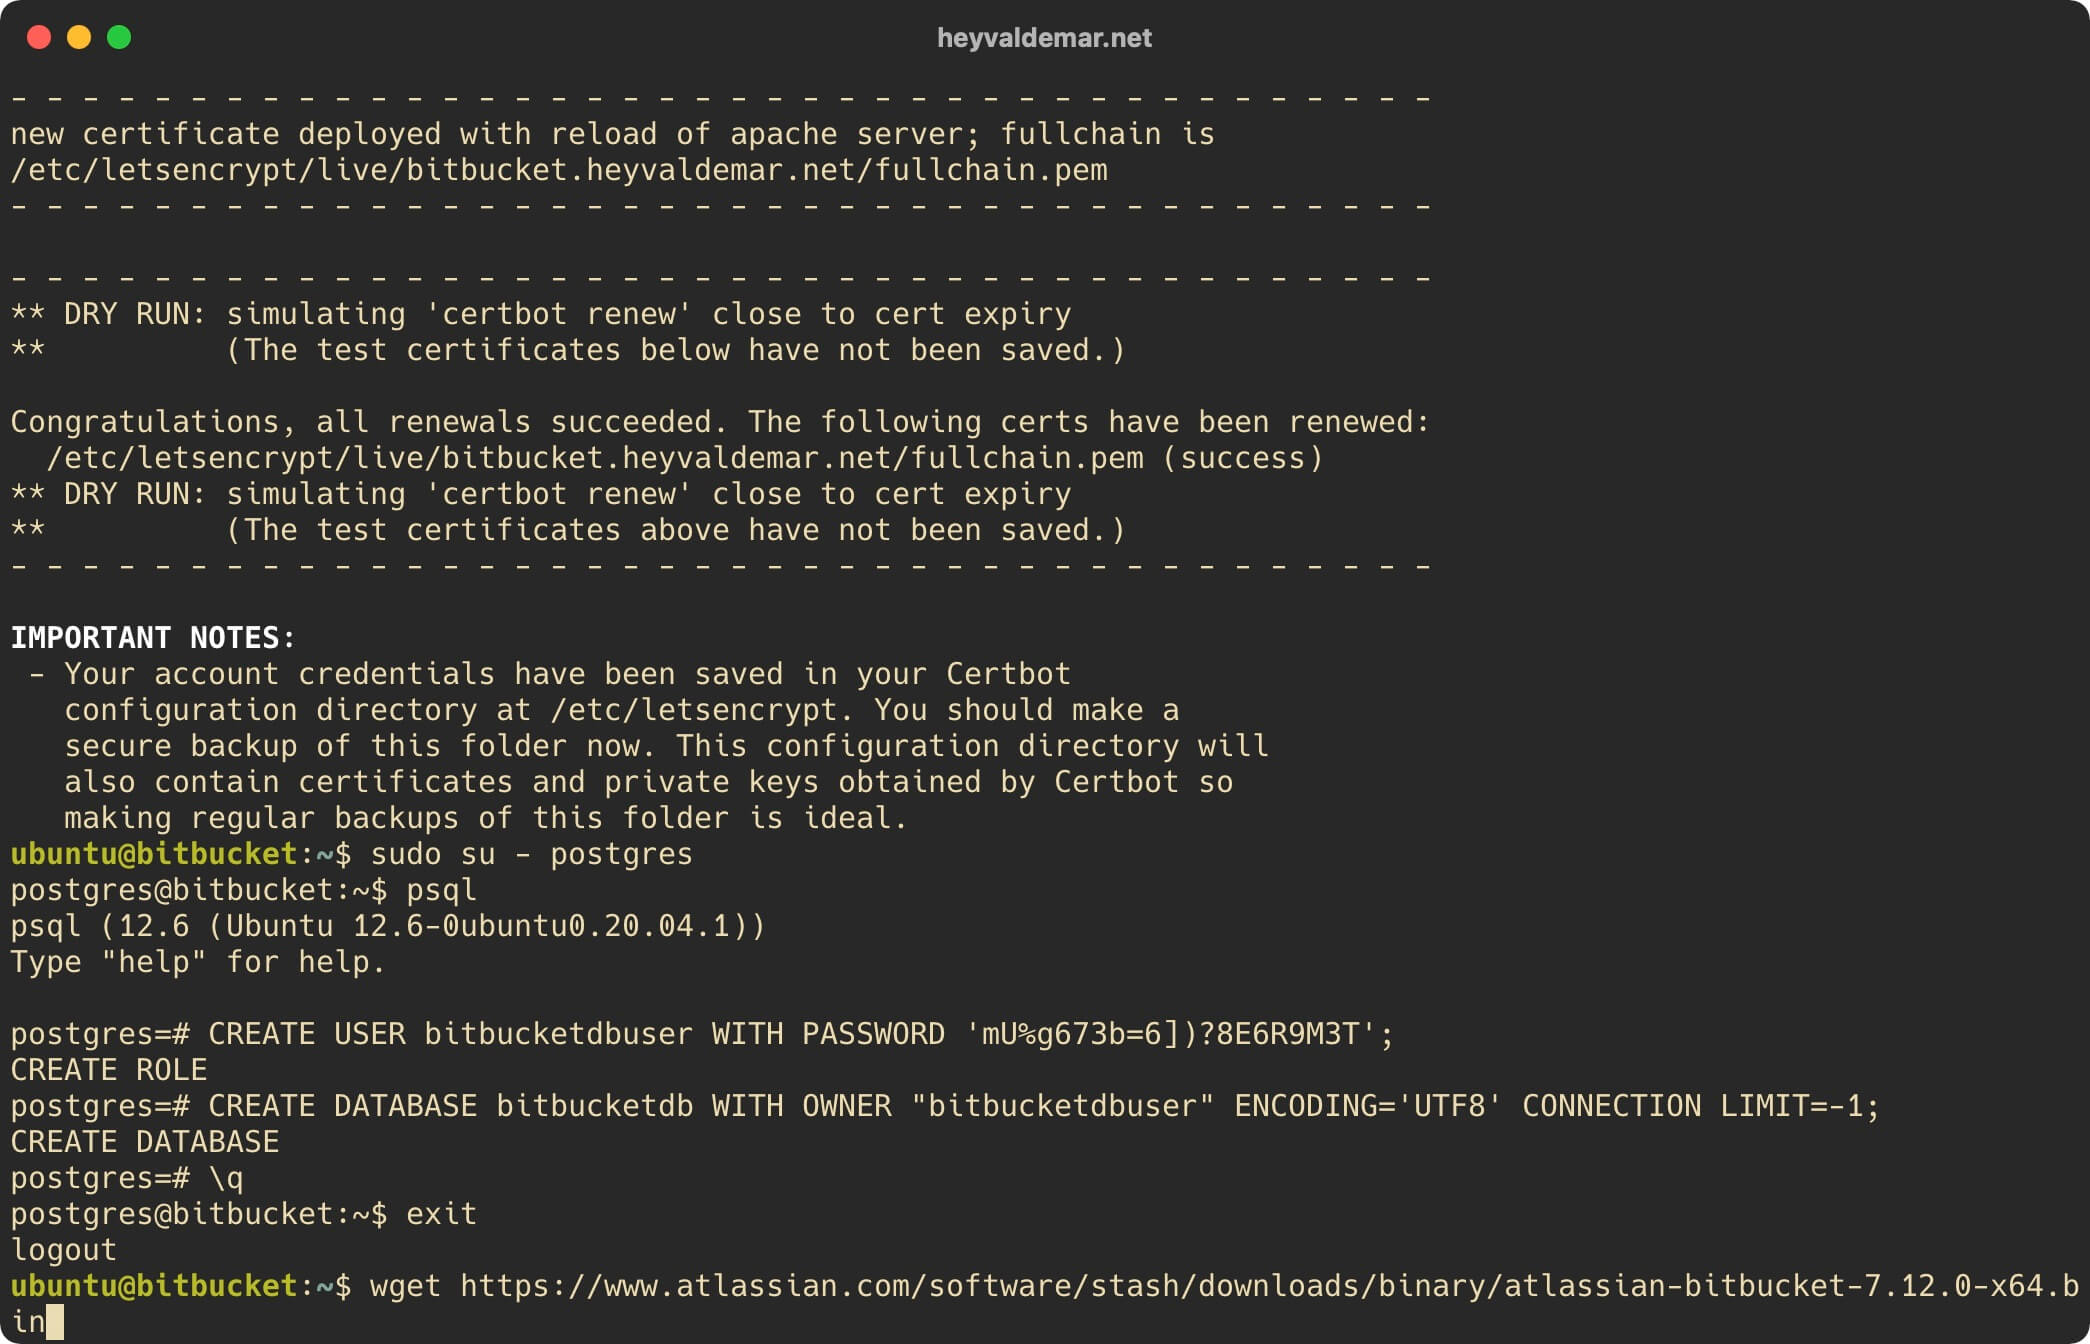
Now you need to download the Bitbucket installer using the command:
wget https://www.atlassian.com/software/stash/downloads/binary/atlassian-bitbucket-7.12.0-x64.binPlease note that the current version of Bitbucket can be found on the official Atlassian website.
This tutorial covers installing Bitbucket 7.12.0.
Let’s execute the file “atlassian-bitbucket-7.12.0-x64.bin” using the command:
sudo chmod +x atlassian-bitbucket-7.12.0-x64.bin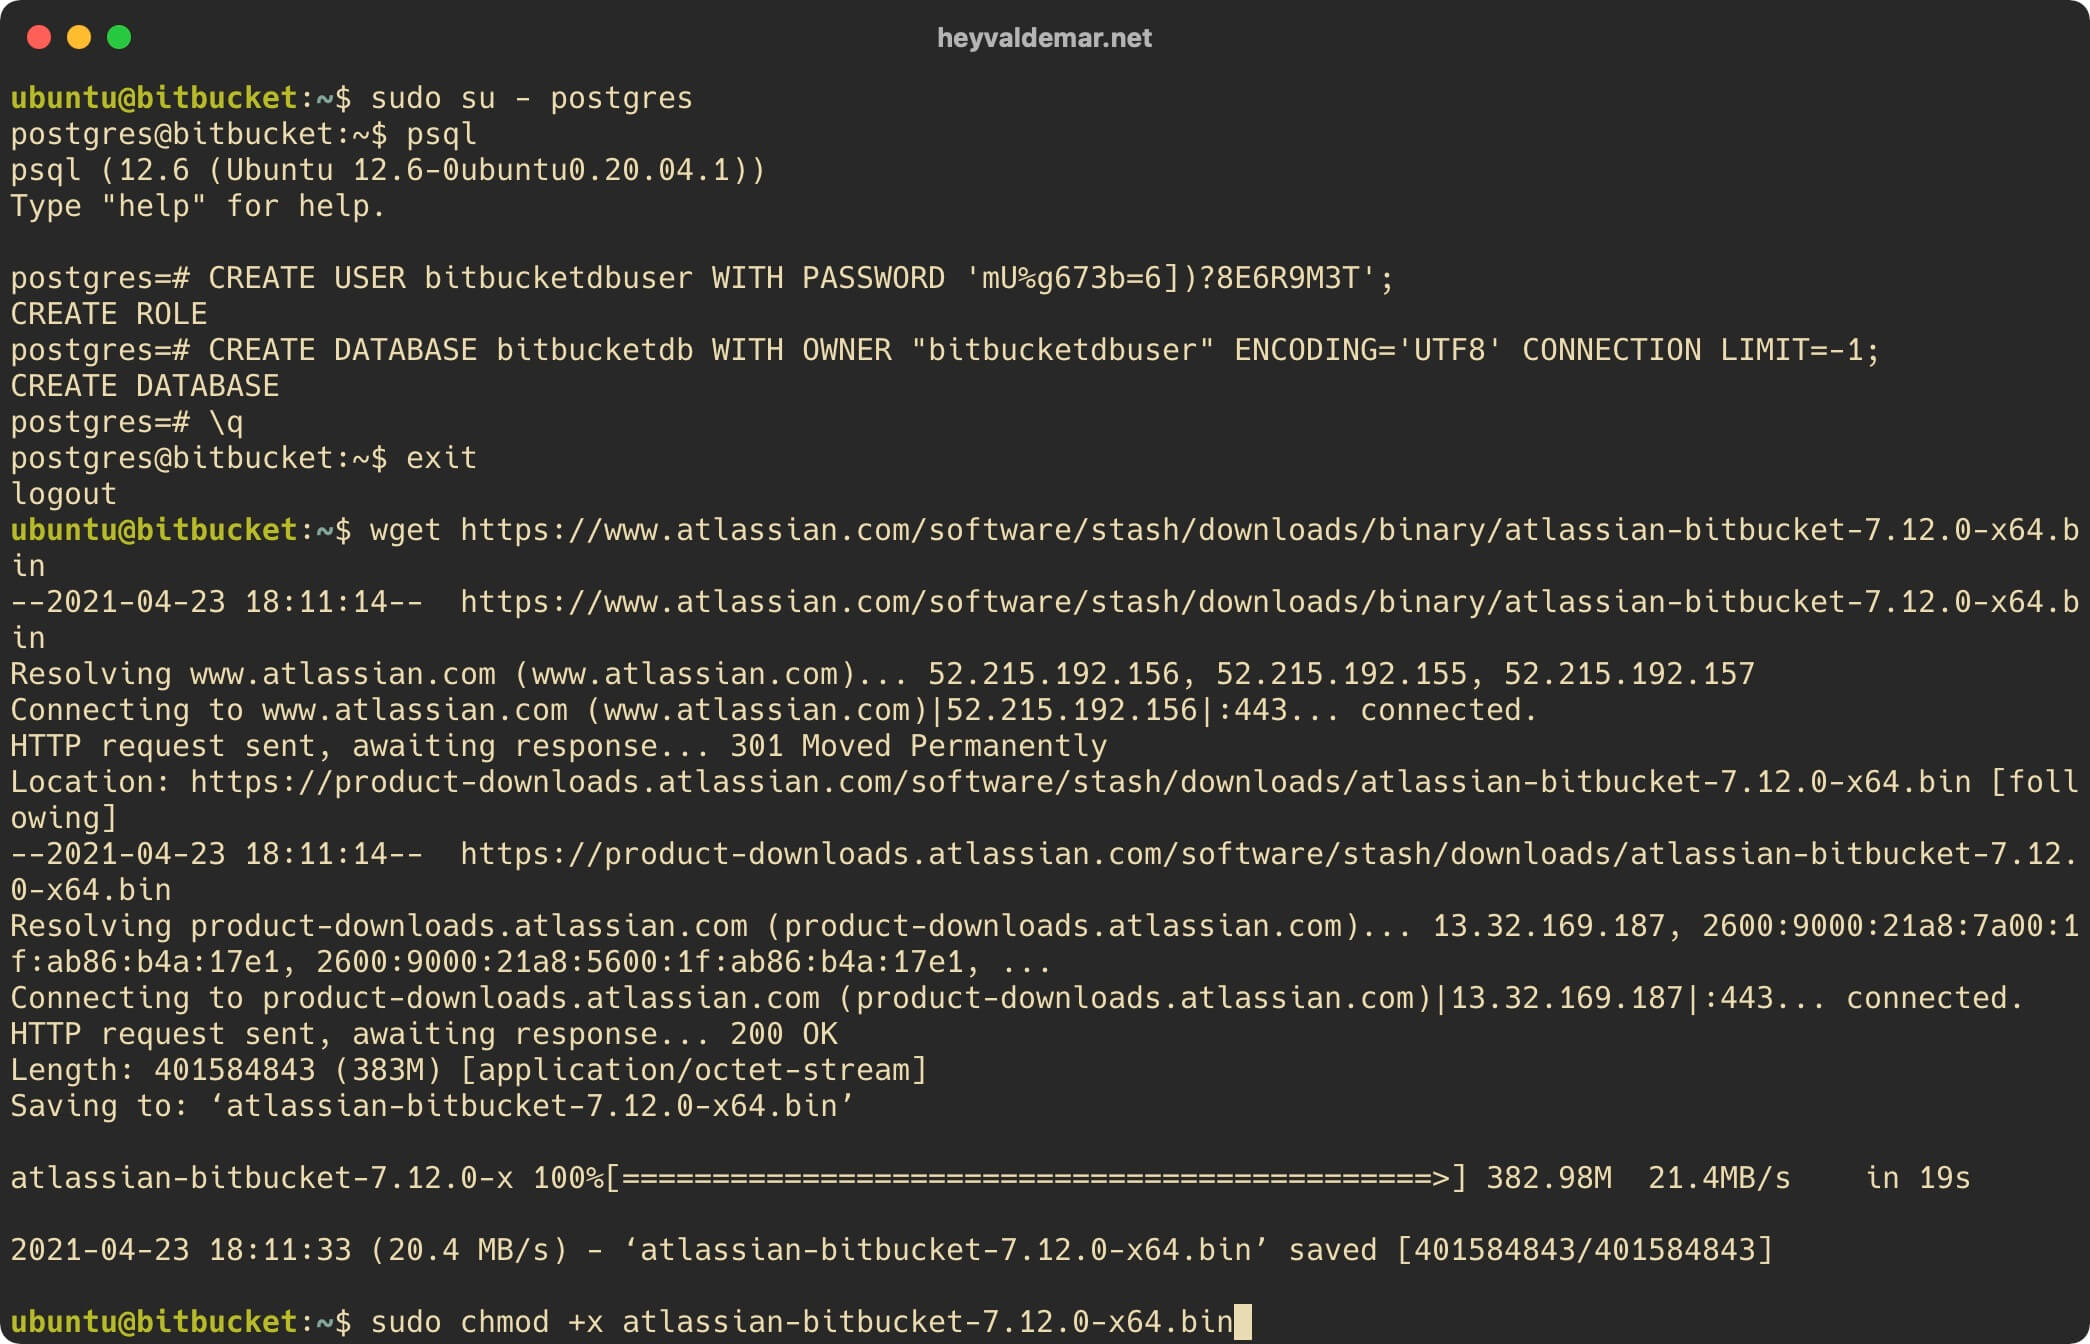
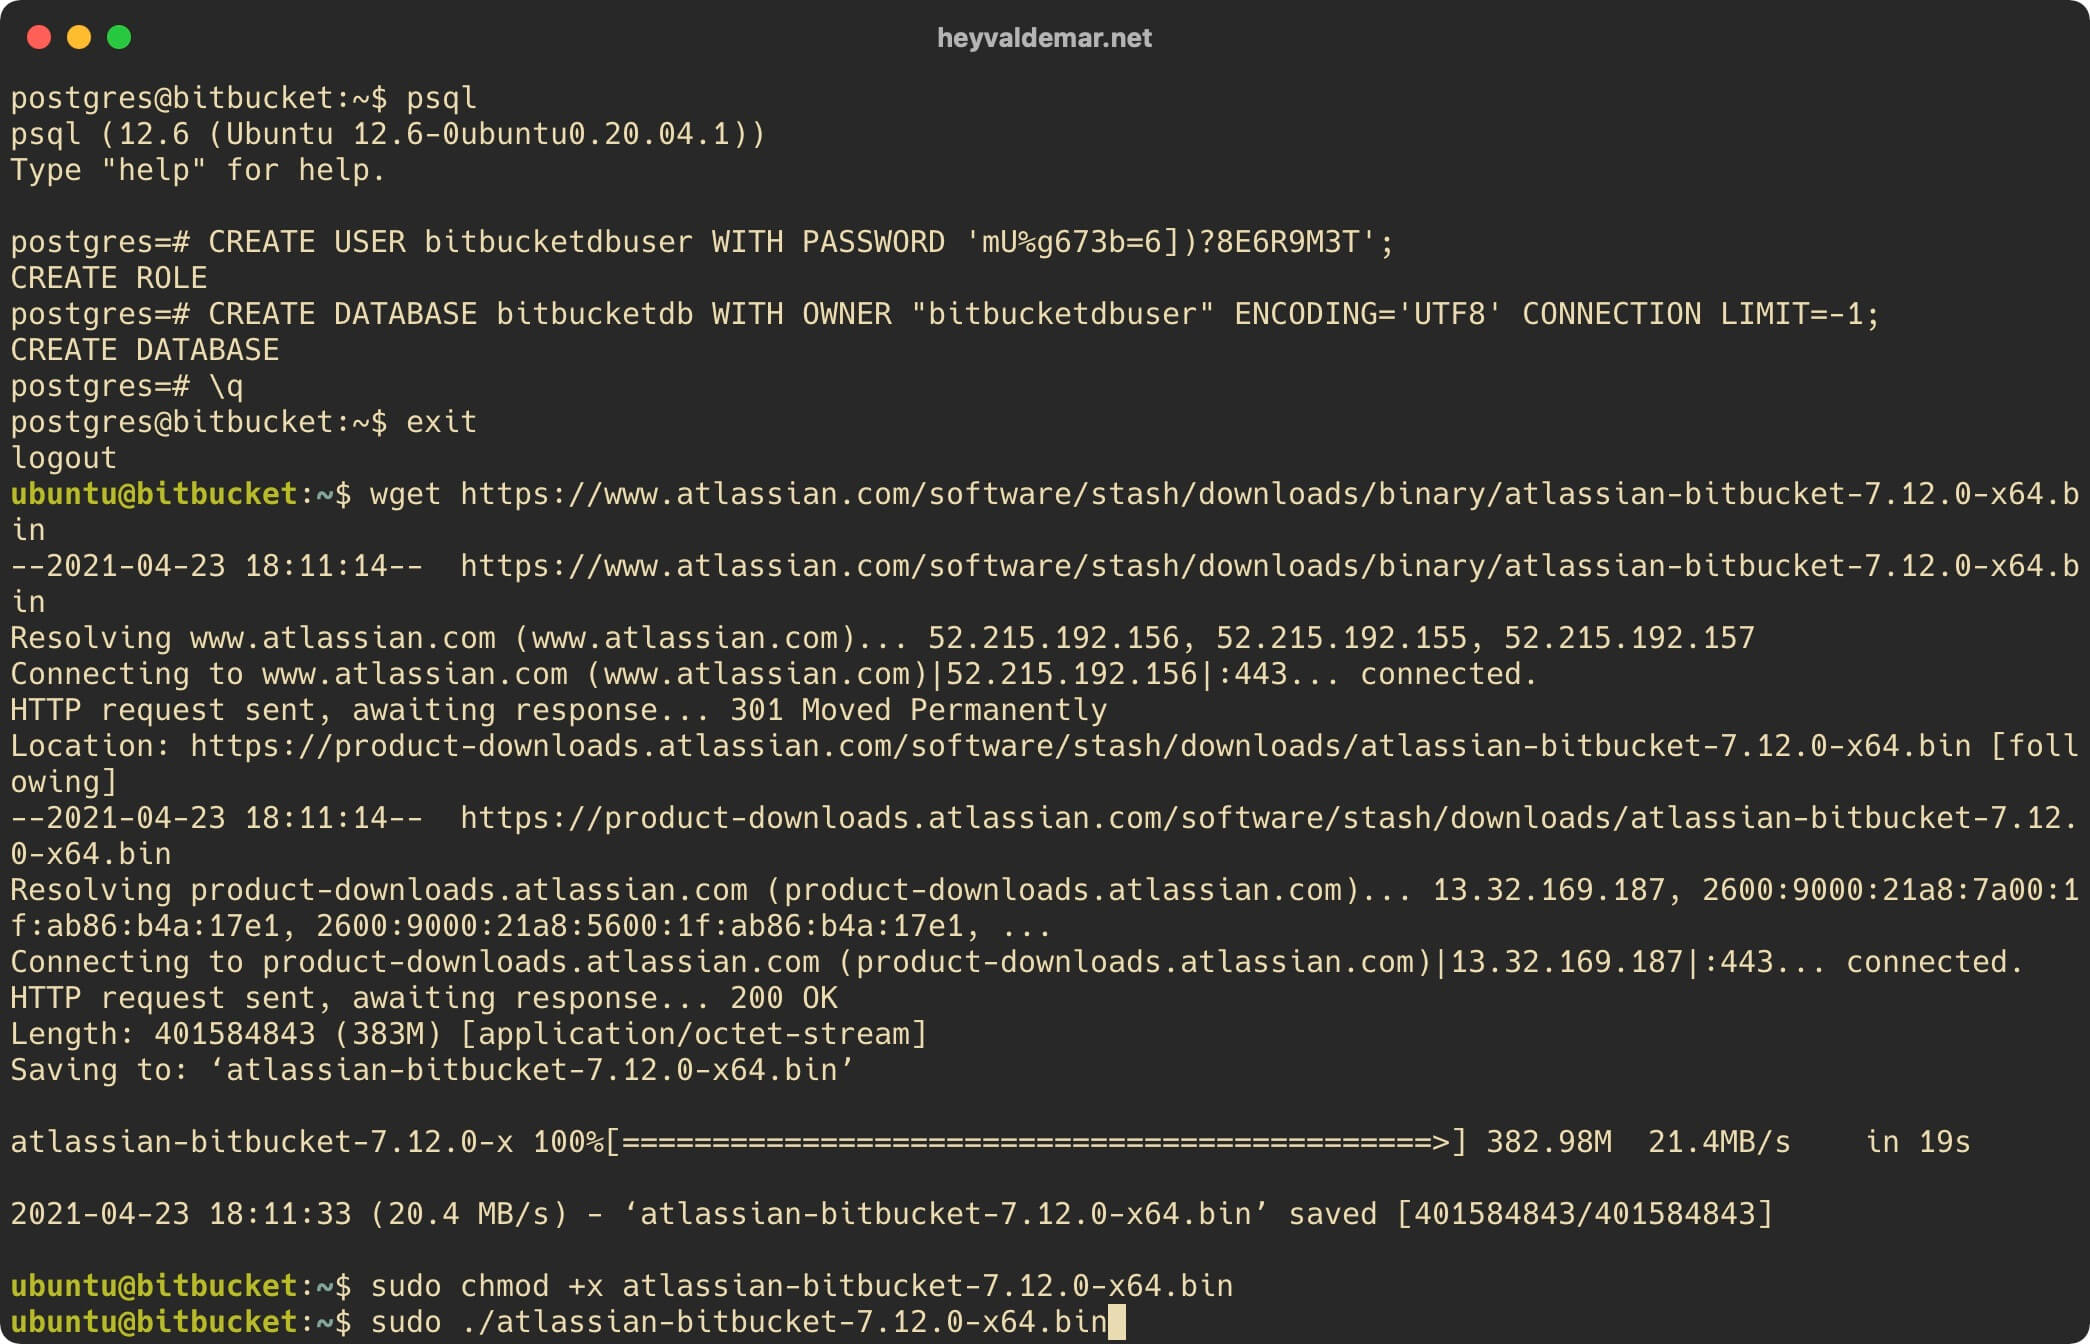
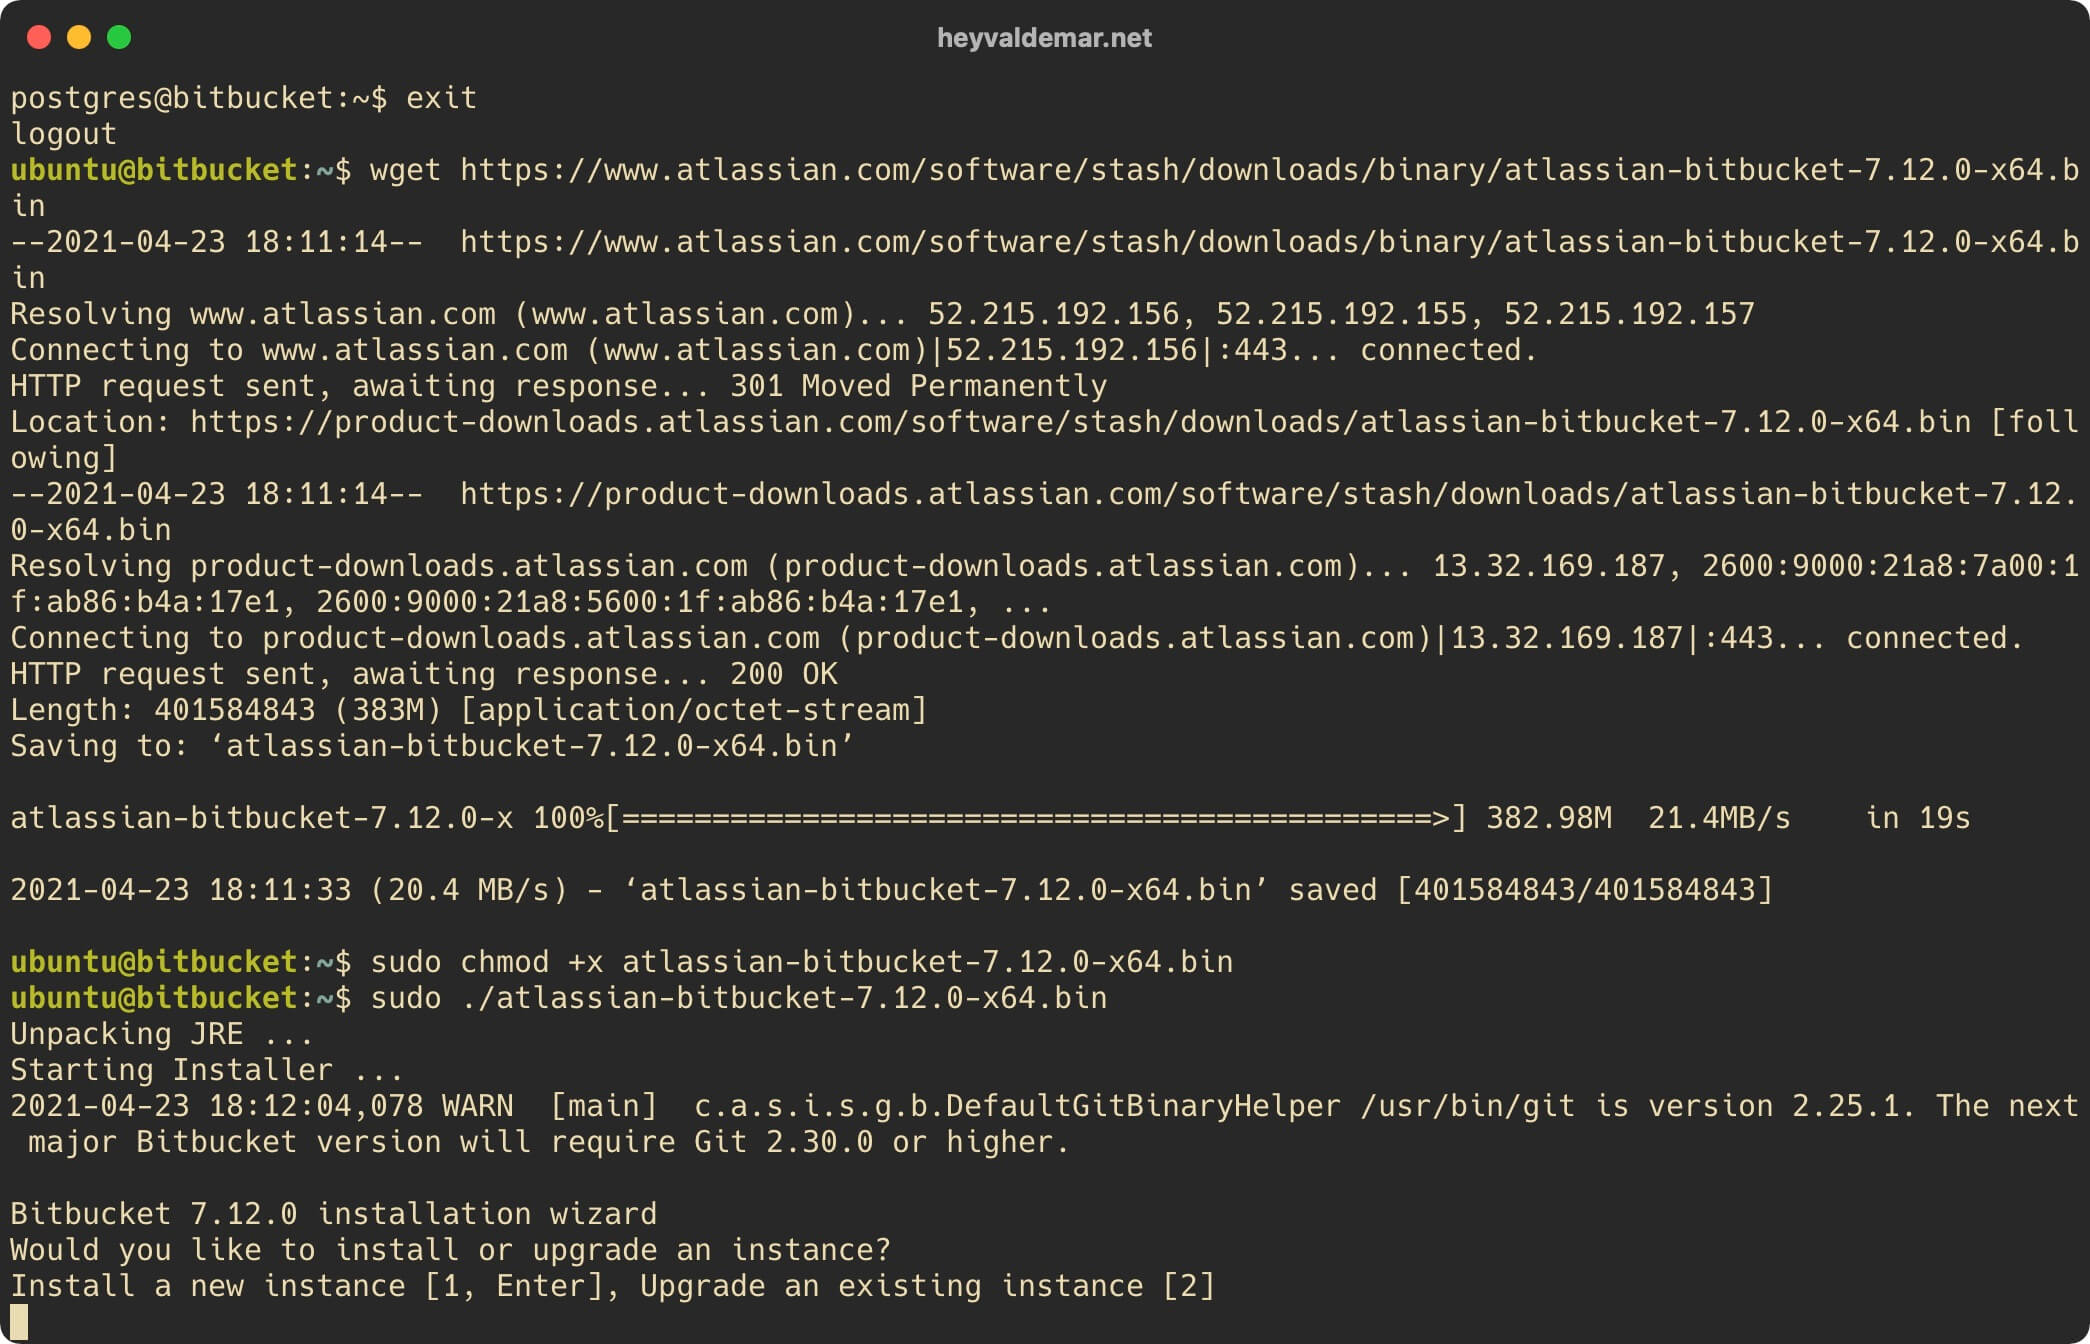
Let’s start the Bitbucket installation using the command:
sudo ./atlassian-bitbucket-7.12.0-x64.binPlease note that your command will differ from the one specified in this article, as you will be installing the latest version of Bitbucket at the time of reading.
In the first step, you can choose whether you want to install a new Bitbucket server or upgrade an existing one.
This tutorial walks through the installation of a new Bitbucket server.
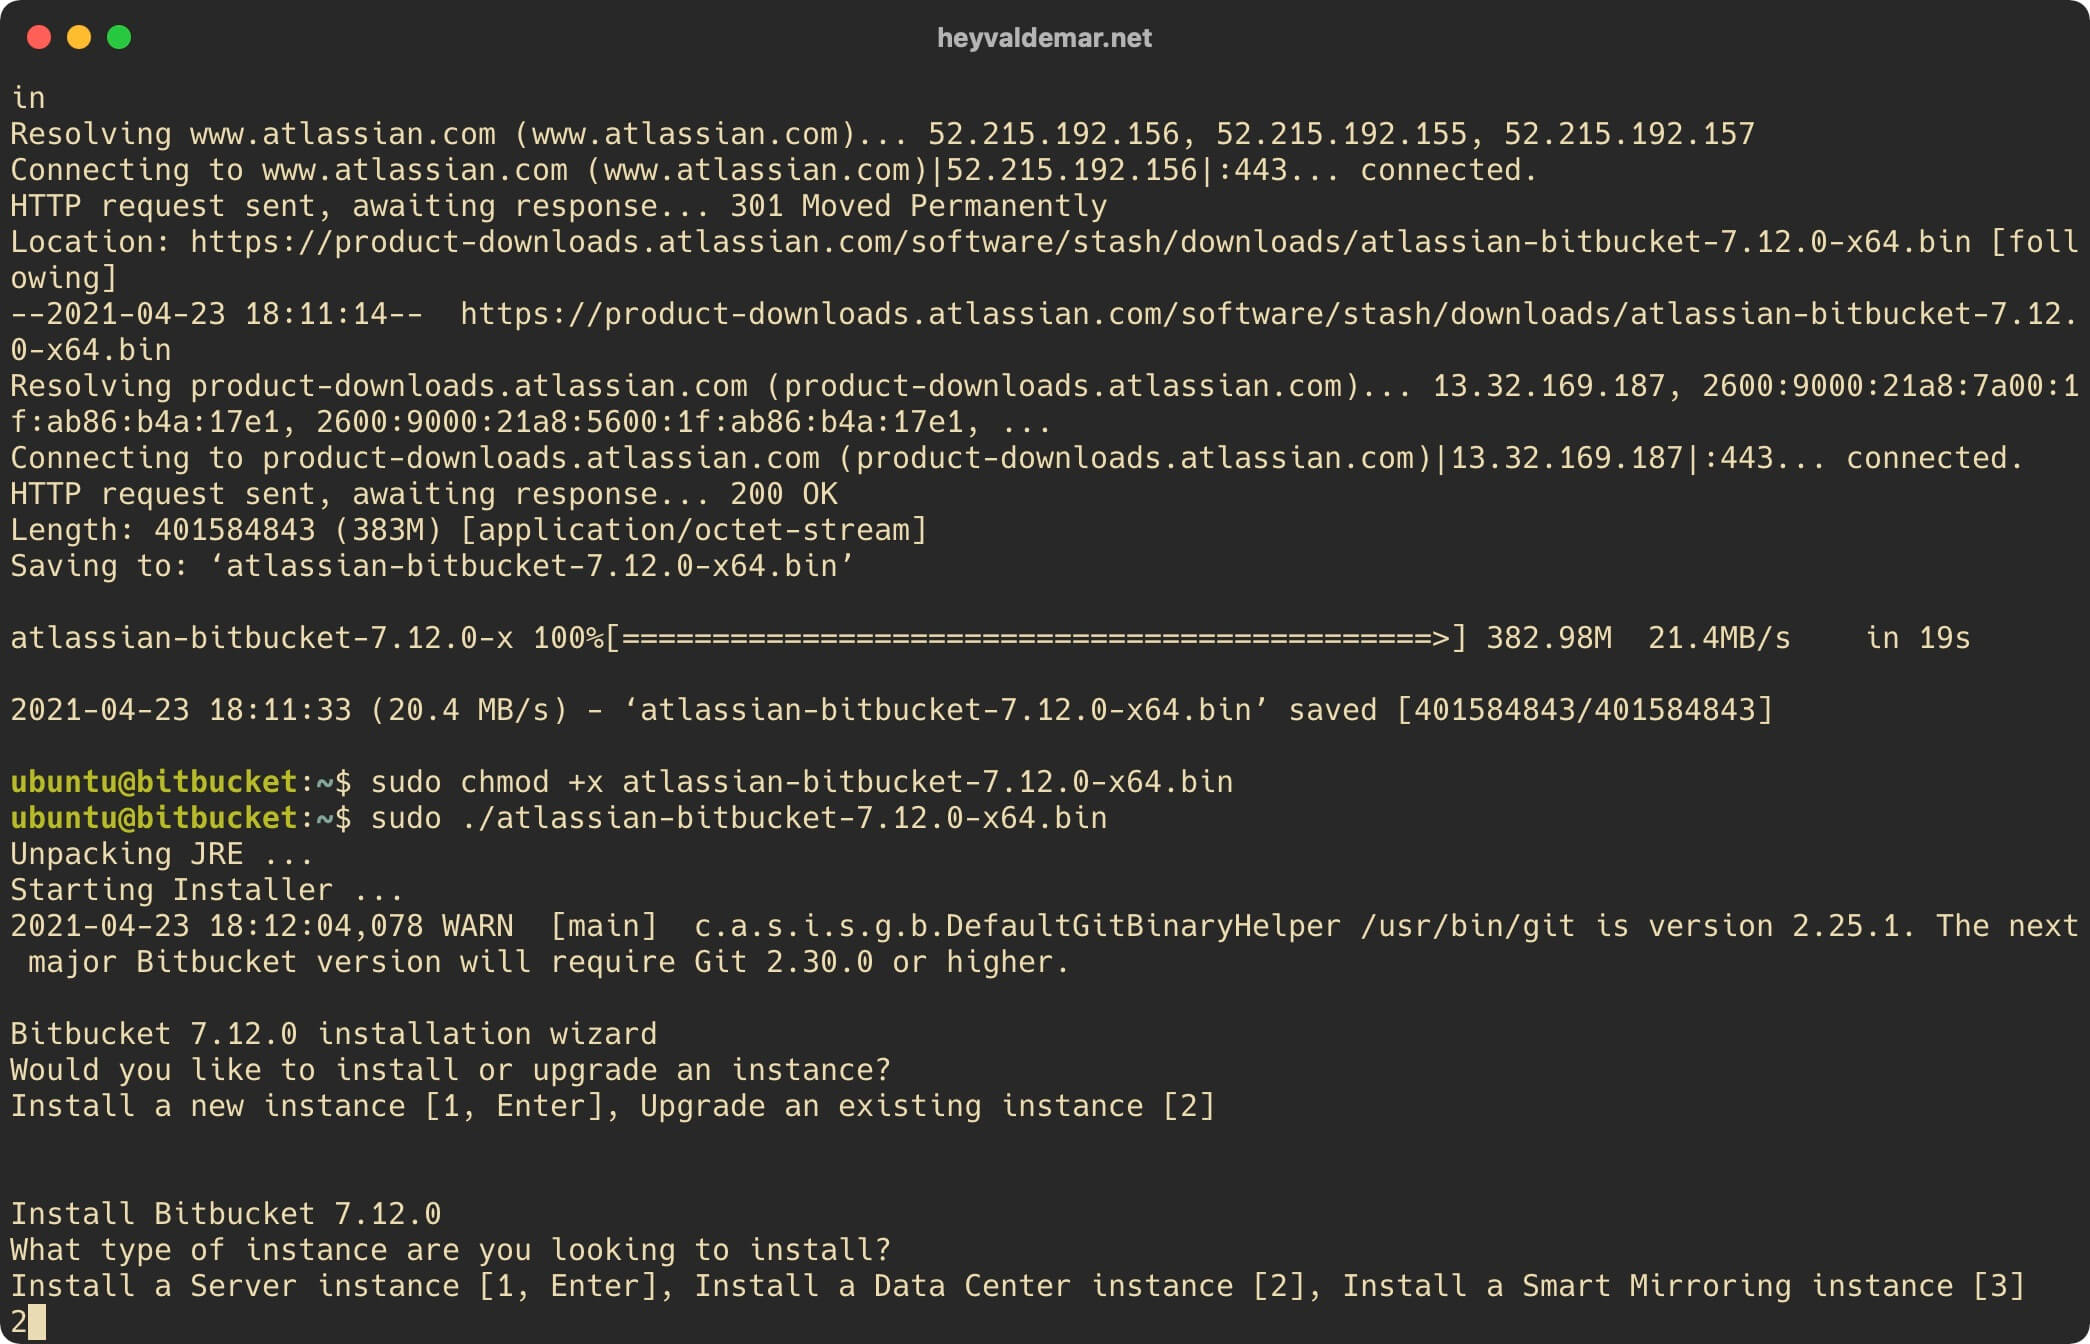
Press the “Enter” button.
The next step is to select the Bitbucket edition.
Select the “Data Center” edition and press the “Enter” button.
In the next step, you can choose where to install Bitbucket.
This tutorial covers installing Bitbucket in “/opt/atlassian/bitbucket/7.12.0”.
Press the “Enter” button.
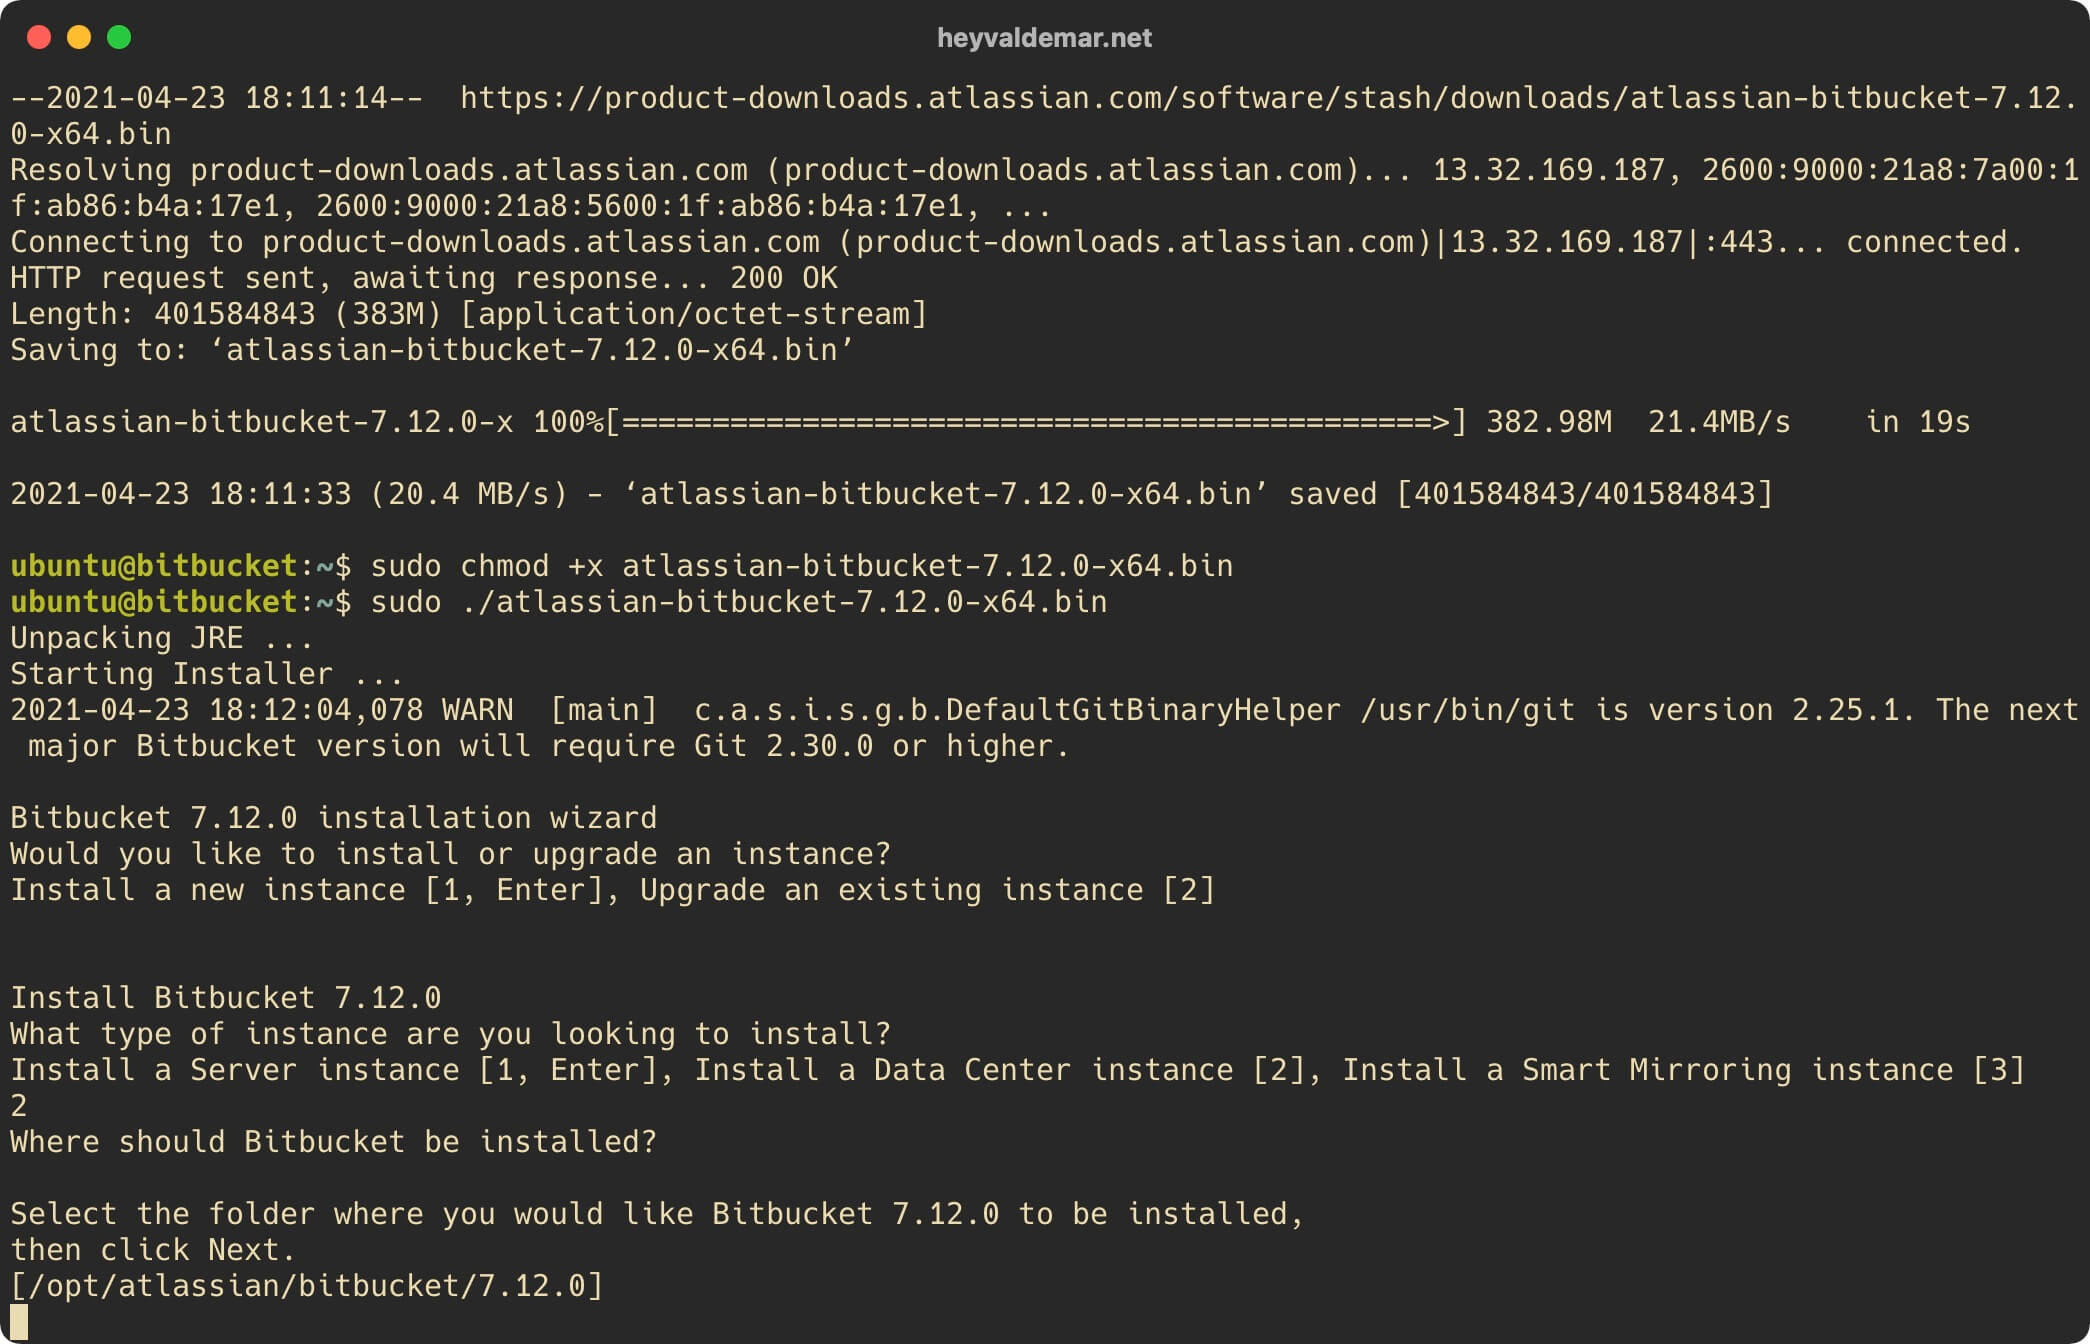
Next, you can choose where to store your Bitbucket data.
This tutorial covers installing Bitbucket in “/var/atlassian/application-data/bitbucket”.
Press the “Enter” button.
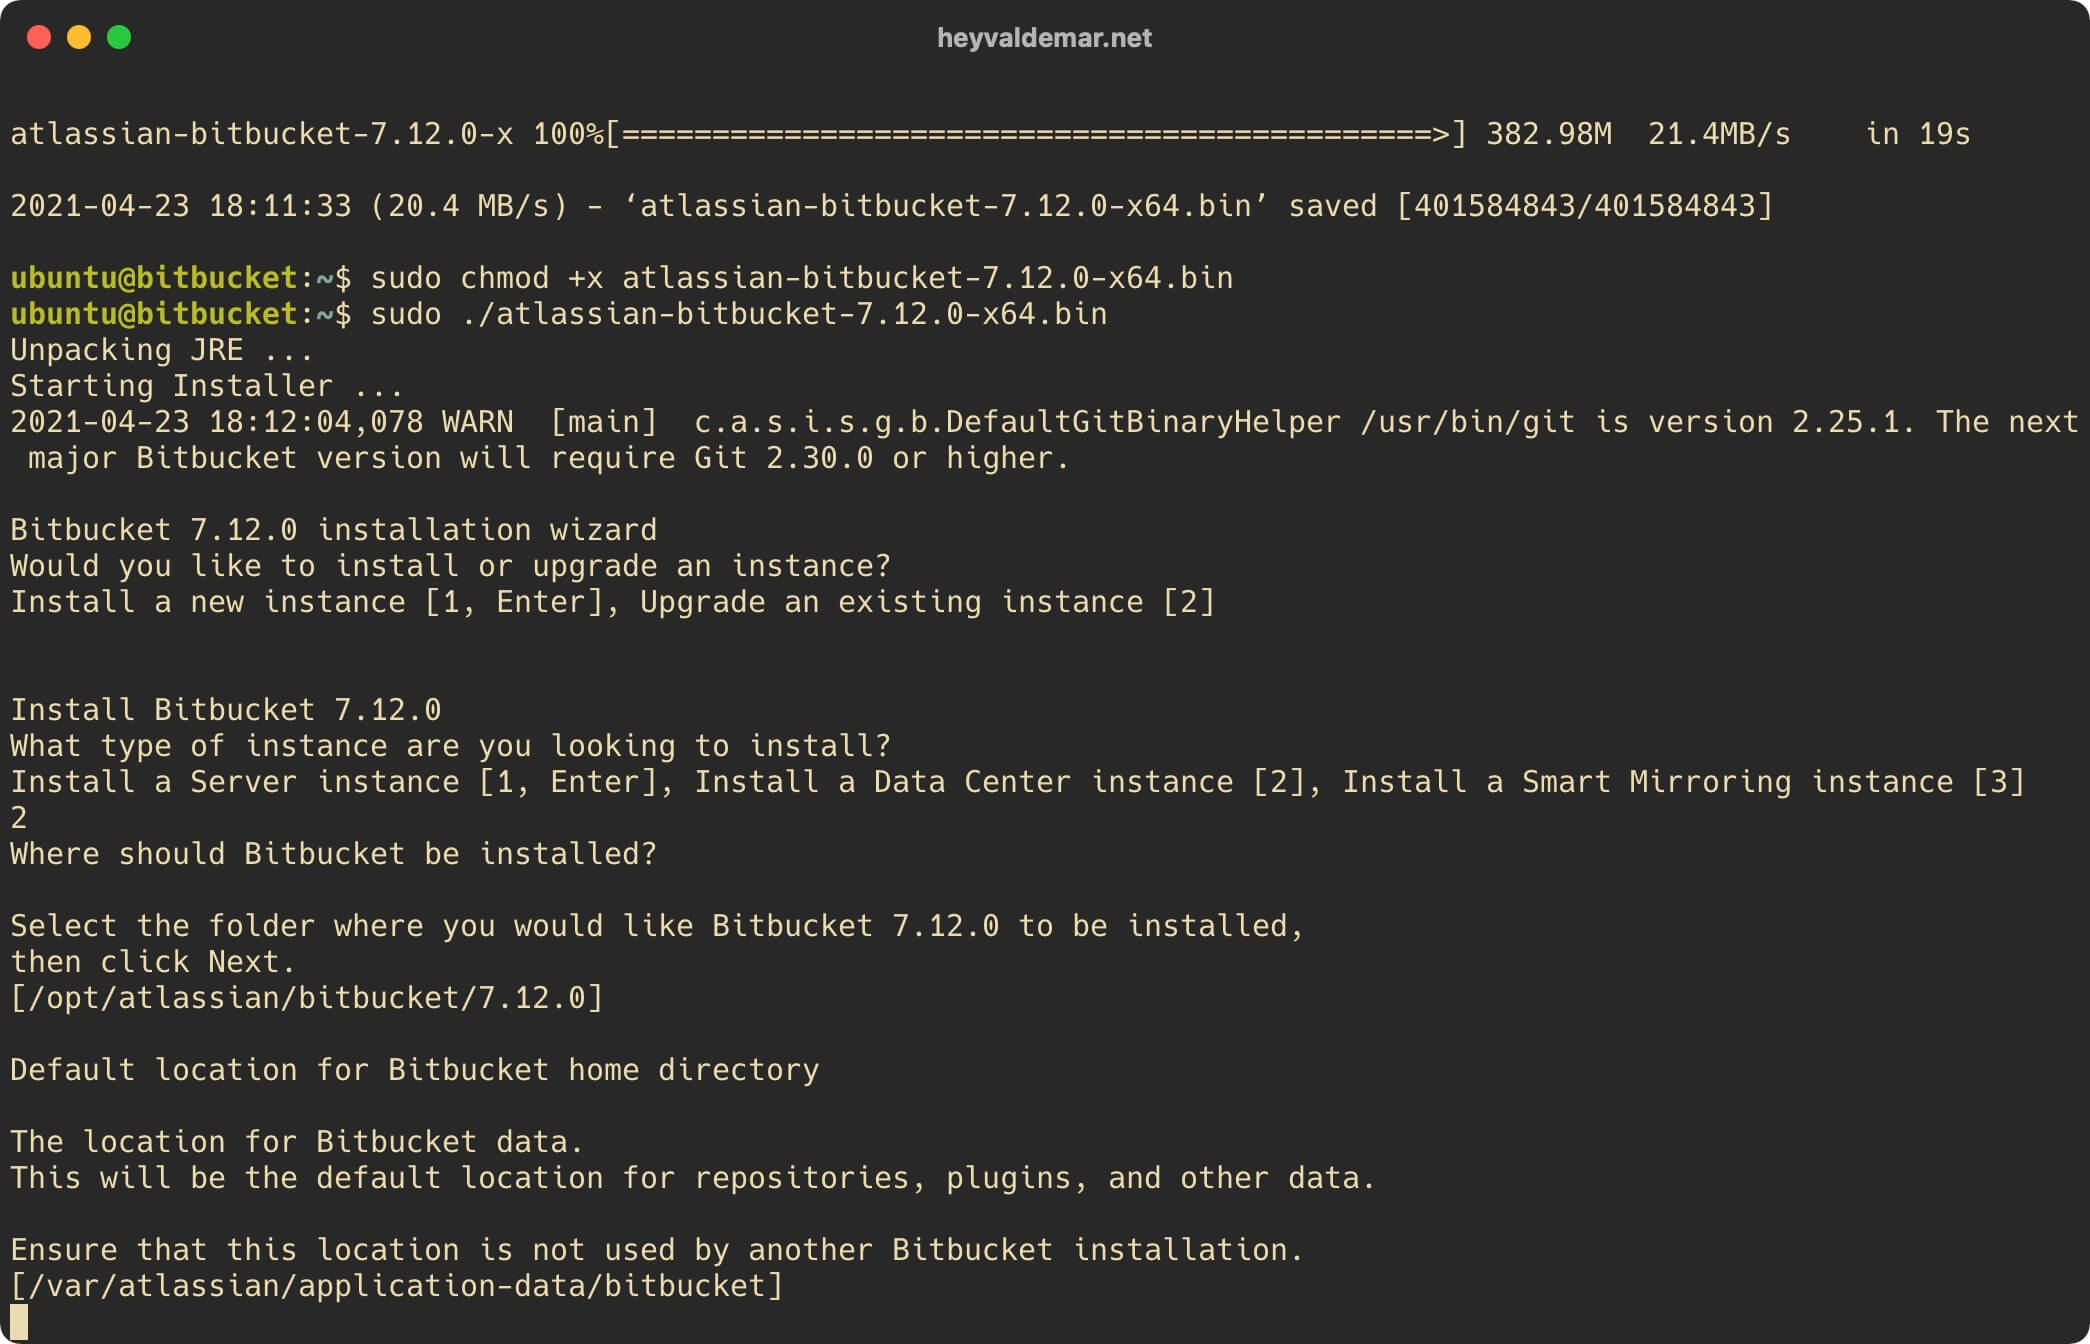
Now you can select the port that Bitbucket will use.
This tutorial walks you through installing Bitbucket using port 7990 for HTTP.
Press the “Enter” button.
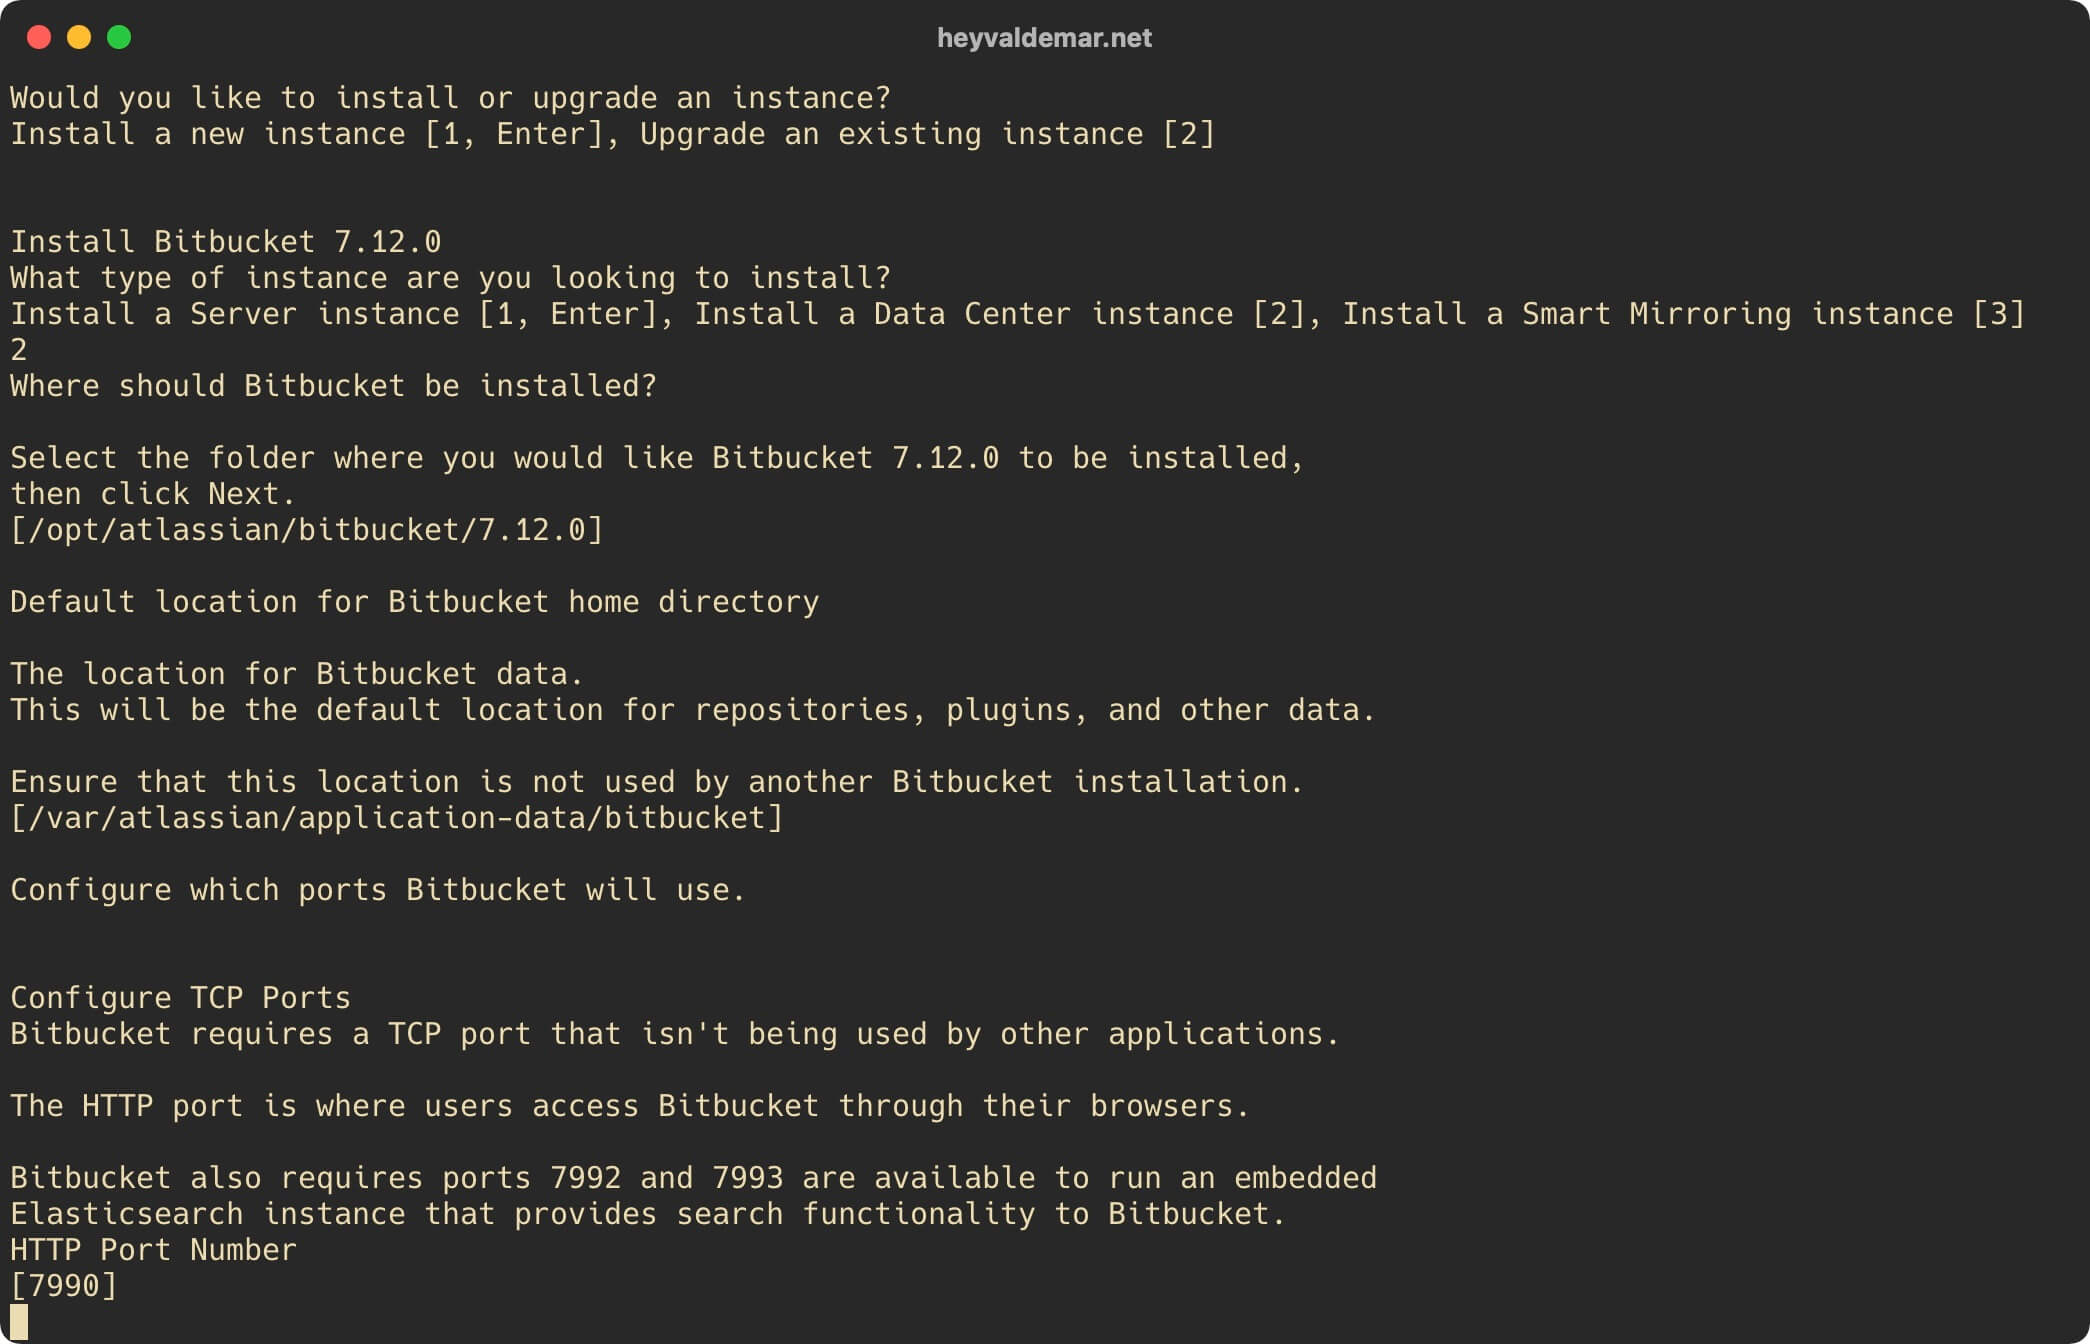
Next, you will be offered the option to install Bitbucket as a service.
Press the “Enter” button.
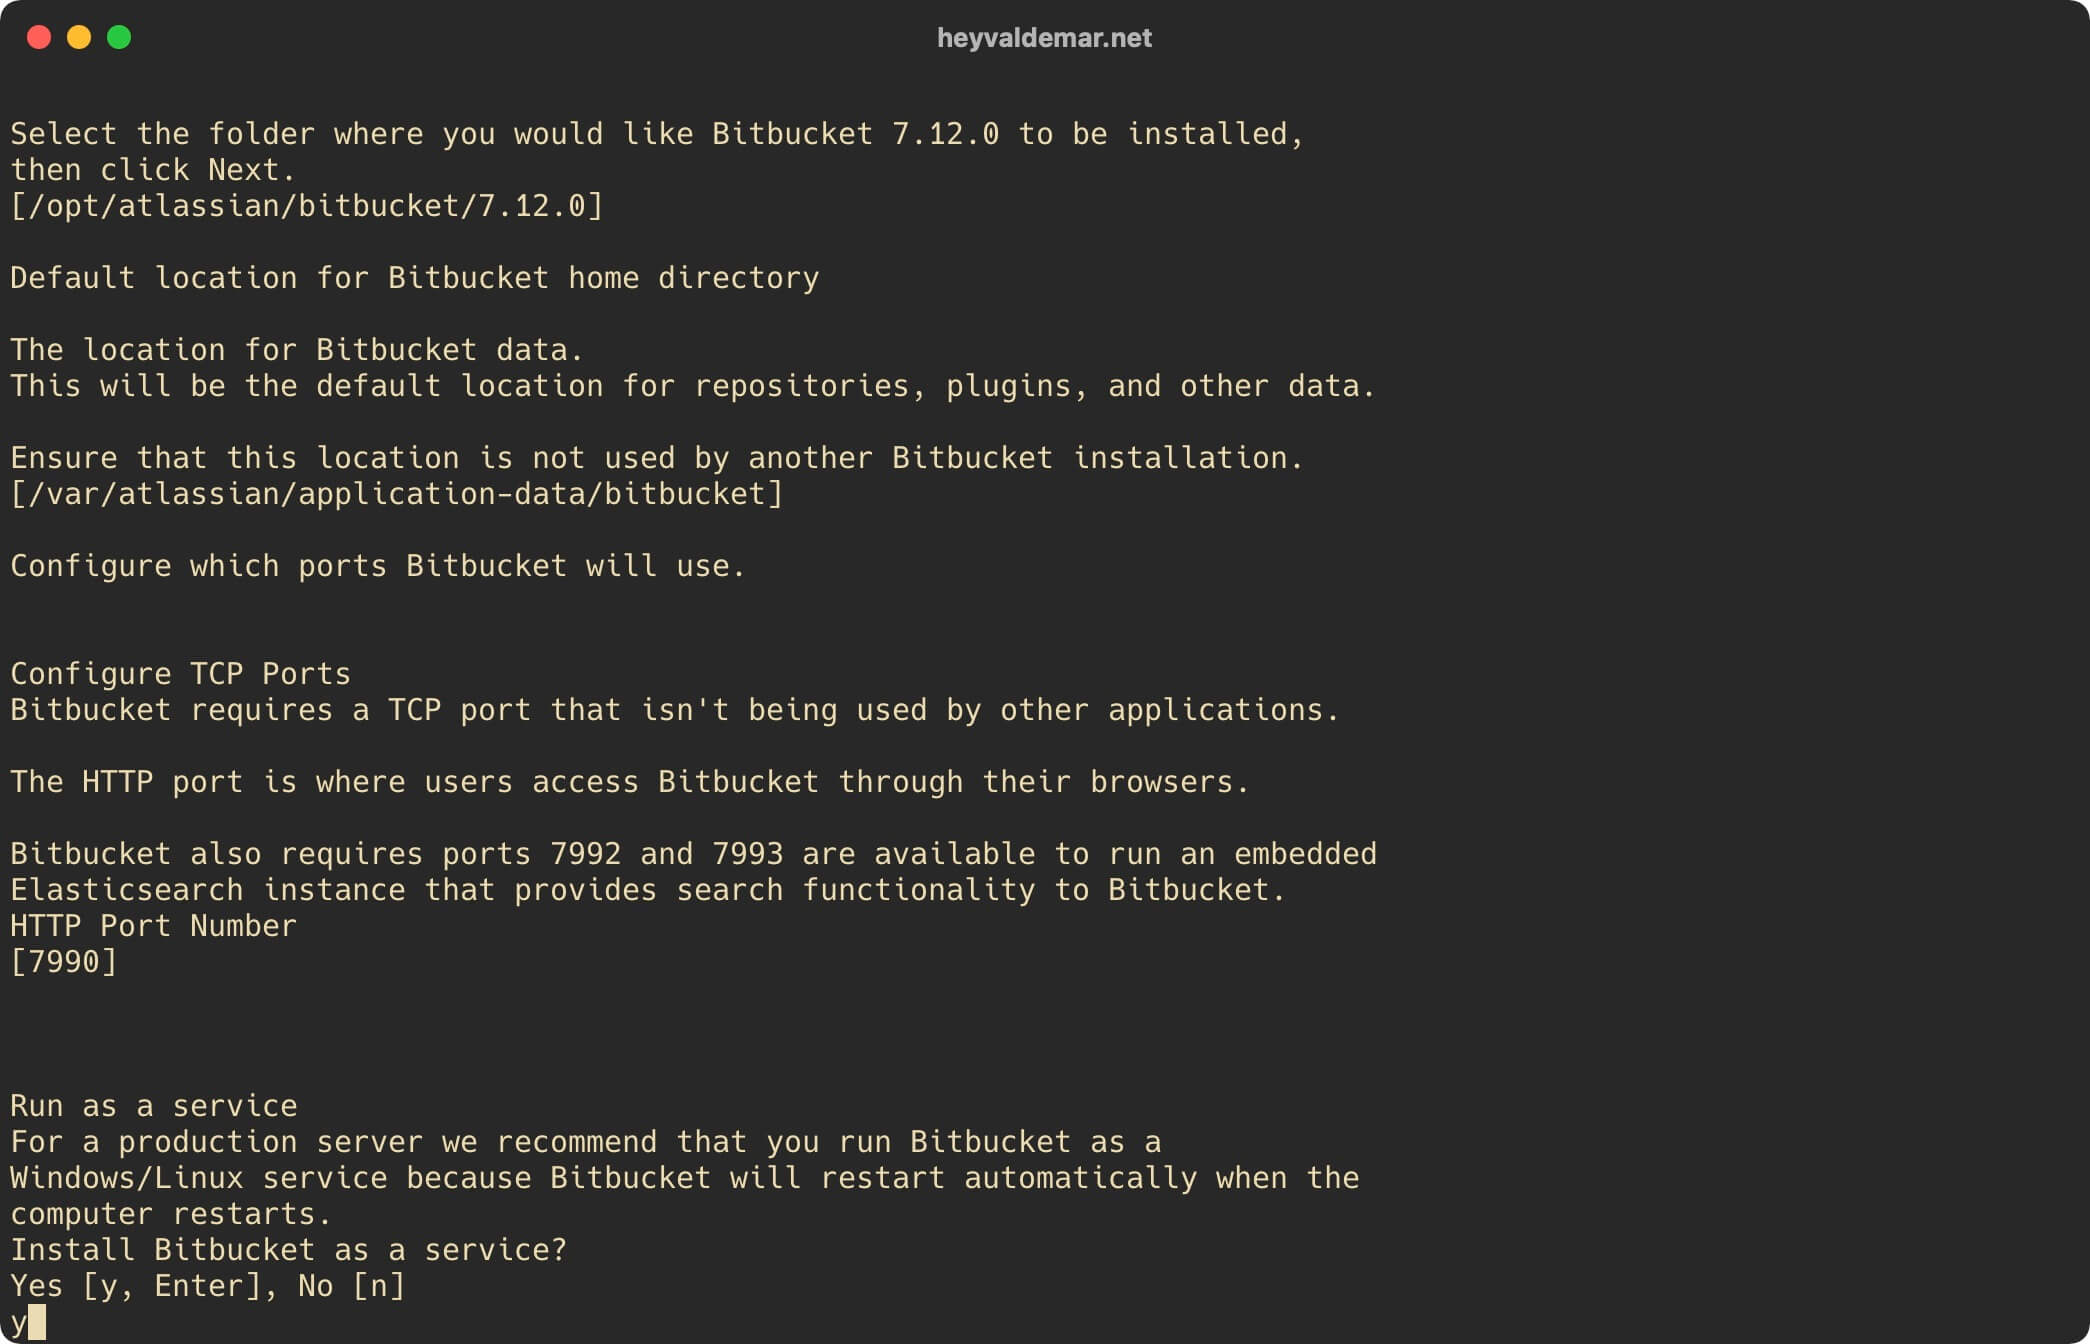
Click on the “Enter” button to start installing Bitbucket.
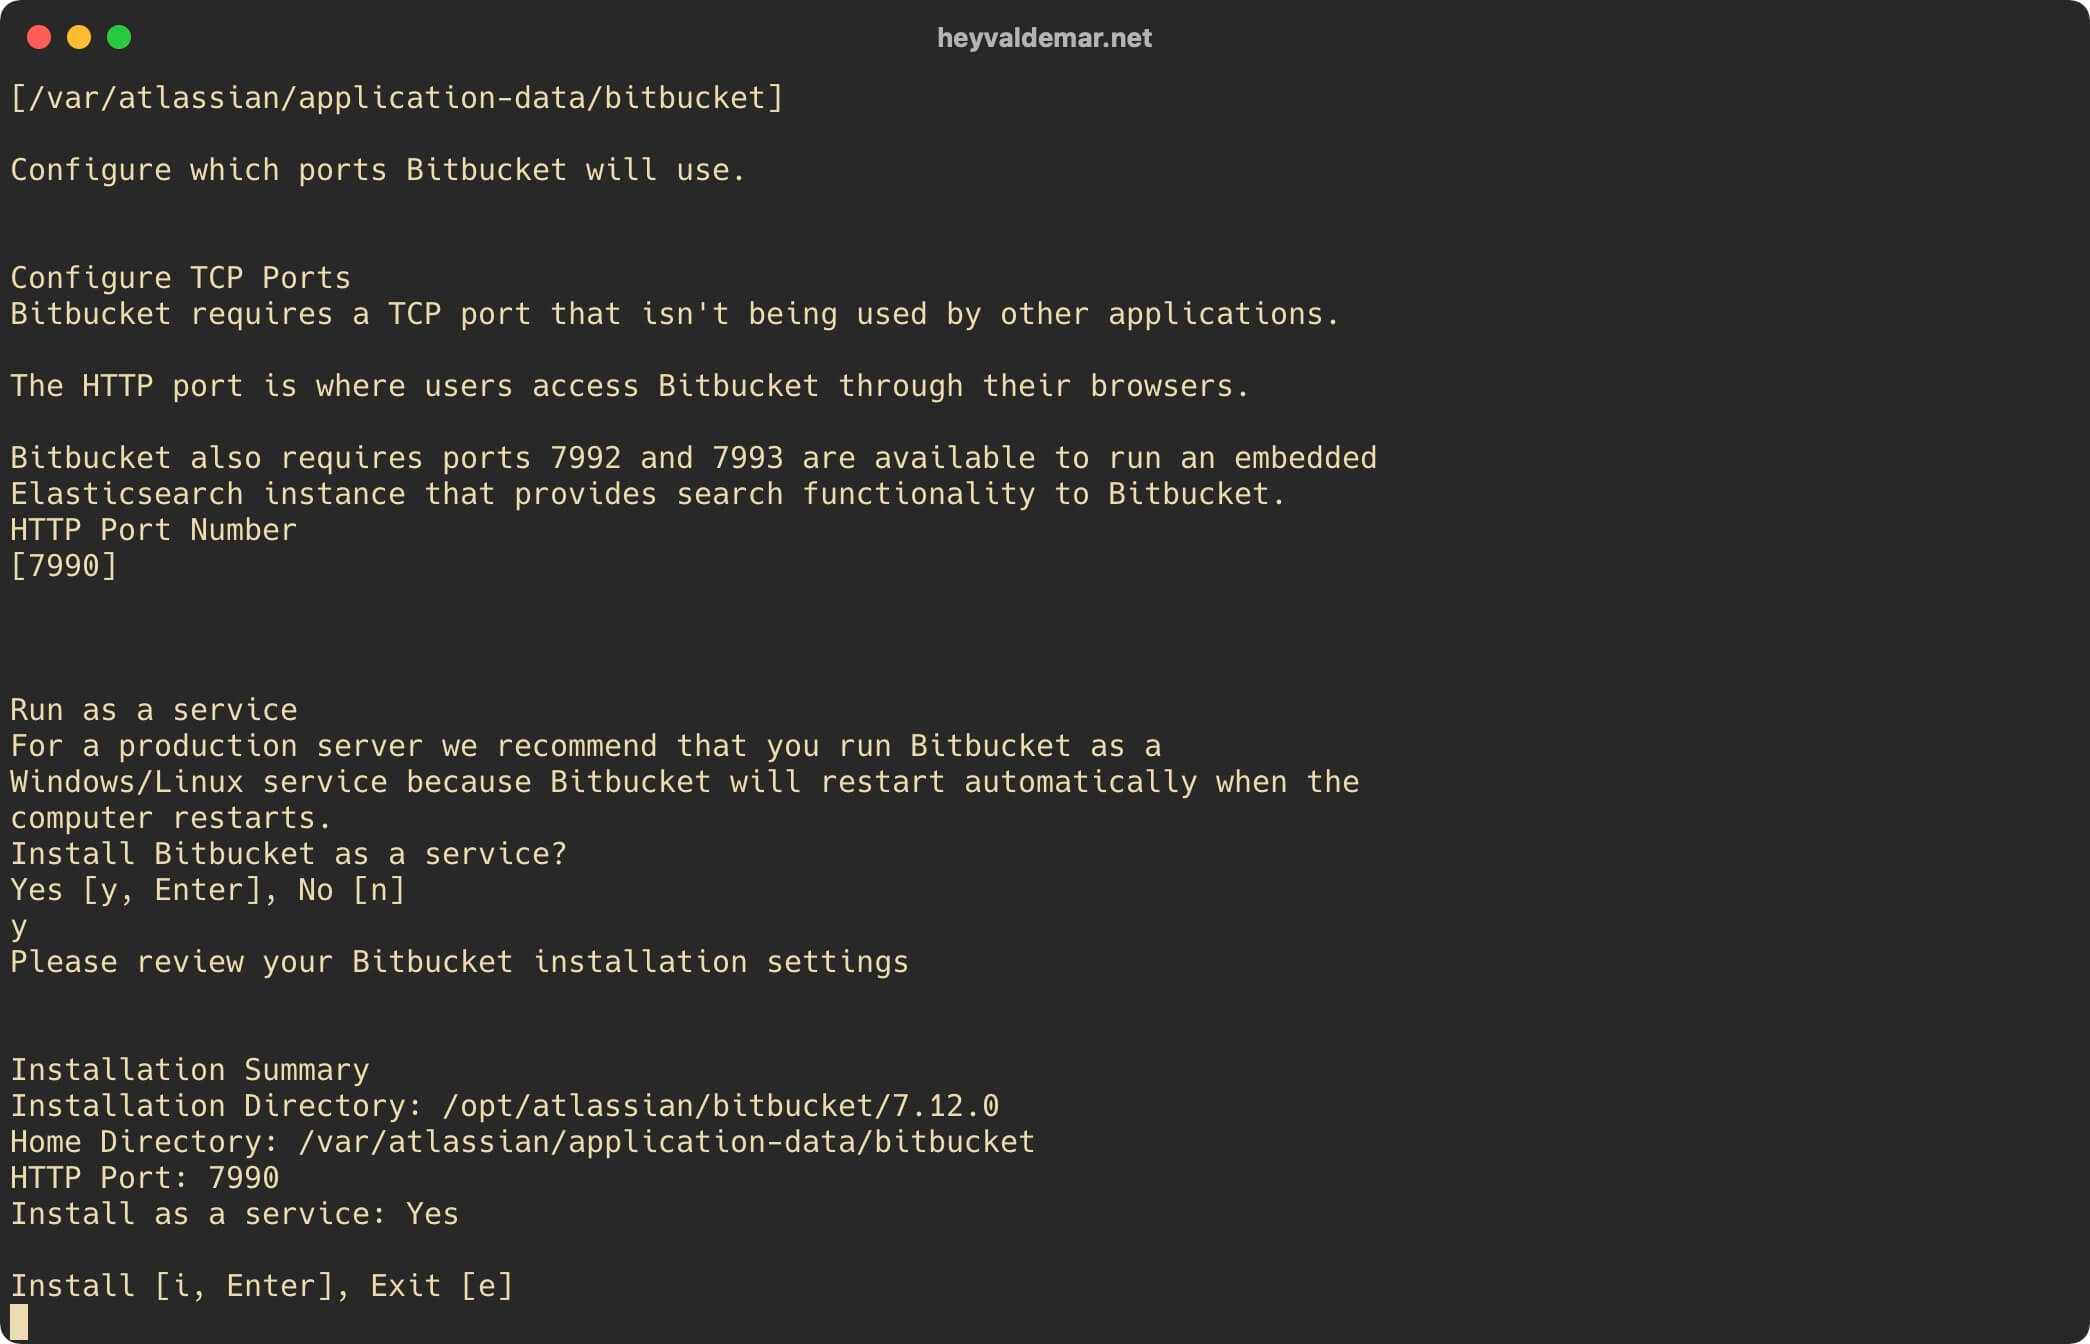
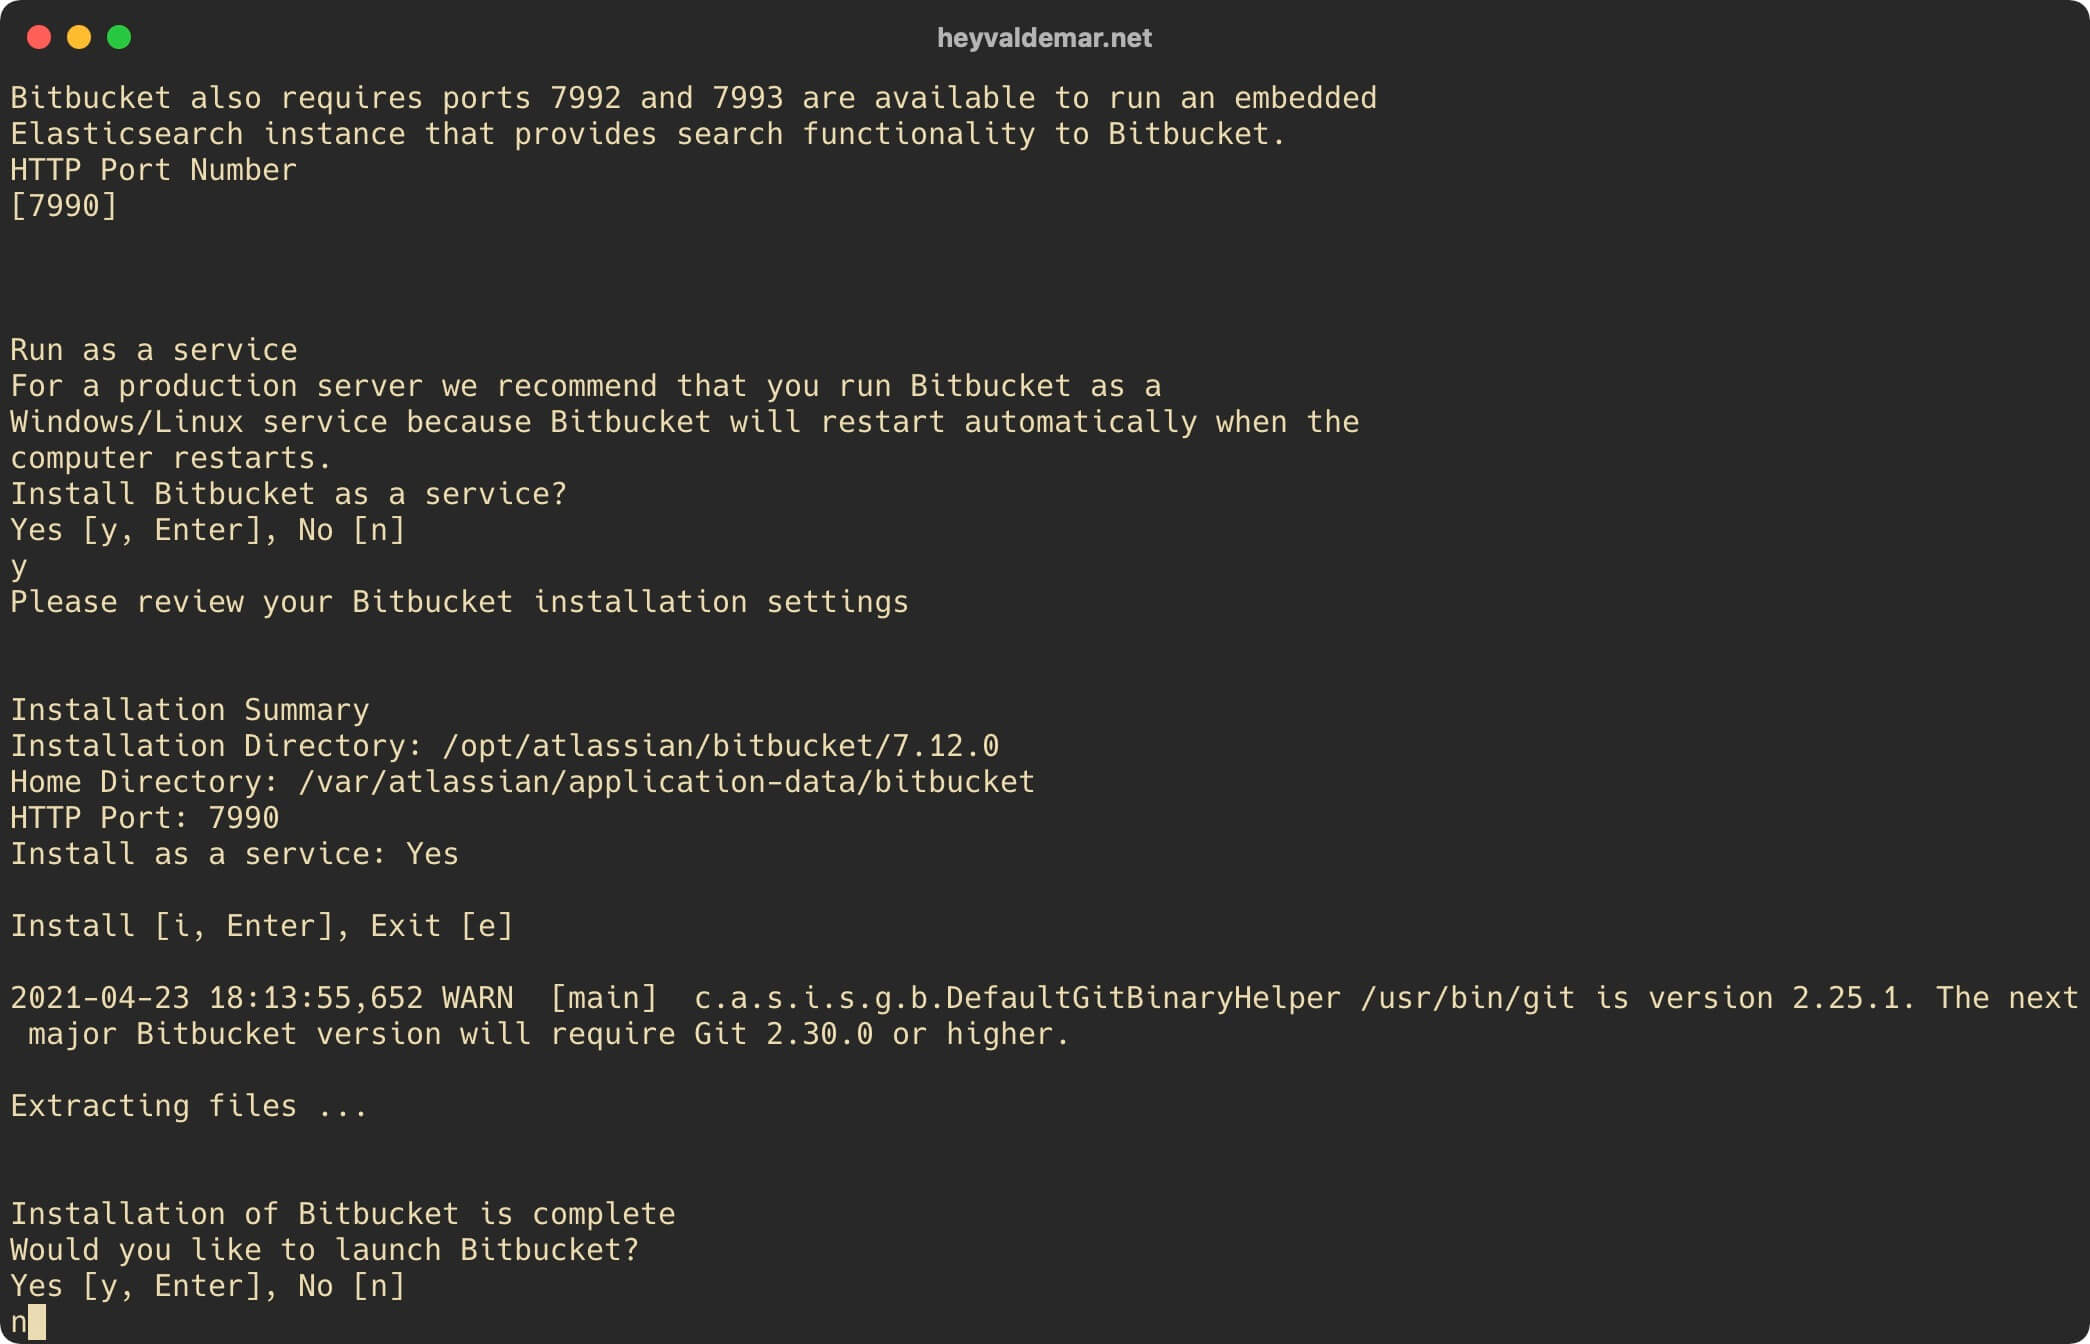
Bitbucket installation completed successfully.
Please note that you do not need to run Bitbucket.
We indicate “n” and press the “Enter” button.
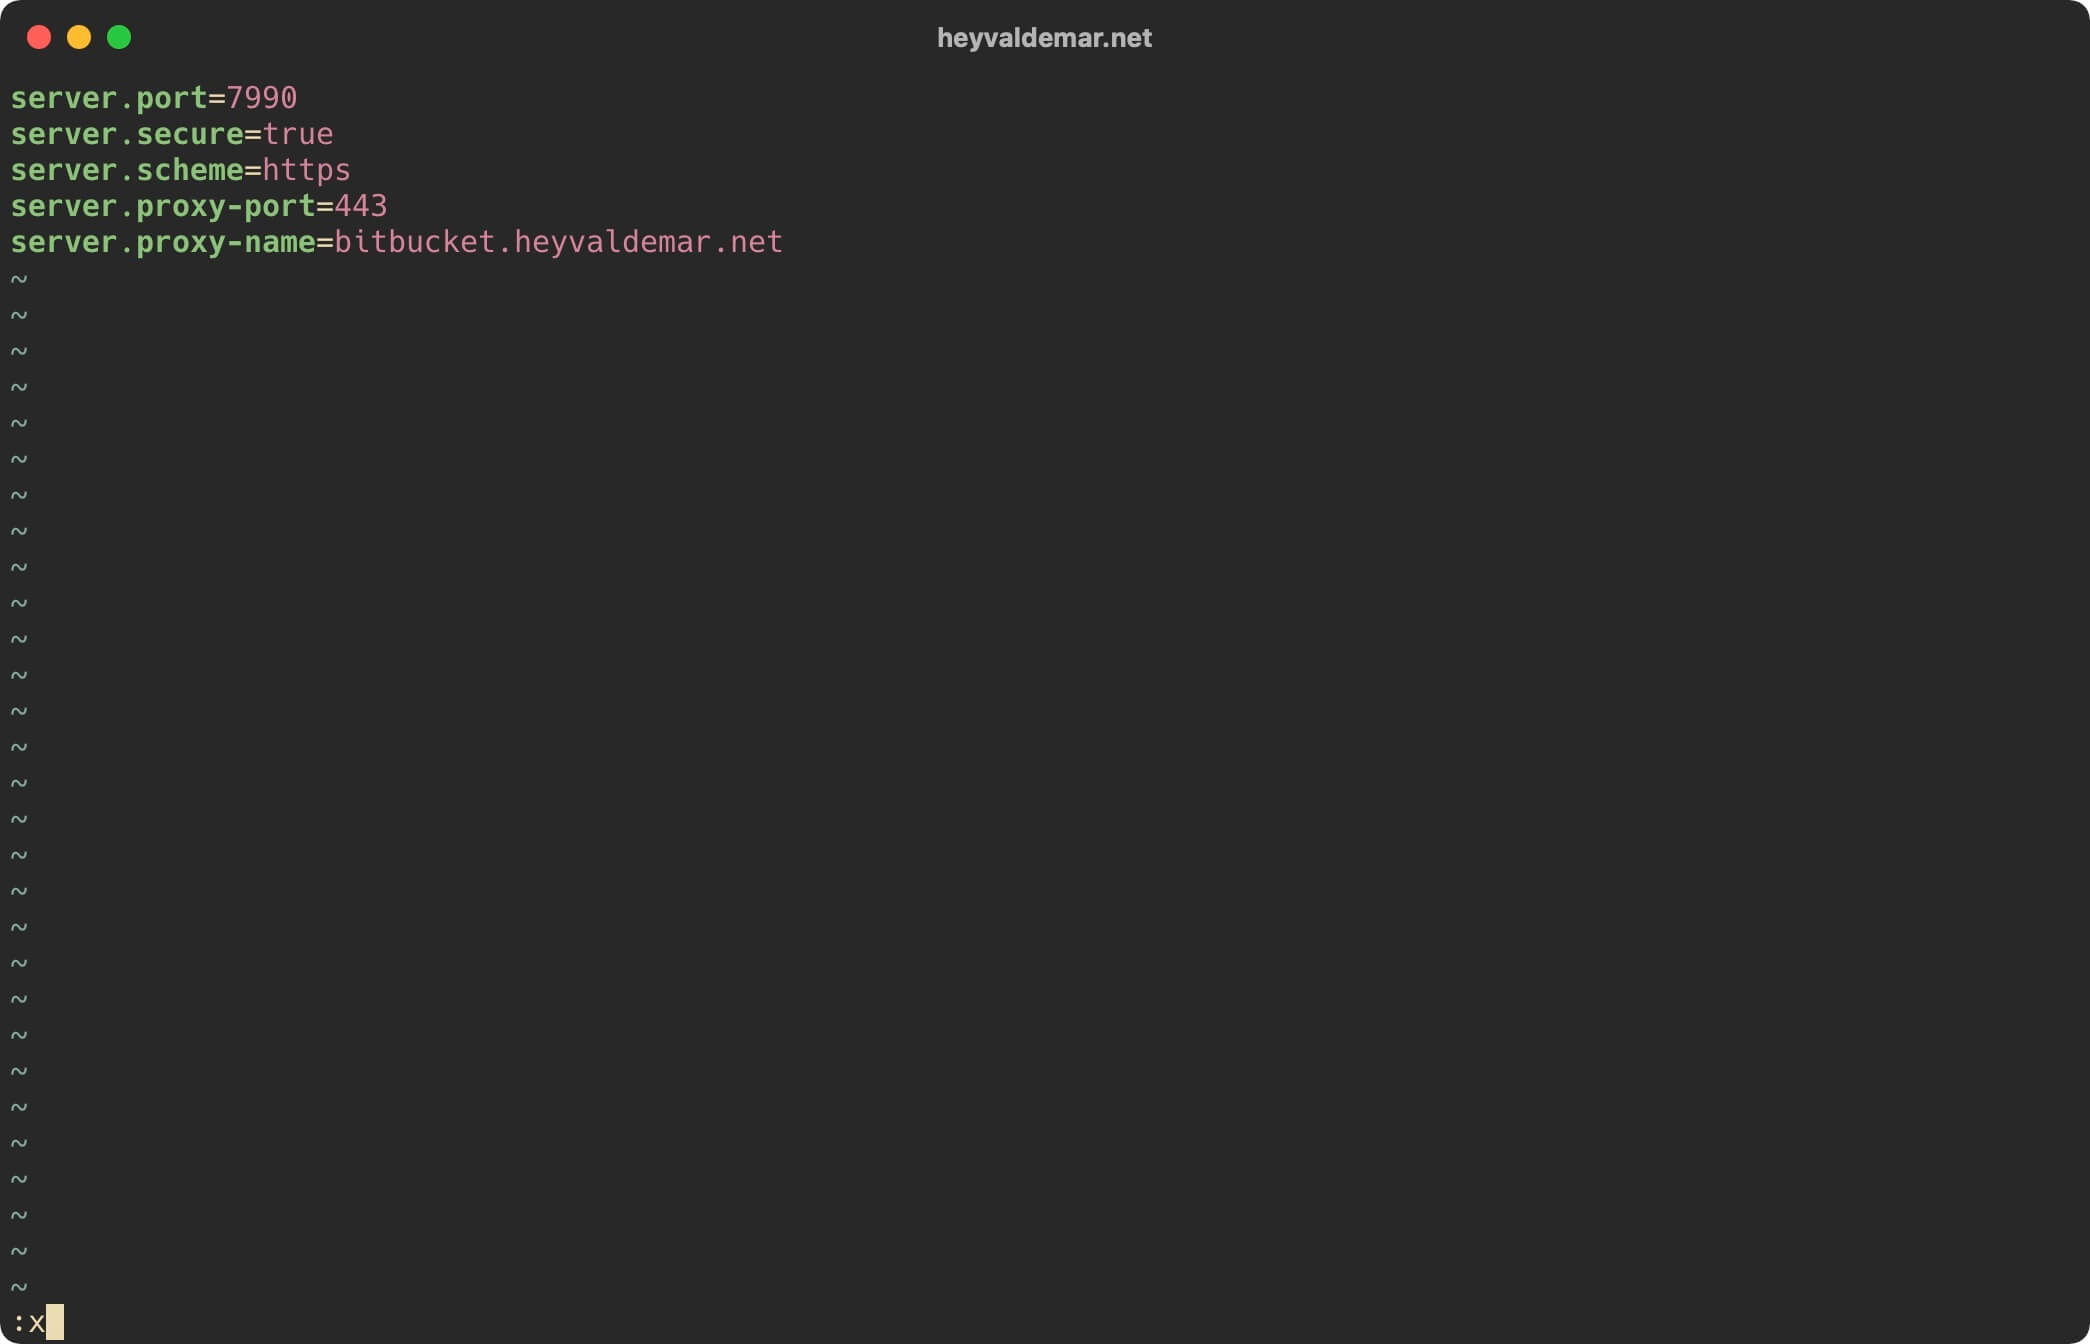
Now you need to create a Bitbucket config file using the command:
sudo vim /var/atlassian/application-data/bitbucket/shared/bitbucket.properties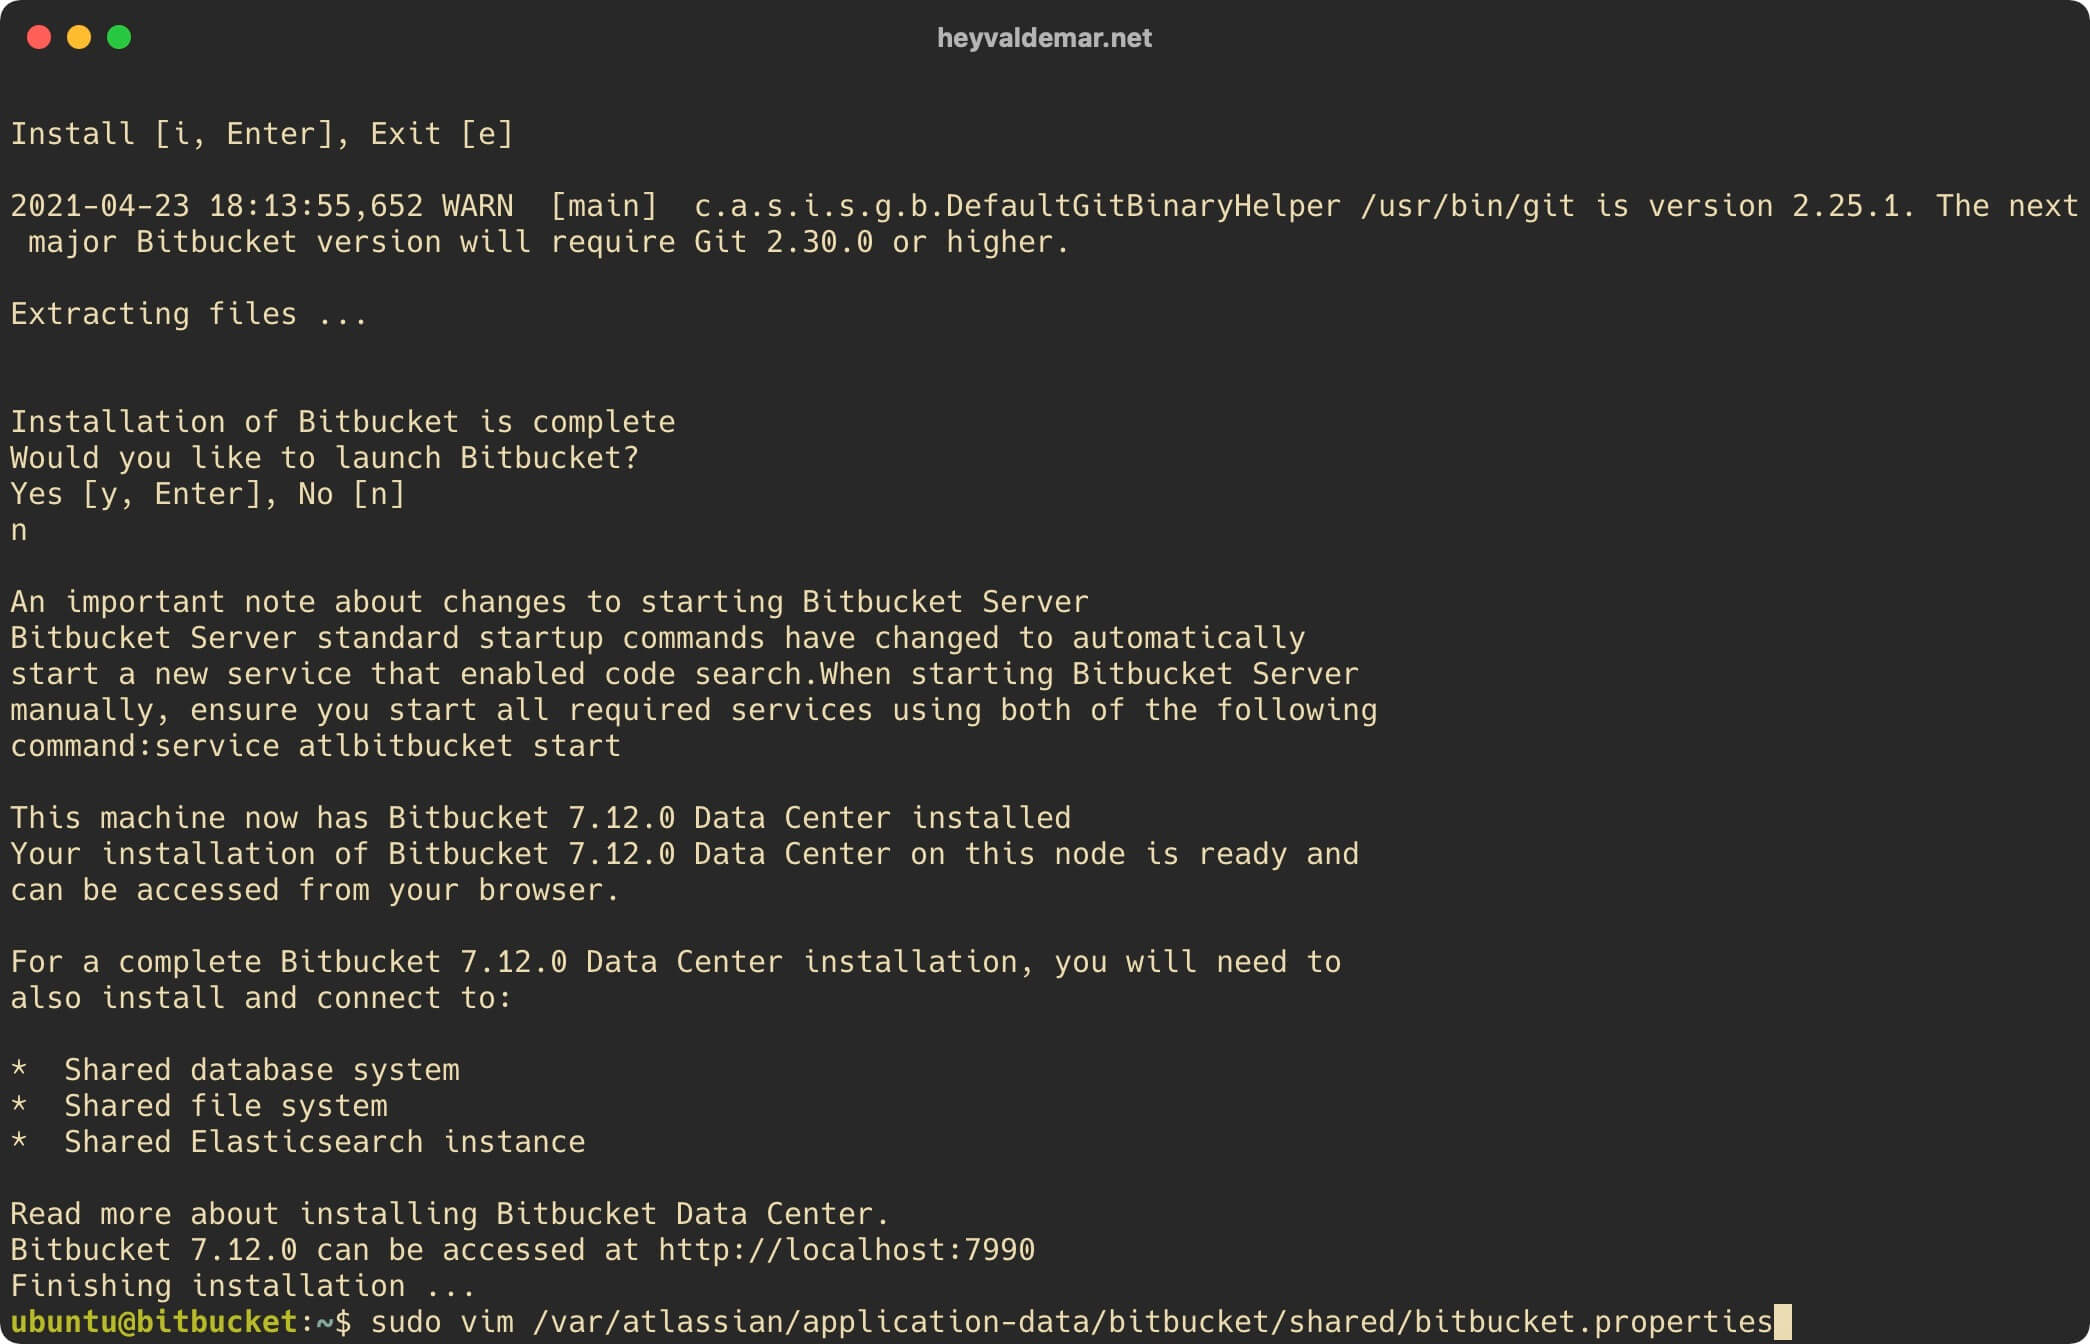
Hit the “i” button to go into edit mode, then insert the following configuration for the webserver to work.
In this tutorial, the subdomain bitbucket.heyvaldemar.net will be used to access Bitbucket from the Internet. You will need to specify your domain or subdomain under which your Bitbucket will be accessible from the Internet.
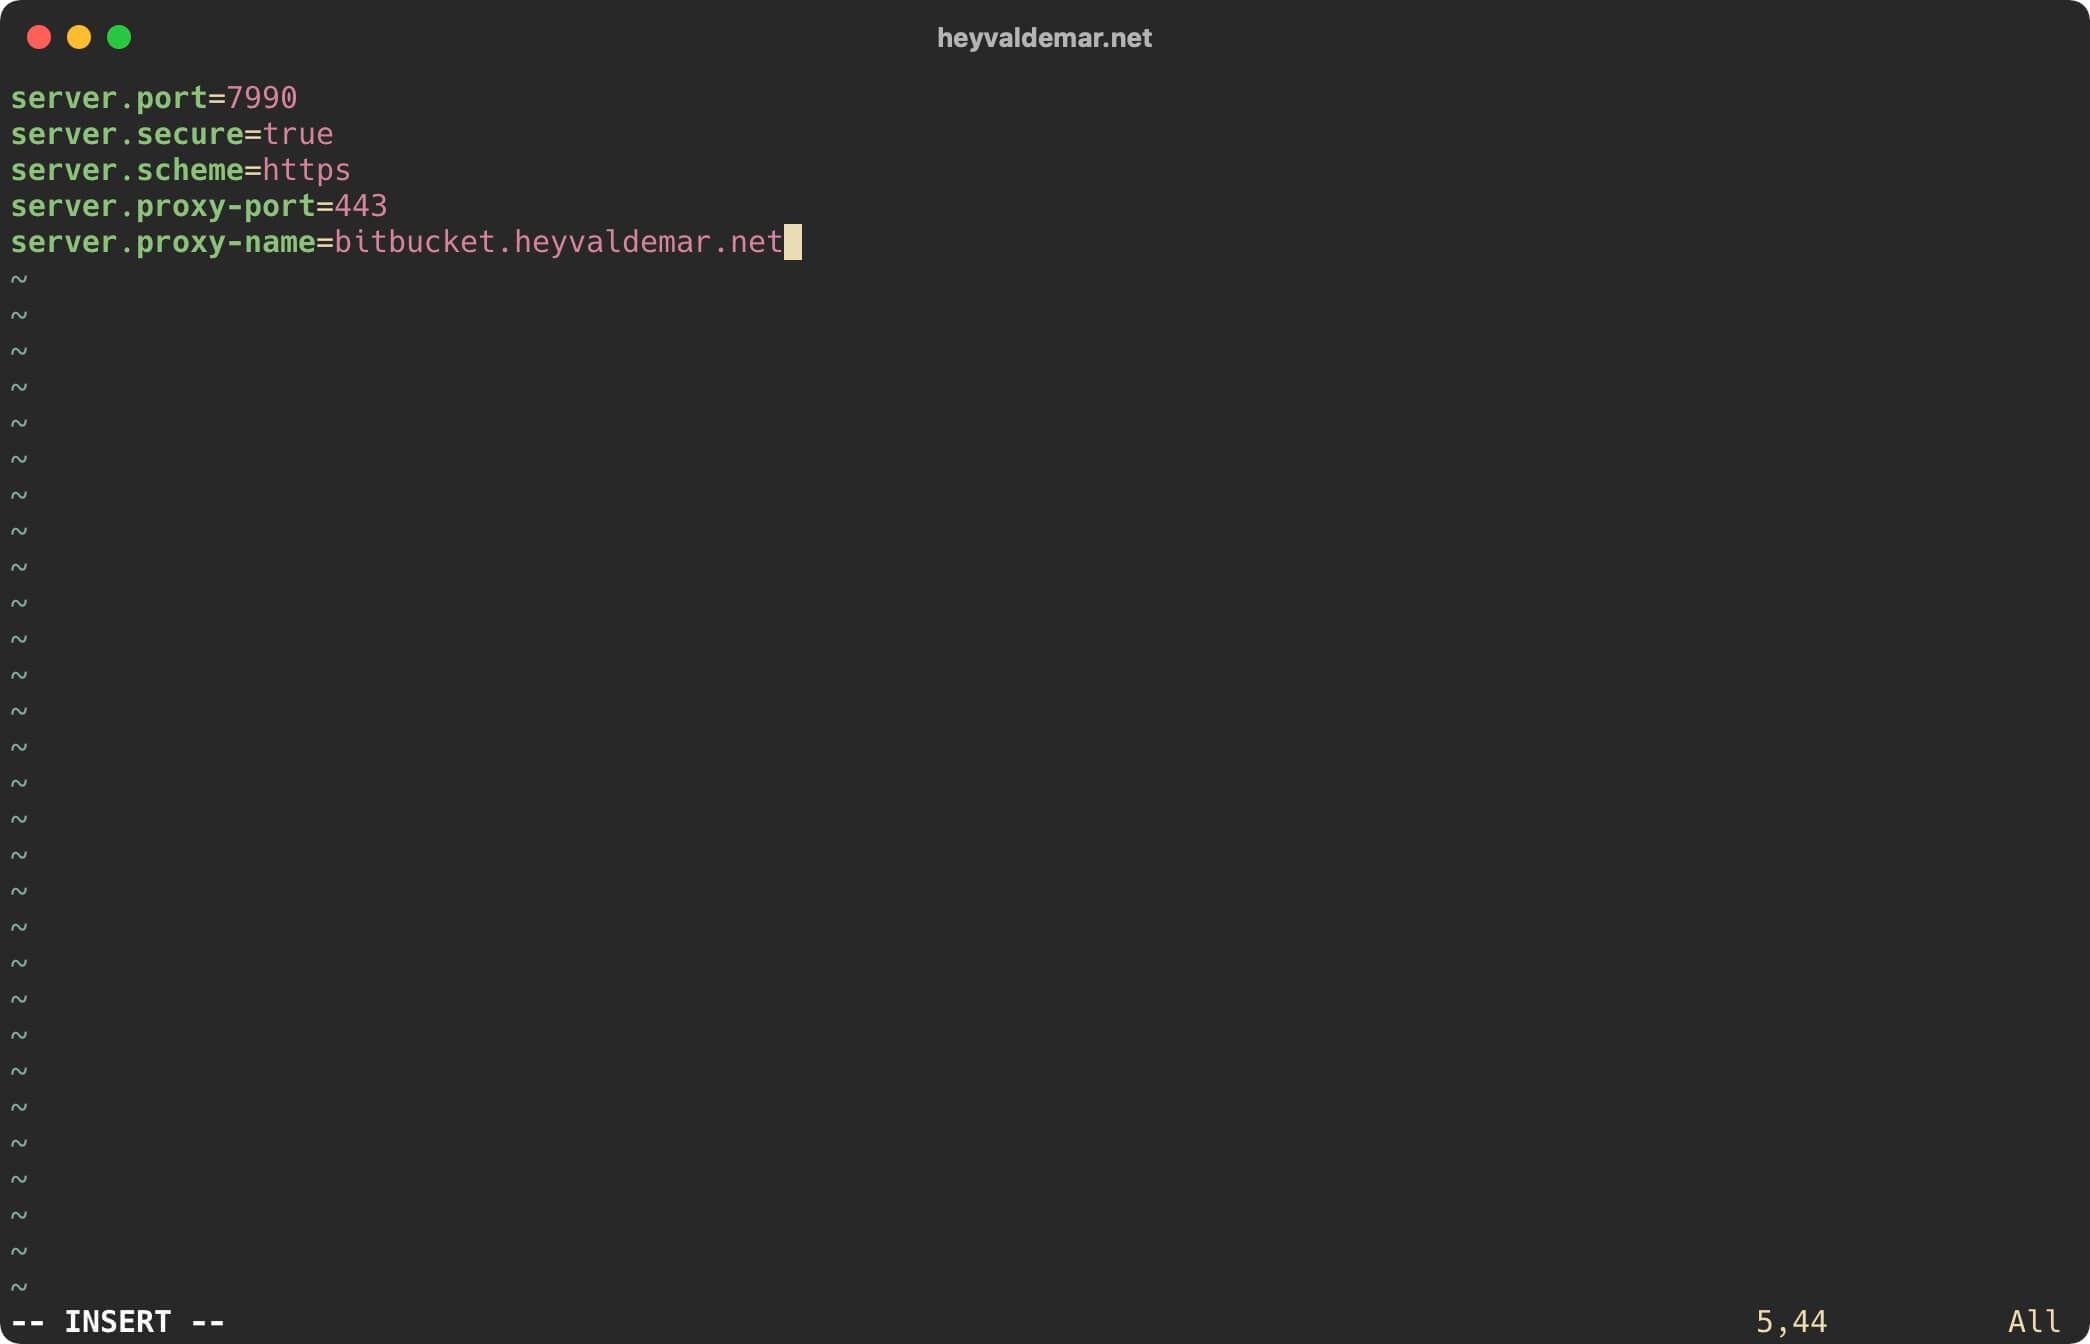
Now press the “Esc” button to exit edit mode, then type “:x” and press the “Enter” button to save your changes and exit the editor.
Launch Bitbucket using the command:
sudo service atlbitbucket start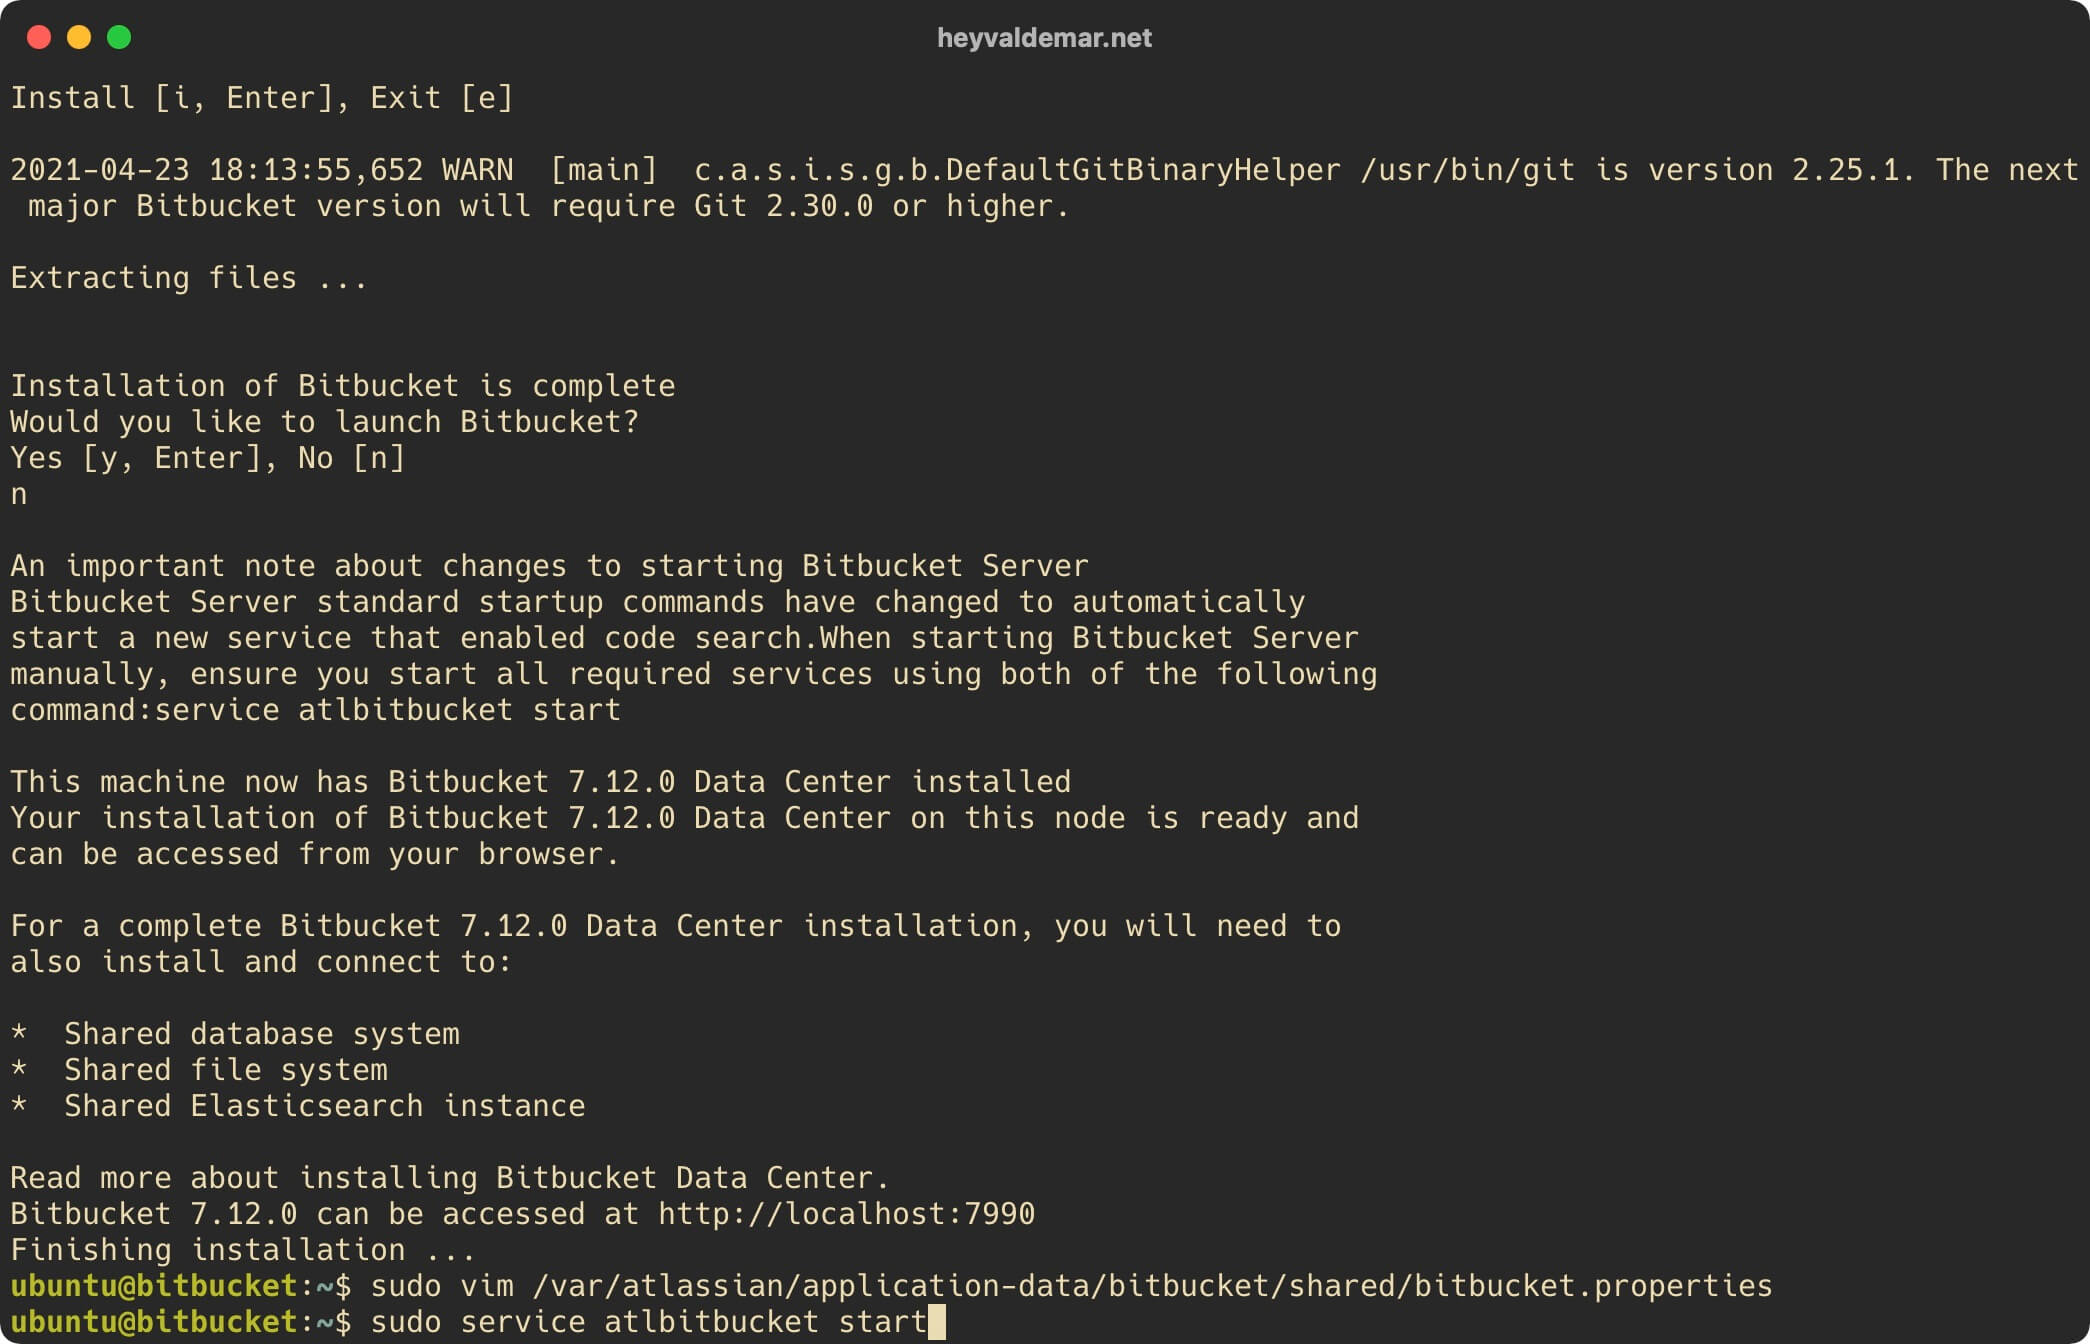
Open the Bitbucket log to check if Bitbucket is starting correctly using the command:
sudo less /var/atlassian/application-data/bitbucket/log/atlassian-bitbucket.log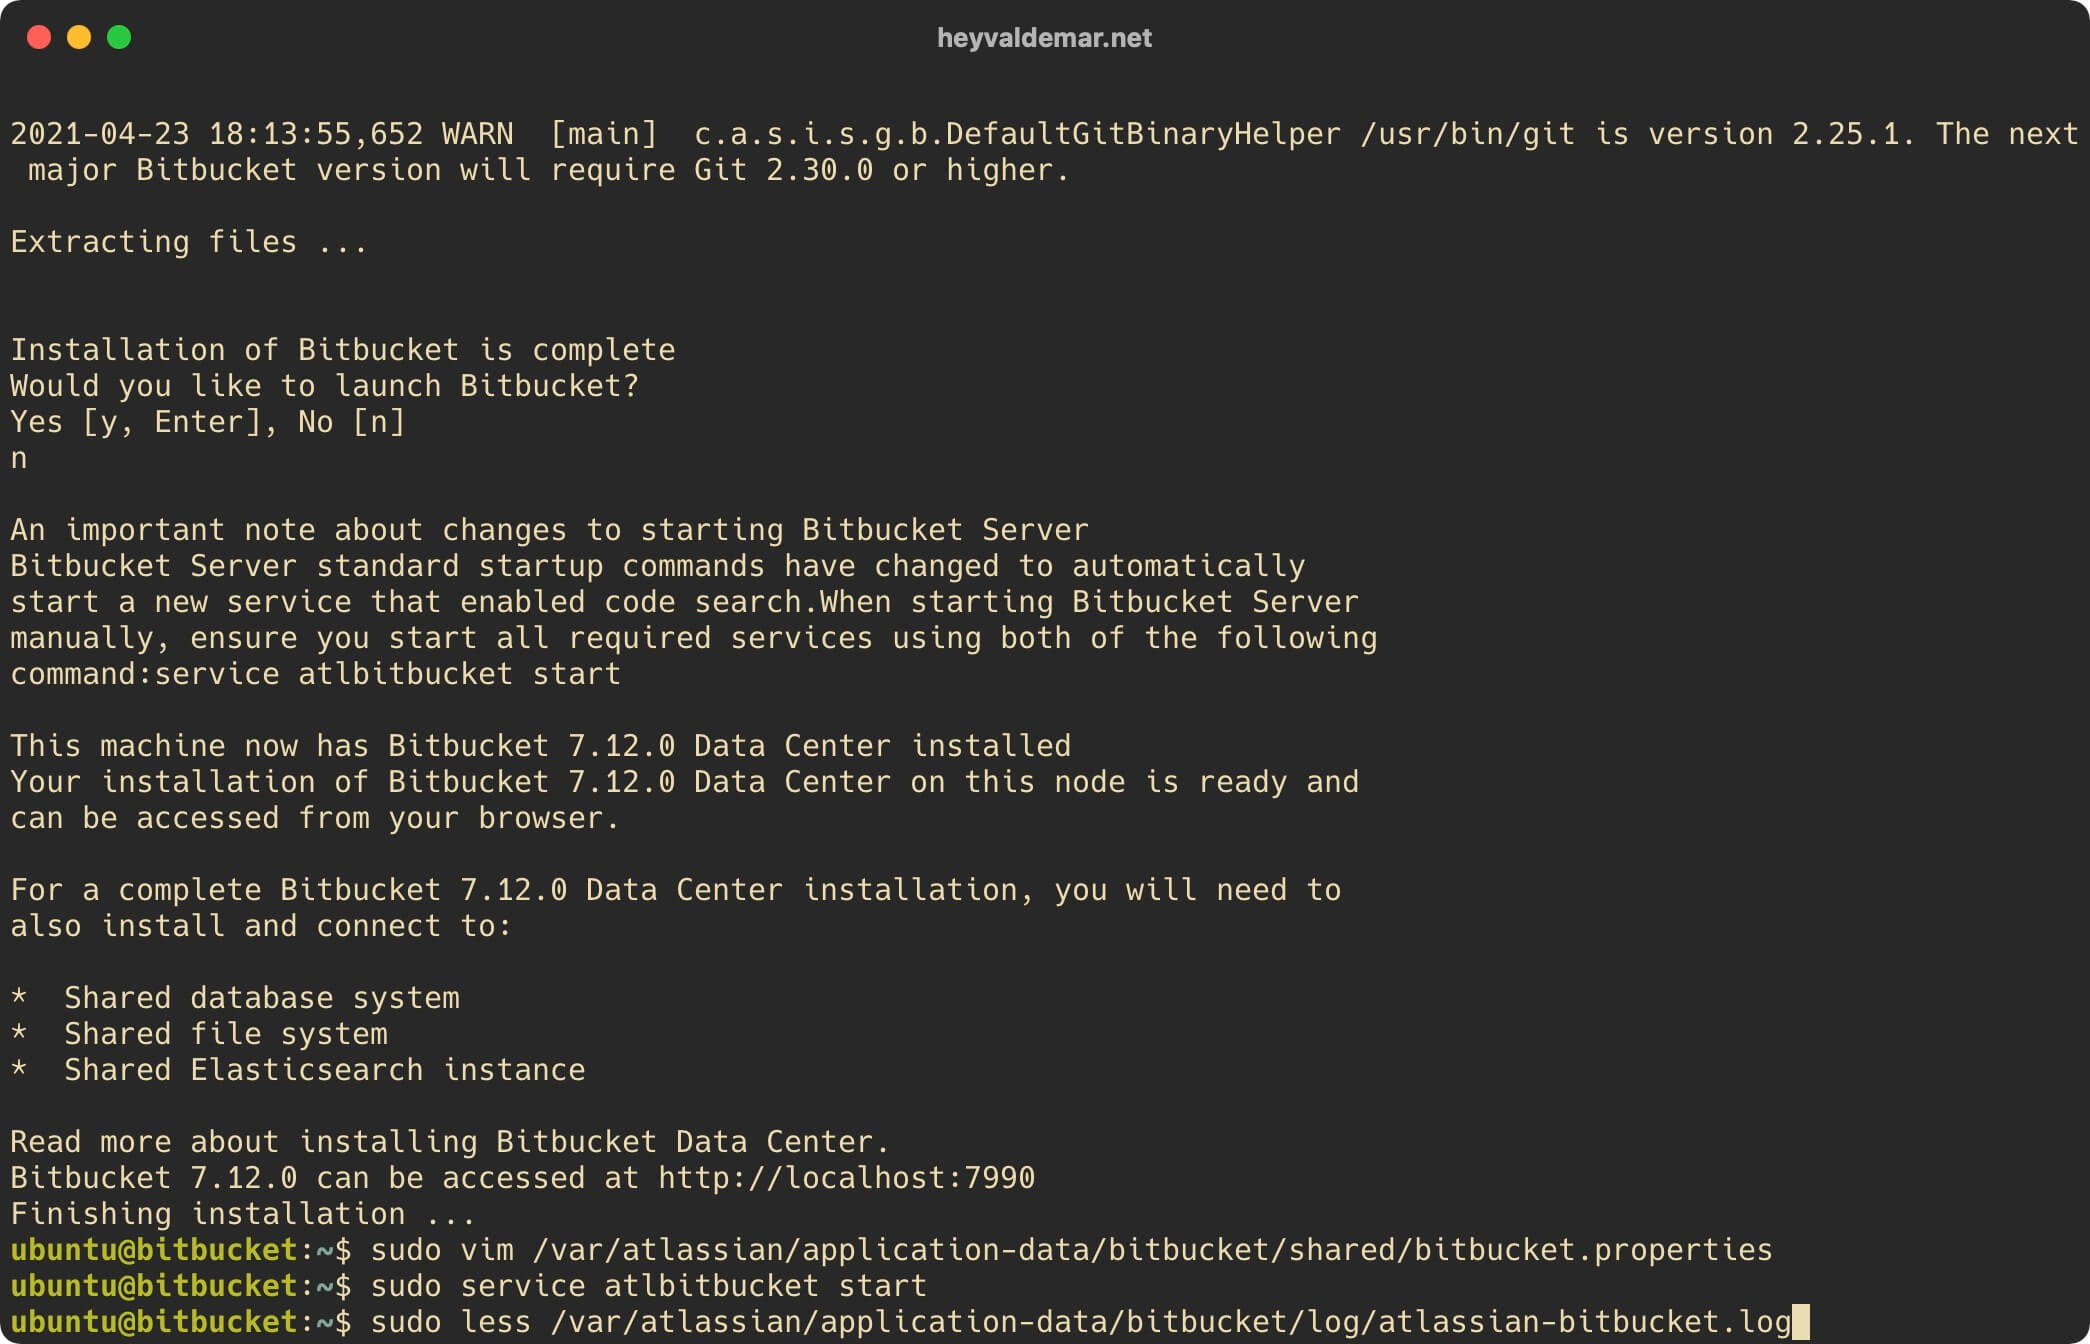
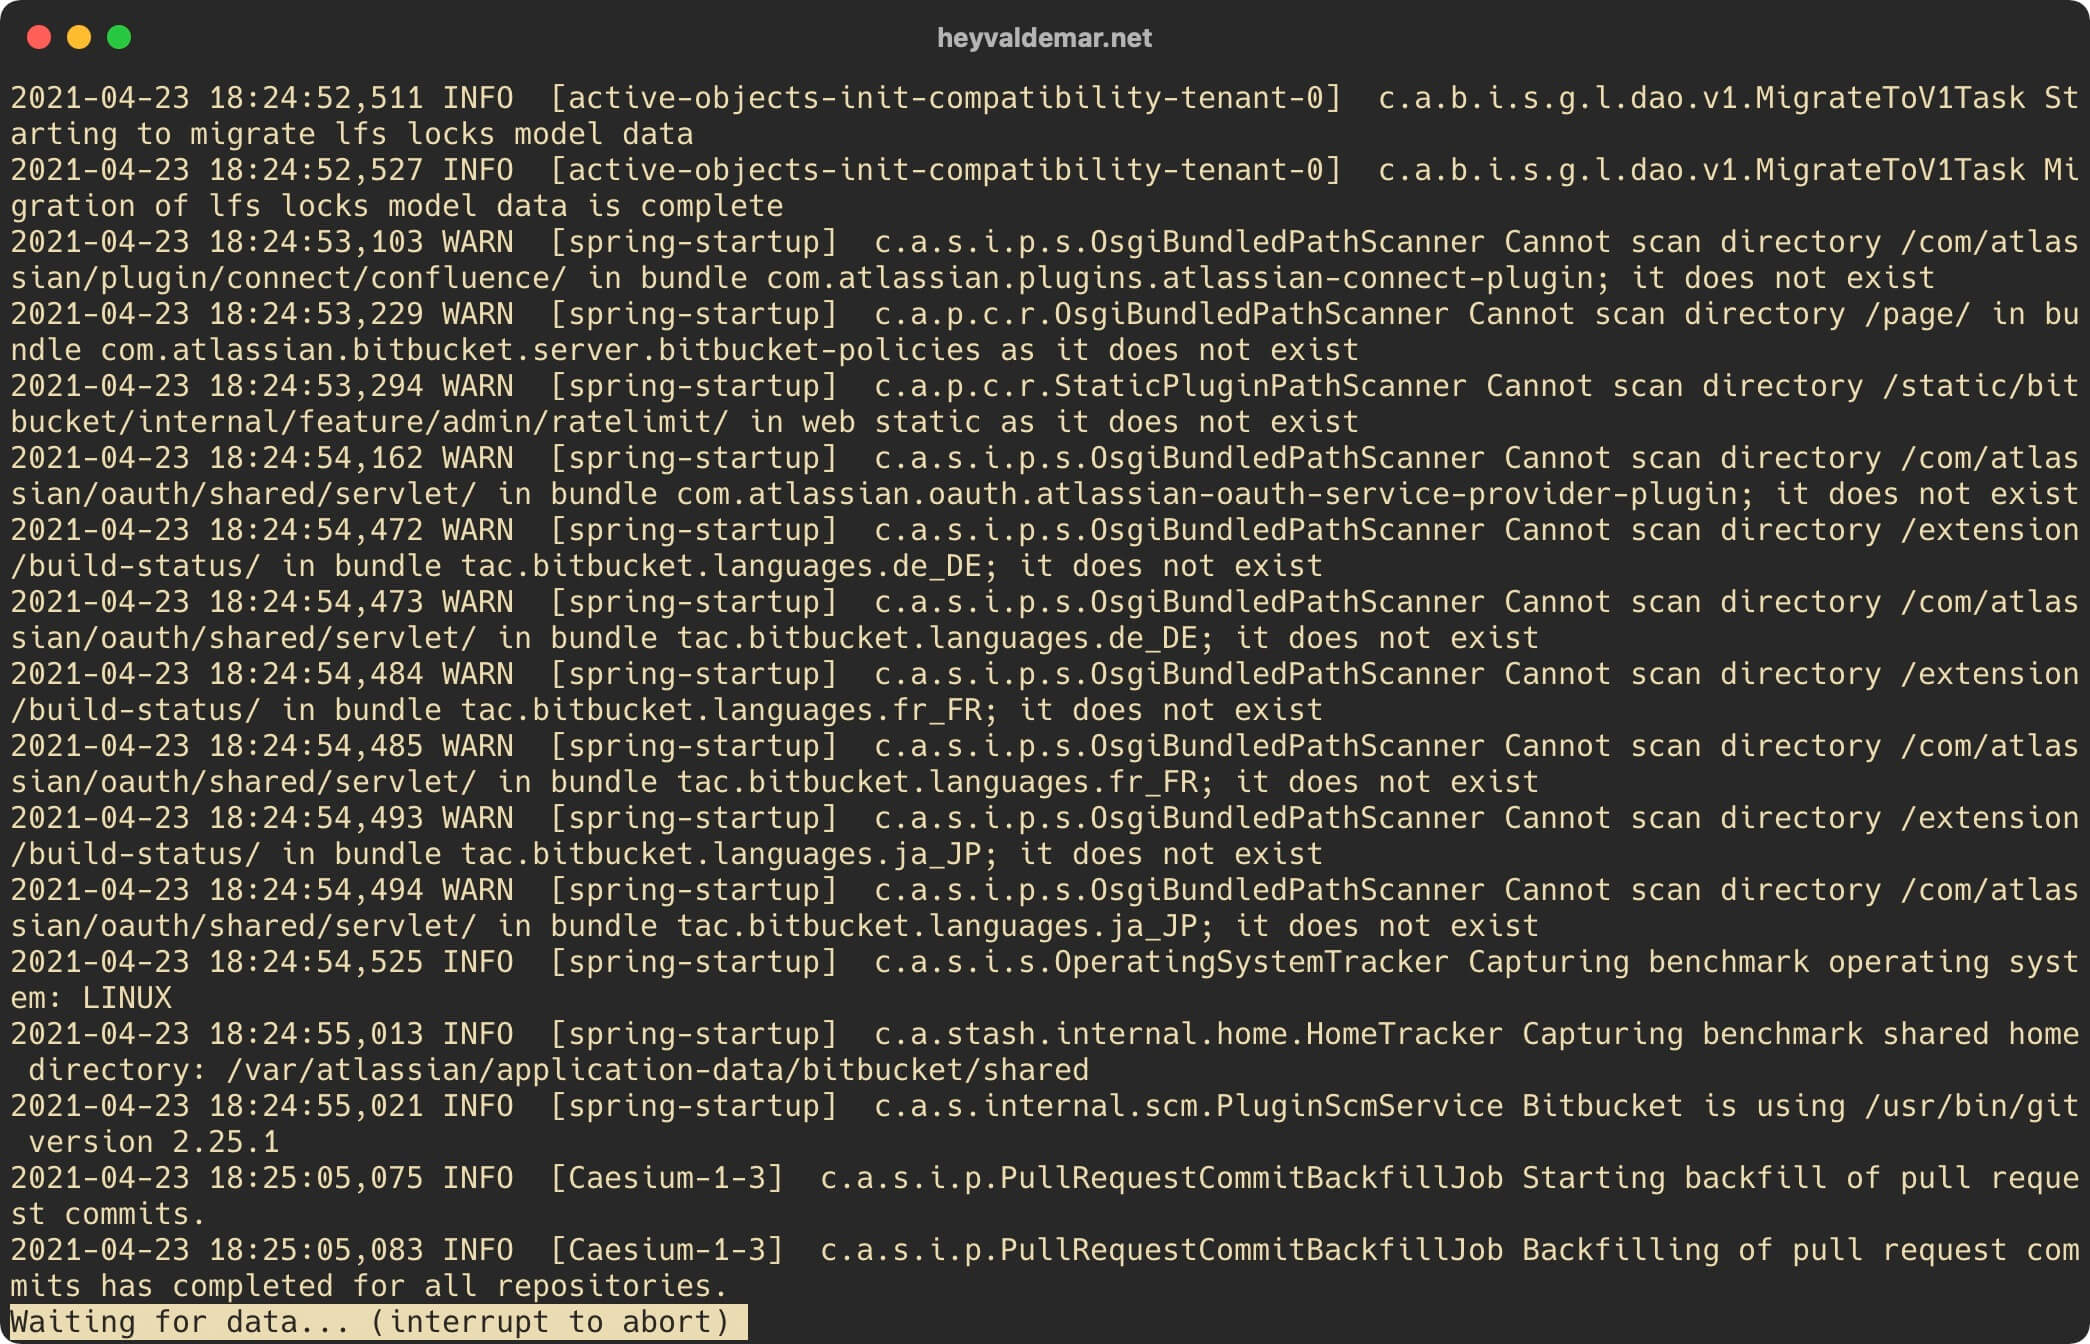
On your keyboard, press the “Shift” and “f” keys to start monitoring the Bitbucket log in real-time.
On the keyboard, press the key combination “Ctrl” and “c”, then “q” to close the Bitbucket log.
To continue the Bitbucket installation process, you need to go from the workstation to the link https://bitbucket.heyvaldemar.net, where bitbucket.heyvaldemar.net is the name of my server. Accordingly, you need to provide the name or IP address of your Bitbucket server.
This tutorial walks you through installing Bitbucket for a production environment.
In the “Language” field, select the language in which you plan to use Bitbucket.
In the “Database” field, select “External”.
Now you need to specify the system for managing the databases and the previously created database that will be used to run Bitbucket.
In the “Database Type” field, select “PostgreSQL”.
In this tutorial, the database for running Bitbucket is on the same server as Bitbucket.
In the “Hostname” field, enter “localhost”.
In the “Port” field, specify the value “5432”.
This tutorial uses “bitbucketdb” as the database name for Bitbucket.
In the “Database name” field, enter “bitbucketdb”.
This tutorial uses “bitbucketdbuser” as the database username for Bitbucket.
In the “Database username” field, specify “bitbucketdbuser”.
In the “Database password” field, specify the password assigned to the “bitbucketdbuser” user.
Click on the “Test” button.
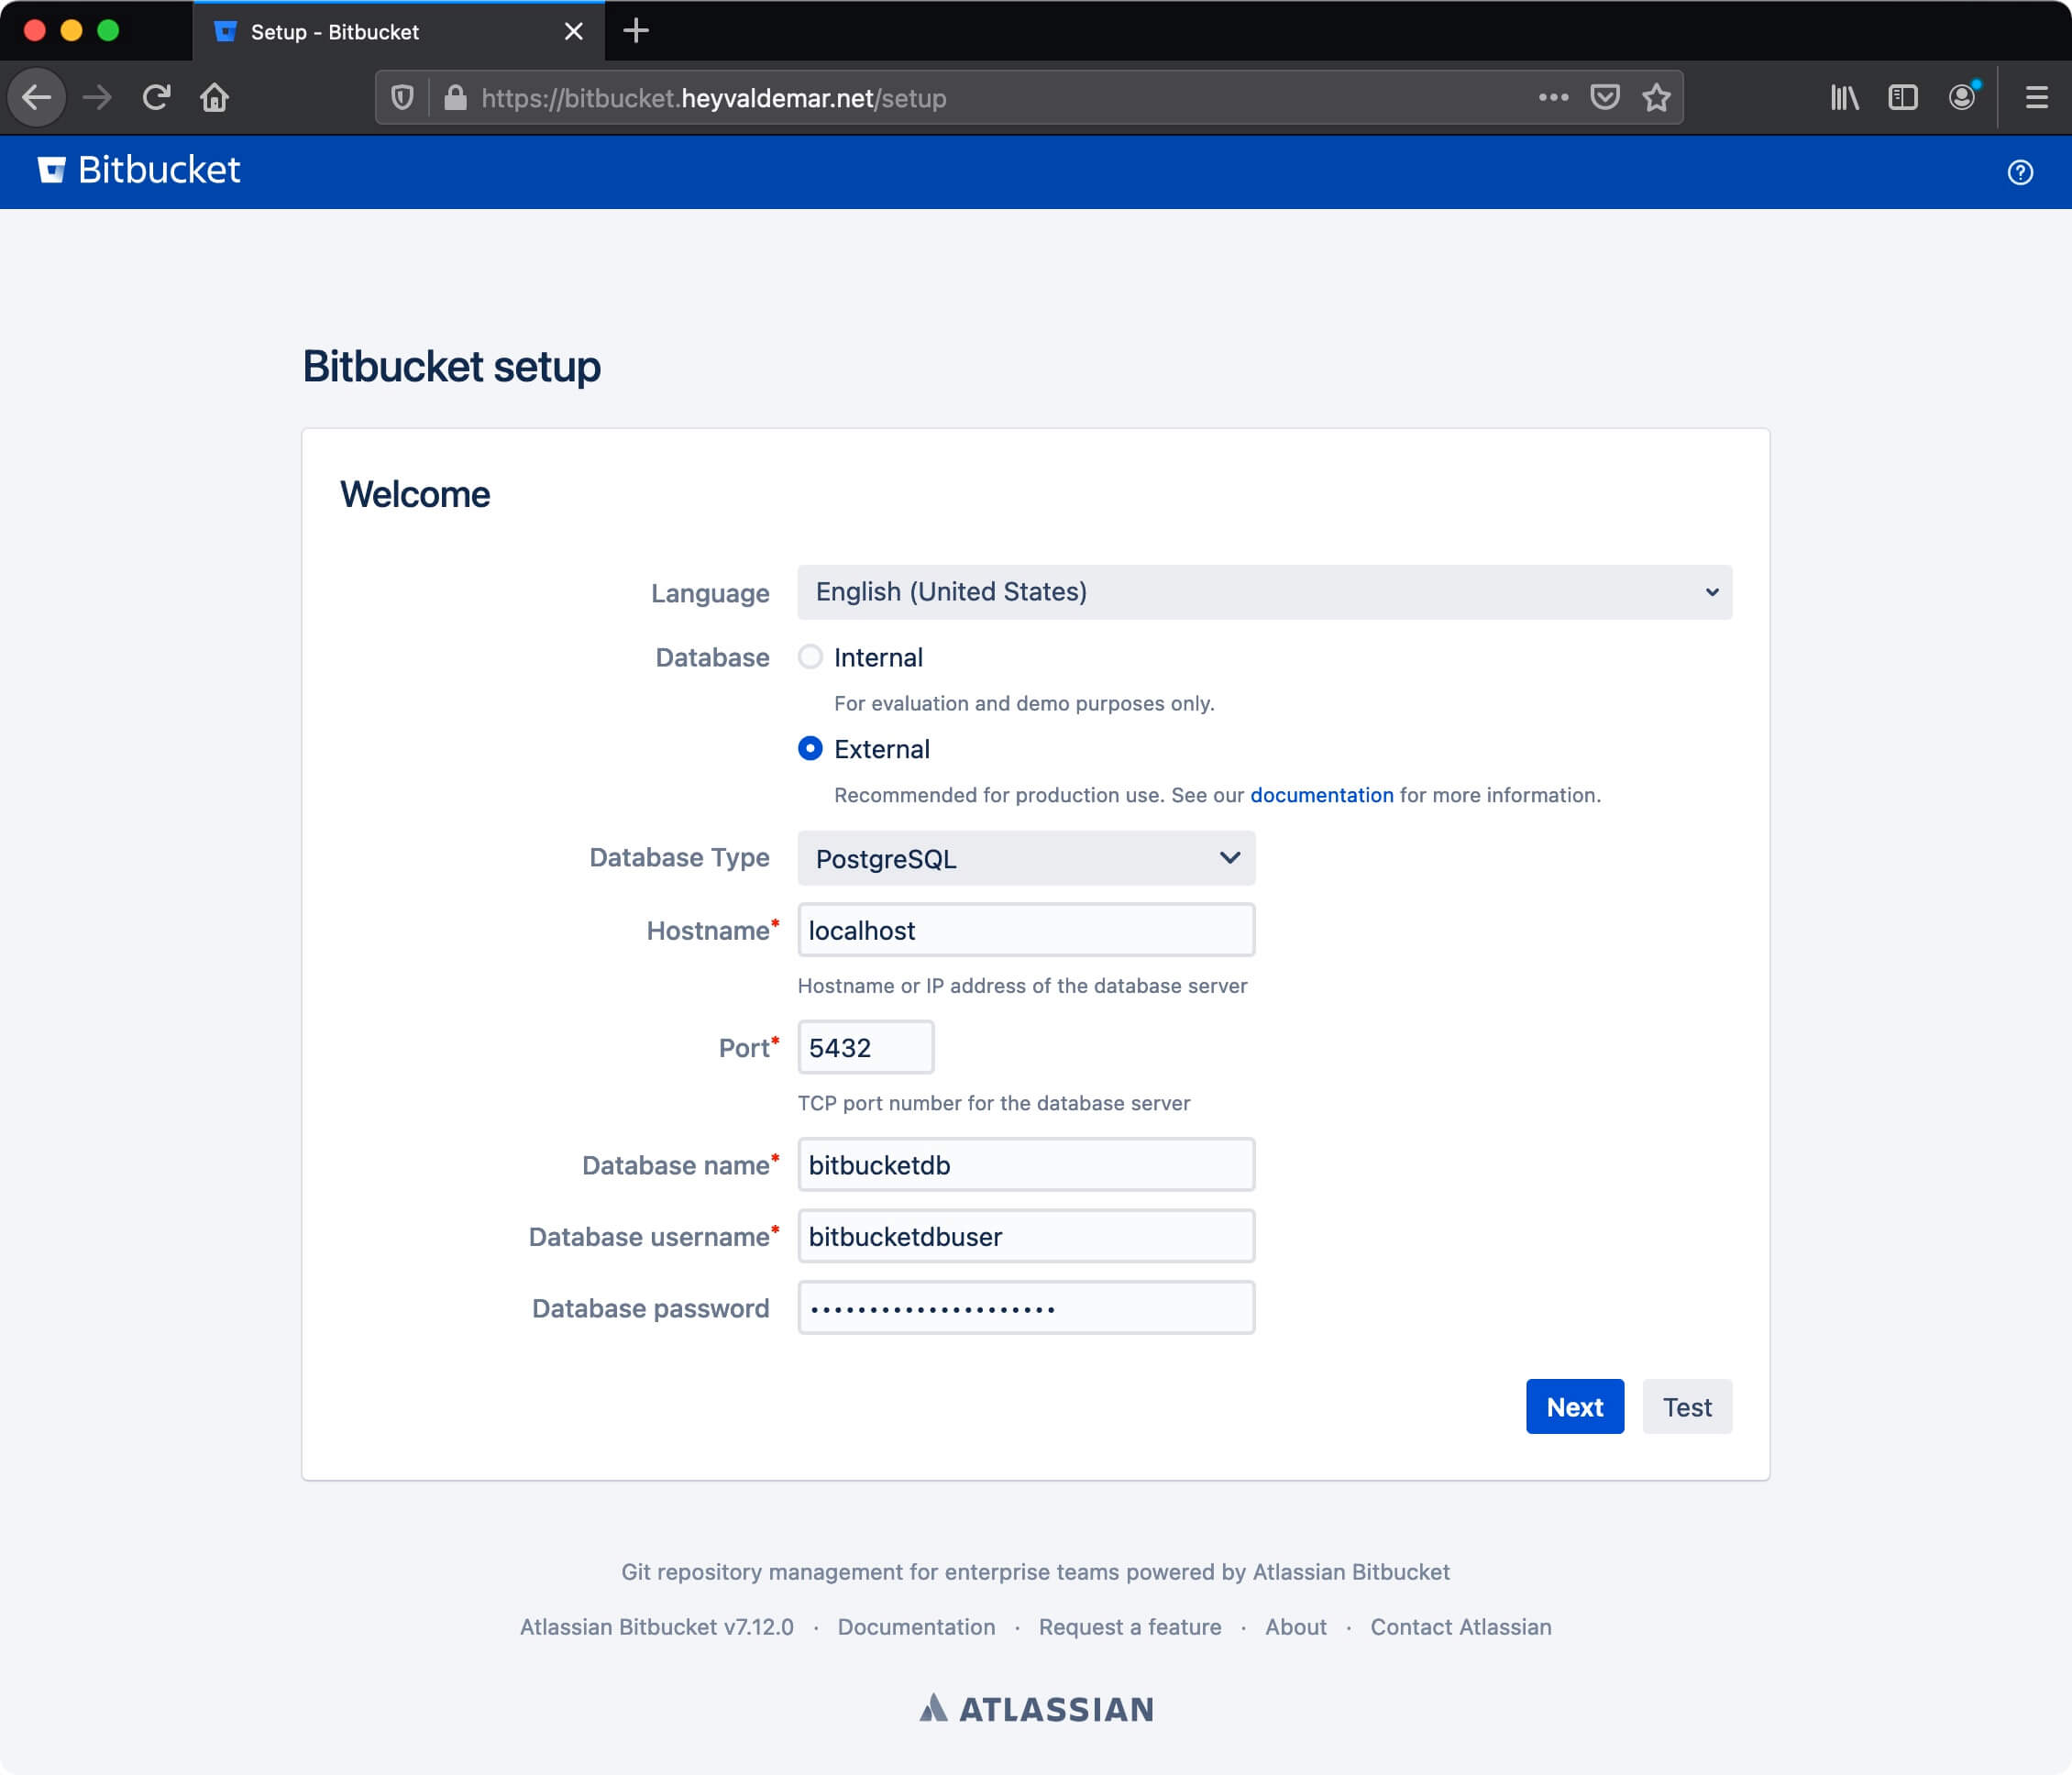
The message “Successfully established database connection.” means that all data was entered correctly.
Click on the “Next” button.
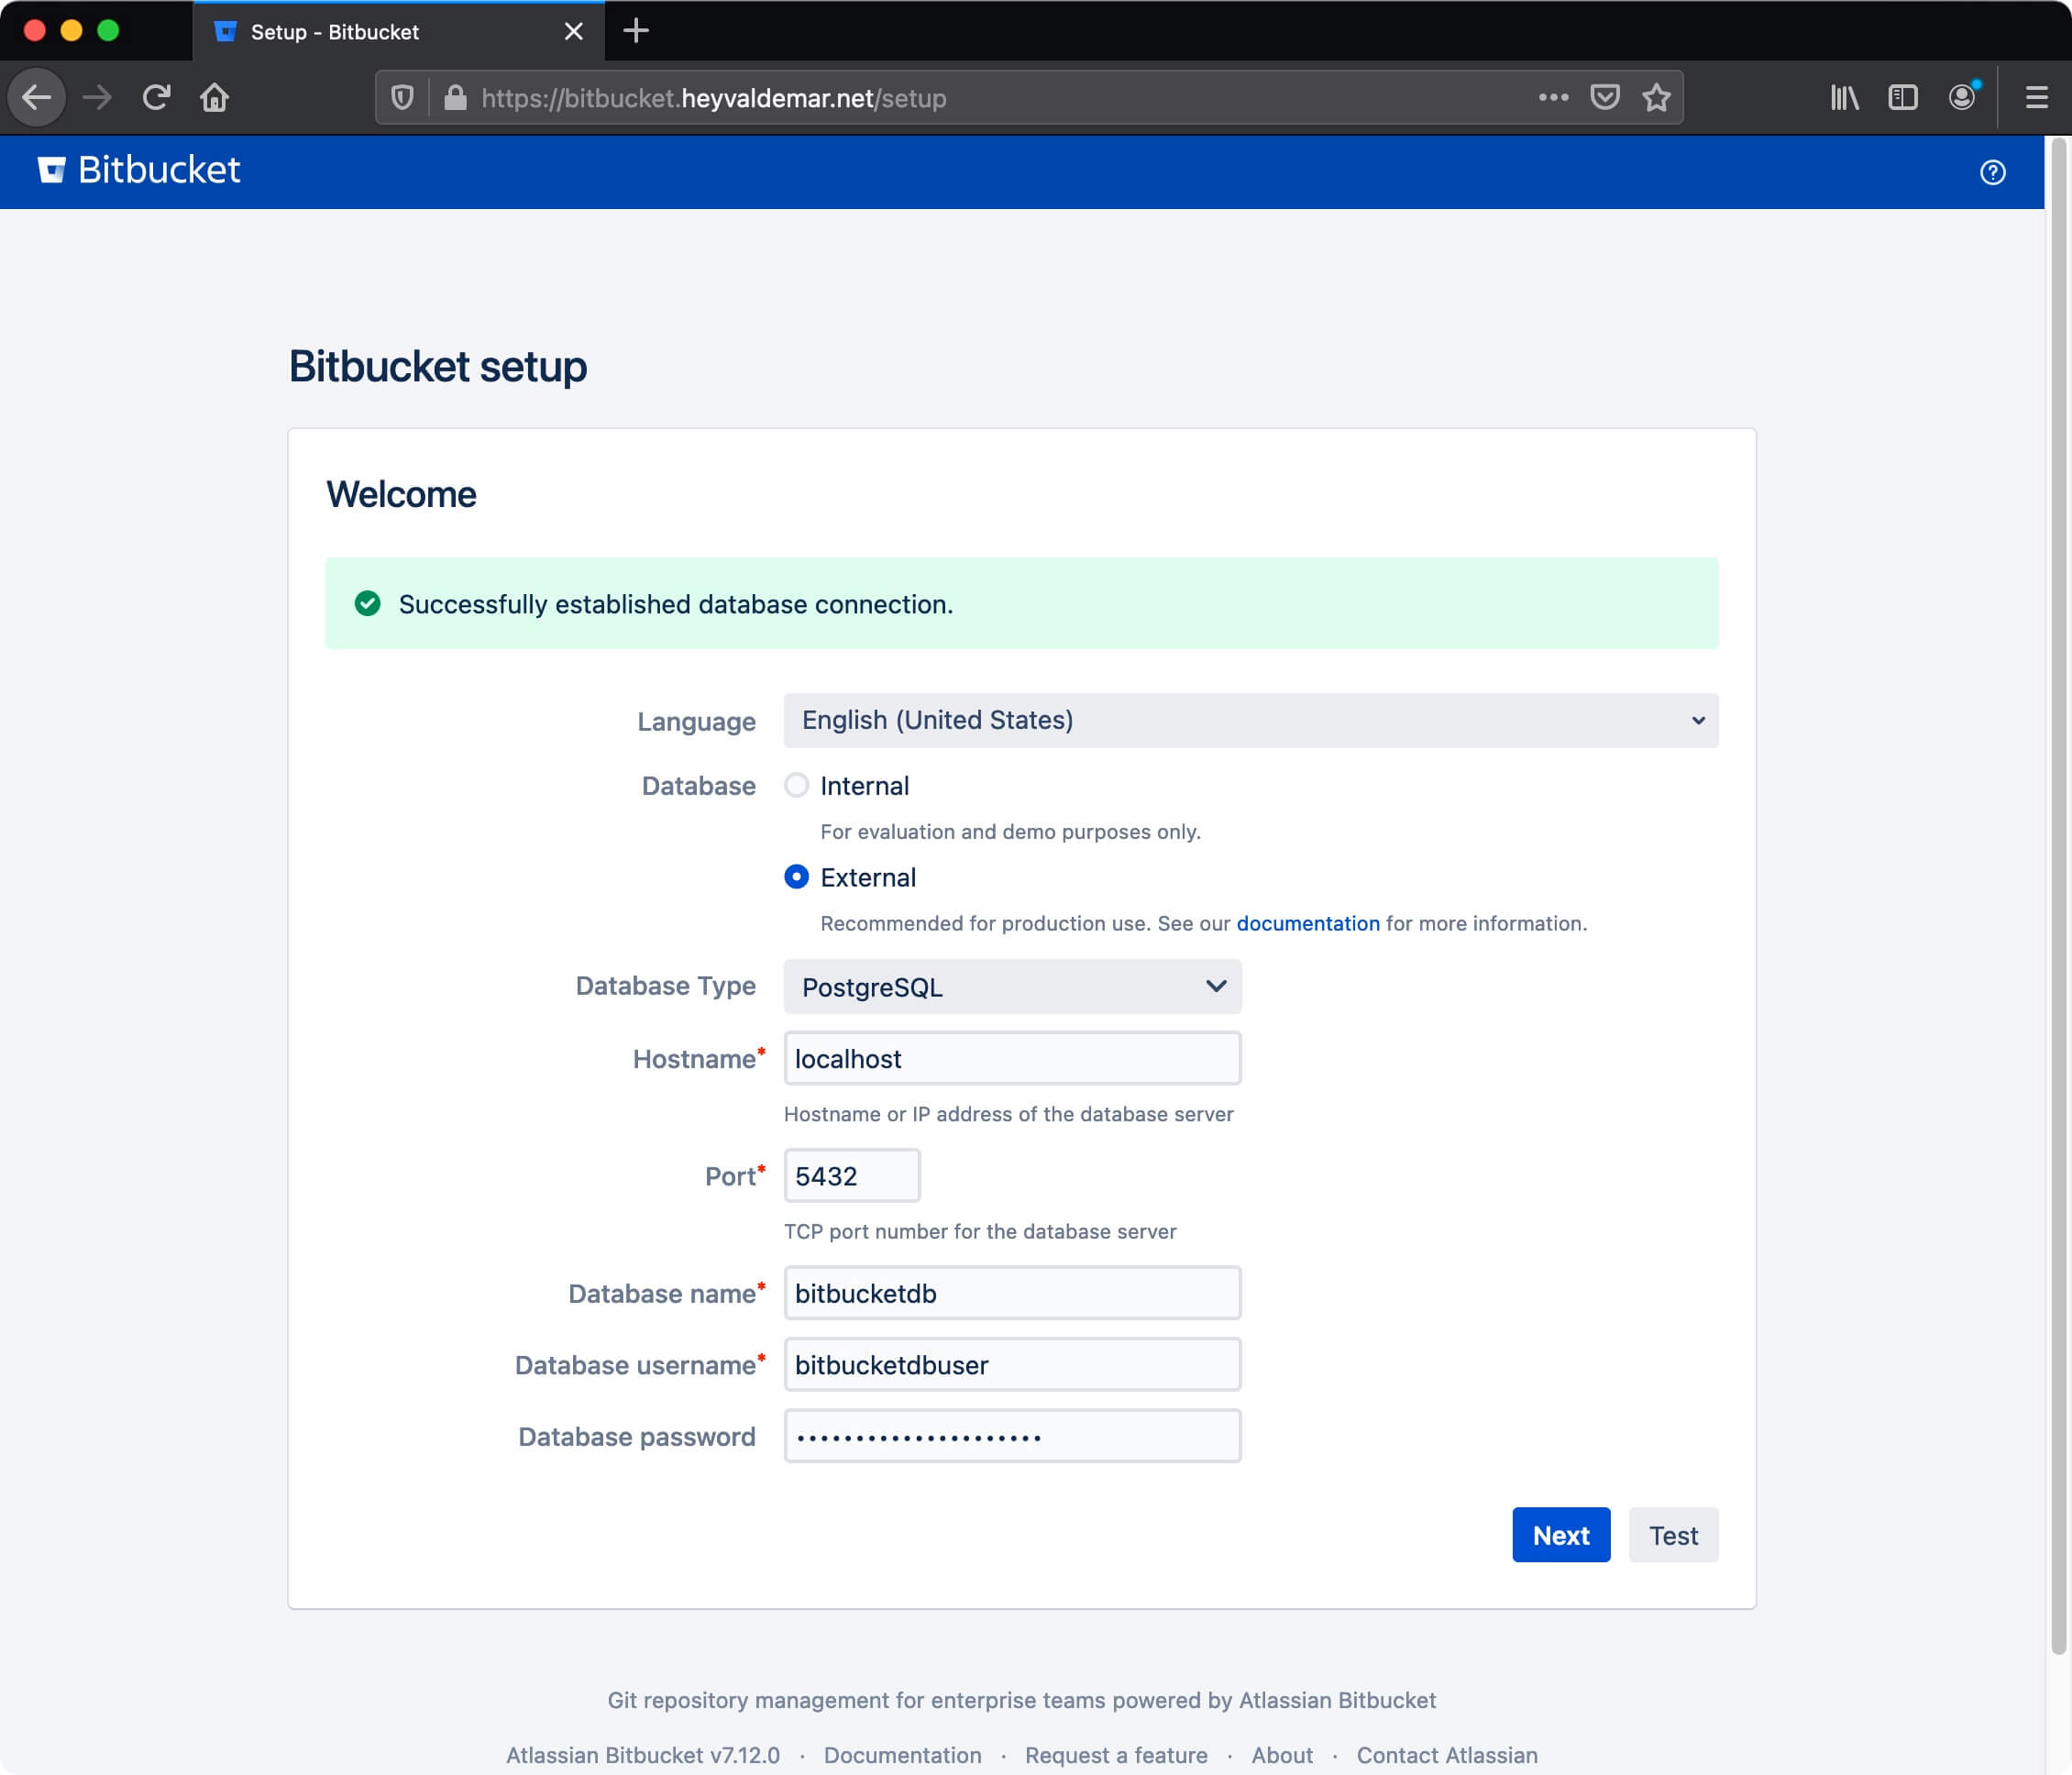
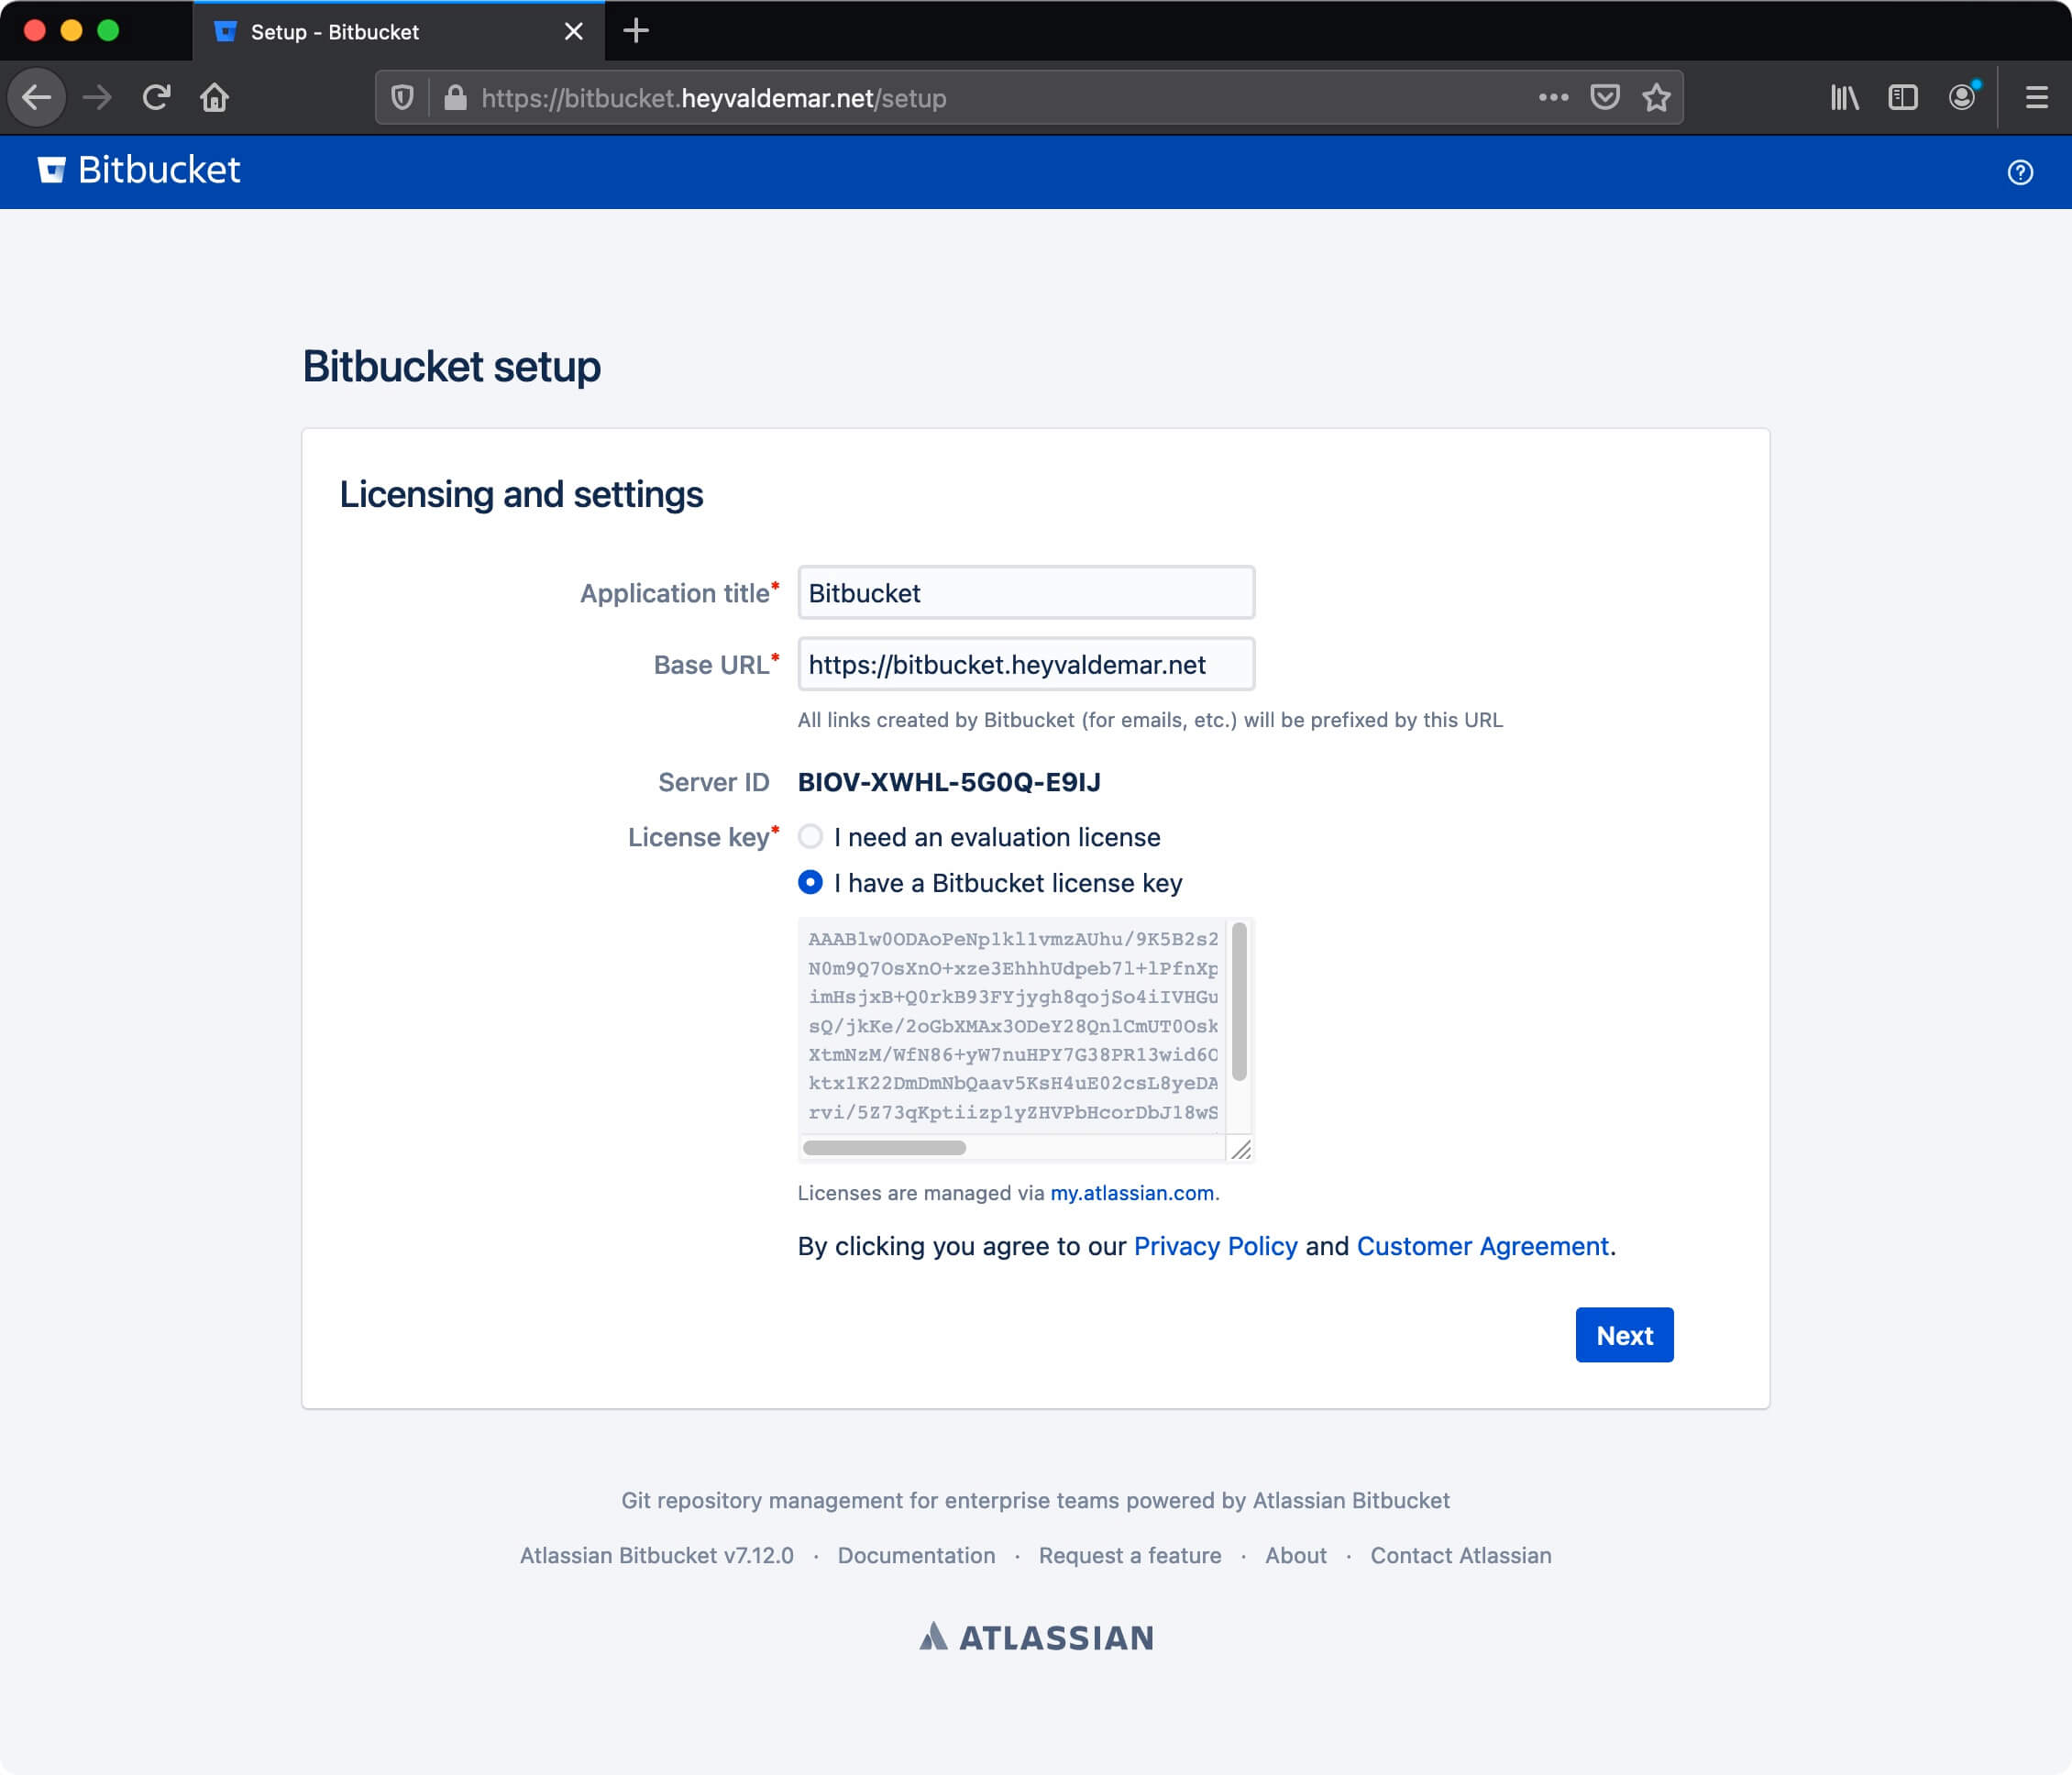
Now you need to provide the base URL and license key for Bitbucket.
The “Base URL” field should indicate the domain or subdomain where your Bitbucket is accessible from the Internet.
In this tutorial, the subdomain bitbucket.heyvaldemar.net will be used to access Bitbucket from the Internet. You will need to specify your domain or subdomain under which your Bitbucket will be accessible from the Internet.
If you do not already have a license key, you can request a temporary key to try Bitbucket.
This guide covers installing Bitbucket with a temporary license key.
In the “License key” section, select “I need an evaluation key” and click on the “Create an account” button.
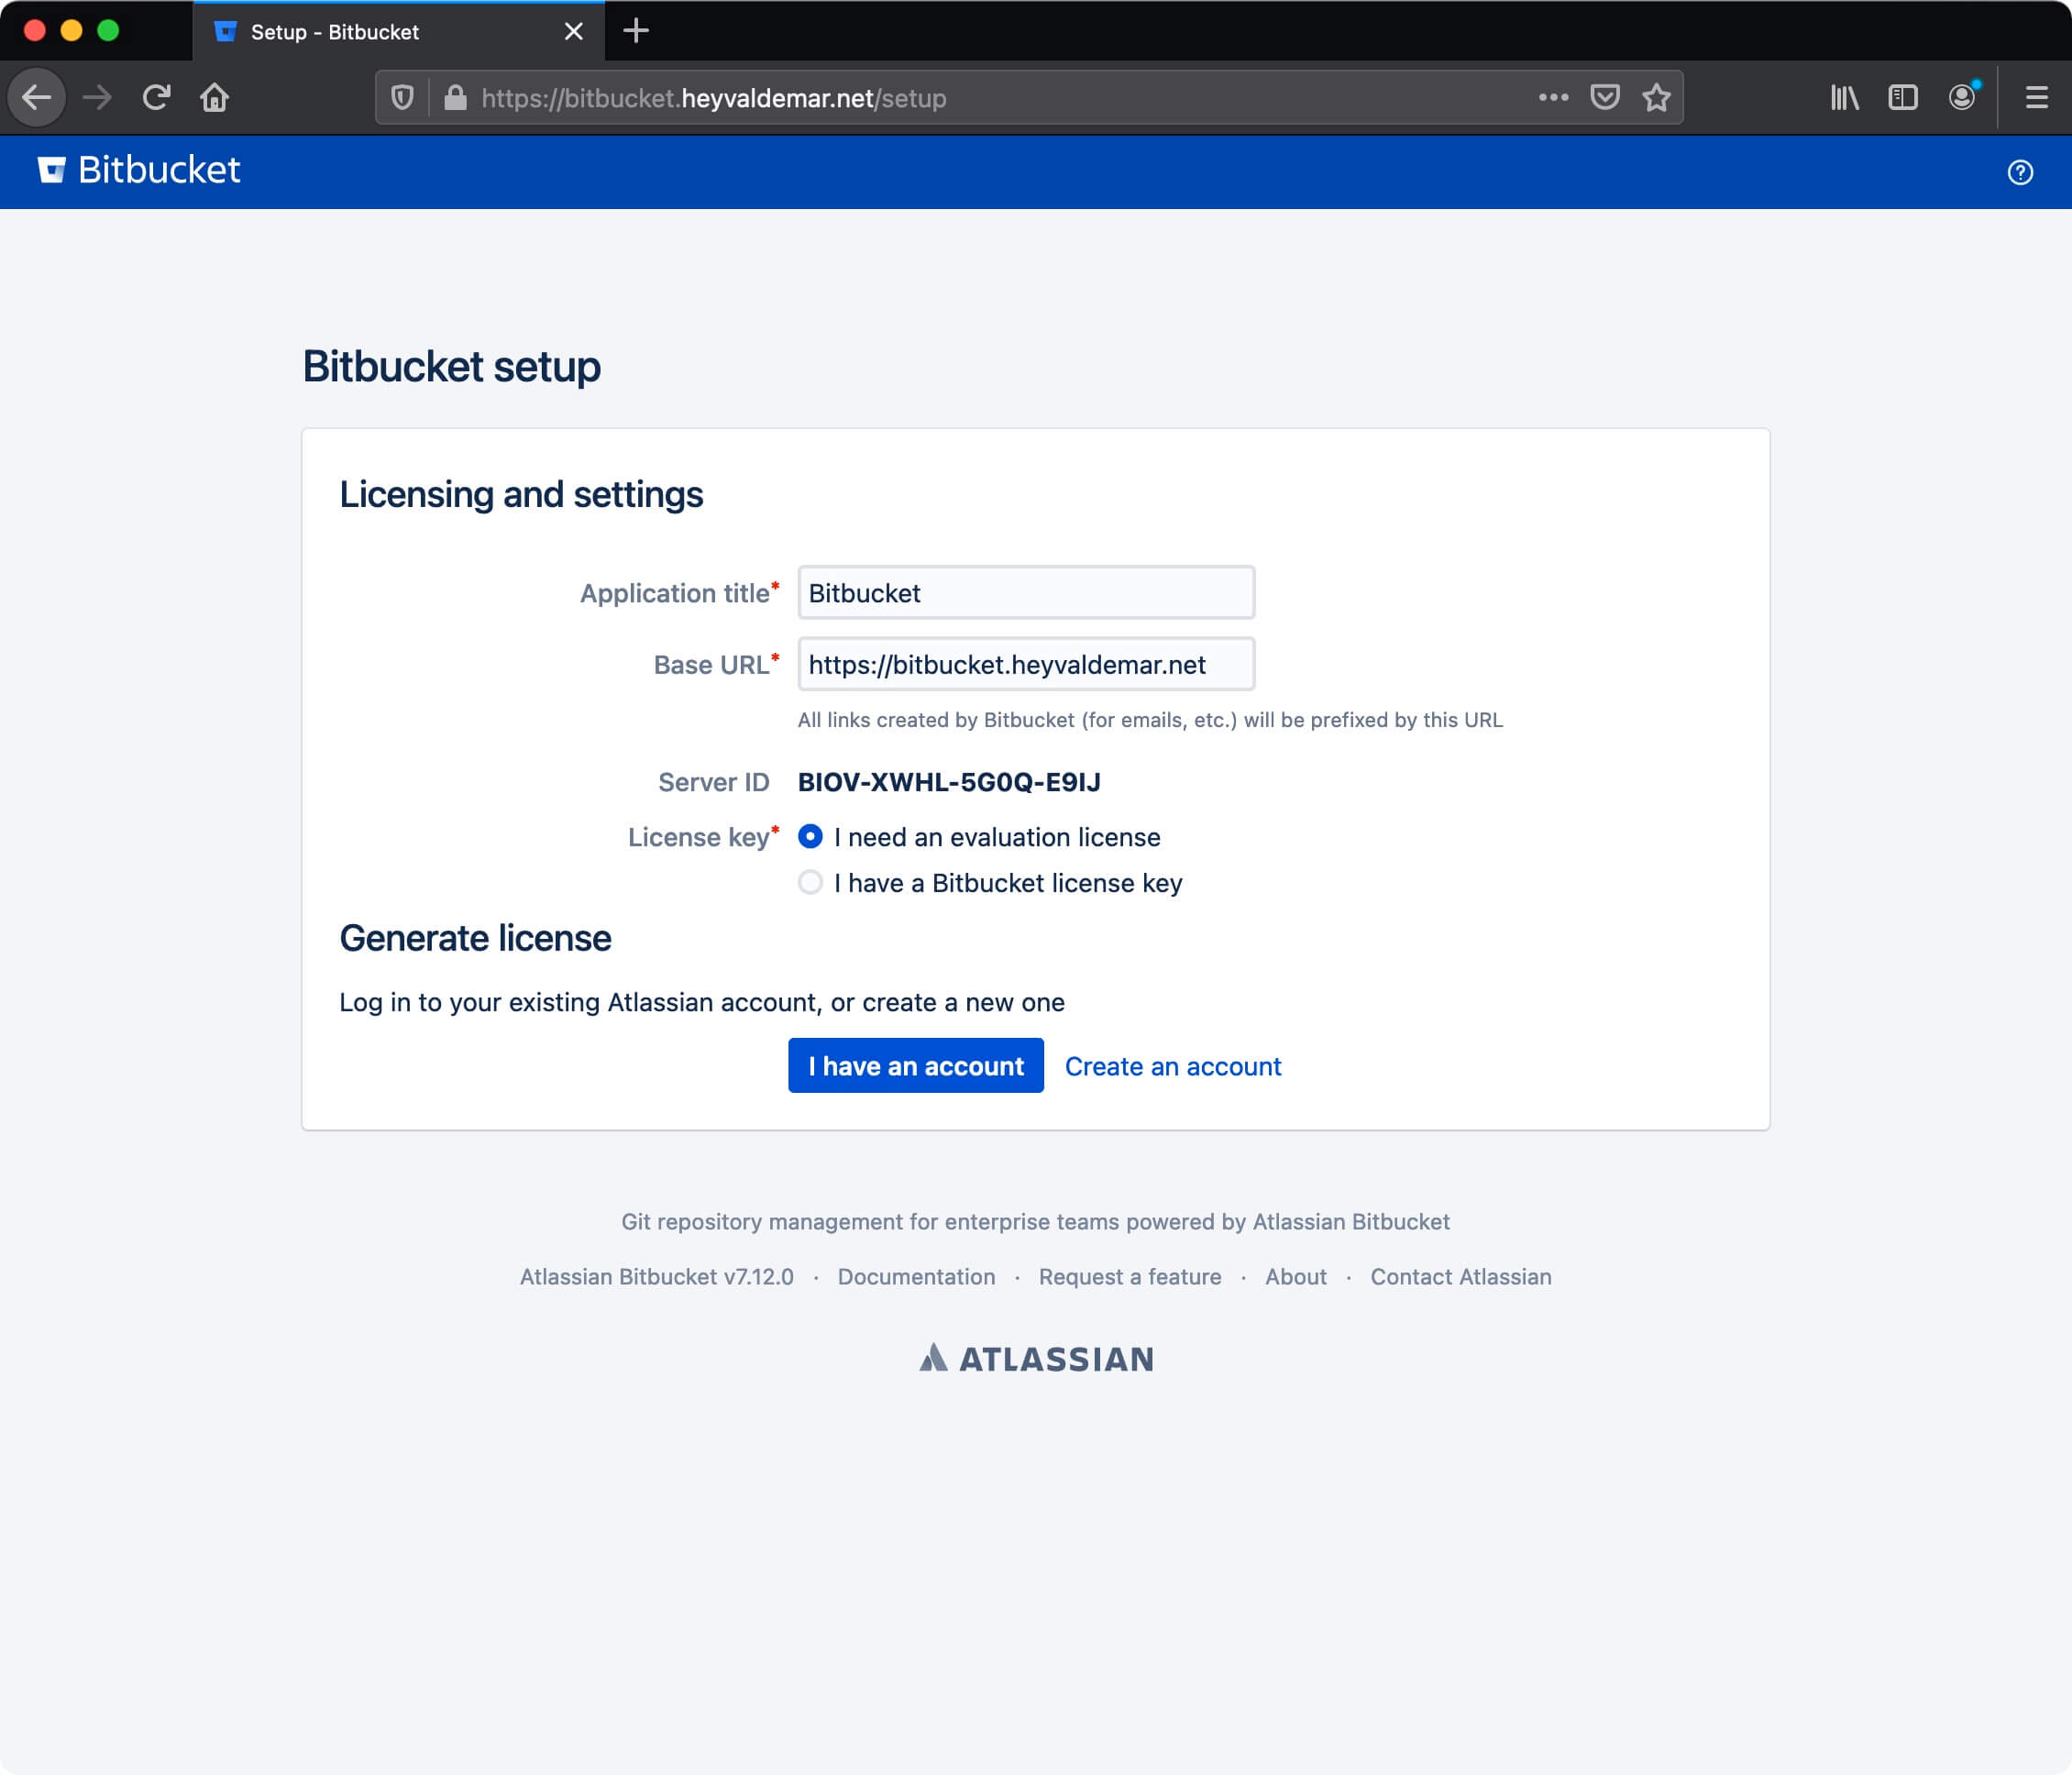
The next step is to provide: email address, first name, last name, and password to create an Atlassian account.
Click on the “Sign up” button.
Please note that you will receive an email to the email address specified during registration. In the letter, you will find a link to complete the registration.
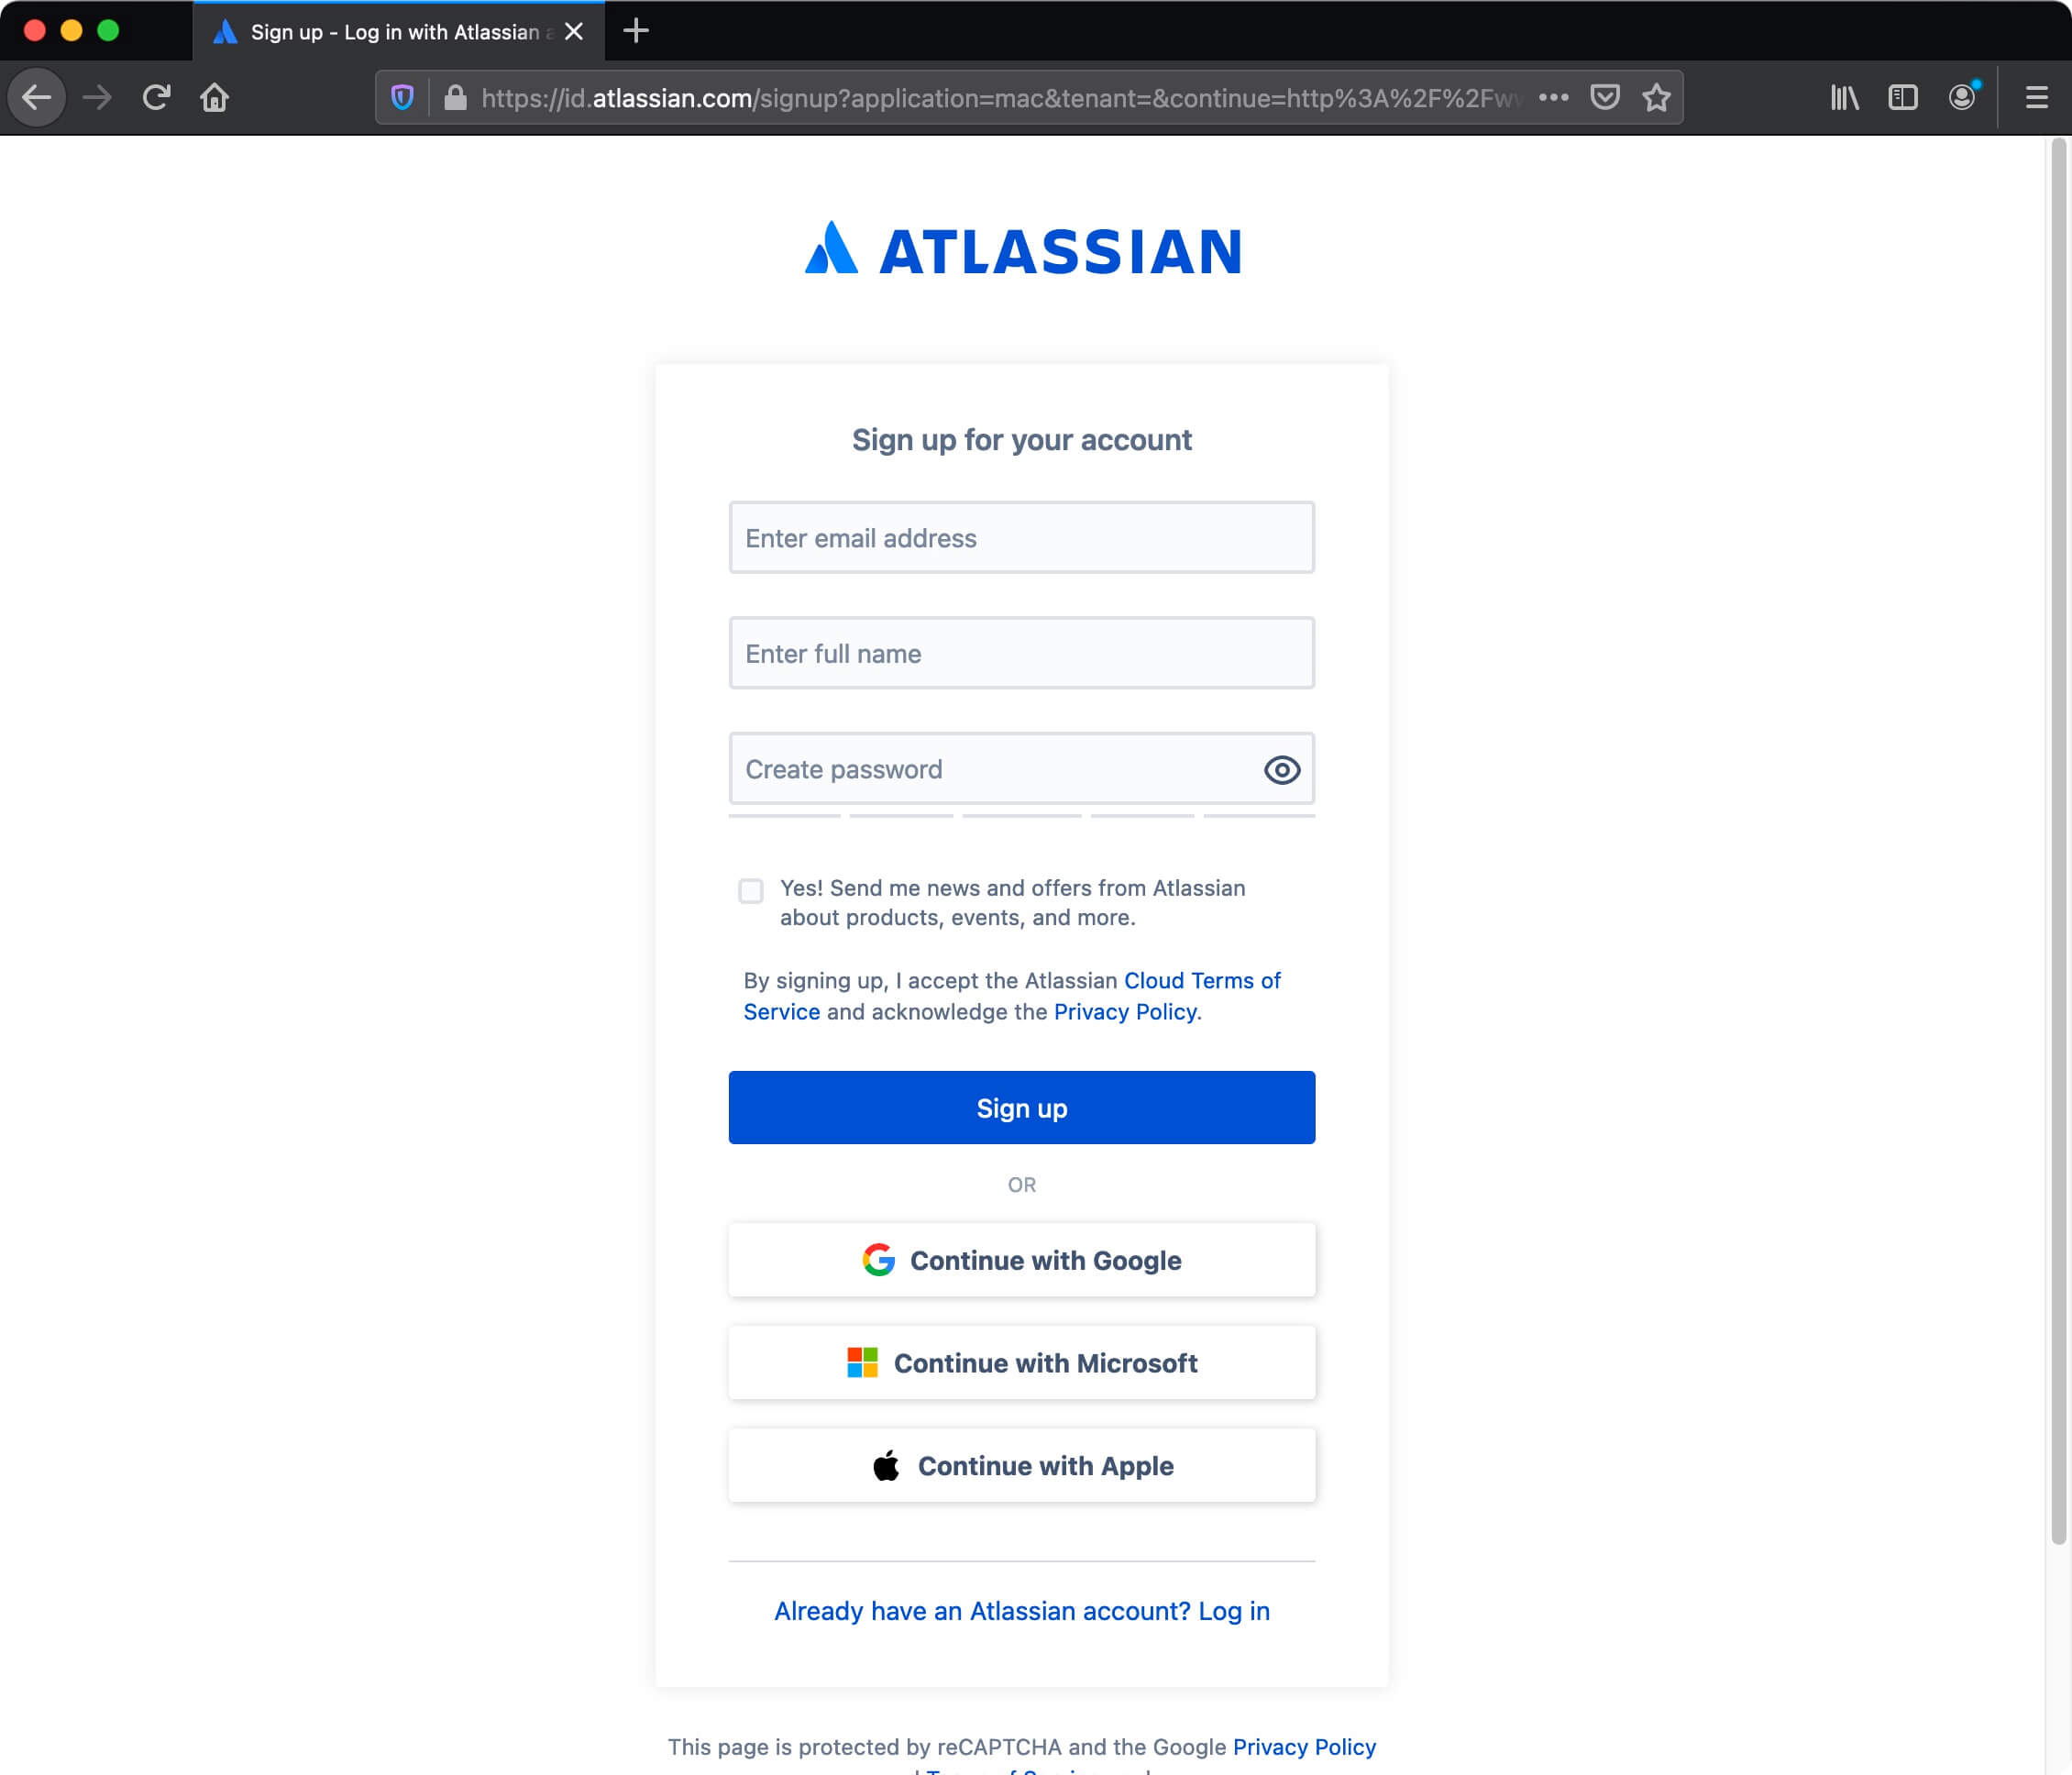
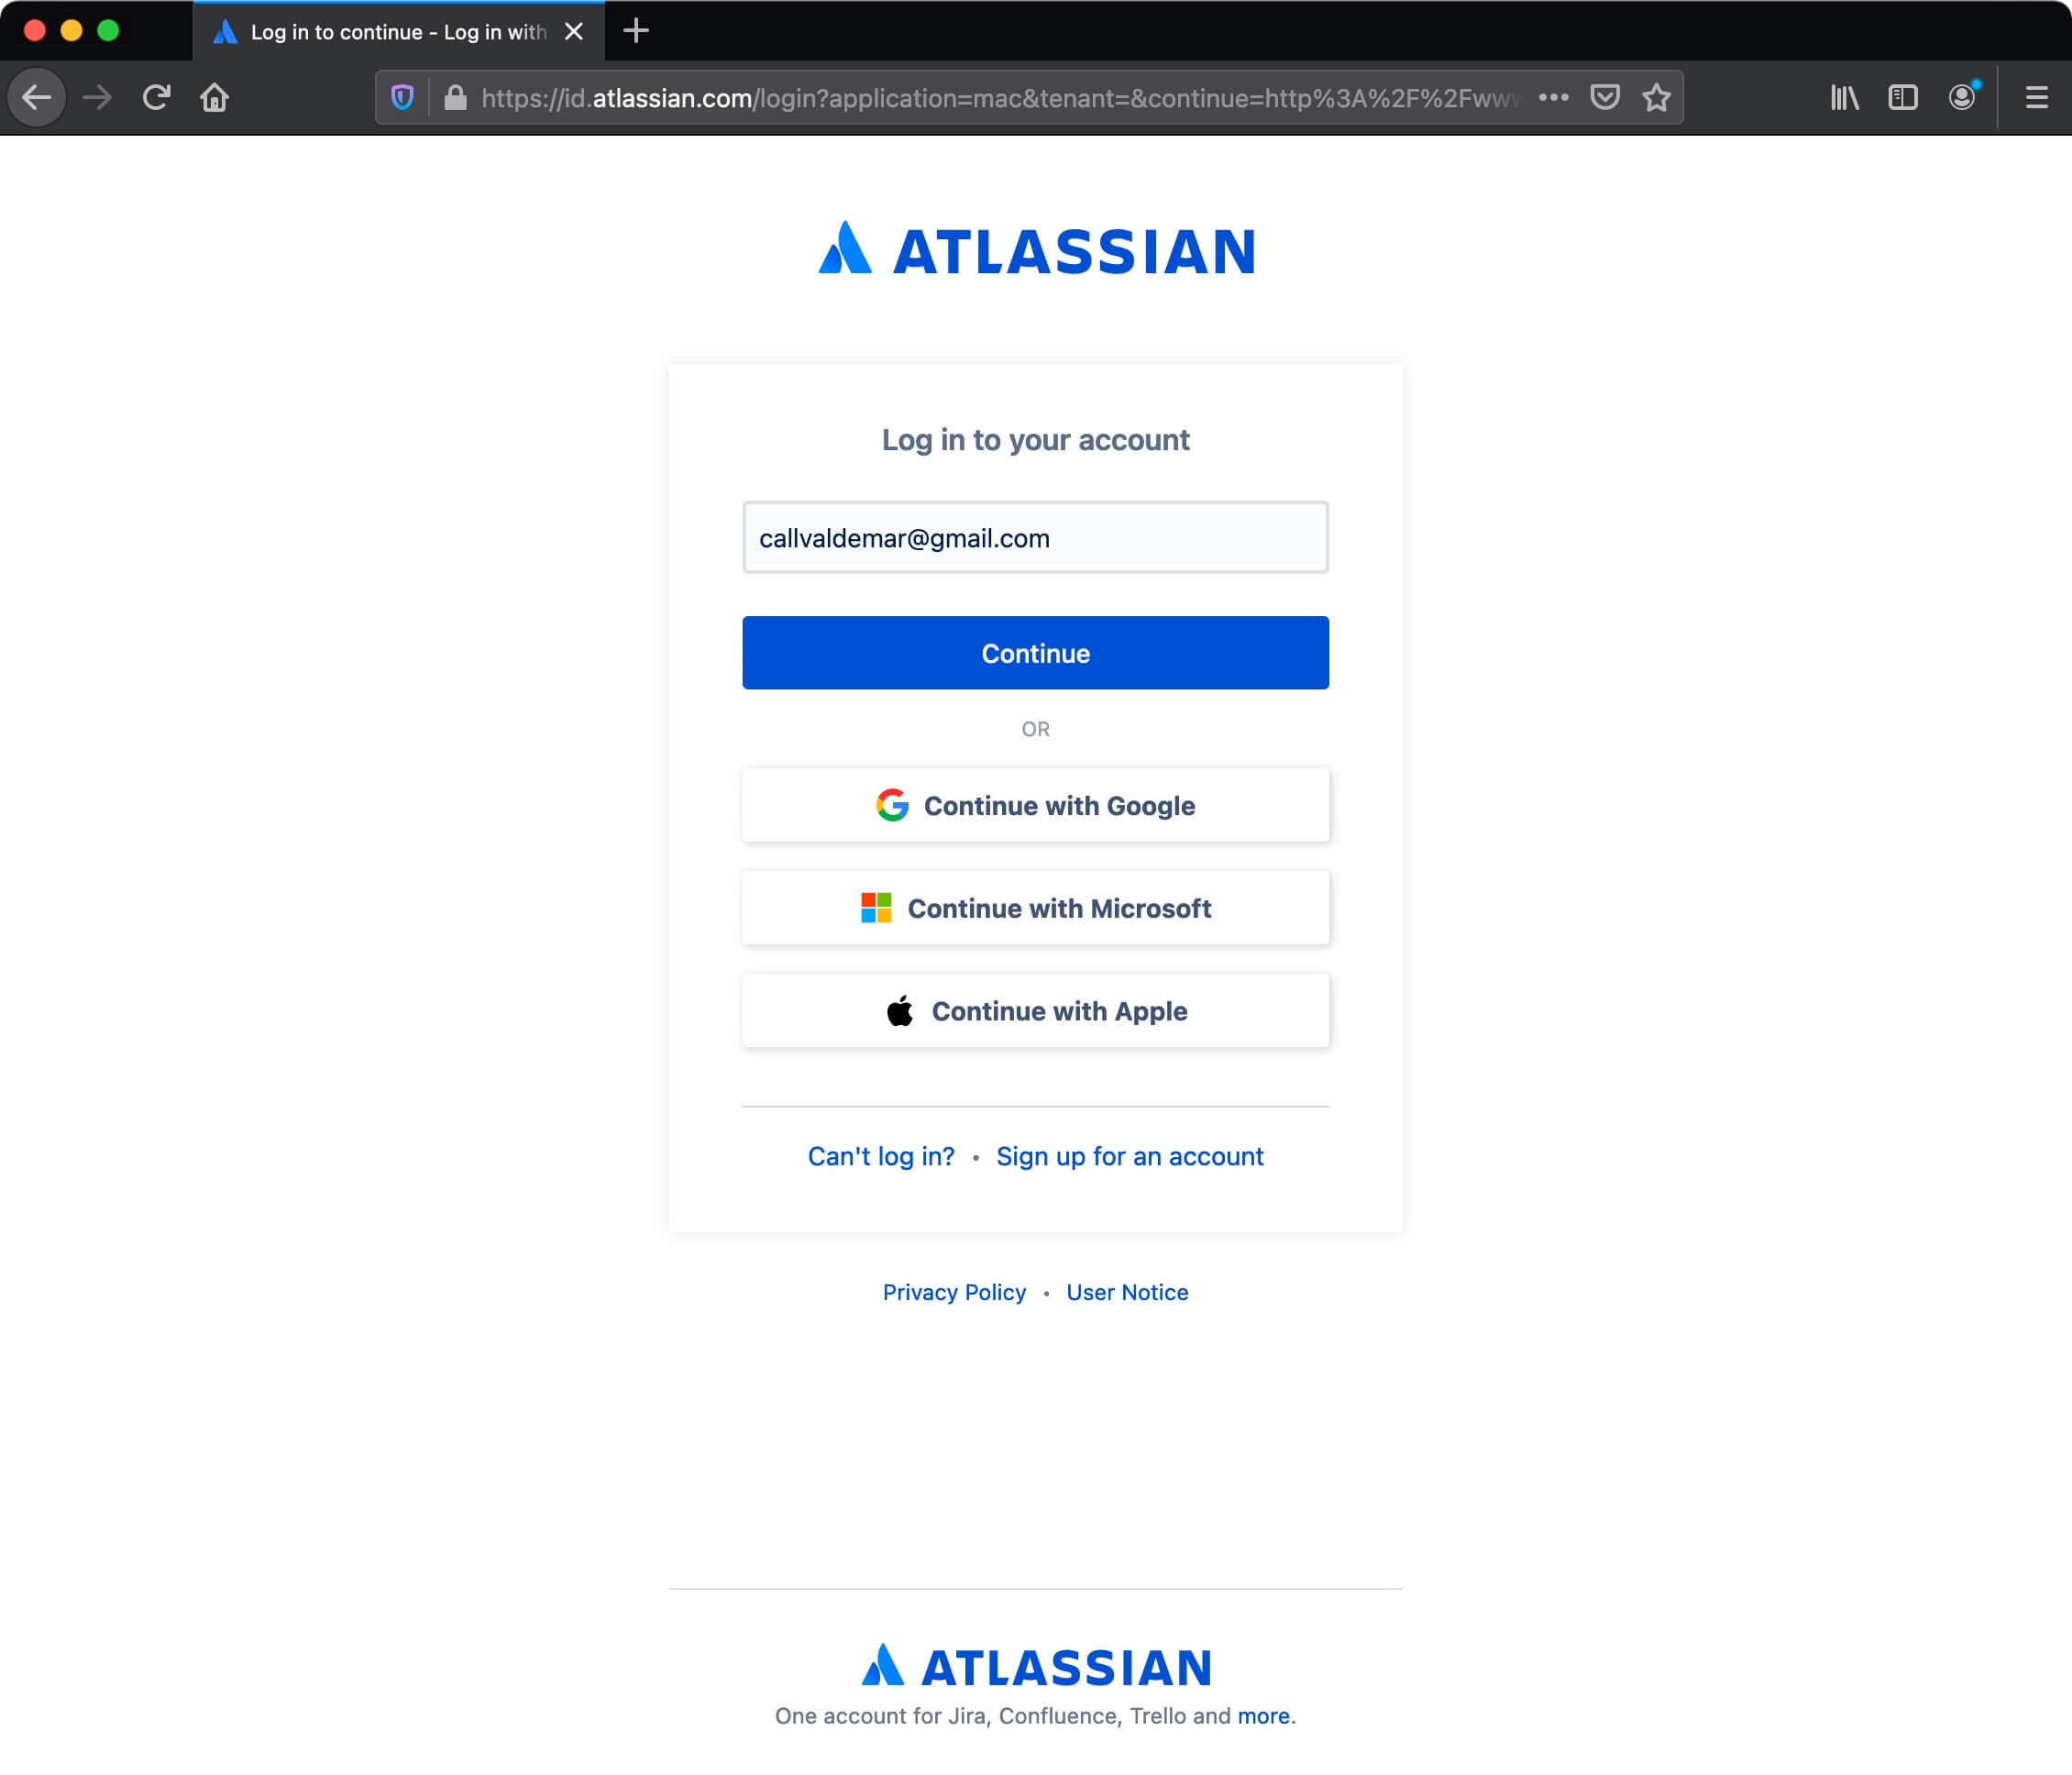
If you already have an Atlassian account, enter the email address associated with your Atlassian account in the “Enter email” field and click on the “Continue” button.
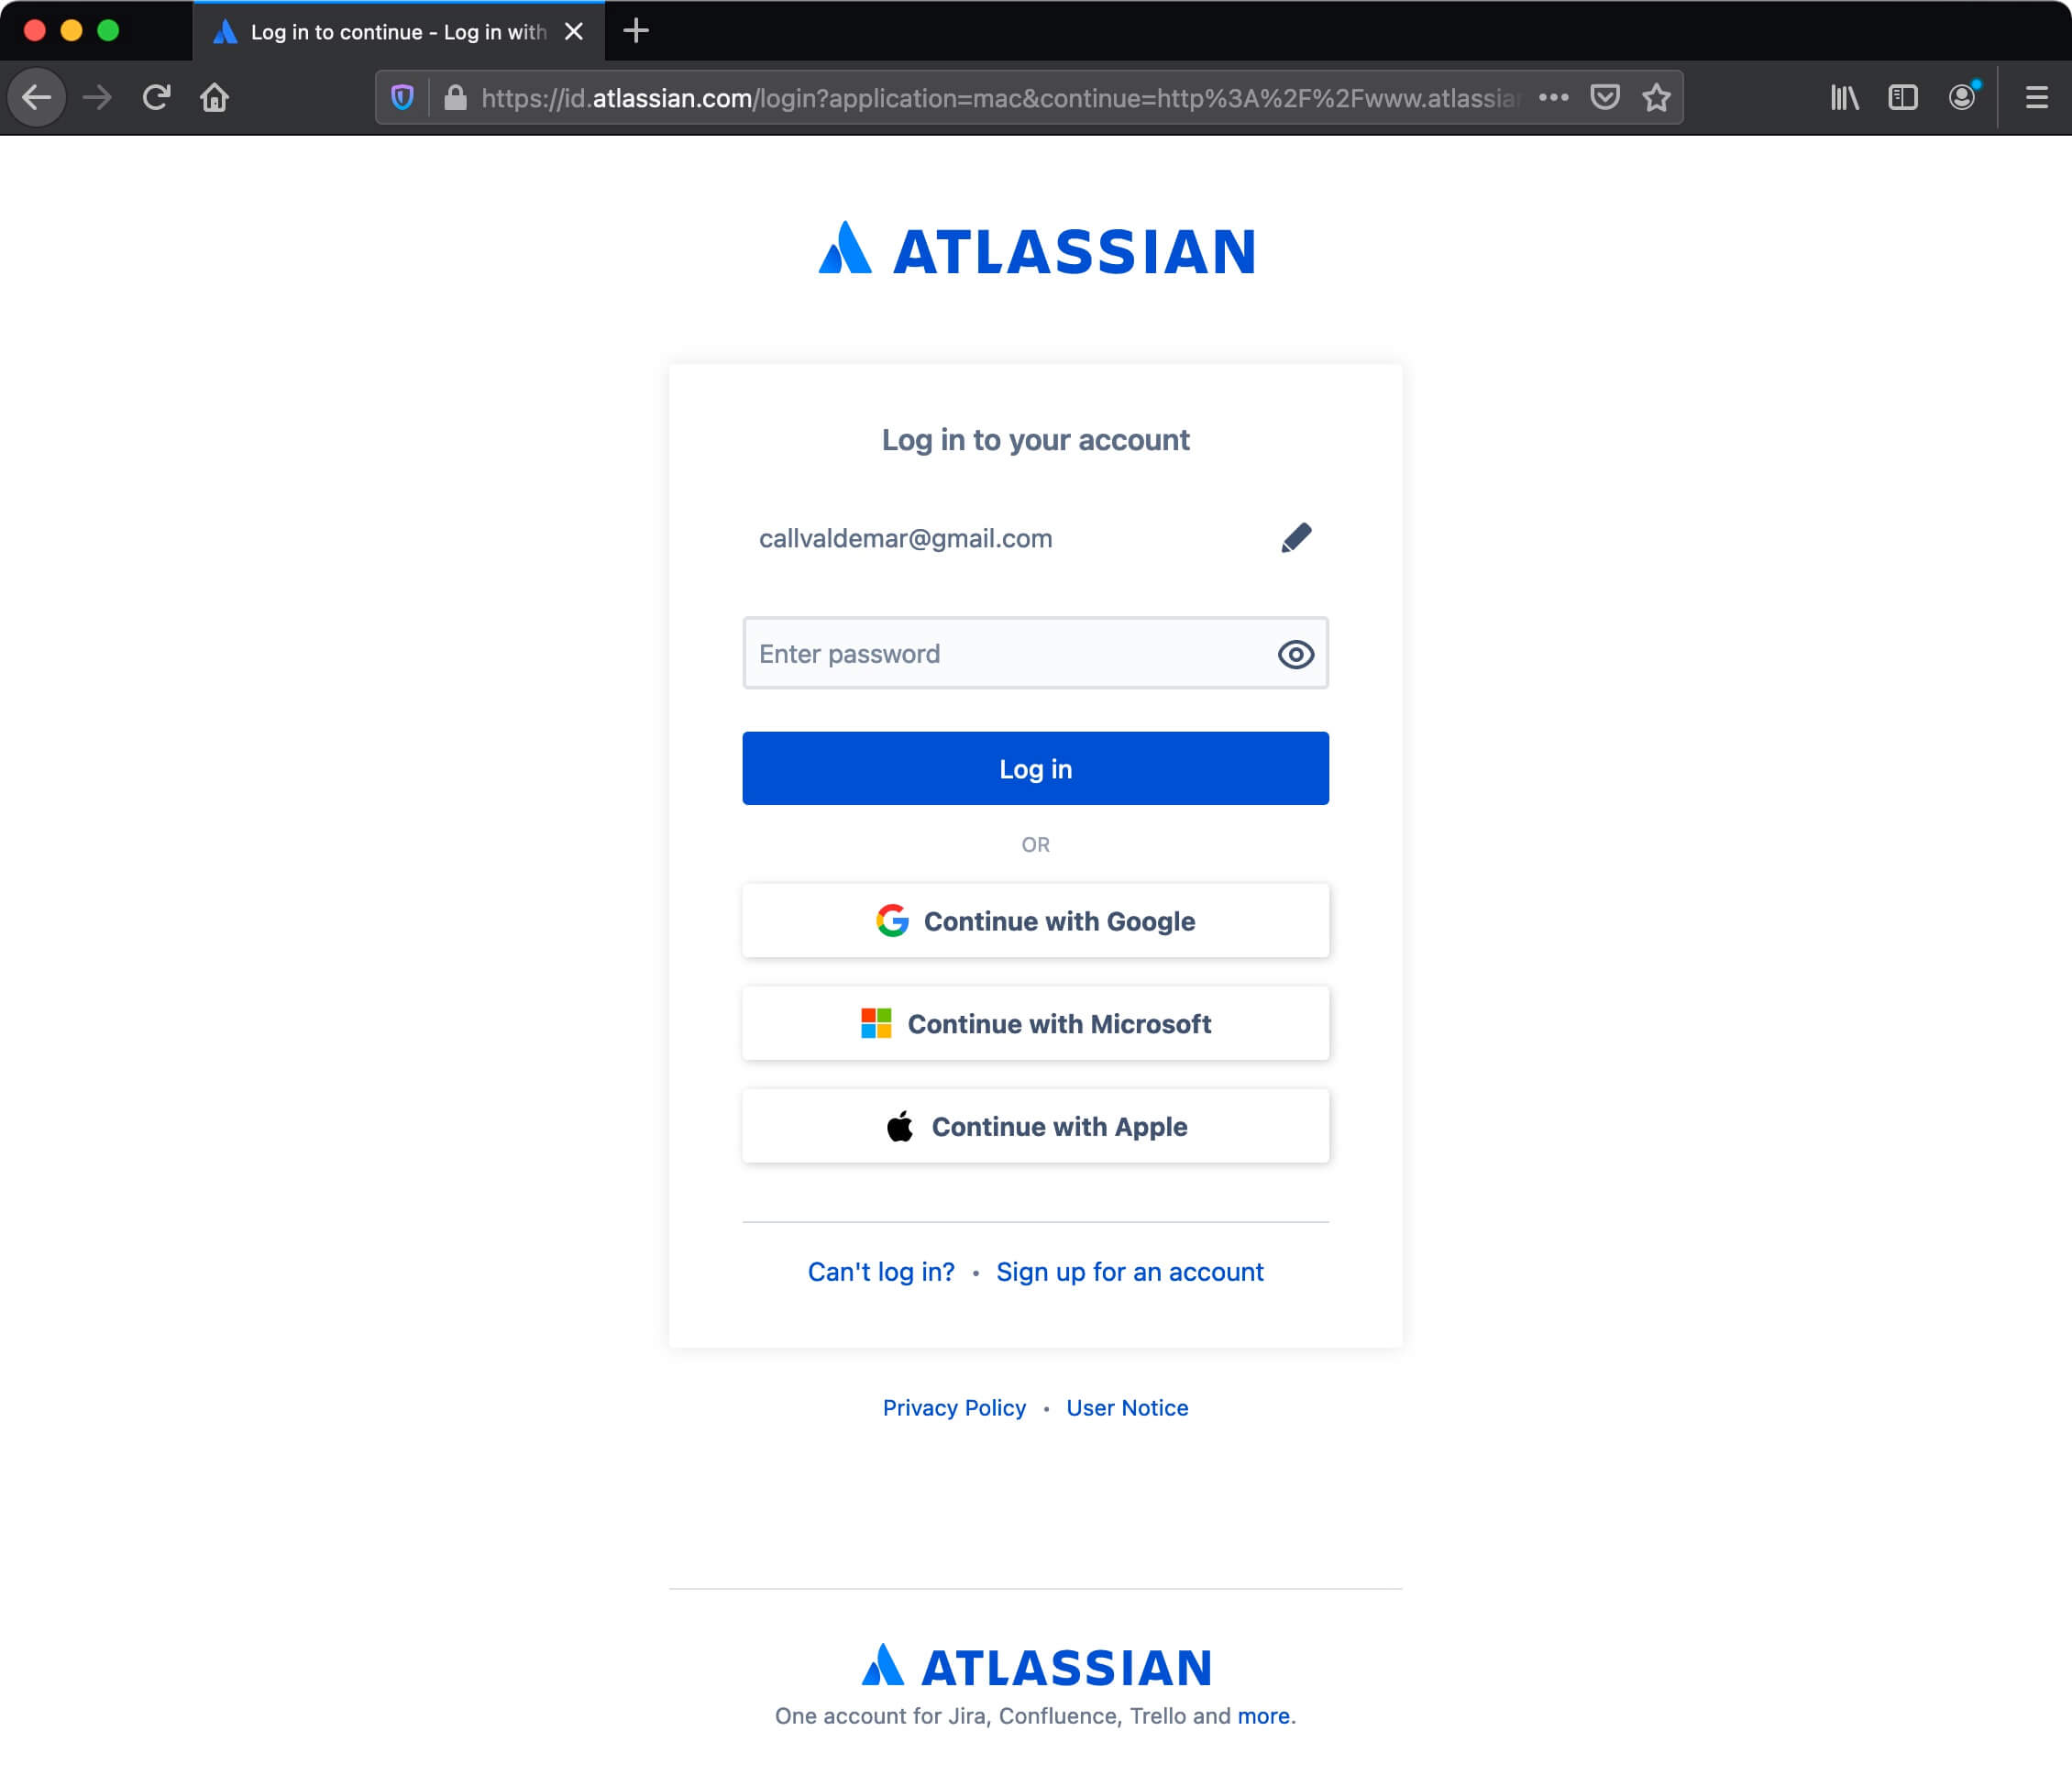
Specify the password for the Atlassian account and click on the “Log in” button.
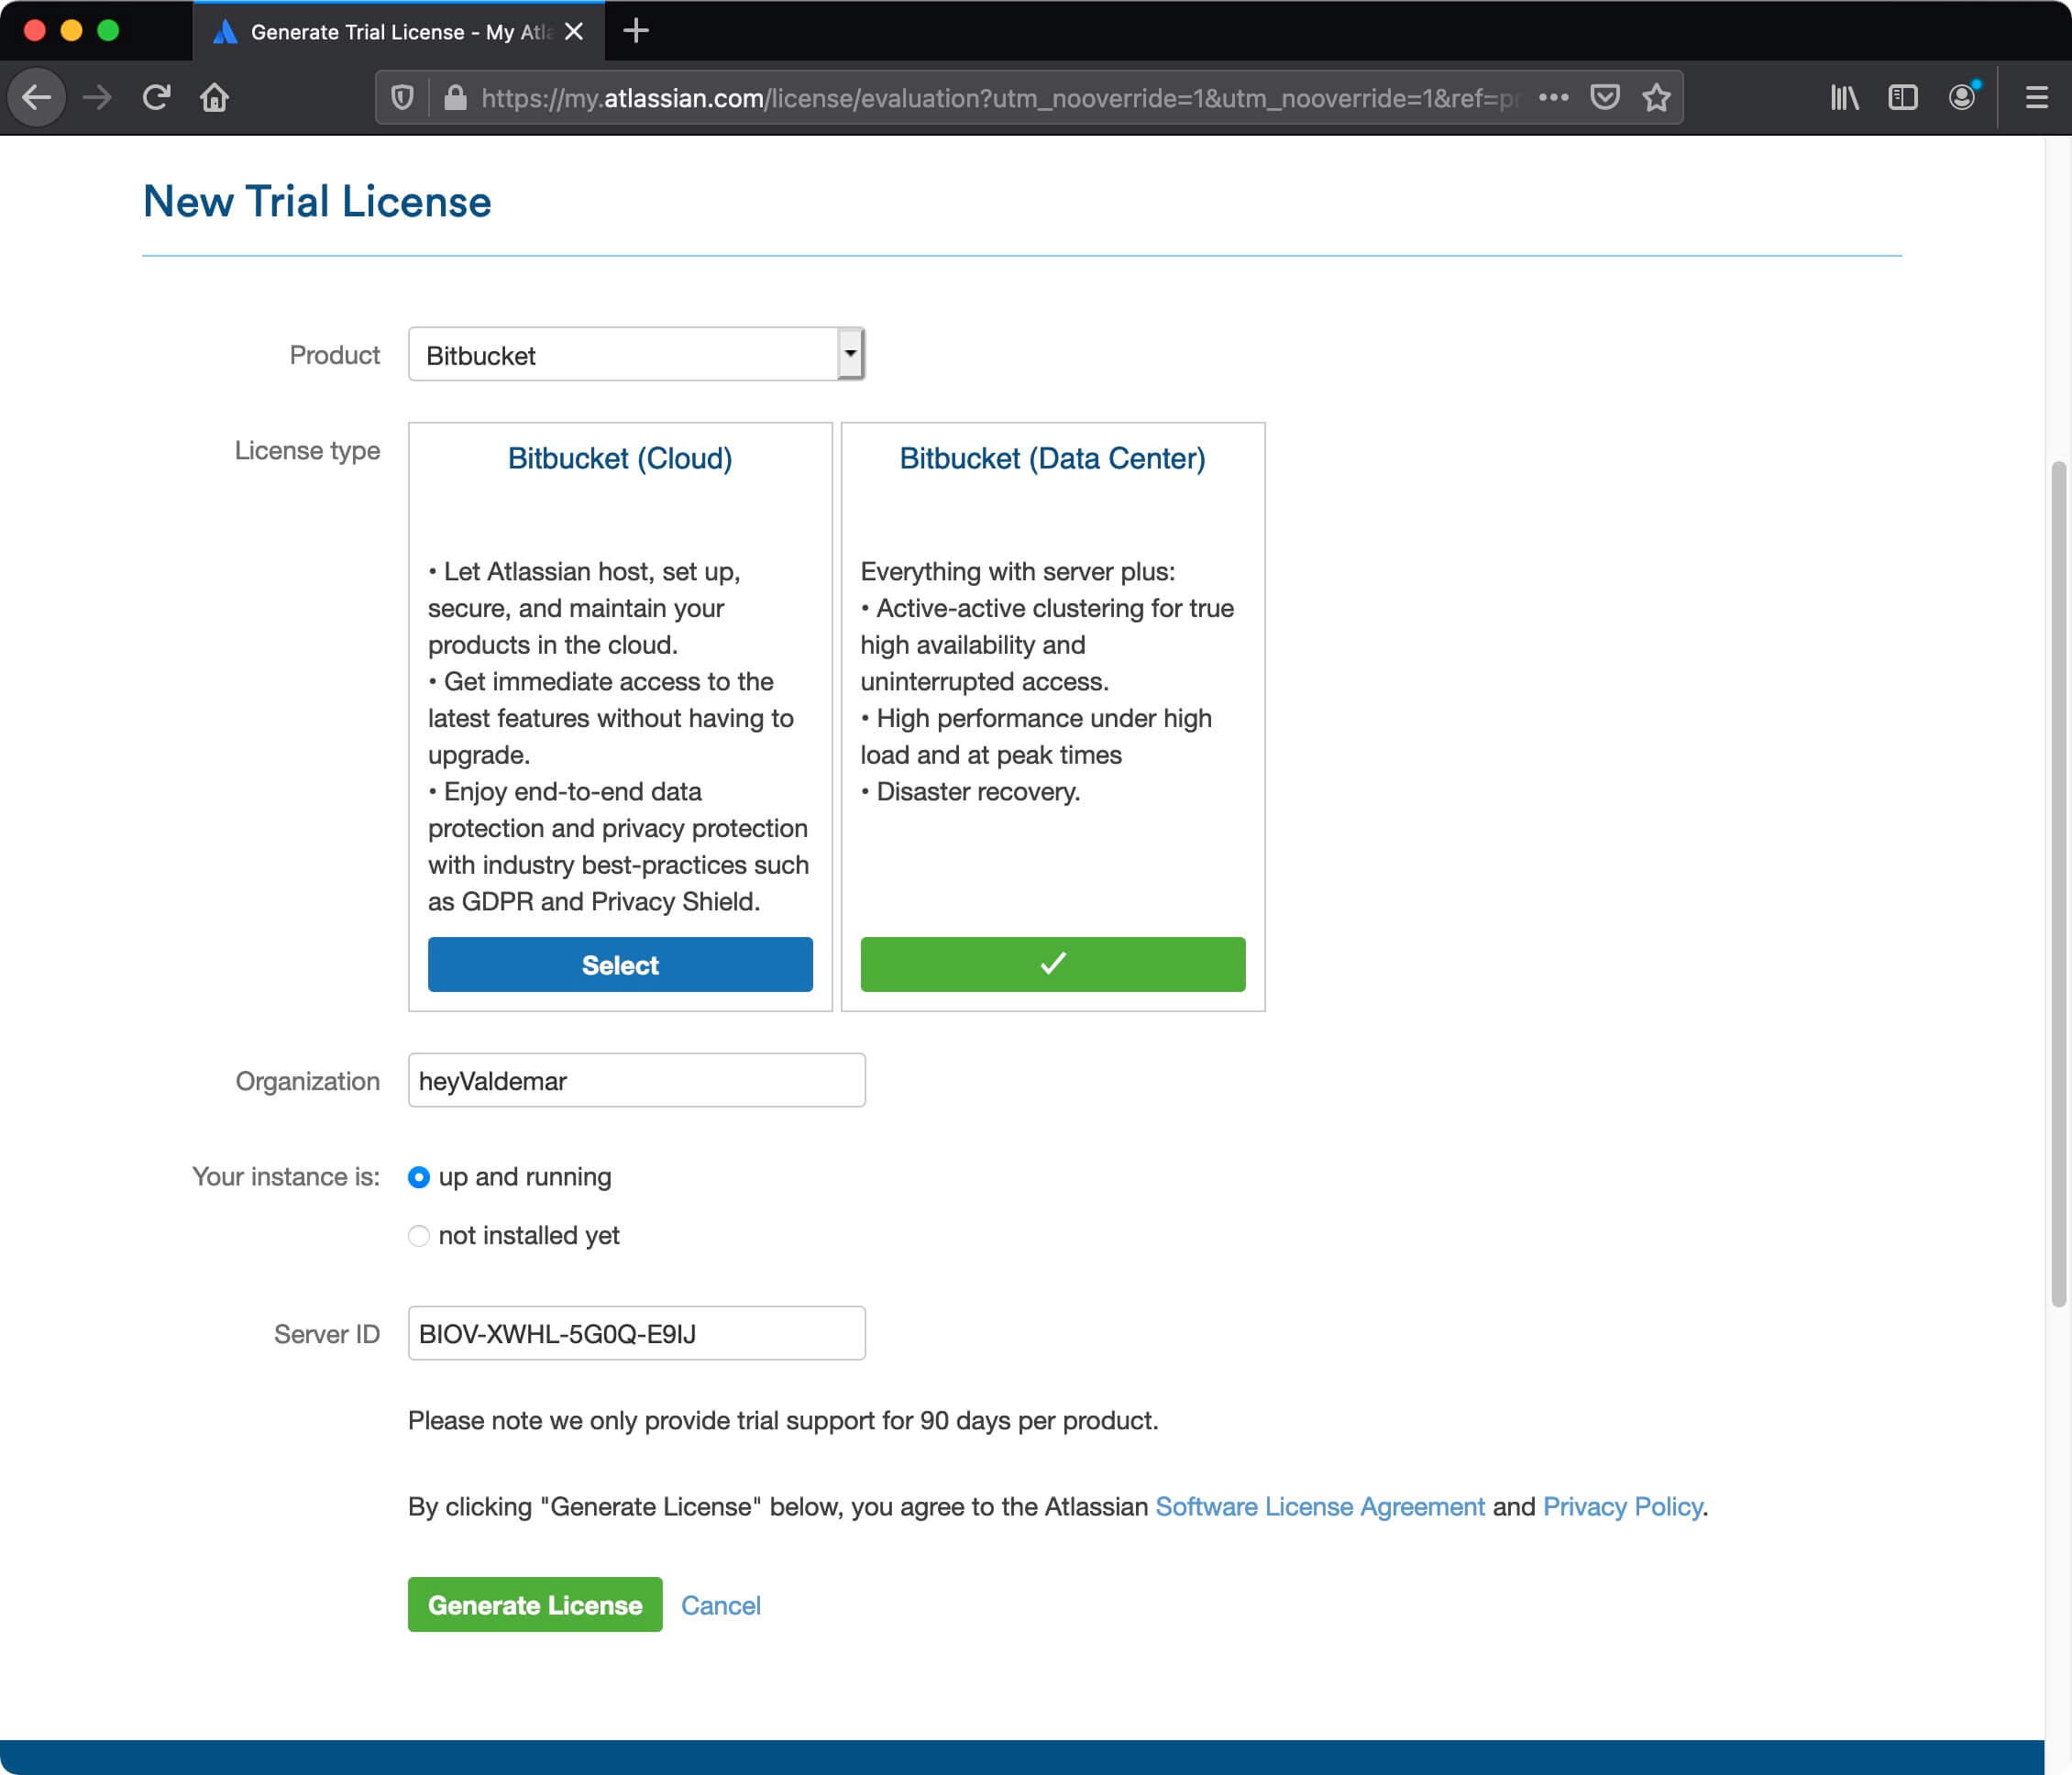
In the next step, you need to specify for which product you need a temporary license key, as well as the name of your organization.
Click on the “Generate License” button to generate a temporary license key for Bitbucket.
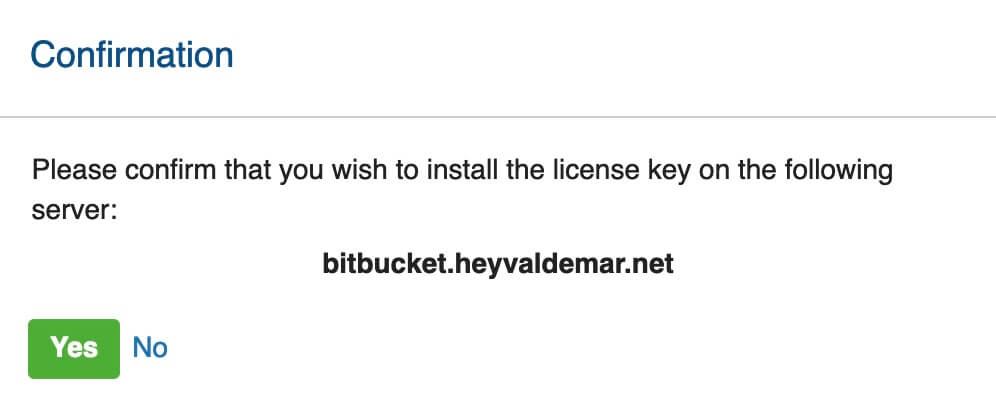
Next, you need to confirm that the temporary license key for Bitbucket will be installed on your server.
Click on the “Yes” button.
In the “Your License Key” field, insert the previously received temporary license key and click on the “Next” button.
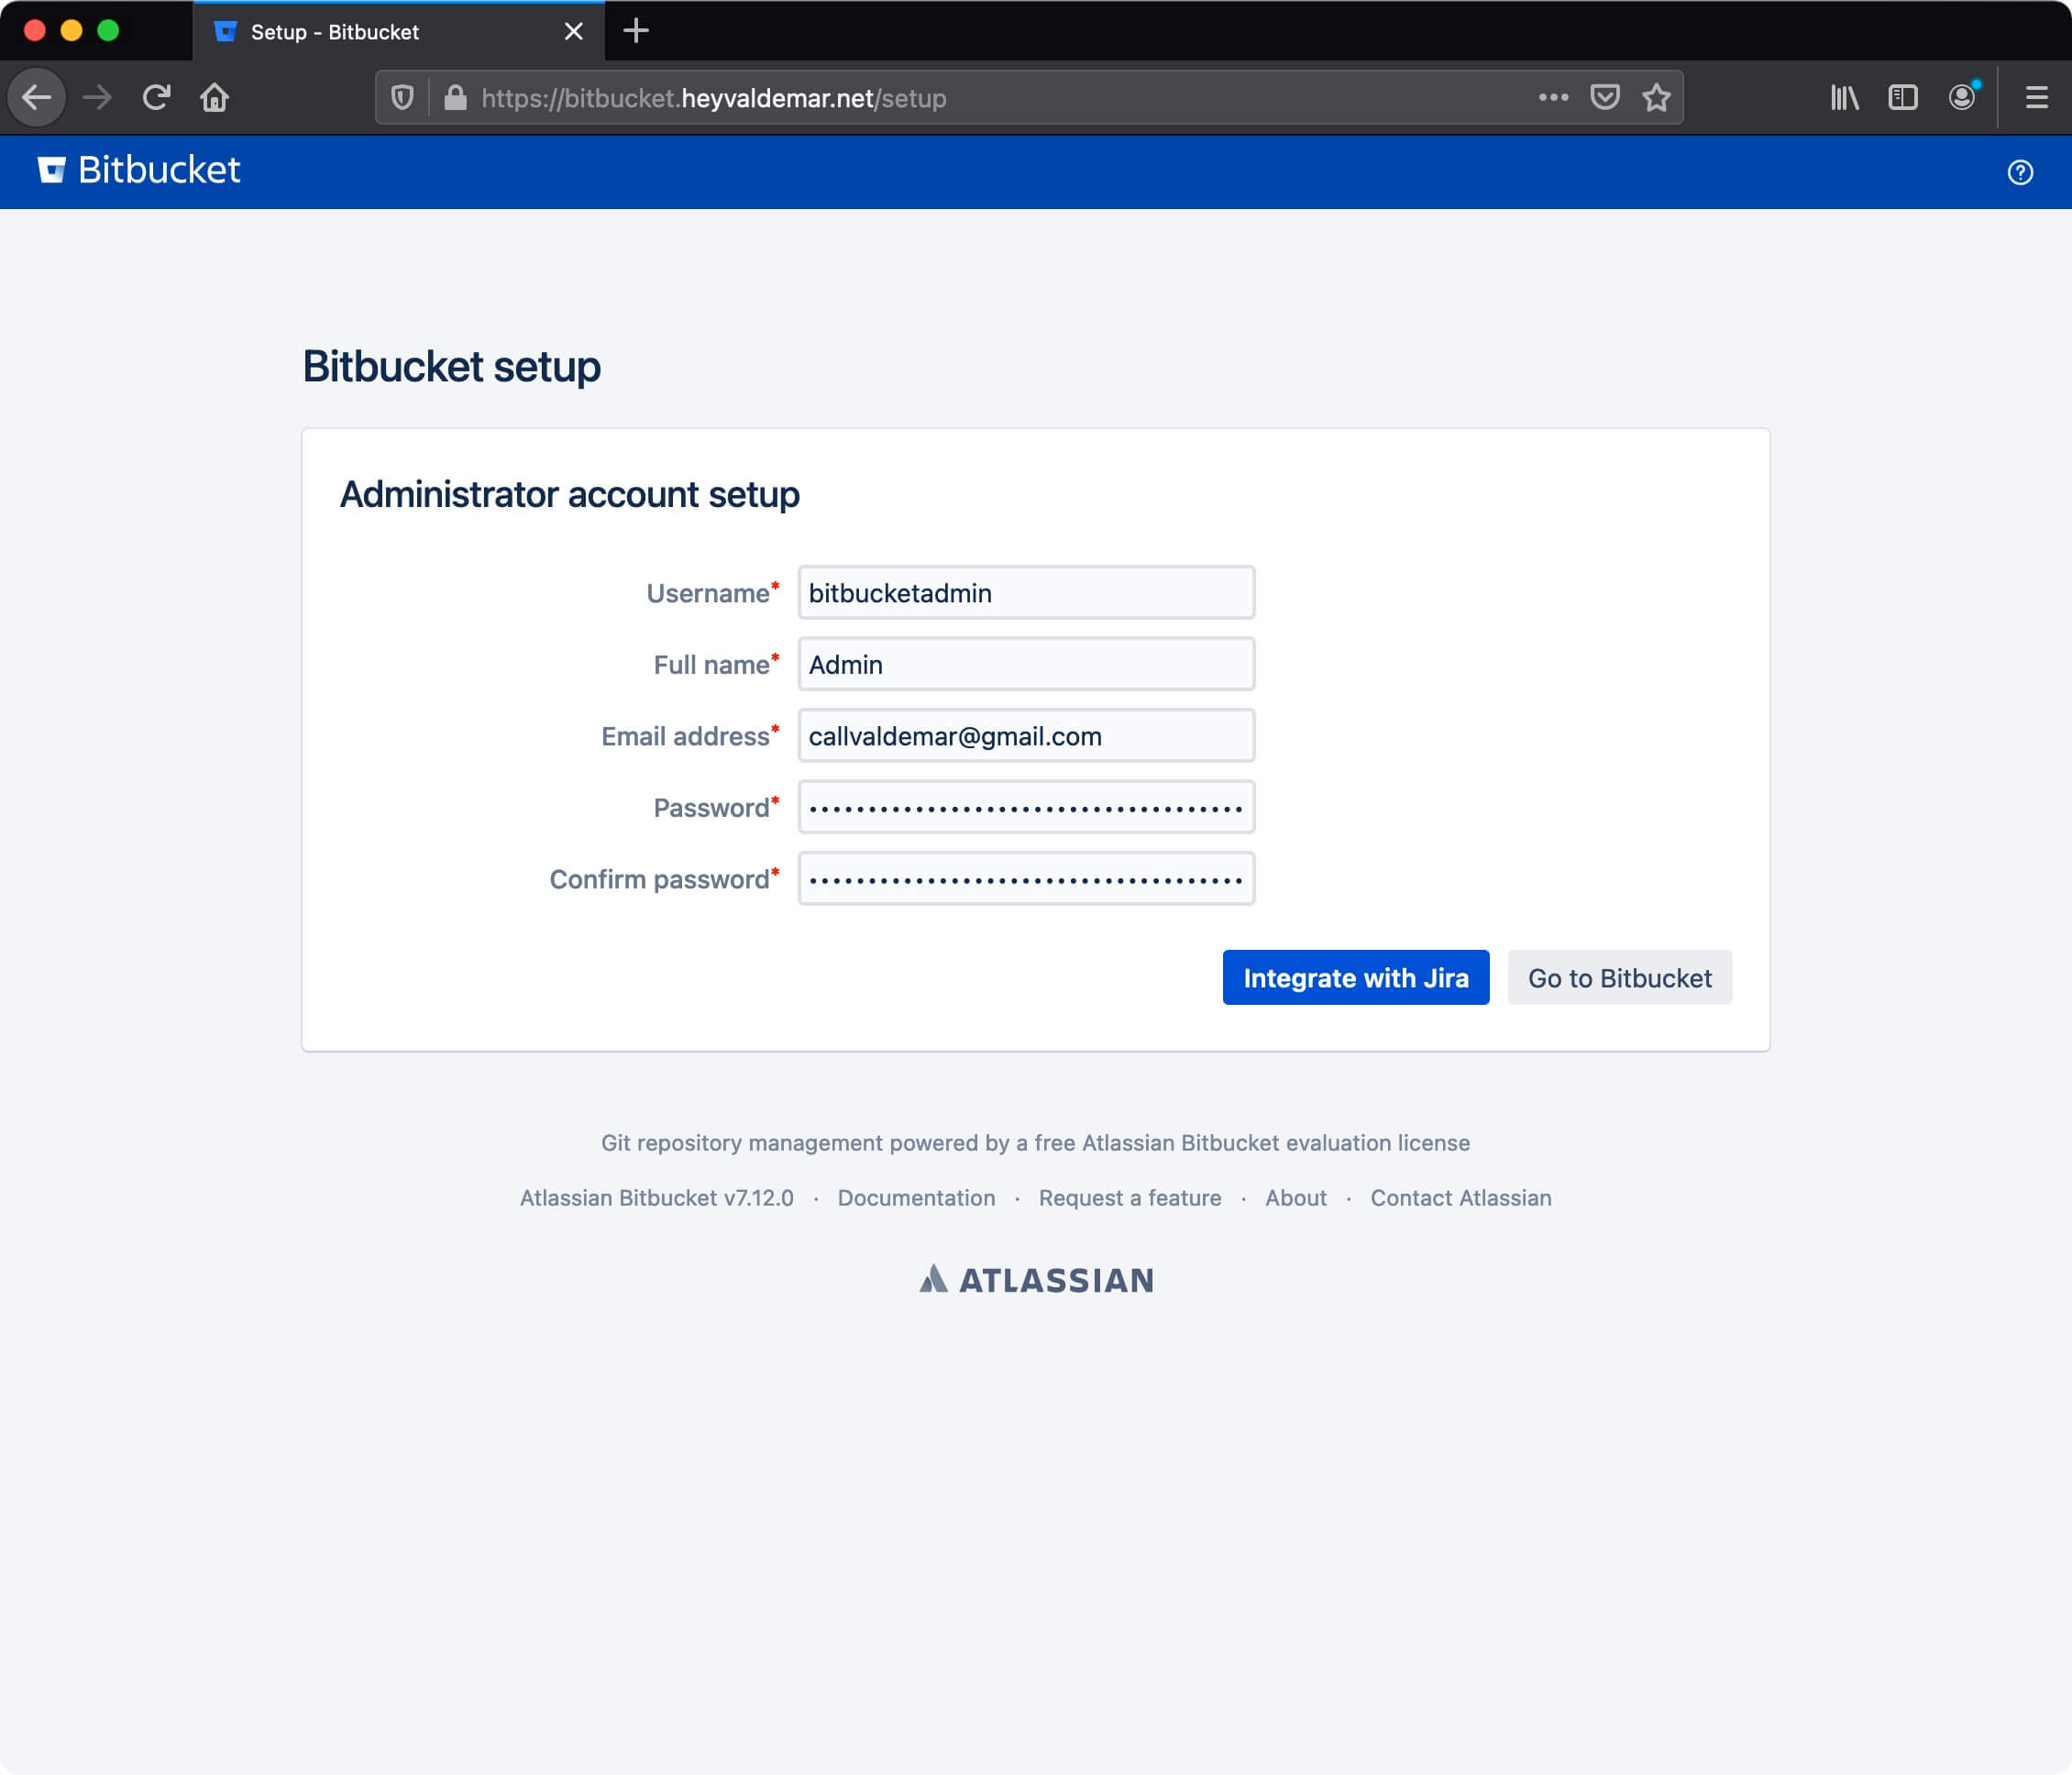
In the next step, you need to specify: username, name, email address, and password to create a Bitbucket administrator account.
Click on the “Go to Bitbucket” button.
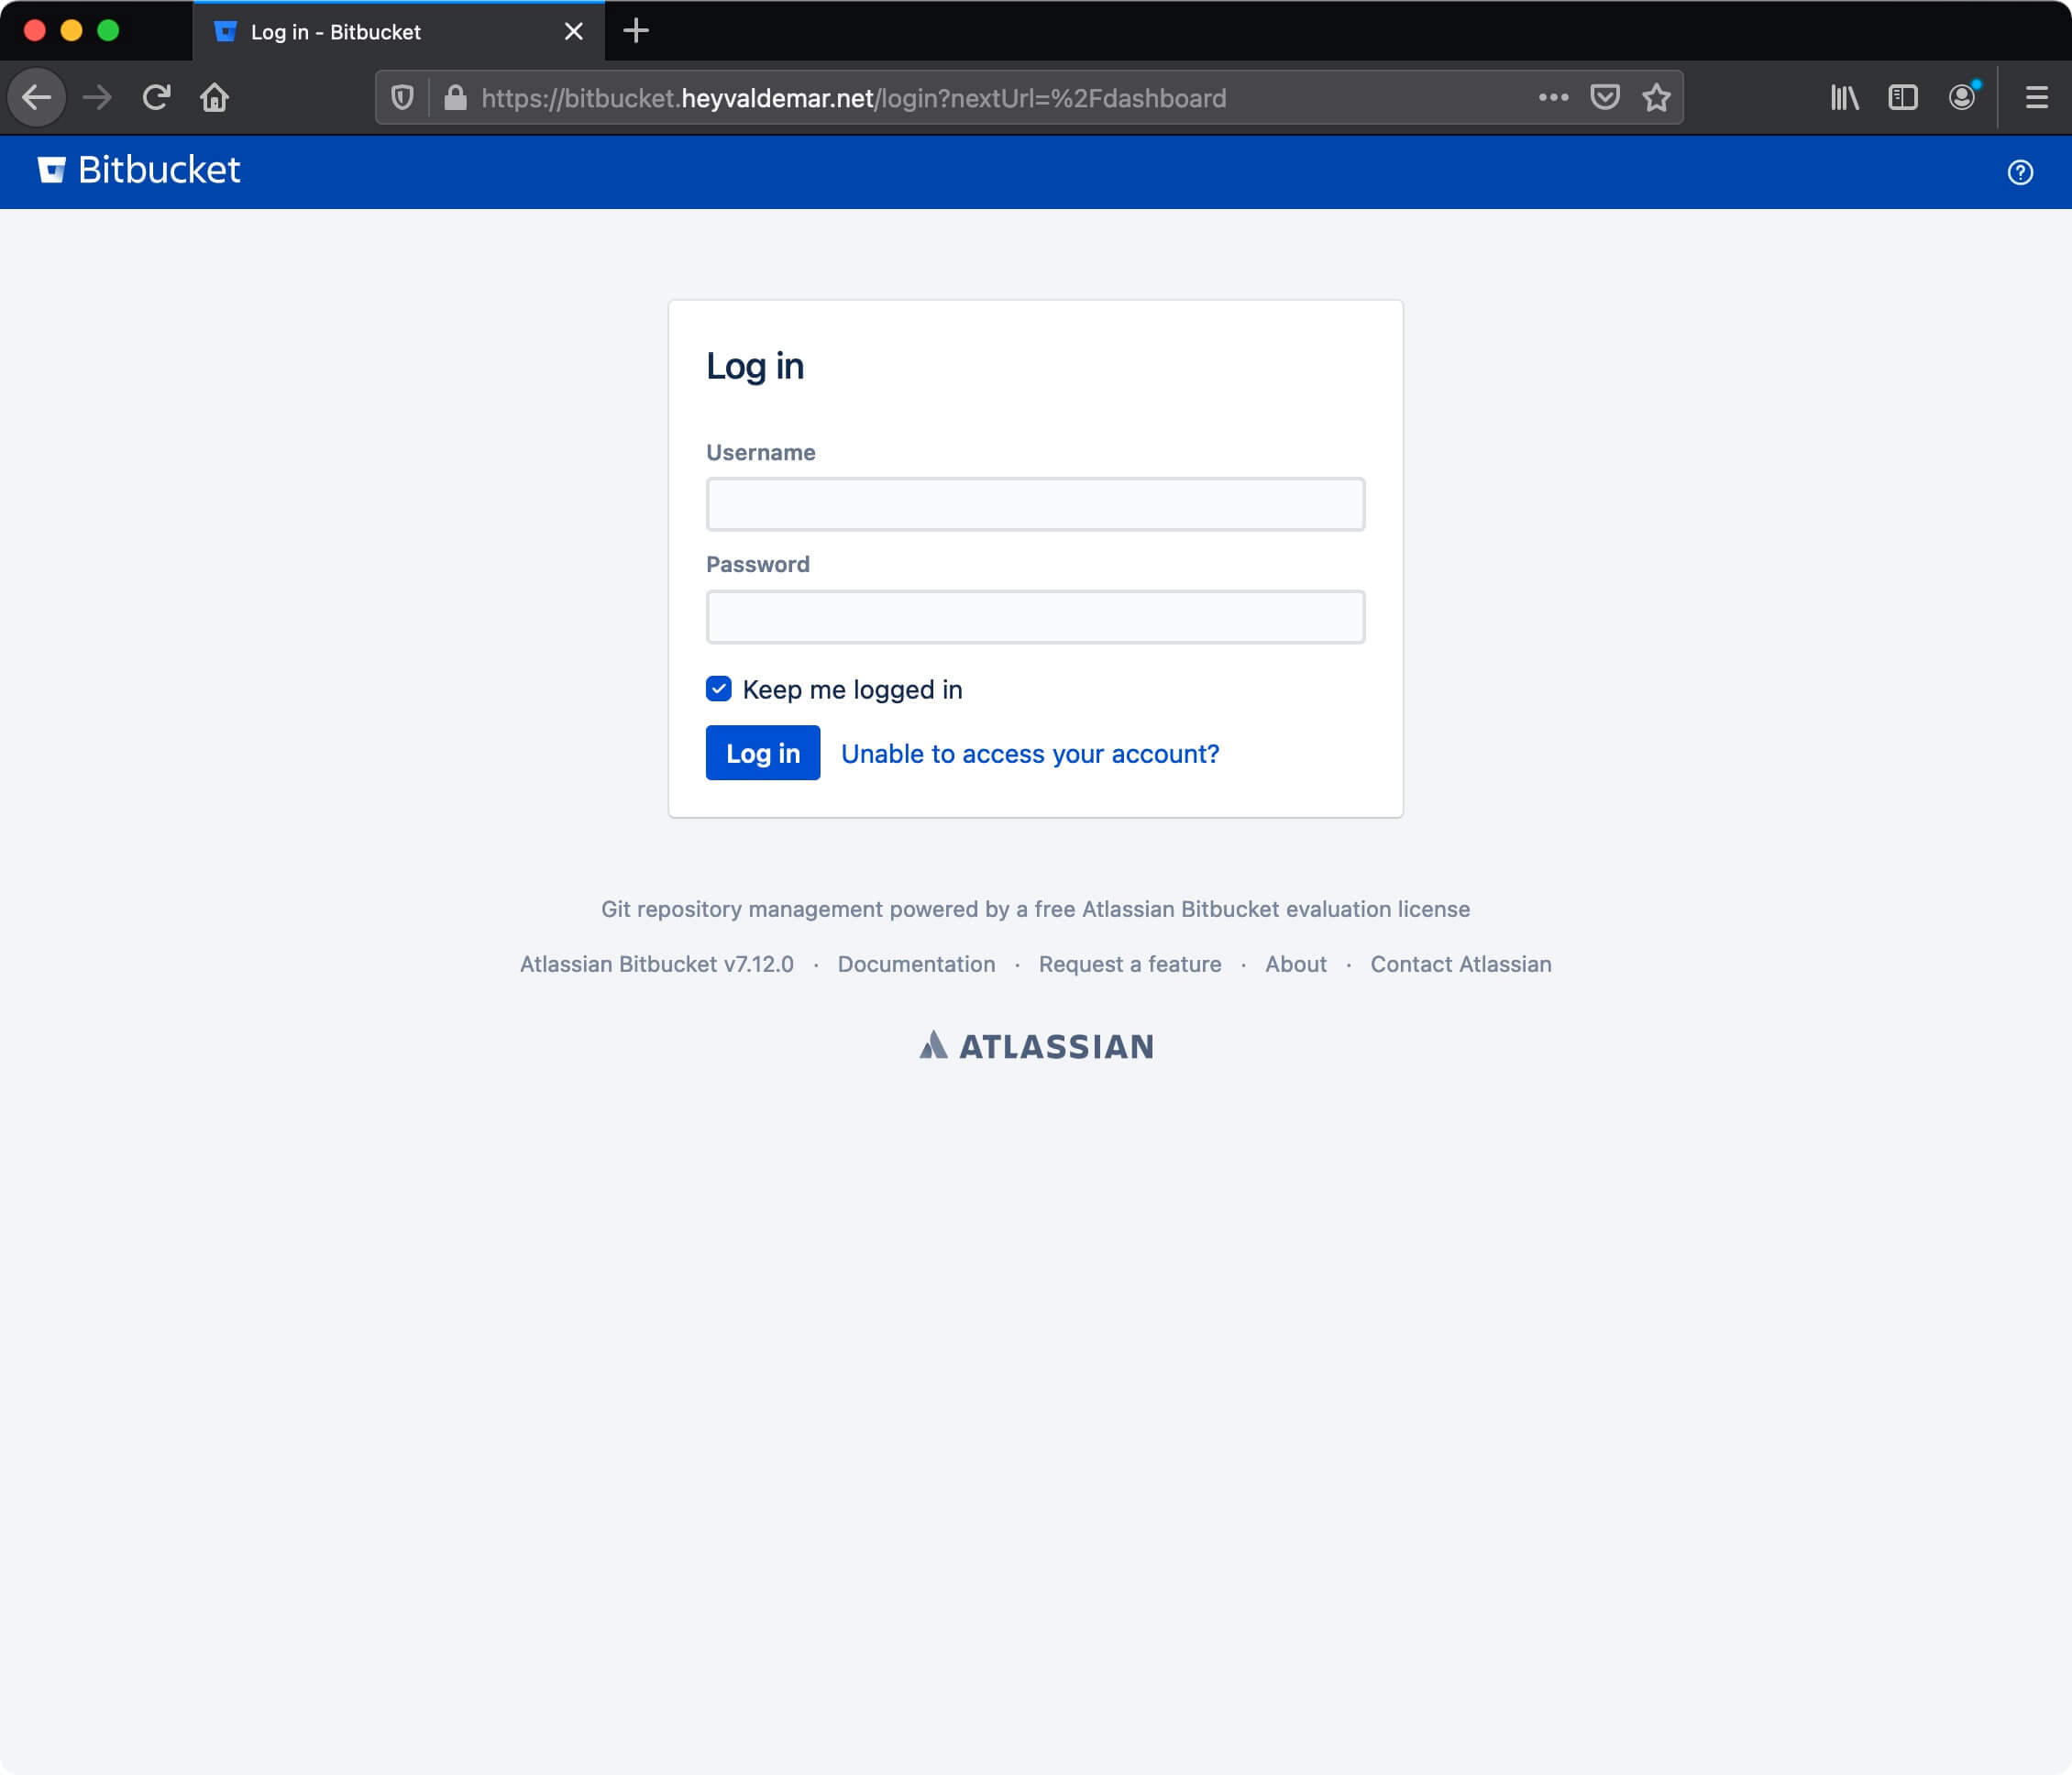
You can now log into your Bitbucket dashboard using your previously created Bitbucket administrator account.
Specify the username and password of an account with Bitbucket administrator rights and click on the “Log in” button.
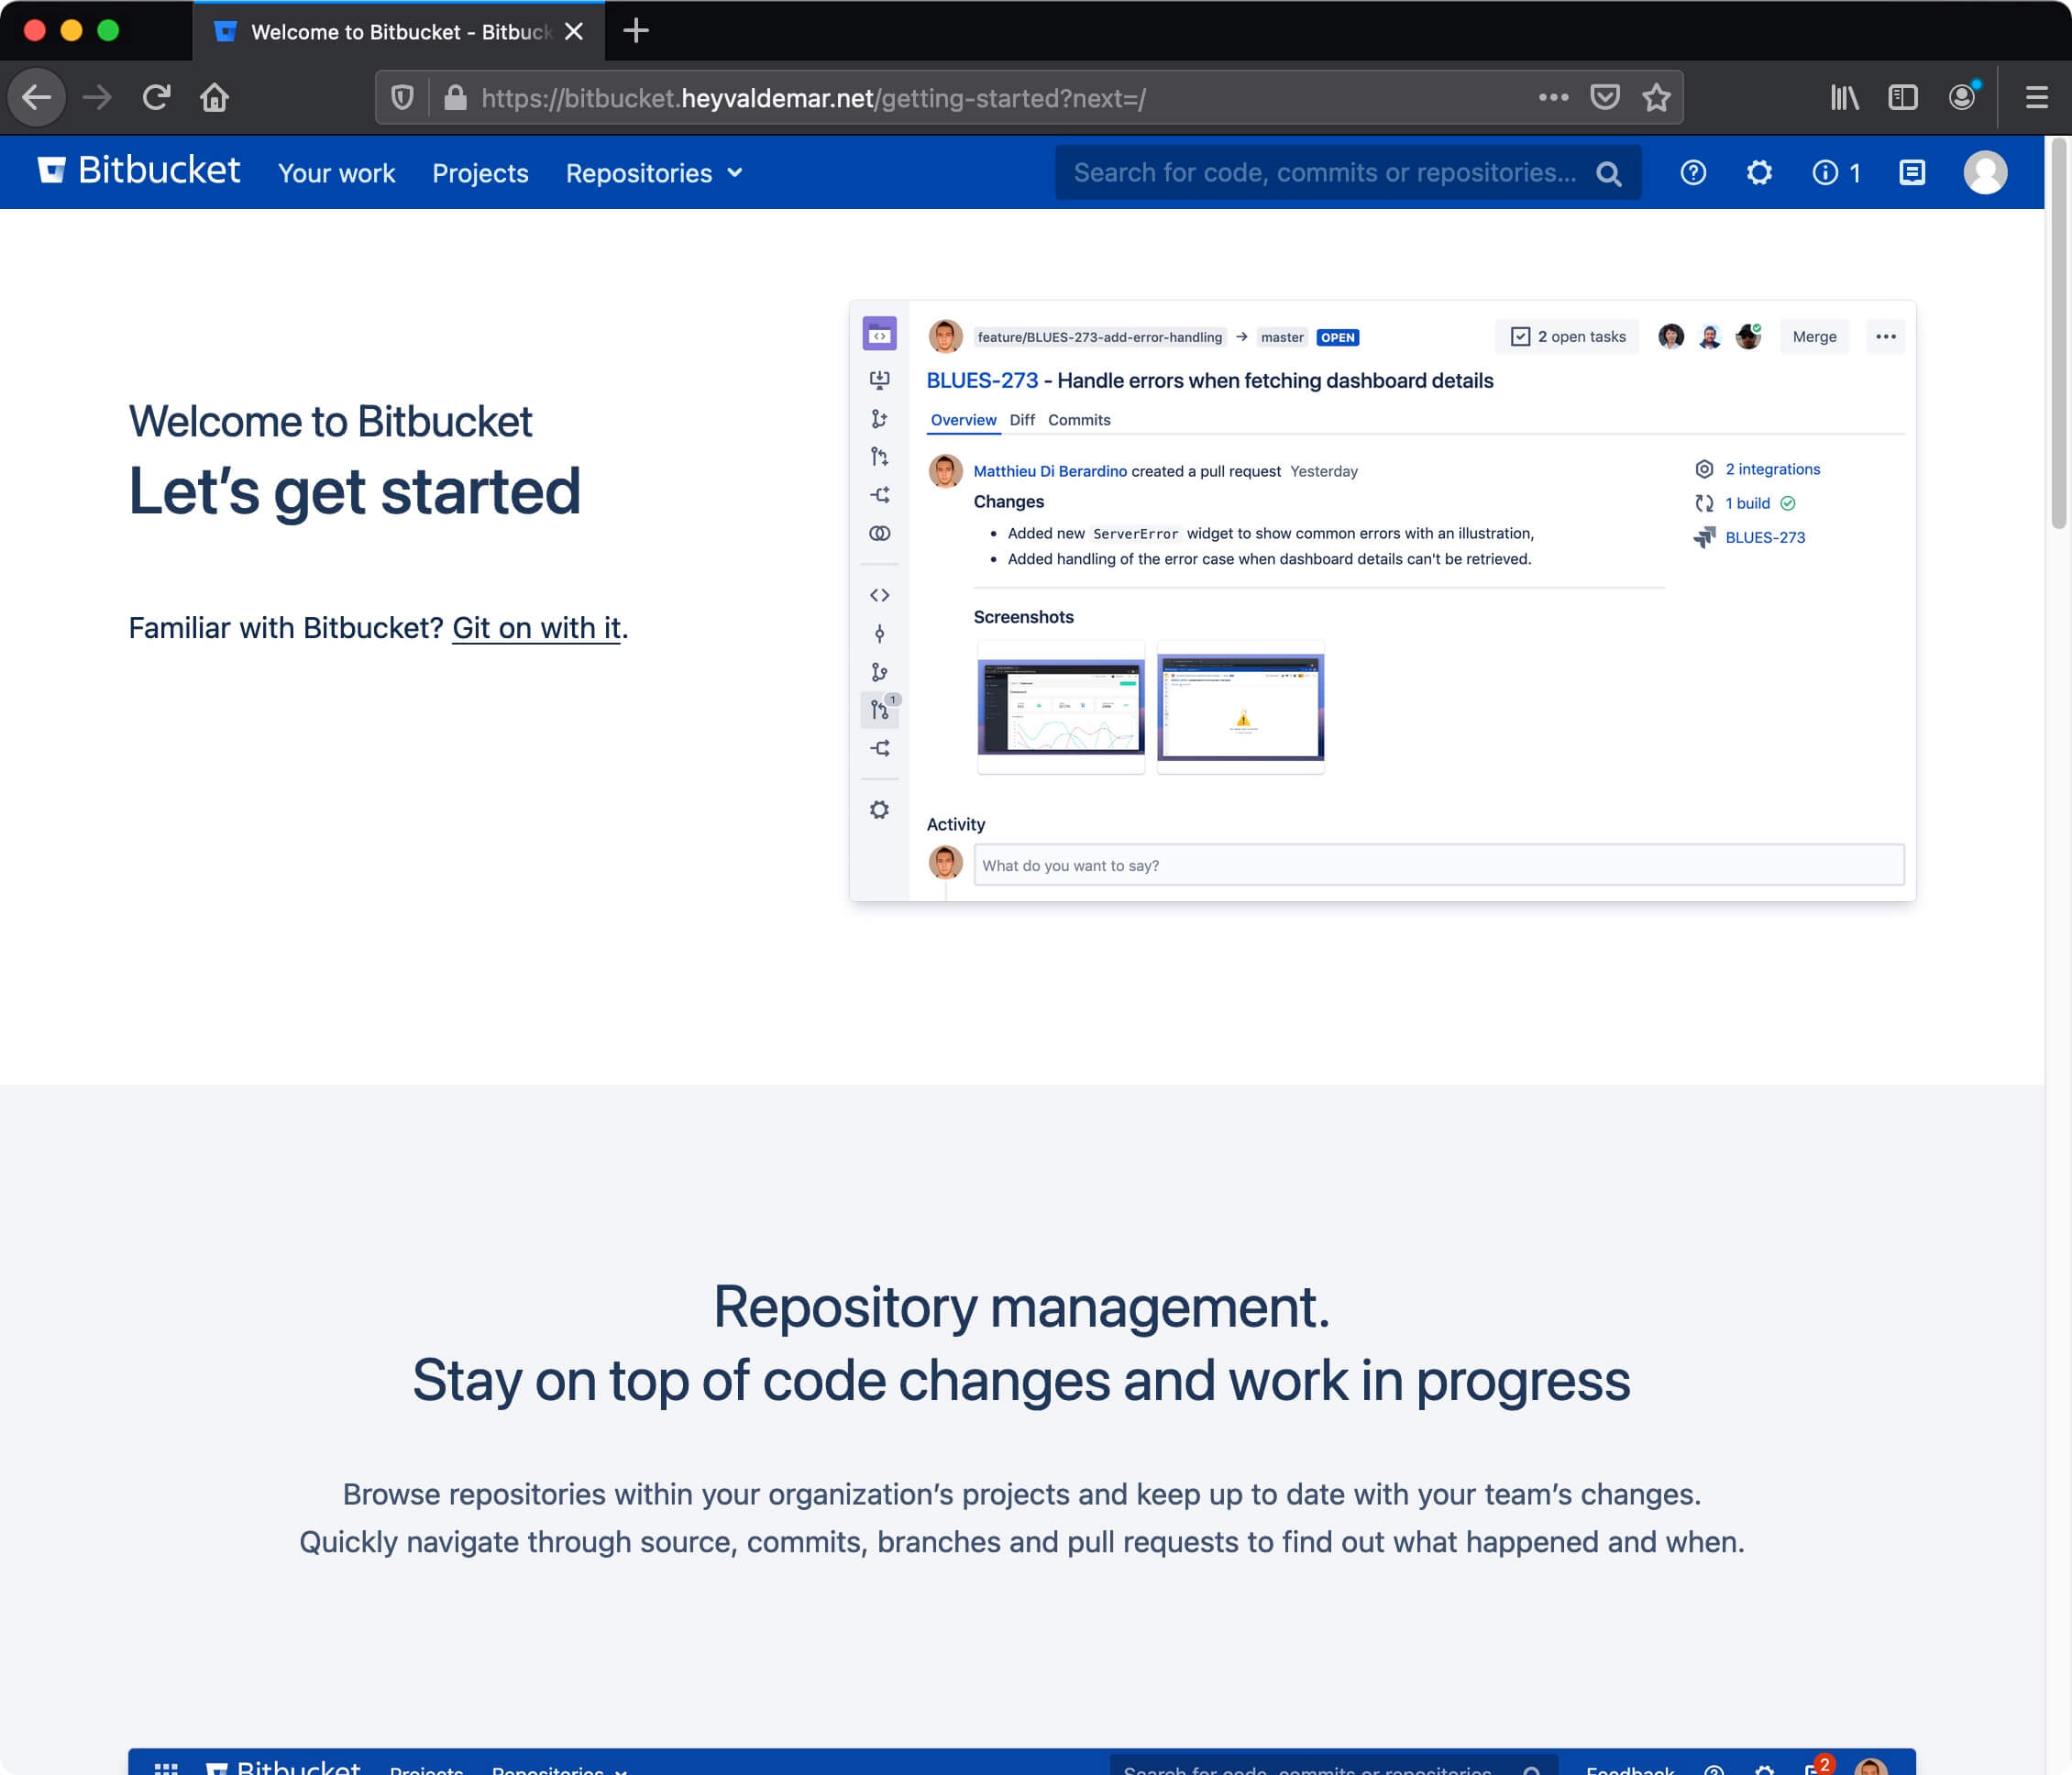
Welcome to the Bitbucket dashboard.
Now you can create a new project and repository.
Click on the “Git on with it” button.
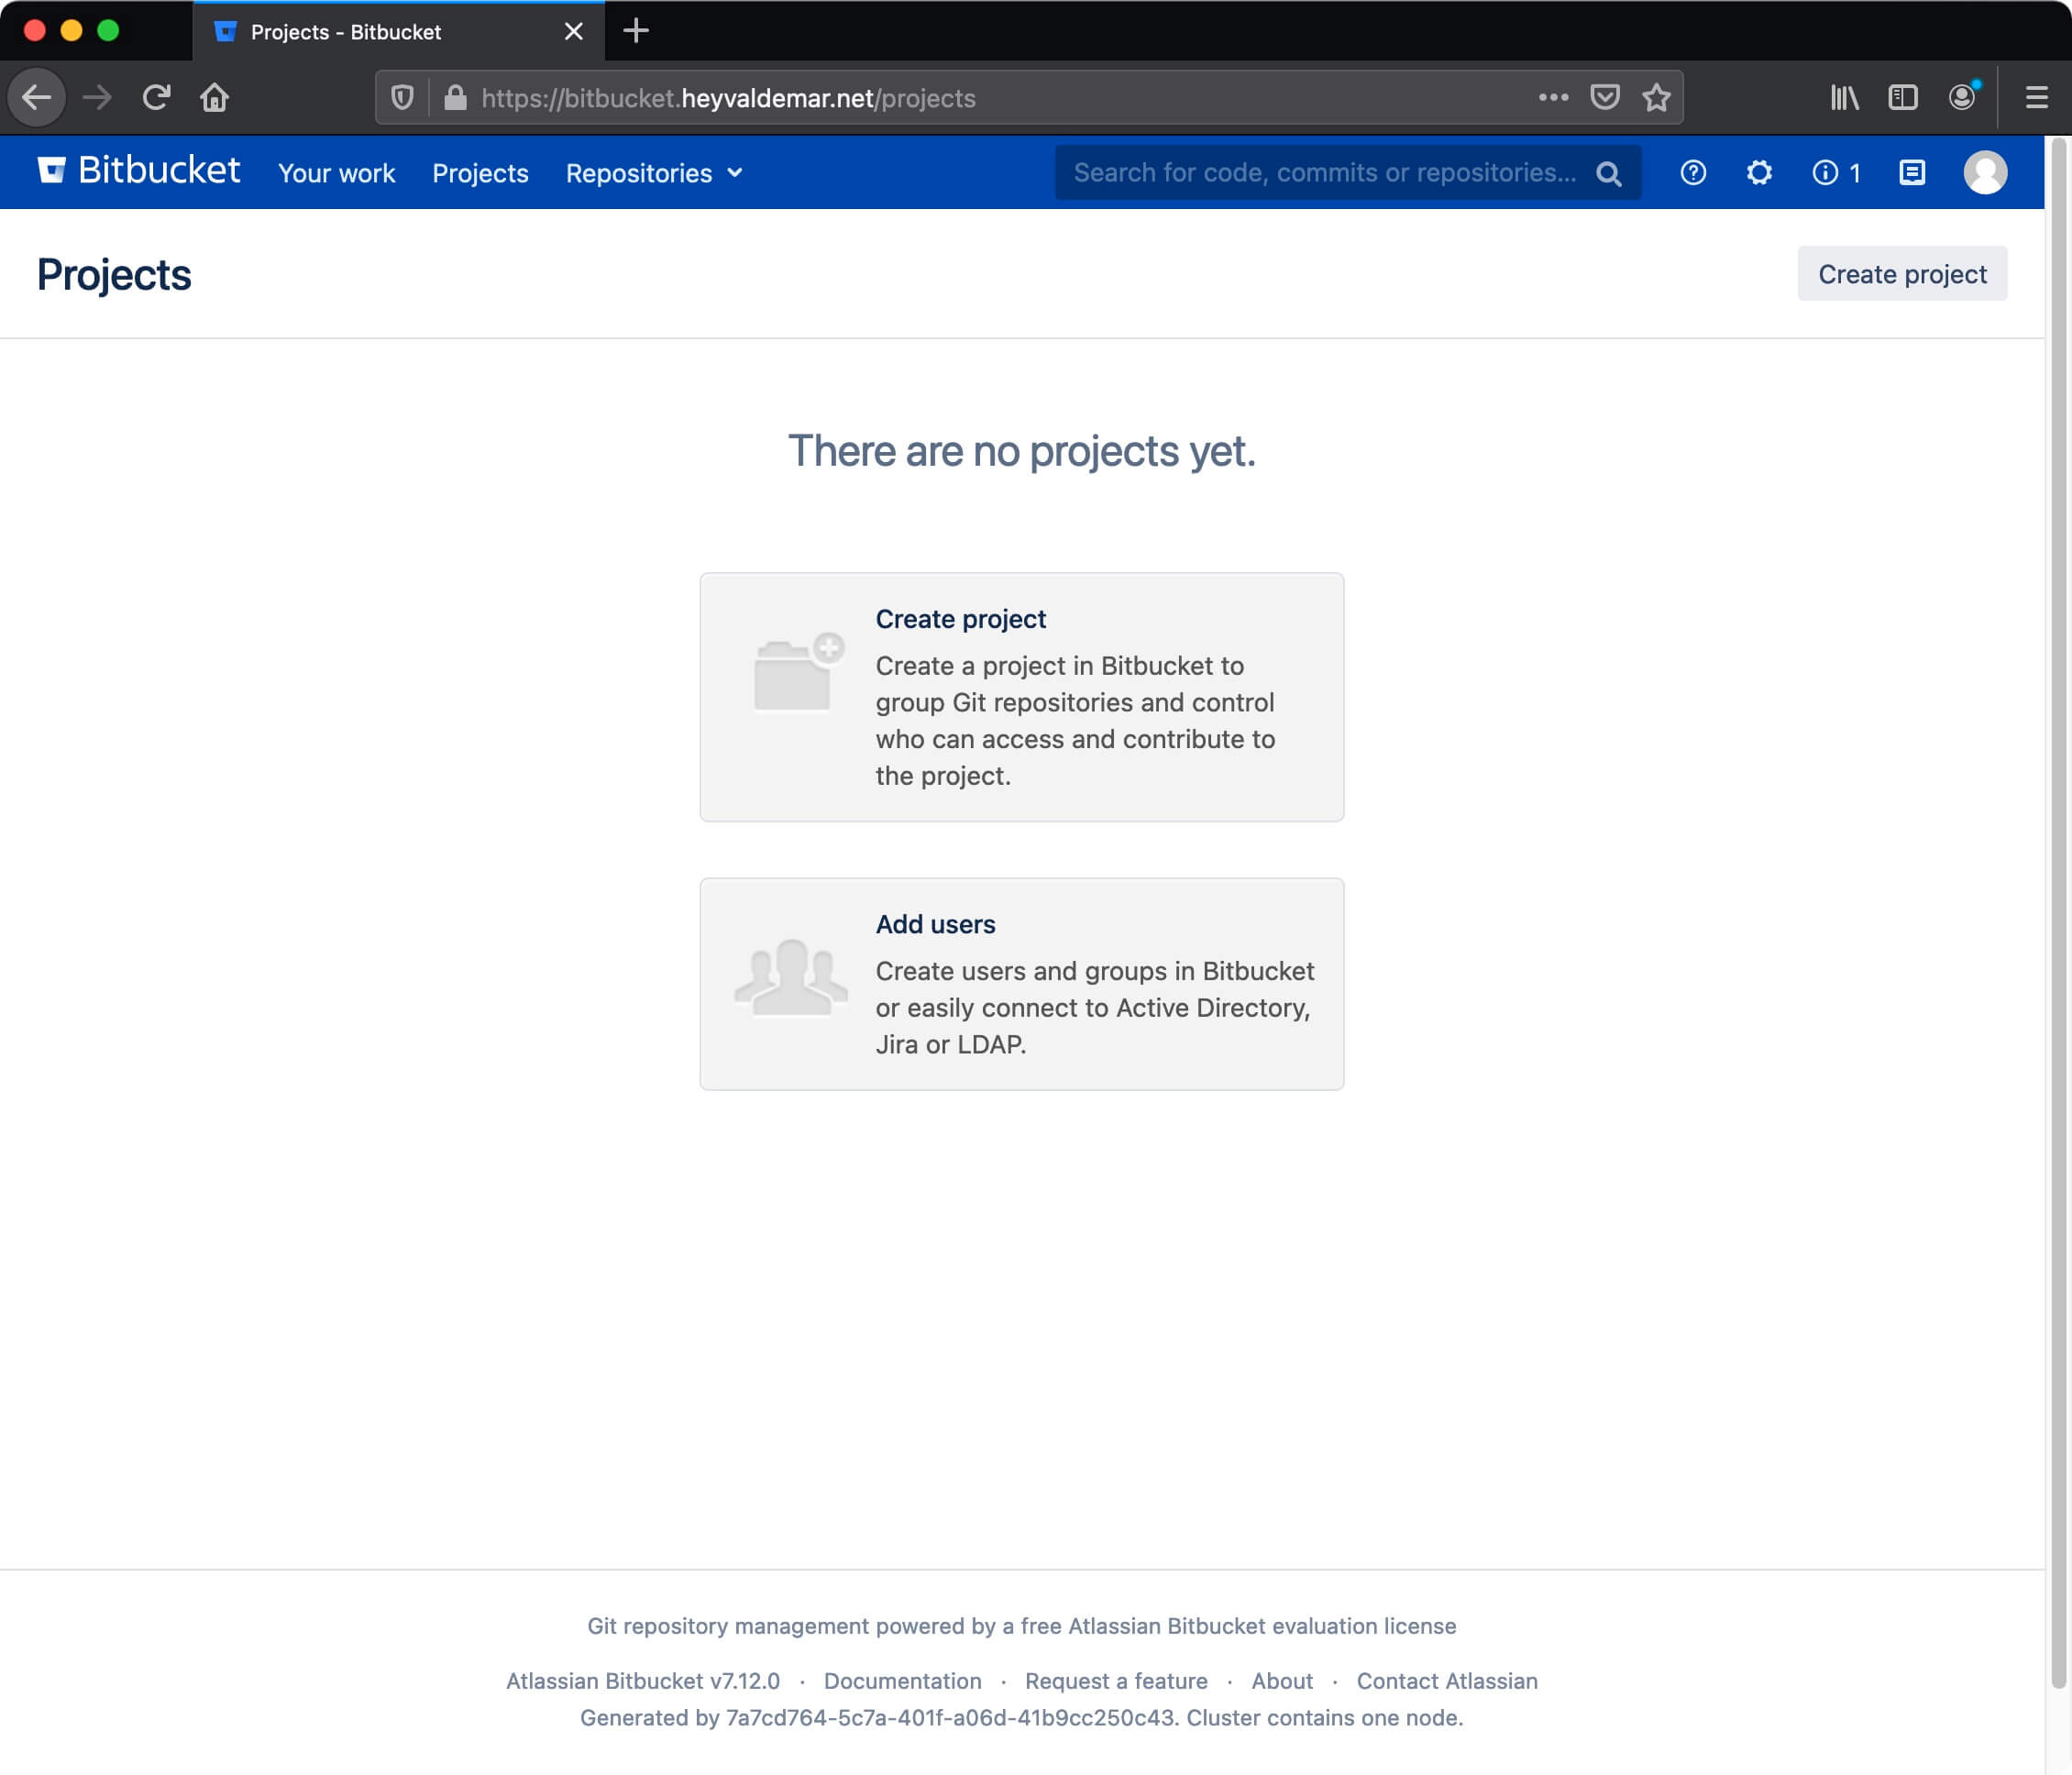
Click on “Create project” to start creating a new project.
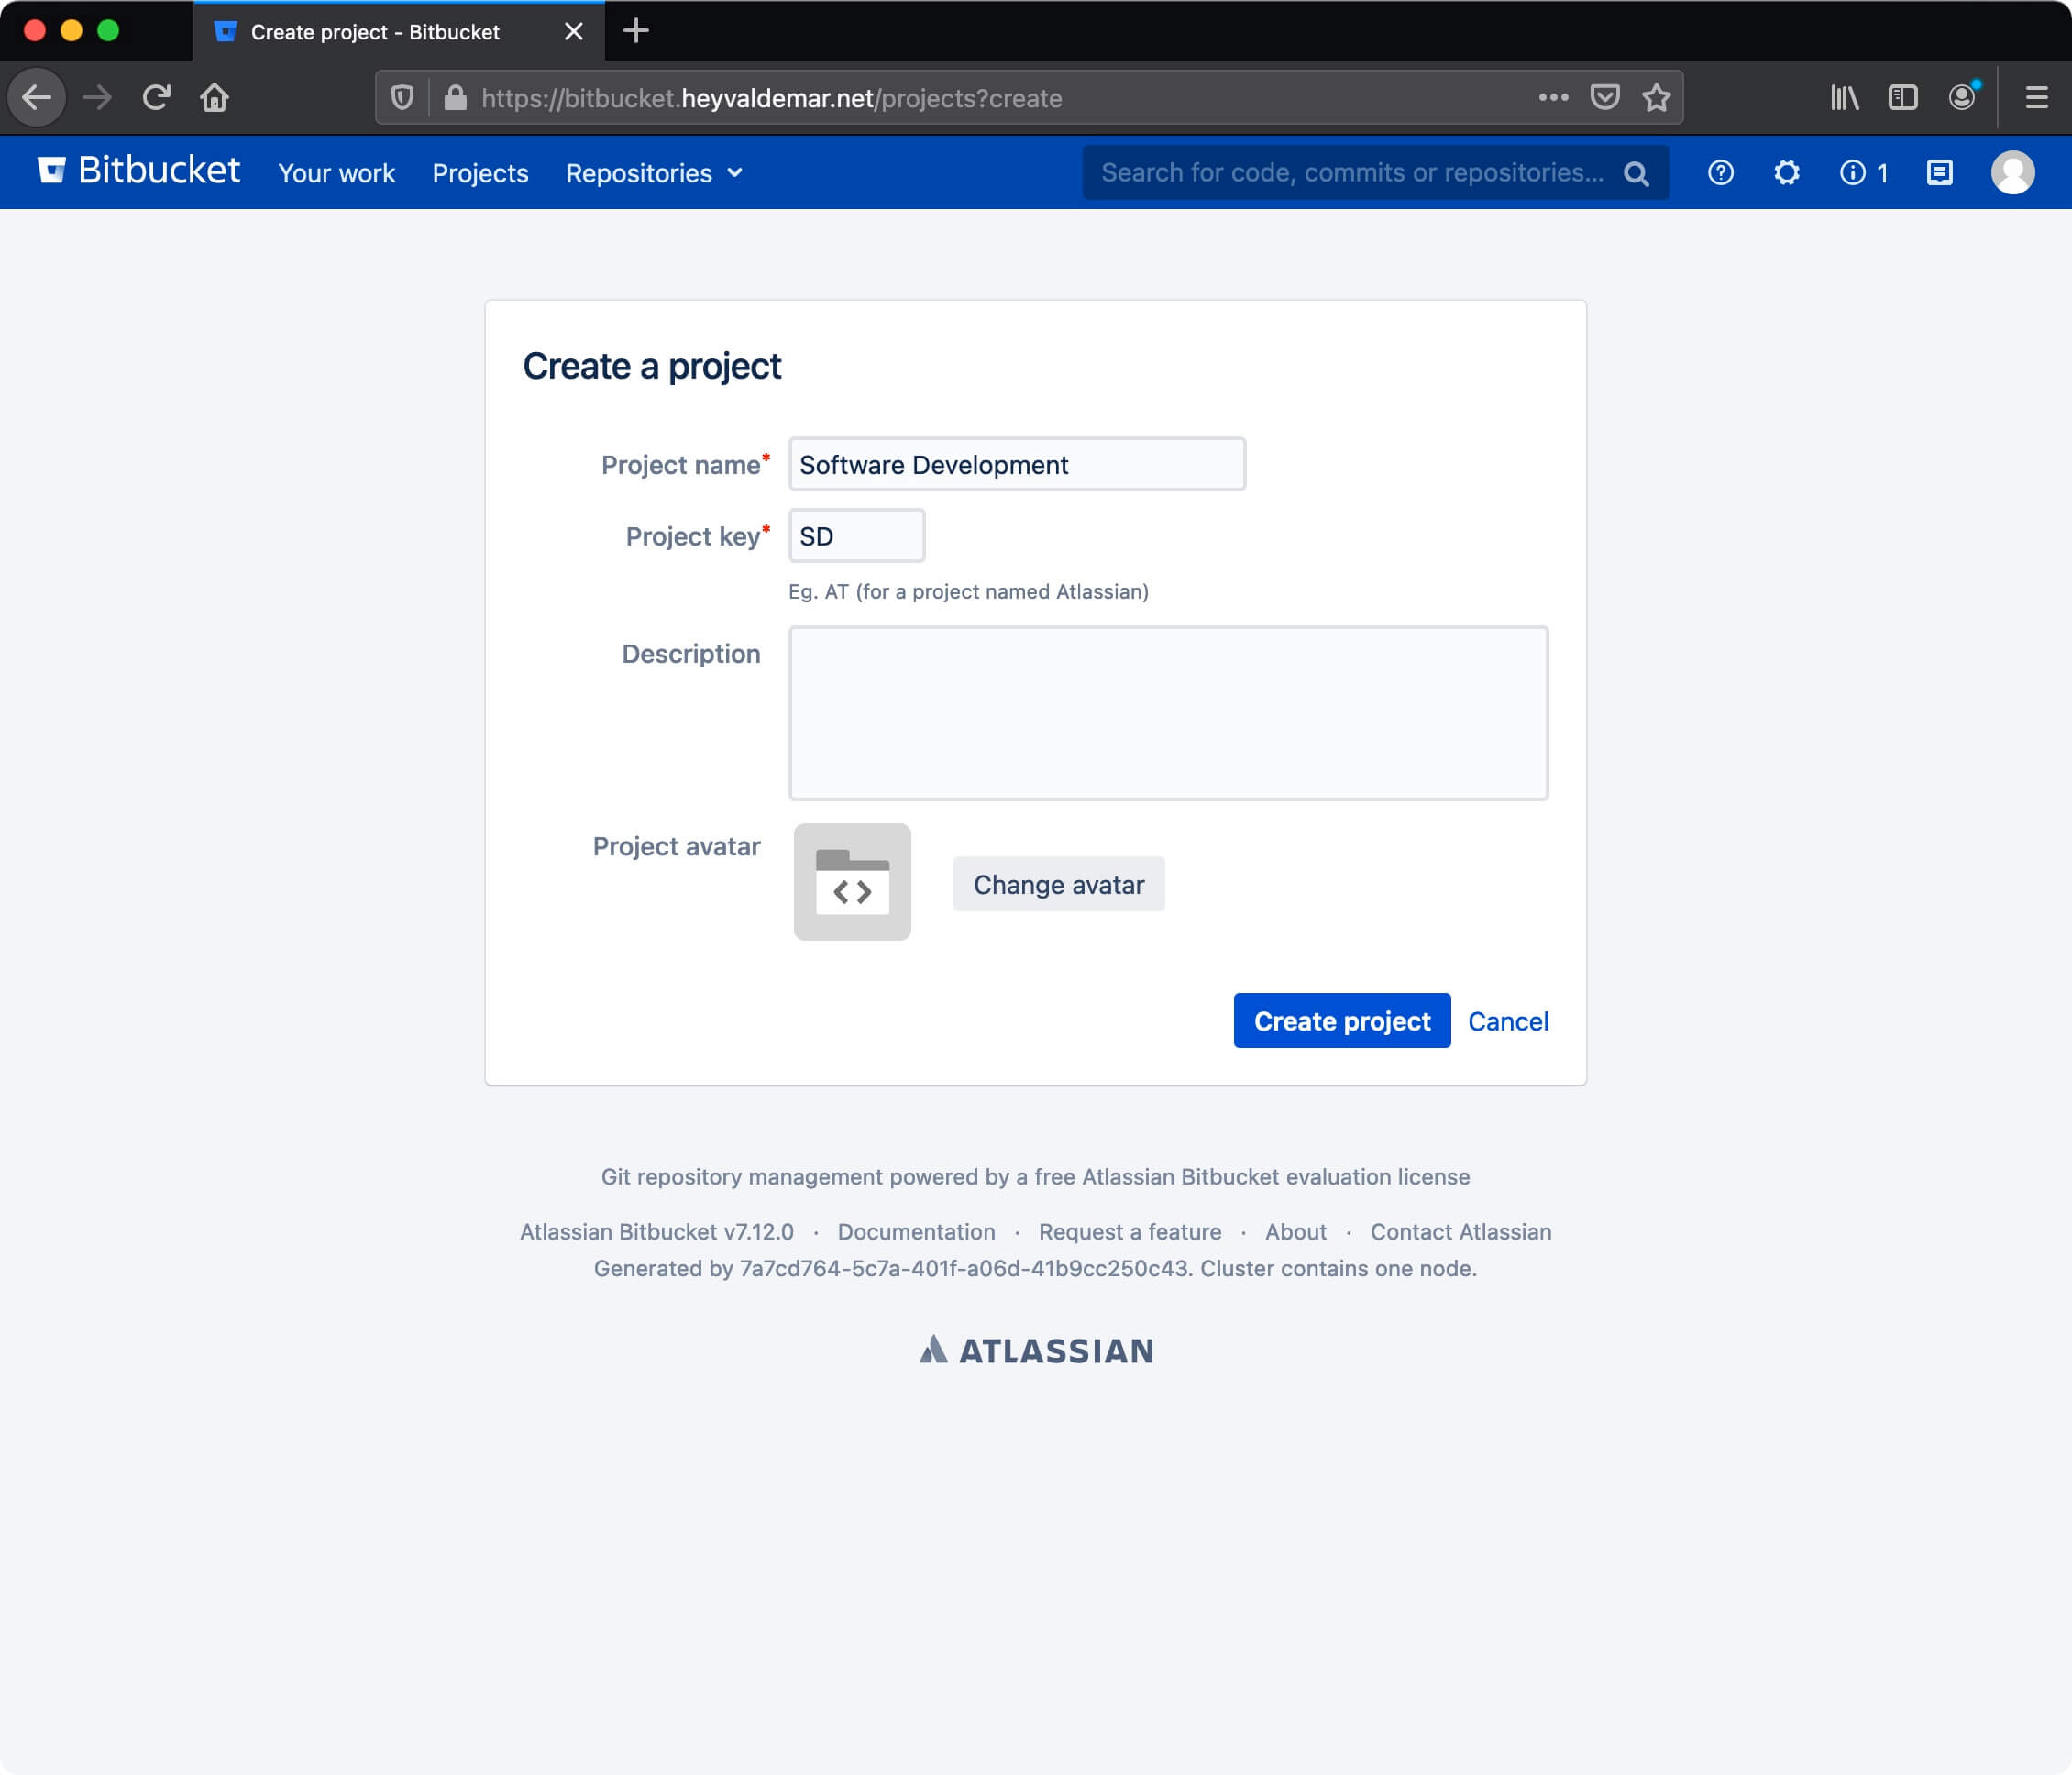
In the “Project name” field, specify the name for the project and click on the “Create project” button.
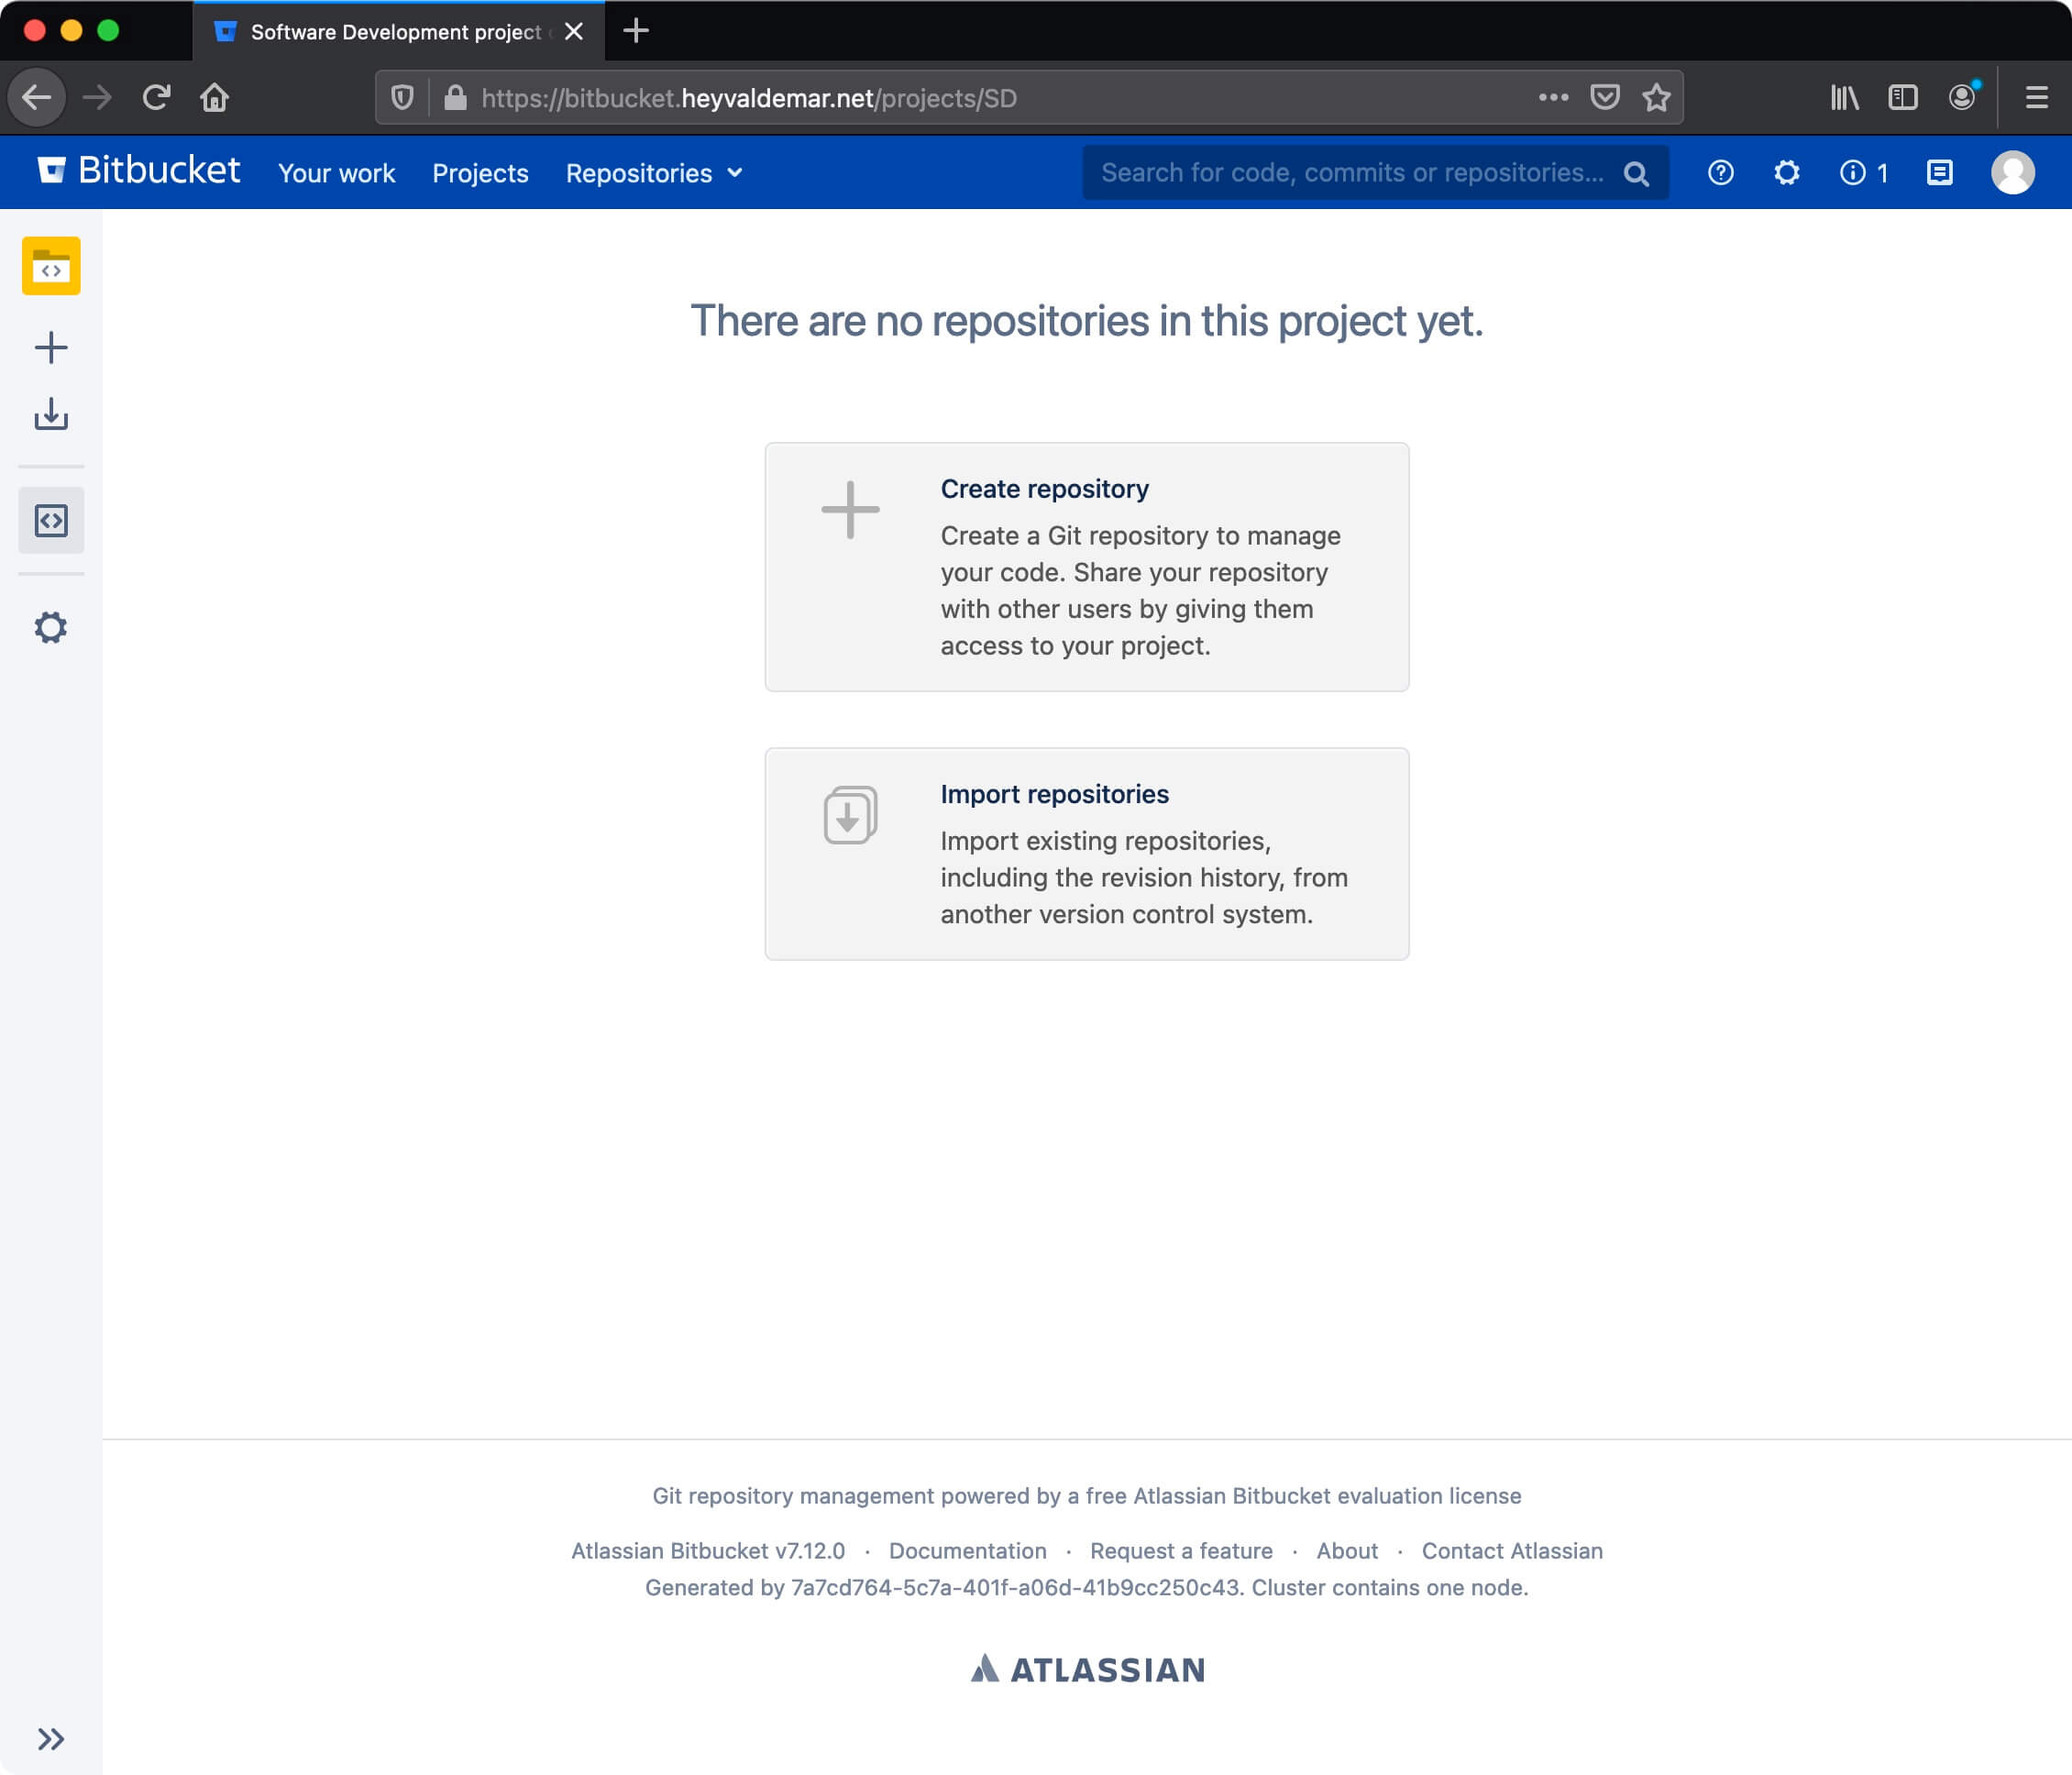
Click on “Create repository” to start creating a new repository.
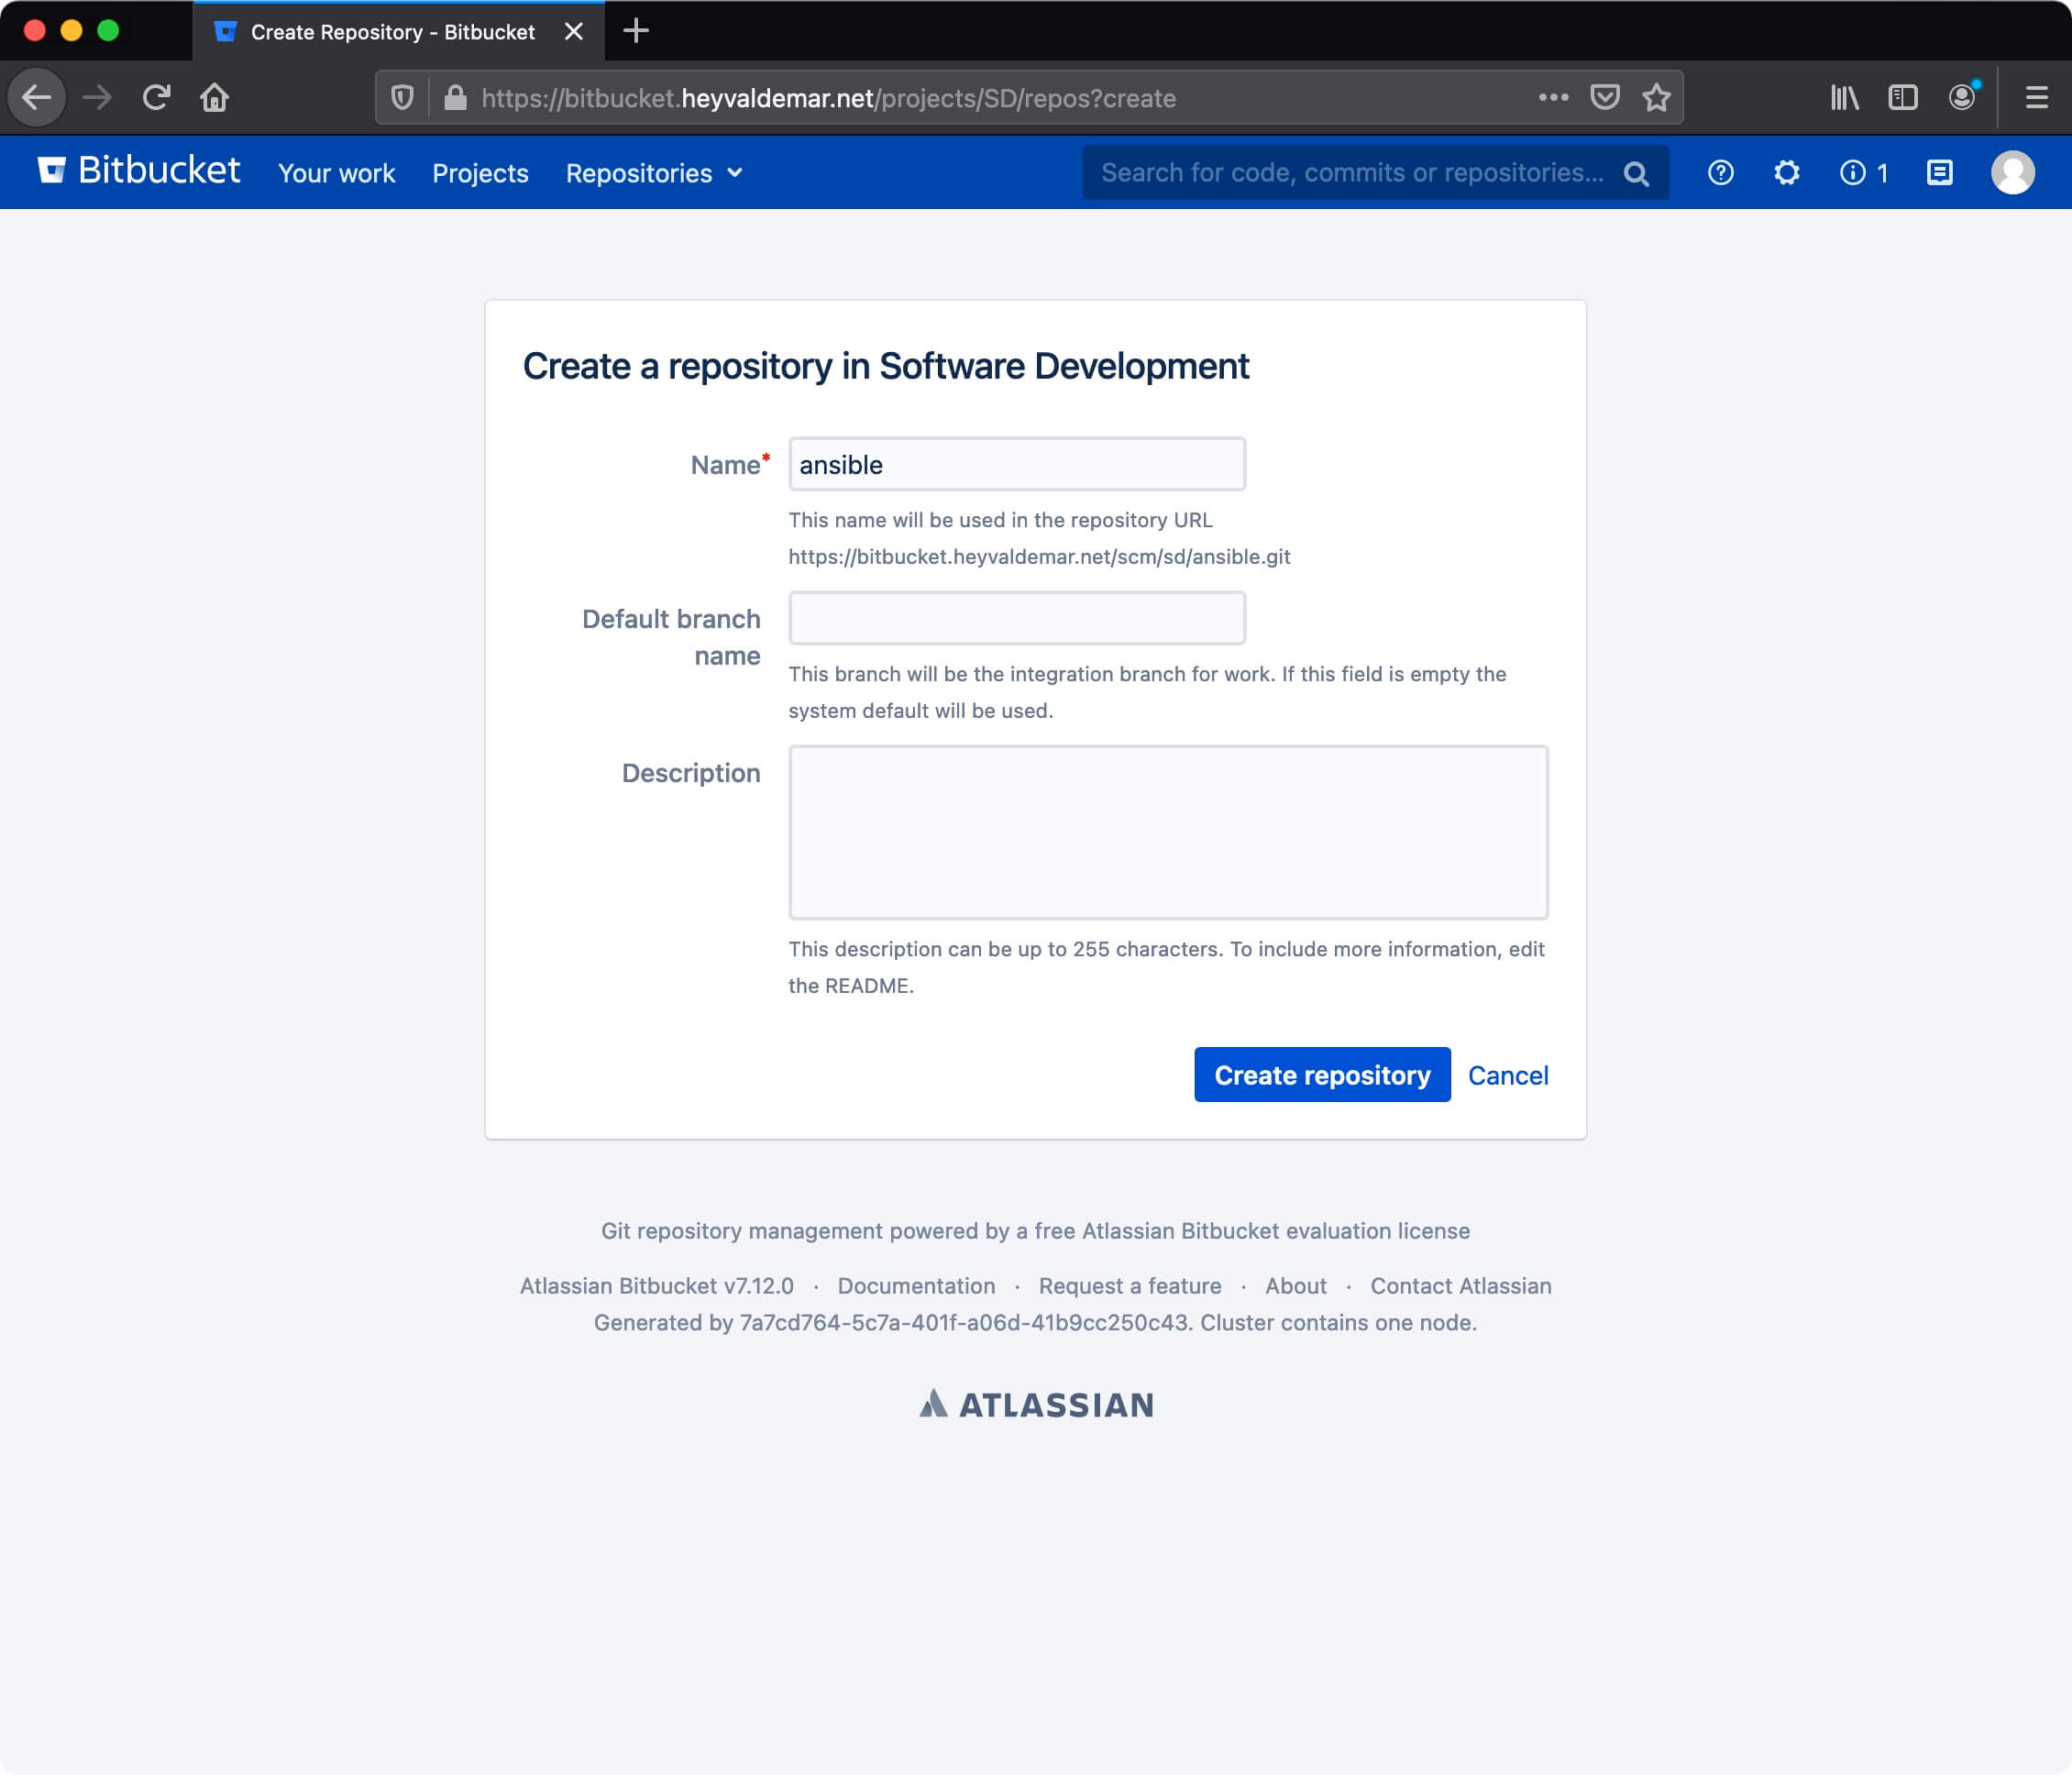
In the “Name” field, specify the name for the repository and click on the “Create repository” button.
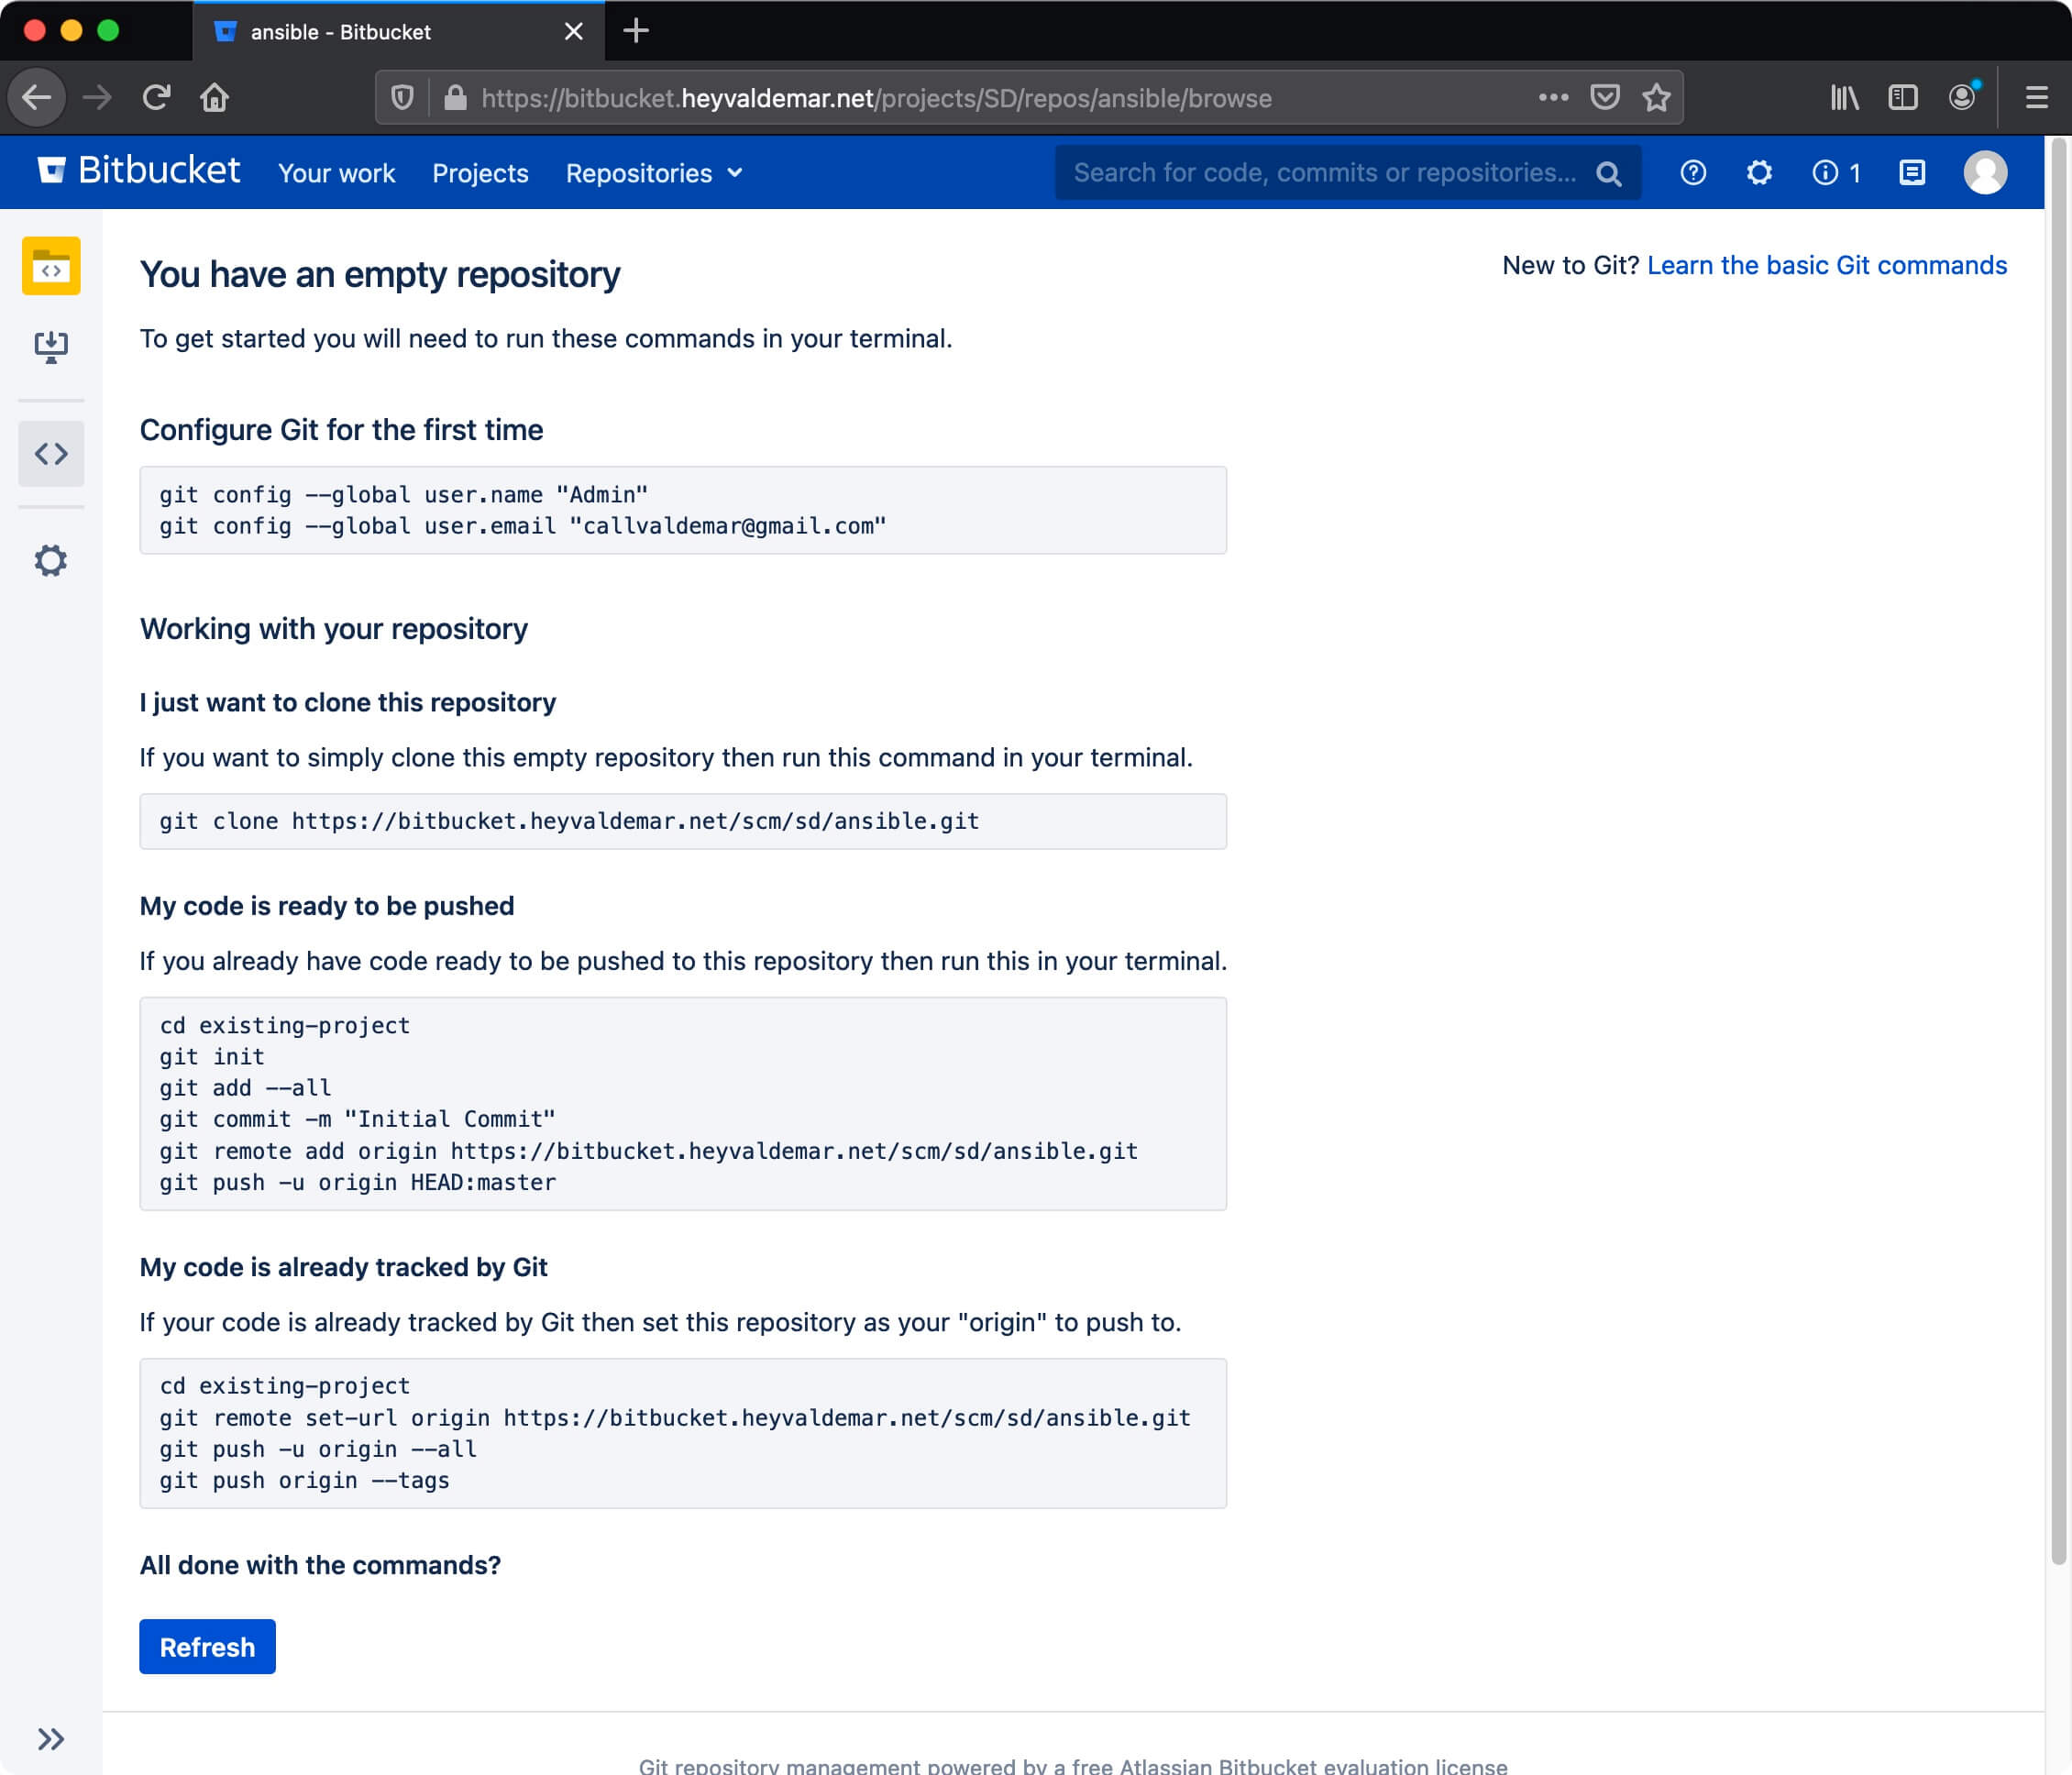
Everything is ready to use Bitbucket.
My Courses
🎓 Dive into my comprehensive IT courses designed for enthusiasts and professionals alike. Whether you’re looking to master Docker, conquer Kubernetes, or advance your DevOps skills, my courses provide a structured pathway to enhancing your technical prowess.
My Services
💼 Take a look at my service catalog and find out how we can make your technological life better. Whether it’s increasing the efficiency of your IT infrastructure, advancing your career, or expanding your technological horizons — I’m here to help you achieve your goals. From DevOps transformations to building gaming computers — let’s make your technology unparalleled!
Refill My Coffee Supplies
💖 PayPal
🏆 Patreon
💎 GitHub
🥤 BuyMeaCoffee
🍪 Ko-fi
Follow Me
🎬 YouTube
🐦 Twitter
🎨 Instagram
🐘 Mastodon
🧵 Threads
🎸 Facebook
🧊 Bluesky
🎥 TikTok
🐈 GitHub
Is this content AI-generated?
Nope! Each article is crafted by me, fueled by a deep passion for Docker and decades of IT expertise. While I employ AI to refine the grammar—ensuring the technical details are conveyed clearly—the insights, strategies, and guidance are purely my own. This approach may occasionally activate AI detectors, but you can be certain that the underlying knowledge and experiences are authentically mine.
