Install Rocket.Chat on Ubuntu Server
This article is for those looking for a detailed and straightforward guide on installing Rocket.Chat on Ubuntu Server.
Rocket.Chat is an open-source fully customizable communications platform developed in JavaScript for organizations with high standards of data protection.
In this guide, we will consider the case when you already have a server with the Ubuntu Server 22.04 LTS operating system installed on it.
You can read more about how to install Ubuntu Server 22.04 LTS in my guide “Install Ubuntu Server 22.04 LTS”.
In addition, OpenSSH must be installed on the server, and port 22 must be open in order to be able to connect to the server using the SSH protocol.
To install OpenSSH on a server, you can use the command:
sudo apt install openssh-serverIf you plan to connect to the server using the Windows operating system, you can use PuTTY or MobaXterm.
This guide describes how to connect to a server using the iTerm2 terminal emulator installed on the macOS operating system.
Please note that you will need to open the following TCP ports to access your server:
- TCP port 80 - to receive a free cryptographic certificate through the Let’s Encrypt CA.
- TCP port 443 - to access the Rocket.Chat web interface.
We connect to the server on which you plan to install Rocket.Chat.
To obtain and subsequently renew a free SSL certificate, we will use the Let’s Encrypt certification authority, as well as the Certbot software client, which is designed to make it as easy as possible to obtain and renew a certificate through the Let’s Encrypt certification authority.
Please note that this tutorial will use MongoDB as the database management system and Nginx as the webserver.
To install MongoDB, you need to import the MongoDB public key and add a new repository.
Import the MongoDB public key using the command:
wget -qO - https://www.mongodb.org/static/pgp/server-5.0.asc | sudo apt-key add -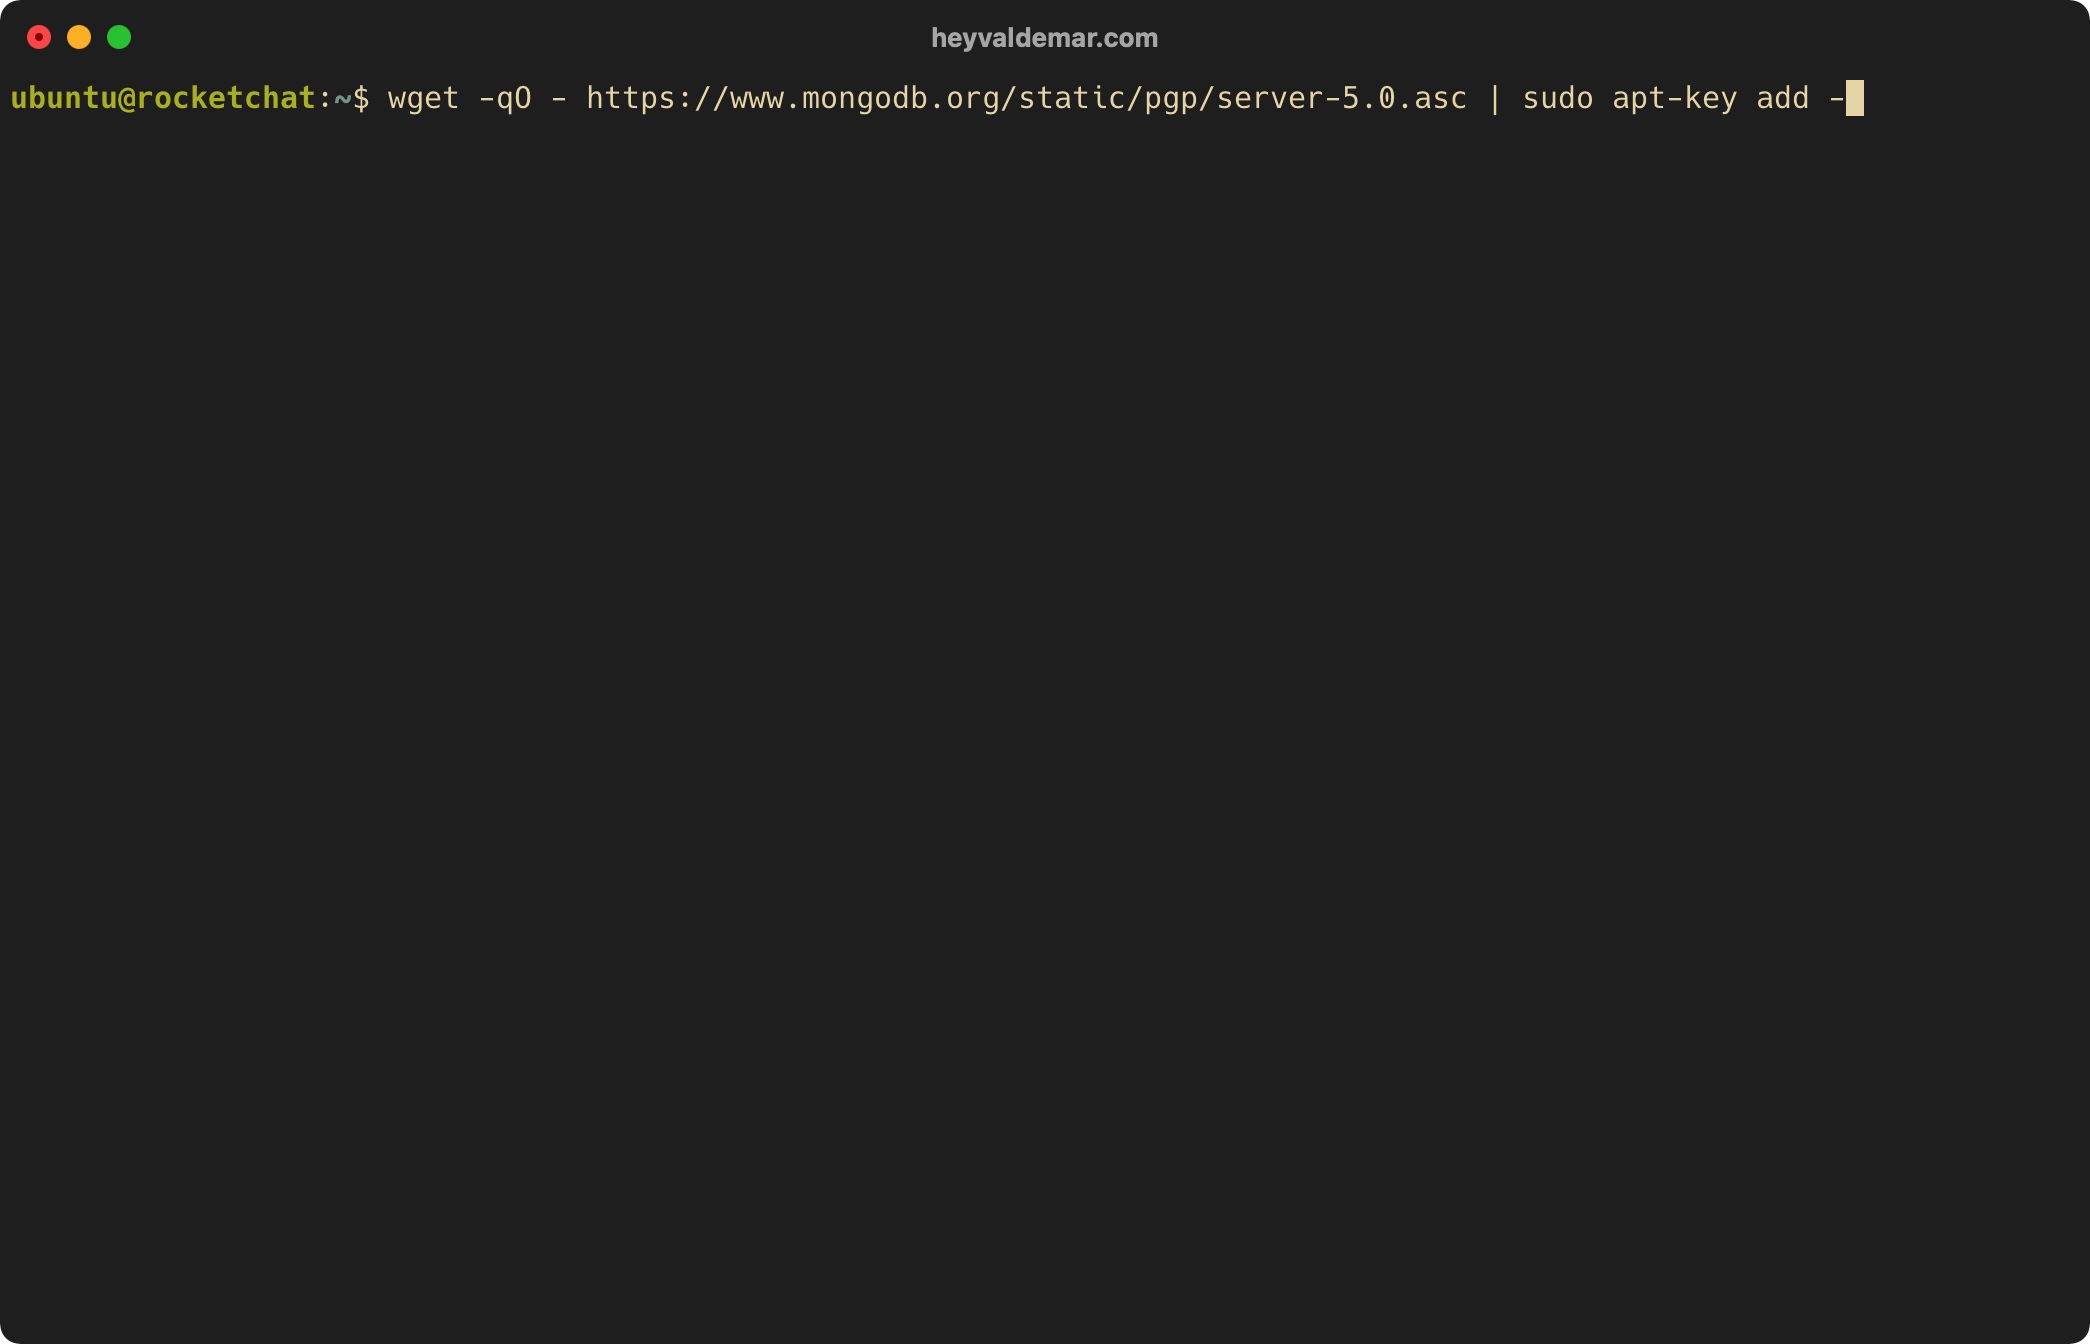
Let’s add the MongoDB repository using the command:
echo "deb [ arch=amd64,arm64 ] https://repo.mongodb.org/apt/ubuntu focal/mongodb-org/5.0 multiverse" | sudo tee /etc/apt/sources.list.d/mongodb-org-5.0.list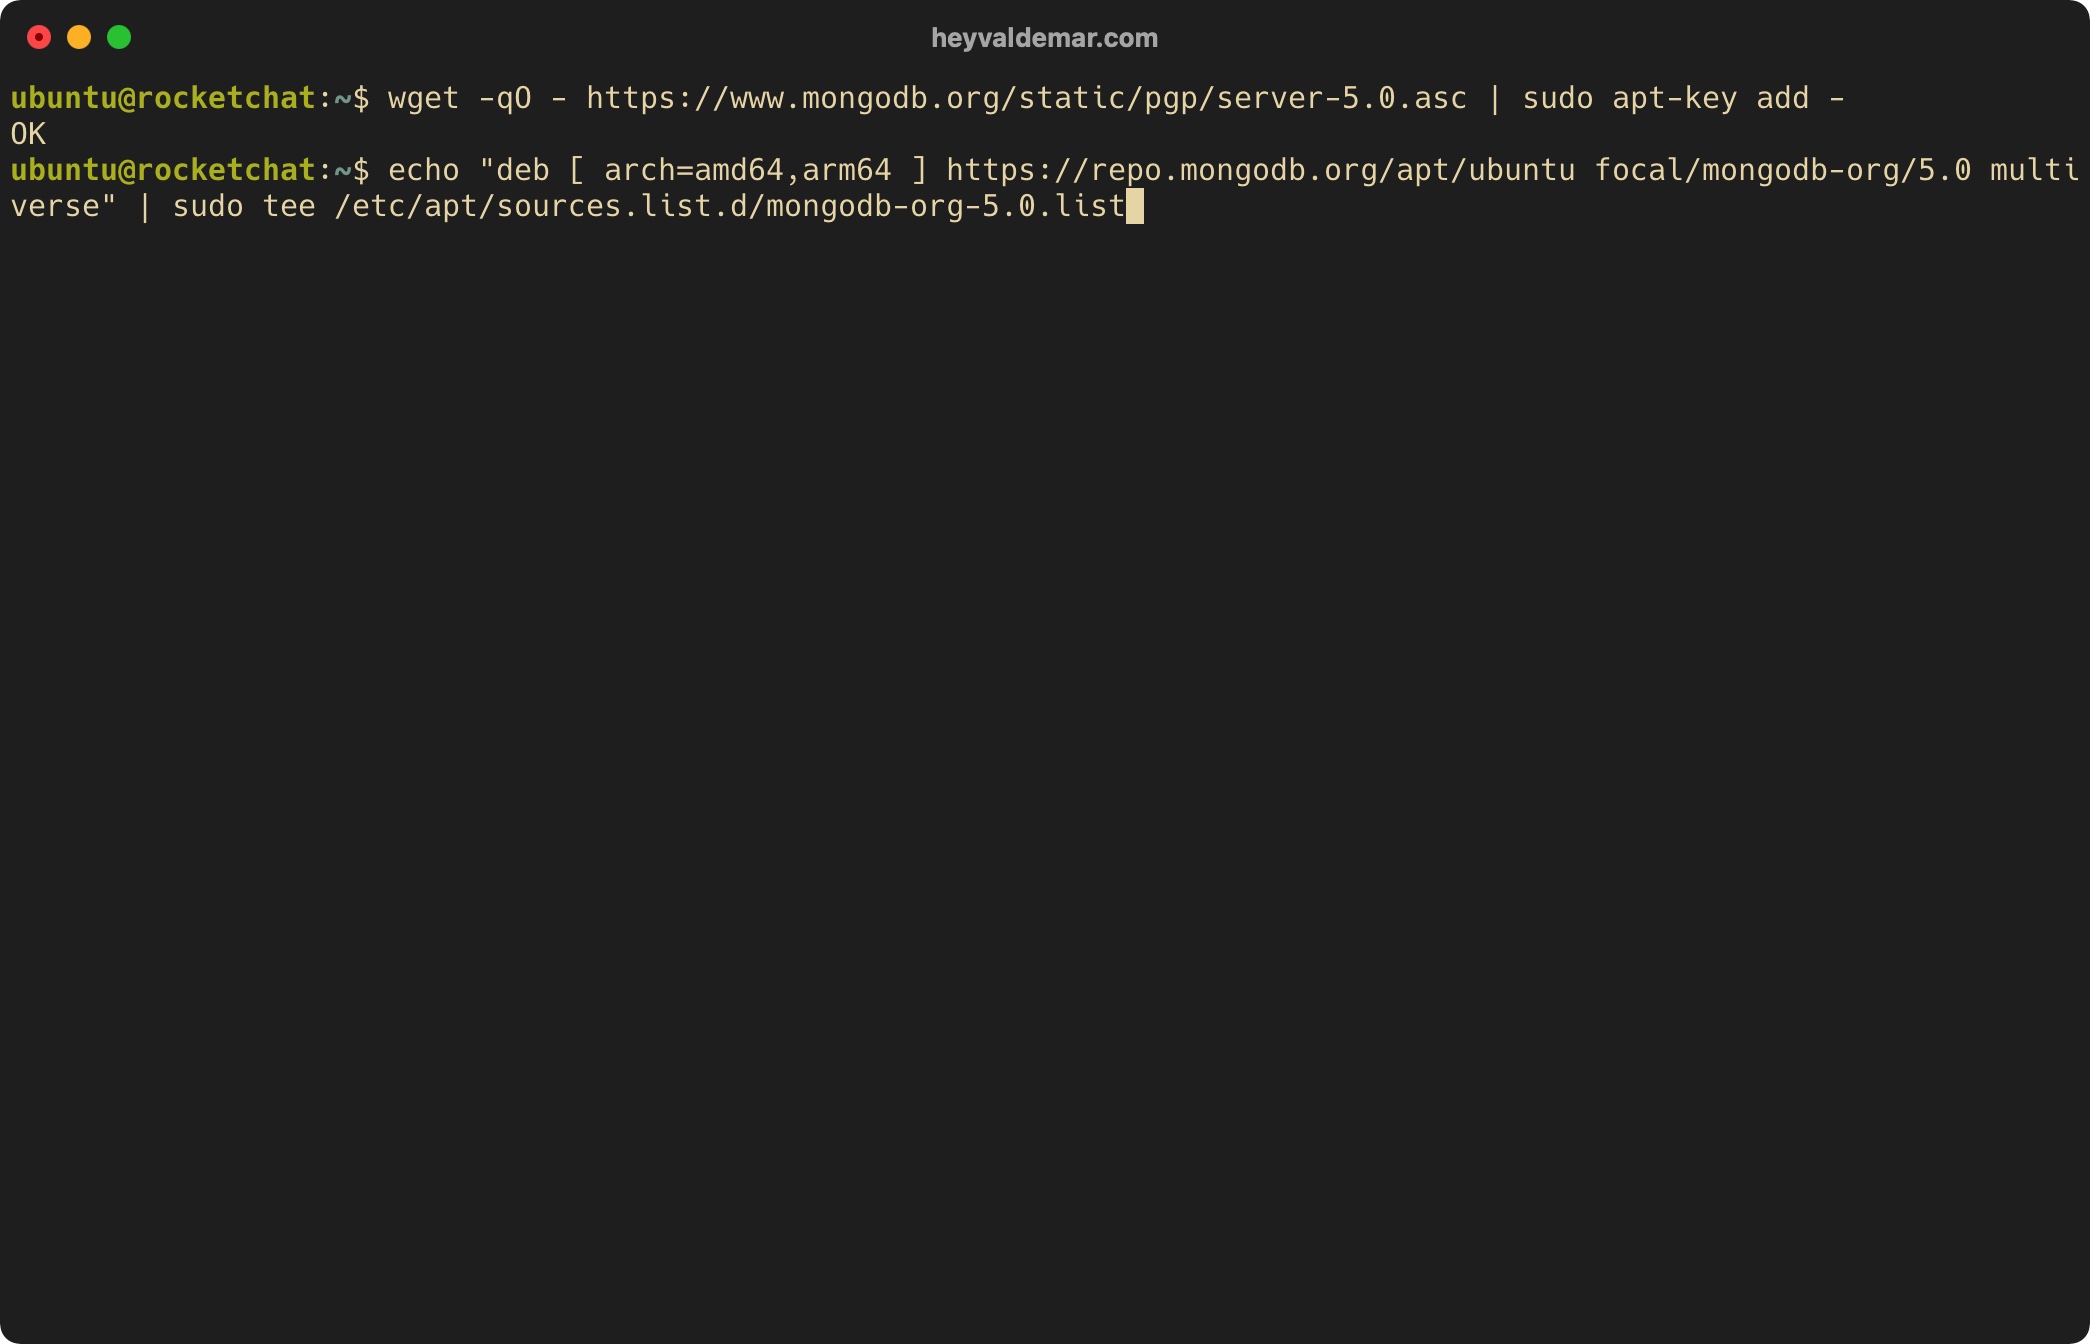
Update the local package index to the latest changes in the repositories using the command:
sudo apt update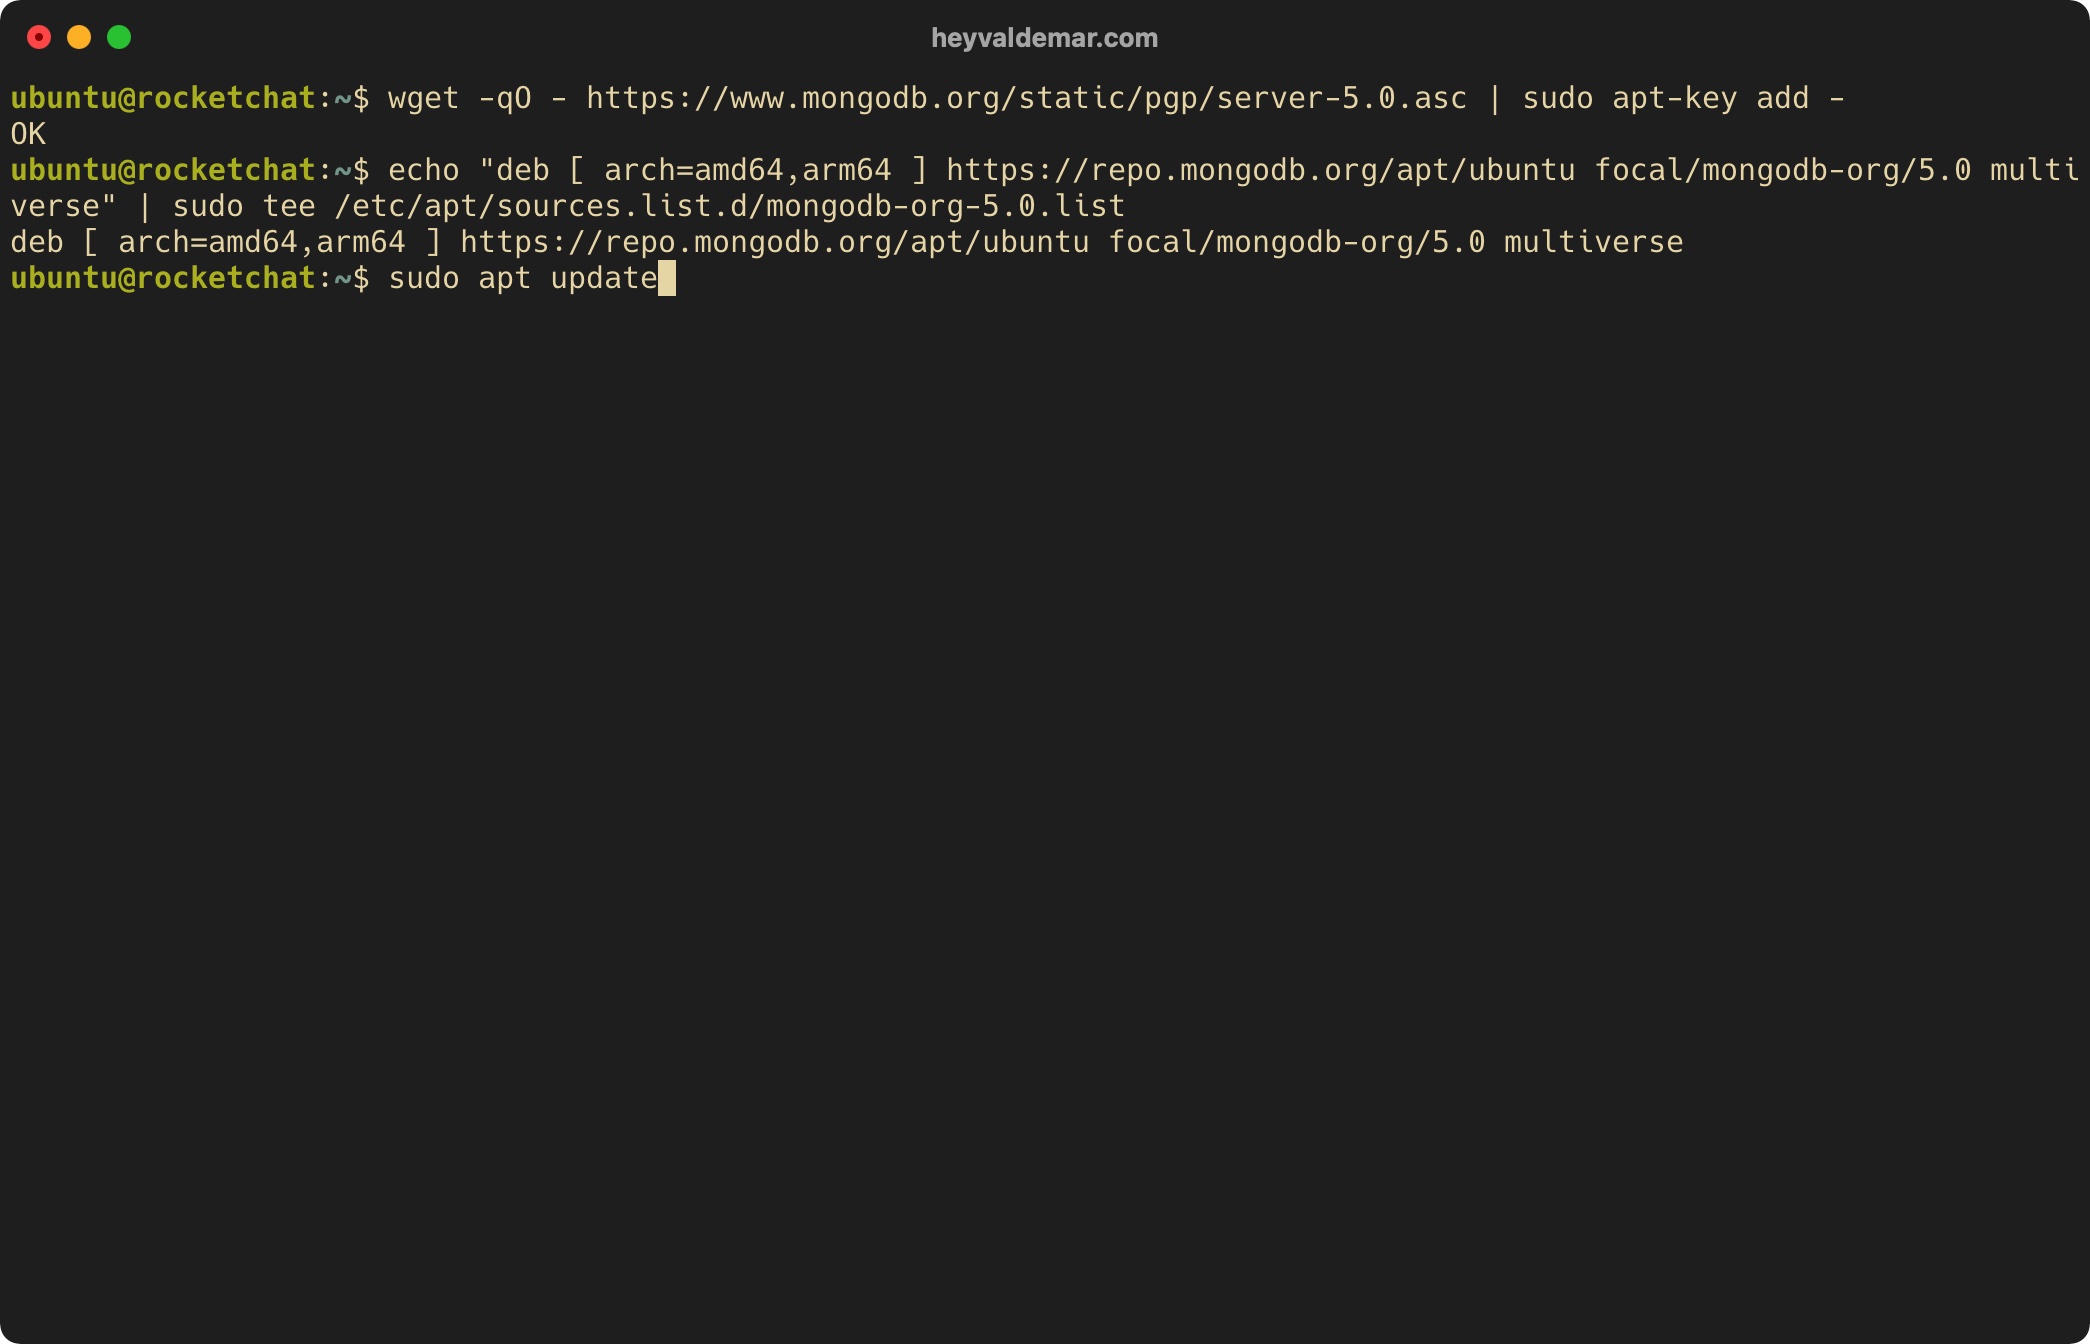
Let’s make it possible to install Node.js through the package manager using the command:
curl -sL https://deb.nodesource.com/setup_14.x | sudo bash -
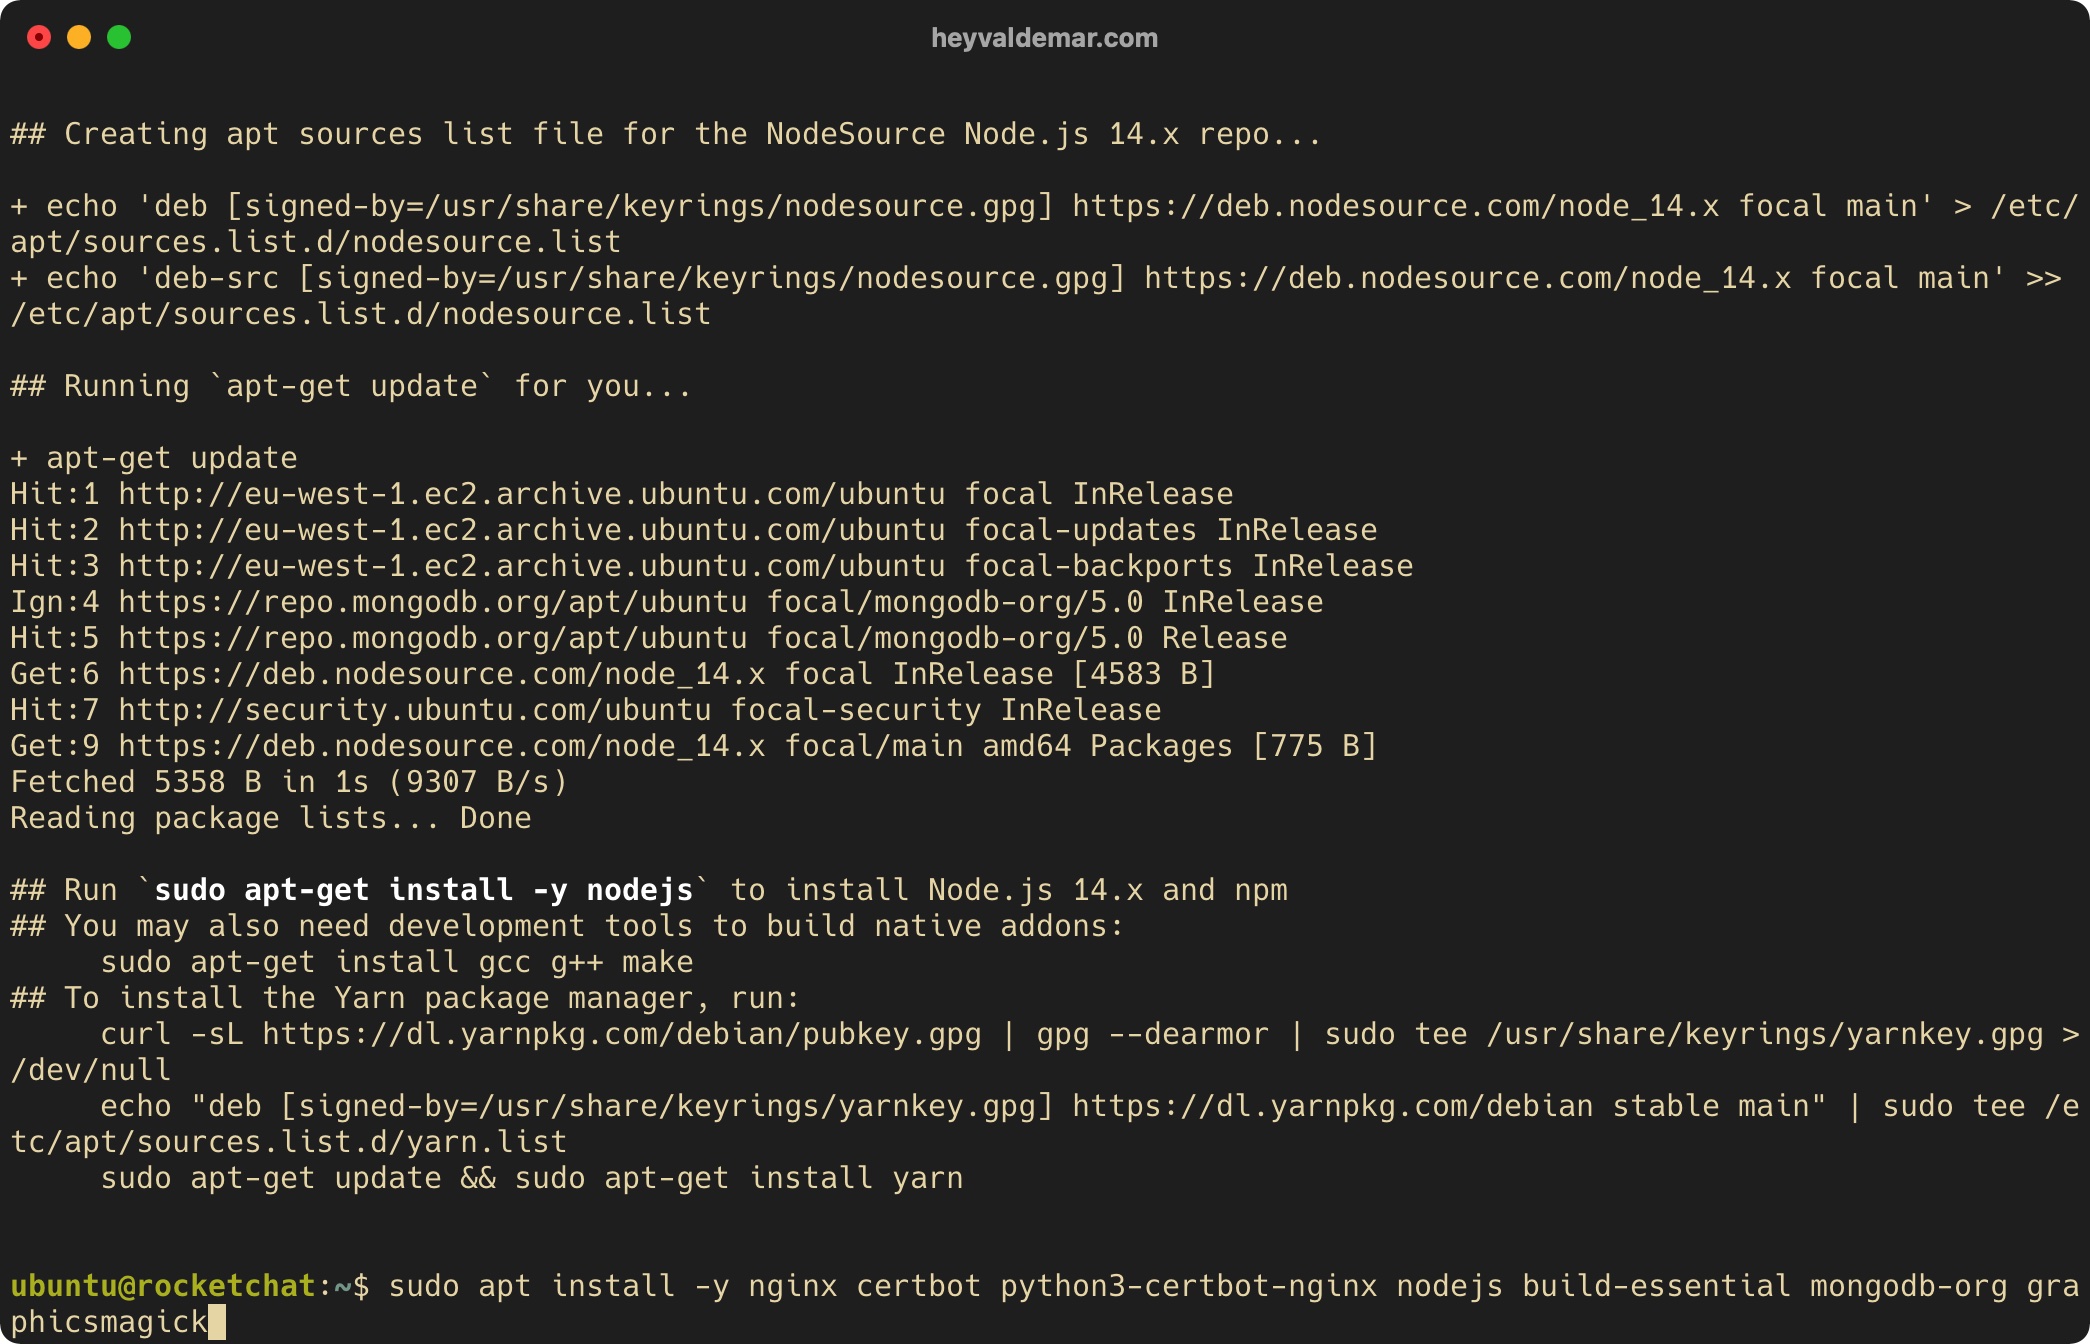
Now let’s install the packages necessary for Rocket.Chat to work using the command:
sudo apt install -y nginx certbot python3-certbot-nginx nodejs build-essential mongodb-org graphicsmagickPlease note that this tutorial will use MongoDB as the database management system and Nginx as the web server.
For Rocket.Chat to work correctly, it is recommended to use Node.js version 14.18.3.
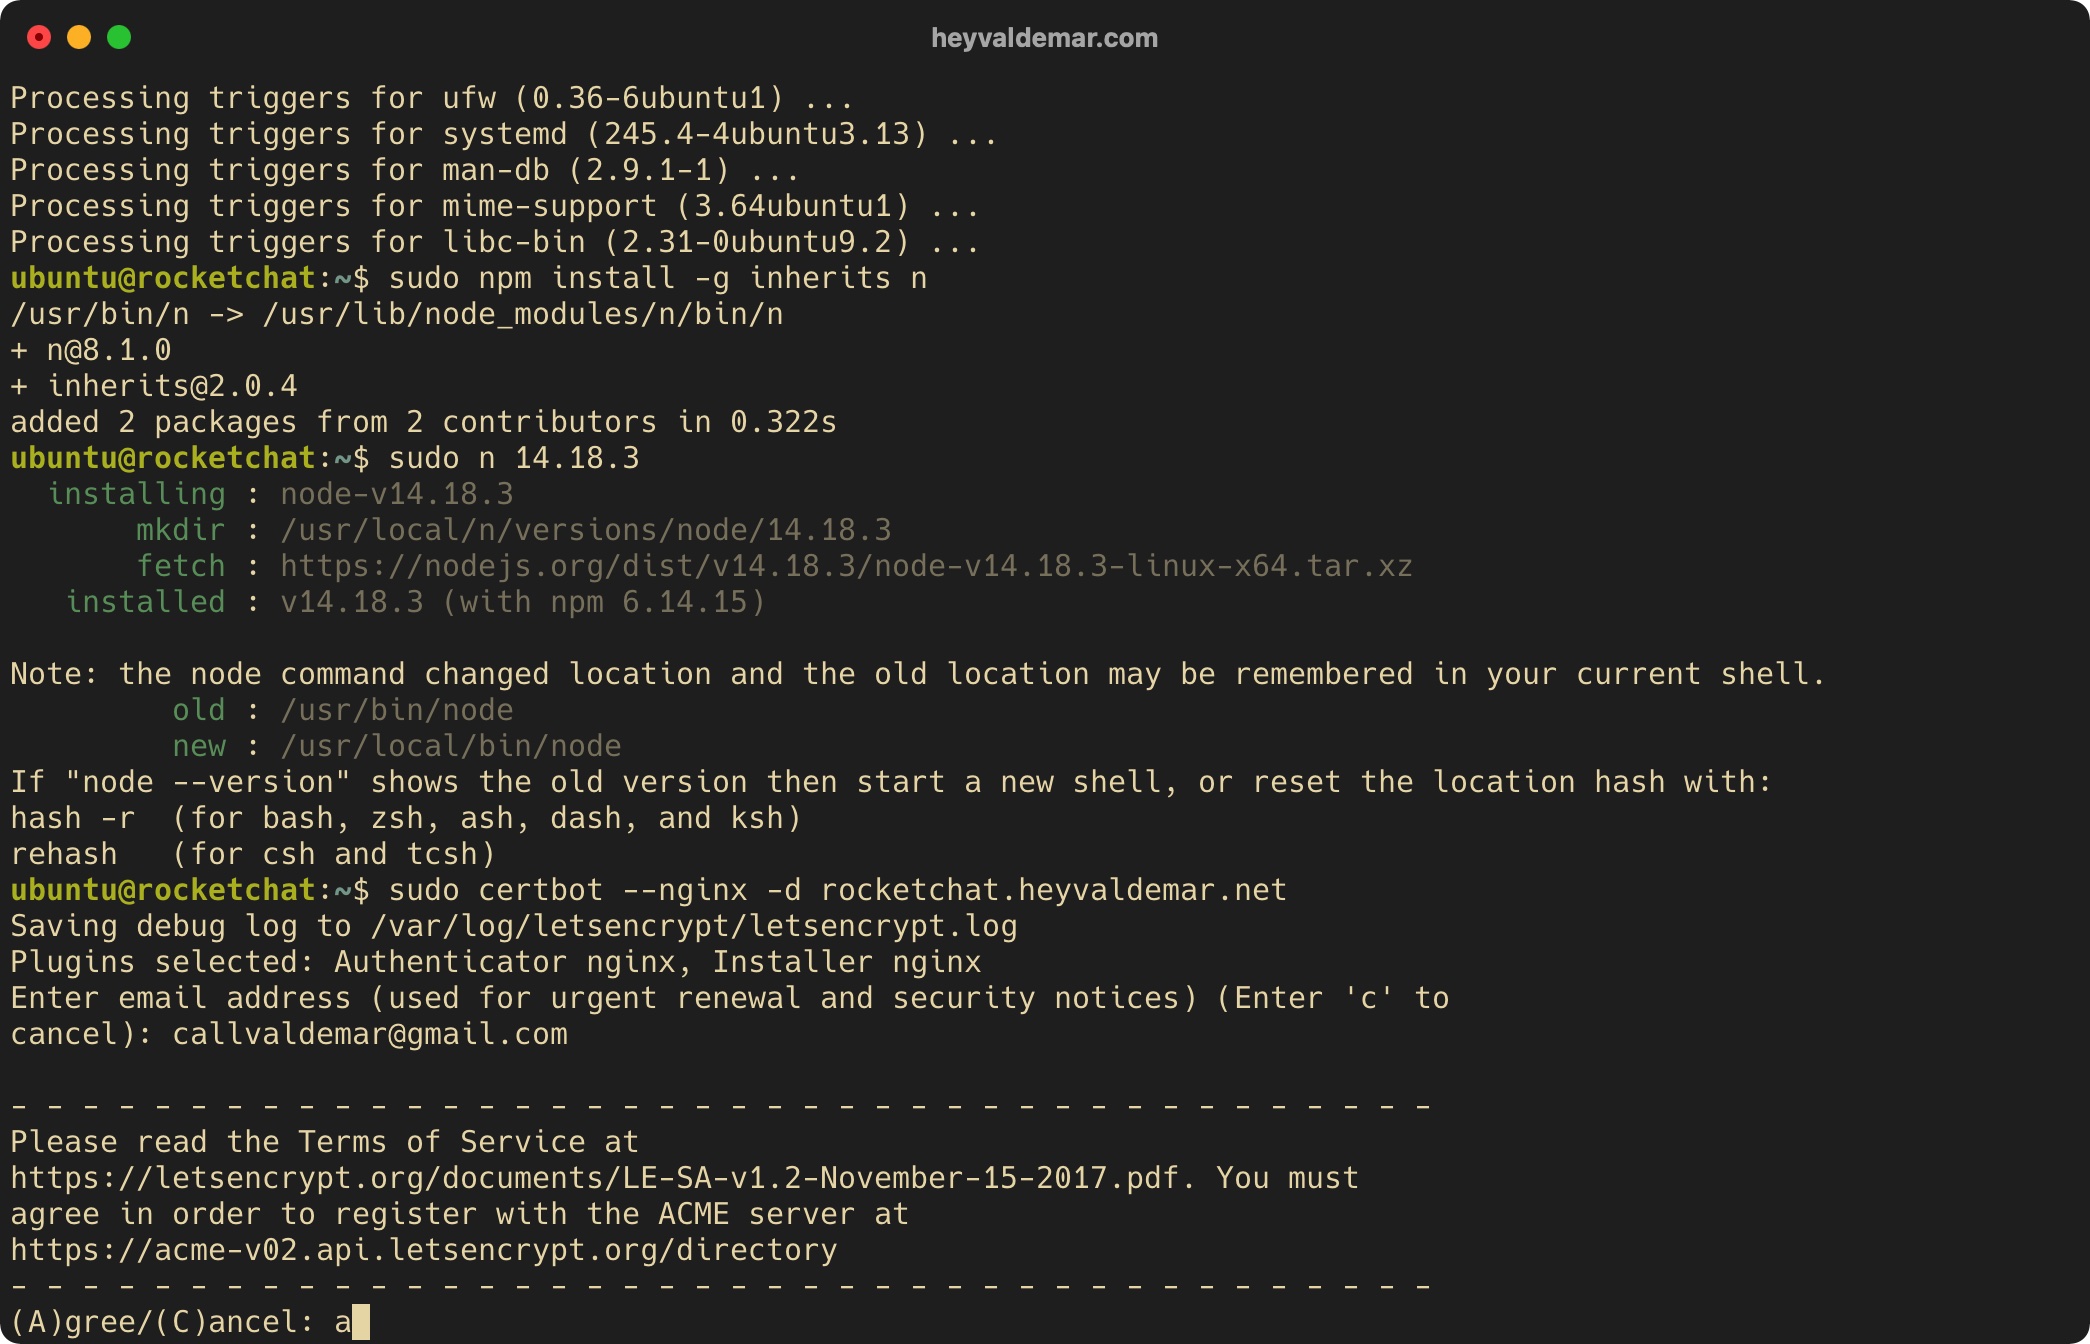
Let’s install a tool called “n” so that we can change the version of Node.js with the command:
sudo npm install -g inherits n
Next, install Node.js version 14.18.3 using the command:
sudo n 14.18.3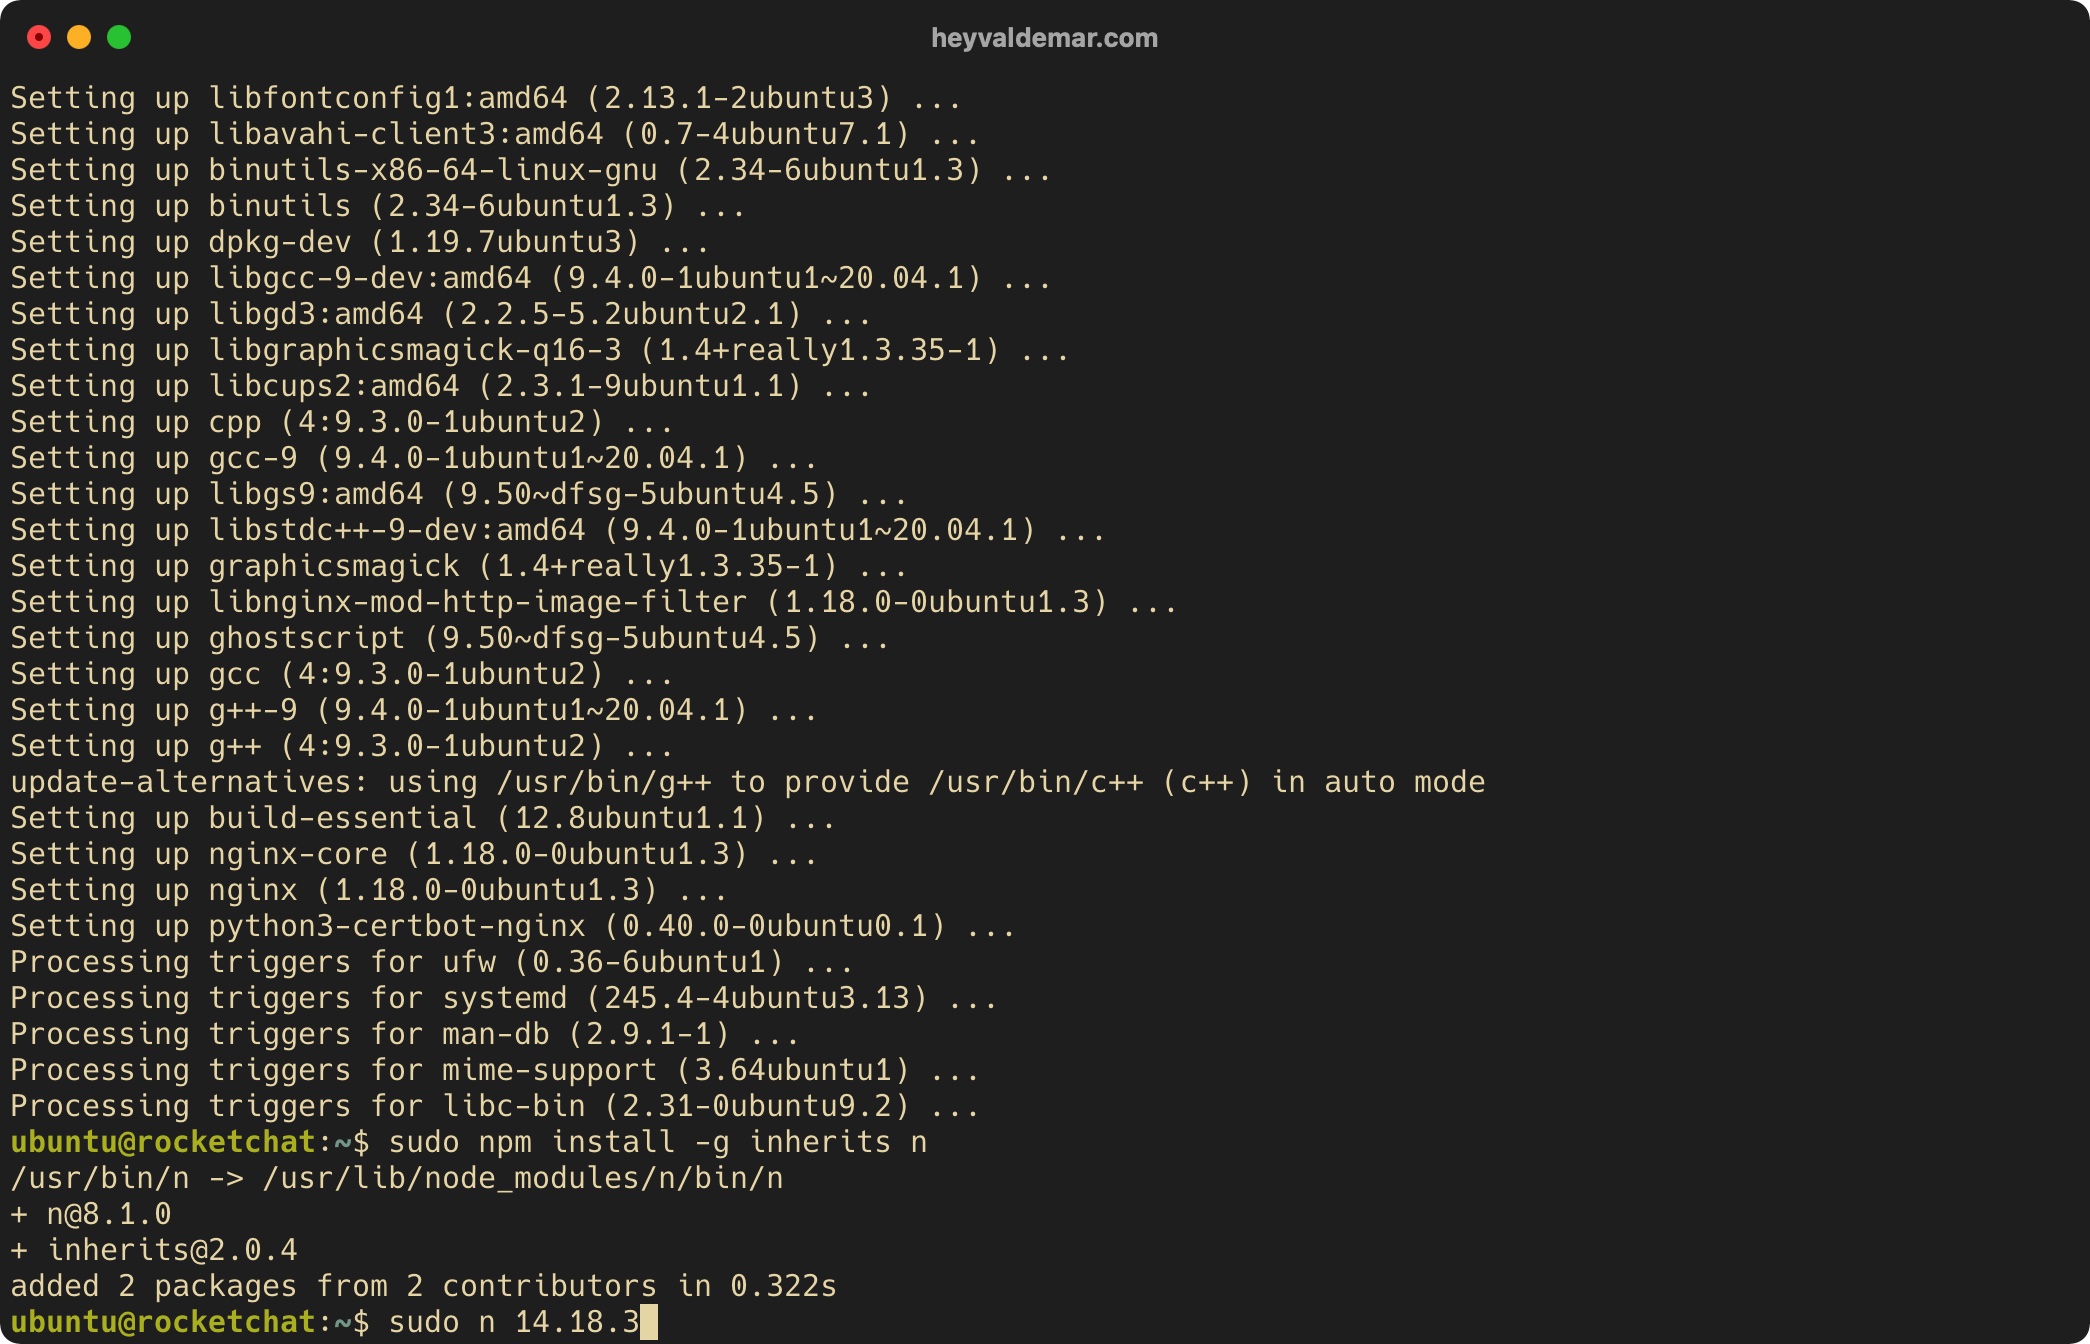
Now, in order to increase the security level of the webserver, it is necessary to obtain a cryptographic certificate for the domain or subdomain, through which the Multicraft control panel will be accessible from the Internet.
To obtain and subsequently renew a free SSL certificate, we will use the Let’s Encrypt certification authority, as well as the Certbot software client, which is designed to make it as easy as possible to obtain and renew a certificate through the Let’s Encrypt certification authority.
In this tutorial, the rocketchat.heyvaldemar.net subdomain will be used to access Rocket.Chat from the Internet. You will need to specify your domain or subdomain by which your Rocket.Chat will be available from the Internet.
Request a cryptographic certificate using the command:
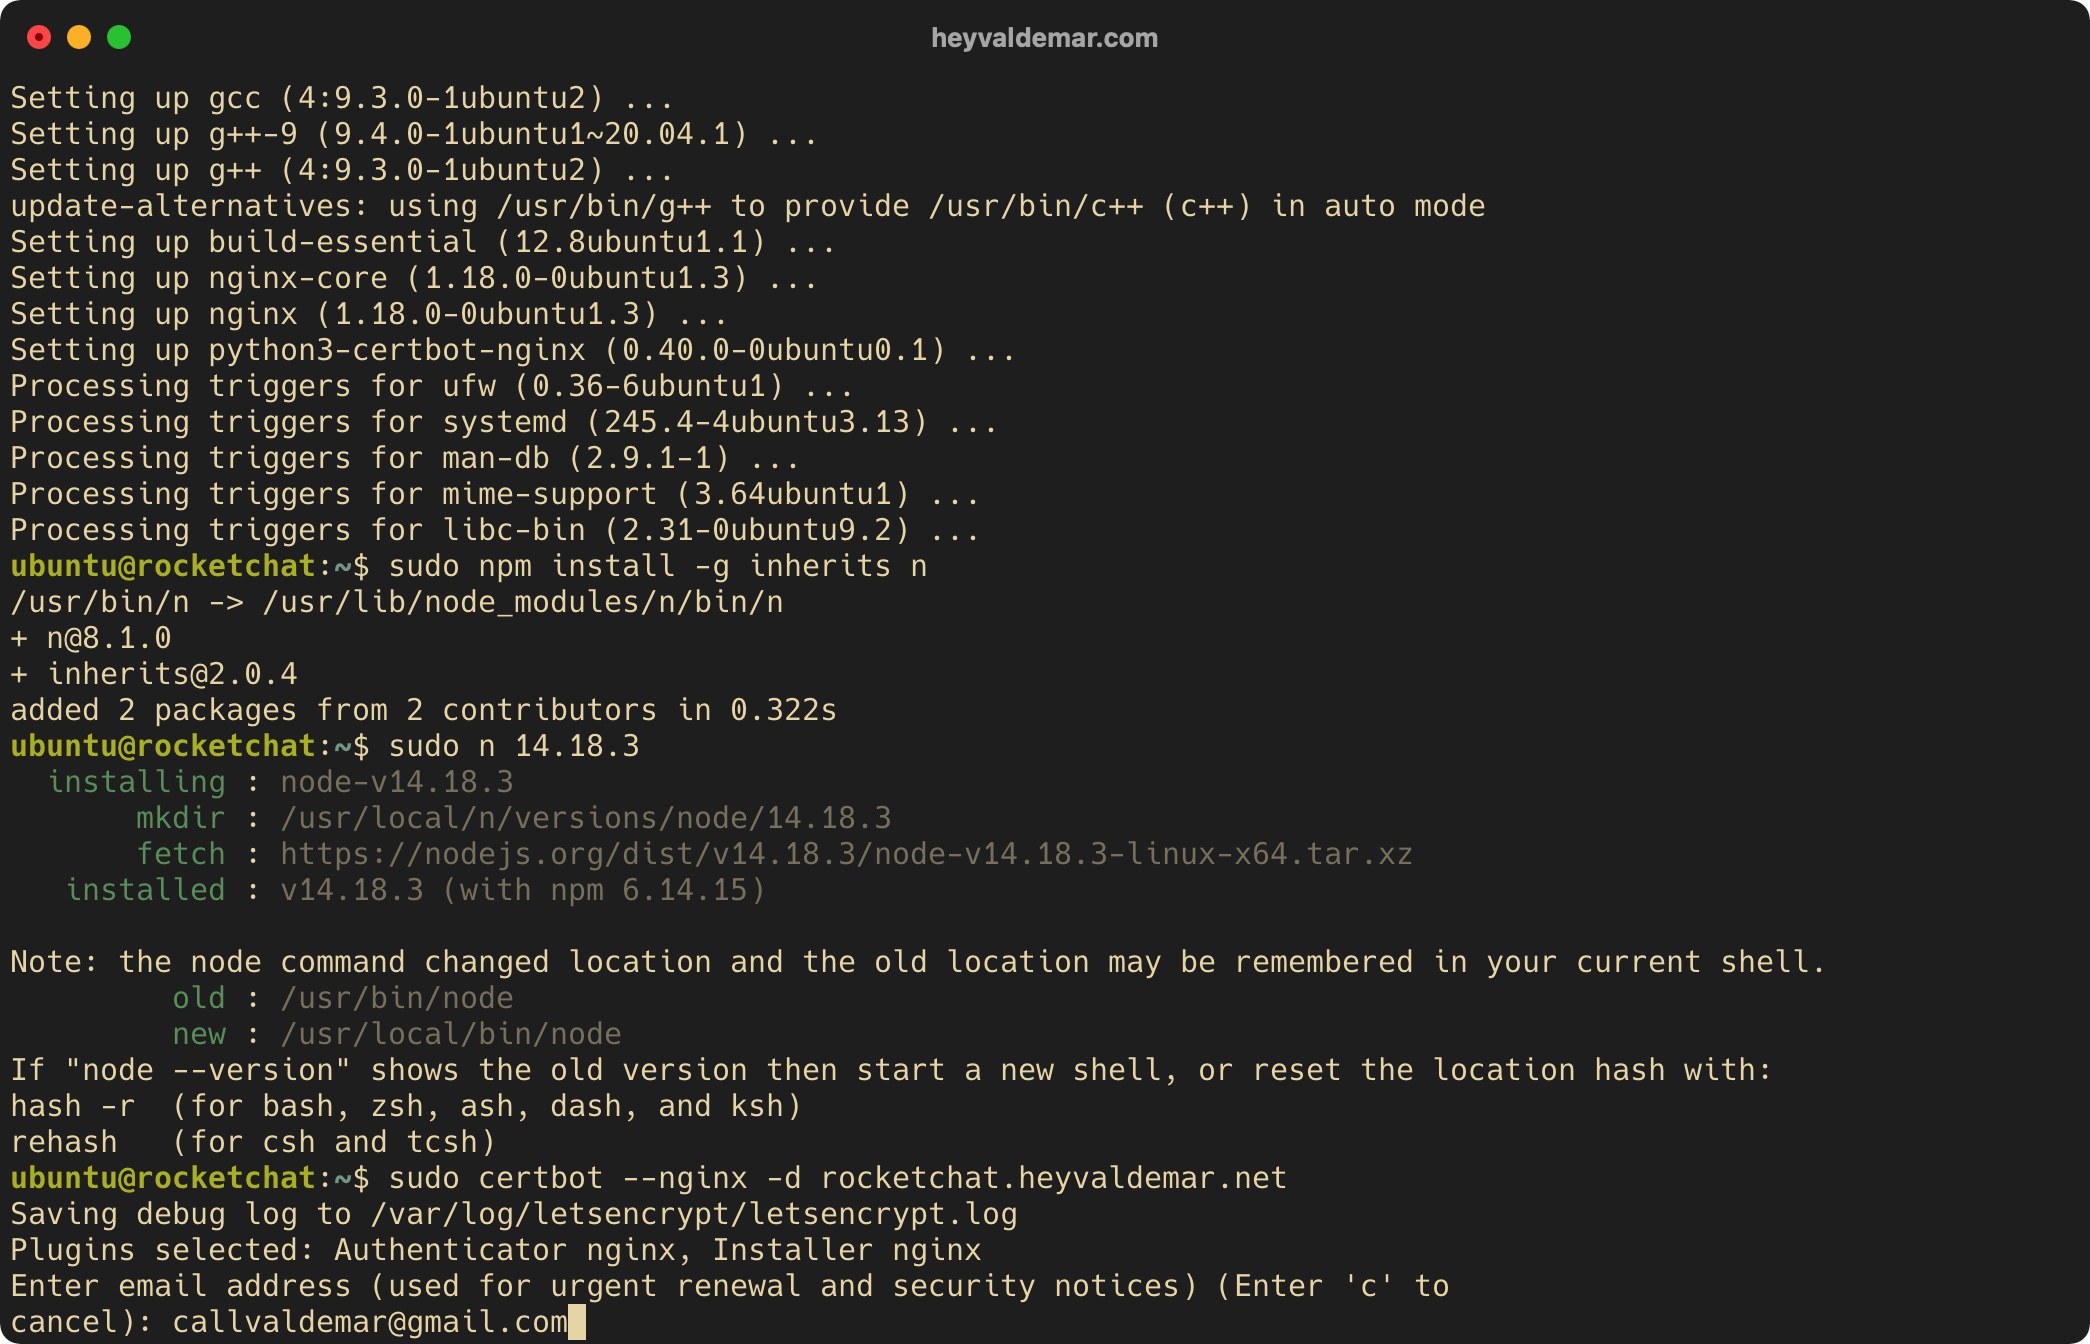
sudo certbot --nginx -d rocketchat.heyvaldemar.net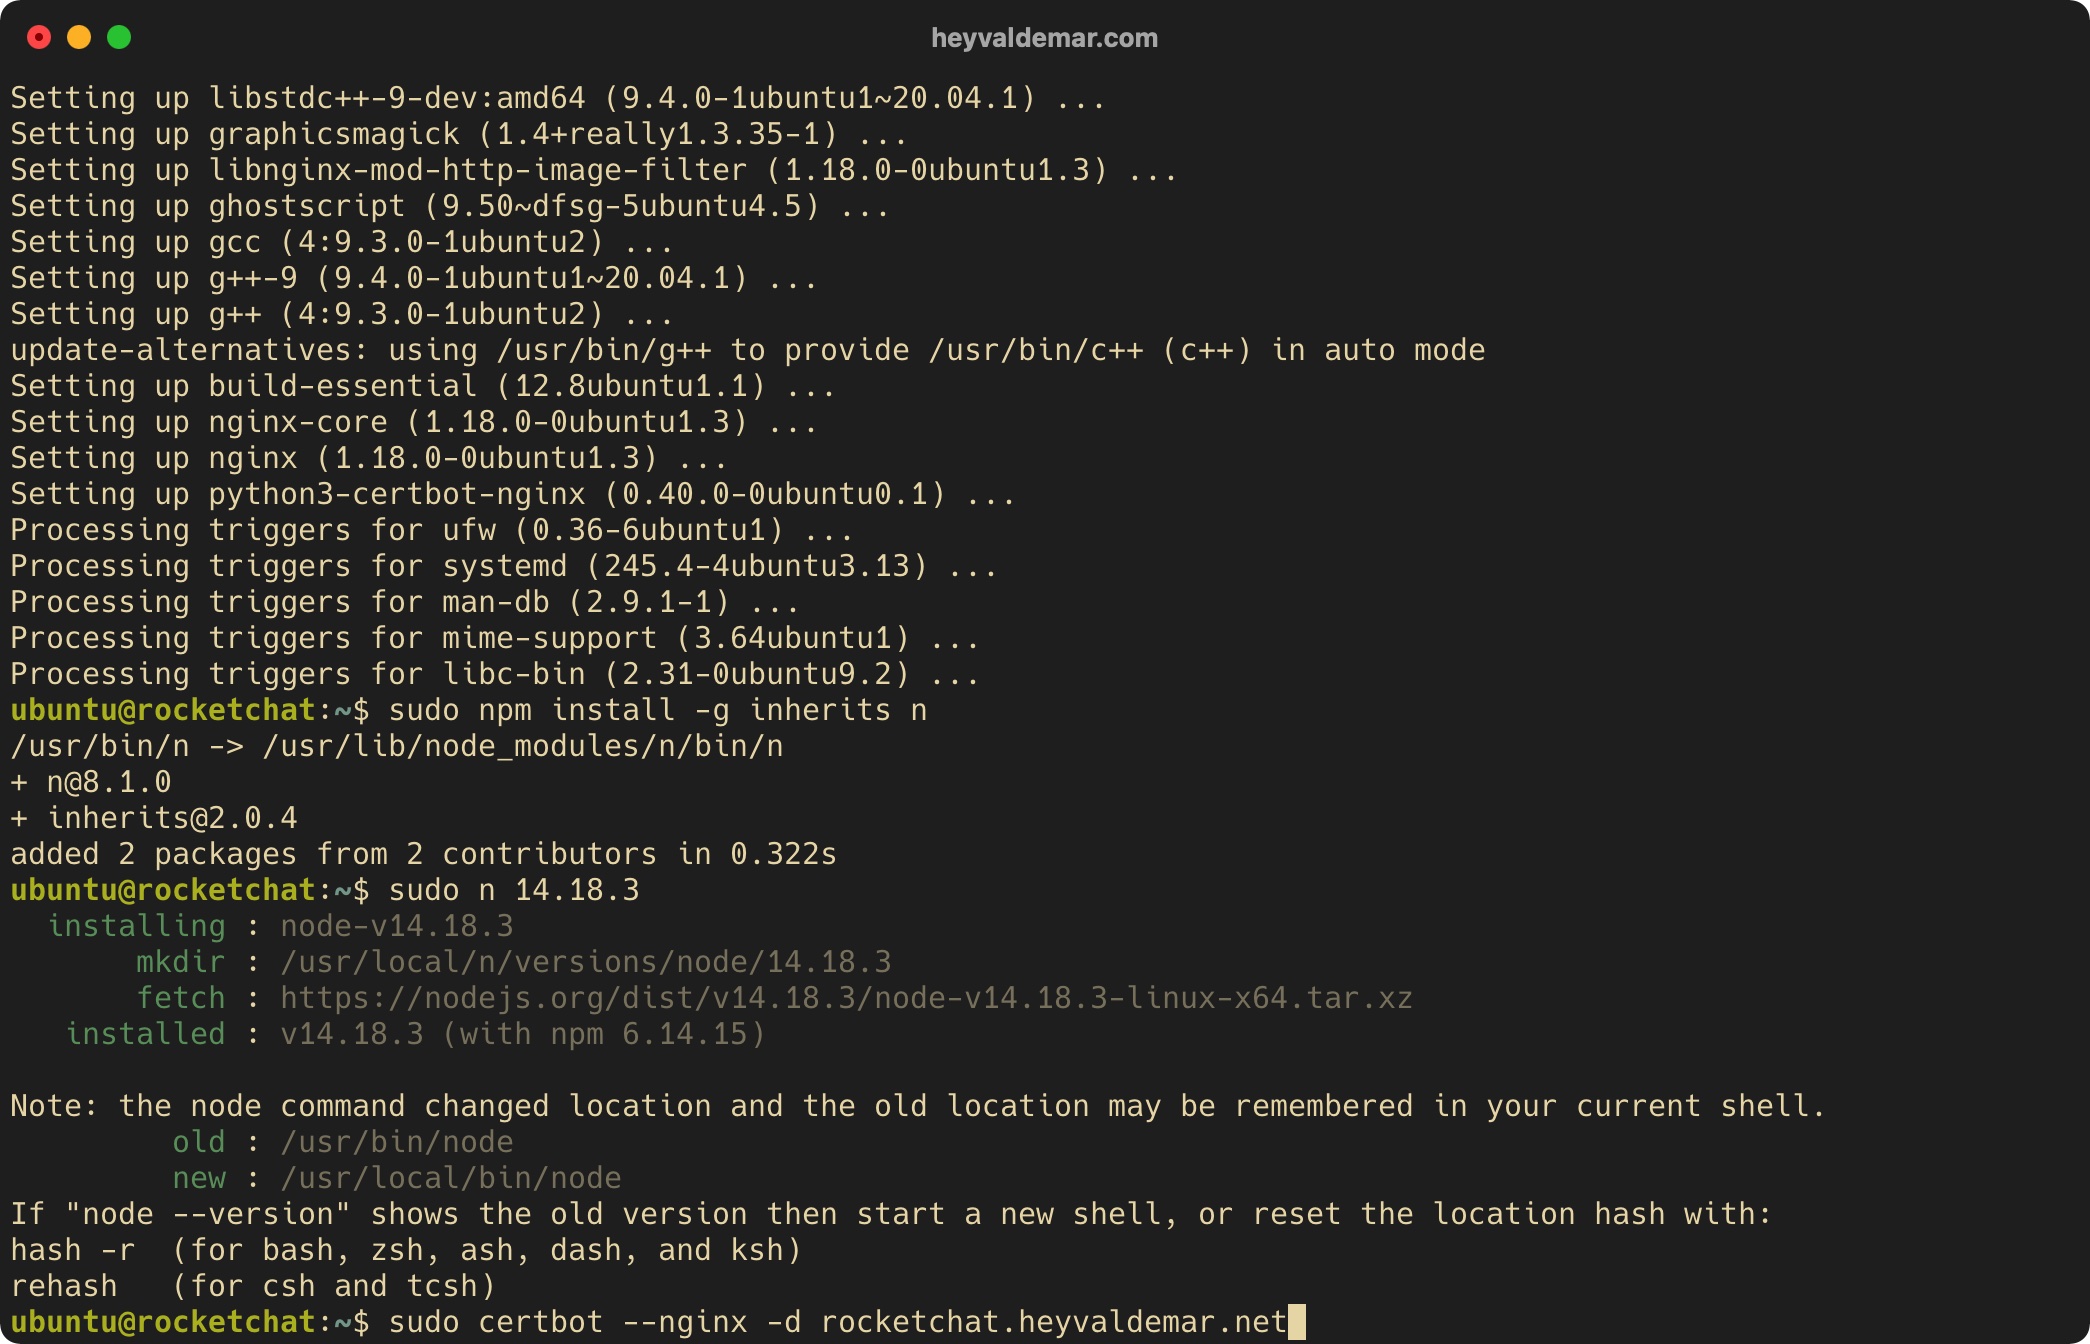
Next, specify the email address to which Let’s Encrypt will send notifications about the expiration of the cryptographic certificate and press the “Enter” button.
The next step is to read and accept the terms of use of the services provided.
Press the “a” button, then “Enter” if you agree with the terms of use of the services provided.
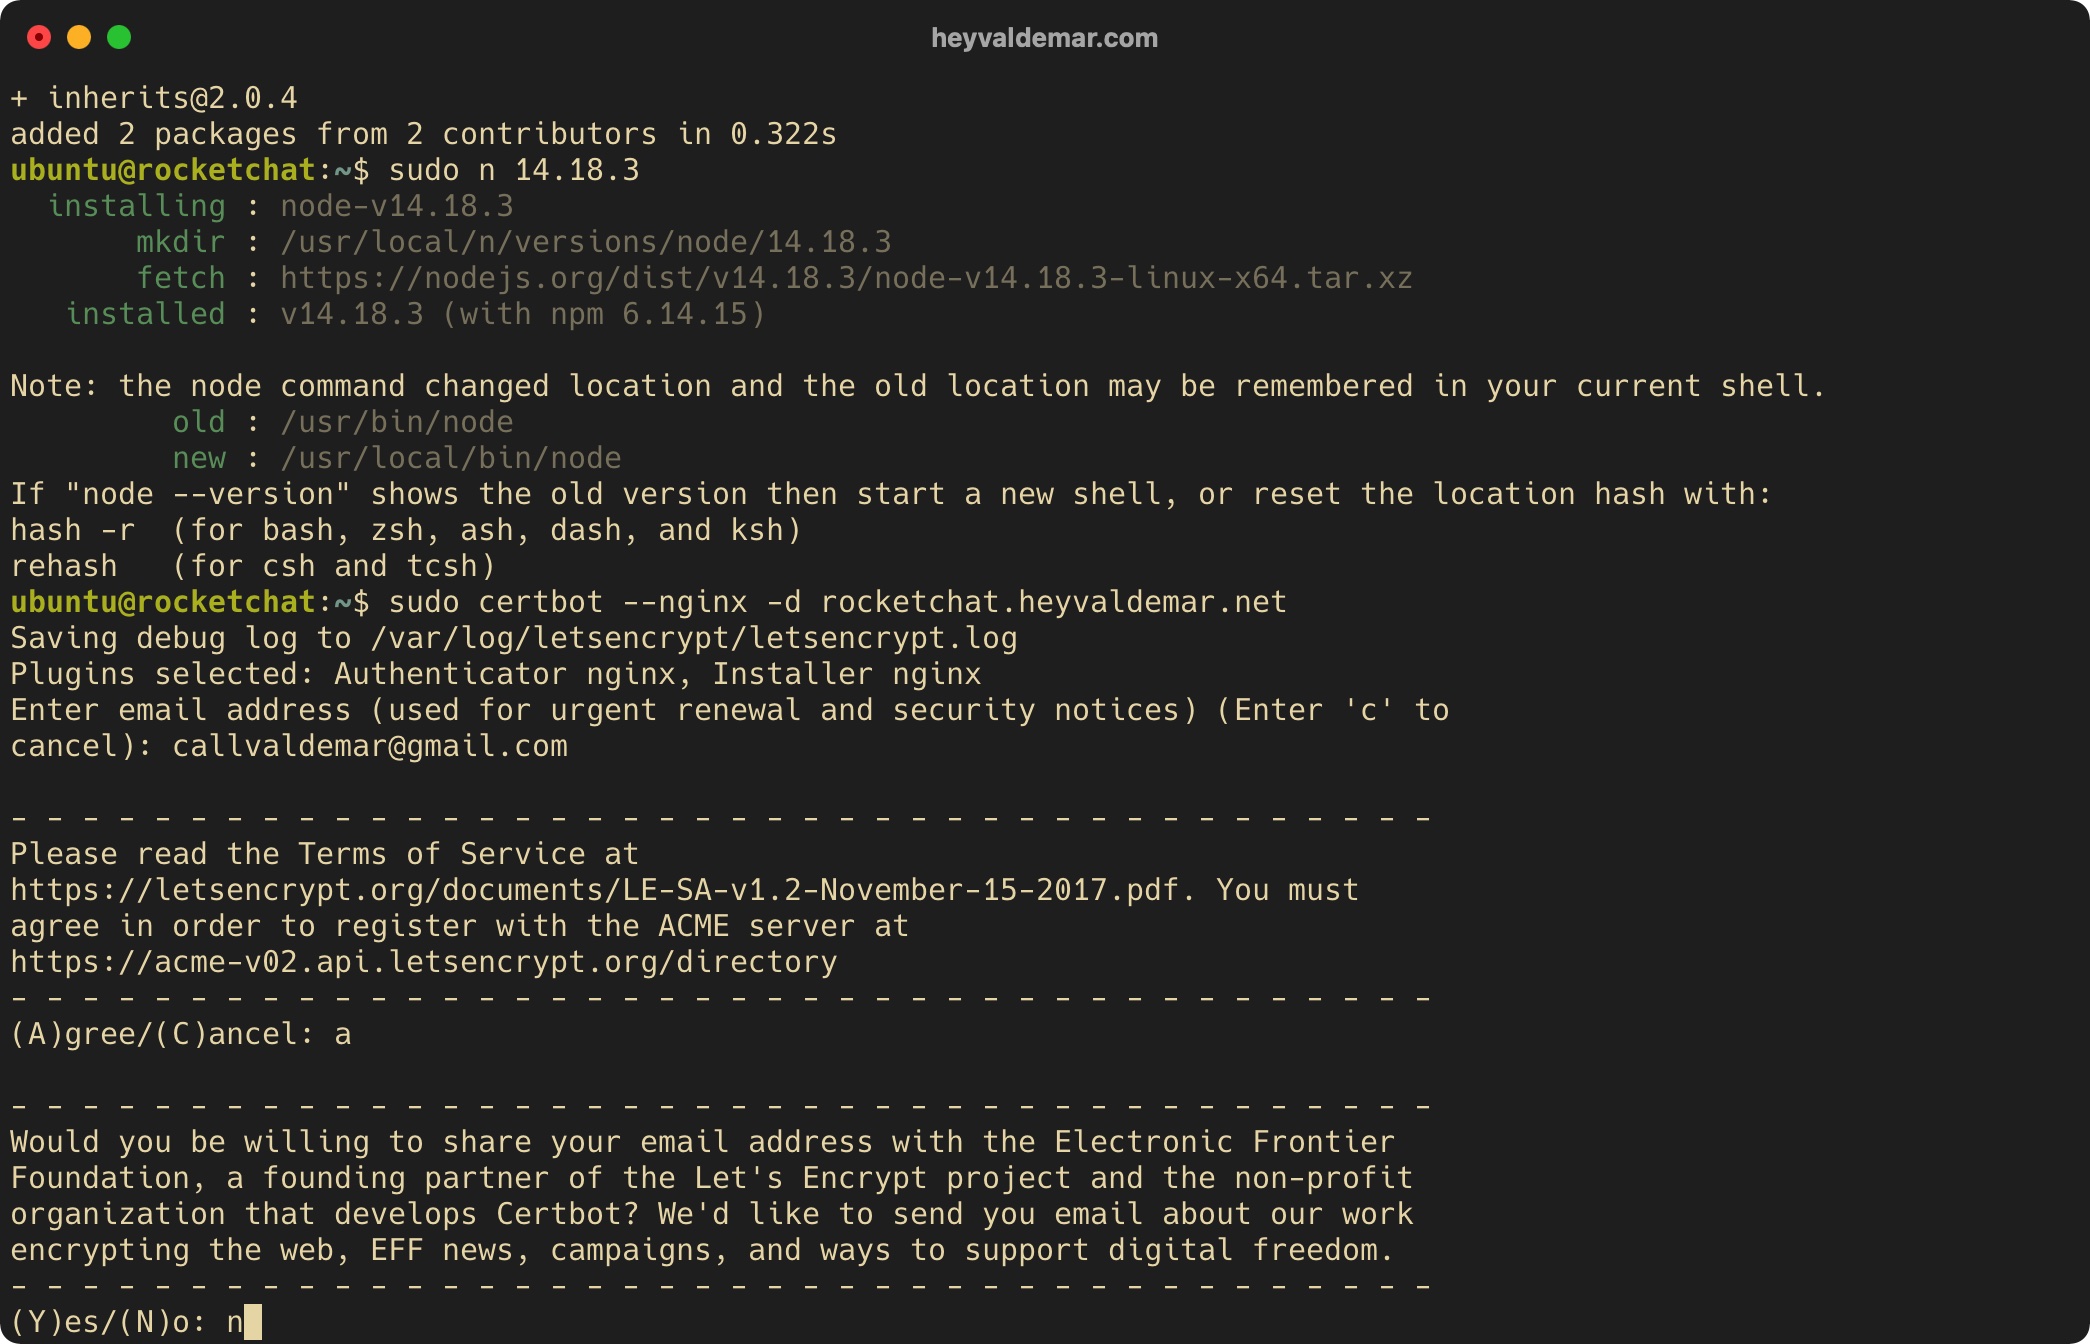
The next step is to choose whether you want to share the email address you provided earlier with the Electronic Frontier Foundation to receive newsletters.
Press the “n” button, then “Enter”.
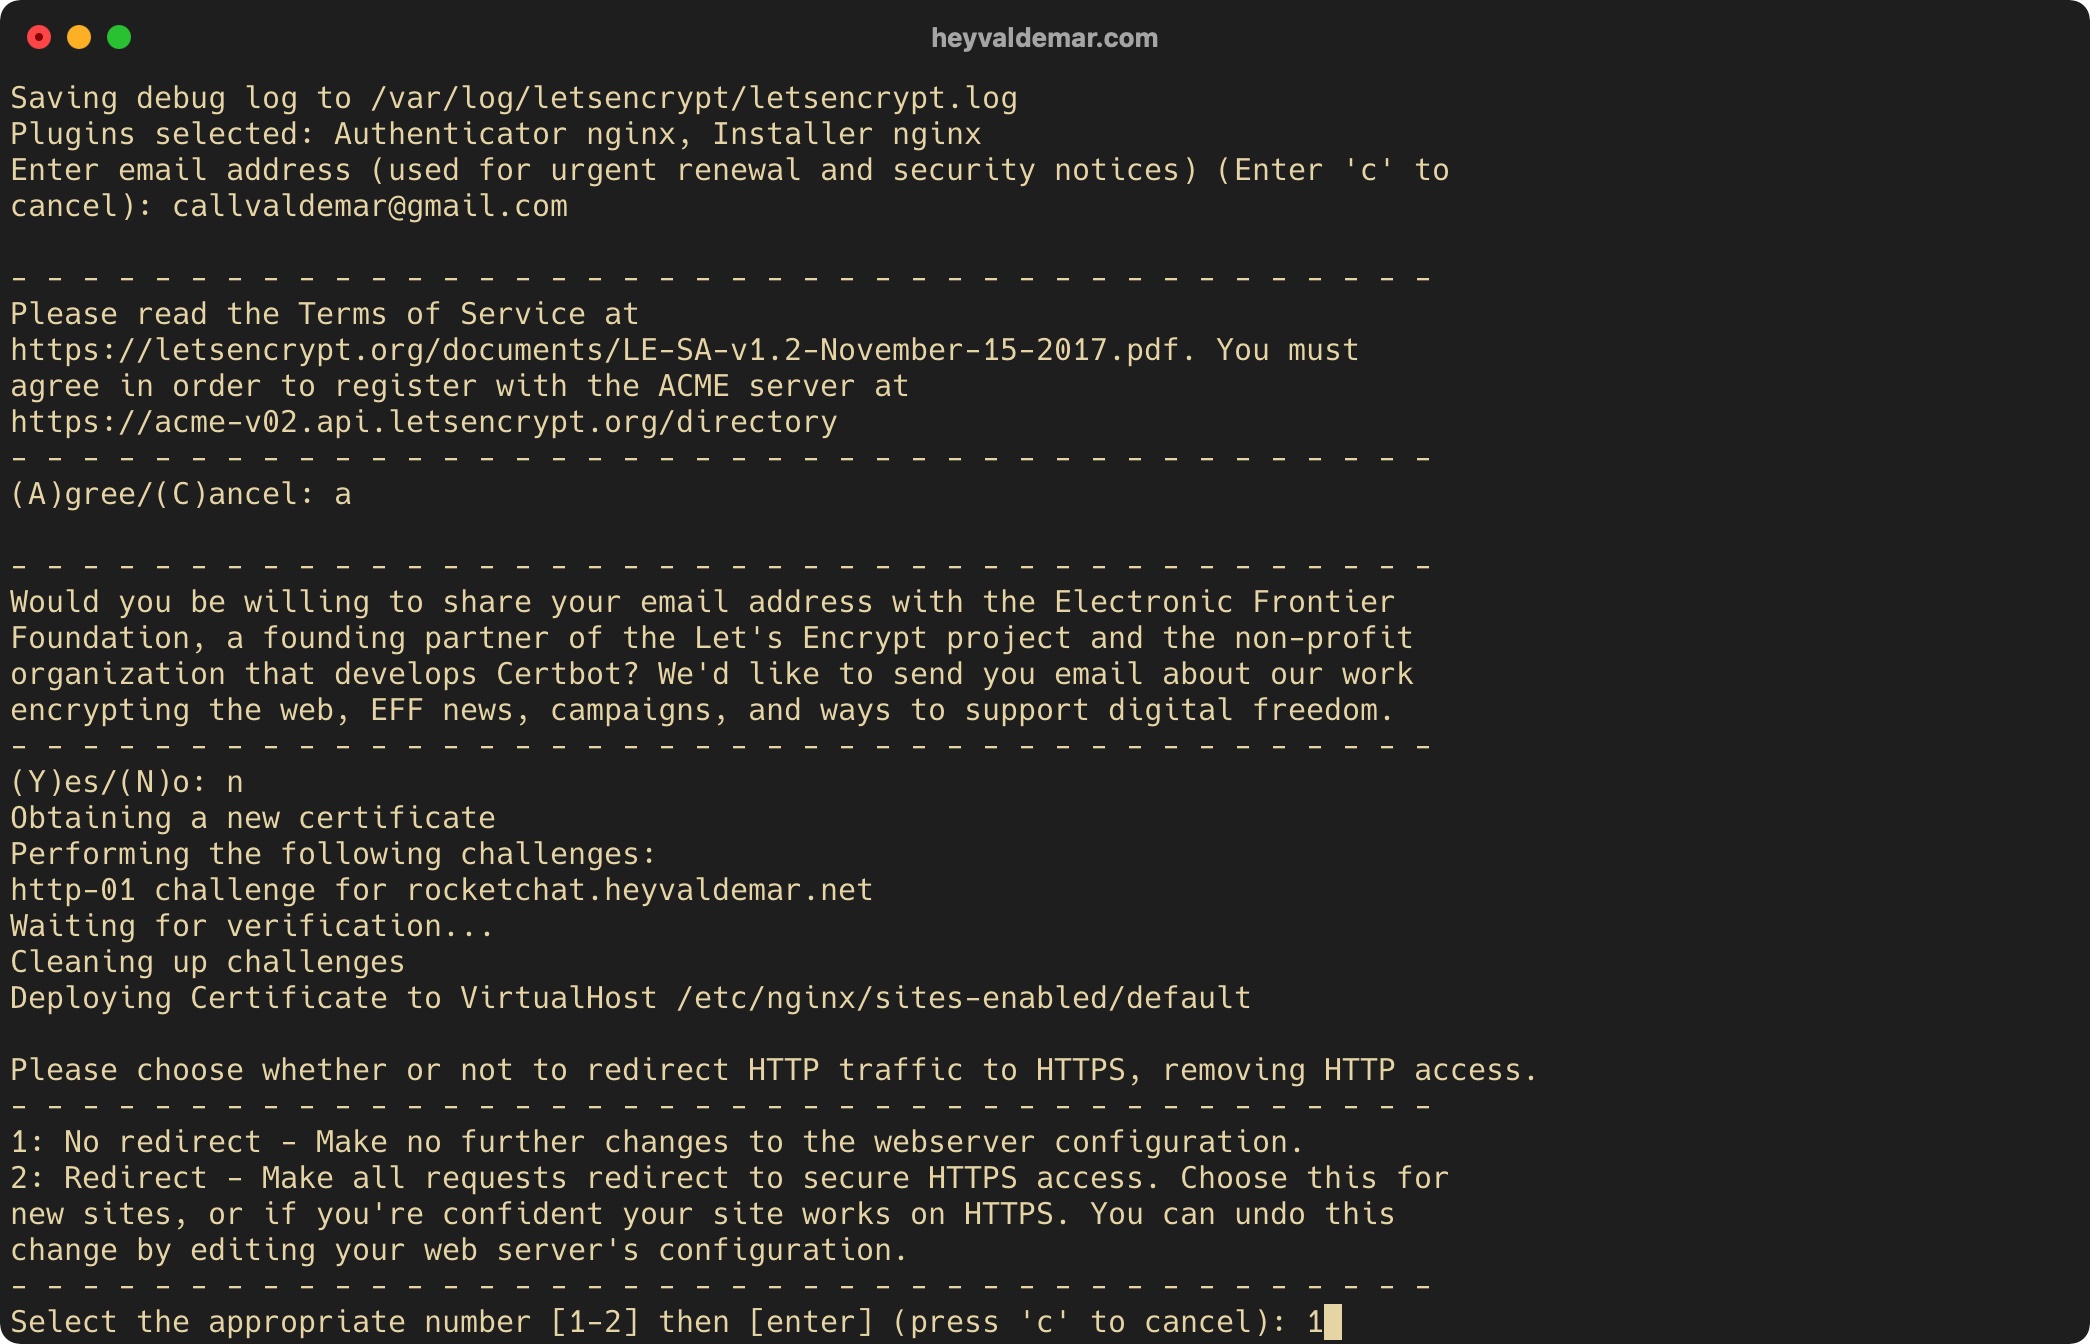
The next step is to choose whether you want the Nginx configuration file to have parameters automatically added to automatically redirect HTTP traffic to HTTPS.
Press the “1” button, then “Enter”.
Please note that cryptographic certificates obtained through the Let’s Encrypt Certificate Authority are valid for ninety days. Certbot automatically adds a certificate renewal script to the task scheduler and the script runs twice a day, automatically renewing any cryptographic certificate that expires within thirty days.
You can check the operability of the cryptographic certificate renewal process using the command:
sudo certbot renew --dry-run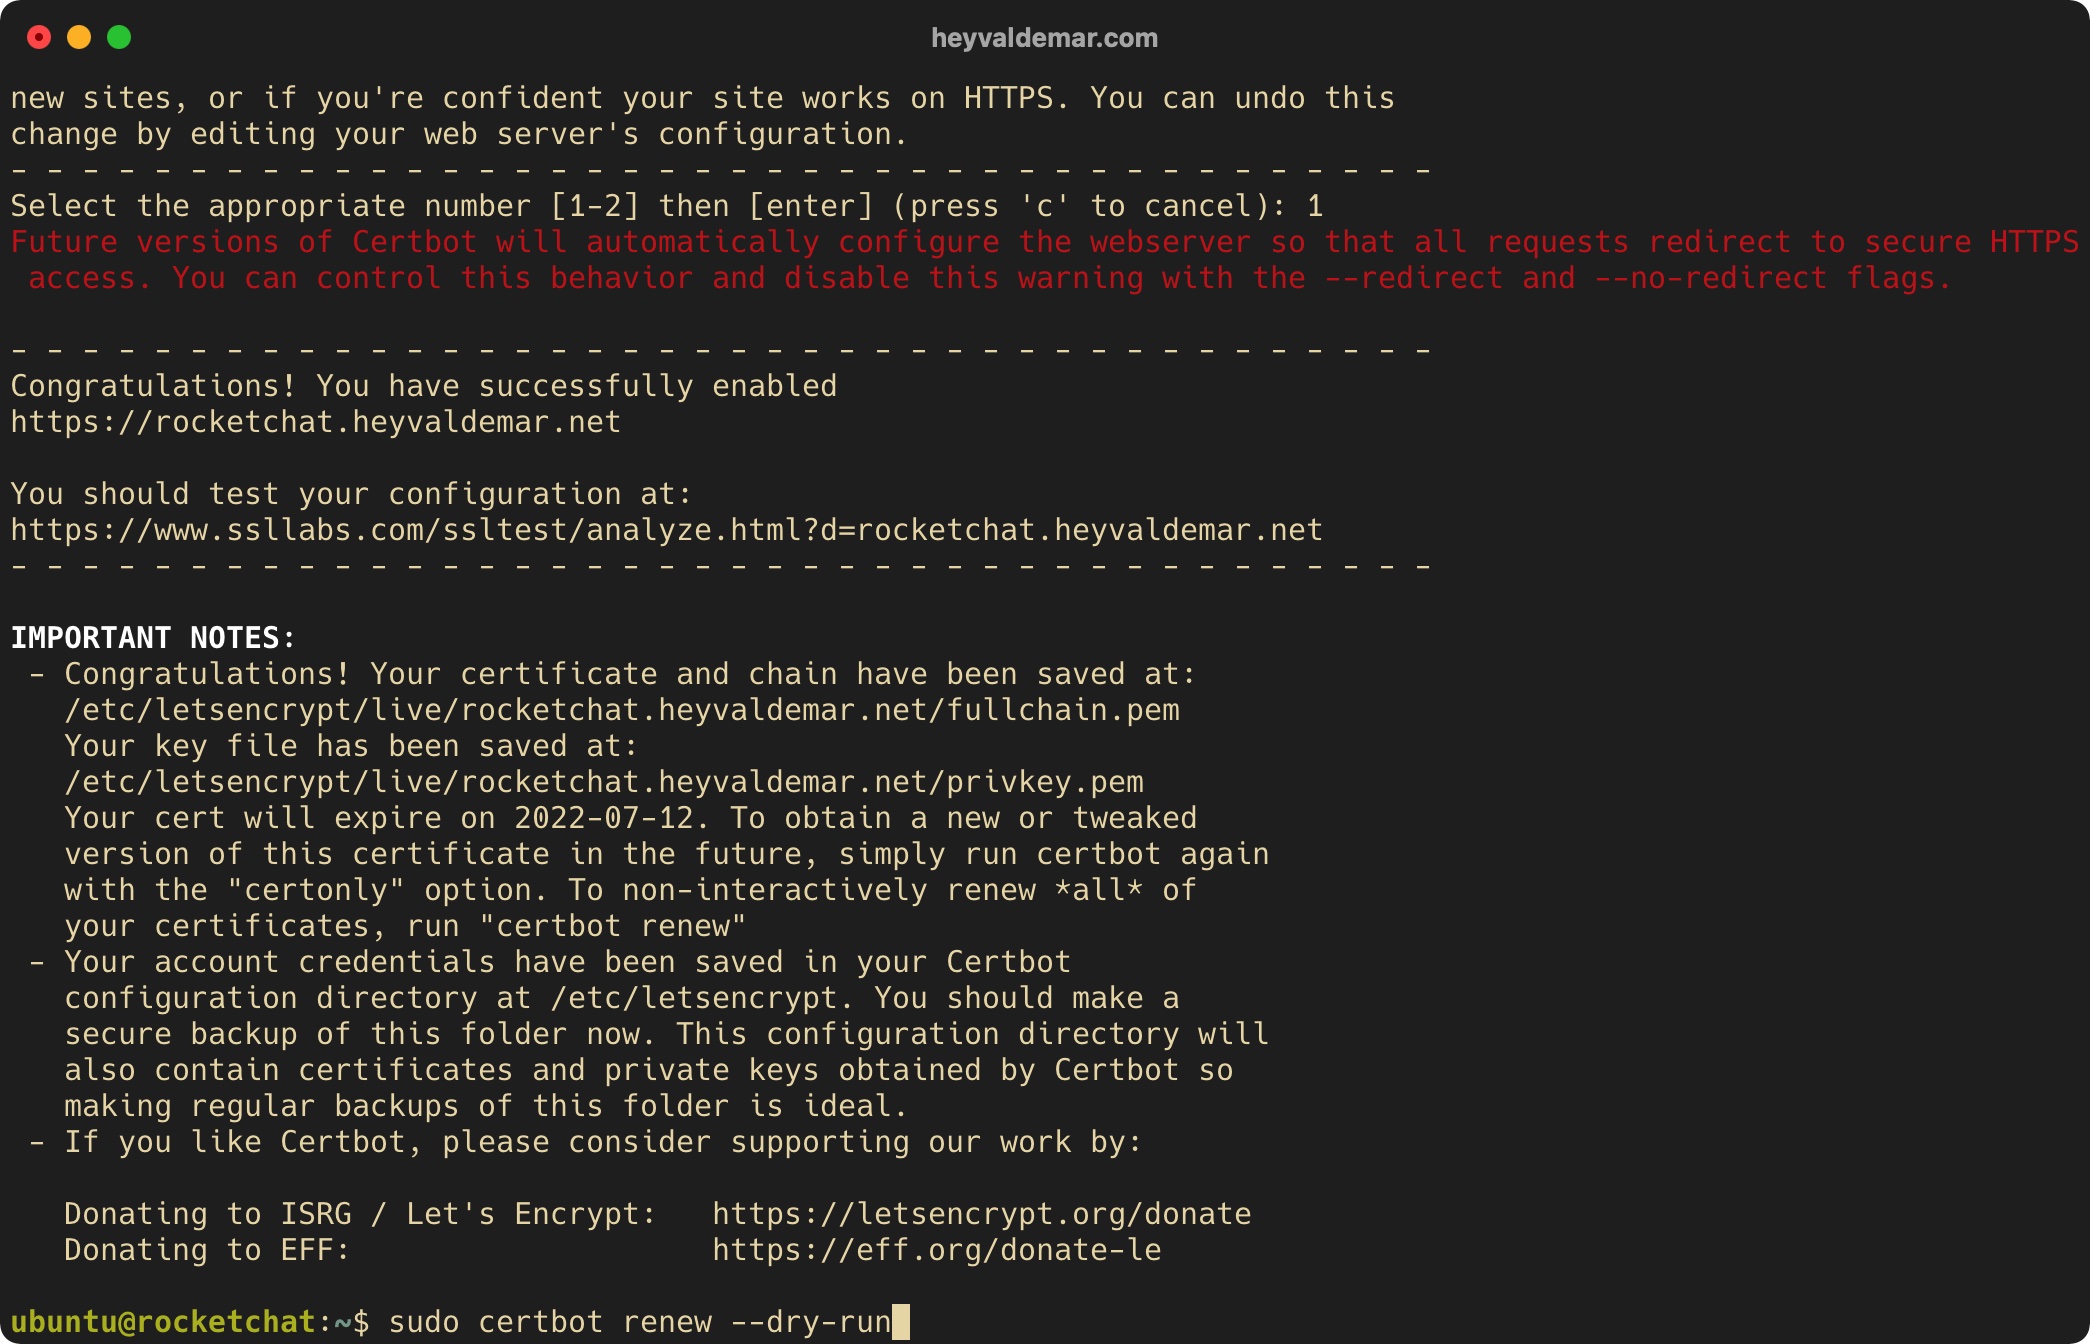
Now let’s configure Nginx for subsequent work with Rocket.Chat.
First, you need to make changes to the Nginx configuration file by opening it in a text editor using the command:
sudo vim /etc/nginx/nginx.conf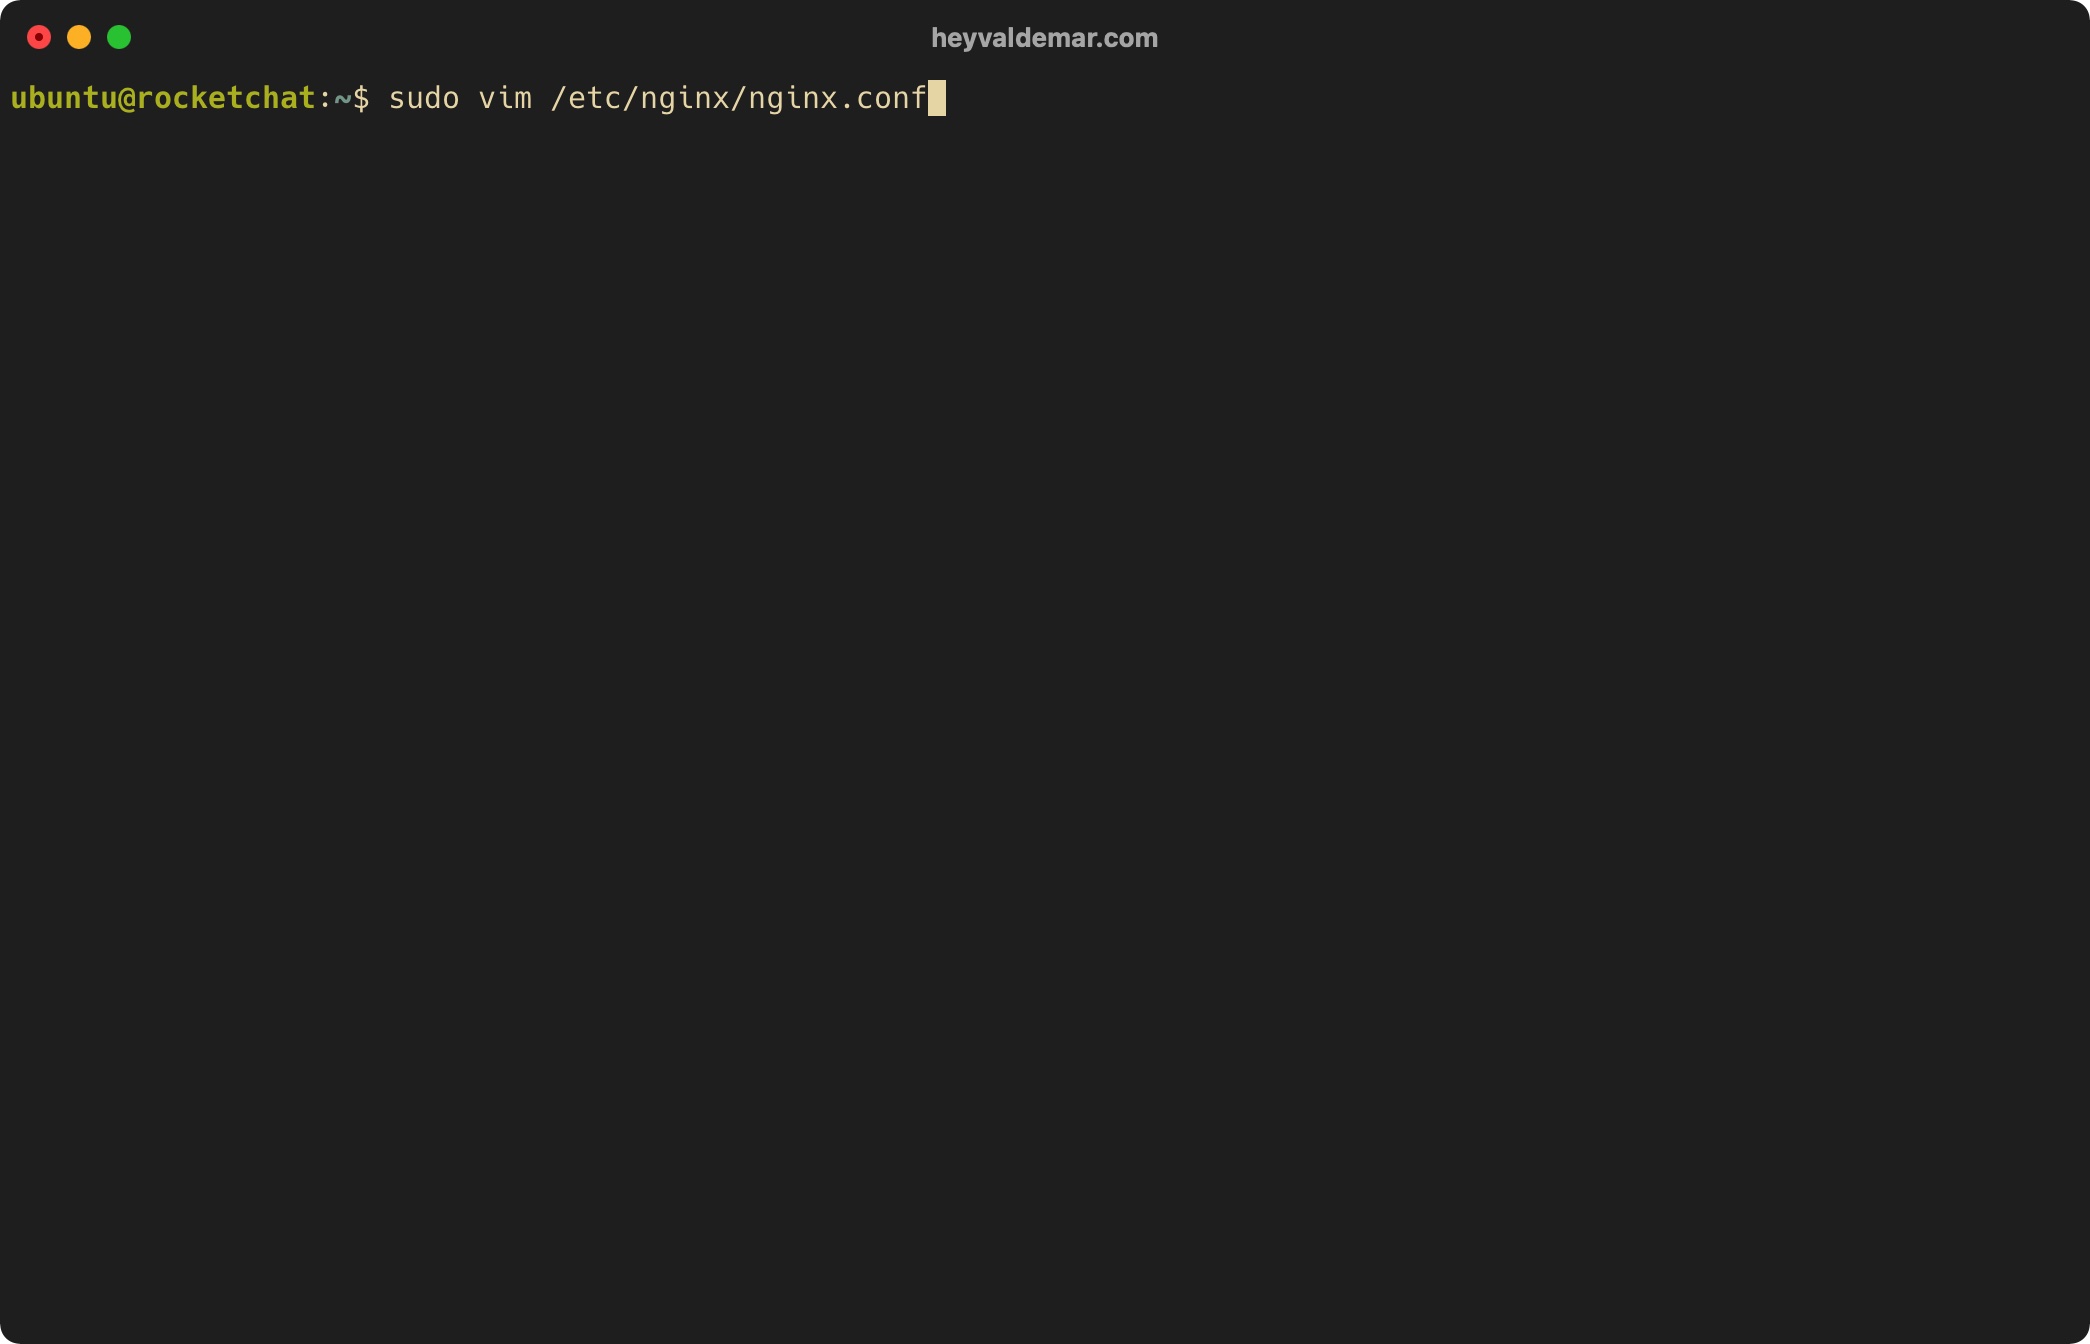
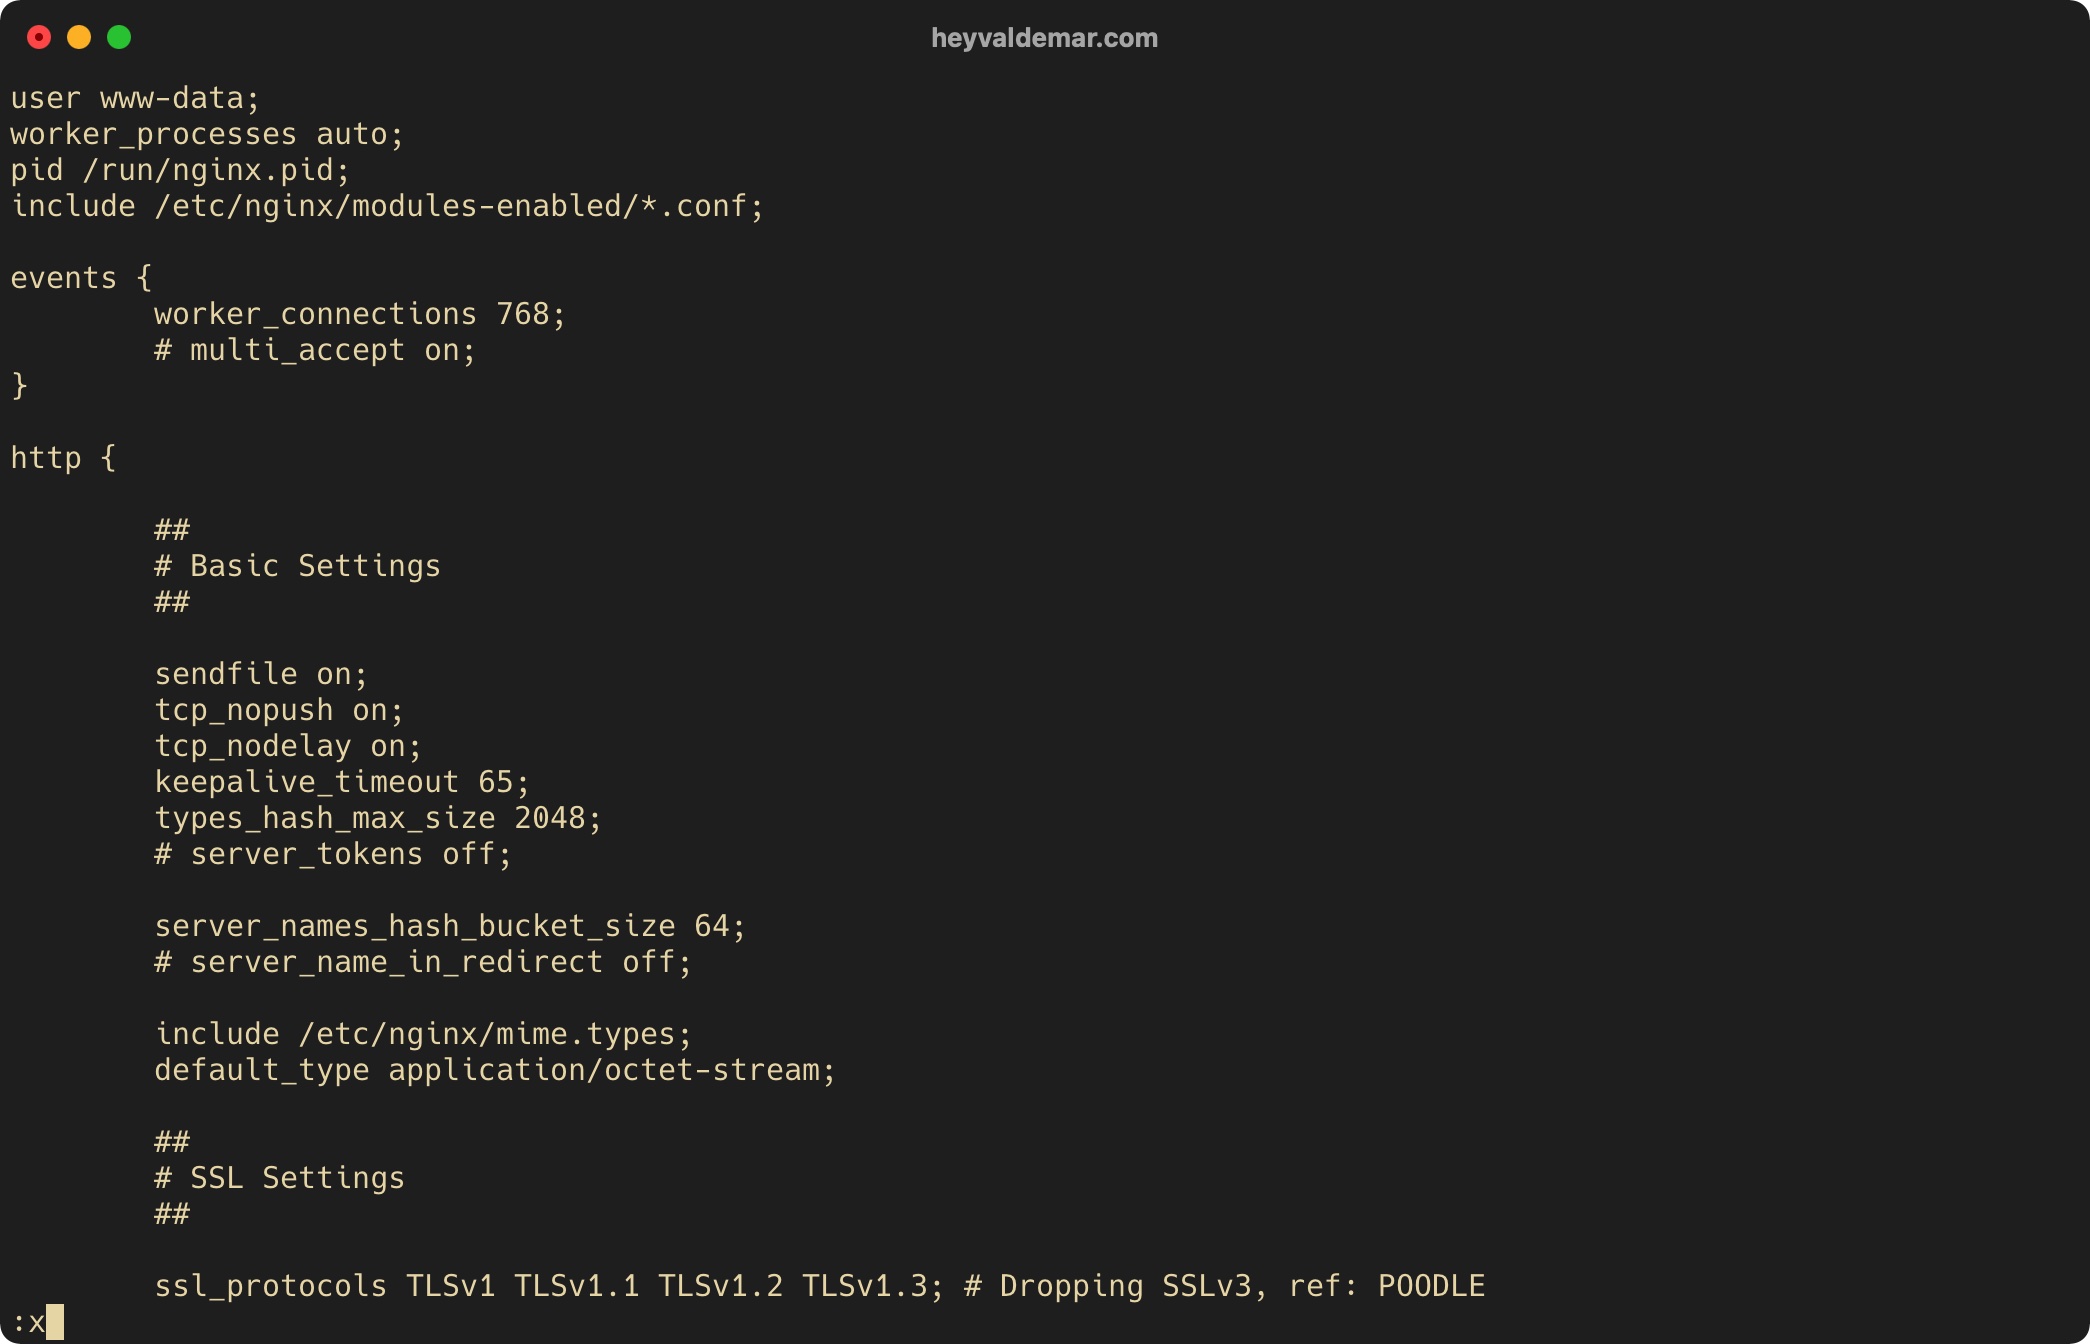
Hit the “i” button to go into edit mode, find the parameter “server_names_hash_bucket_size 64;” and uncomment it by removing the “#” symbol.

Now press the “Esc” button to exit edit mode, then type “:x” and press the “Enter” button to save your changes and exit the editor.
Now you need to create a block (called virtual hosts in Apache), with which Rocket.Chat will work in the future.
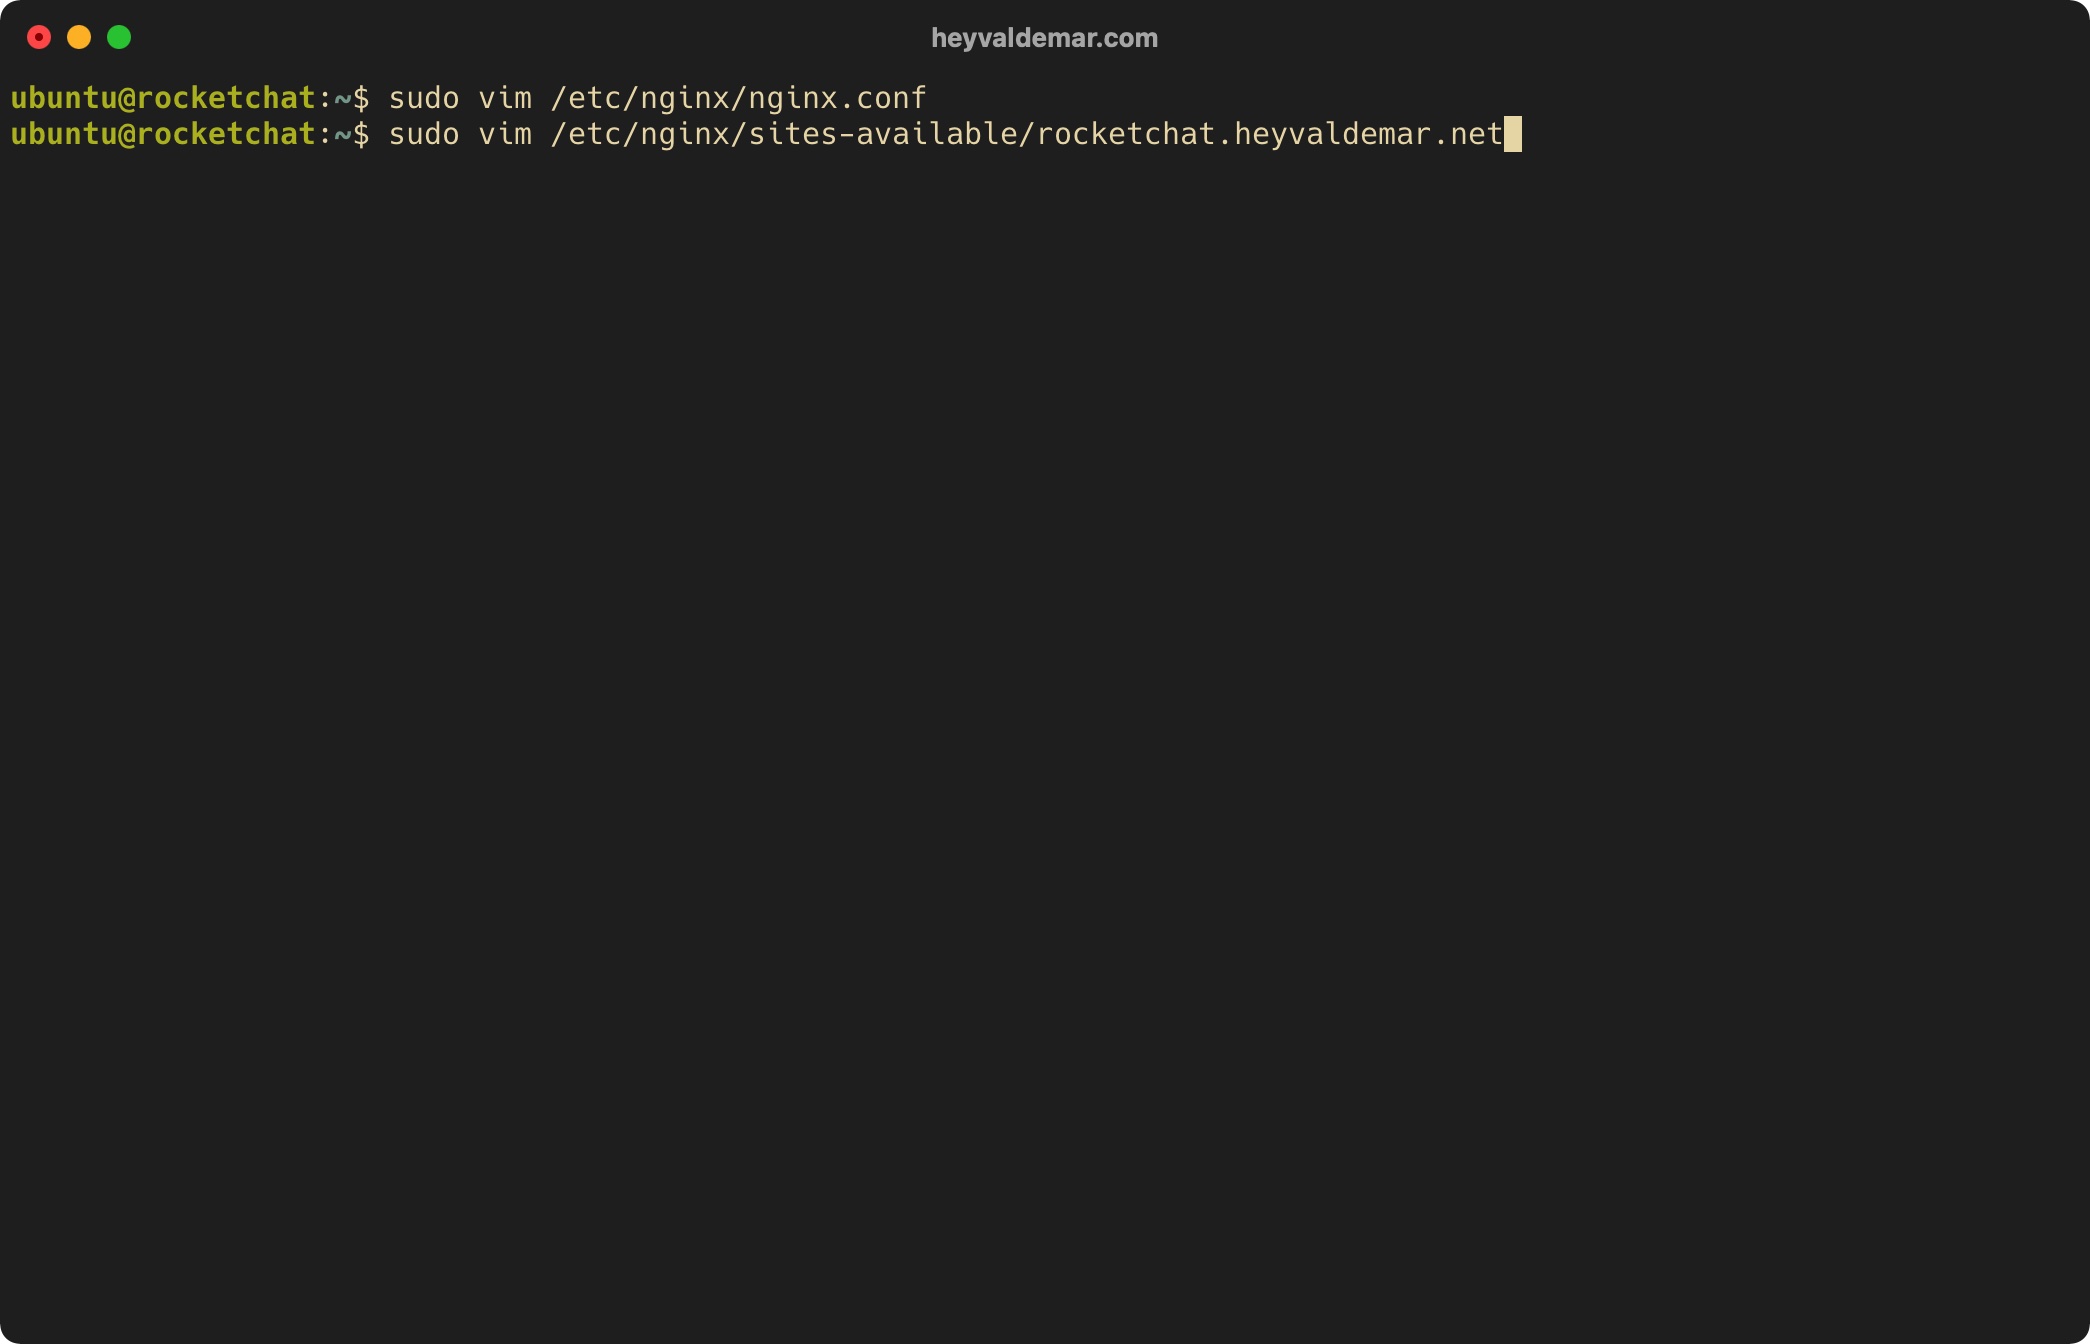
Let’s create a virtual host file using a text editor using the command:
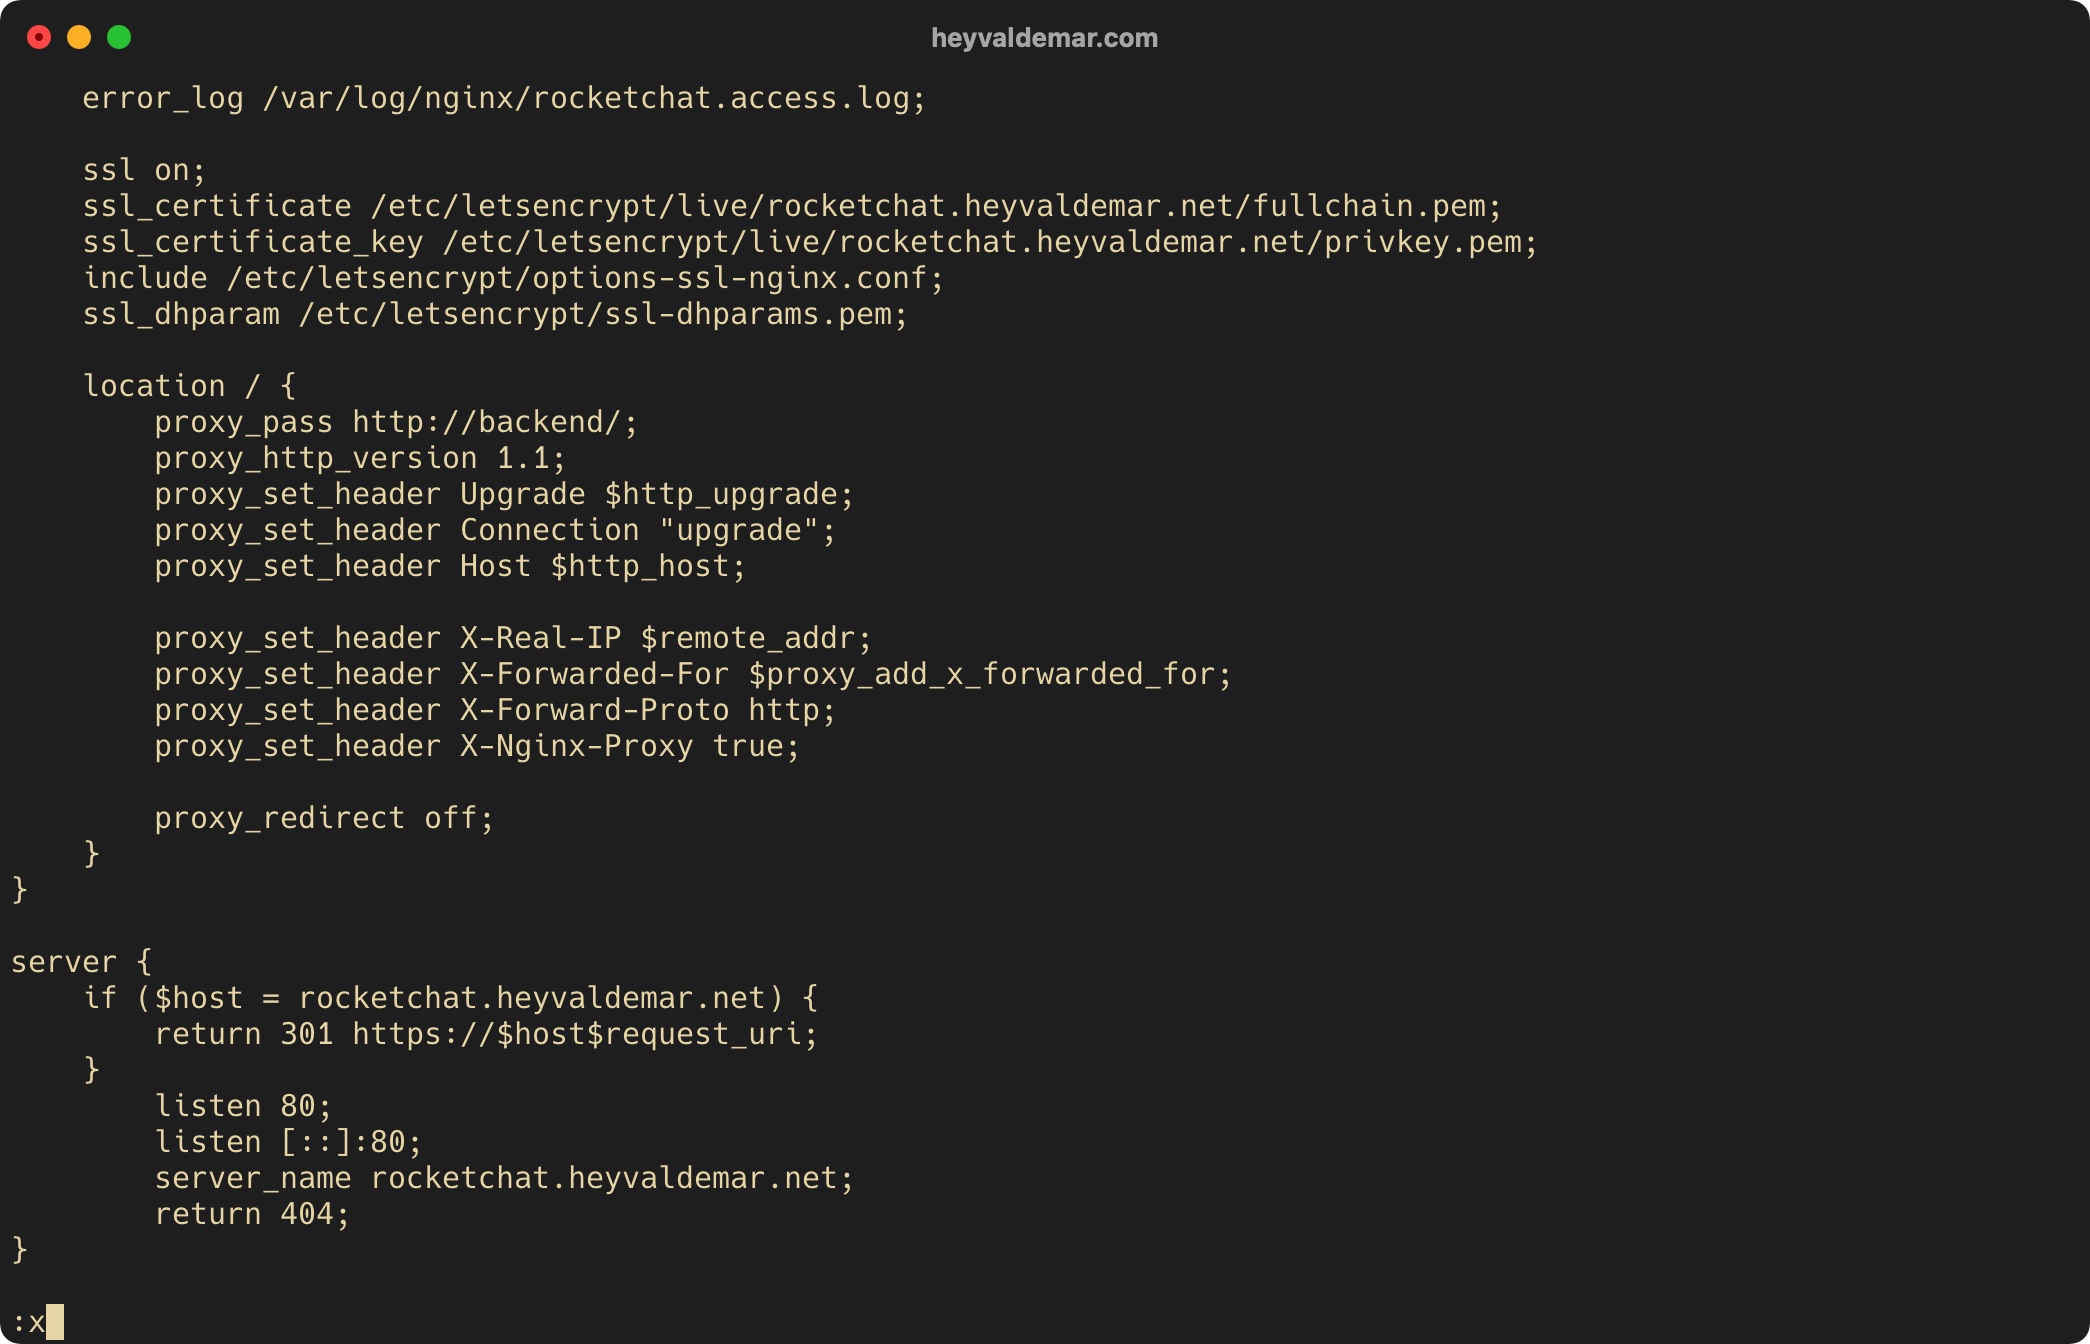
sudo vim /etc/nginx/sites-available/rocketchat.heyvaldemar.netIn this tutorial, the rocketchat.heyvaldemar.net subdomain will be used to access Rocket.Chat from the Internet. You will need to specify your domain or subdomain by which your Rocket.Chat will be available from the Internet.
Hit the “i” button to go into edit mode, then insert the following configuration for the webserver to work.
In this tutorial, the rocketchat.heyvaldemar.net subdomain will be used to access Rocket.Chat from the Internet. You will need to specify your domain or subdomain by which your Rocket.Chat will be available from the Internet.
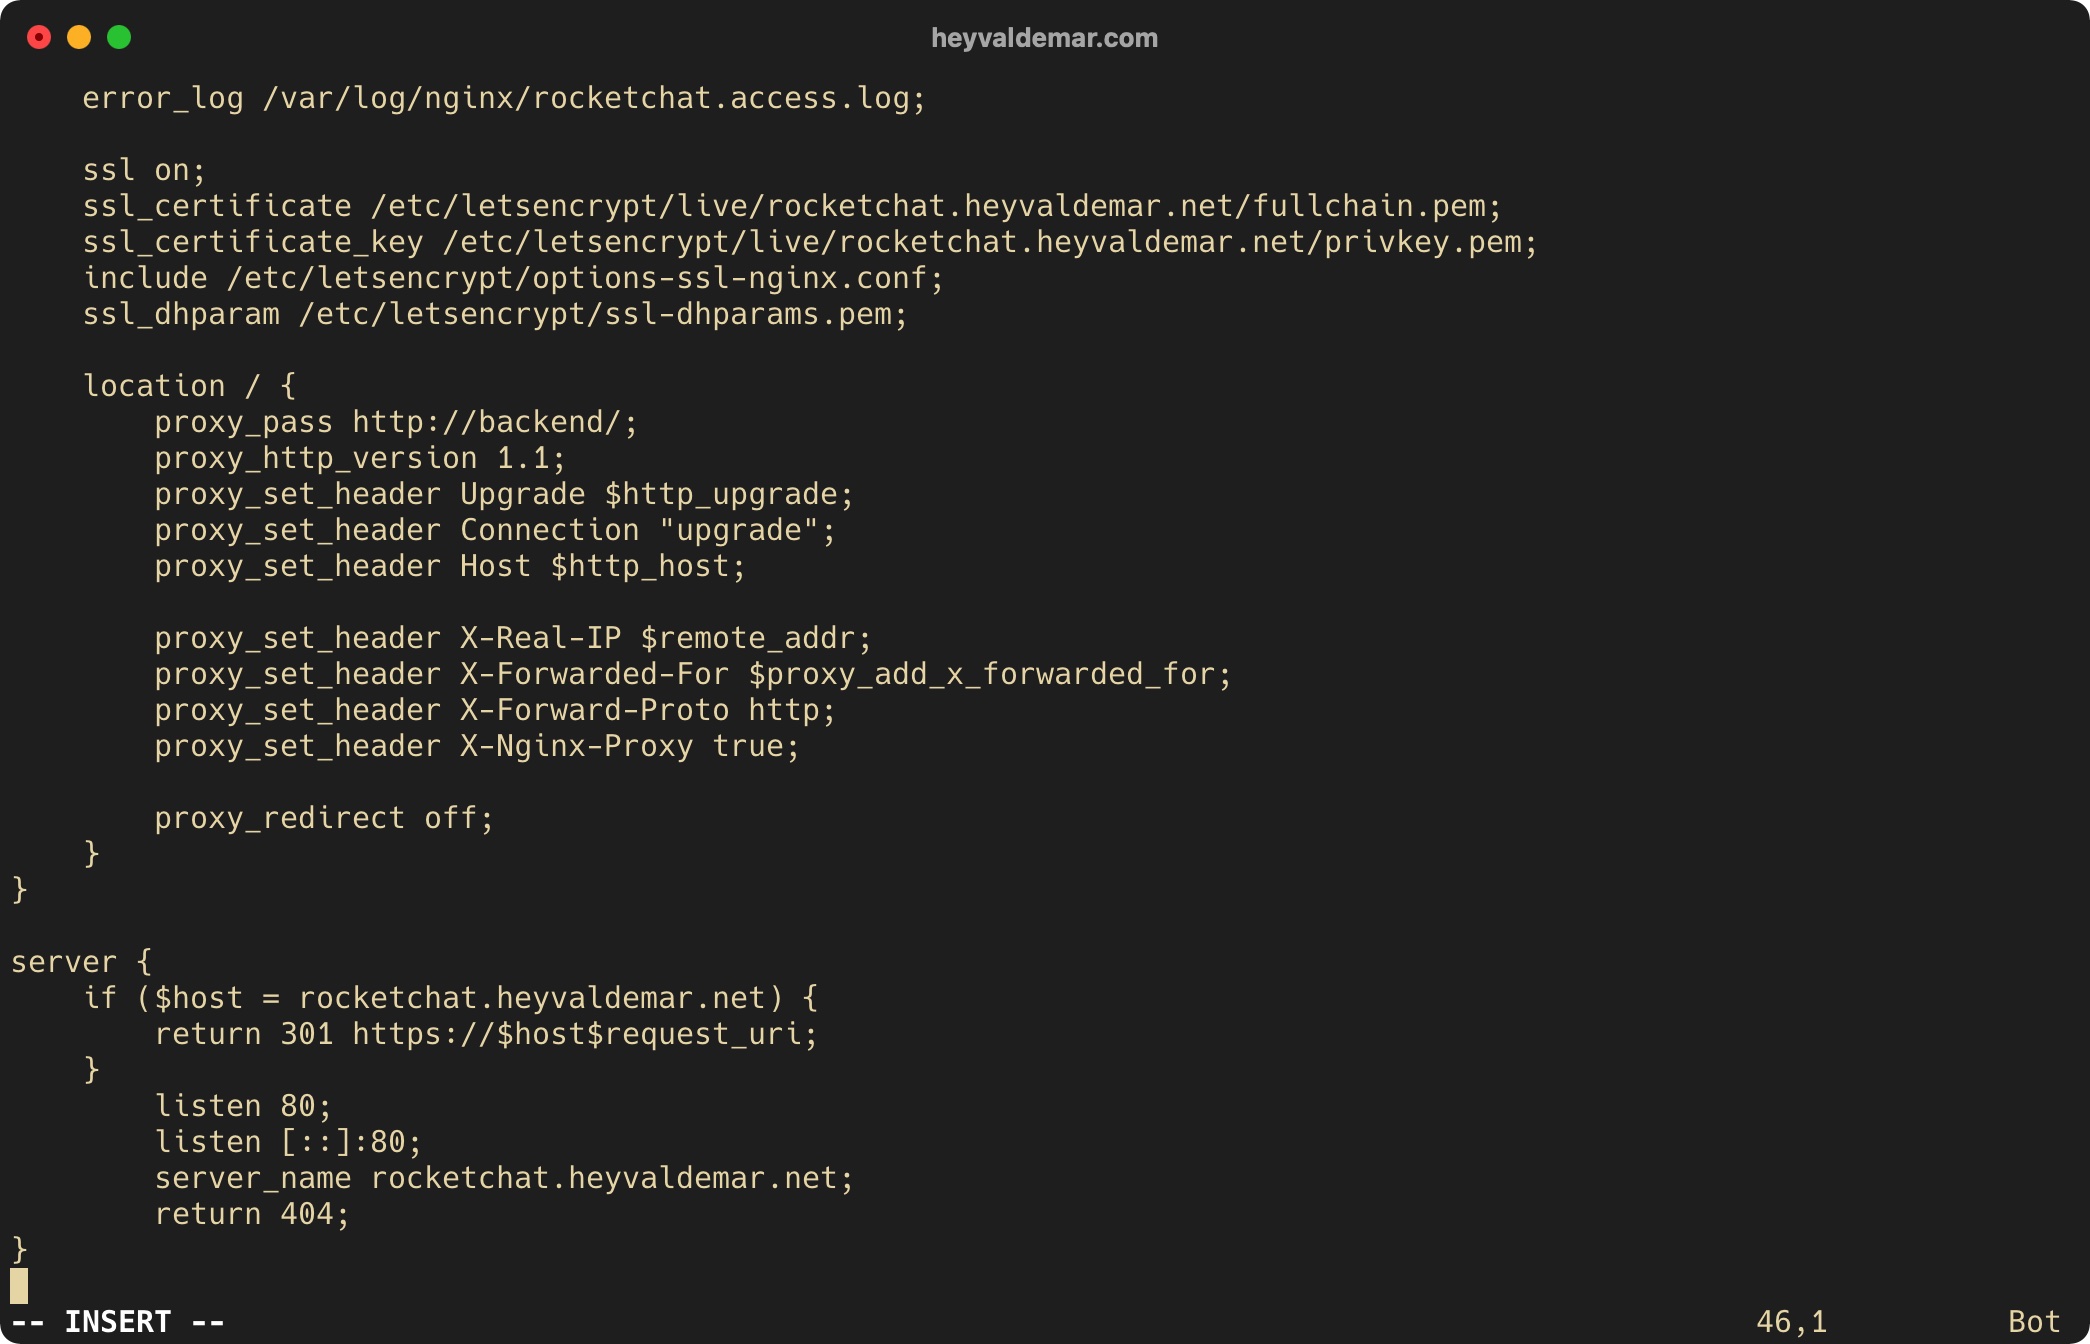
Now press the “Esc” button to exit edit mode, then type “:x” and press the “Enter” button to save your changes and exit the editor.
Activate the created block using the command:
sudo ln -s /etc/nginx/sites-available/rocketchat.heyvaldemar.net /etc/nginx/sites-enabled/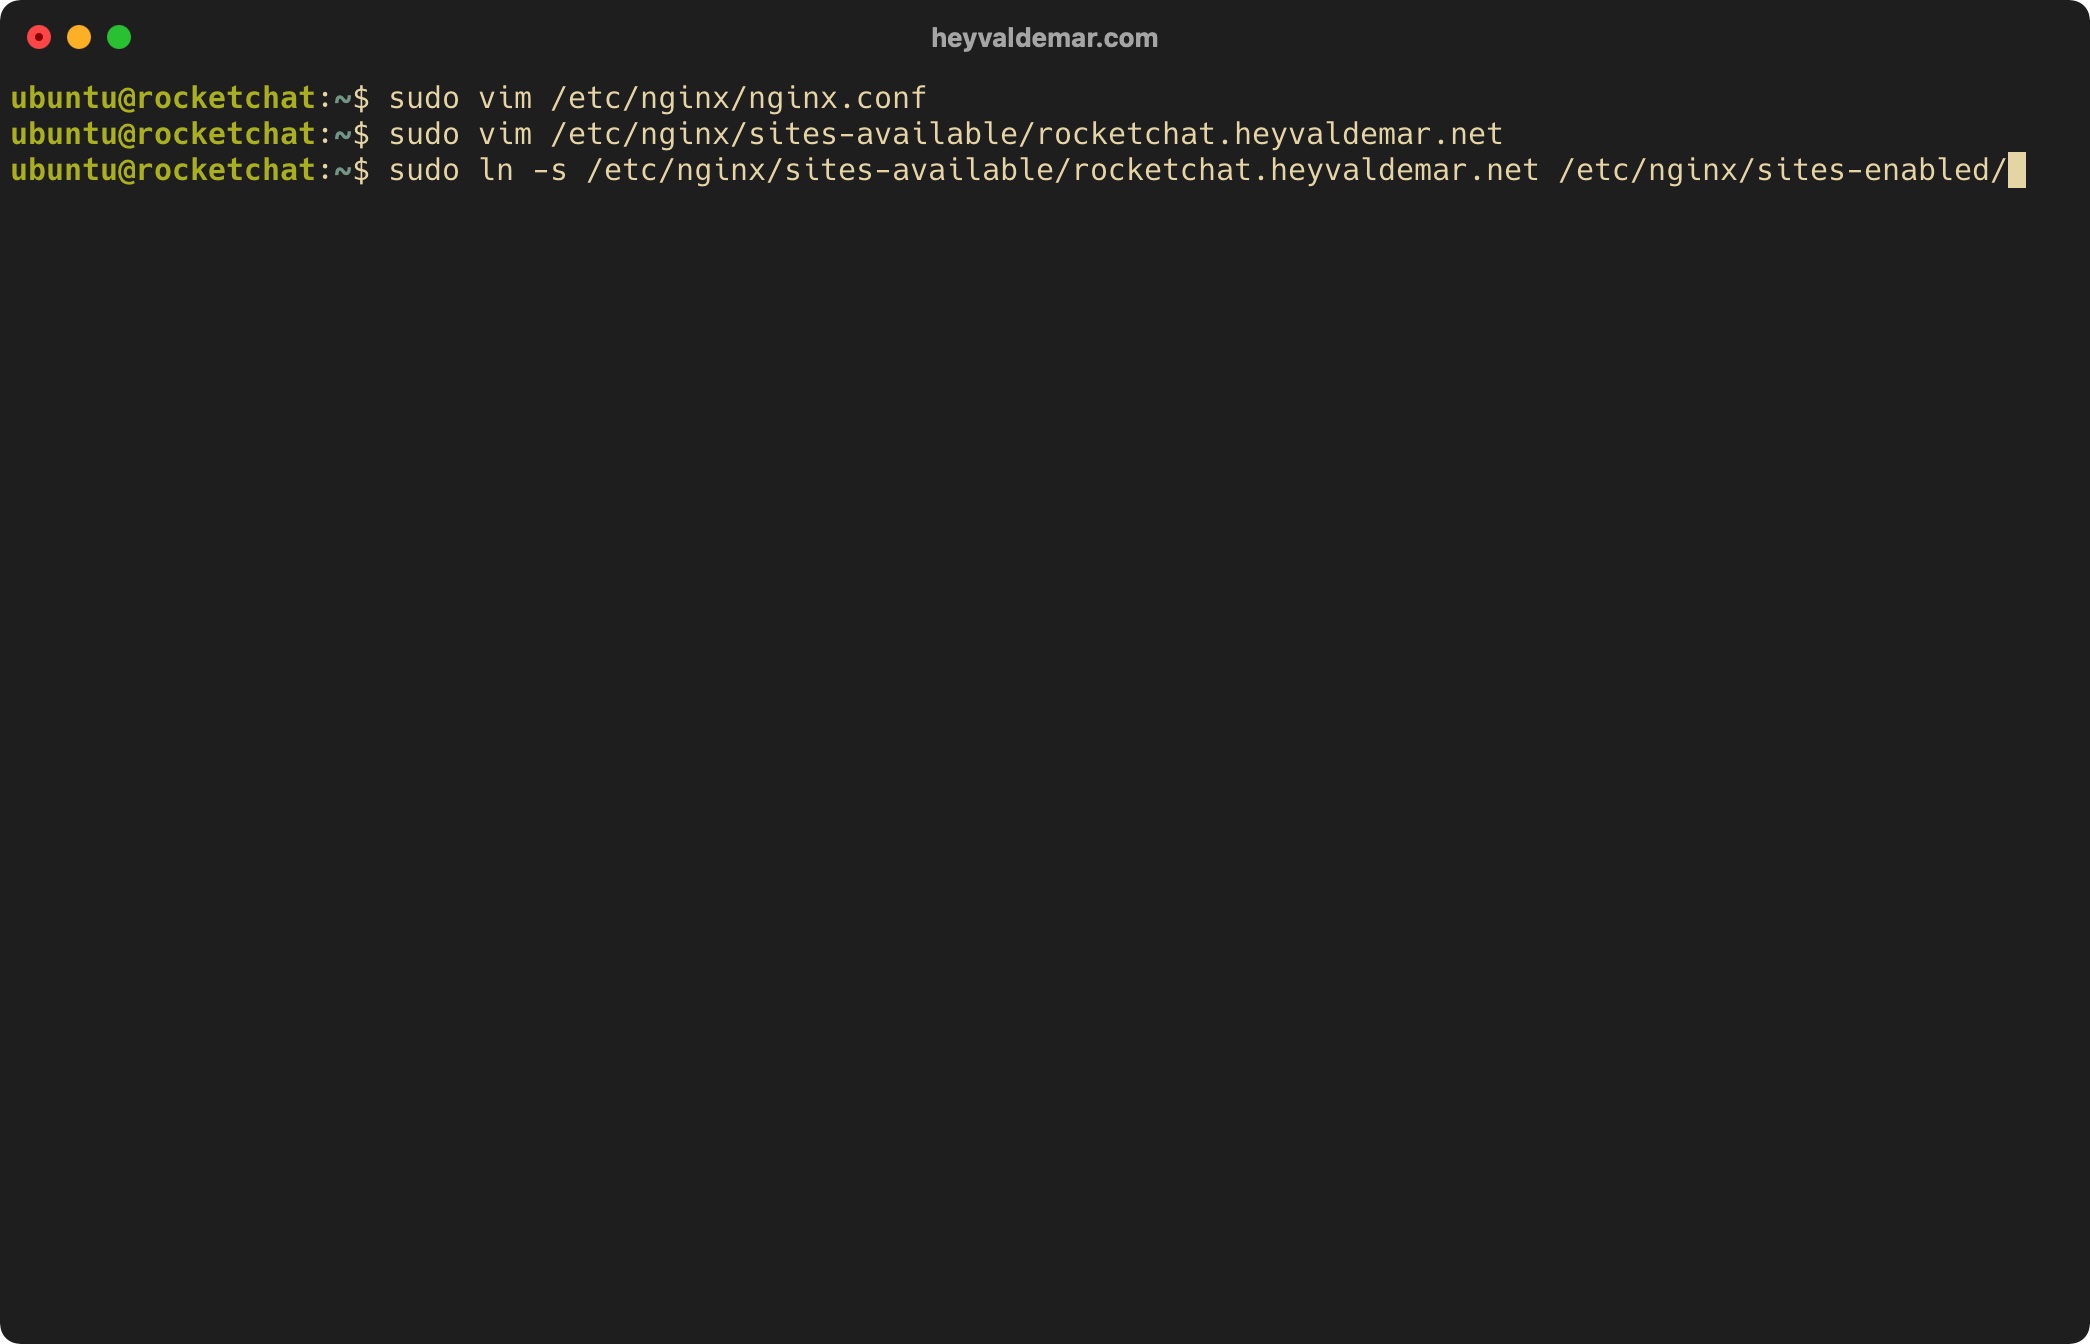
Deactivate the block created by default using the command:
sudo unlink /etc/nginx/sites-enabled/default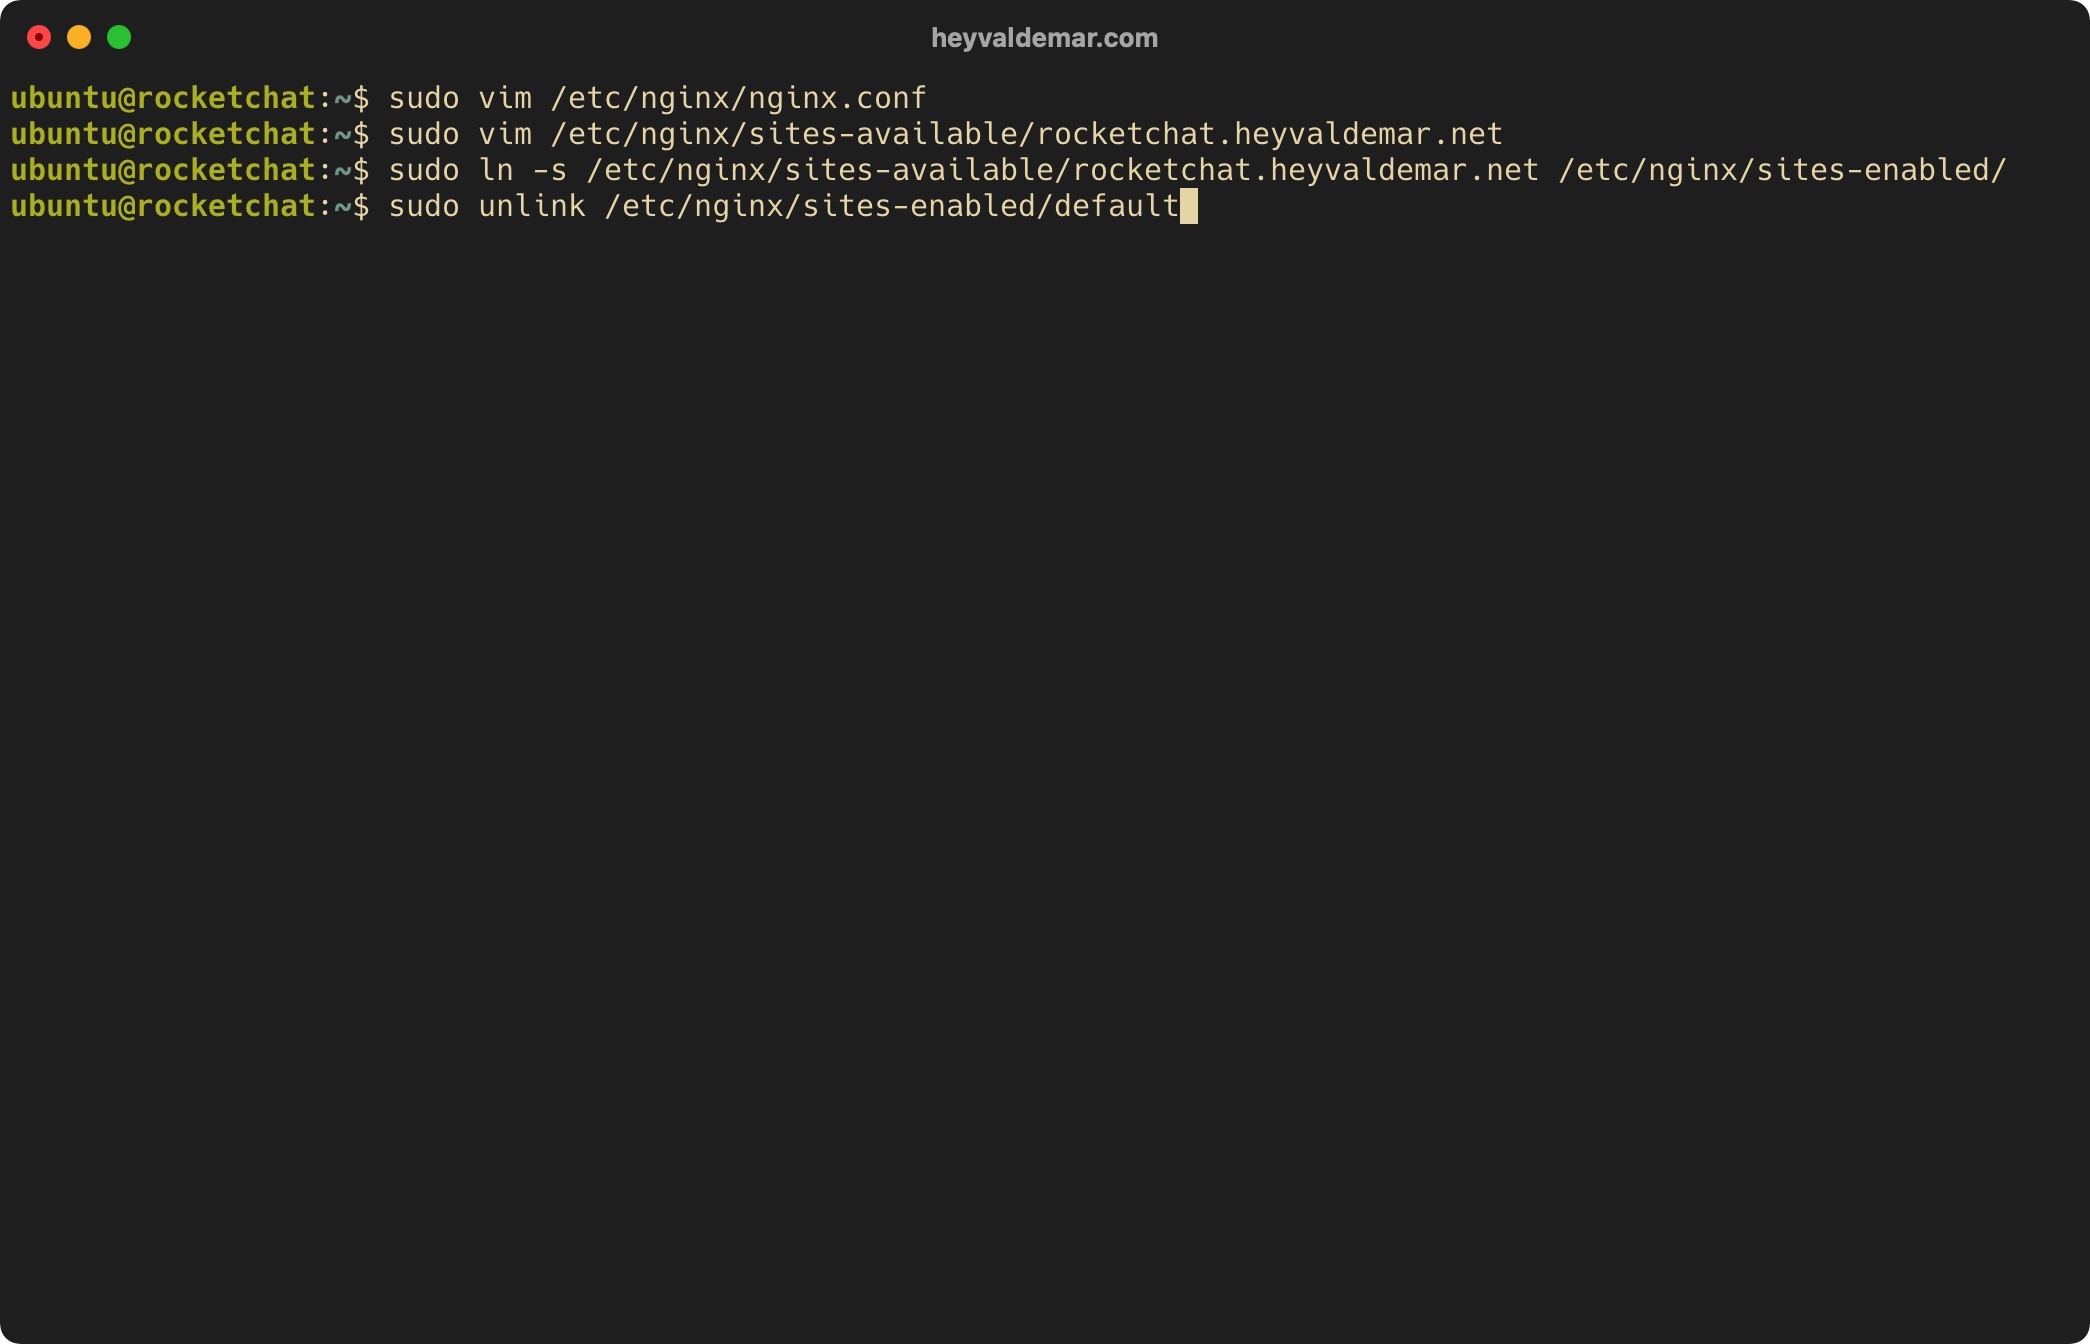
Verify that there are no errors in the syntax of the new Nginx configuration file using the command:
sudo nginx -t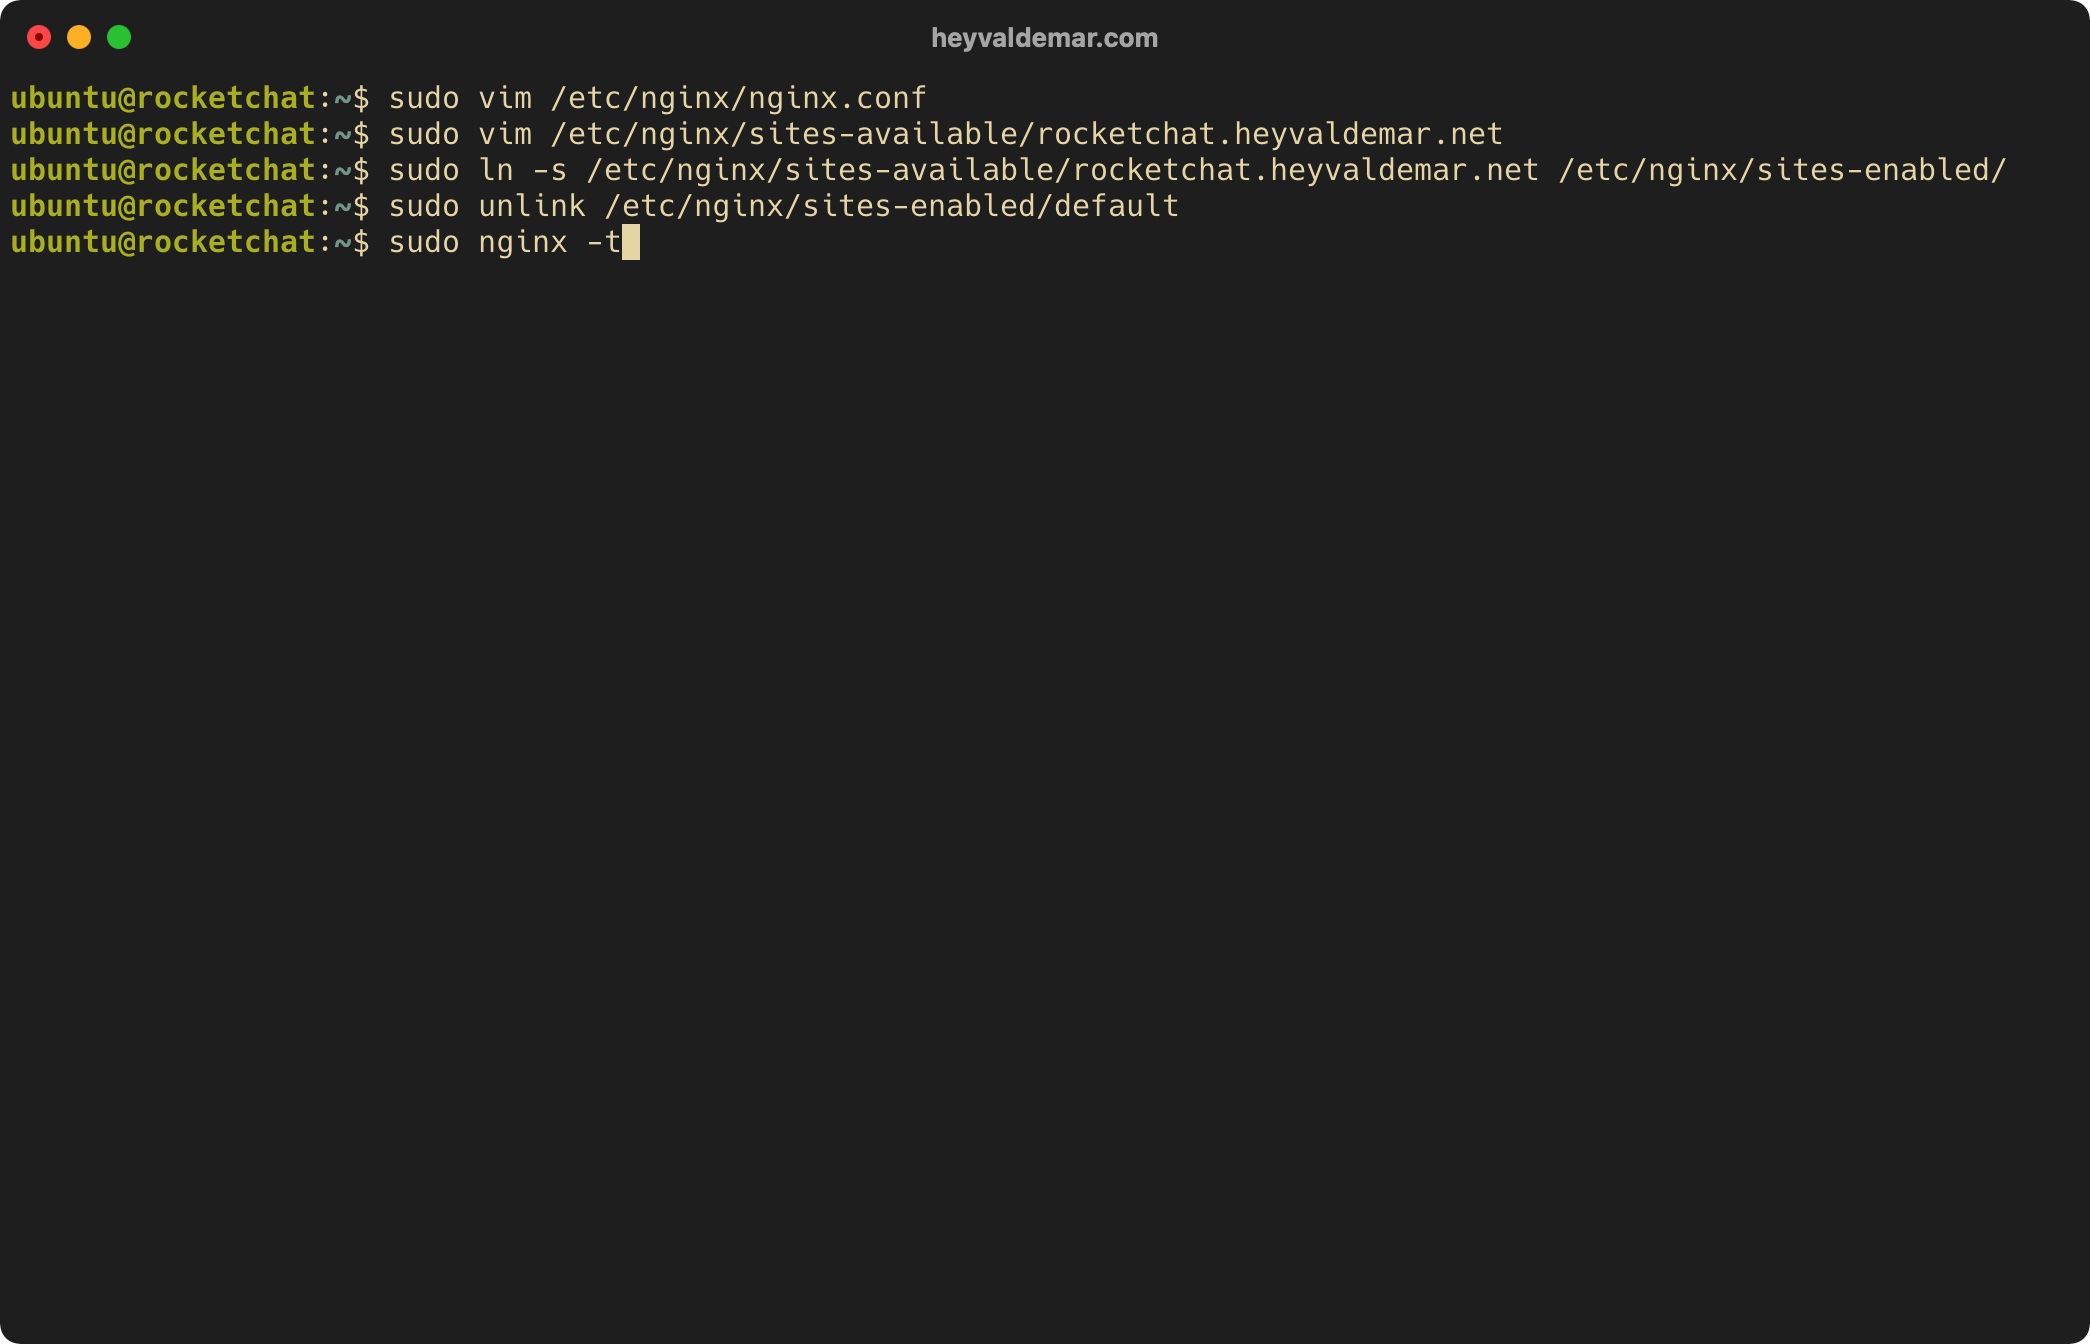
Restart Nginx to apply the changes, using the command:
sudo systemctl restart nginx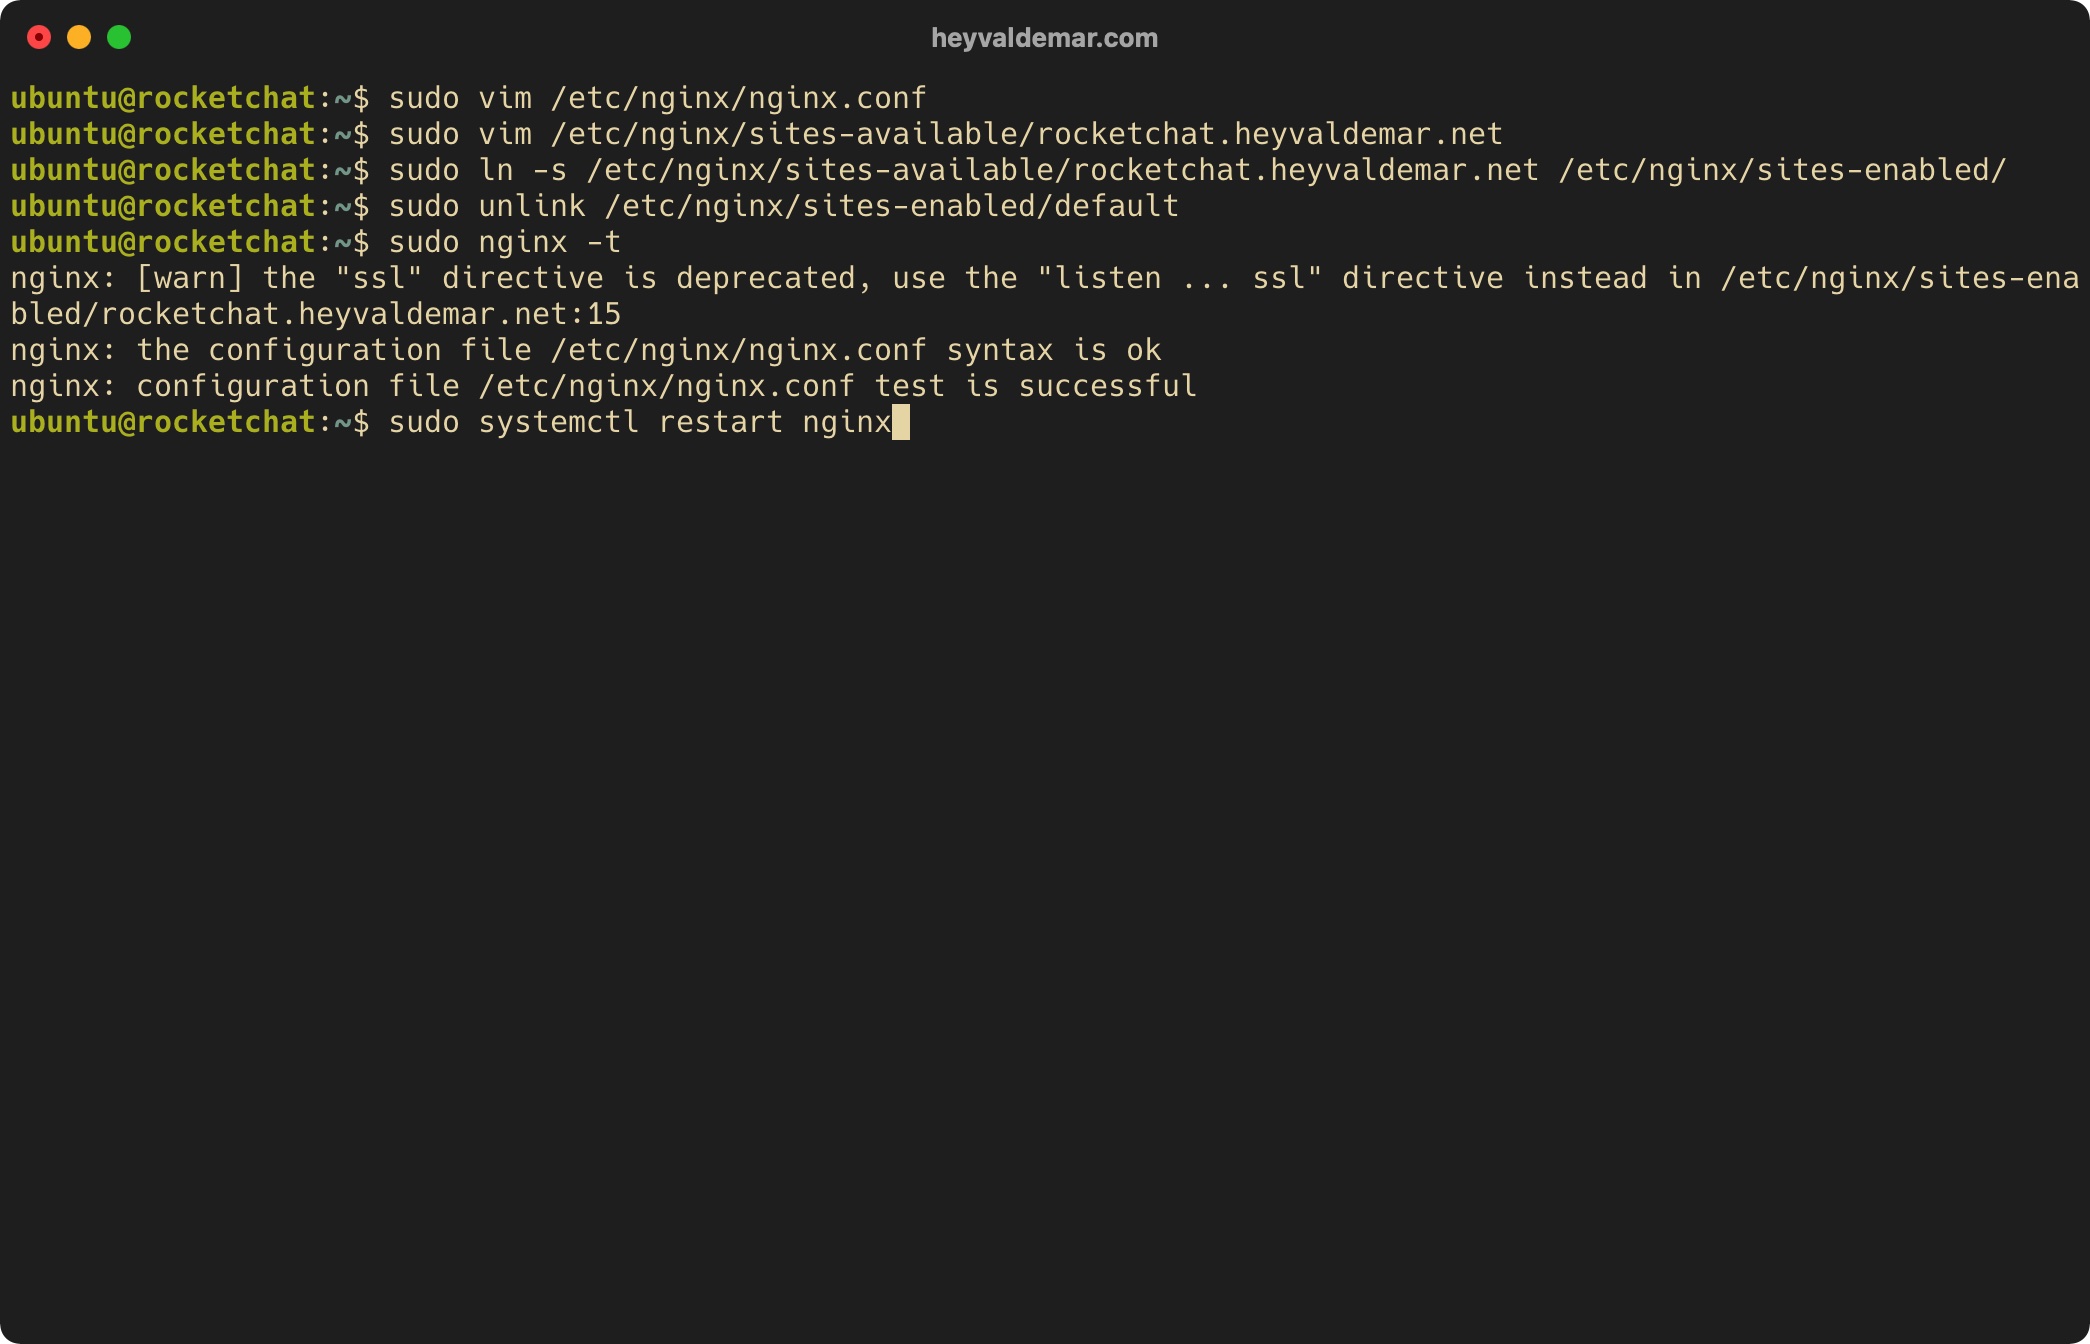
Verify that Nginx has successfully started using the command:
sudo systemctl status nginx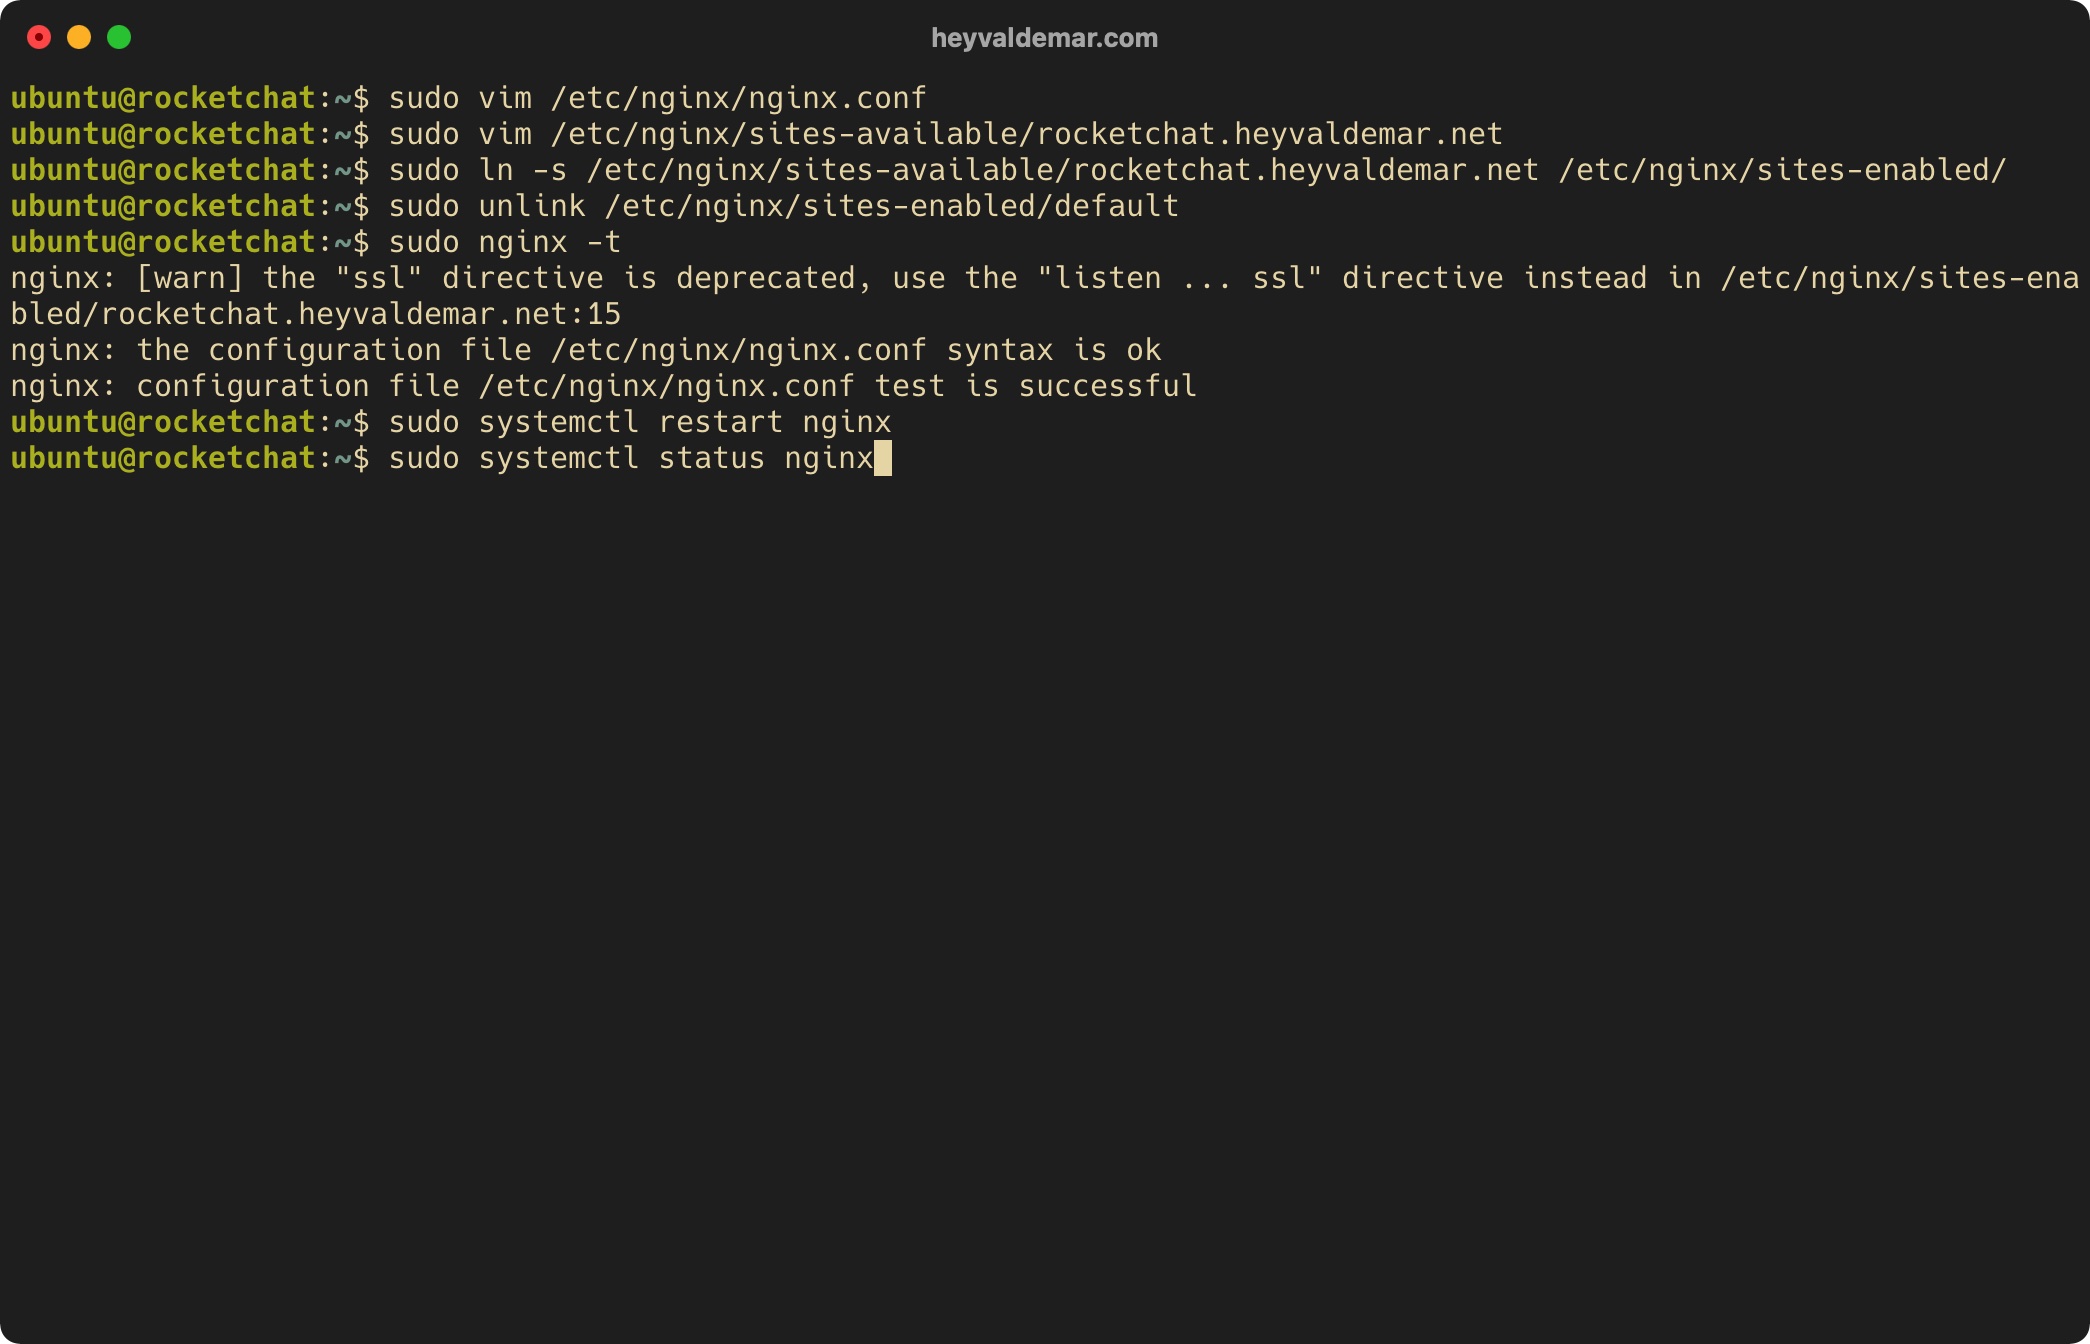
Now let’s download the archive “rocket.chat.tgz” containing the files for installing Rocket.Chat using the command:
curl -L https://releases.rocket.chat/latest/download -o /tmp/rocket.chat.tgz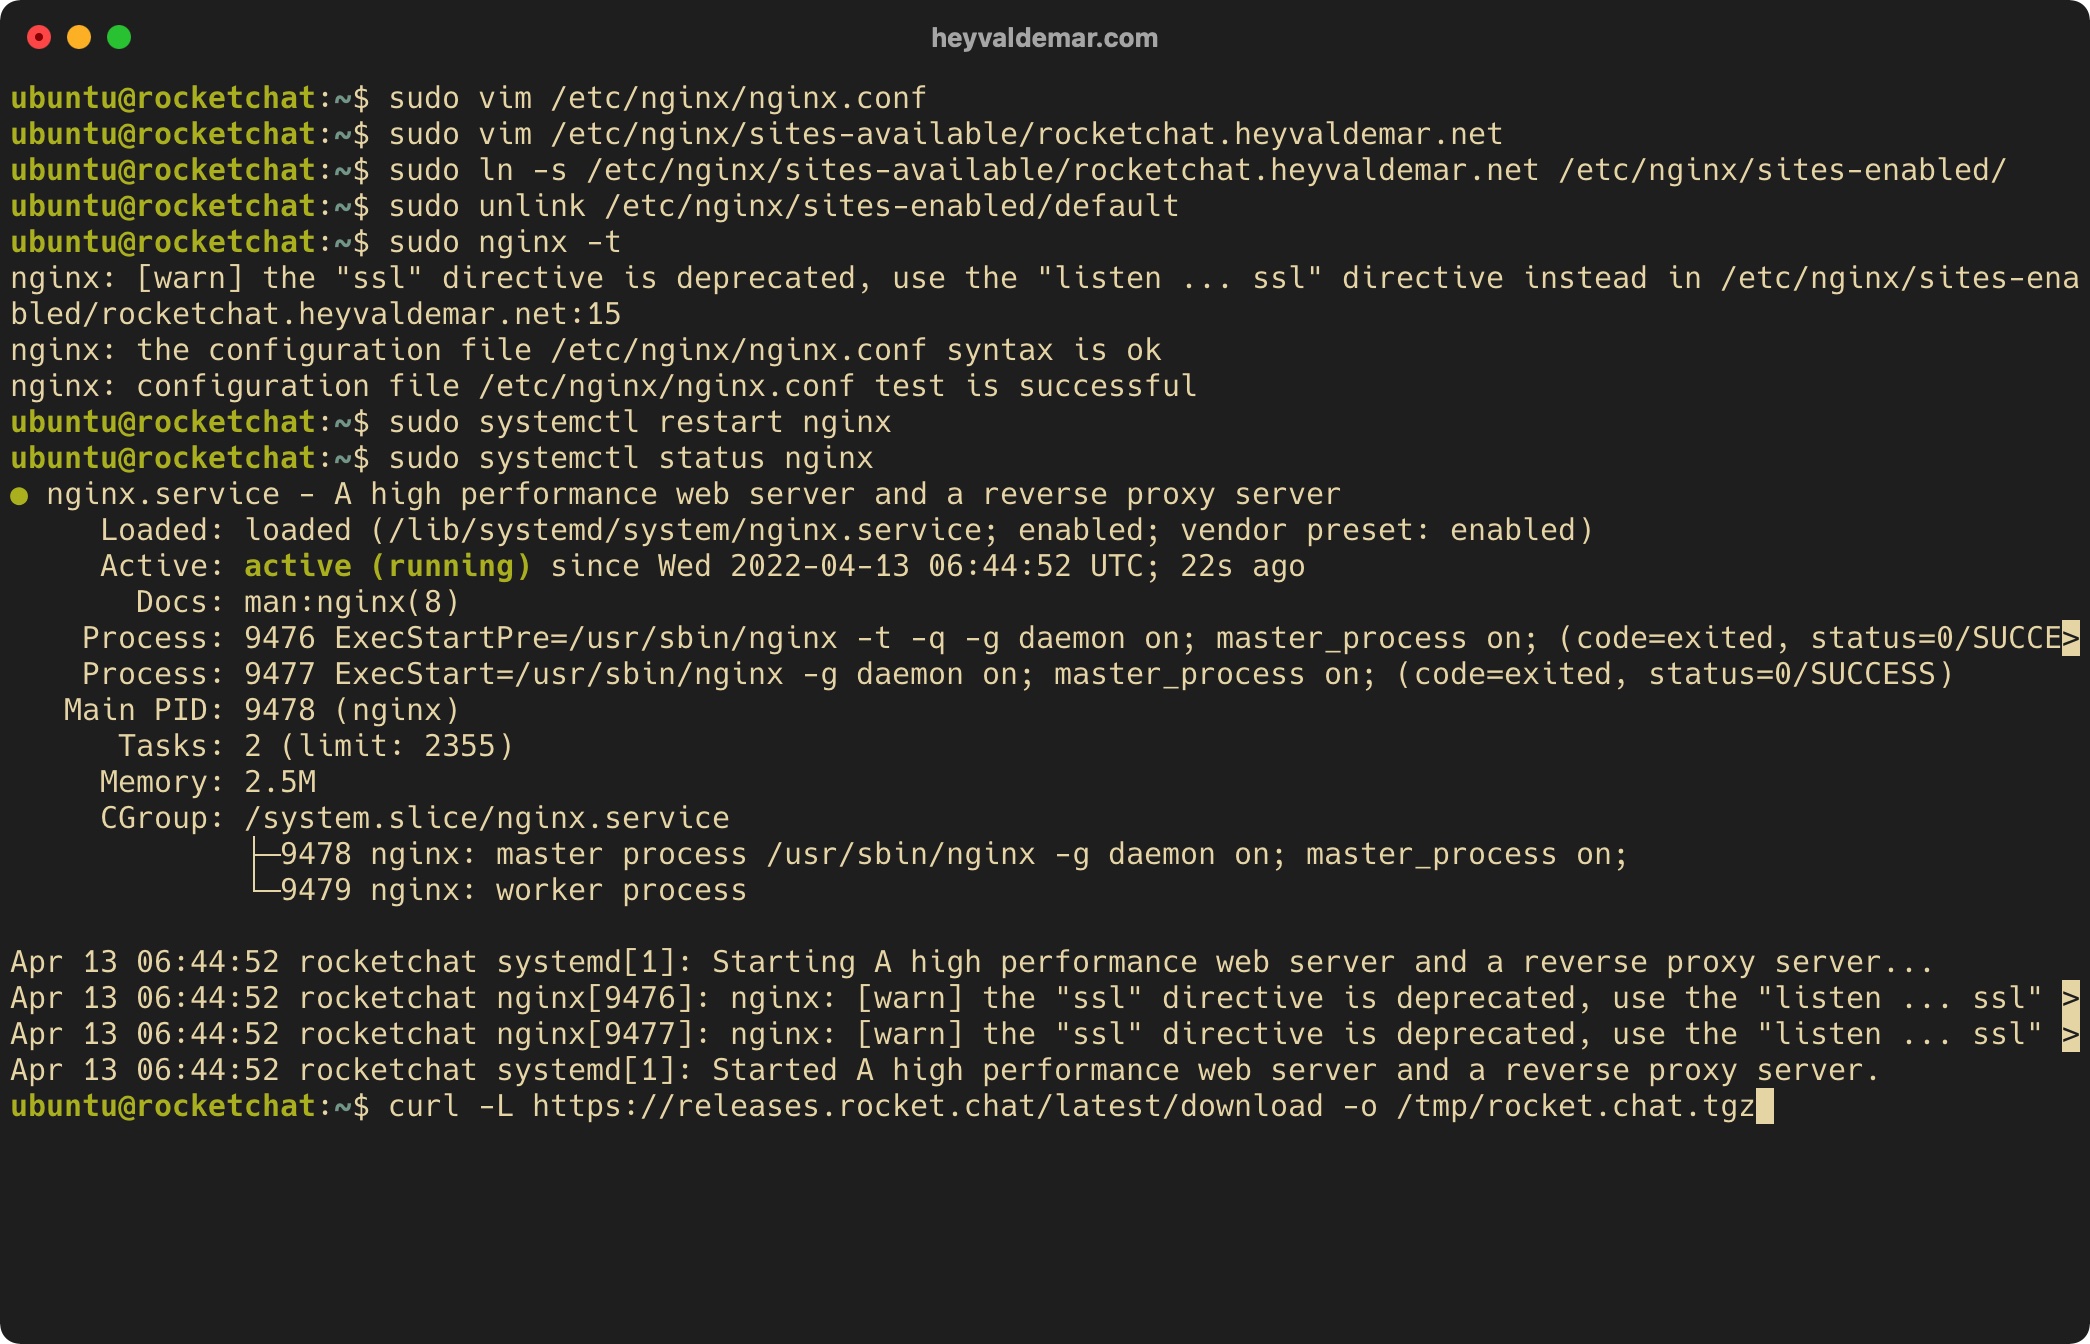
Unpack the downloaded archive “rocket.chat.tgz” using the command:
tar -xzf /tmp/rocket.chat.tgz -C /tmp
Let’s delete the previously downloaded “rocket.chat.tgz” archive containing the files for installing Rocket.Chat using the command:
rm -f /tmp/rocket.chat.tgz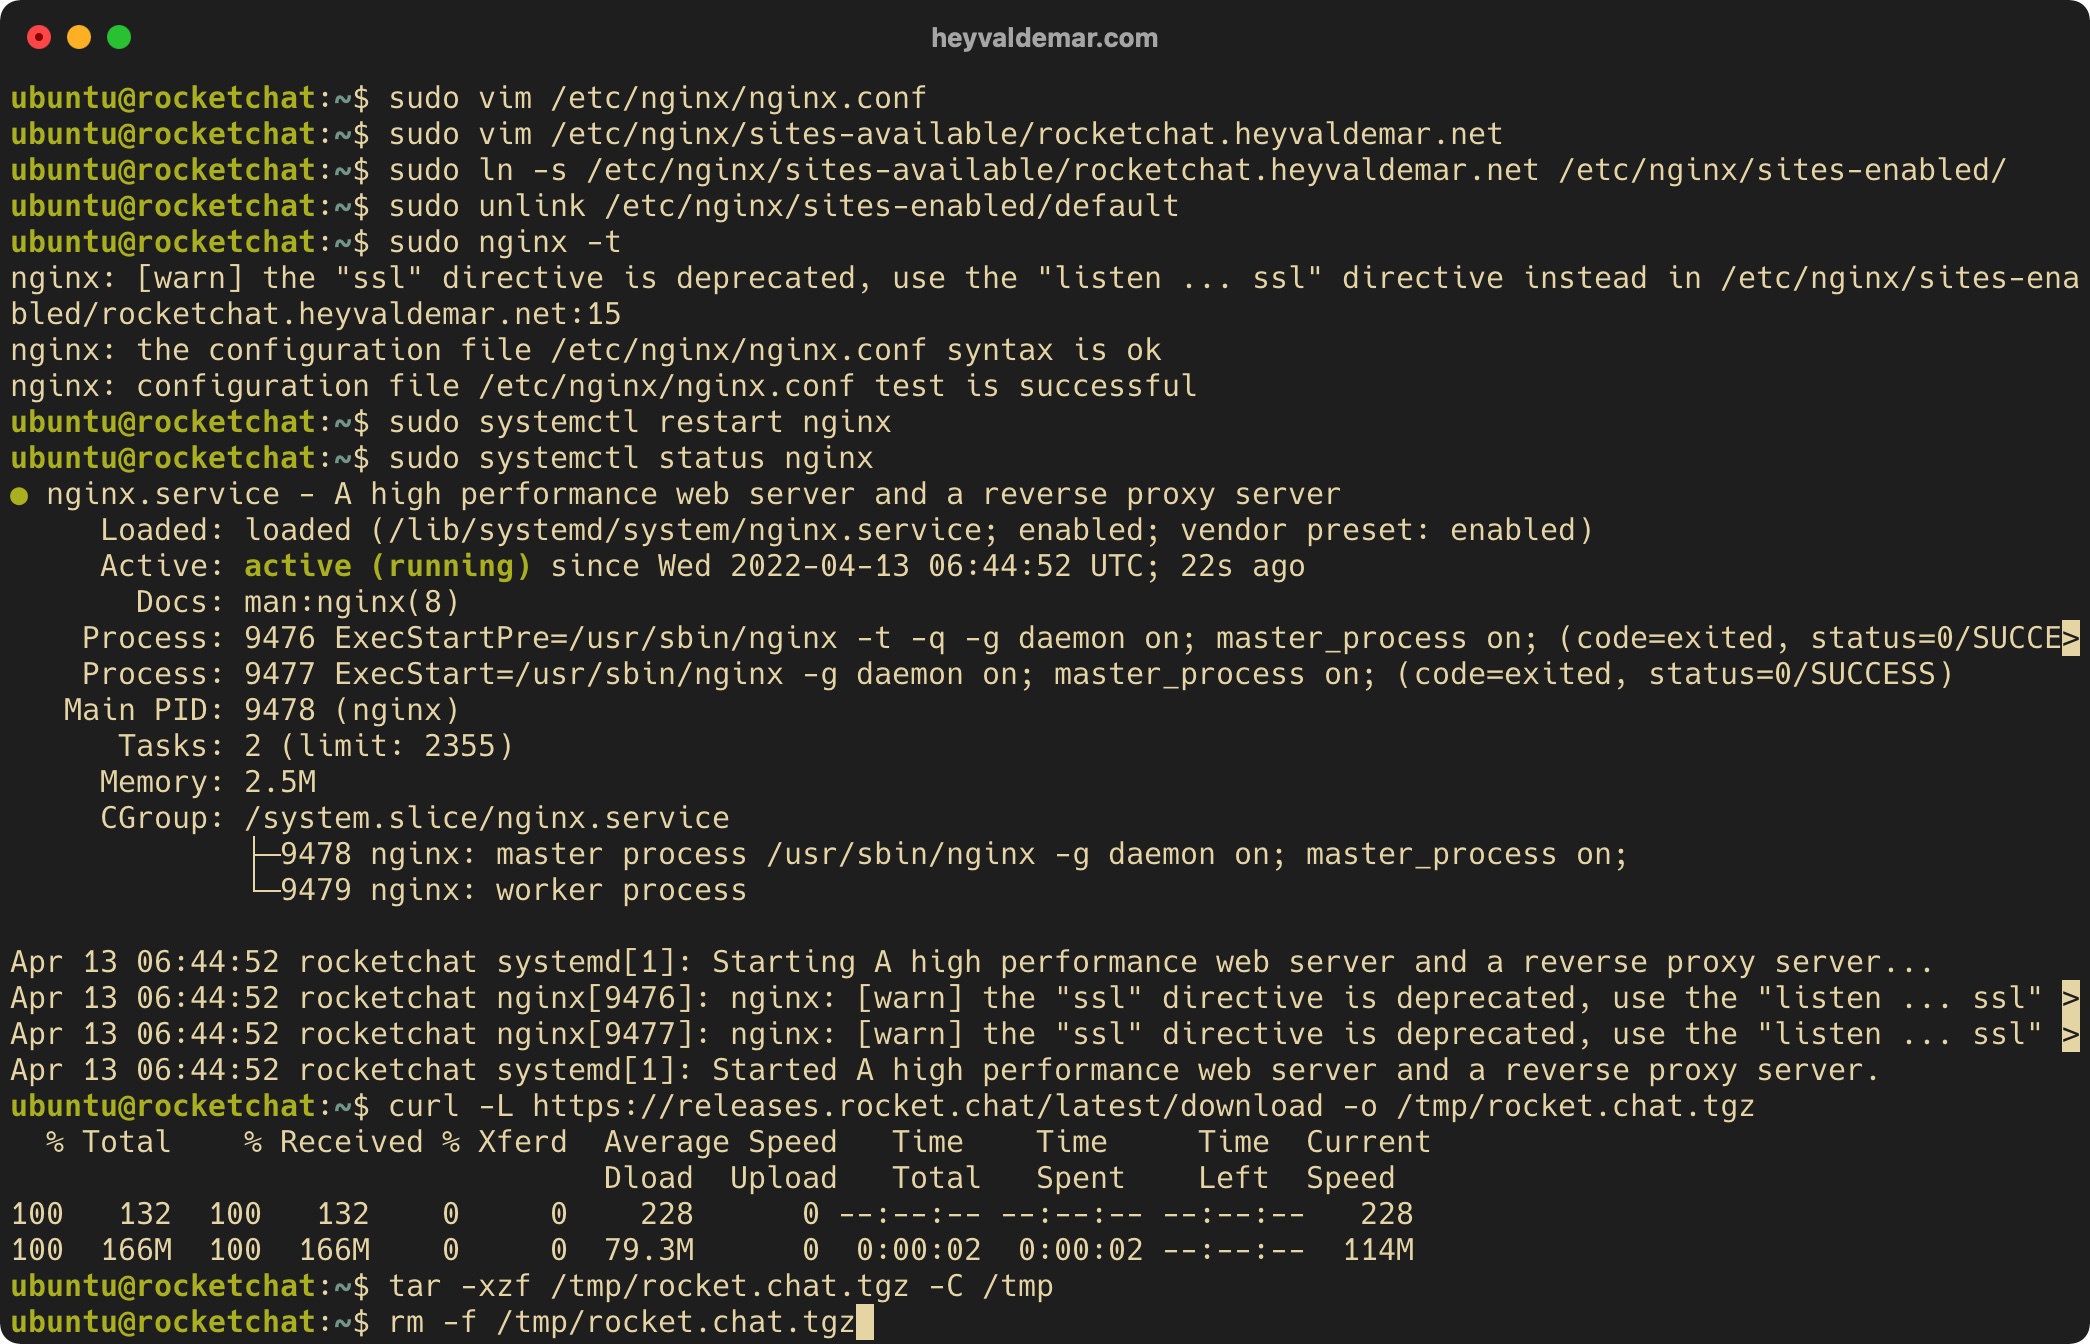
Let’s go to the “server” folder using the command:
cd /tmp/bundle/programs/server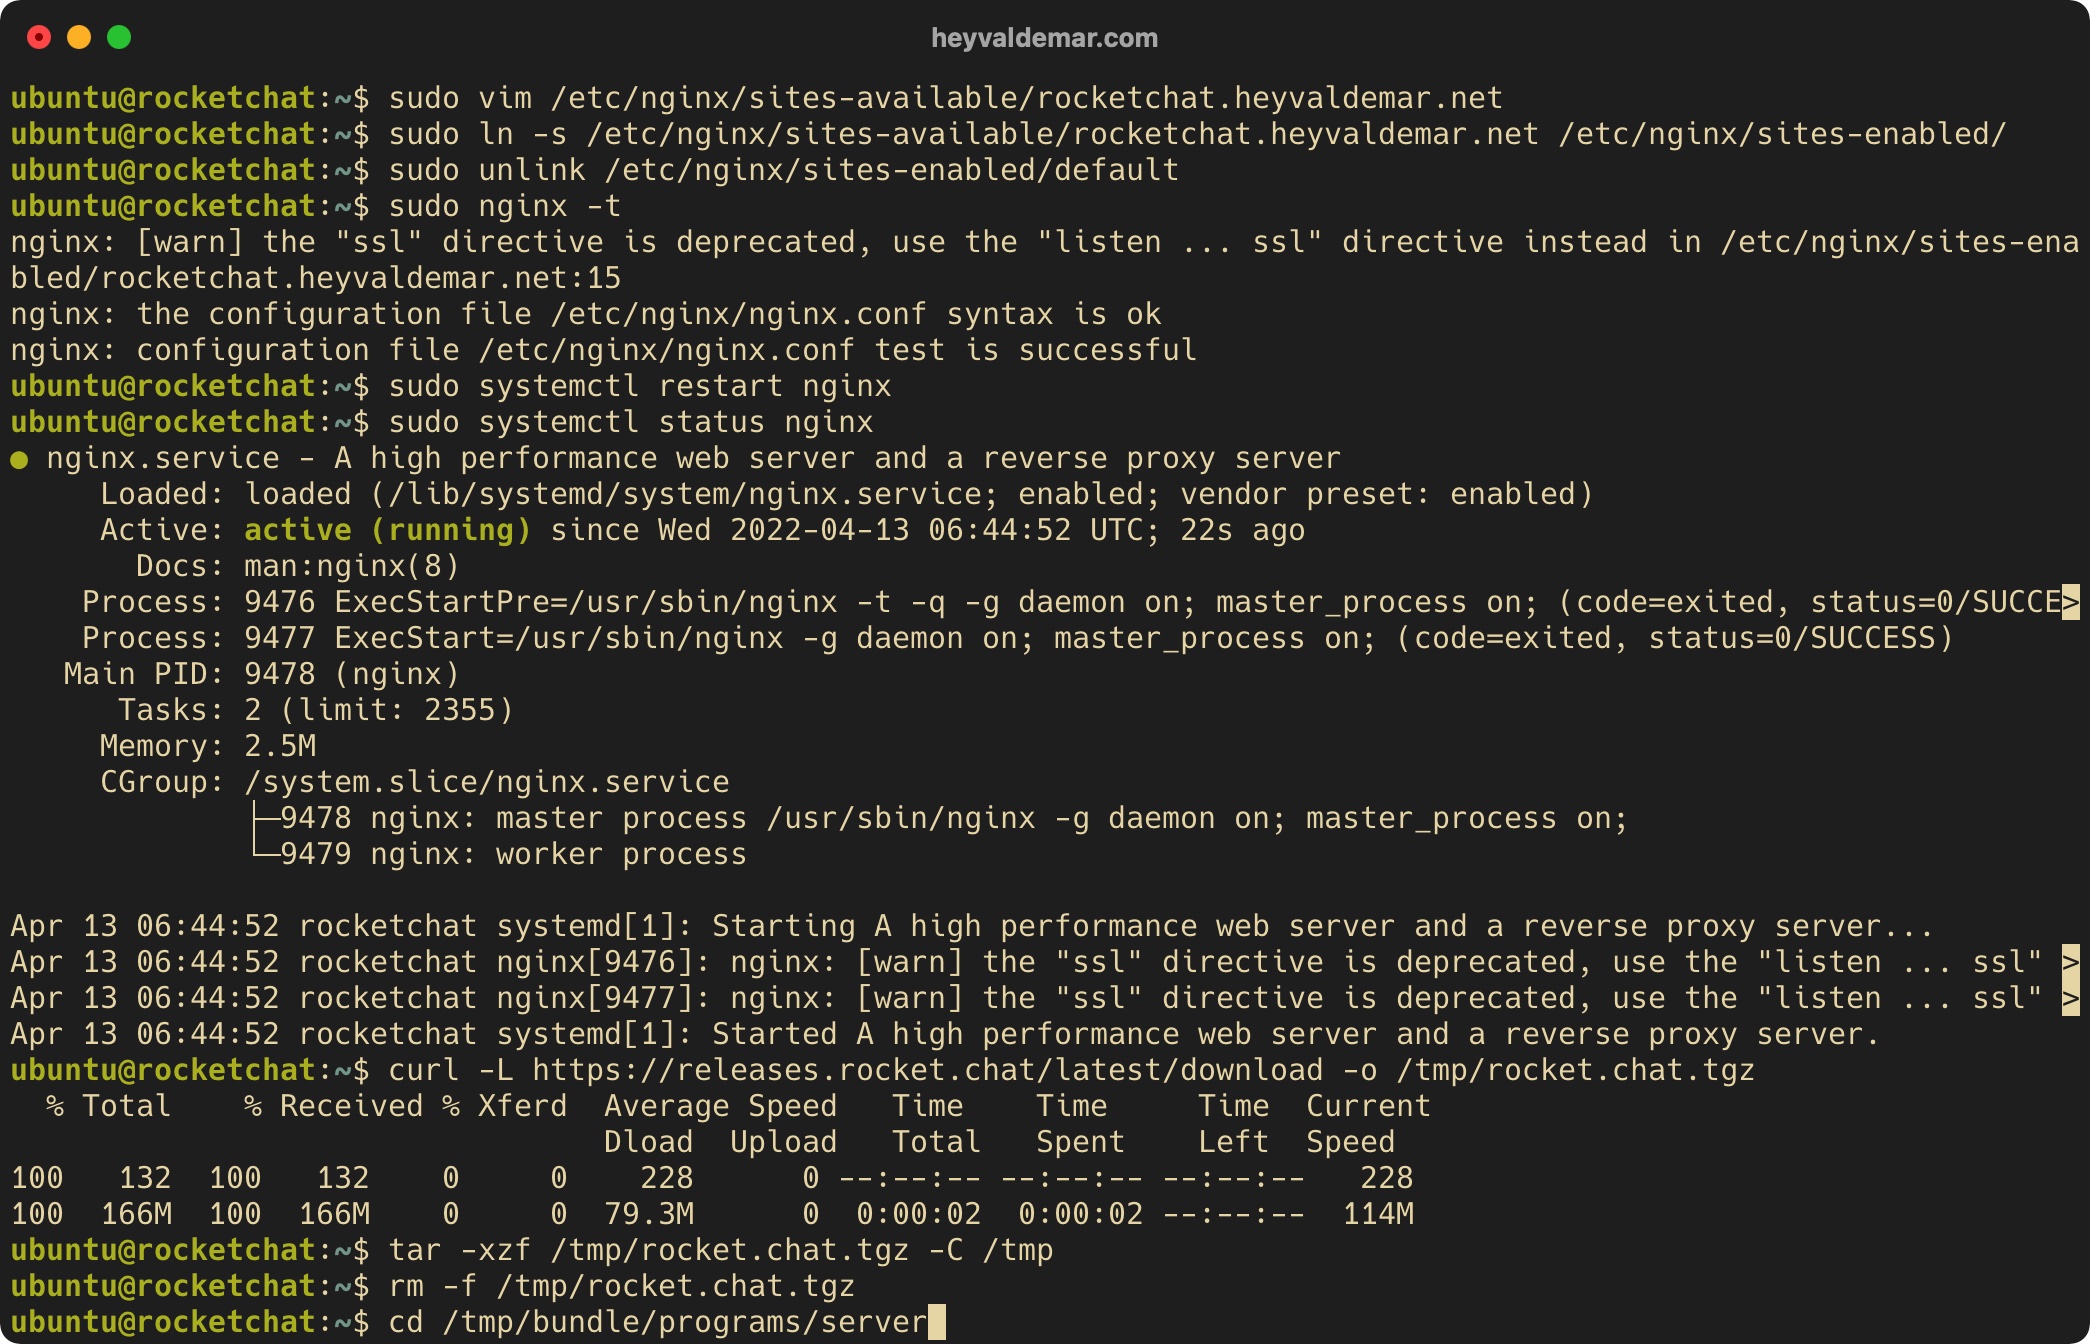
Now let’s start the installation of Rocket.Chat using the command:
npm install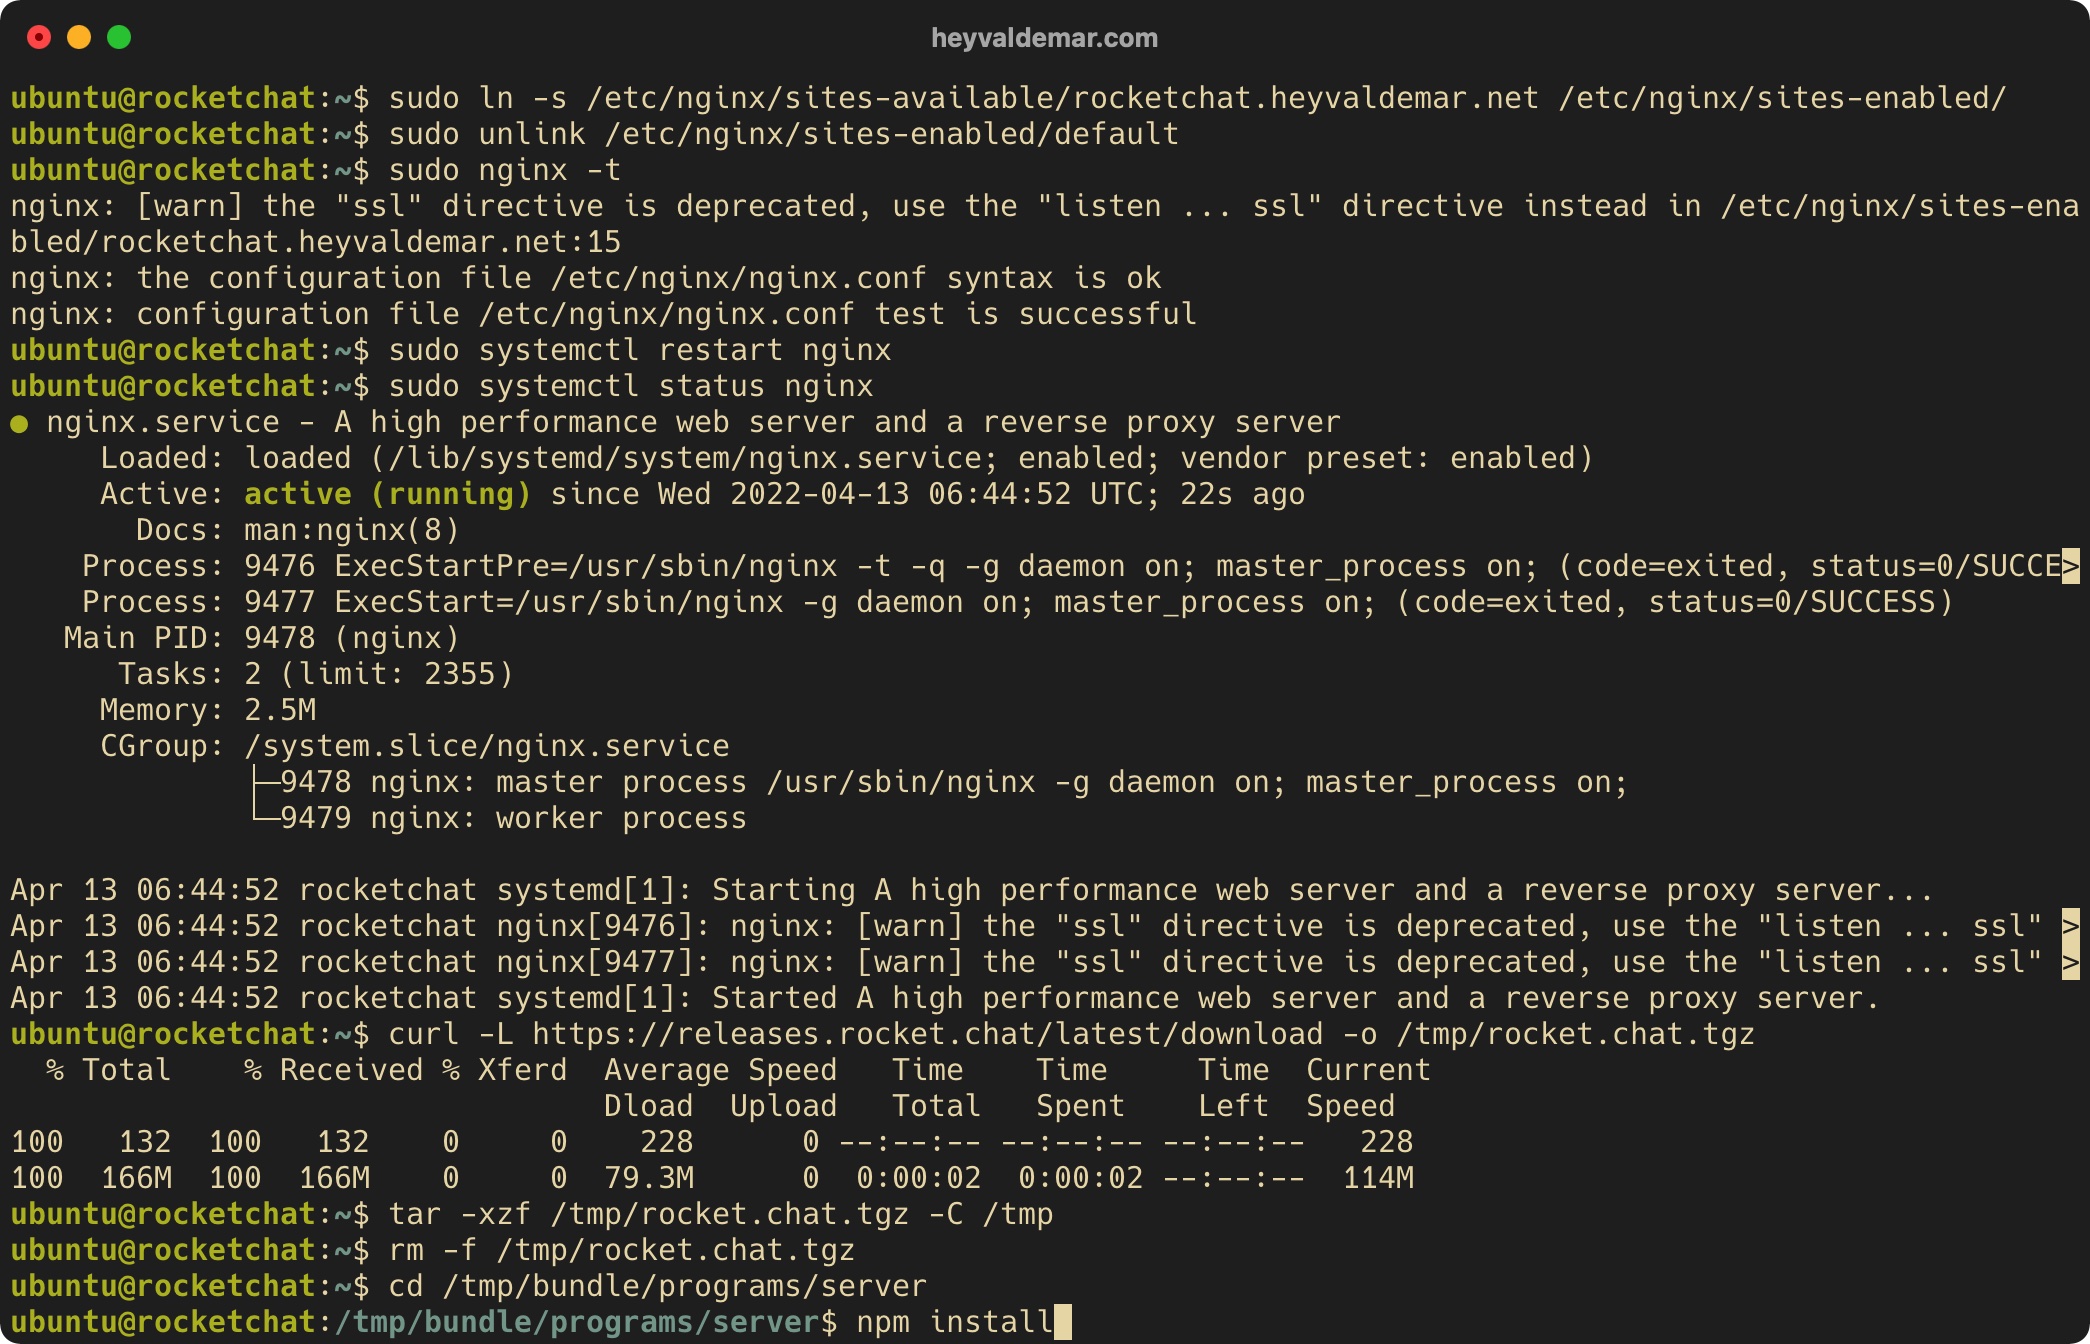
Rename the “bundle” folder to “Rocket.Chat” using the command:
sudo mv /tmp/bundle /opt/Rocket.Chat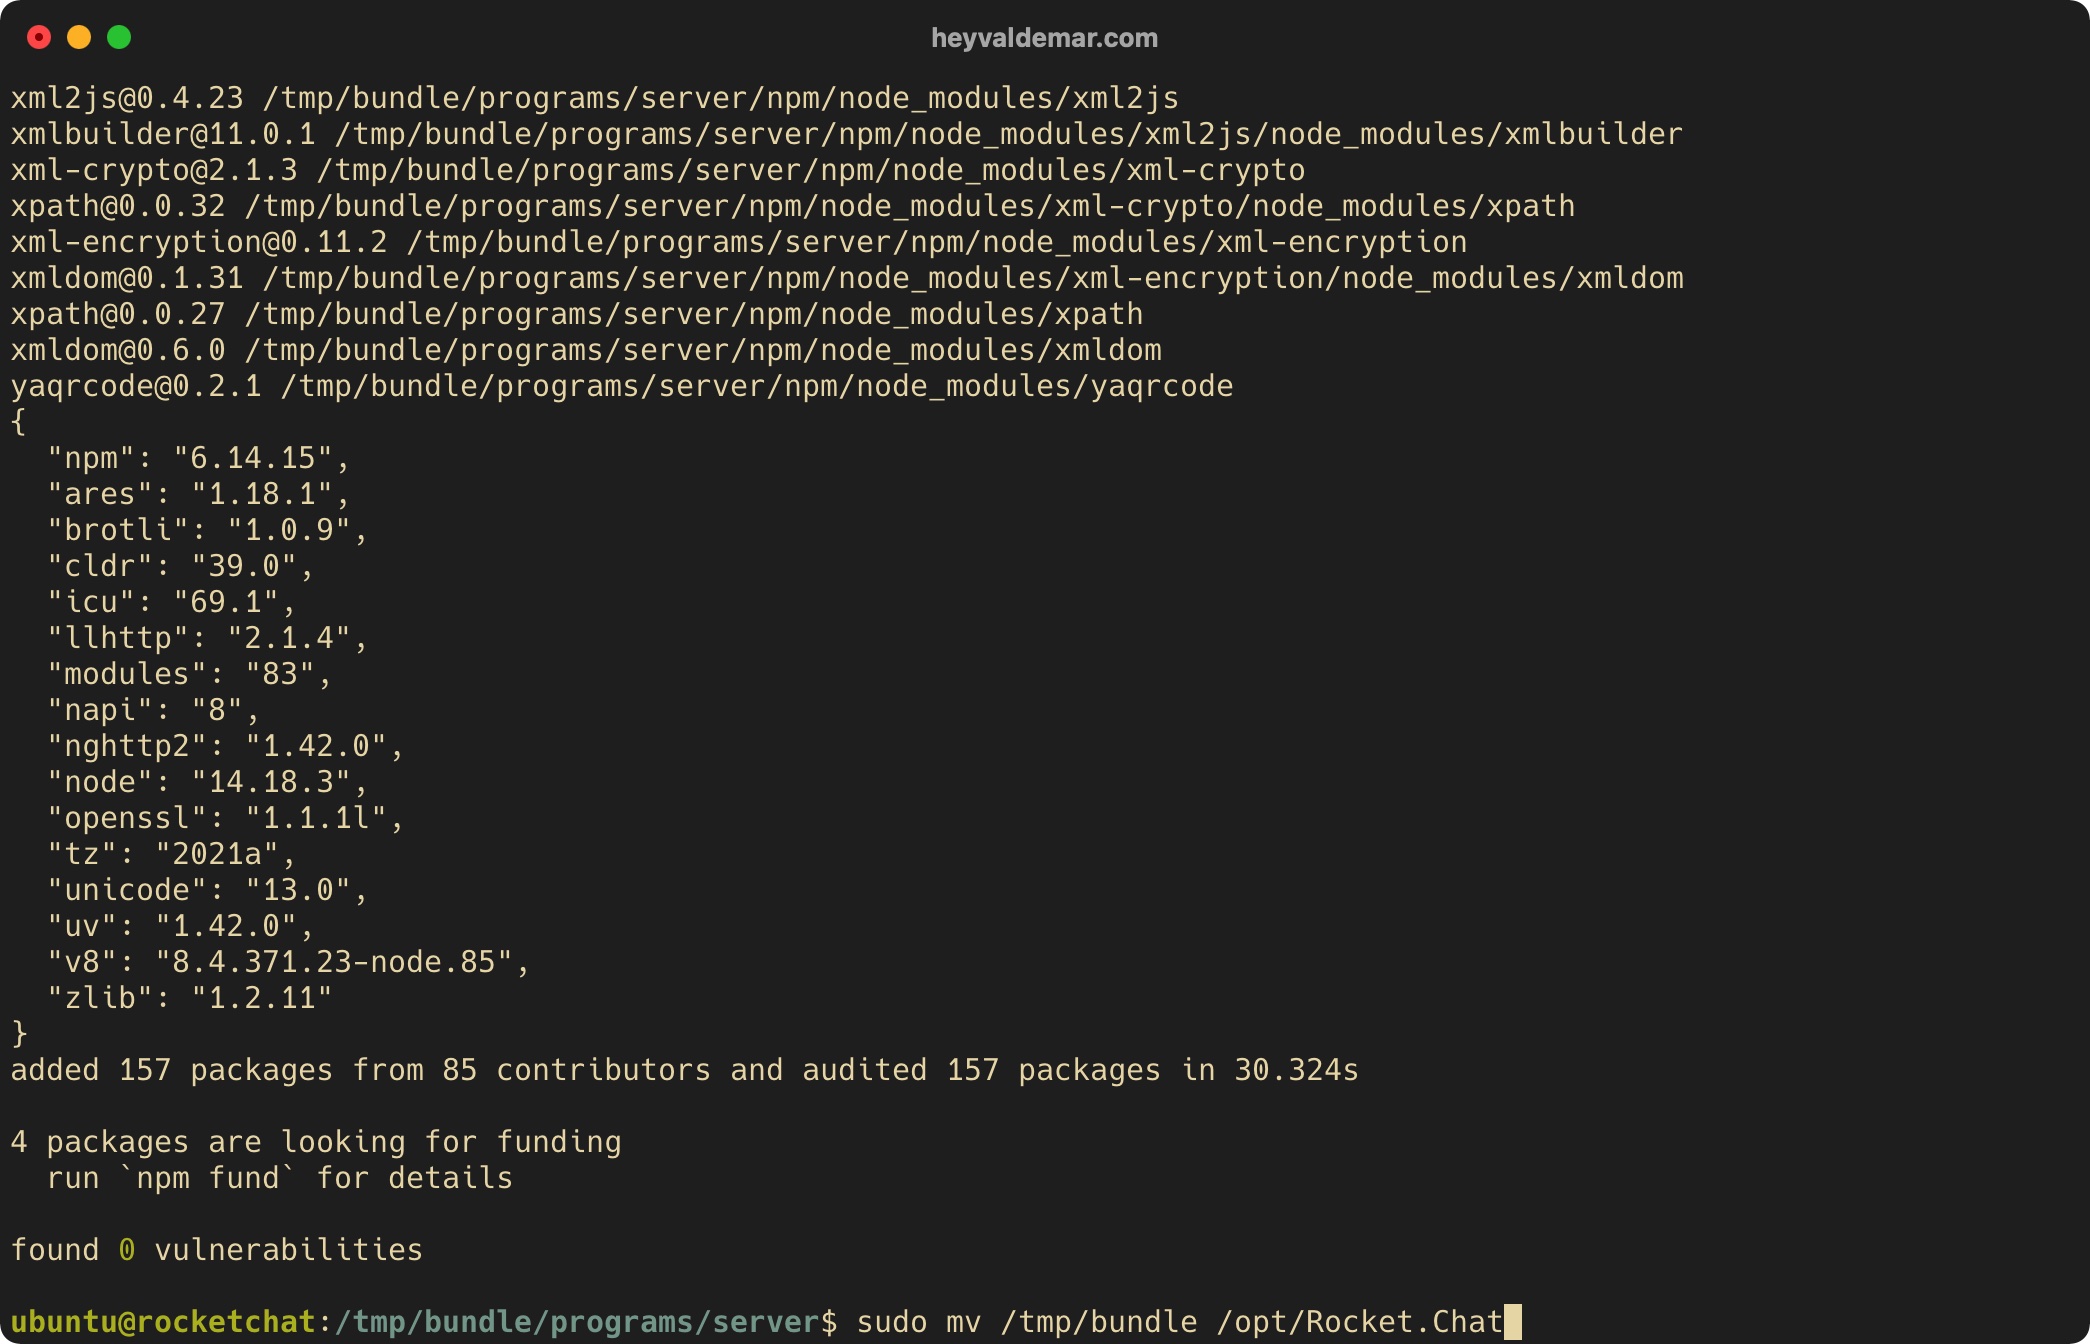
Now let’s create the “rocket” user, which will be used to launch Rocket.Chat, with the command:
sudo useradd -M rocketchat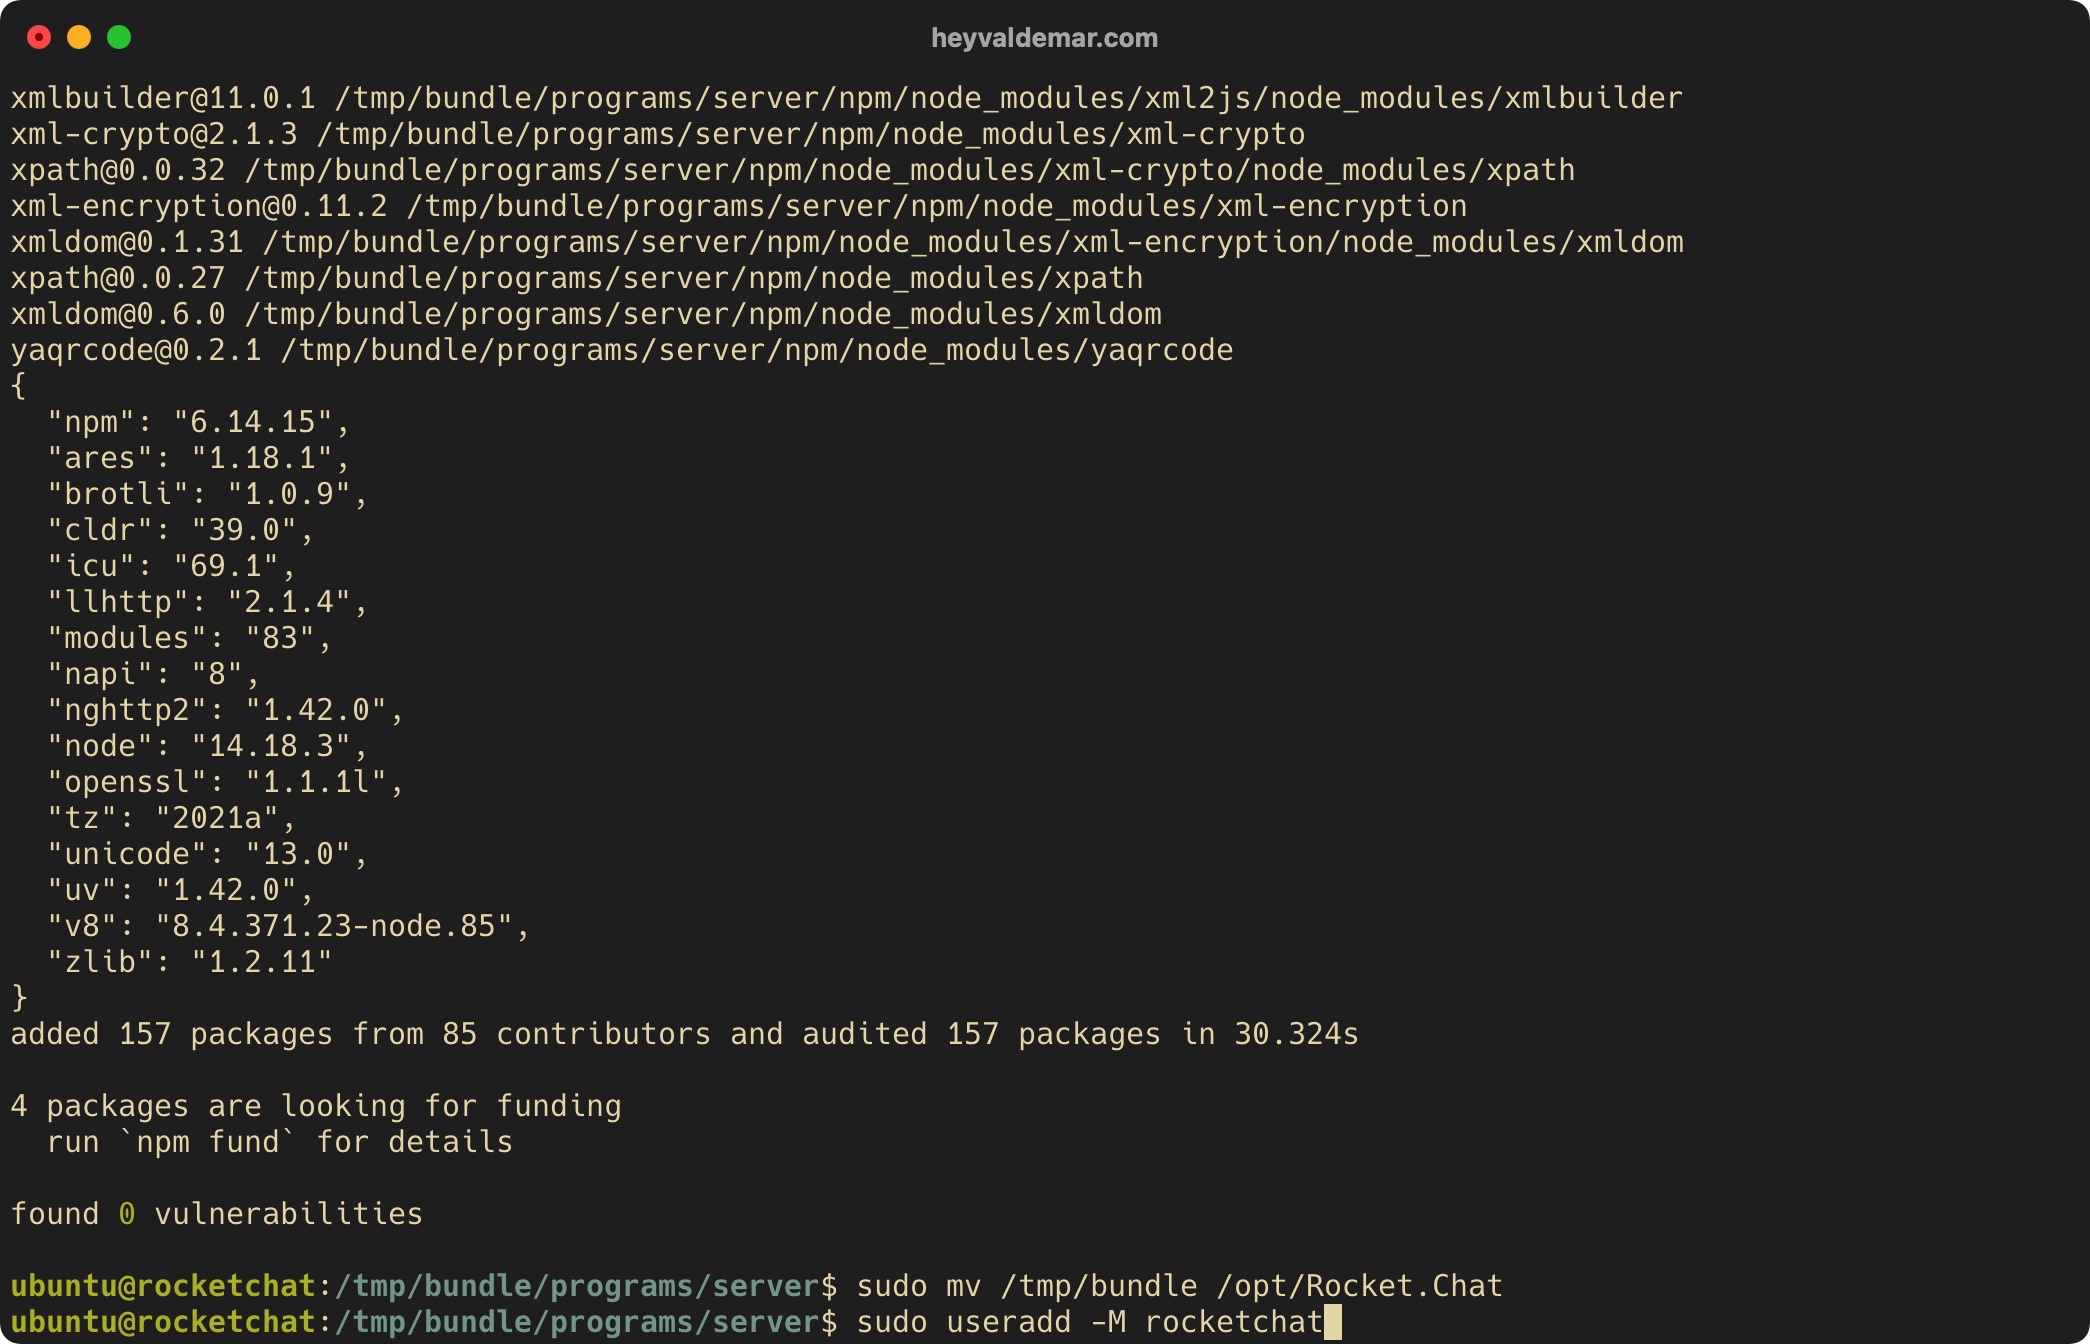
Block the user with the command:
sudo usermod -L rocketchat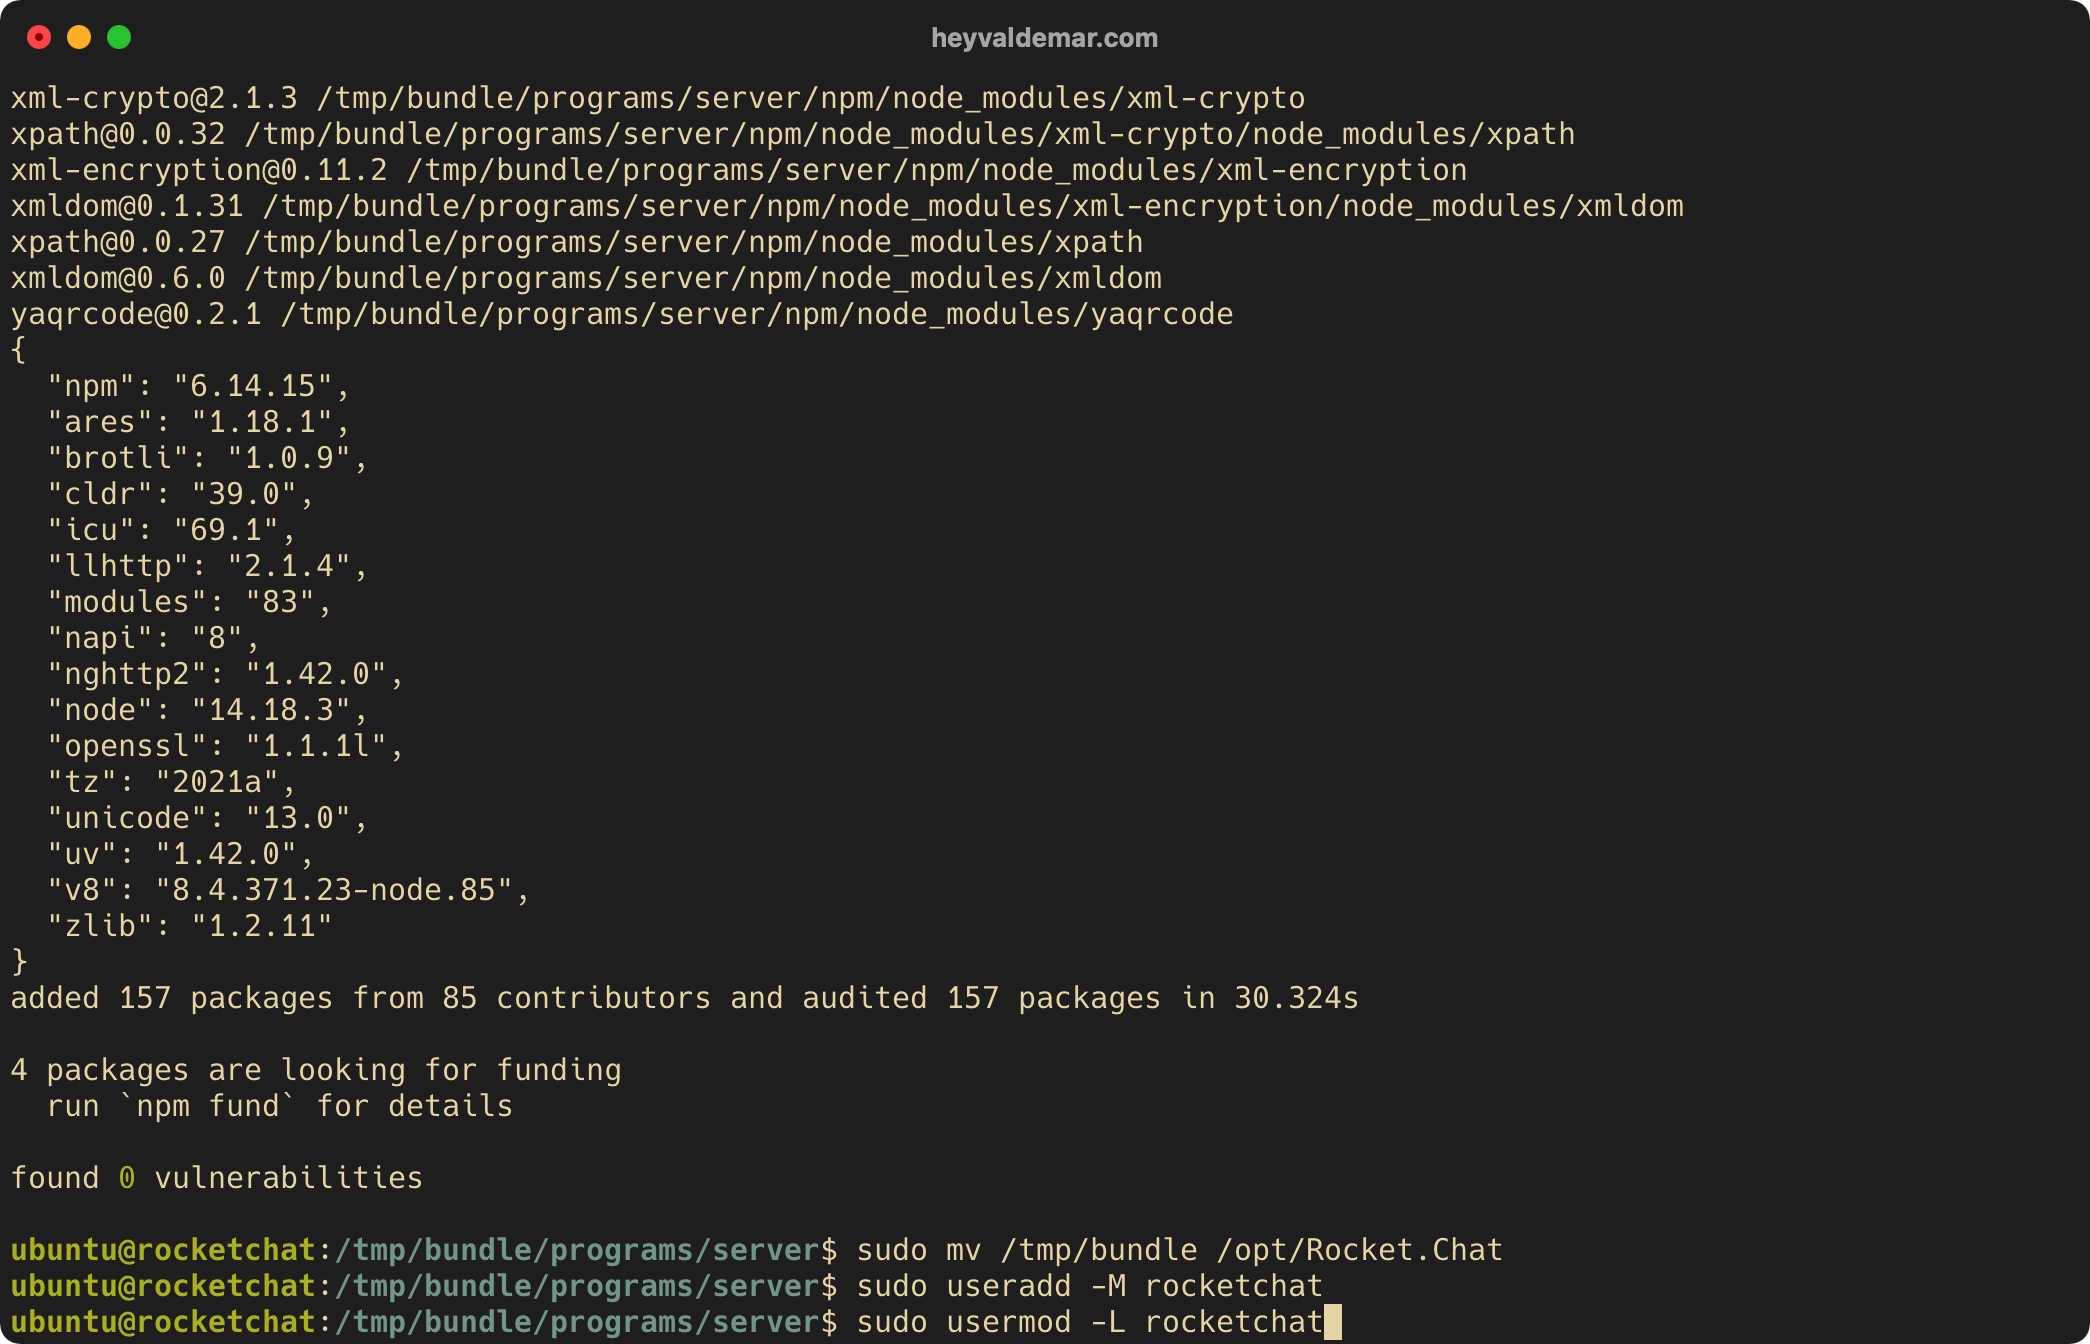
Assign the correct rights to the “/opt/Rocket.Chat” directory using the command:
sudo chown -R rocketchat:rocketchat /opt/Rocket.Chat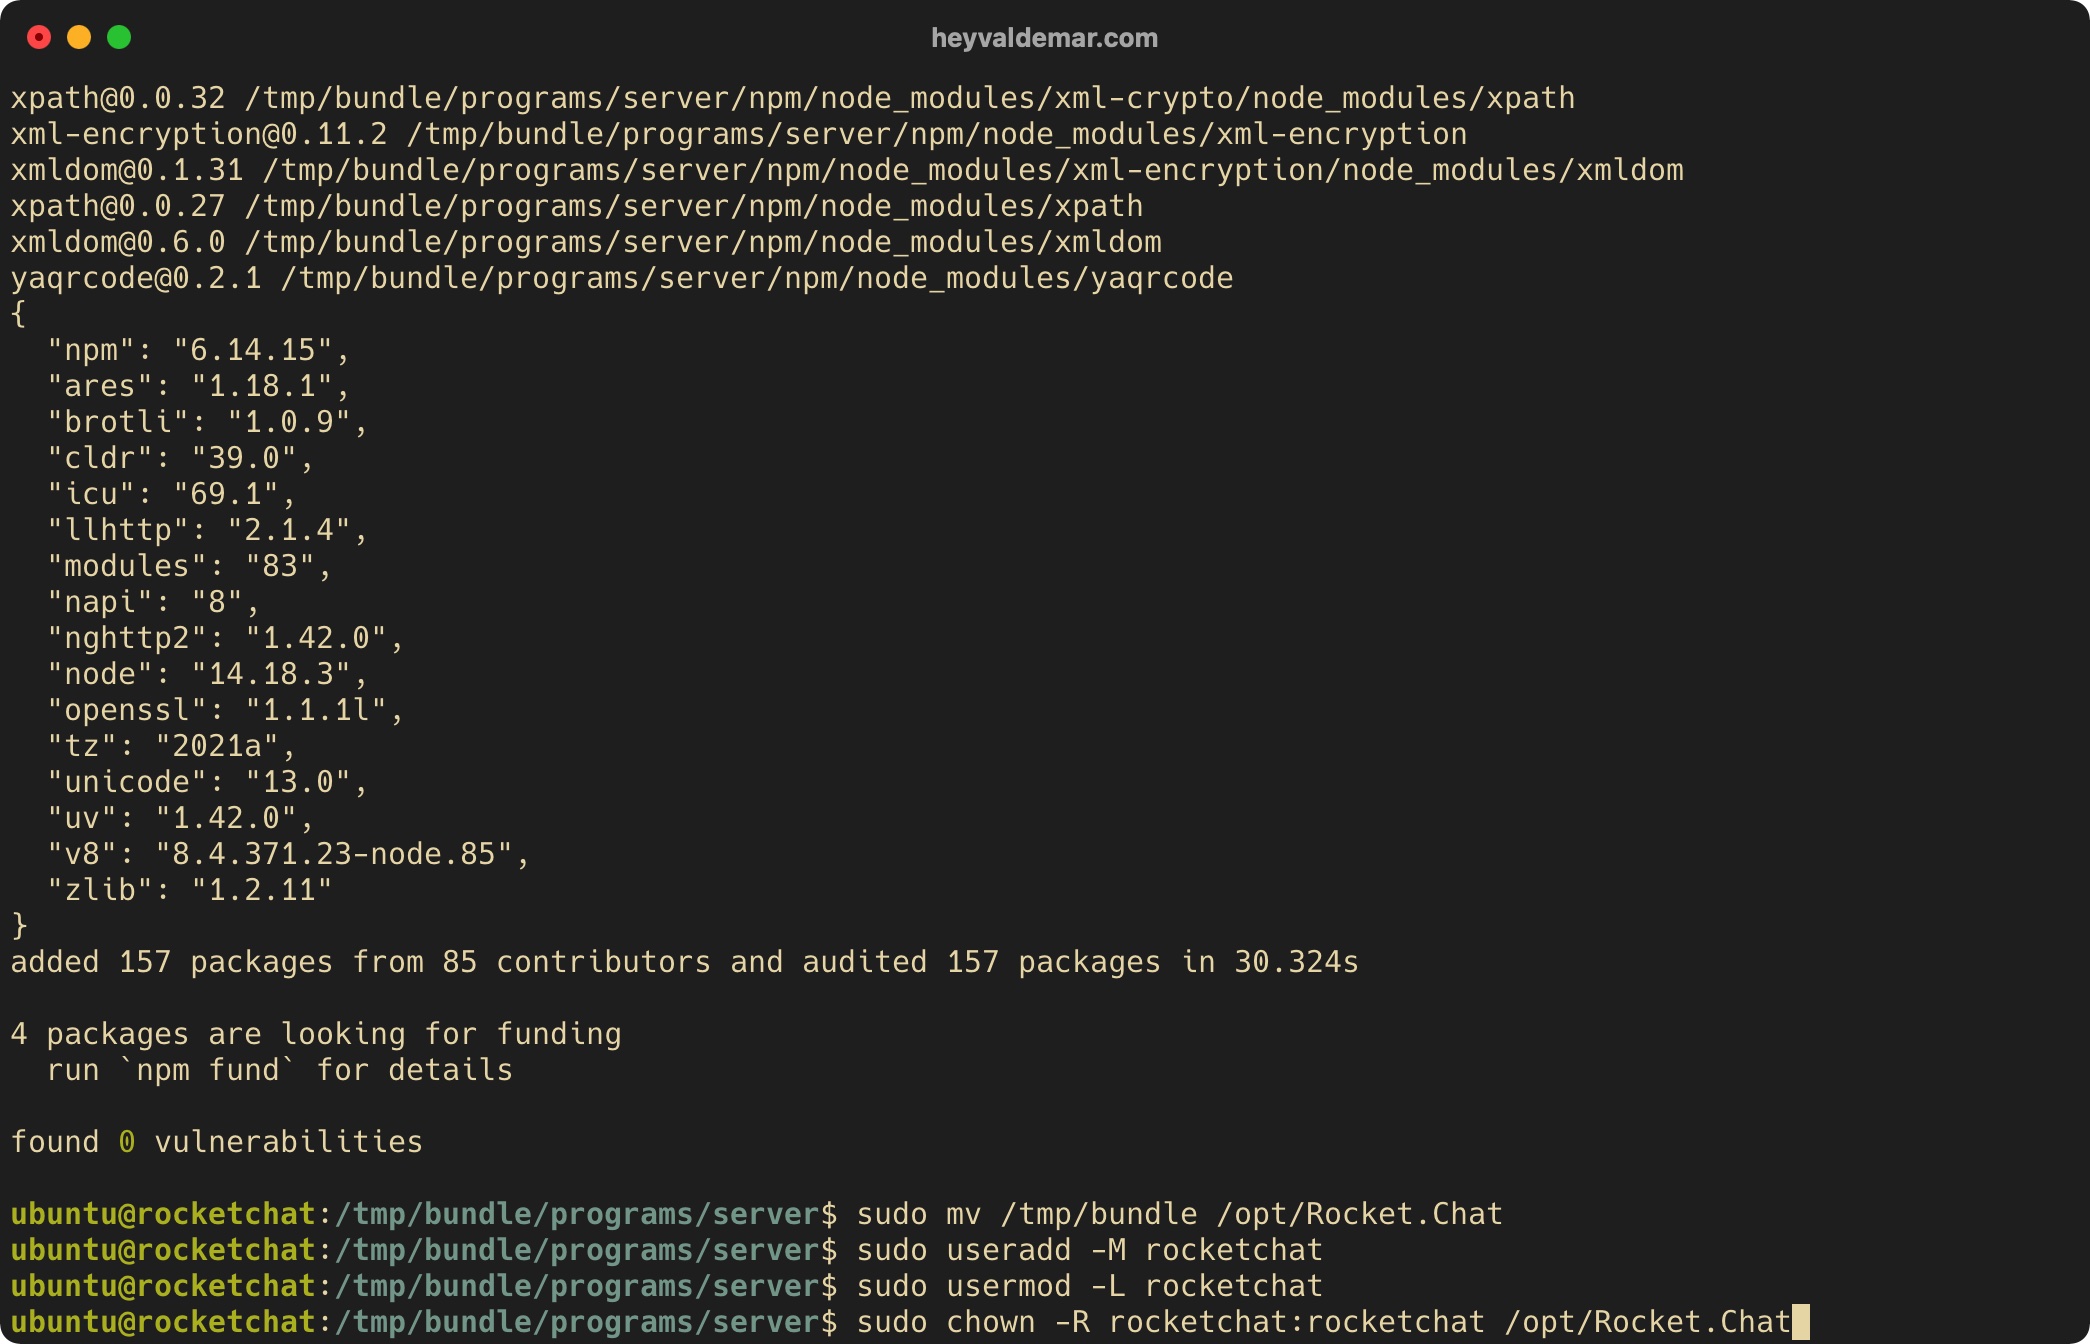
Next, you need to configure the autostart of the Rocket.Chat service when the operating system starts.
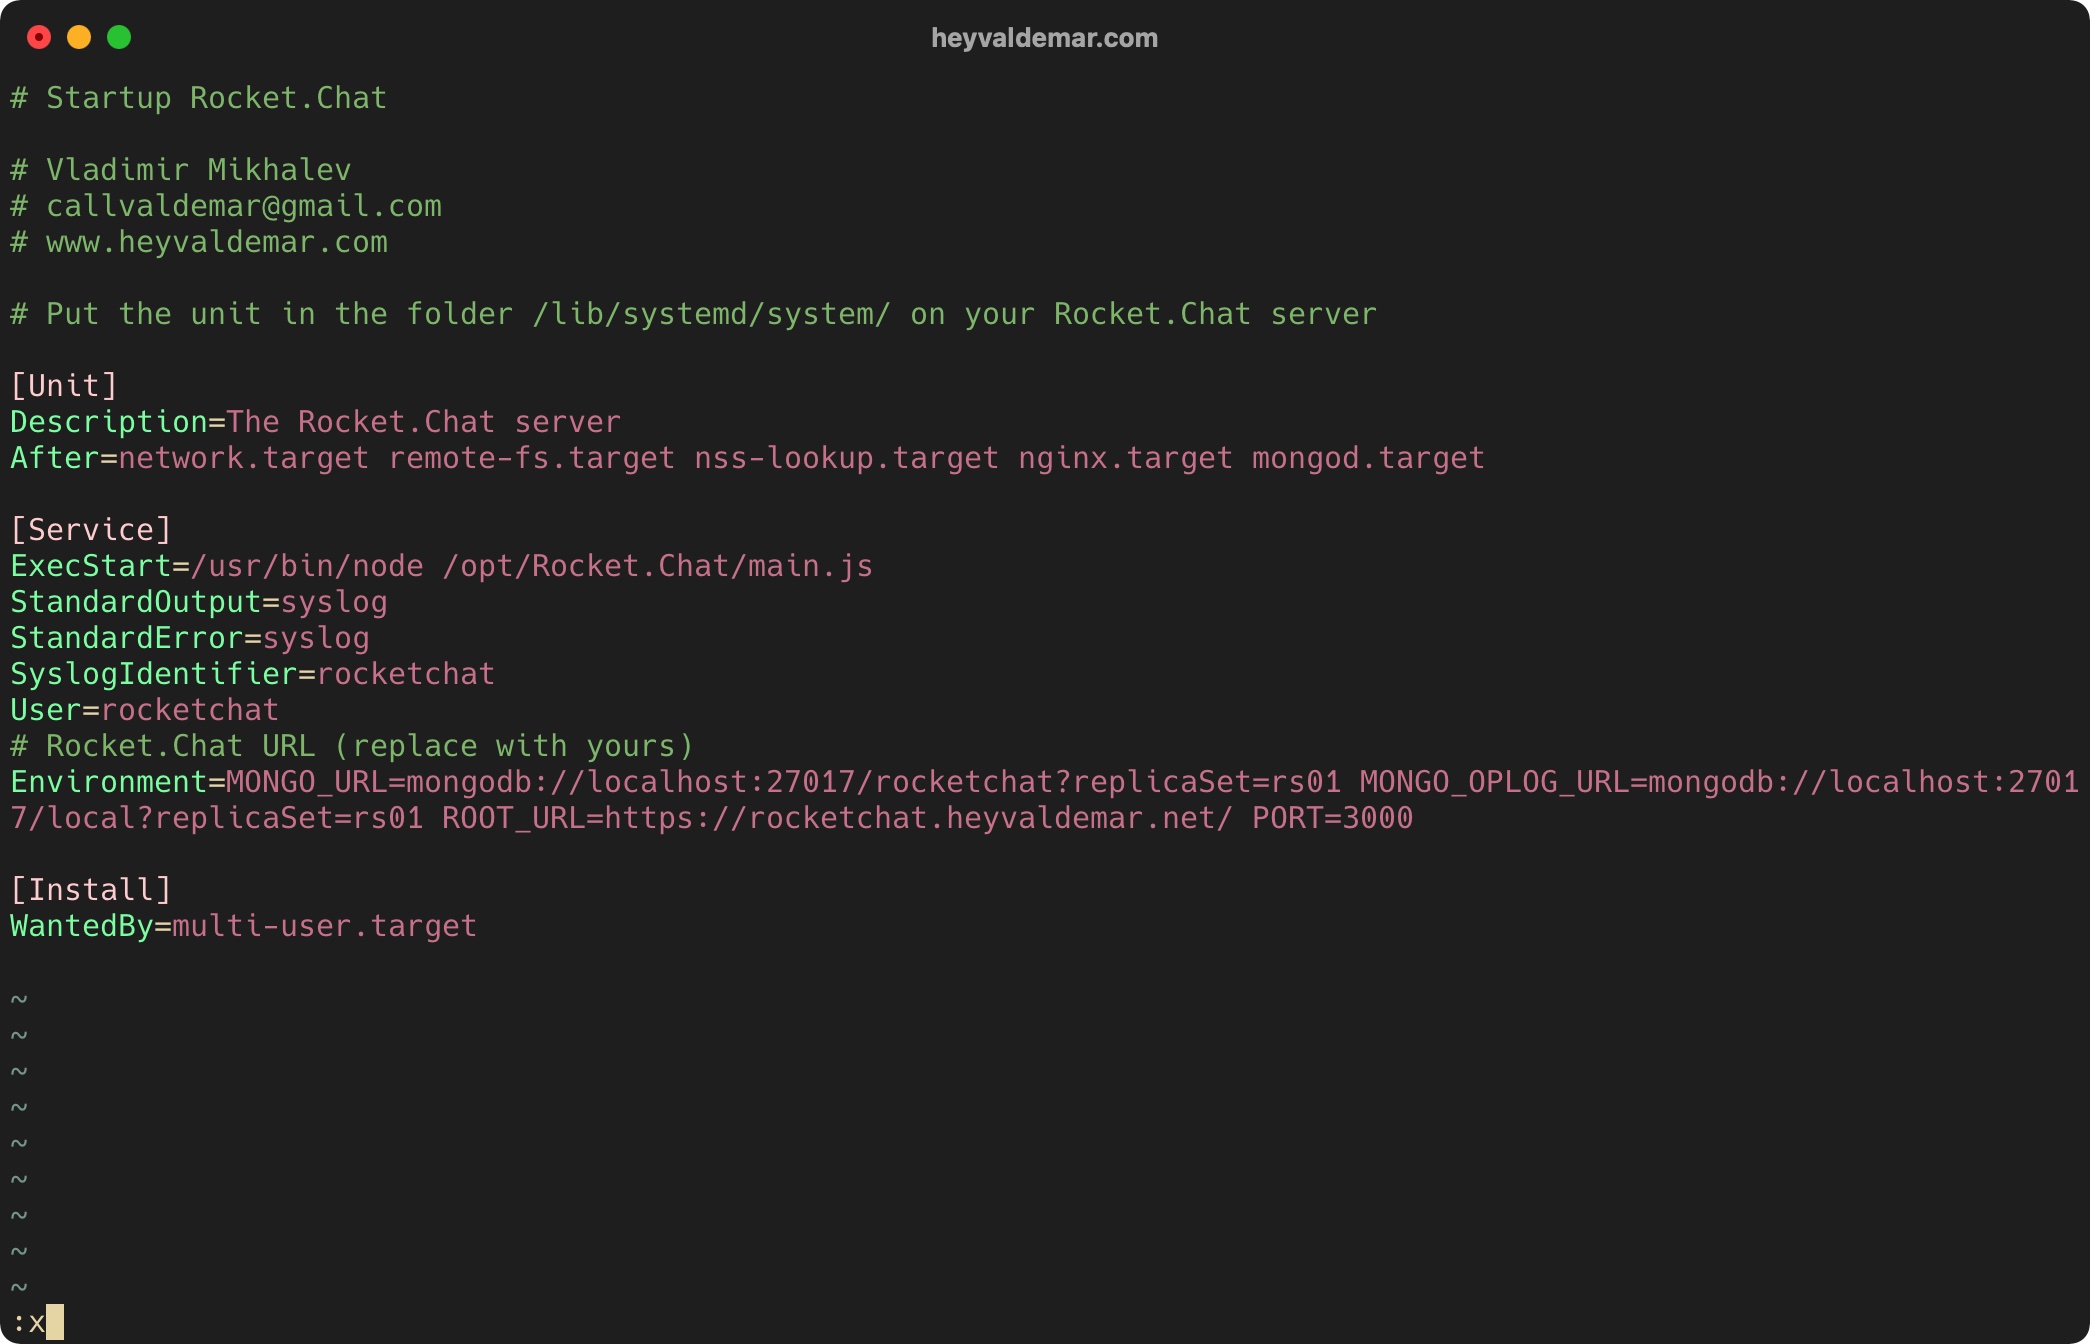
Let’s create a unit that will contain the necessary configuration for the Rocket.Chat service in the “/etc/systemd/system/” directory using the command:
sudo vim /lib/systemd/system/rocketchat.service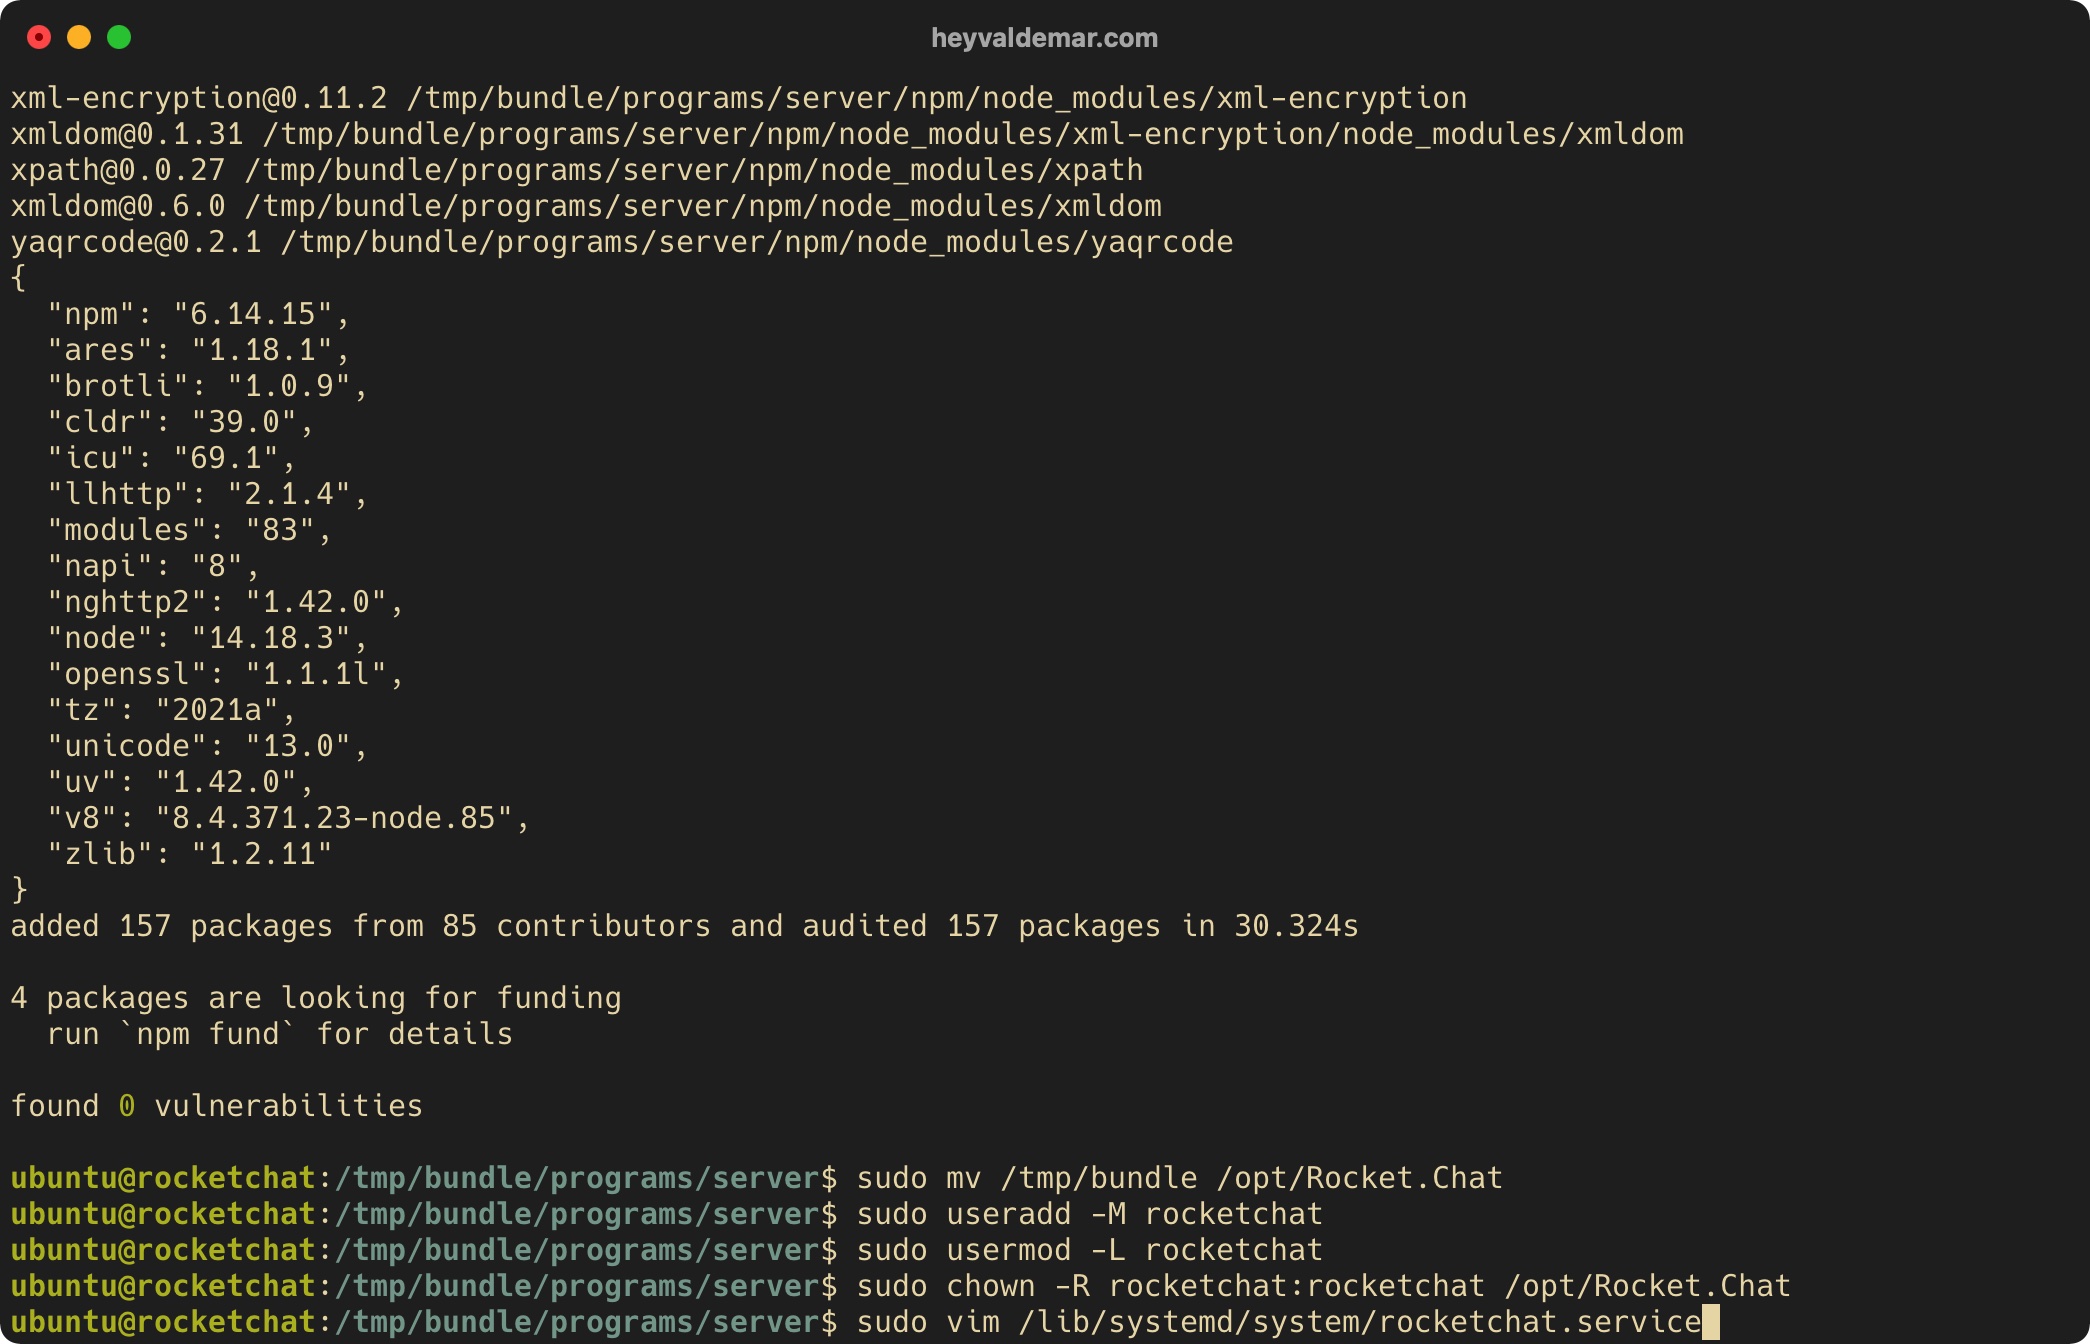
Hit the “i” button to go into edit mode, then insert the following configuration for the webserver to work.
In this tutorial, the rocketchat.heyvaldemar.net subdomain will be used to access Rocket.Chat from the Internet. You will need to specify your domain or subdomain by which your Rocket.Chat will be available from the Internet.
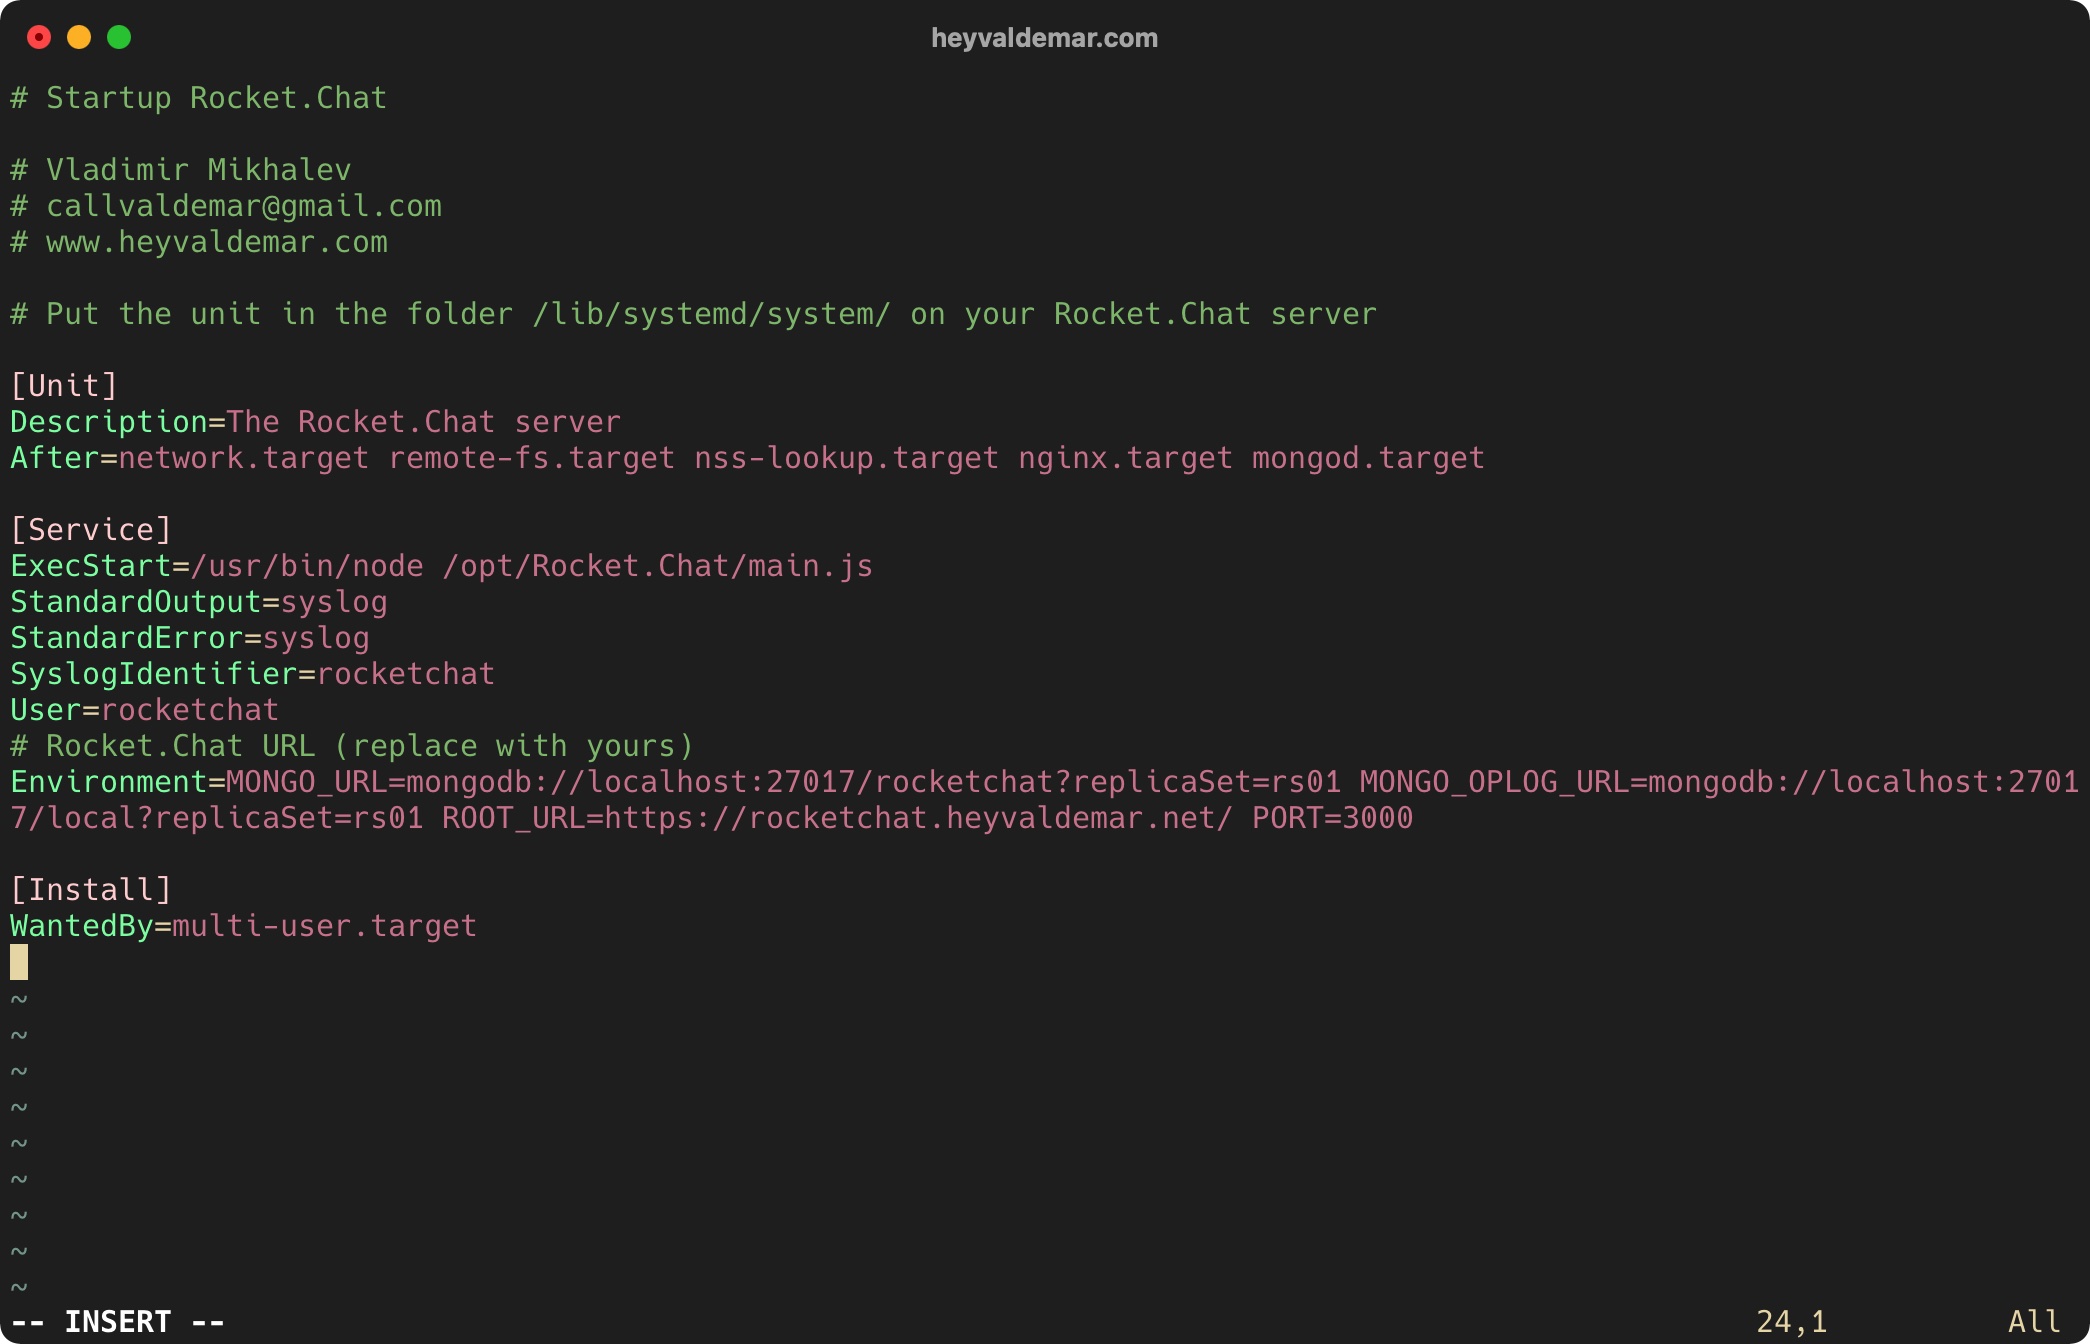
Now press the “Esc” button to exit edit mode, then type “:x” and press the “Enter” button to save your changes and exit the editor.
Now let’s make changes to the MongoDB configuration using the command:
sudo sed -i "s/^# engine:/ engine: mmapv1/" /etc/mongod.conf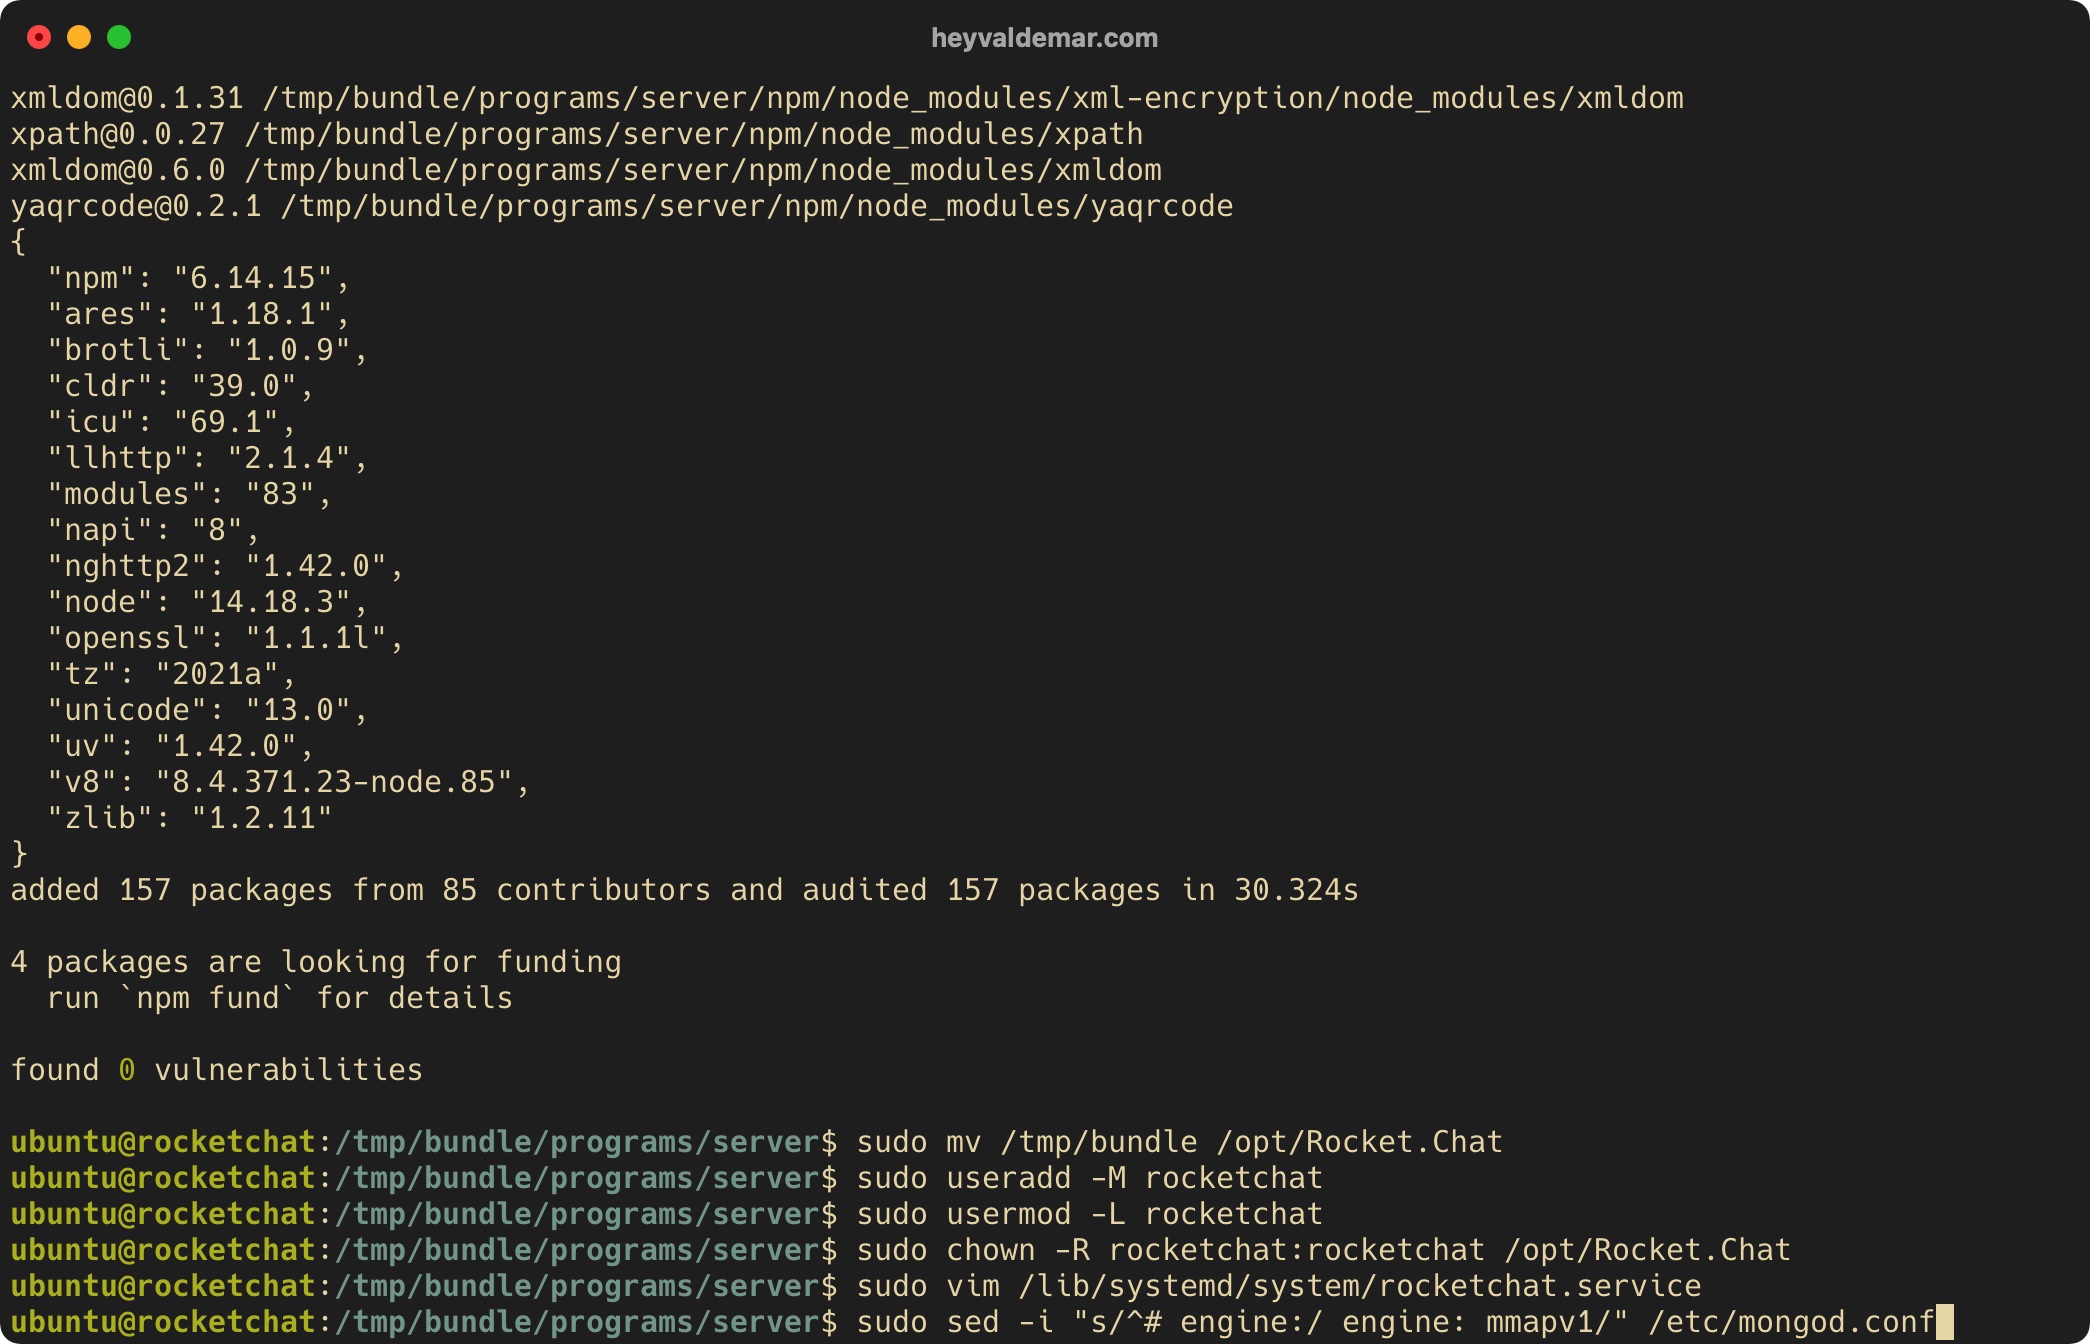
Next, let’s make one more change to the MongoDB configuration using the command:
sudo sed -i "s/^#replication:/replication:\n replSetName: rs01/" /etc/mongod.conf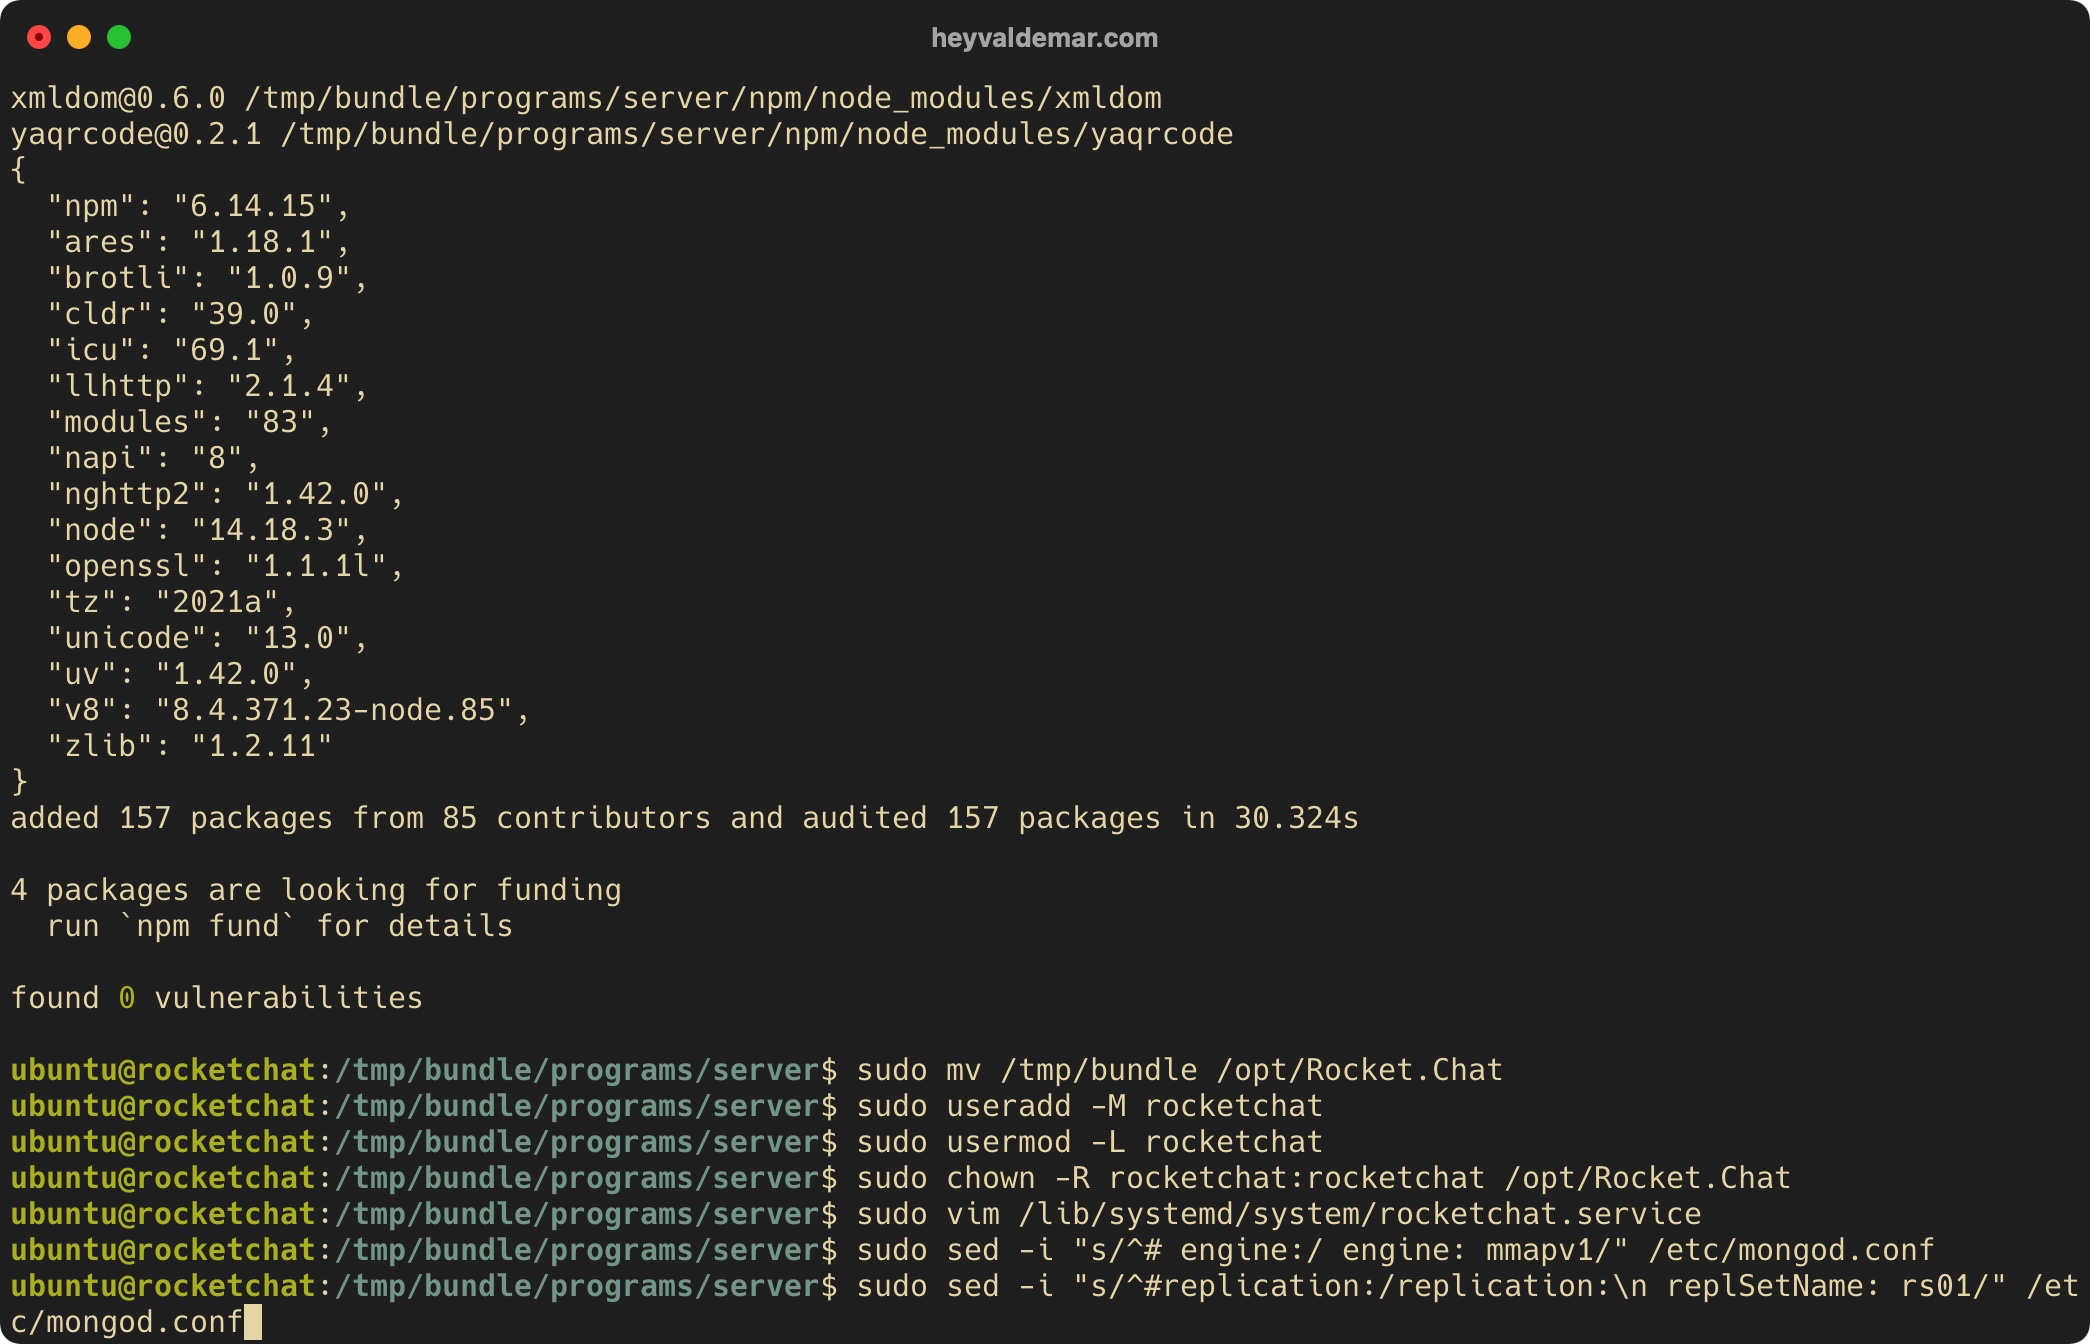
We enable autostart of the MongoDB service at operating system startup using the command:
sudo systemctl enable mongod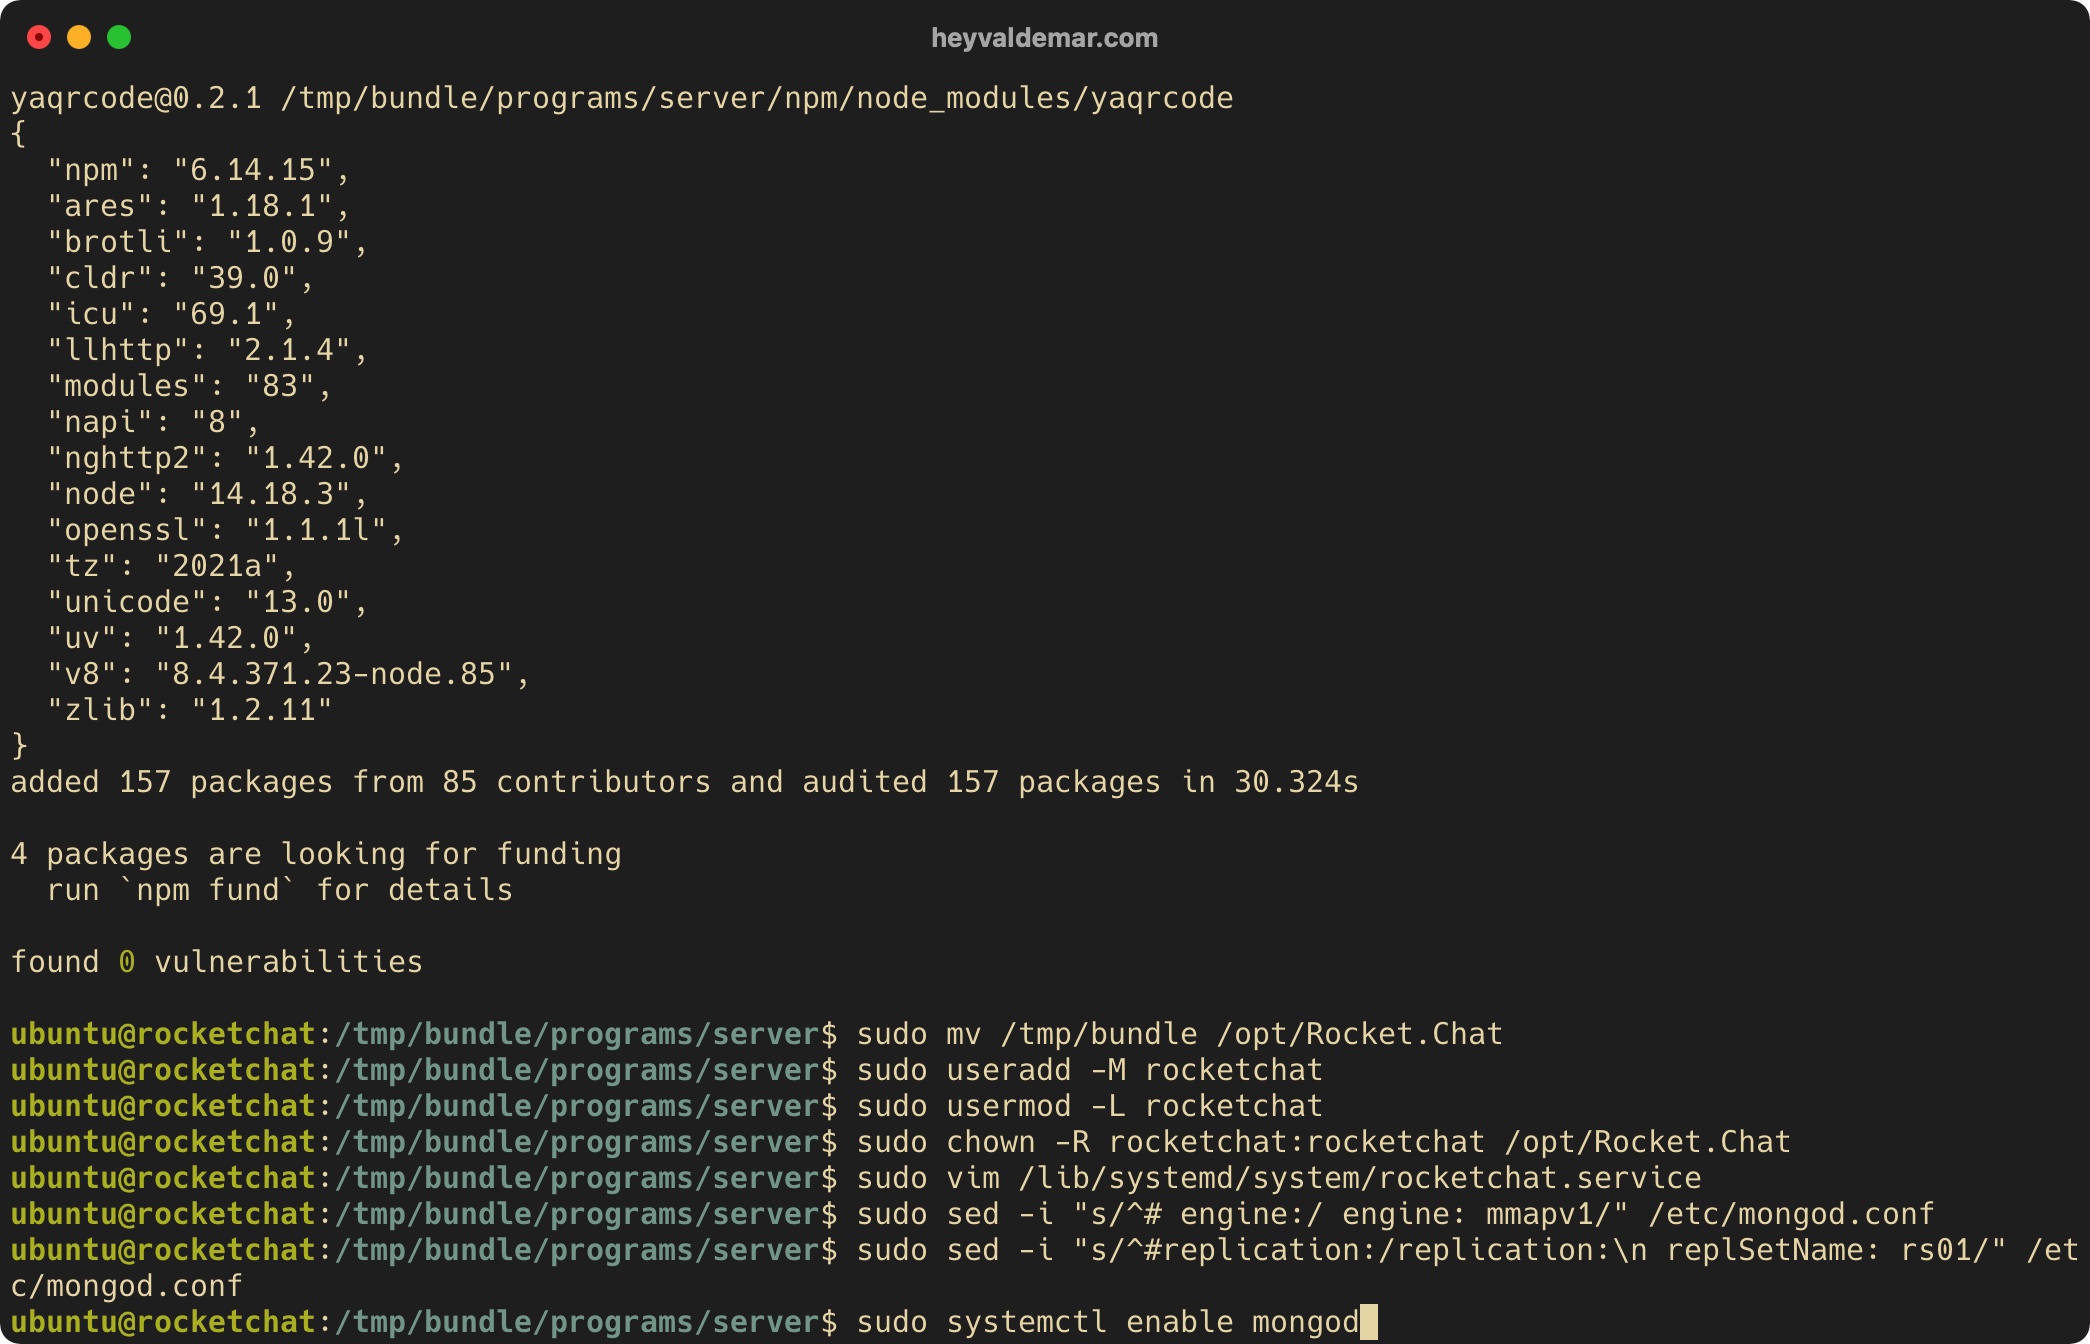
Start MongoDB with the command:
sudo systemctl start mongod
Check that MongoDB started successfully with the command:
sudo systemctl status mongod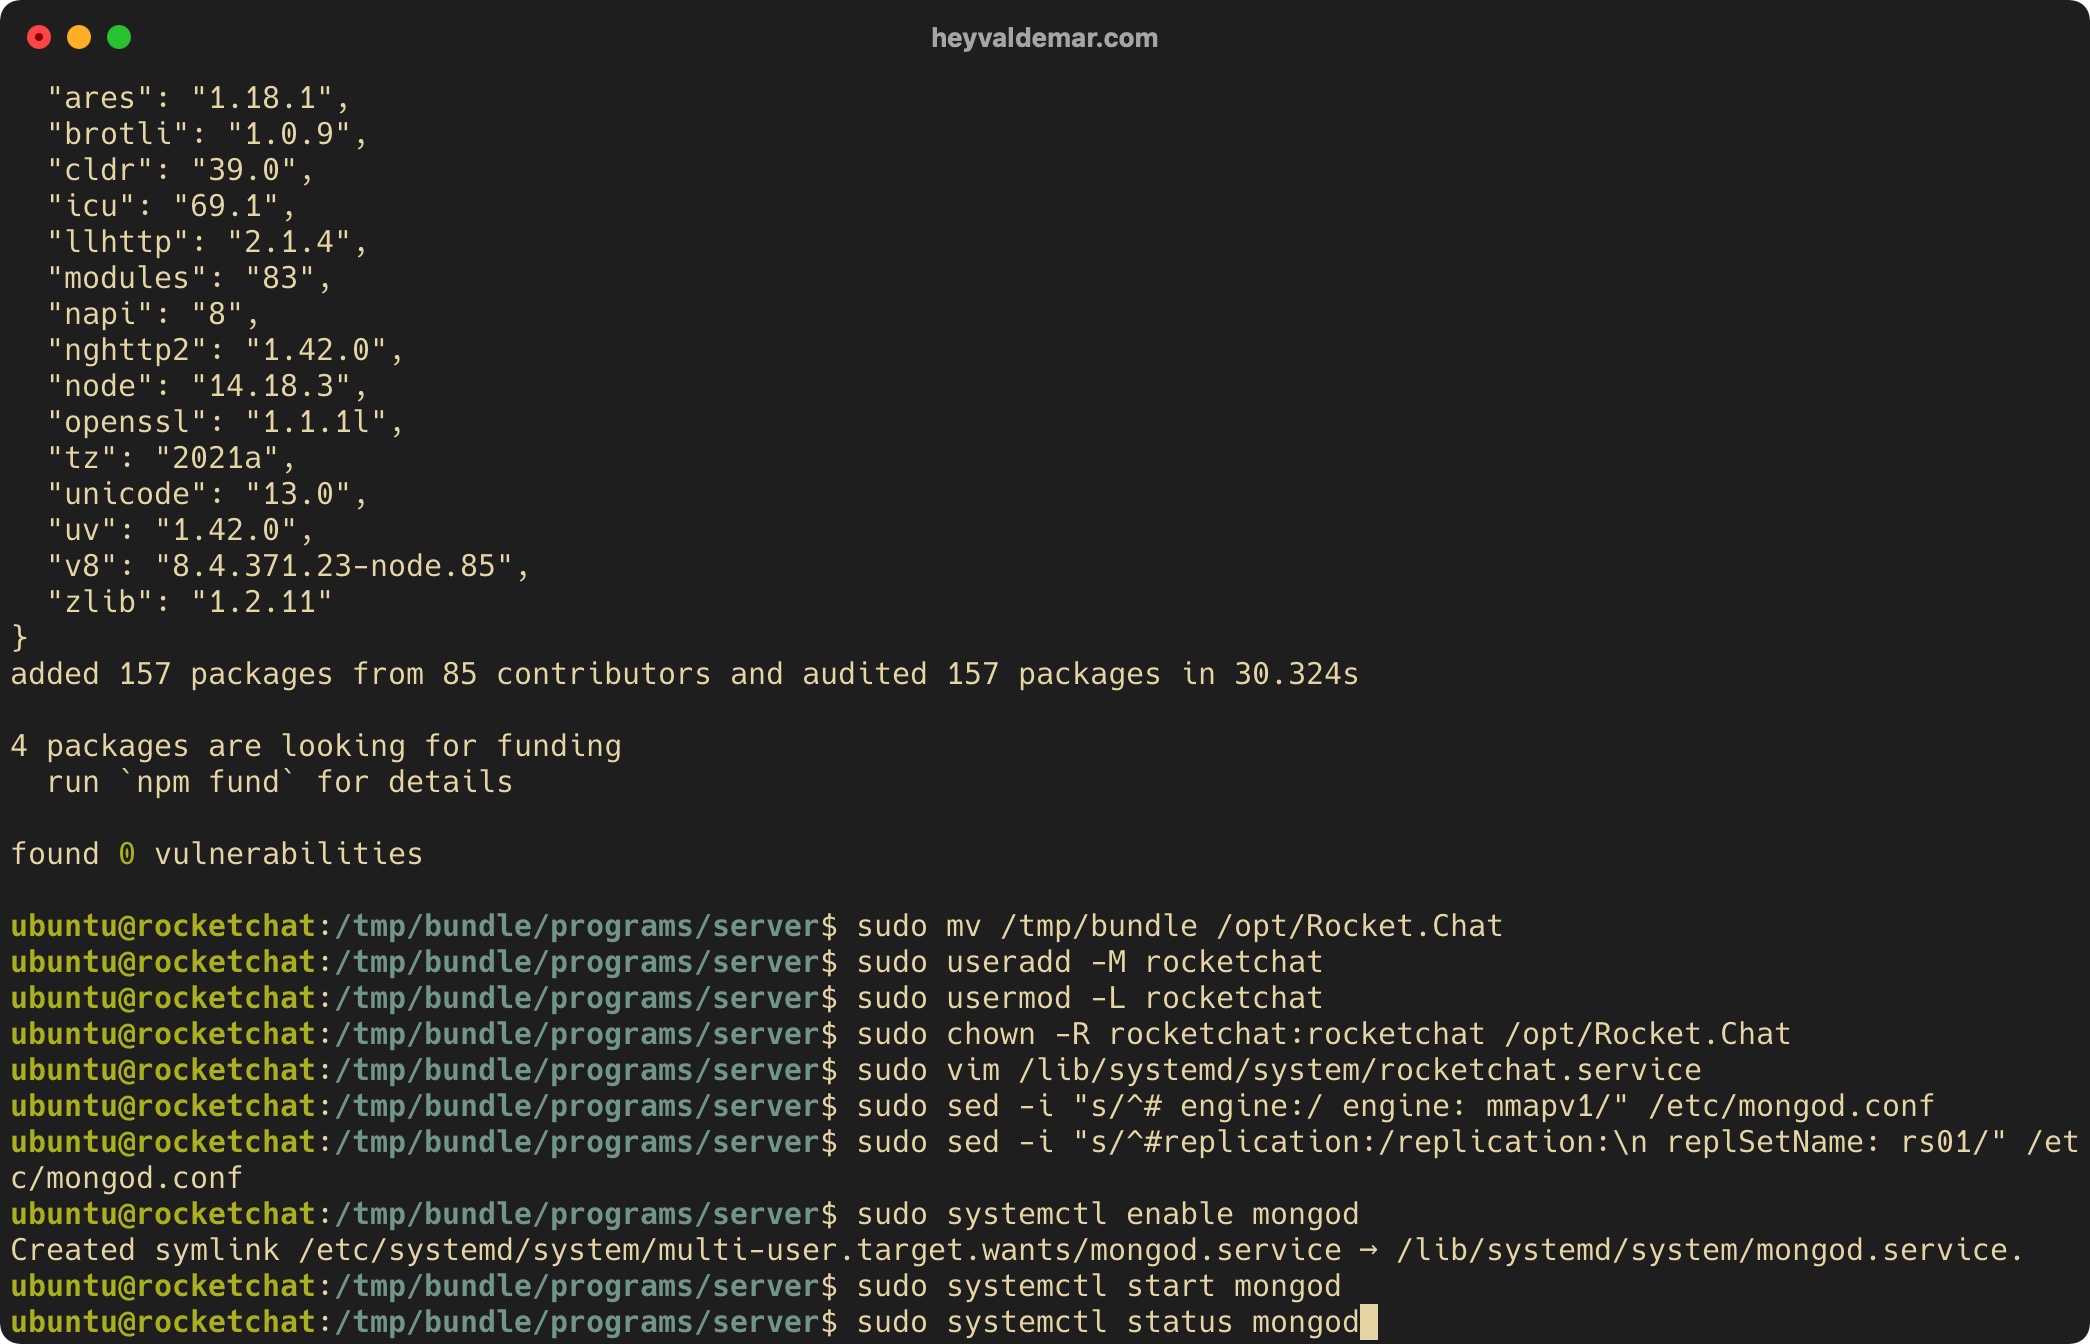
Let’s check that MongoDB is working correctly with the command:
mongo --eval "printjson(rs.initiate())"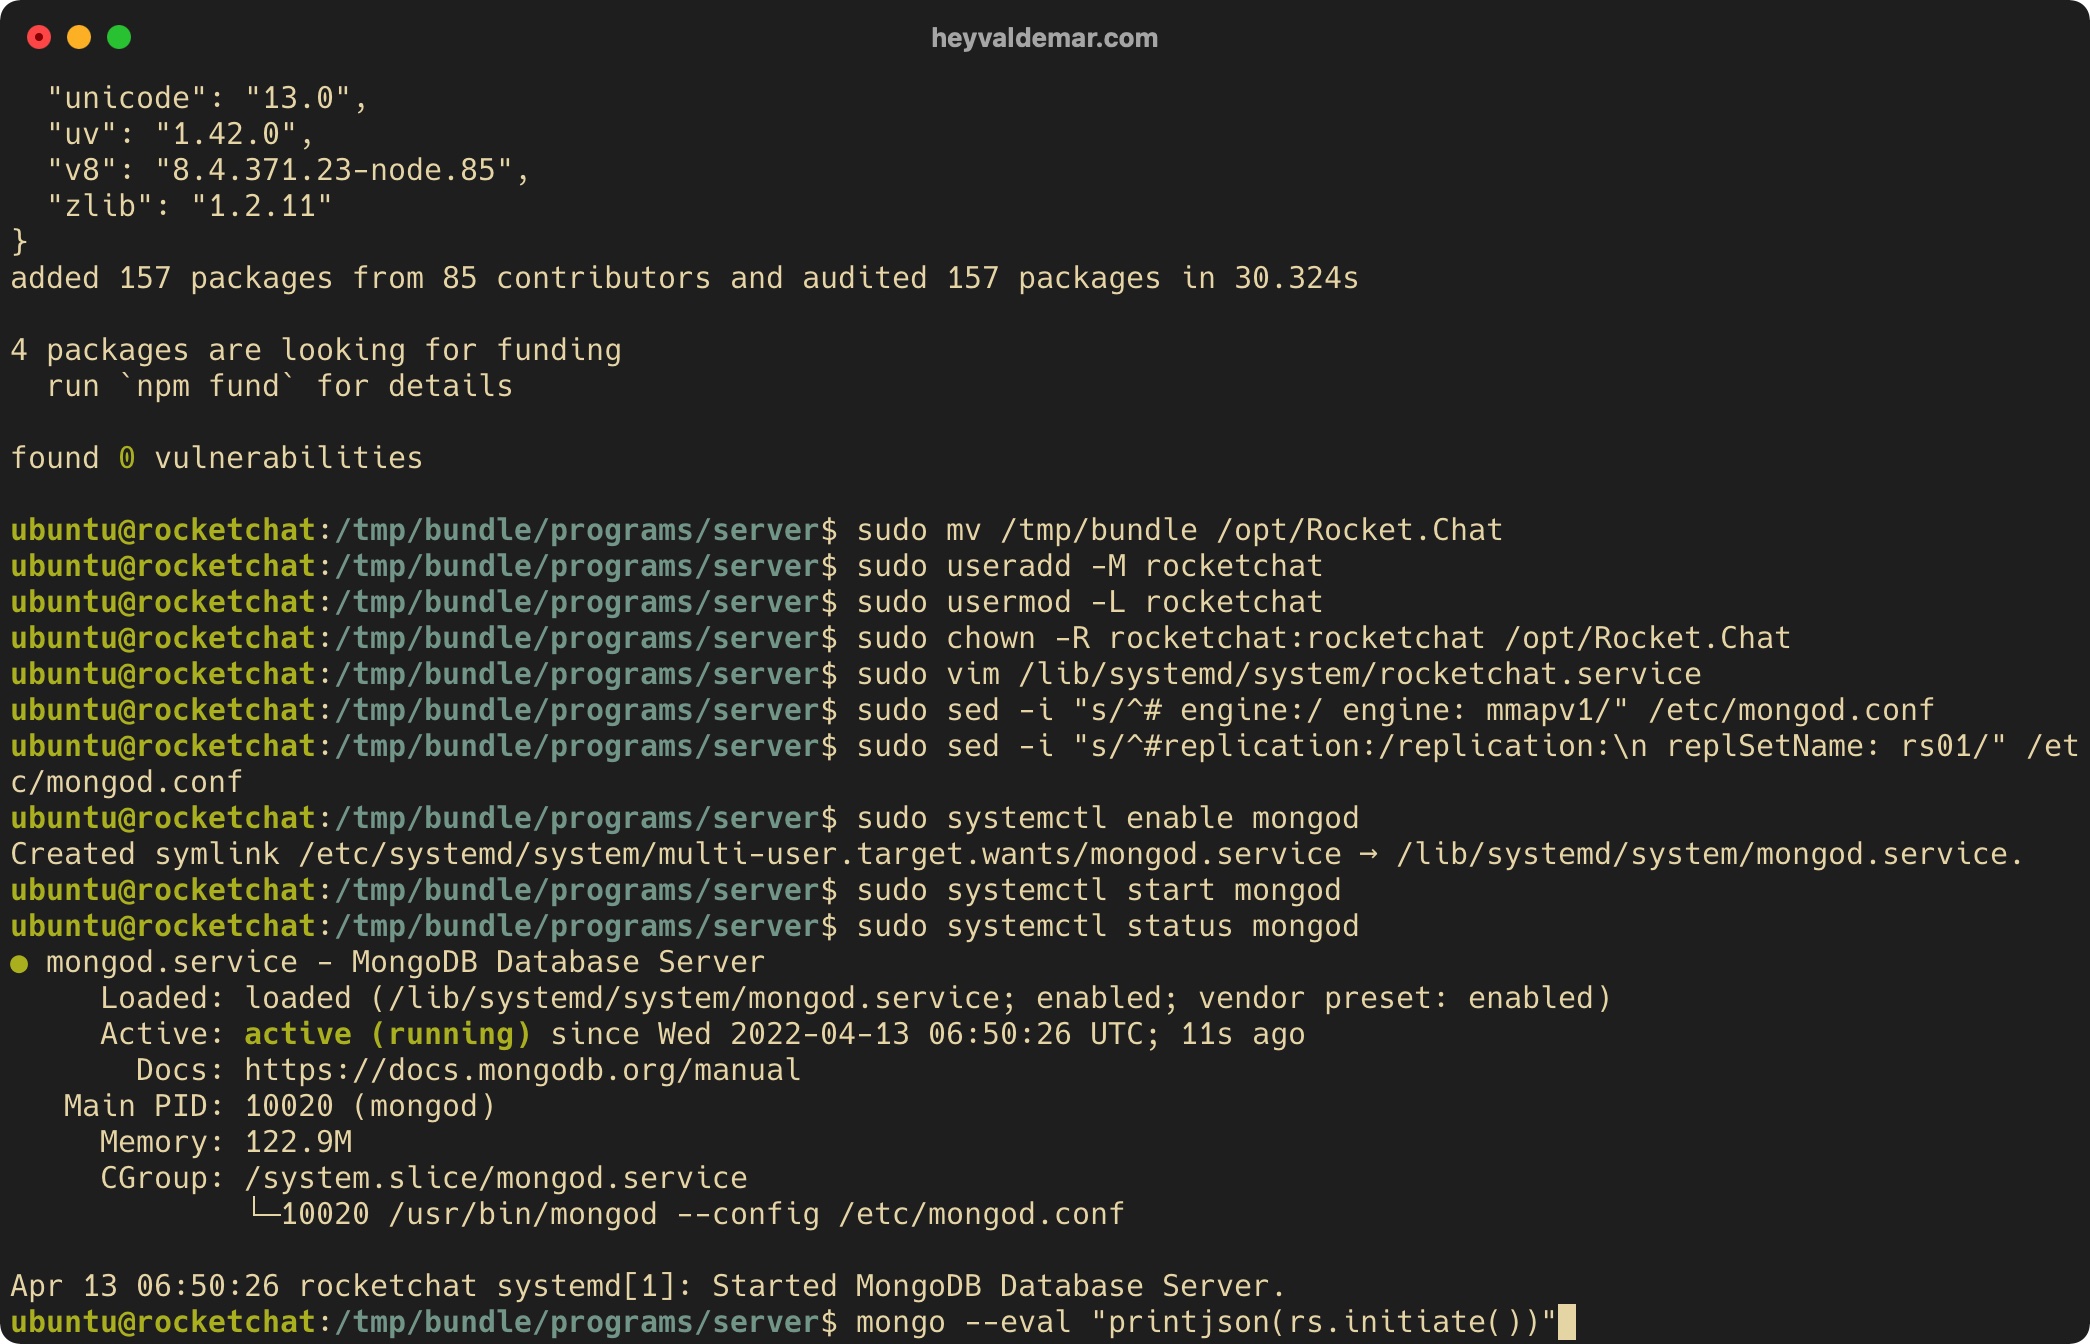
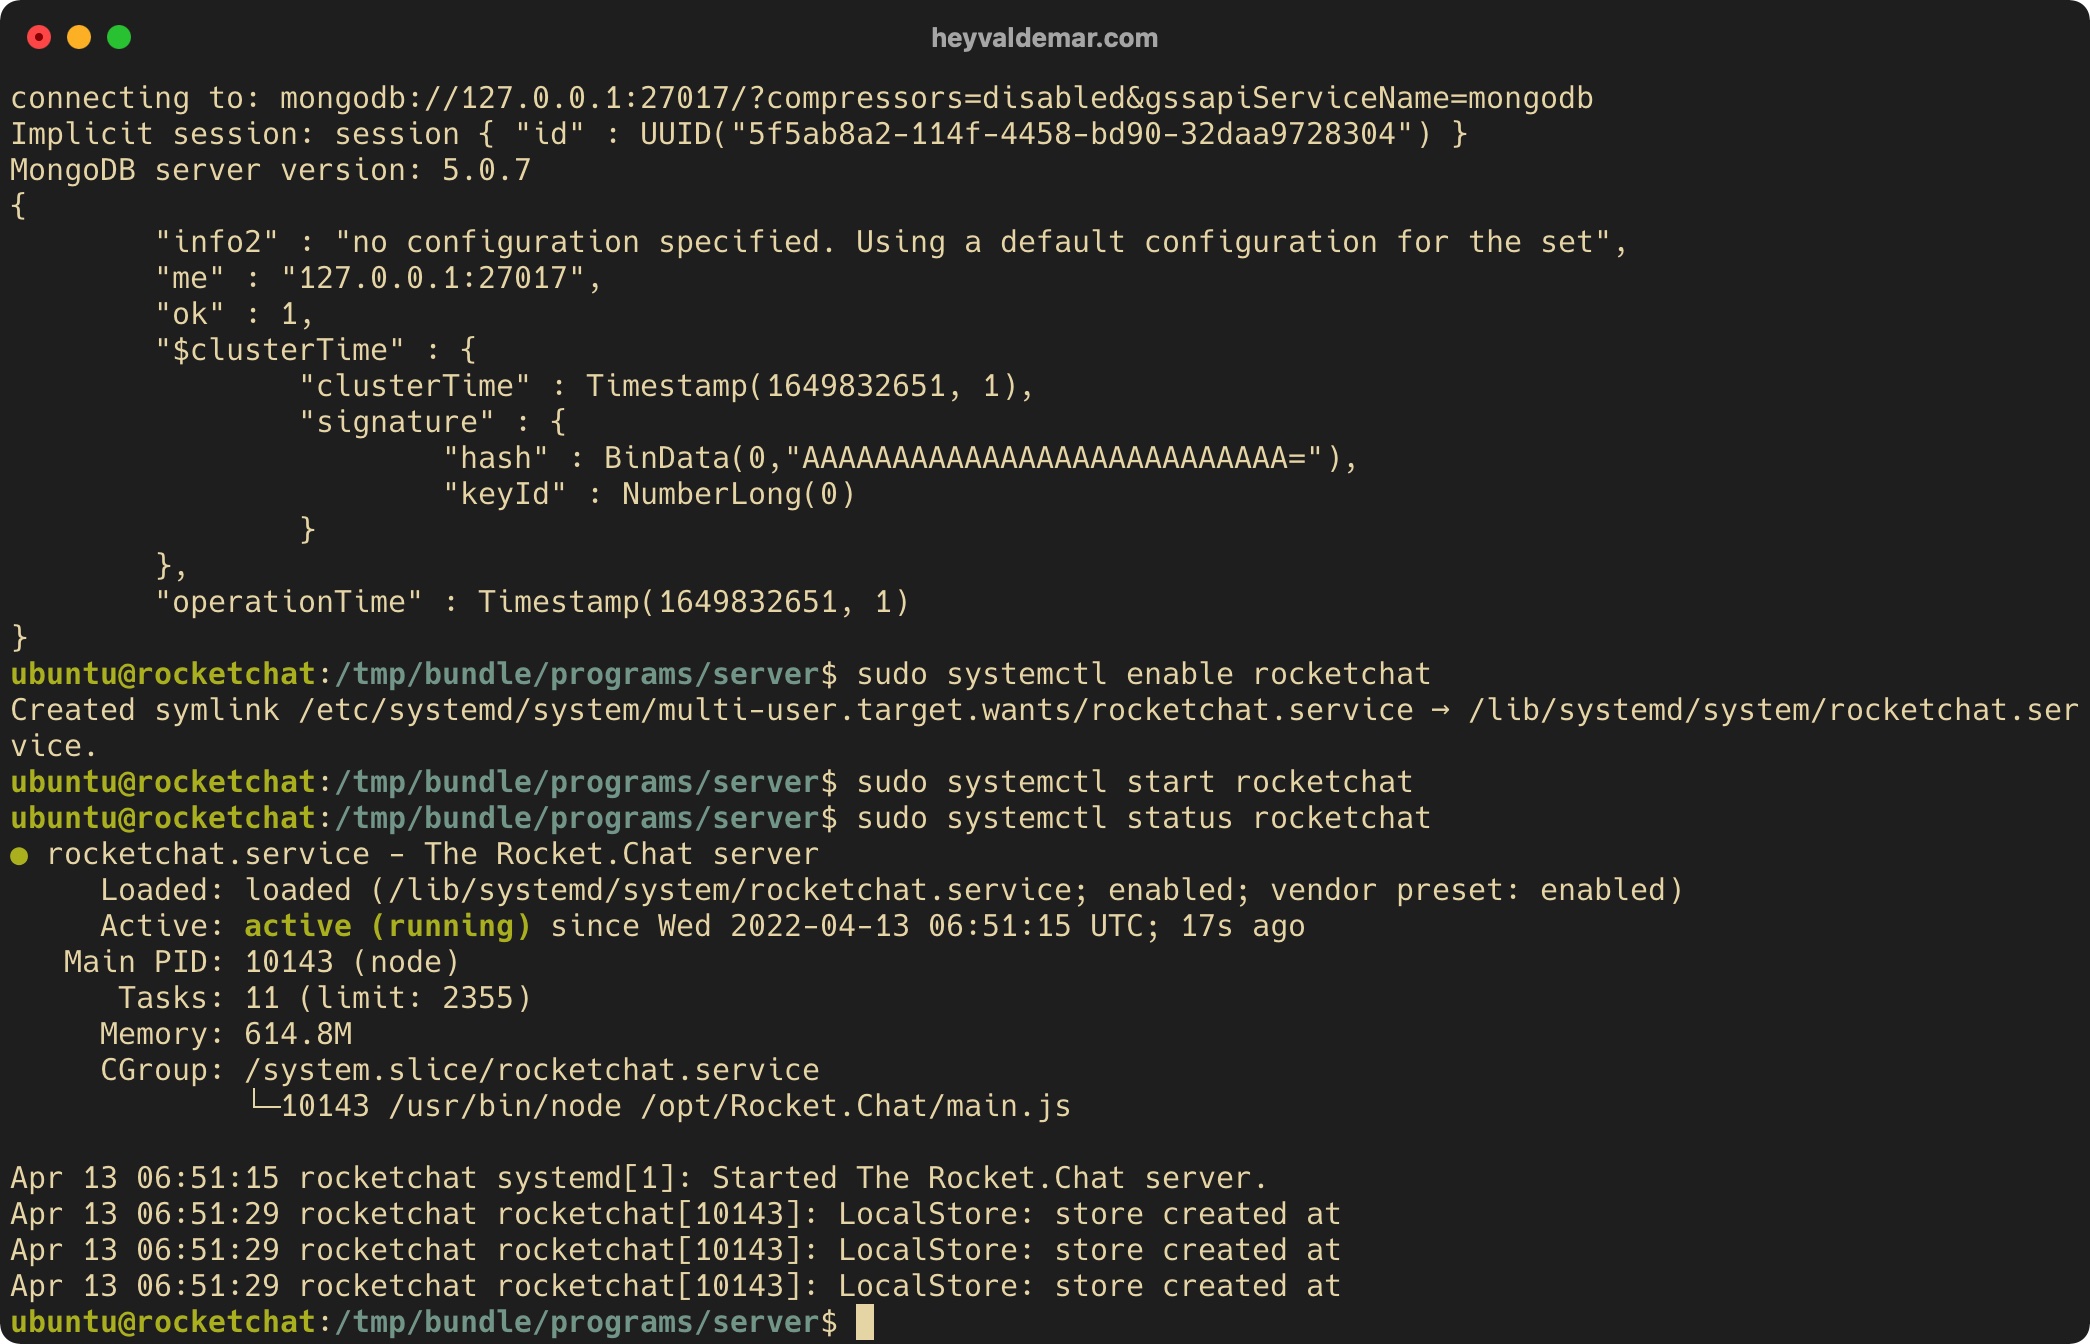
We enable autostart of the Rocket.Chat service when the operating system starts using the command:
sudo systemctl enable rocketchat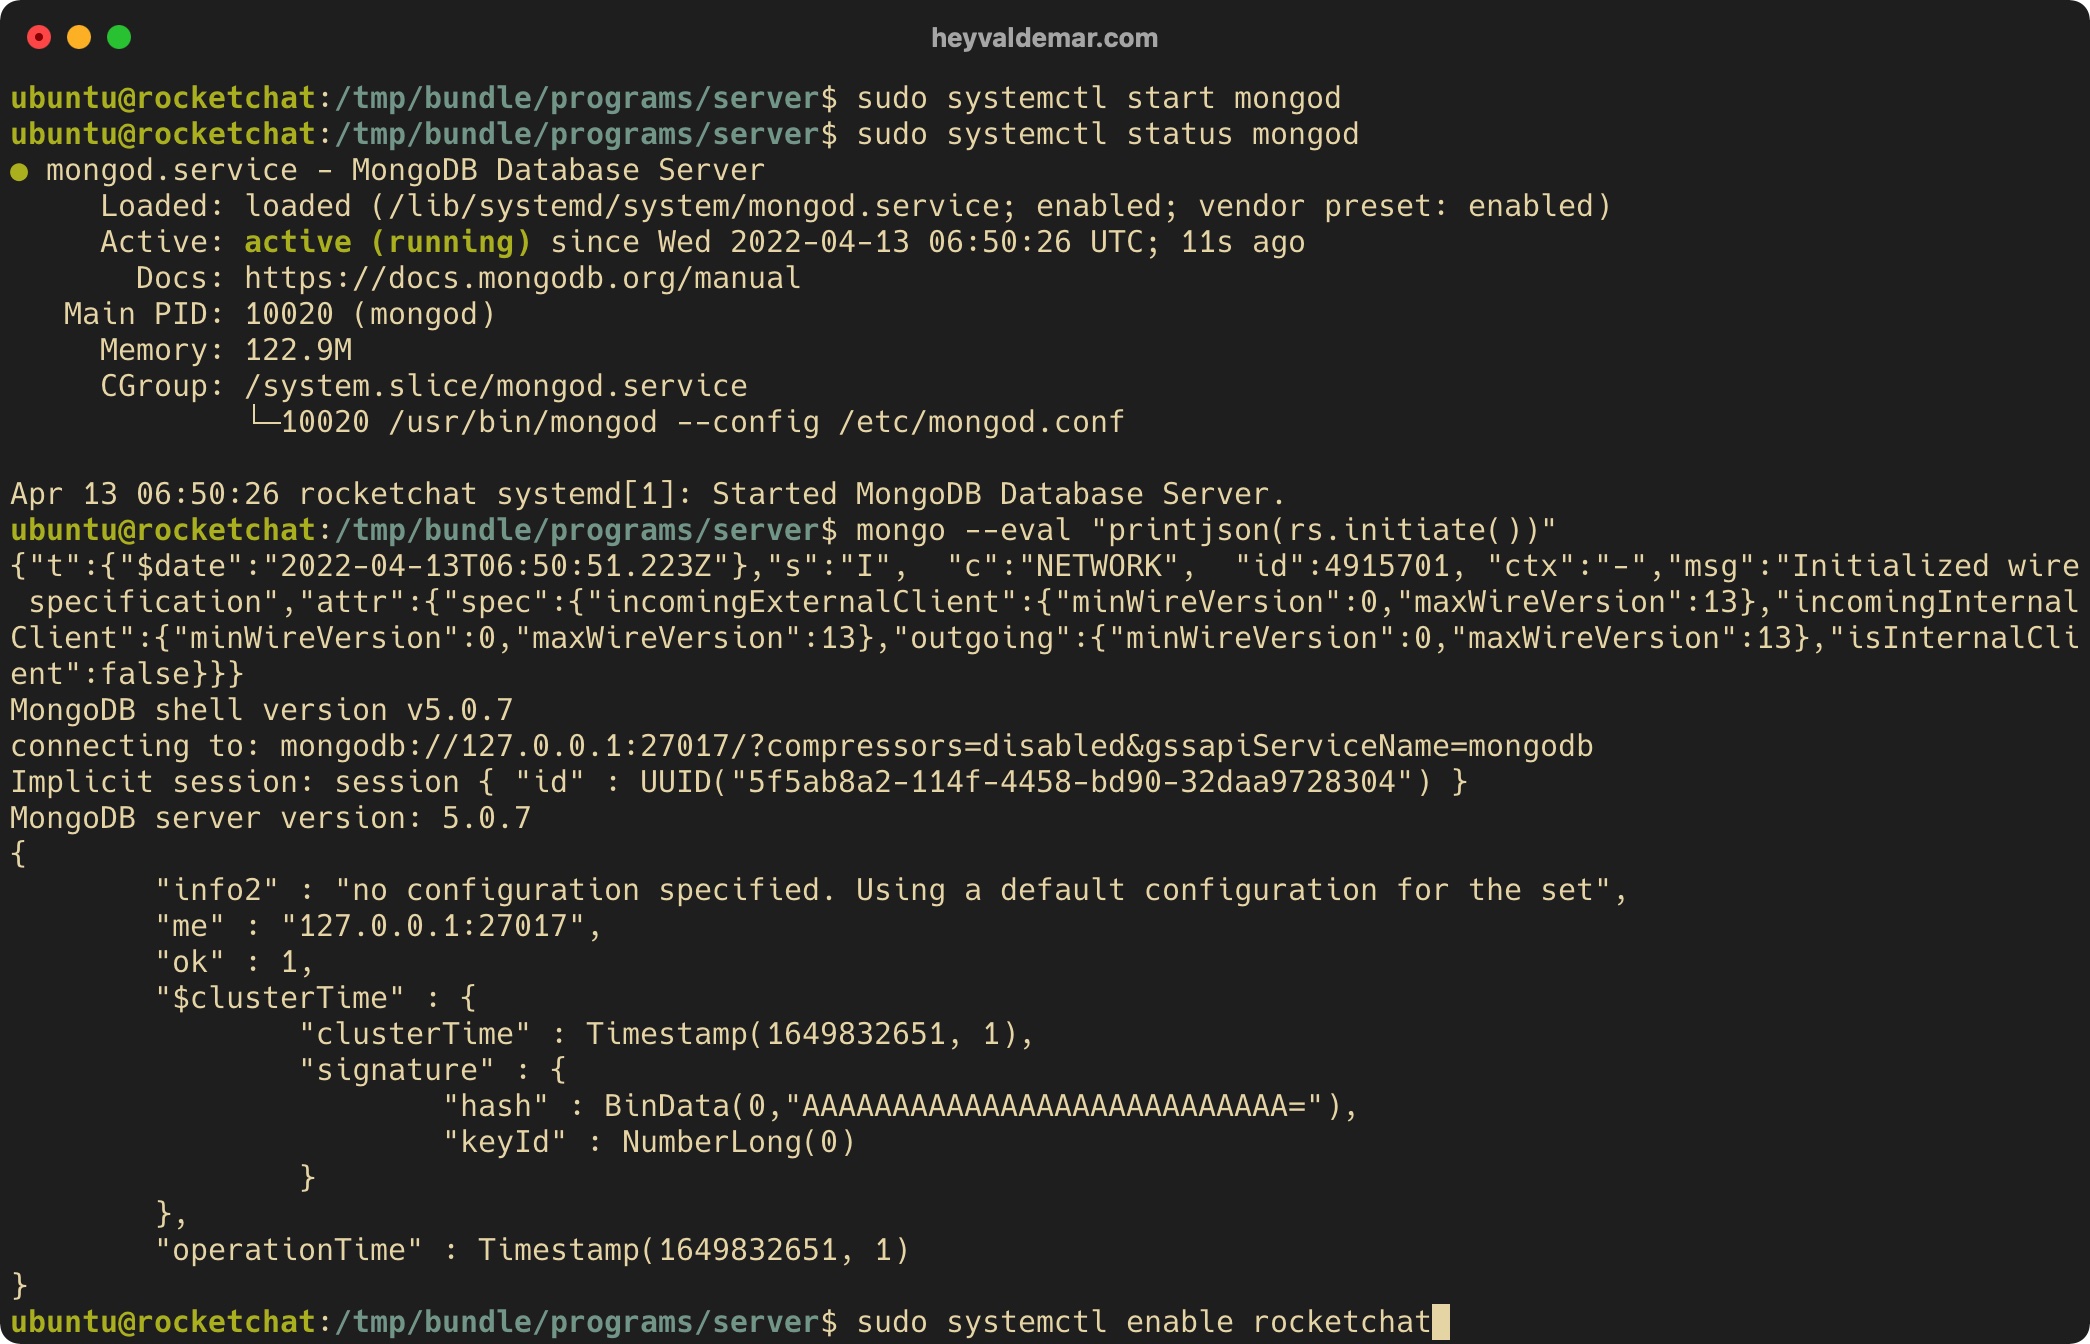
Launch Rocket.Chat with the command:
sudo systemctl start rocketchat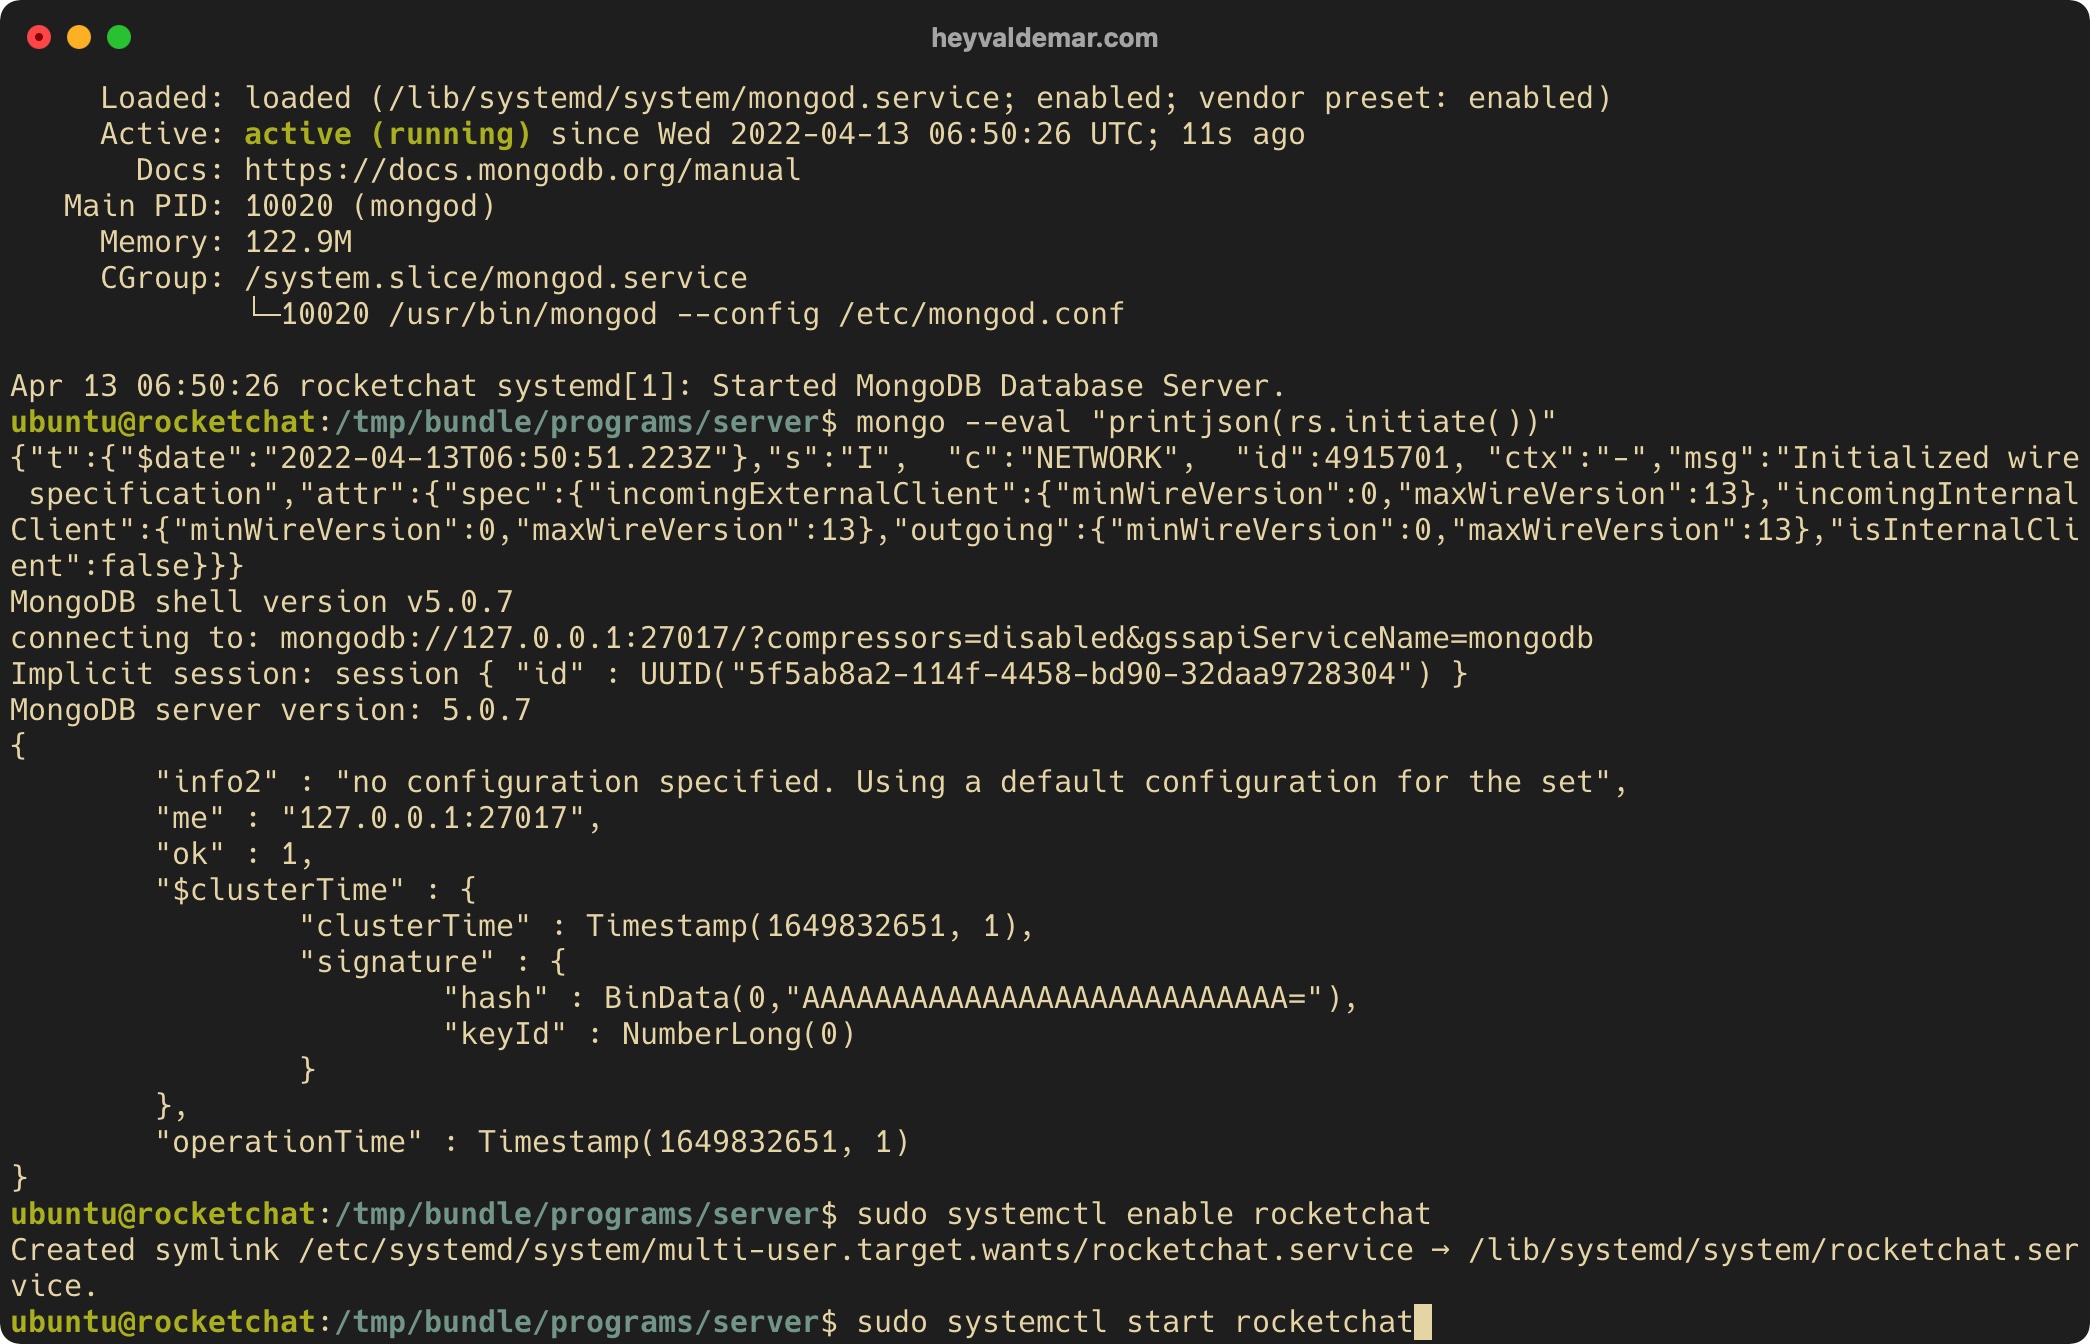
Let’s check that Rocket.Chat has successfully launched using the command:
sudo systemctl status rocketchat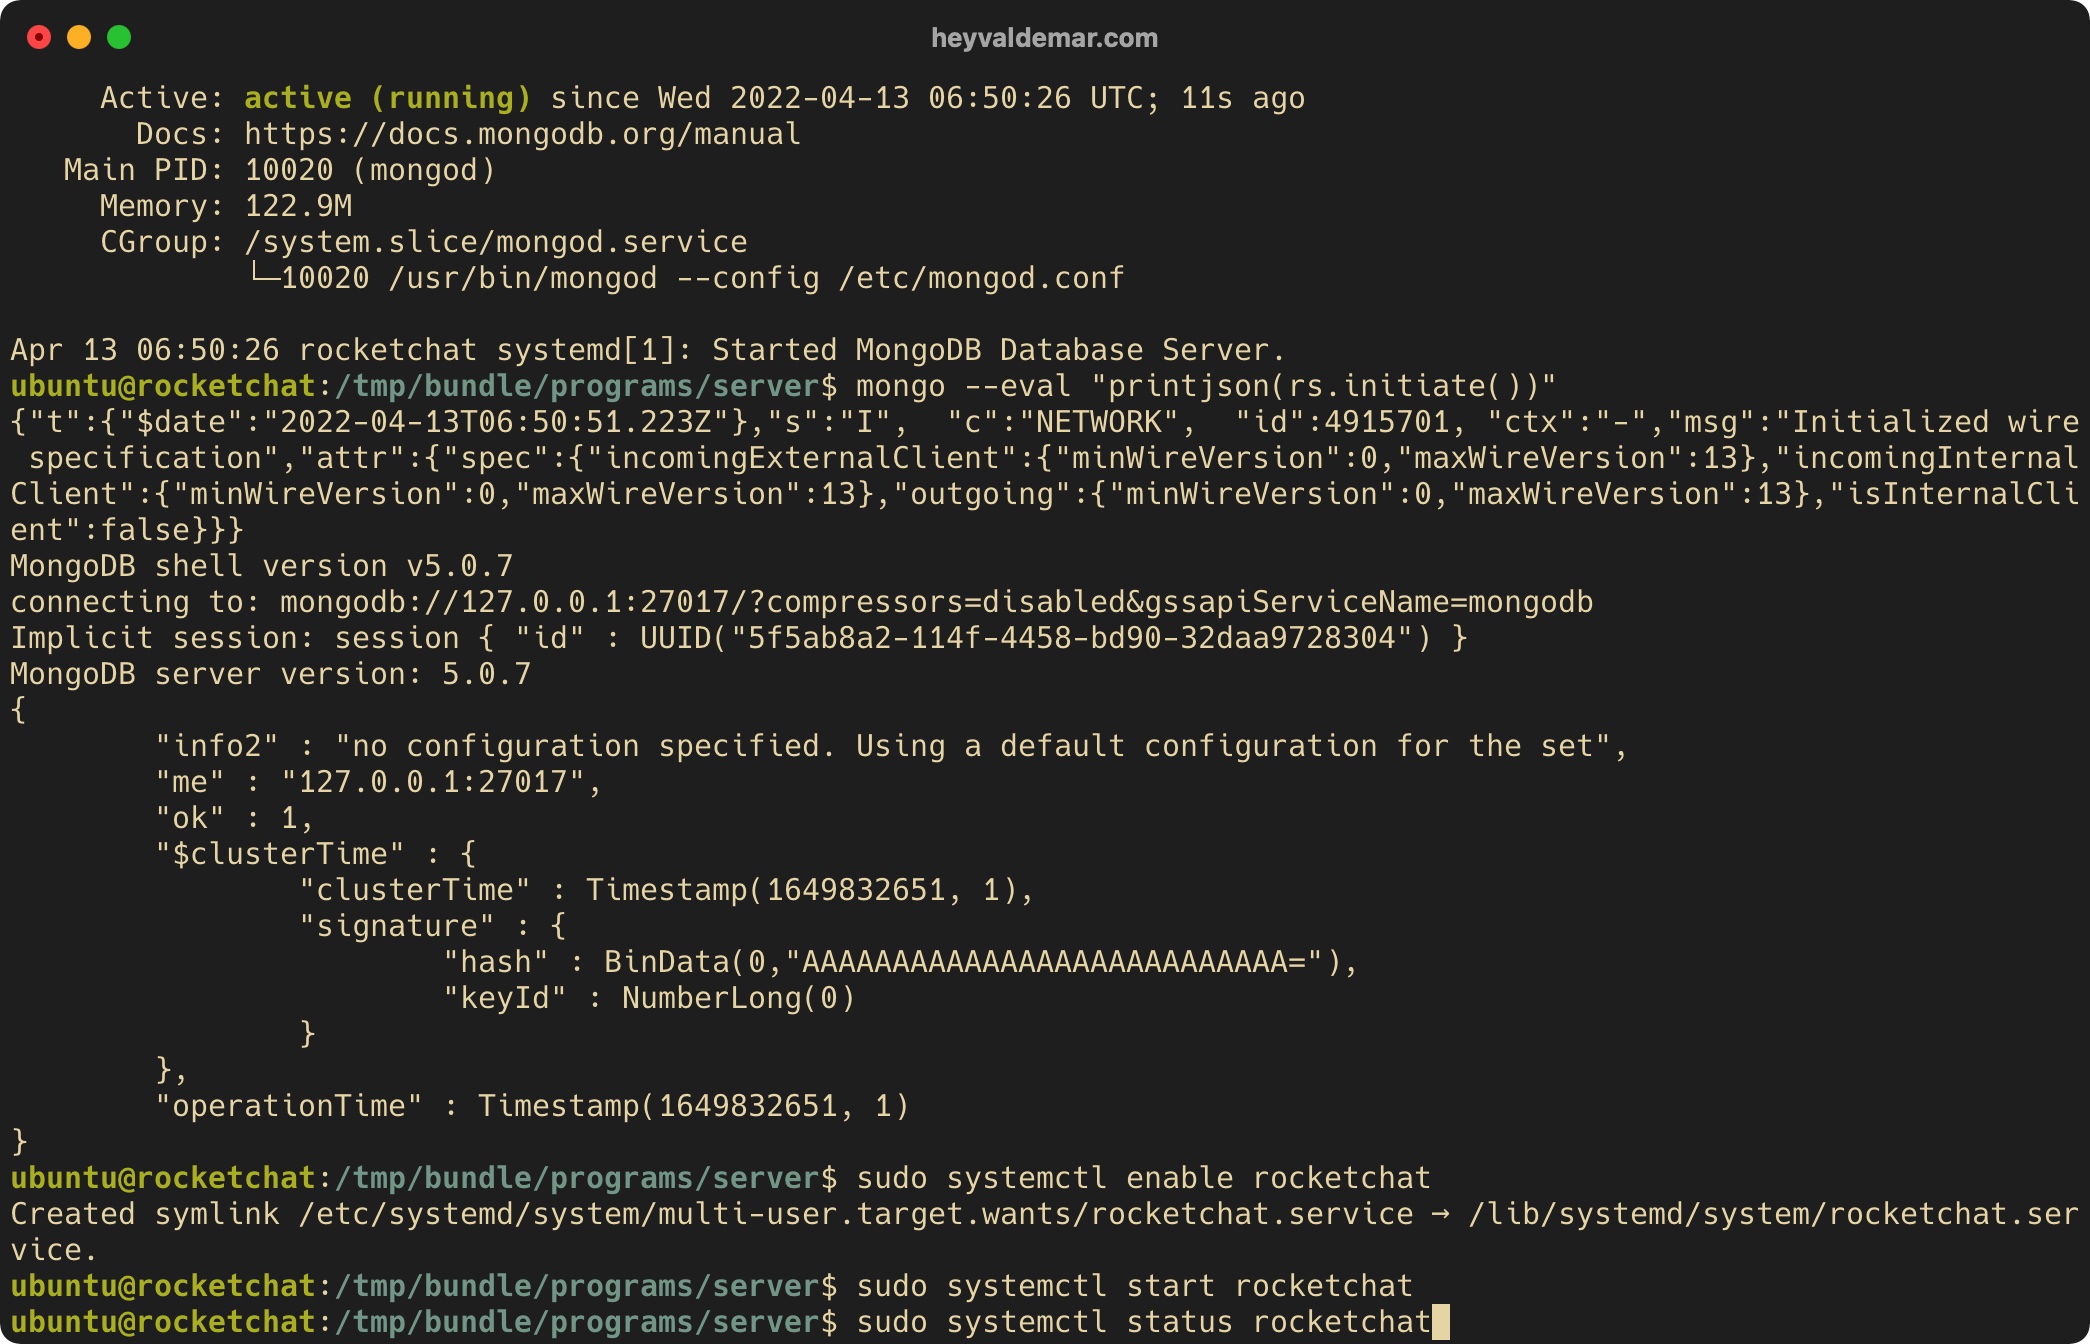
All necessary services have been successfully launched.
To access the Rocket.Chat management panel, go to https://rocketchat.heyvaldemar.net from your workstation, where rocketchat.heyvaldemar.net is the domain name of my service. Accordingly, you need to specify your domain name that points to the IP address of your server with the installed Rocket.Chat service.
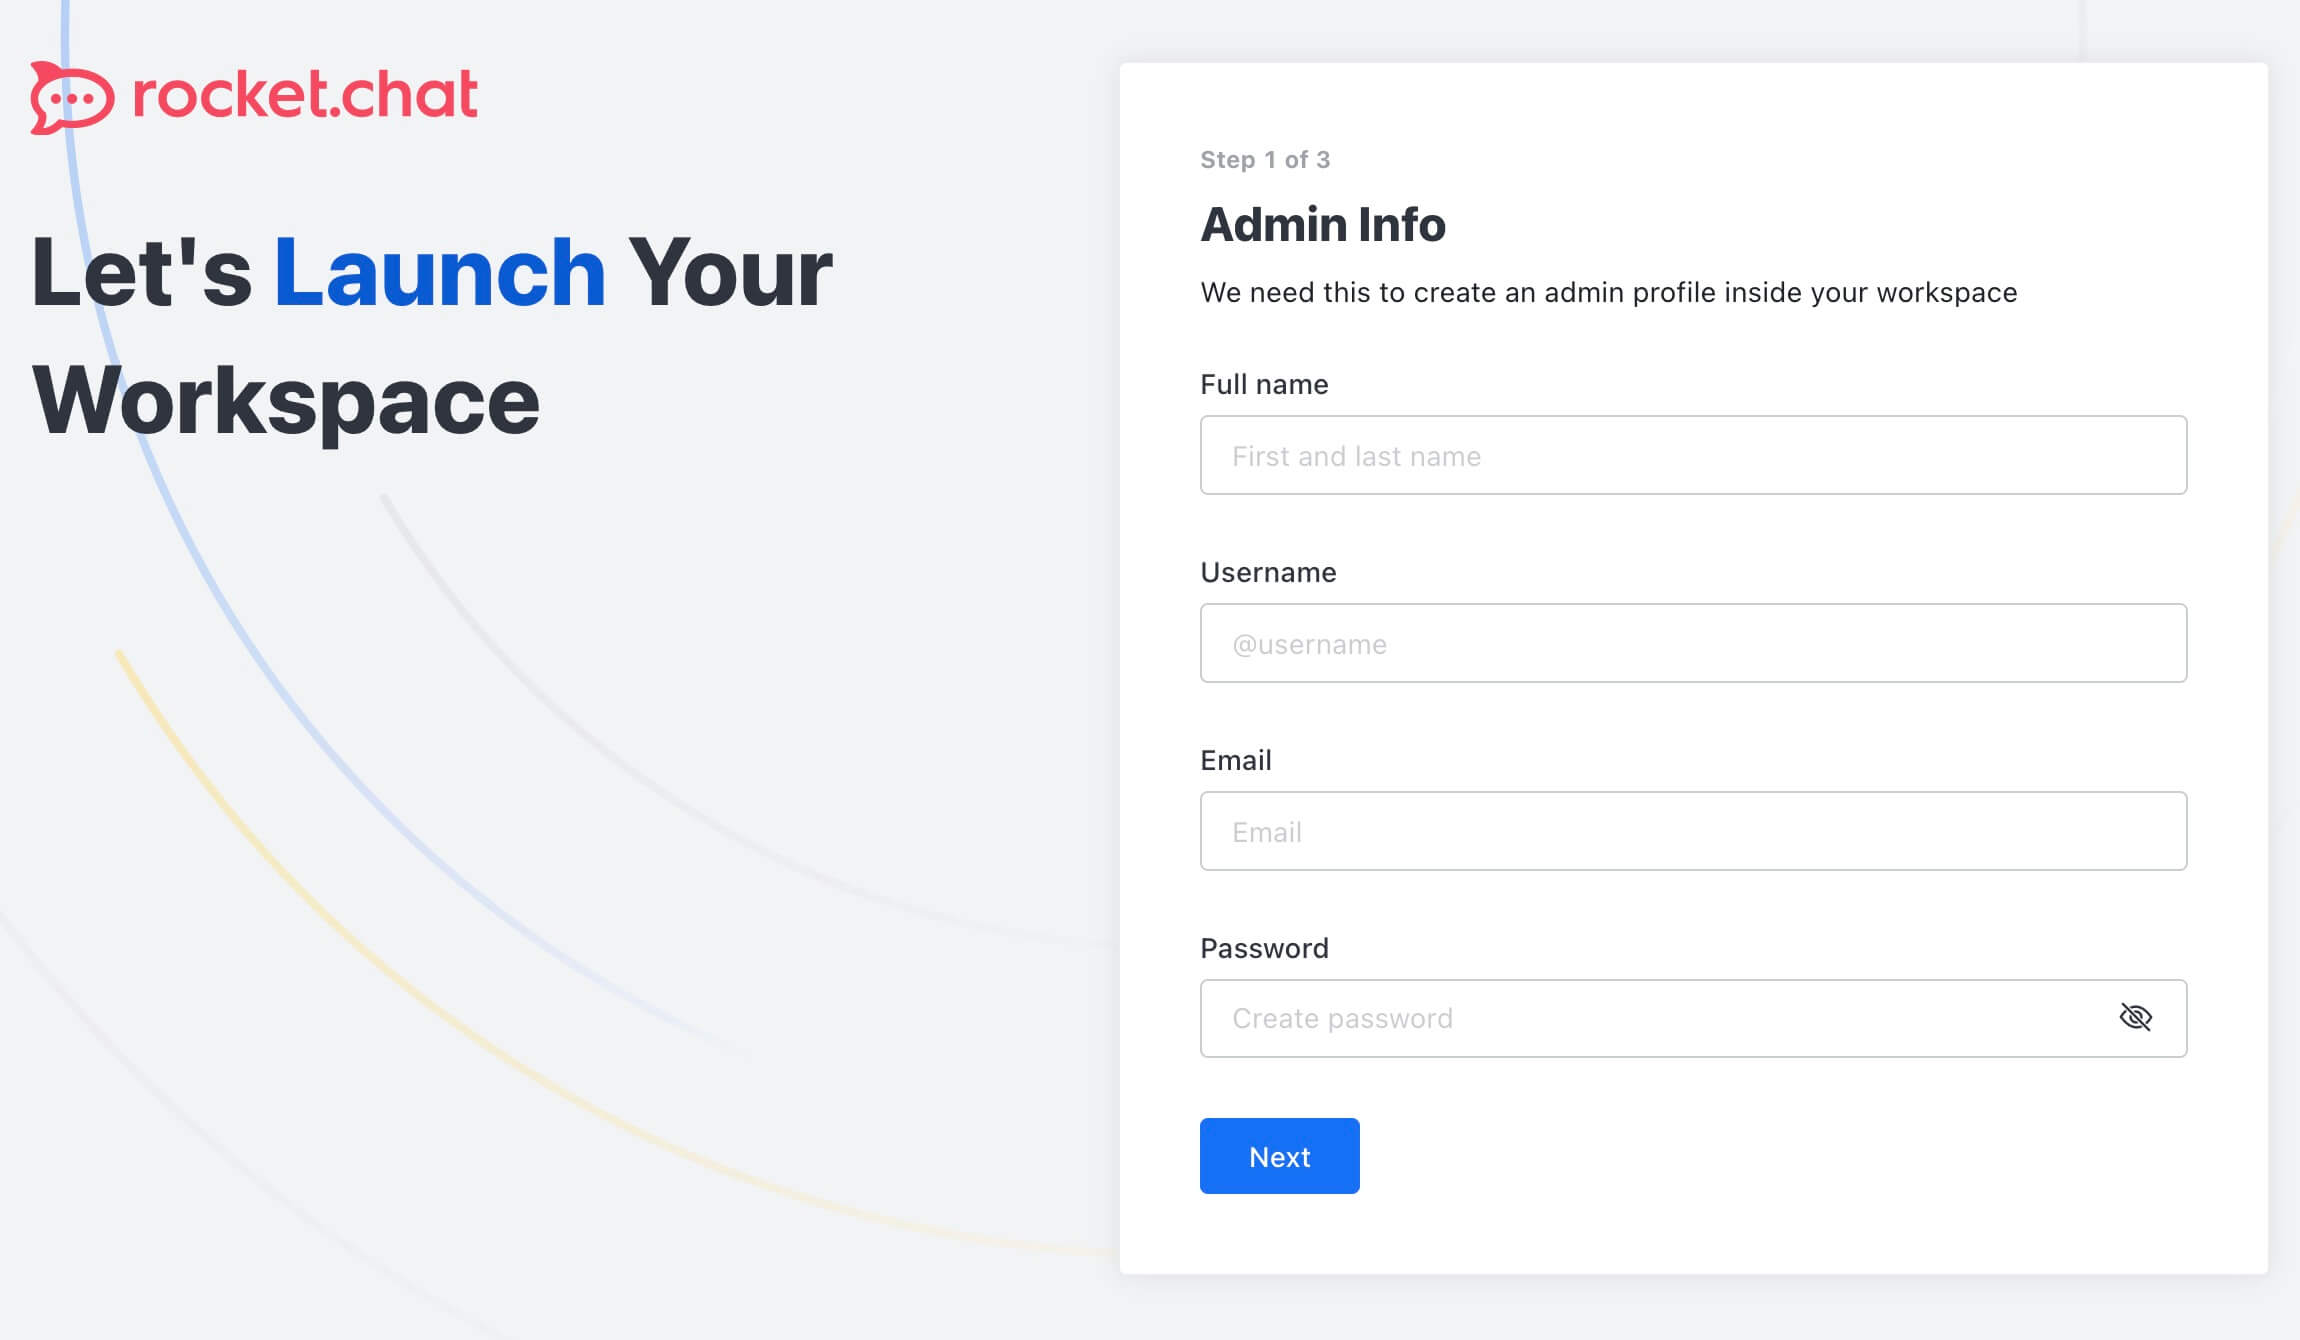
Next, we need to create a new user who will have administrator rights in Rocket.Chat.
In the “Full name” field, enter the first and last name for the new Rocket.Chat user.
In the “Username” field, specify a login for the new Rocket.Chat user.
In the “Email” field, provide a current email address for the new Rocket.Chat user.
In the “Password” field, set a secure password for the new Rocket.Chat user.
Click the “Next” button.
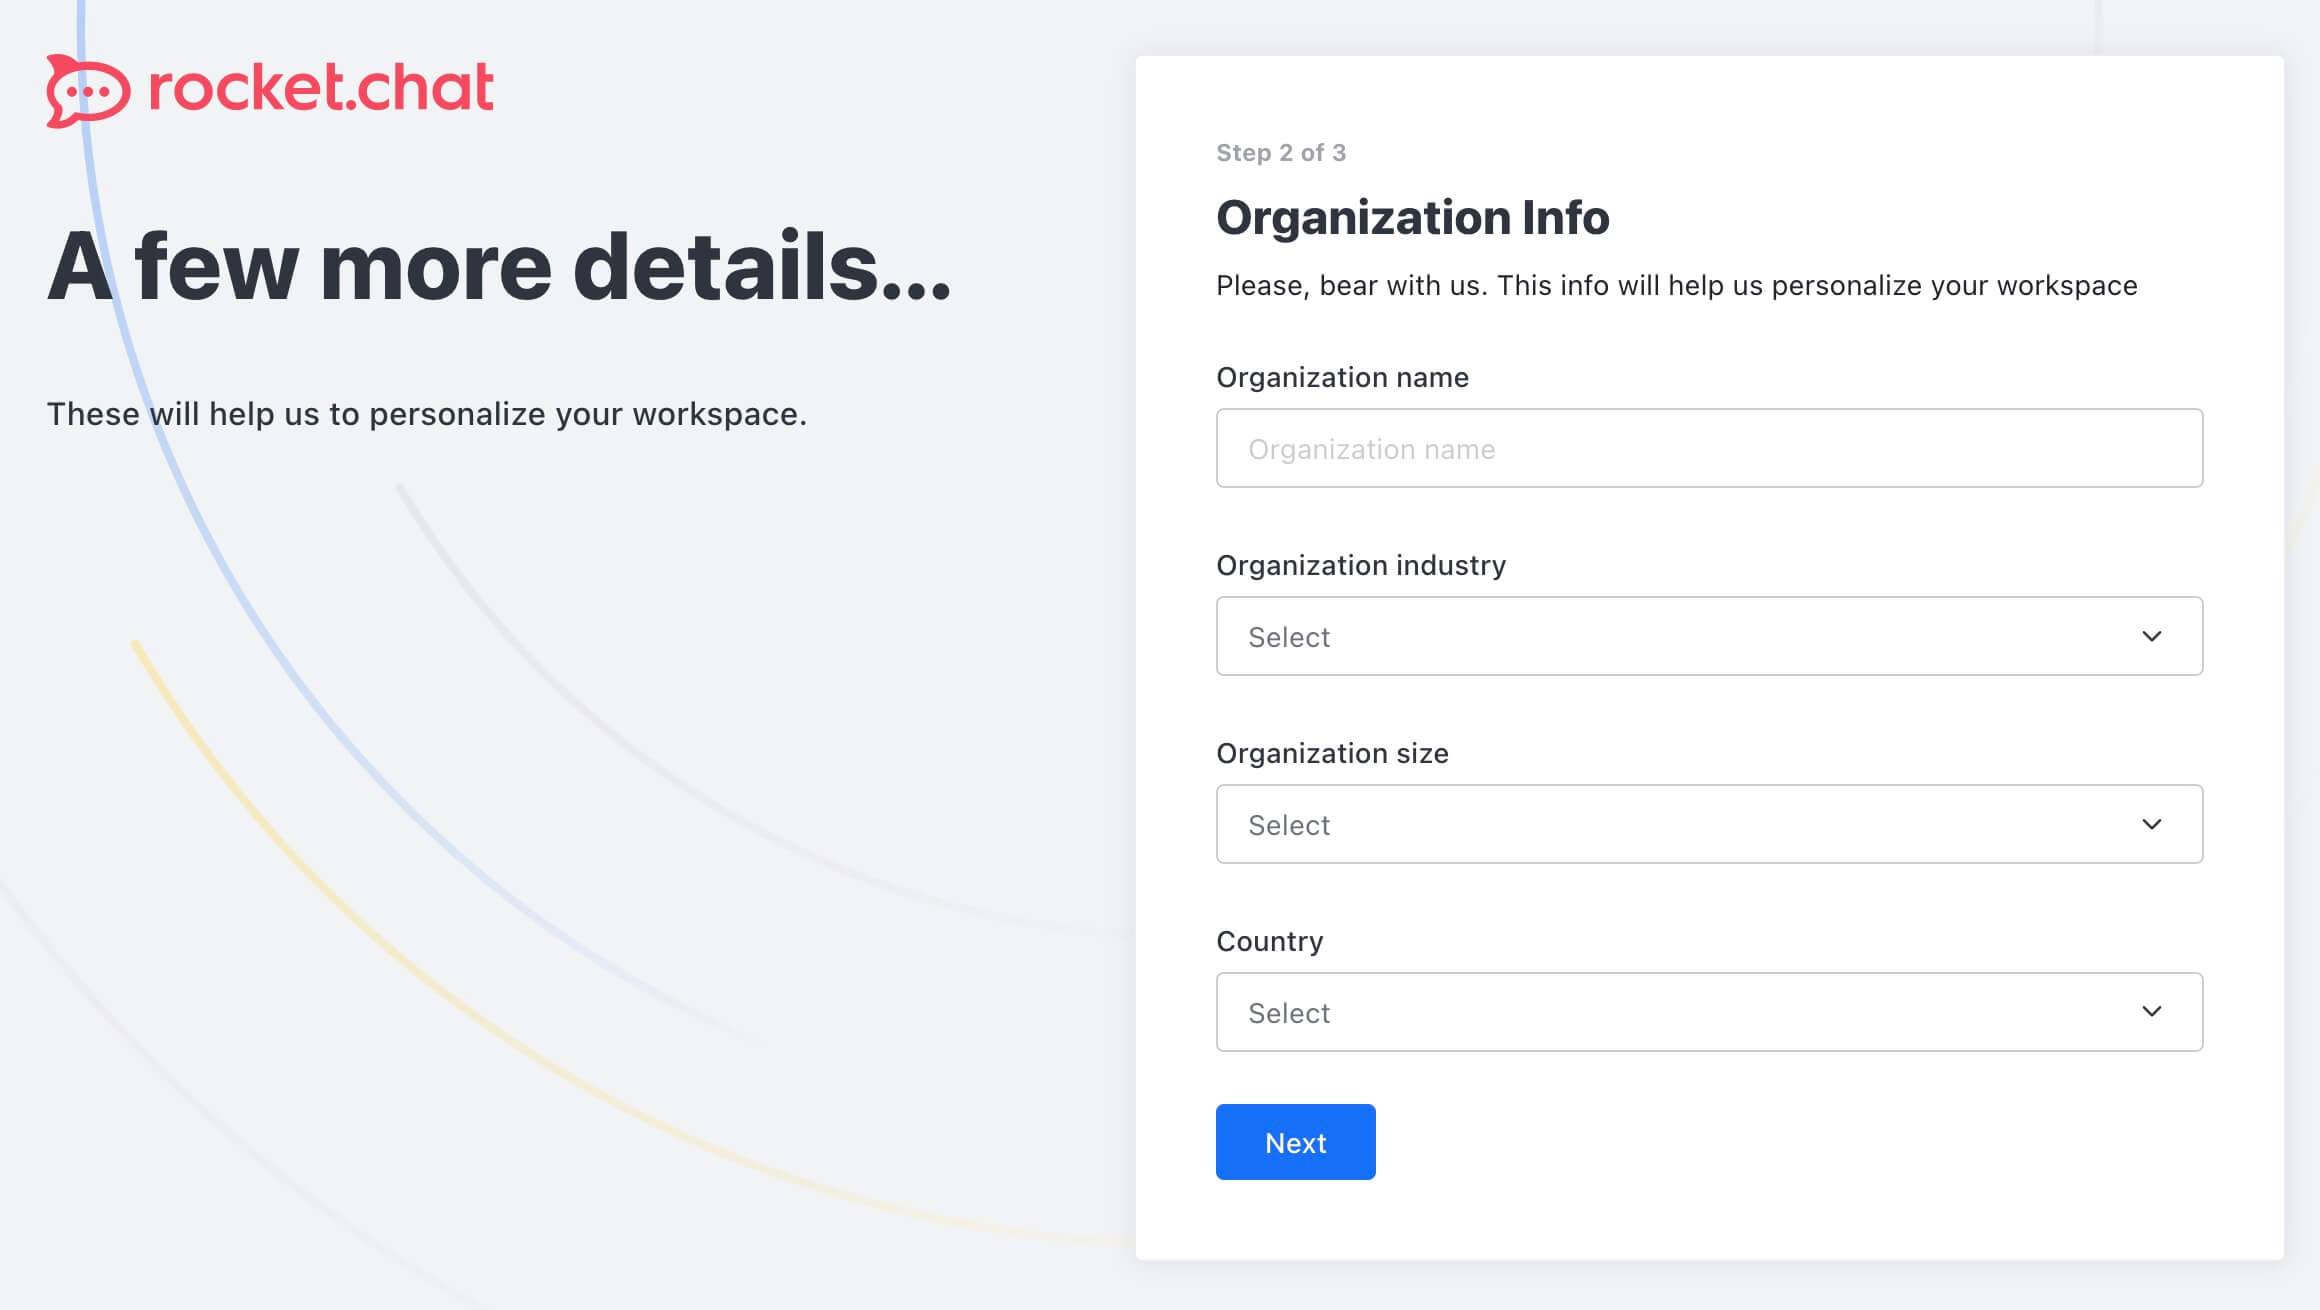
Now, you need to fill in the information about your organization.
In the “Organization name” field, enter the name of your organization.
In the “Organization industry” field, specify the profile or sector of your organization.
In the “Organization size” field, indicate the number of employees in your organization.
In the “Country” field, specify the country where your organization operates.
Click the “Next” button.
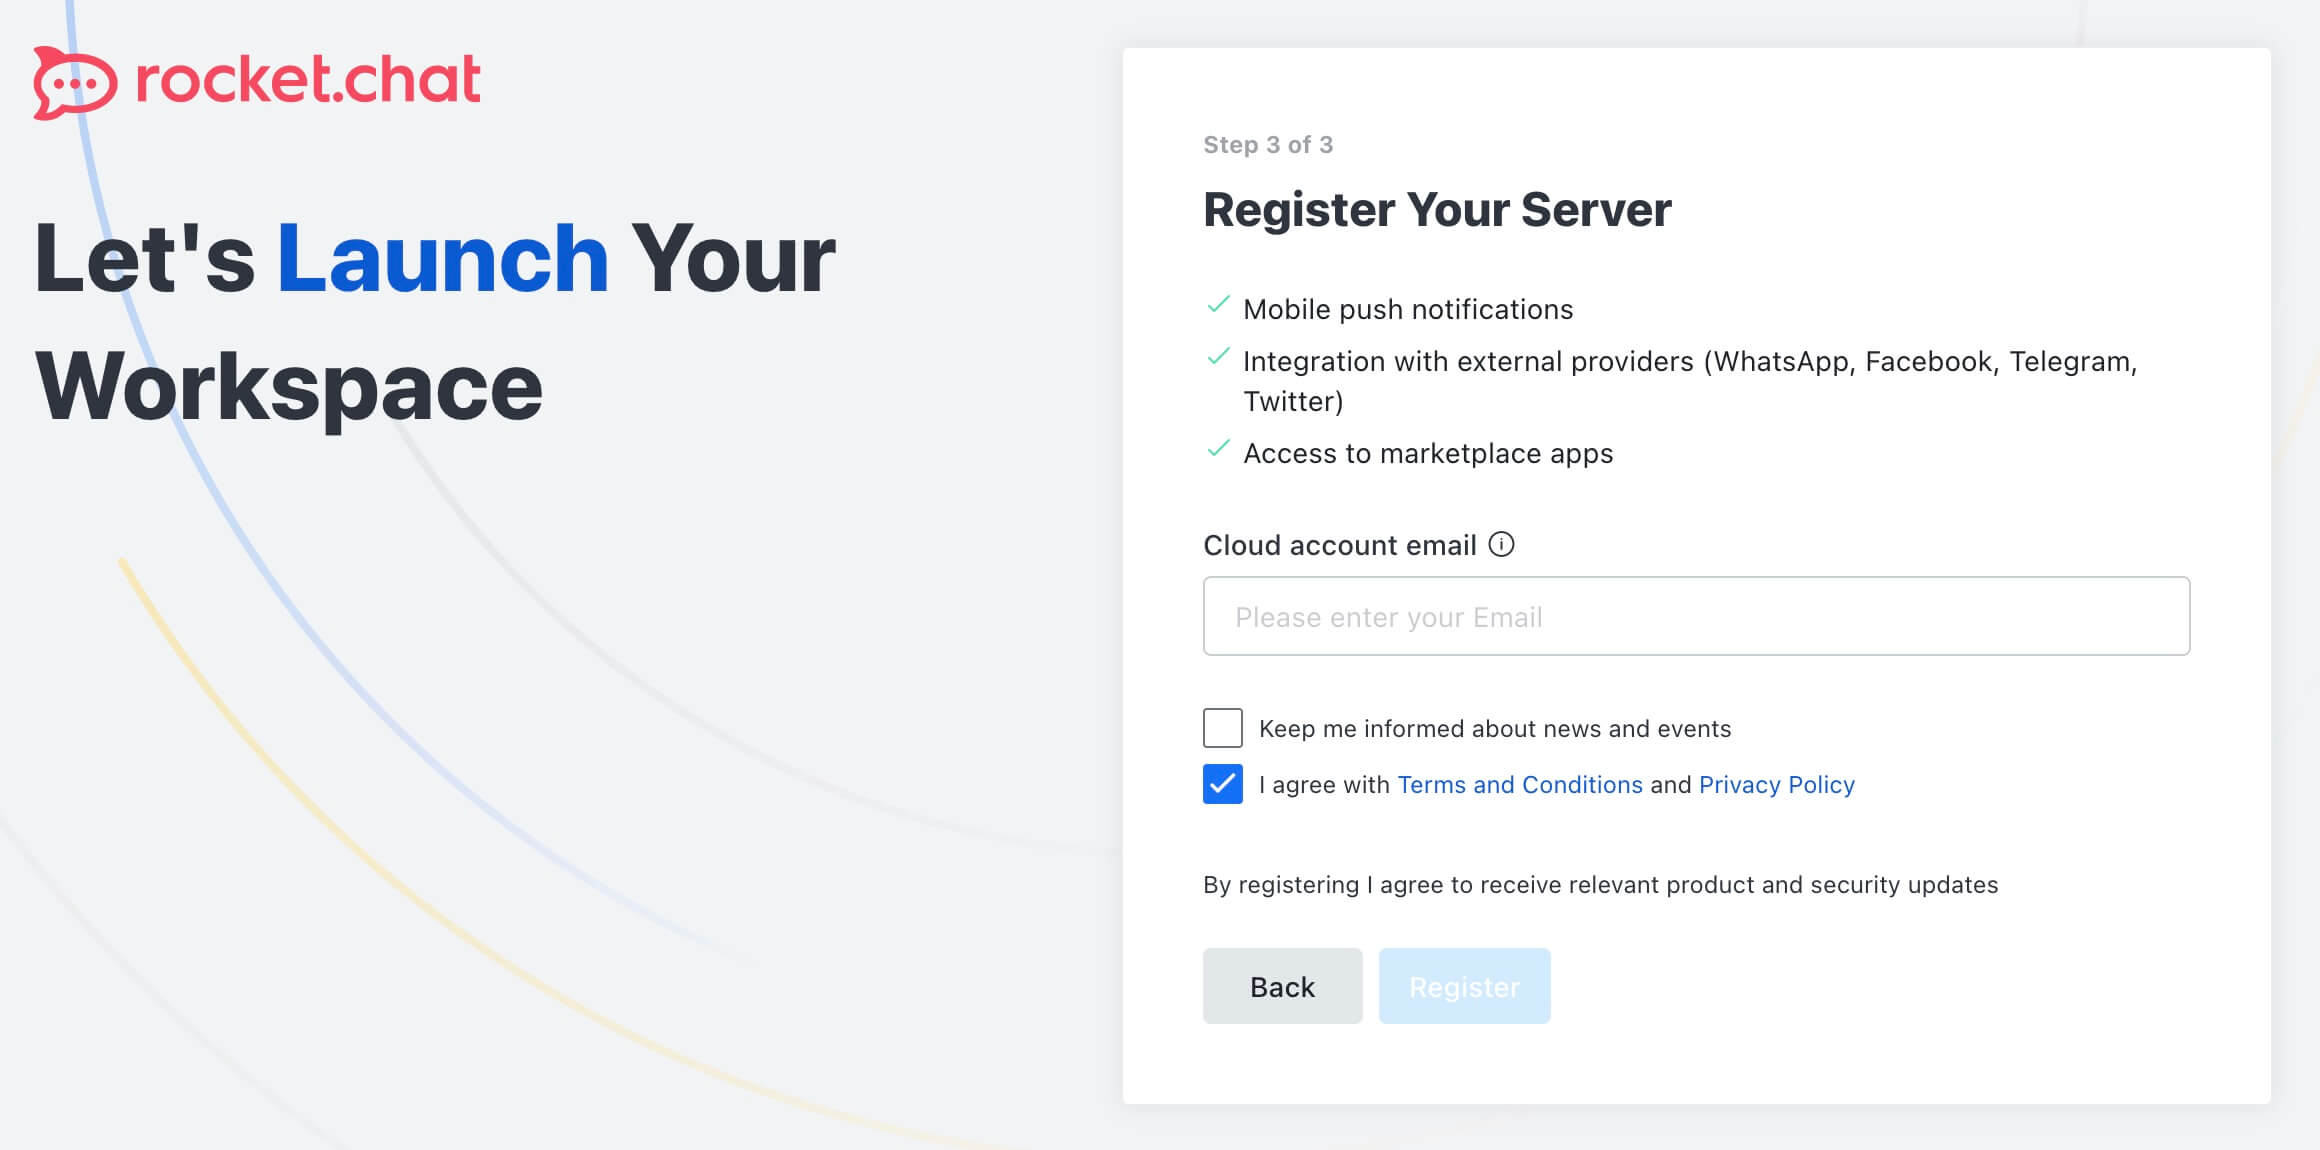
Now, you need to register your server to utilize services such as mobile push notifications, integration with external providers, and more.
In the “Cloud account email” field, provide a current email address.
Next, you should read and accept the terms of use for the provided services.
Click the “Register” button.
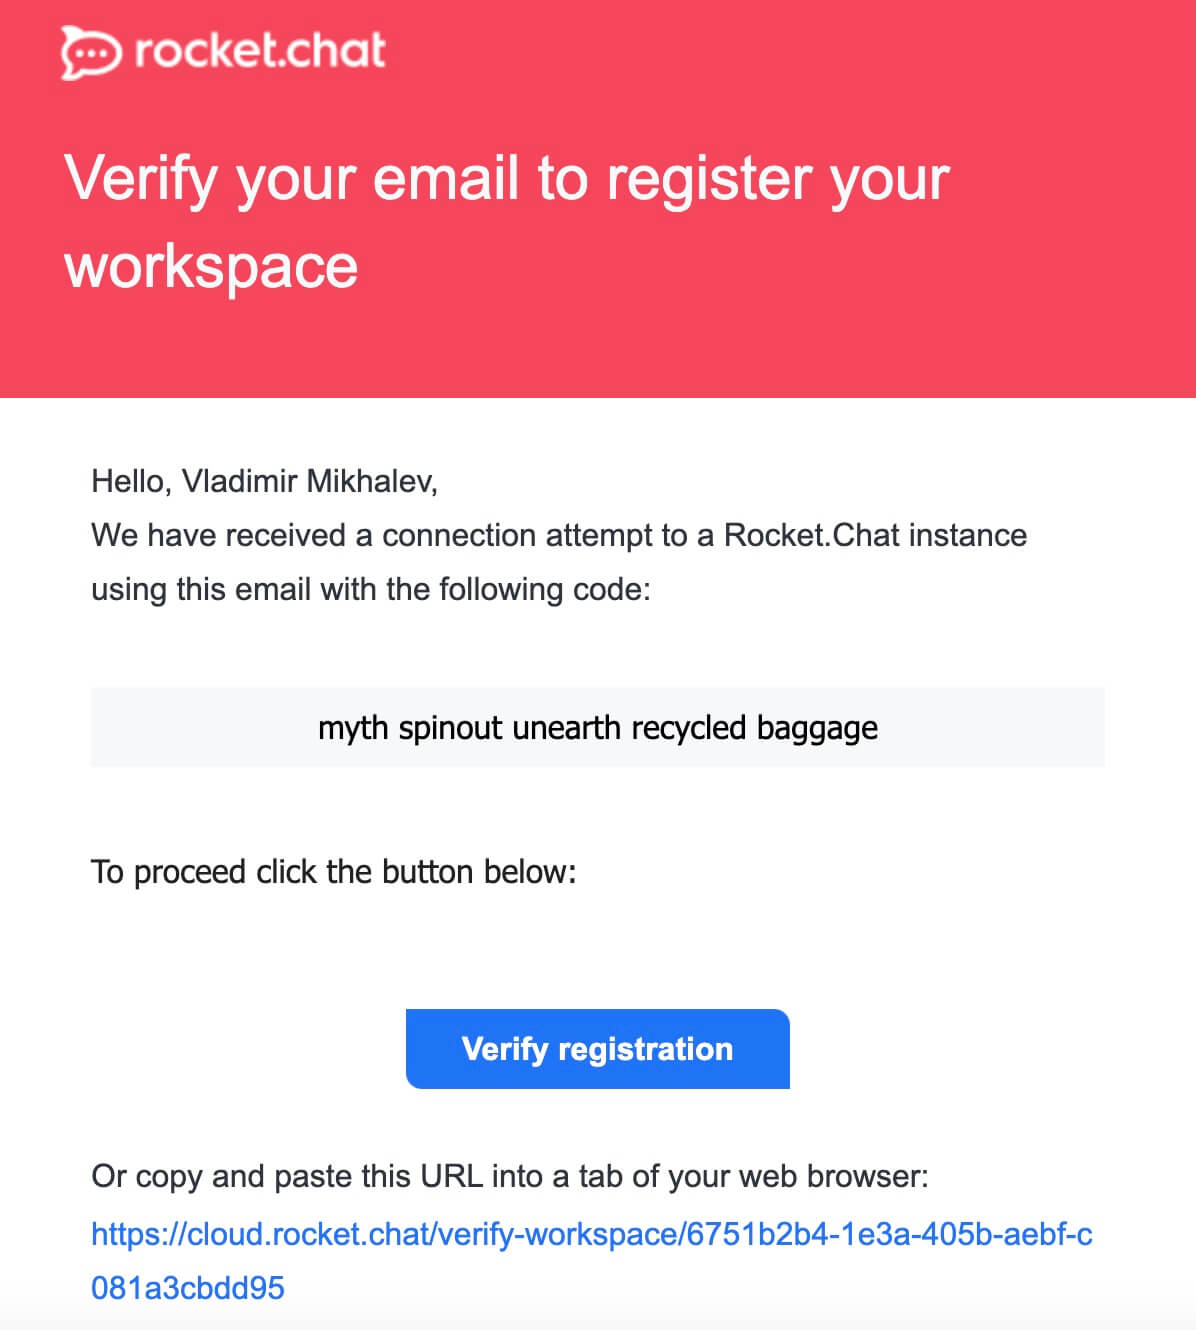
You will receive an email at the address provided earlier with a link to register your Rocket.Chat server.
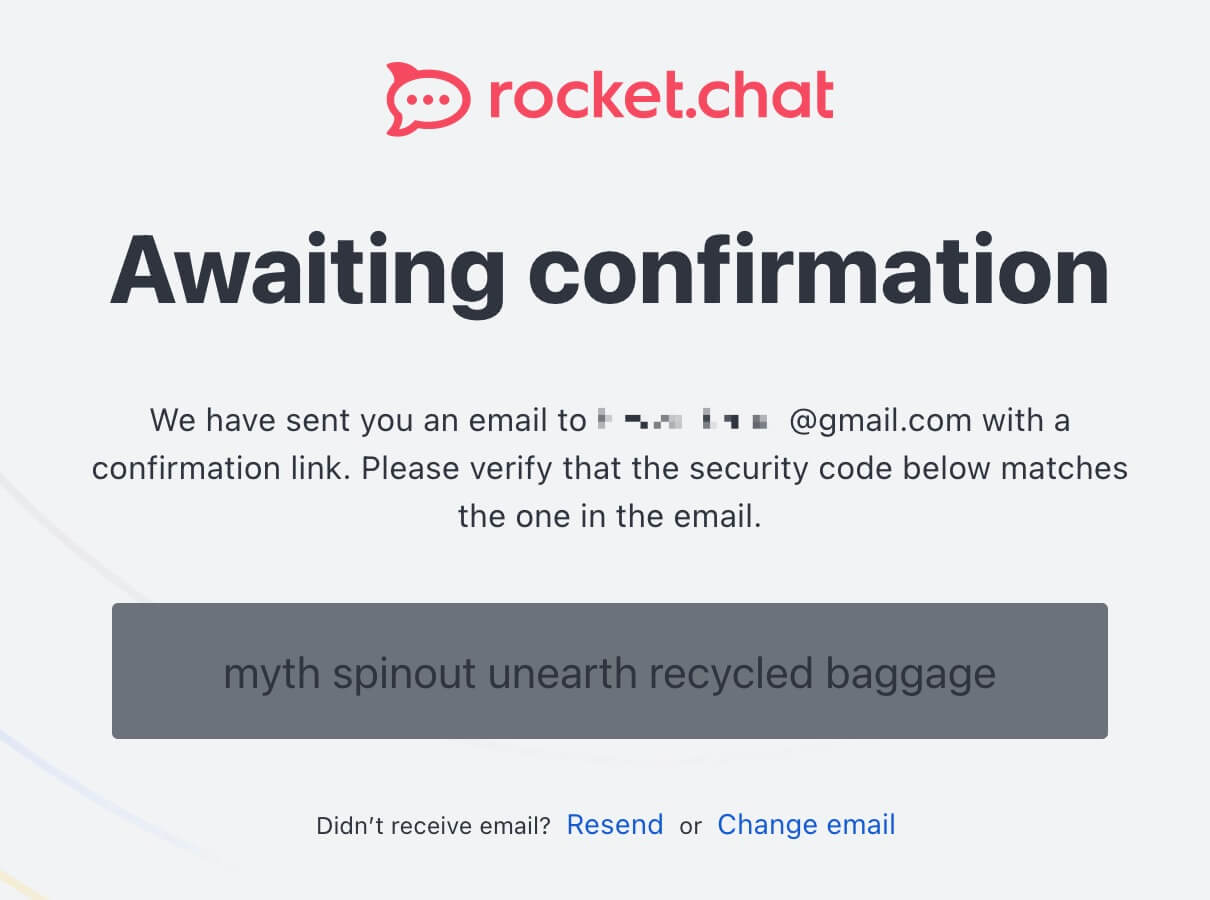
Find the email and click on the “Verify registration” button.
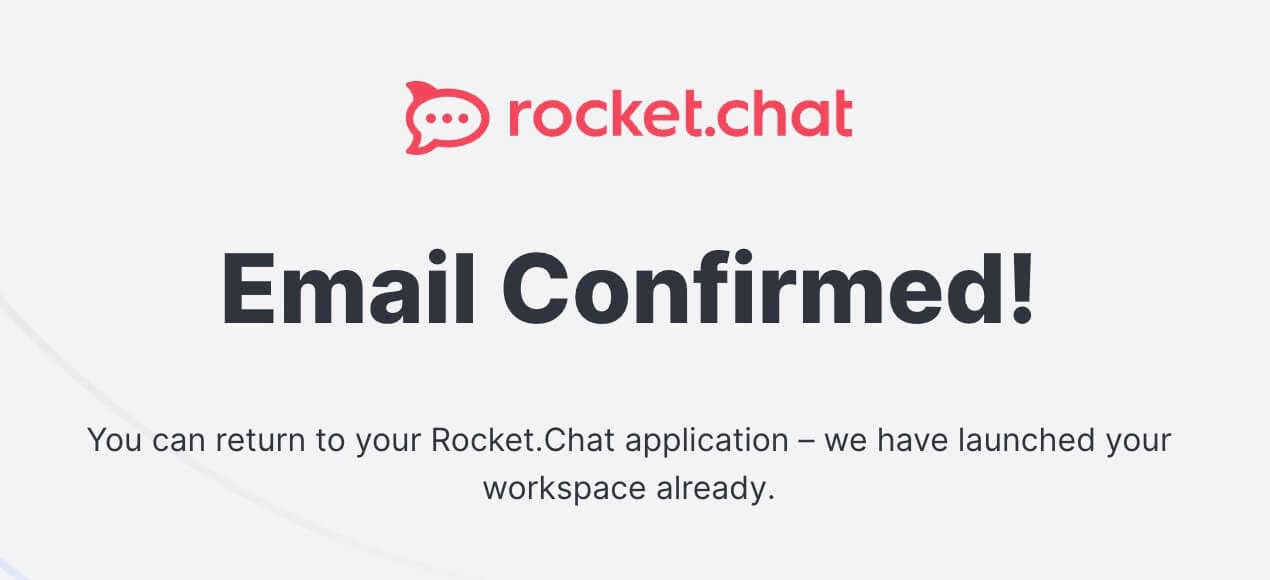
Your server has been successfully registered.
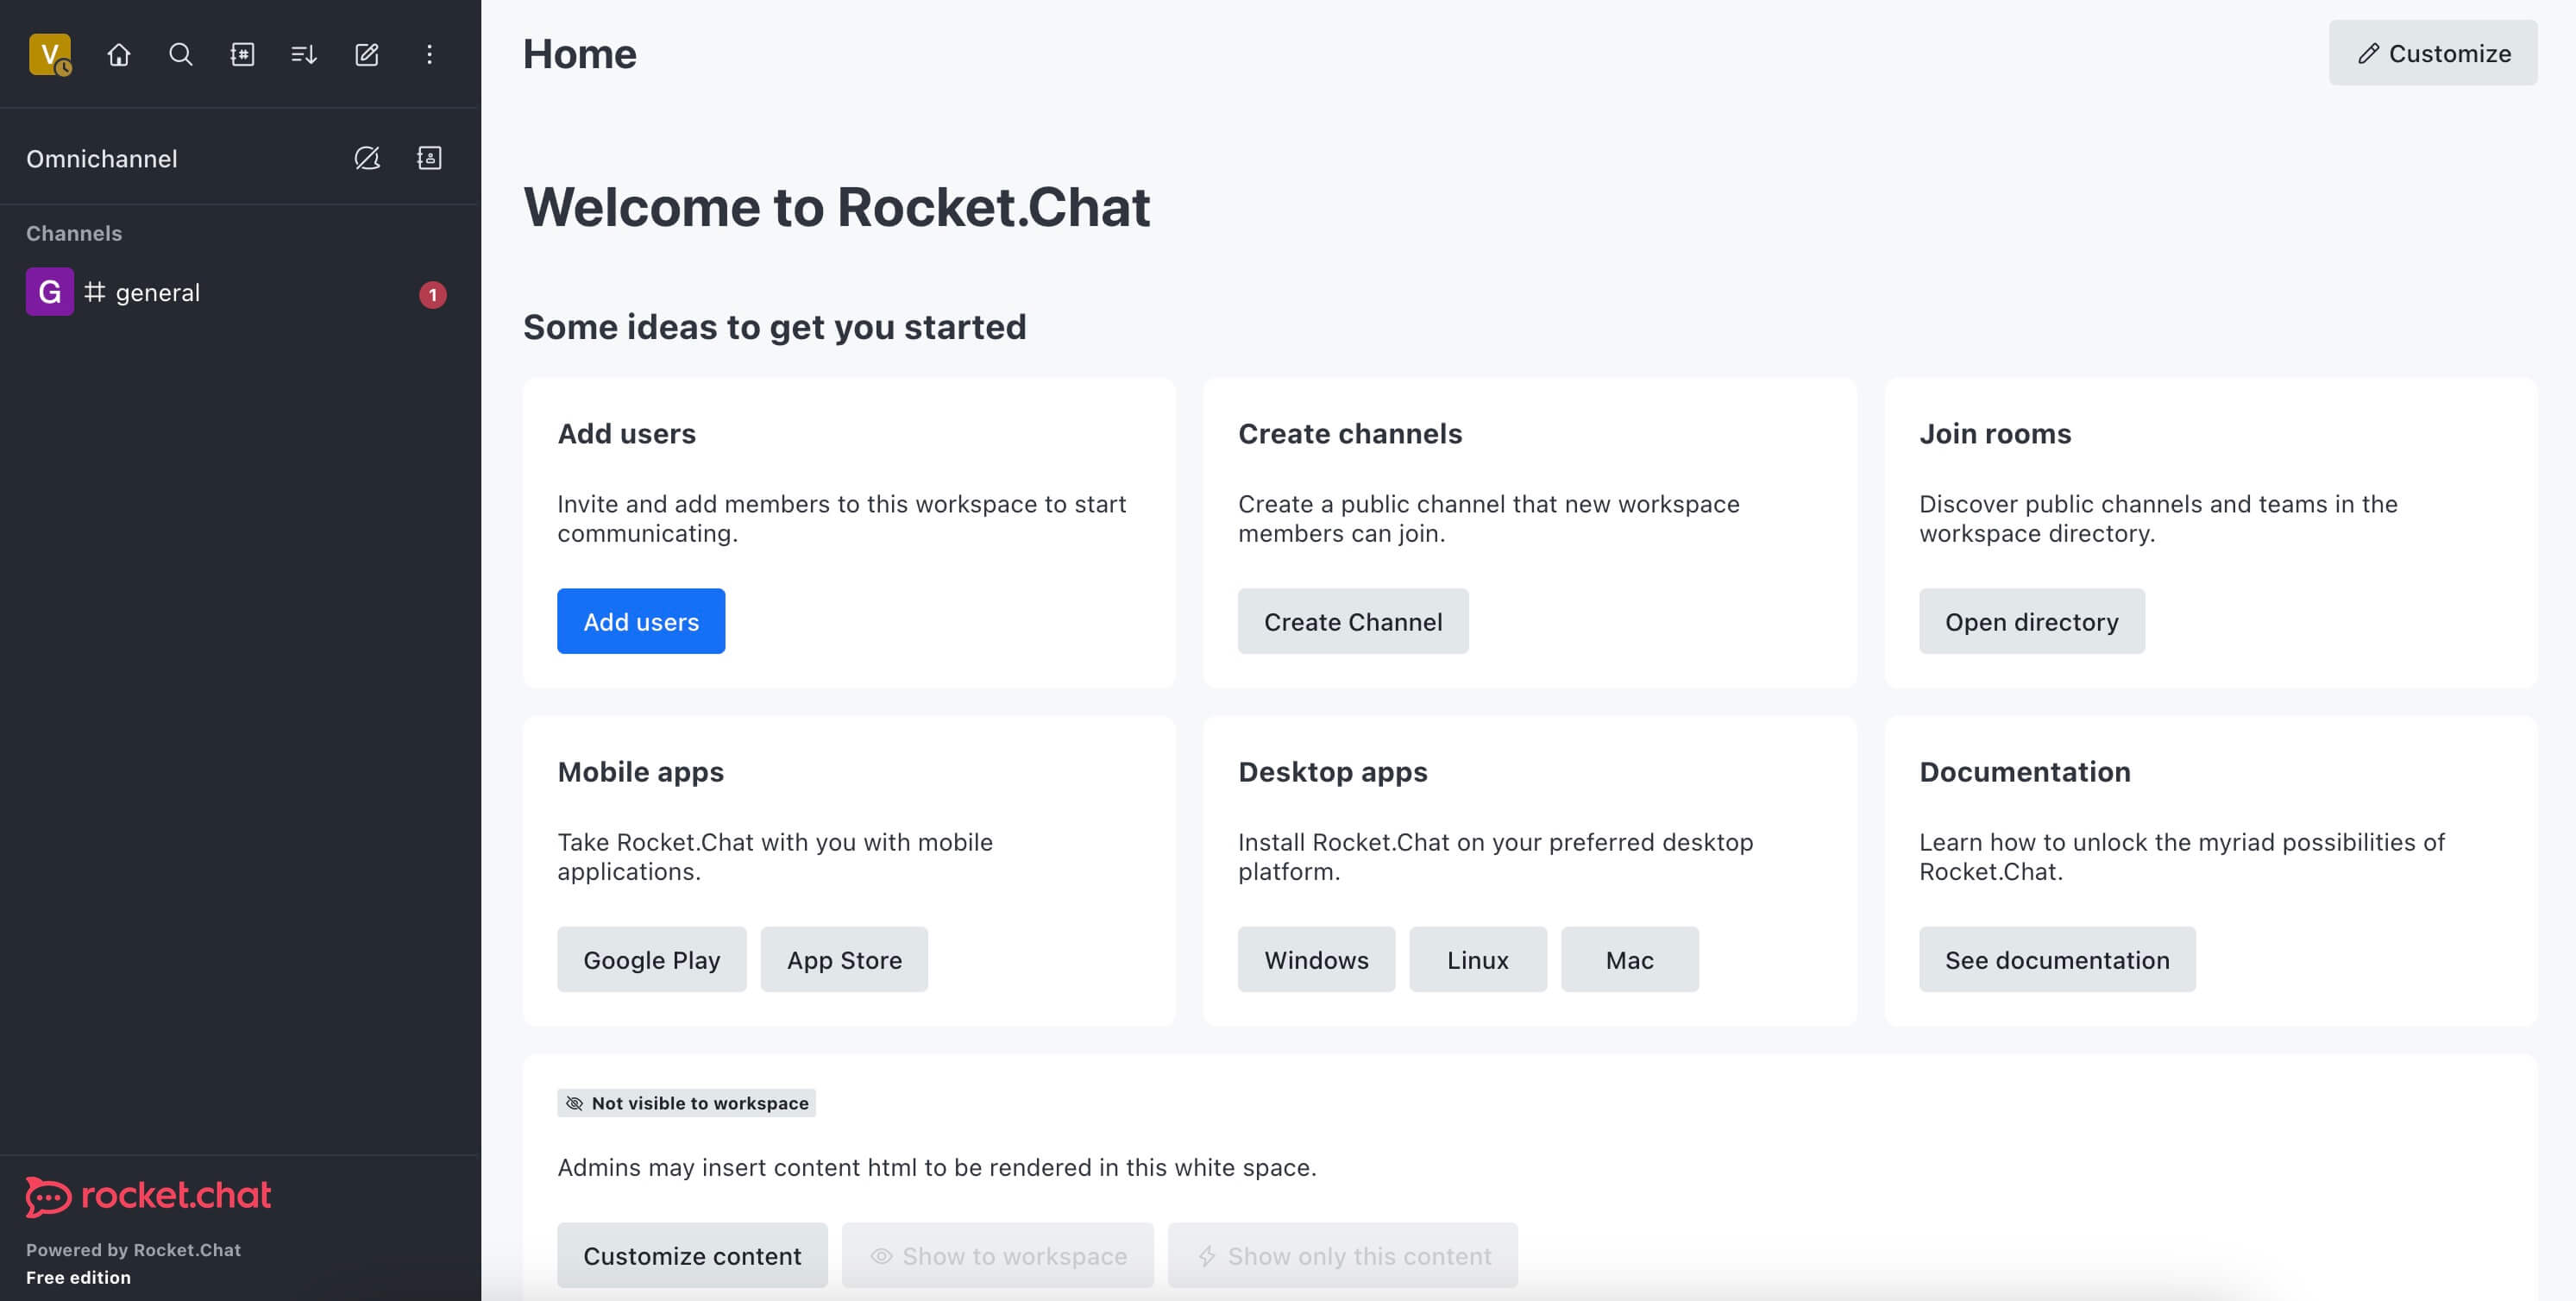
Welcome to the Rocket.Chat control panel.
Follow Me
🎬 YouTube
🐦 X / Twitter
🎨 Instagram
🐘 Mastodon
🧵 Threads
🎸 Facebook
🧊 Bluesky
🎥 TikTok
💻 LinkedIn
📣 daily.dev Squad
🧩 LeetCode
🐈 GitHub
Community of IT Experts
👾 Discord
Is this content AI-generated?
Nope! Each article is crafted by me, fueled by a deep passion for Docker and decades of IT expertise. While I employ AI to refine the grammar—ensuring the technical details are conveyed clearly—the insights, strategies, and guidance are purely my own. This approach may occasionally activate AI detectors, but you can be certain that the underlying knowledge and experiences are authentically mine.
