Install ServiceDesk Plus on Ubuntu Server
This article is for those looking for a detailed and straightforward guide on installing ServiceDesk Plus on Ubuntu Server.
ServiceDesk Plus is support services software with an integrated asset management system. This solution allows you to manage incidents, assets, requests, has a service catalog, and also provides an IT Project Management module for project management with support for the collaboration mode.
In this guide, we will consider the case when you already have a server with the Ubuntu Server 22.04 LTS operating system installed on it.
You can read more about how to install Ubuntu Server 22.04 LTS in my guide “Install Ubuntu Server 22.04 LTS”.
In addition, OpenSSH must be installed on the server, and port 22 must be open in order to be able to connect to the server using the SSH protocol.
To install OpenSSH on a server, you can use the command:
sudo apt install openssh-serverIf you plan to connect to the server using the Windows operating system, you can use PuTTY or MobaXterm.
This guide describes how to connect to a server using the iTerm2 terminal emulator installed on the macOS operating system.
In this guide, the sdp.heyvaldemar.net subdomain will be used to access the ServiceDesk Plus control panel.
Please note that you will need to open the following TCP ports to access your server:
- TCP port 8080 - to access the ServiceDesk Plus web interface.
We connect to the server on which you plan to install ServiceDesk Plus.
Update the local package index to the latest changes in the repositories using the command:
sudo apt update
Now let’s install the packages required for ServiceDesk Plus to work using the command:
sudo apt install fonts-dejavu fontconfig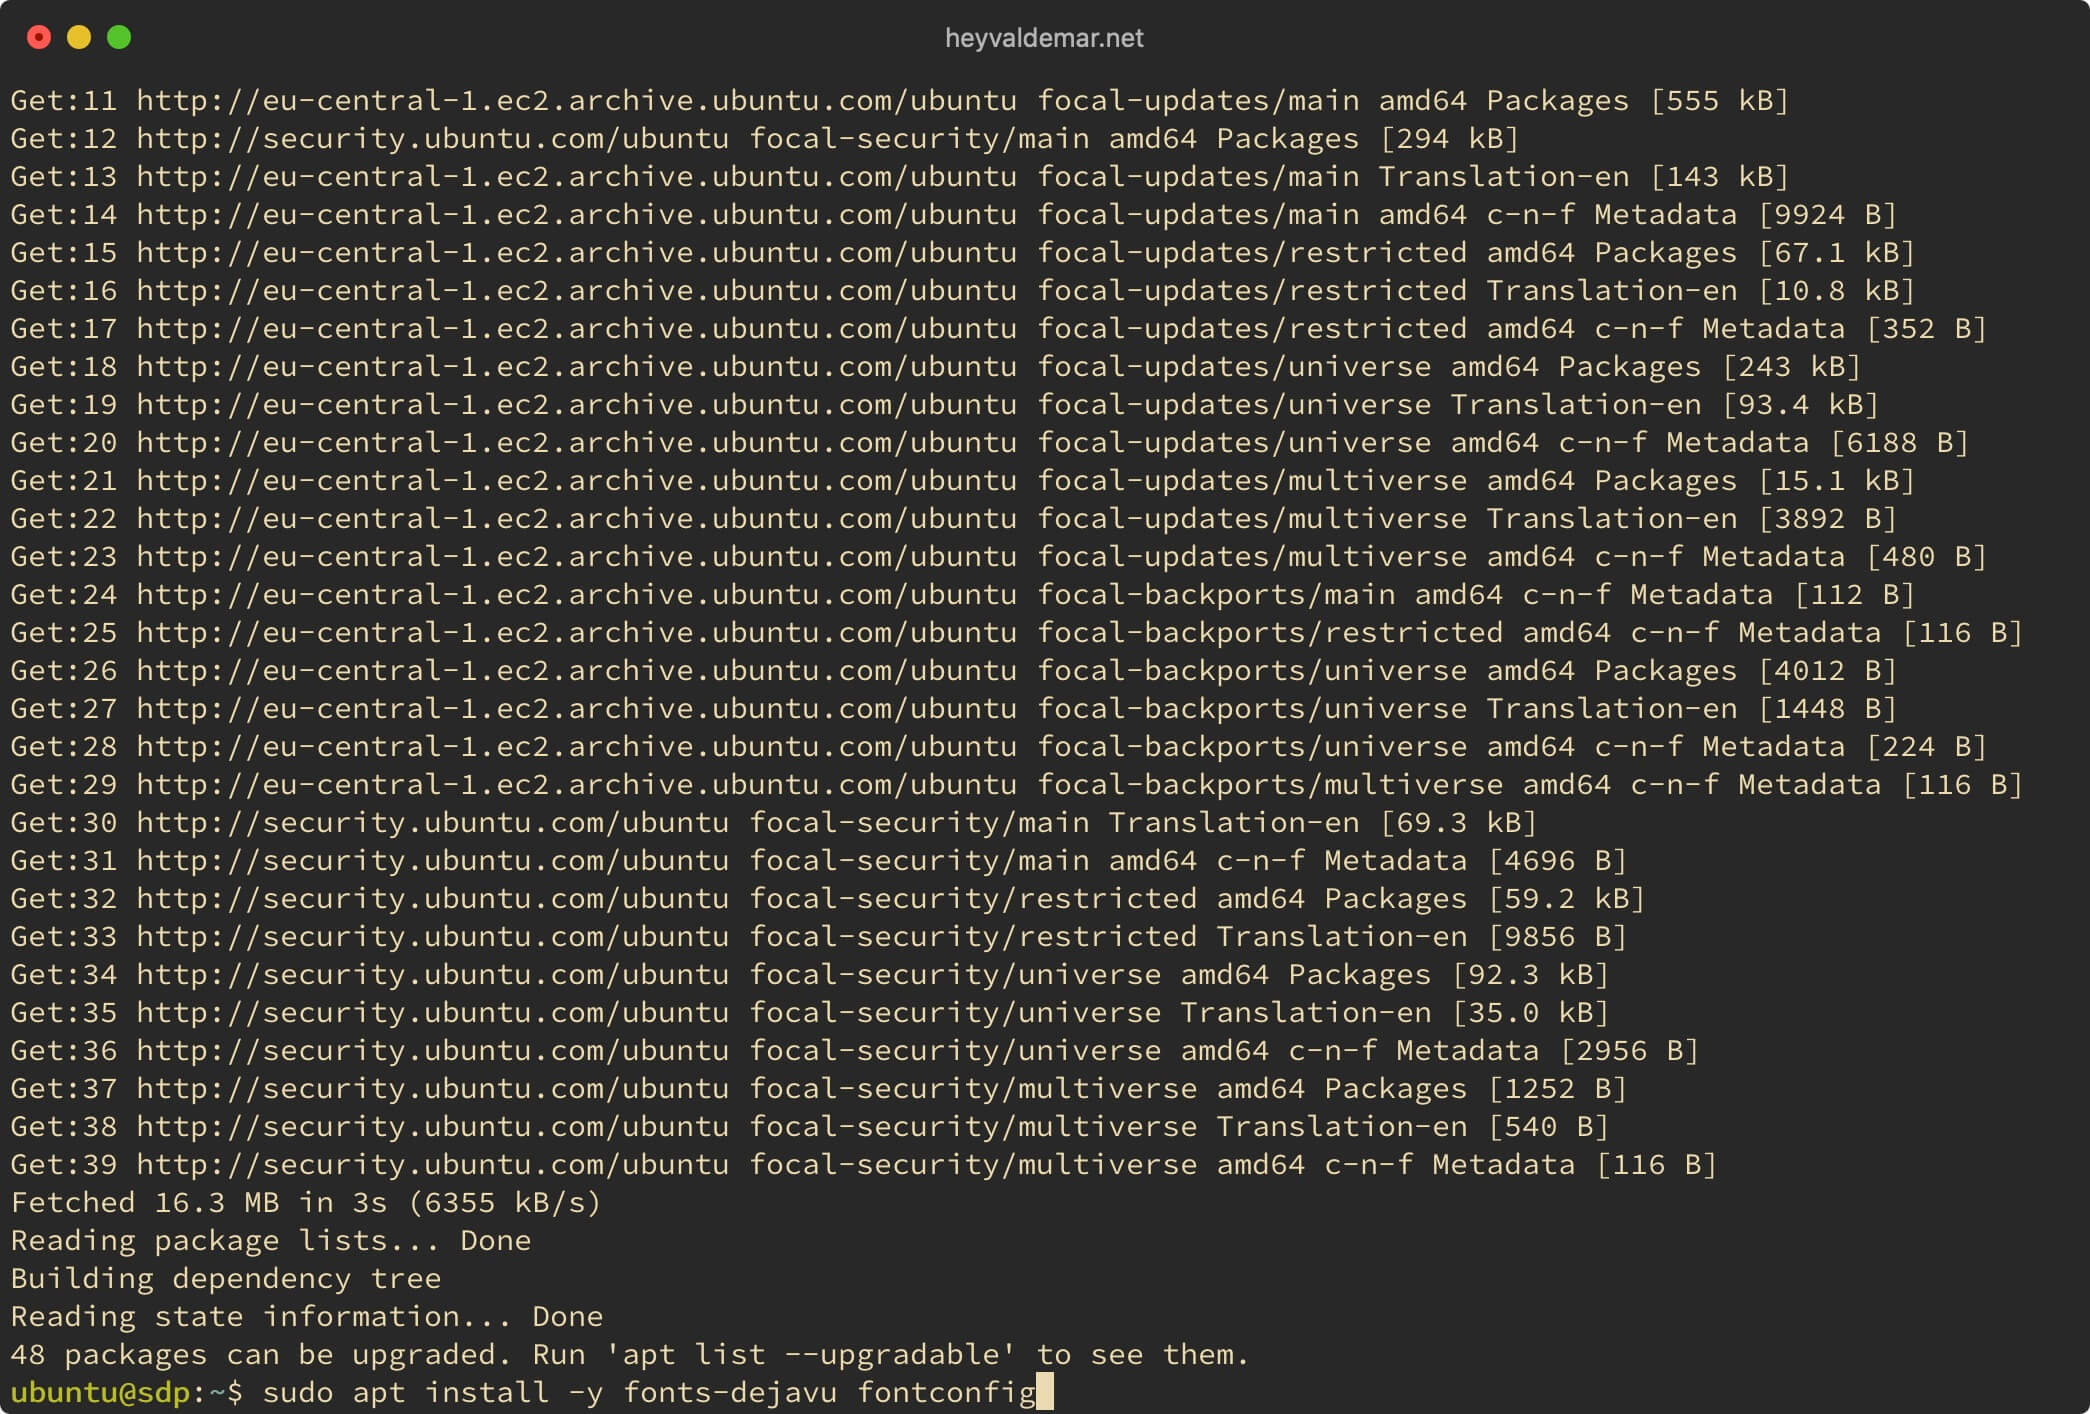
Switch to the “root” user, who has administrator rights in the operating system, using the command:
sudo -i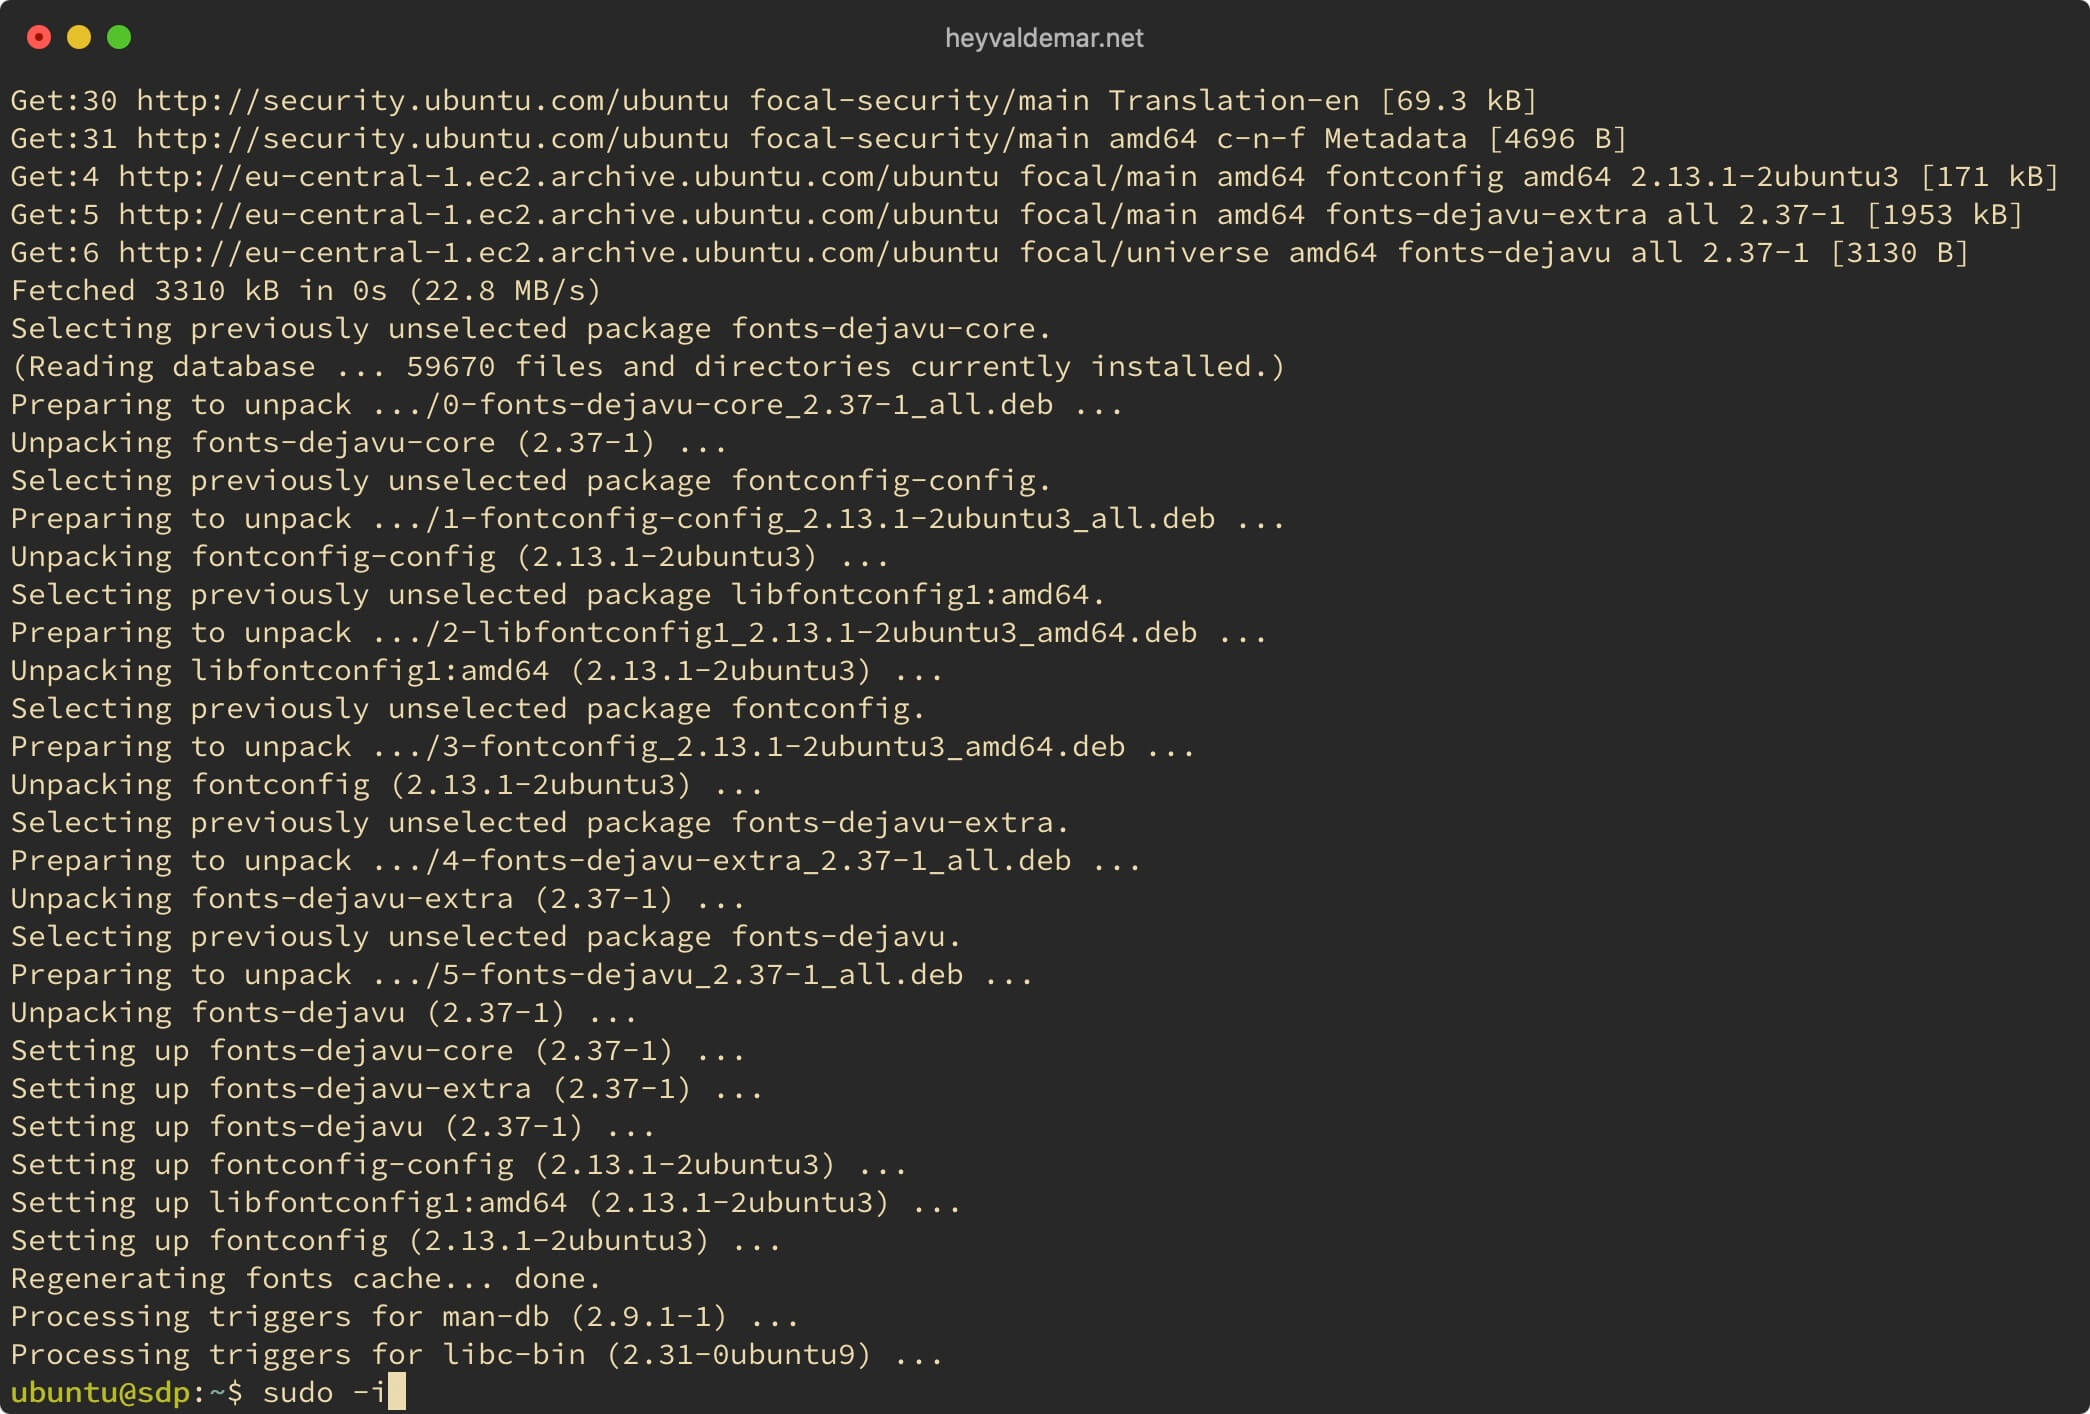
Download the ServiceDesk Plus installer using the command:
wget https://www.manageengine.com/products/service-desk/91677414/ManageEngine_ServiceDesk_Plus_64bit.bin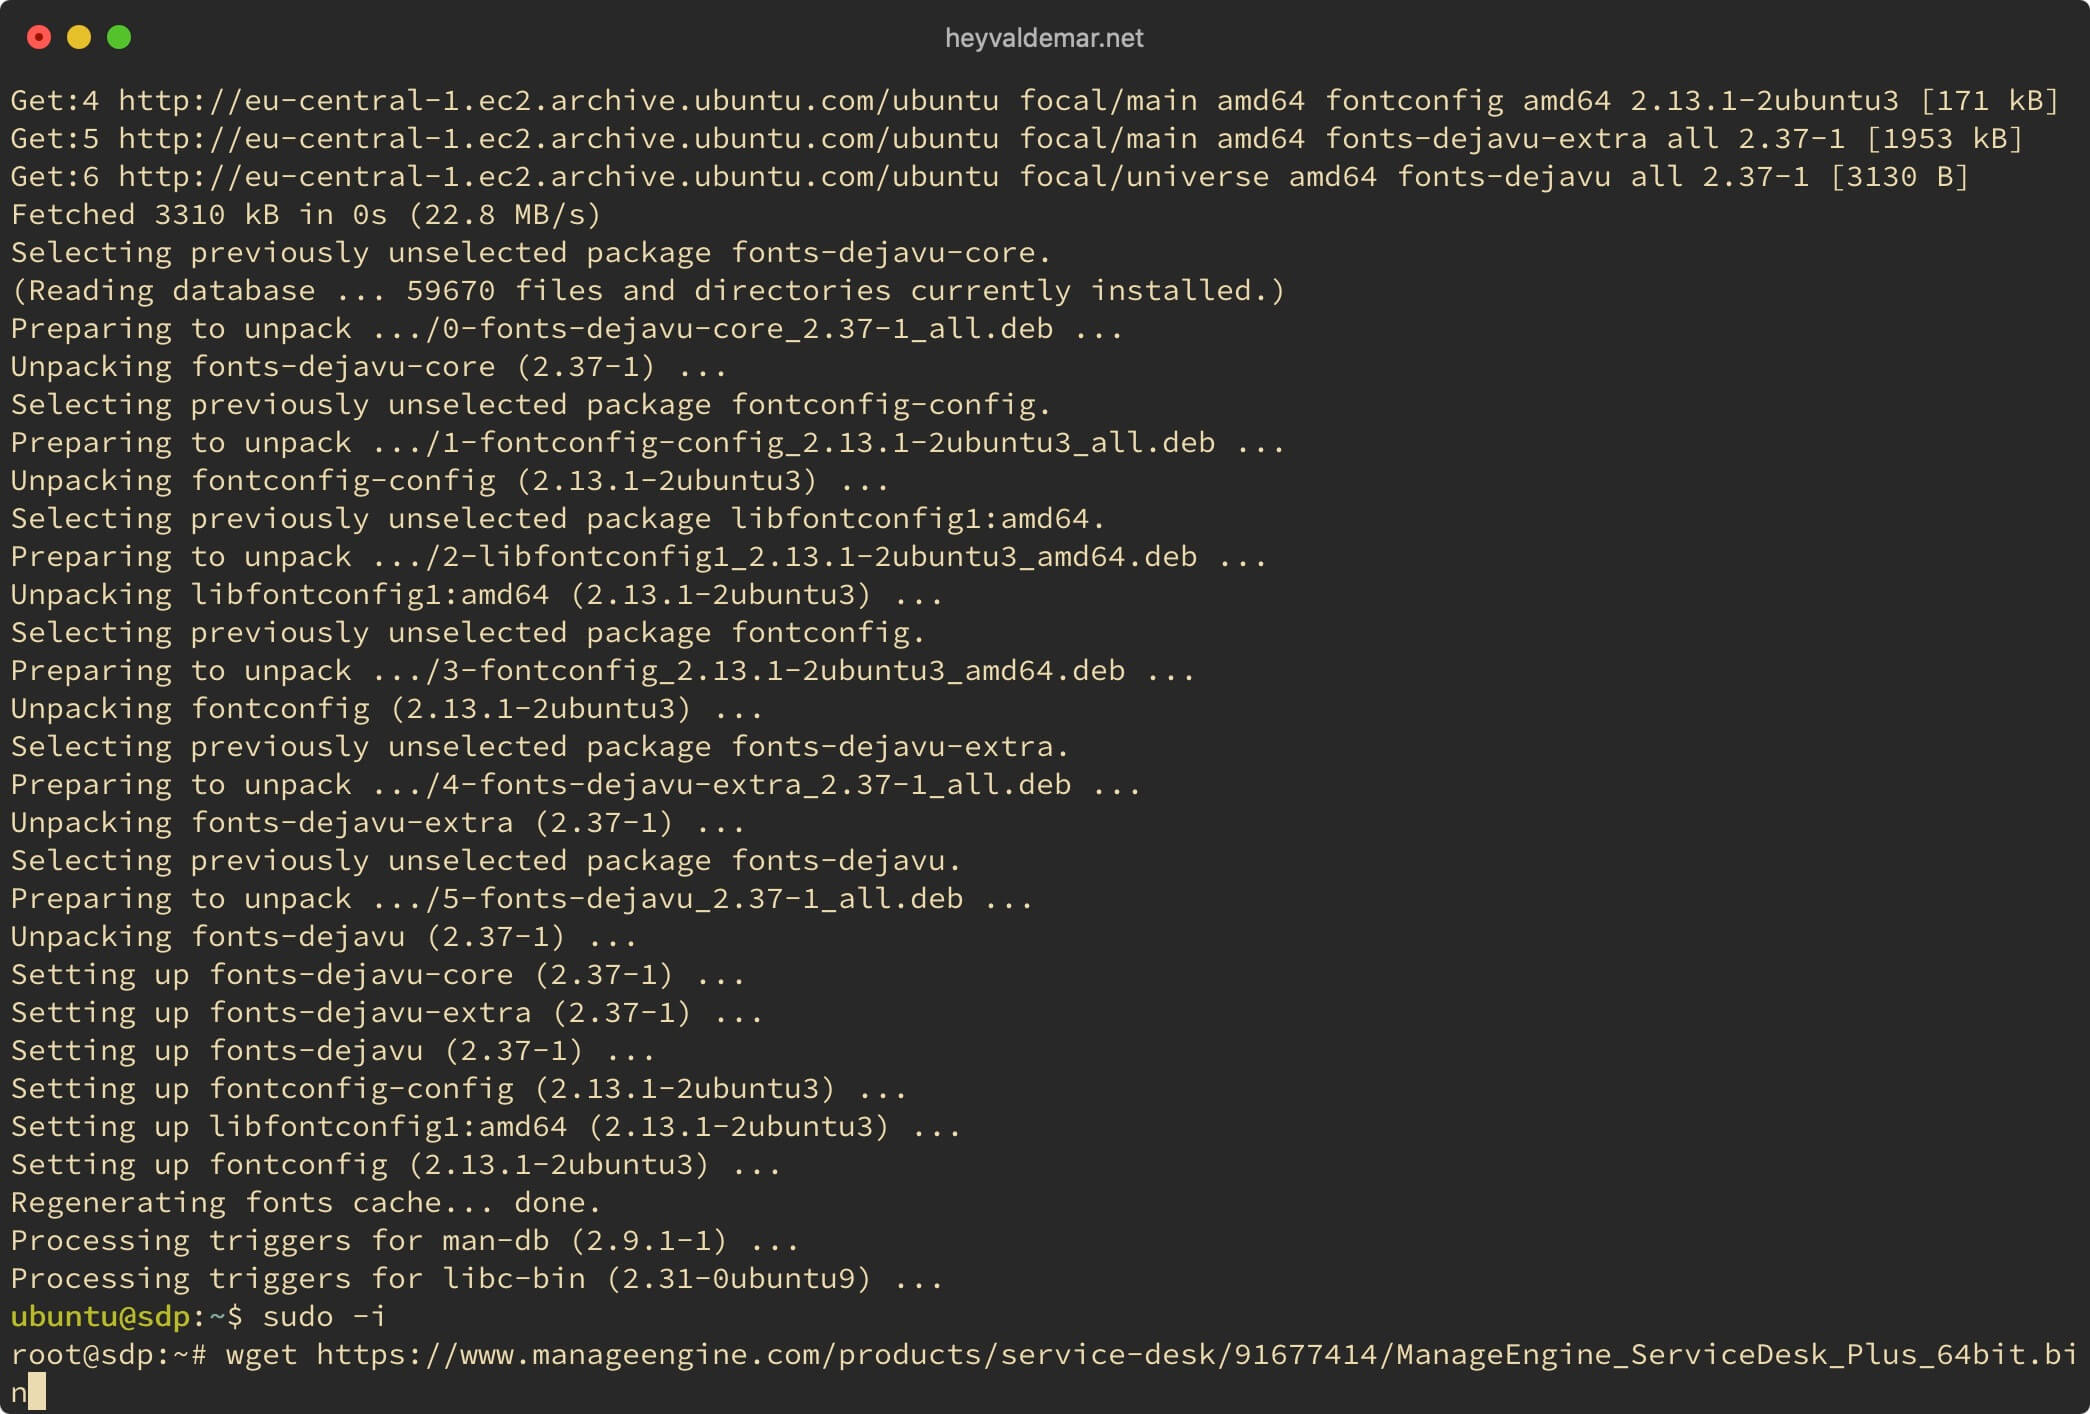
Let’s enable execution of the file “ManageEngine_ServiceDesk_Plus_64bit.bin” using the command:
chmod +x ManageEngine_ServiceDesk_Plus_64bit.bin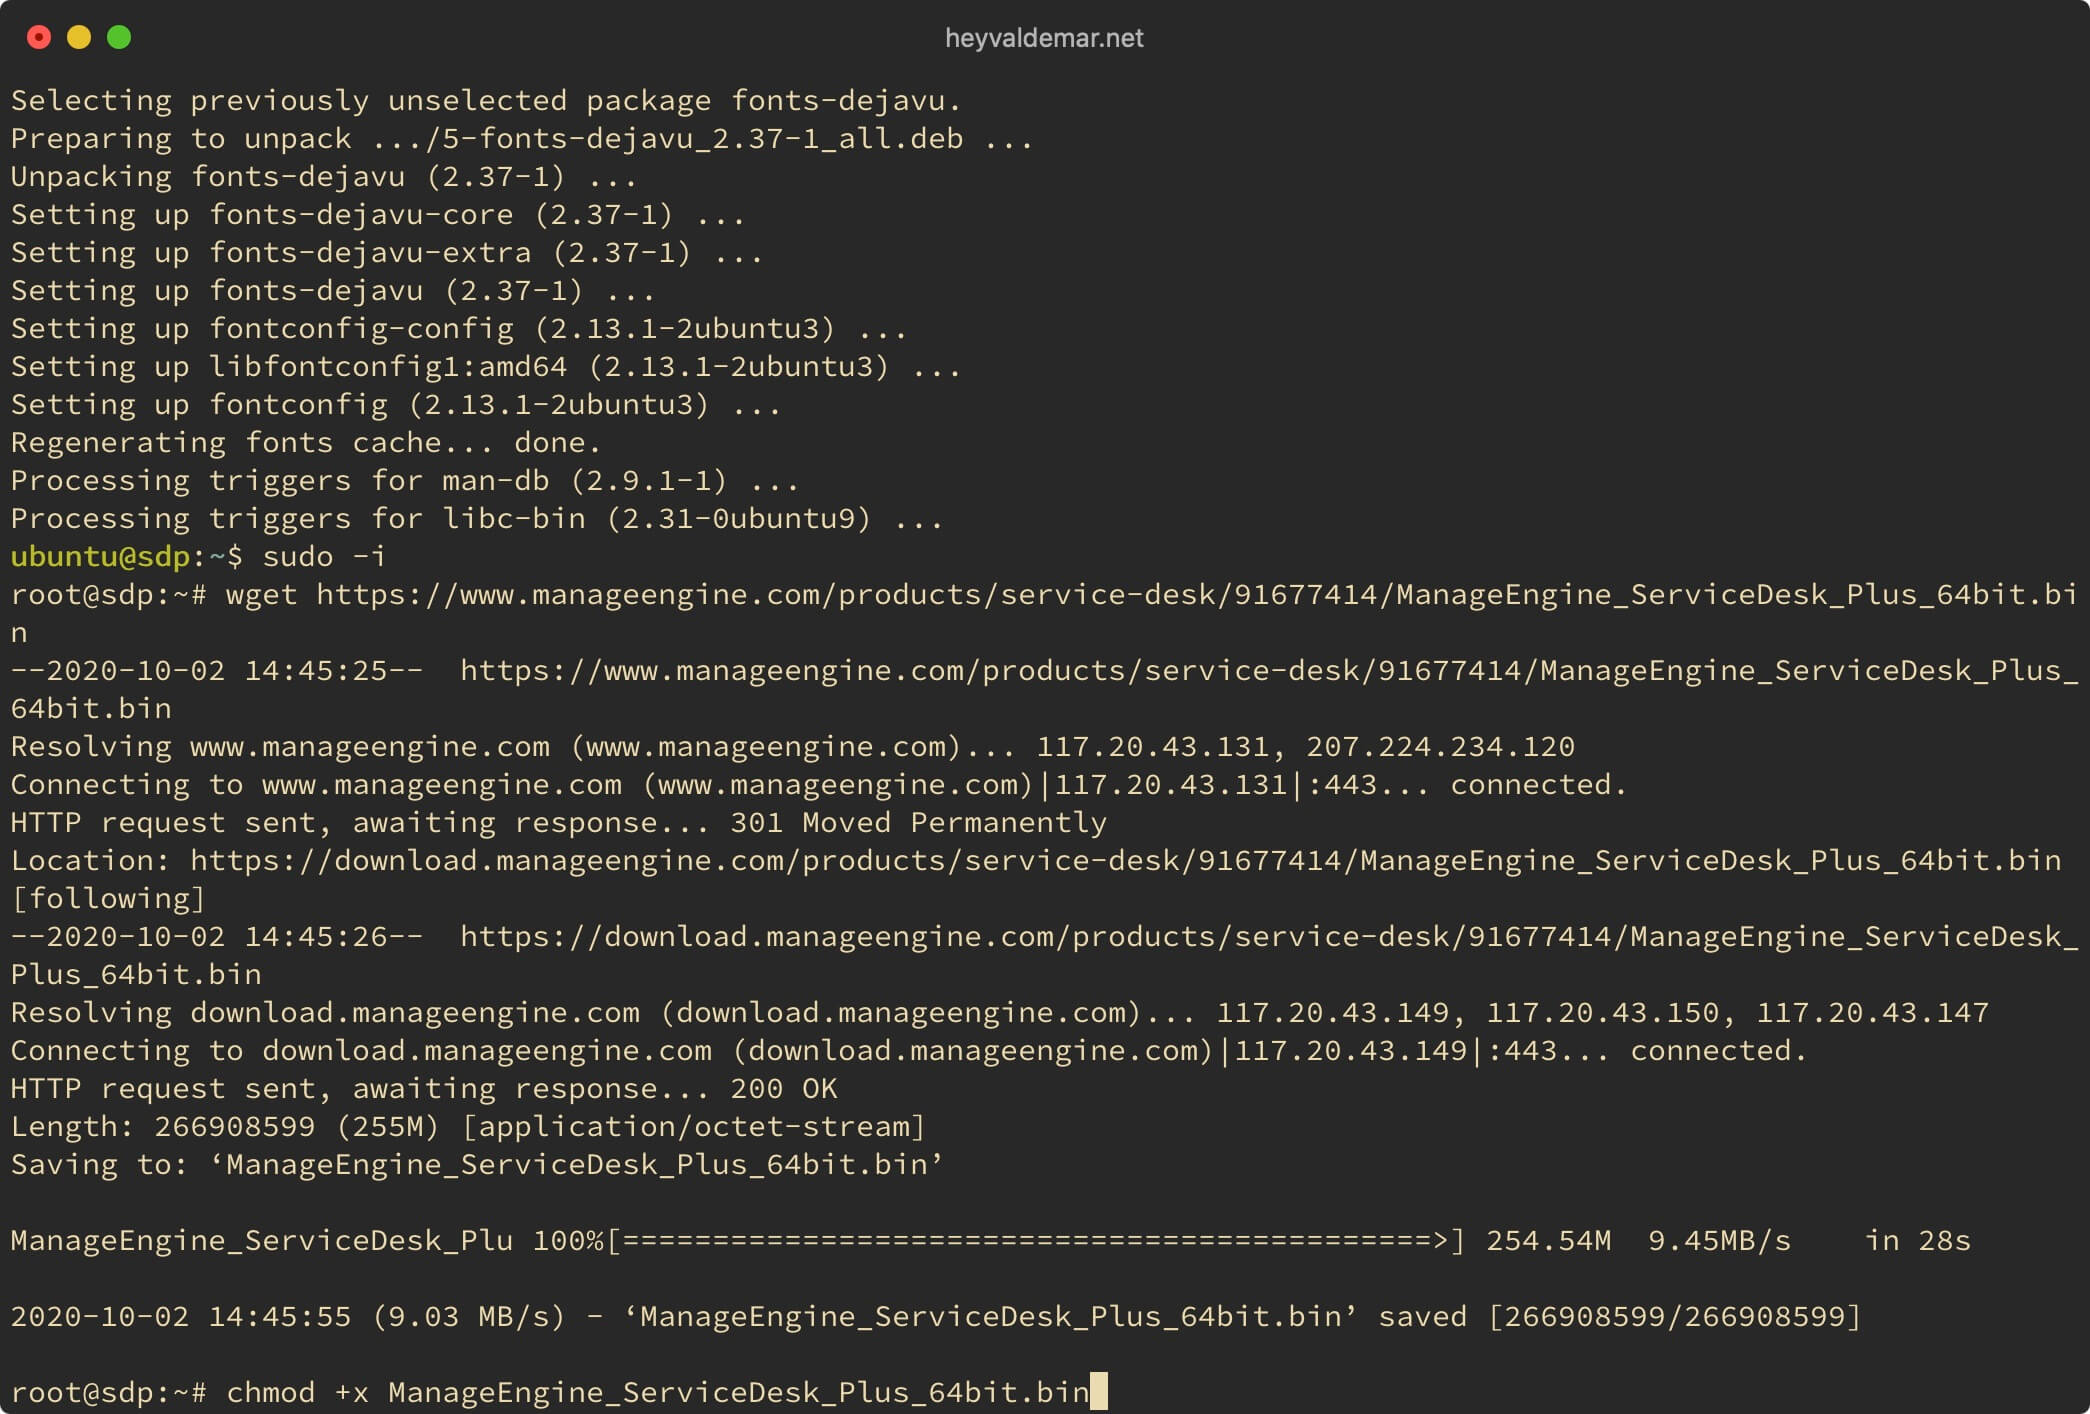
Now let’s start the ServiceDesk Plus installation using the command:
./ManageEngine_ServiceDesk_Plus_64bit.bin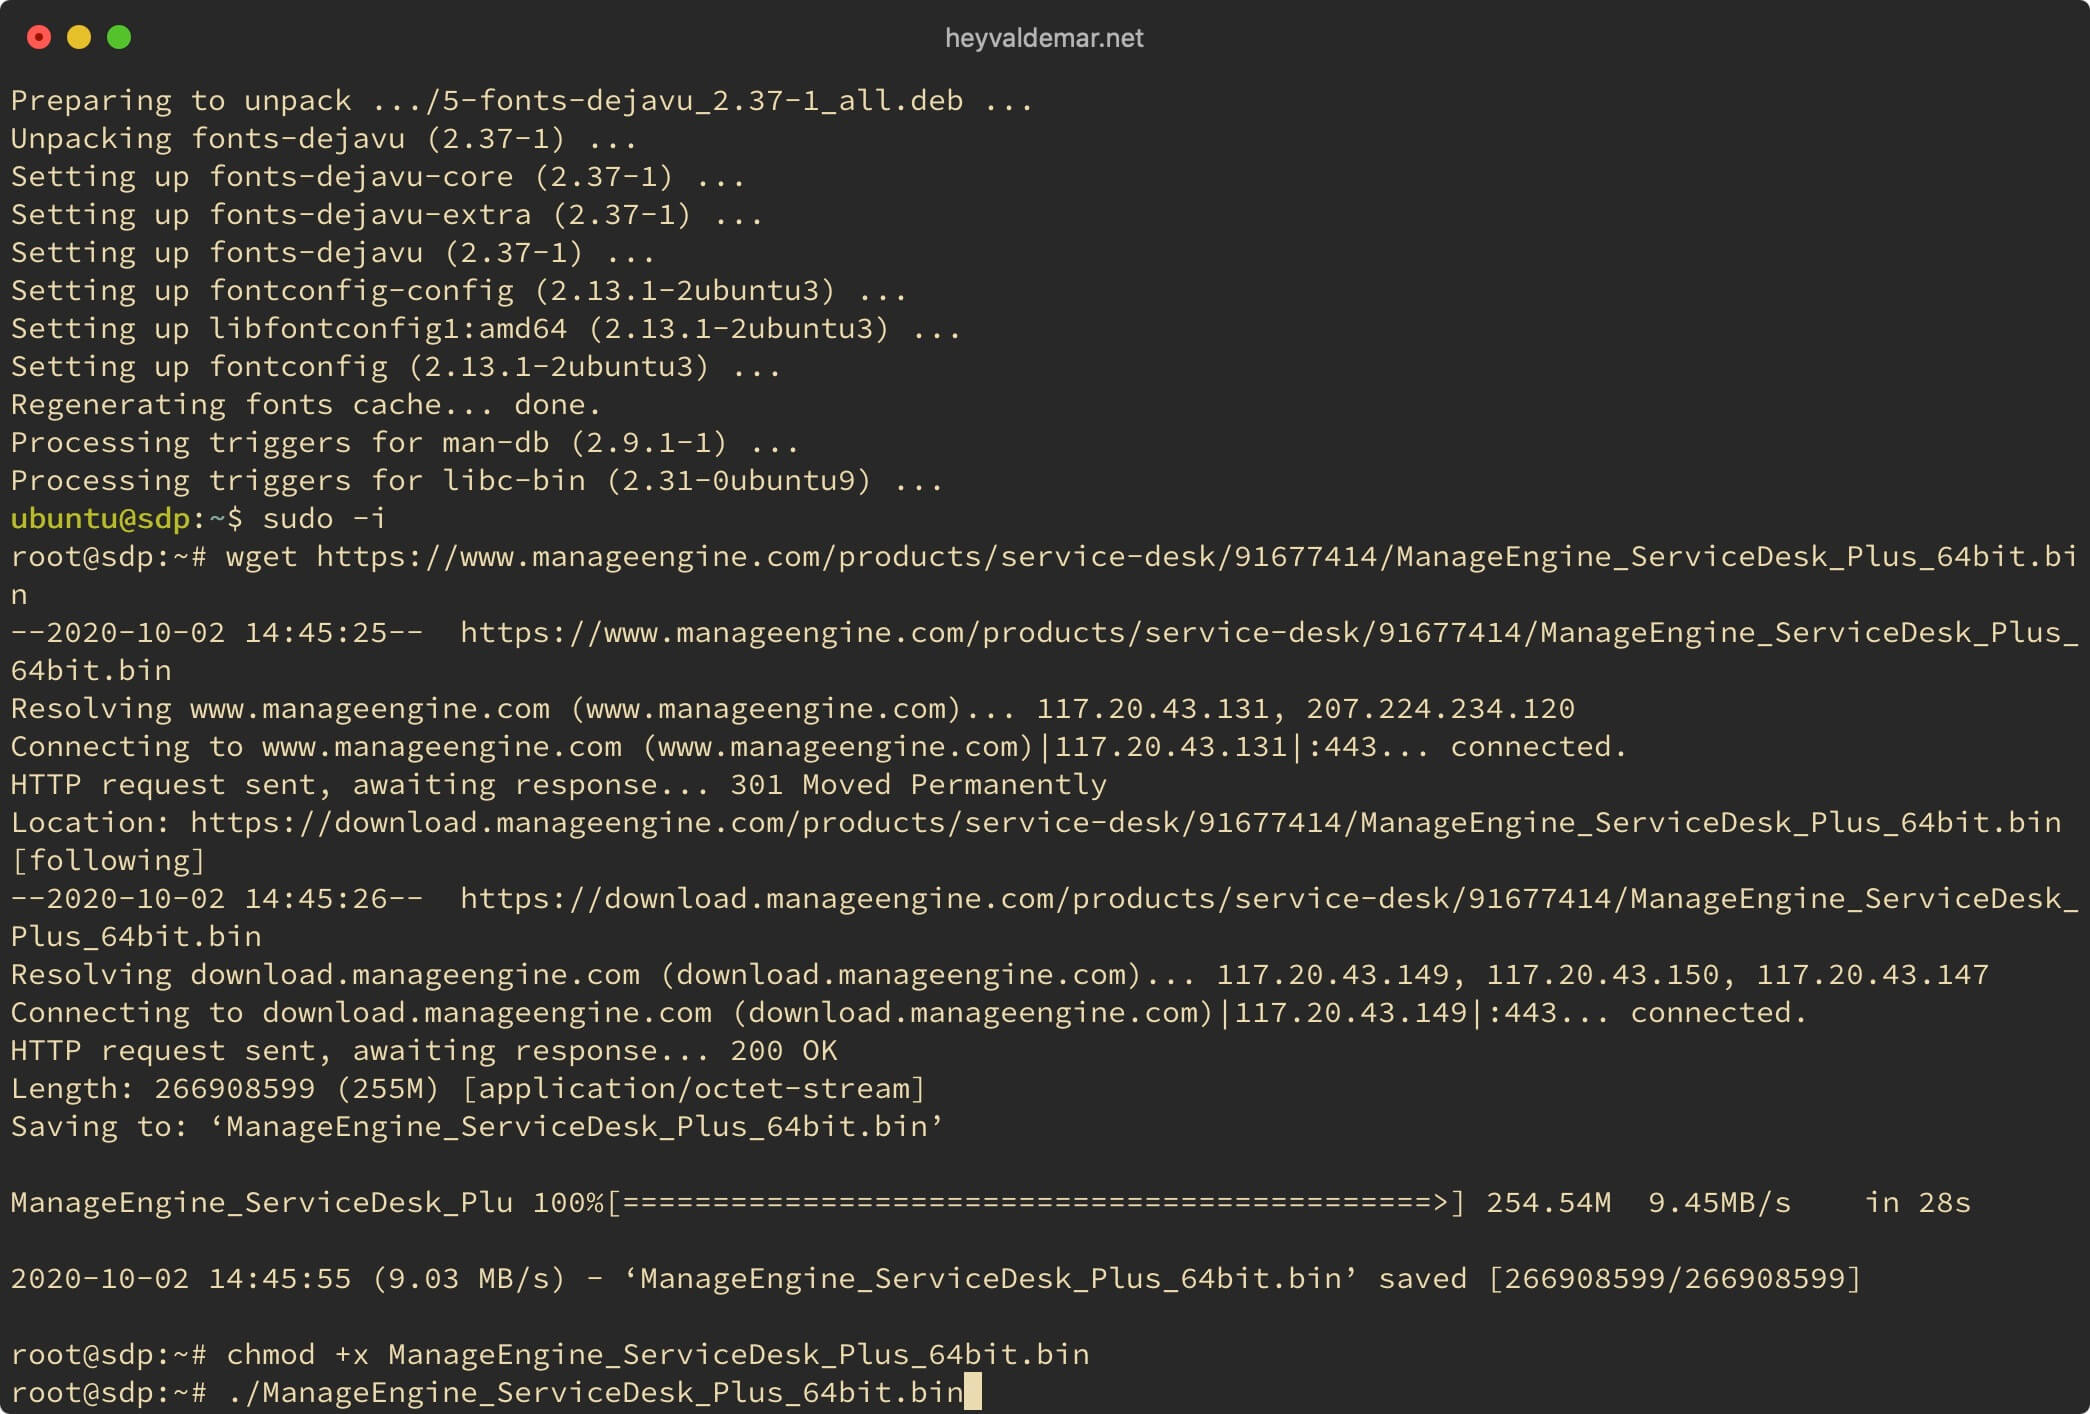
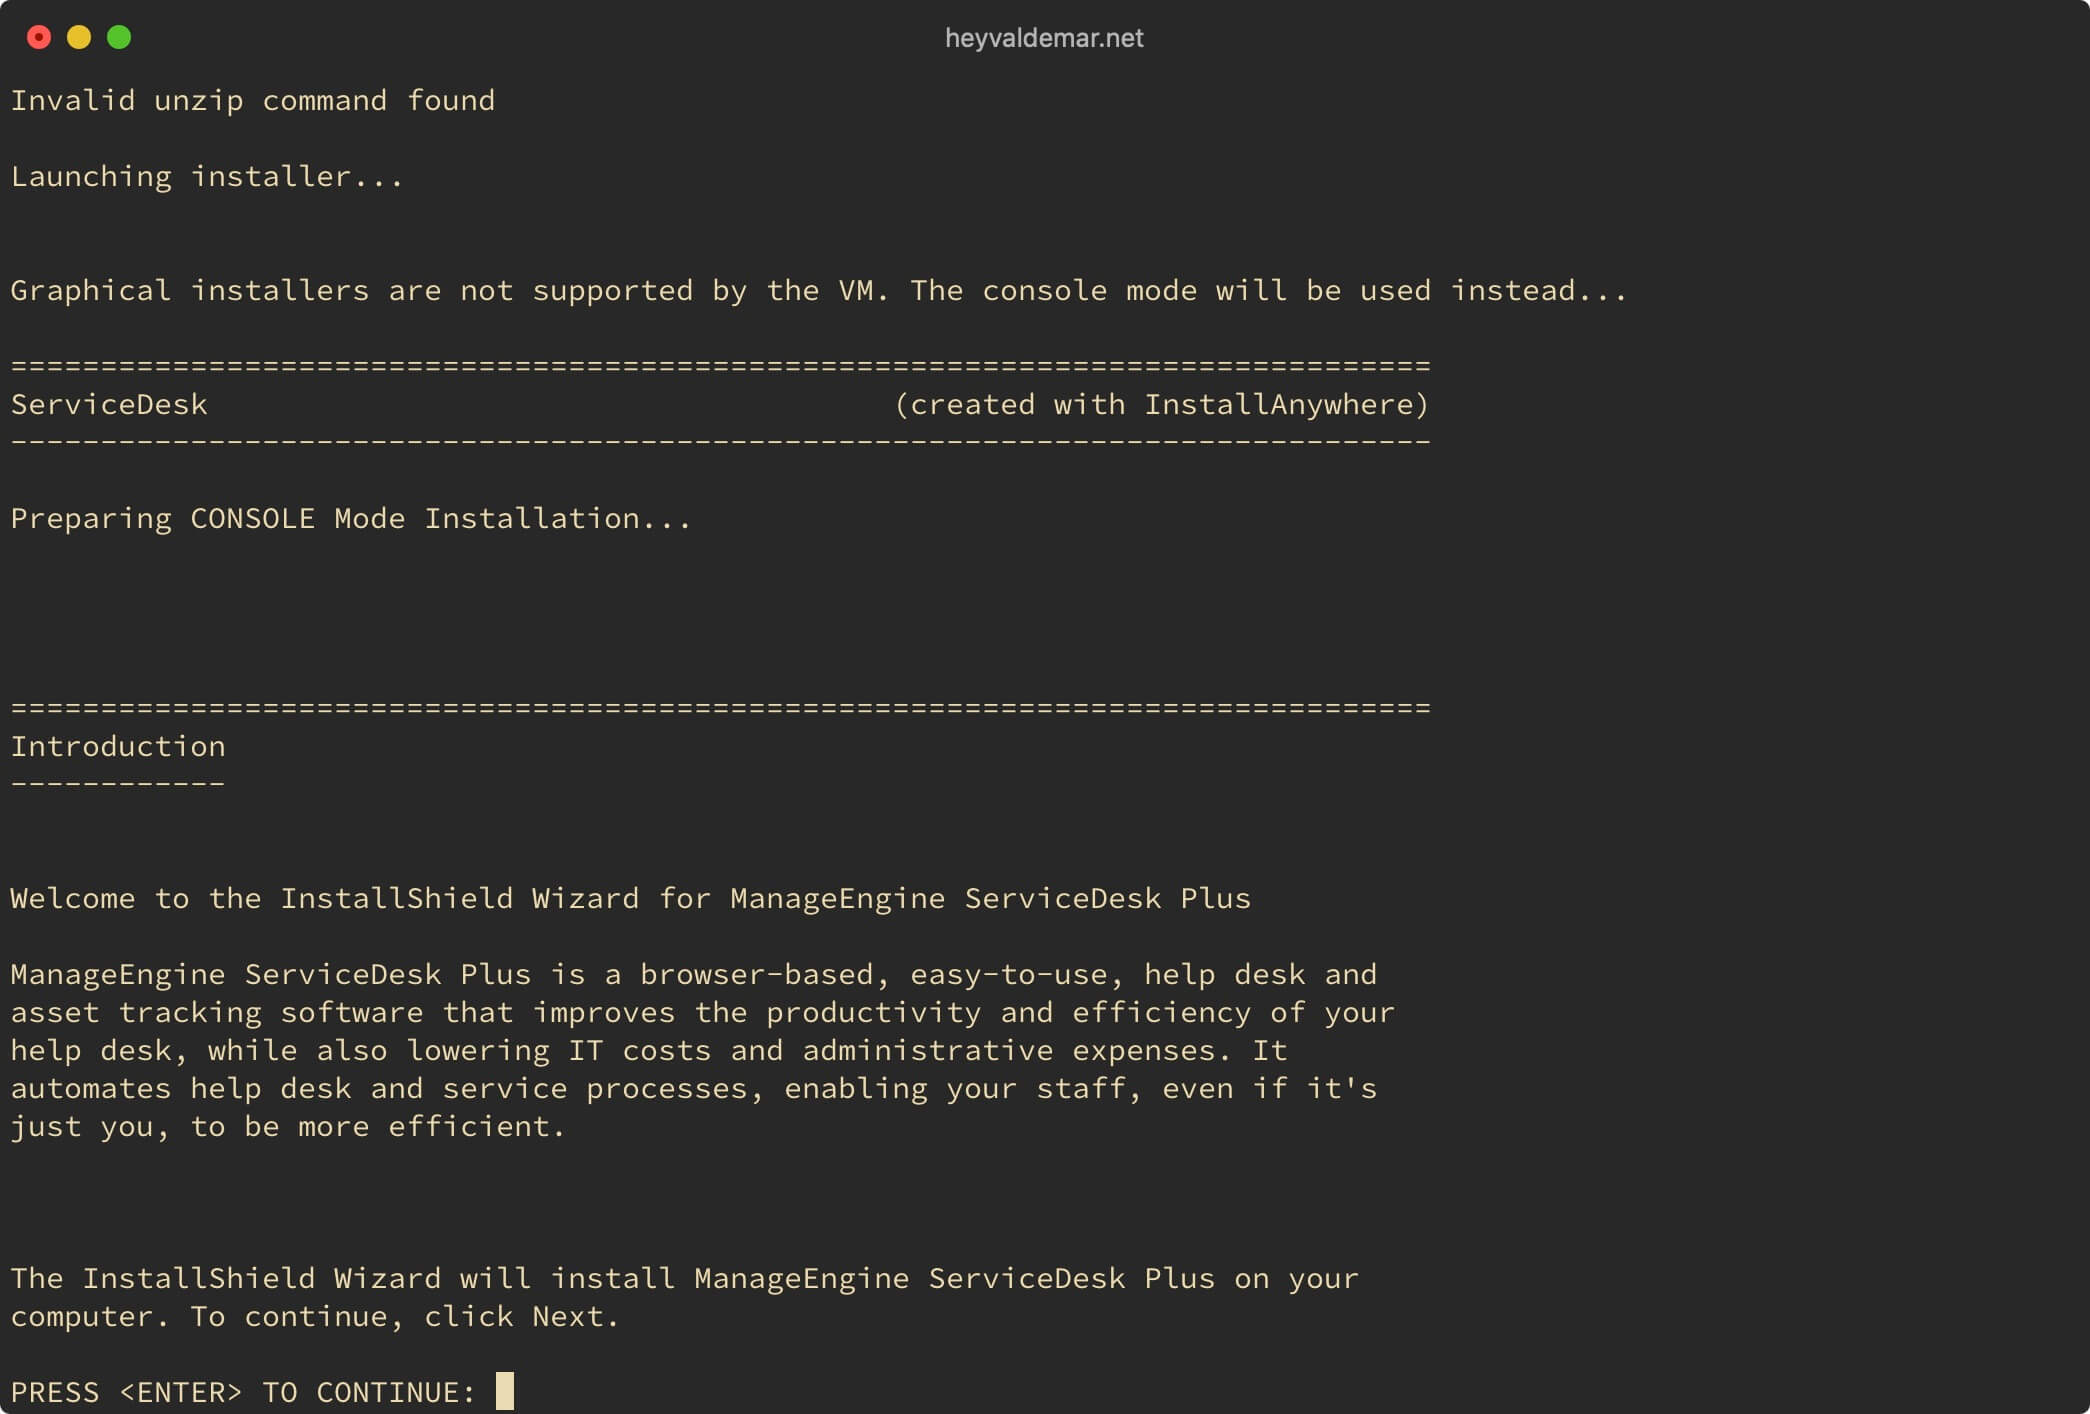
Next, you need to answer a few questions from the ServiceDesk Plus installer.
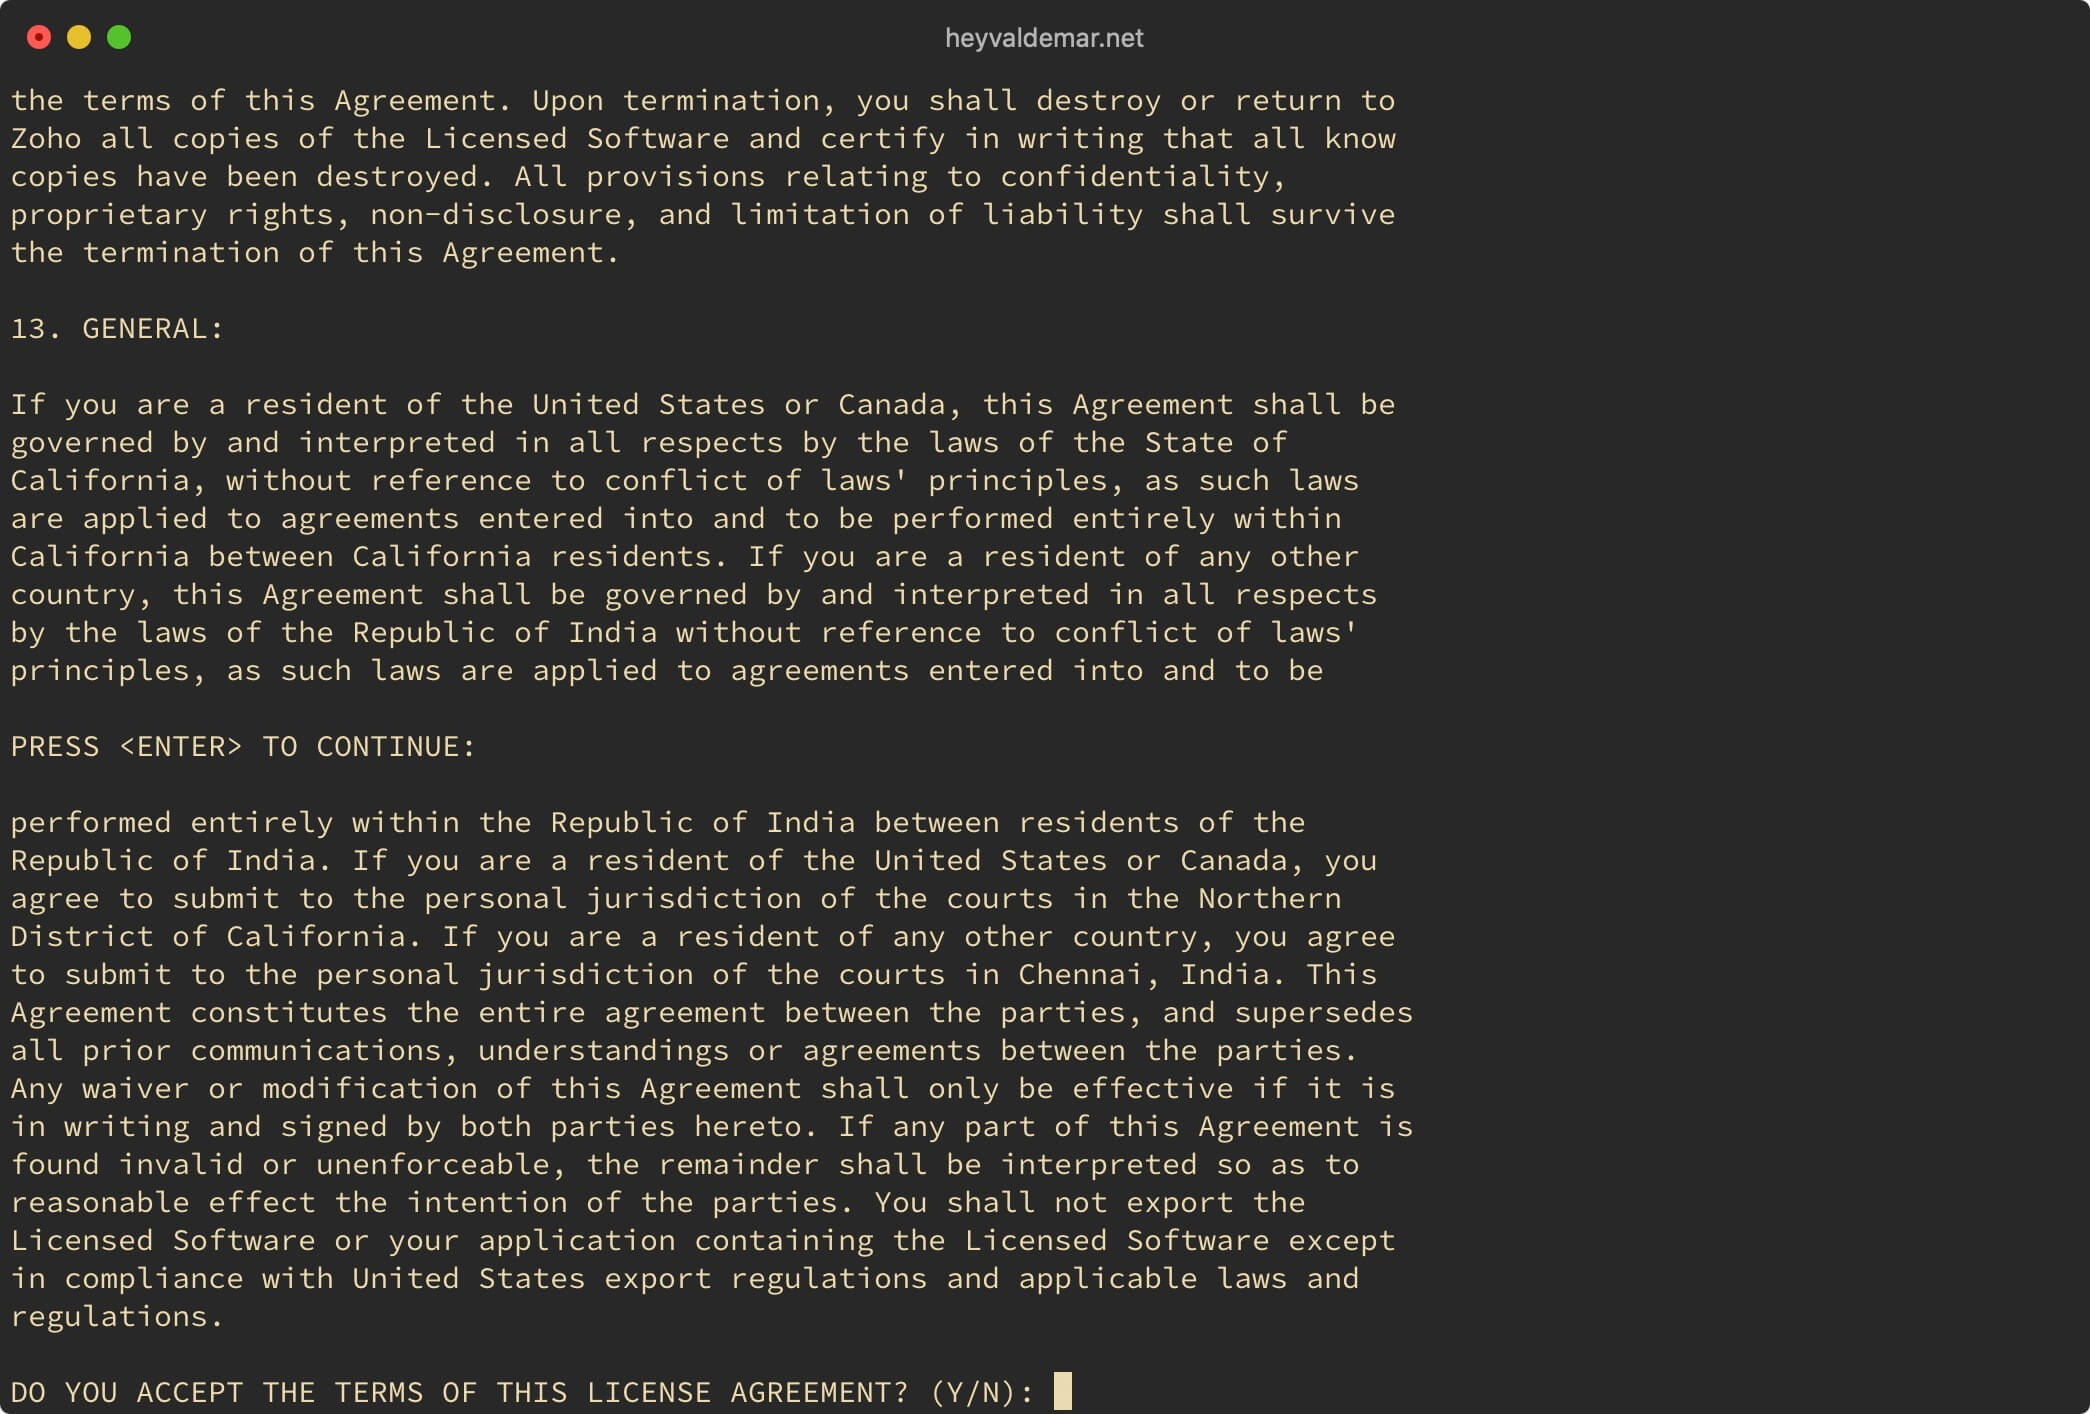
First, you must read and accept the terms of use of the services provided.
Press the “Enter” button to move down through the text and familiarize yourself with the terms of use of the services provided.
Press the “y” button, then “Enter”, if you agree with the terms of use of the services provided.
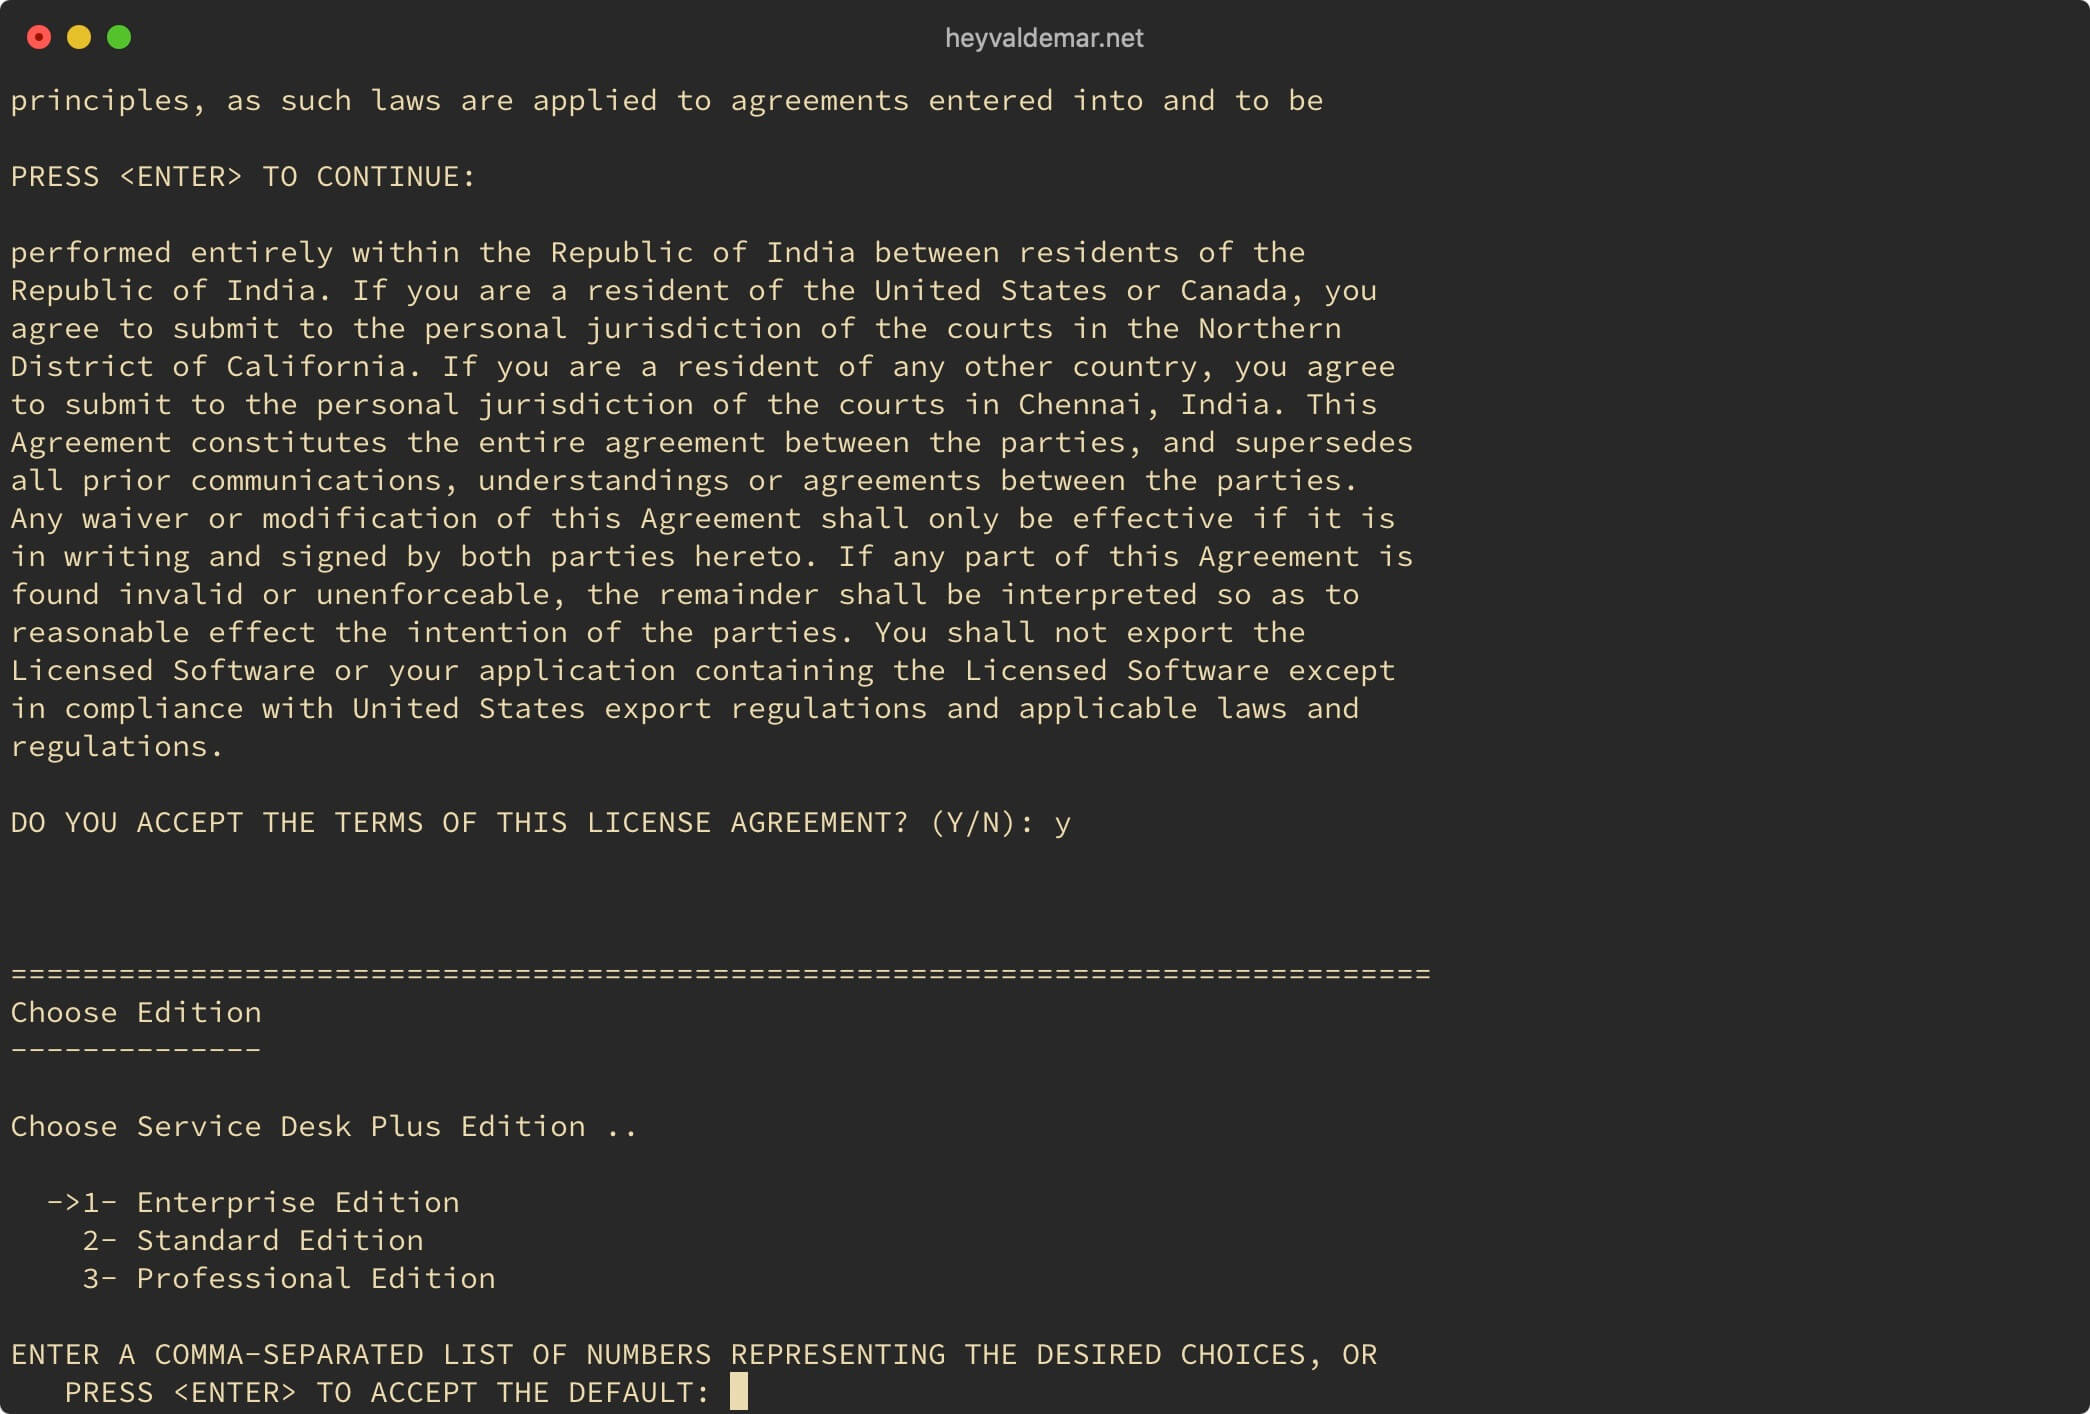
The next step is to select the ServiceDesk Plus edition.
A detailed comparison of ServiceDesk Plus editions can be found by clicking on the link.
This guide will walk you through the installation of the “Enterprise Edition”.
Specify the desired ServiceDesk Plus edition for installation and press the “Enter” button.
The next step is to choose whether you want to register for ServiceDesk Plus technical support.
Press the “n” button, then “Enter”.
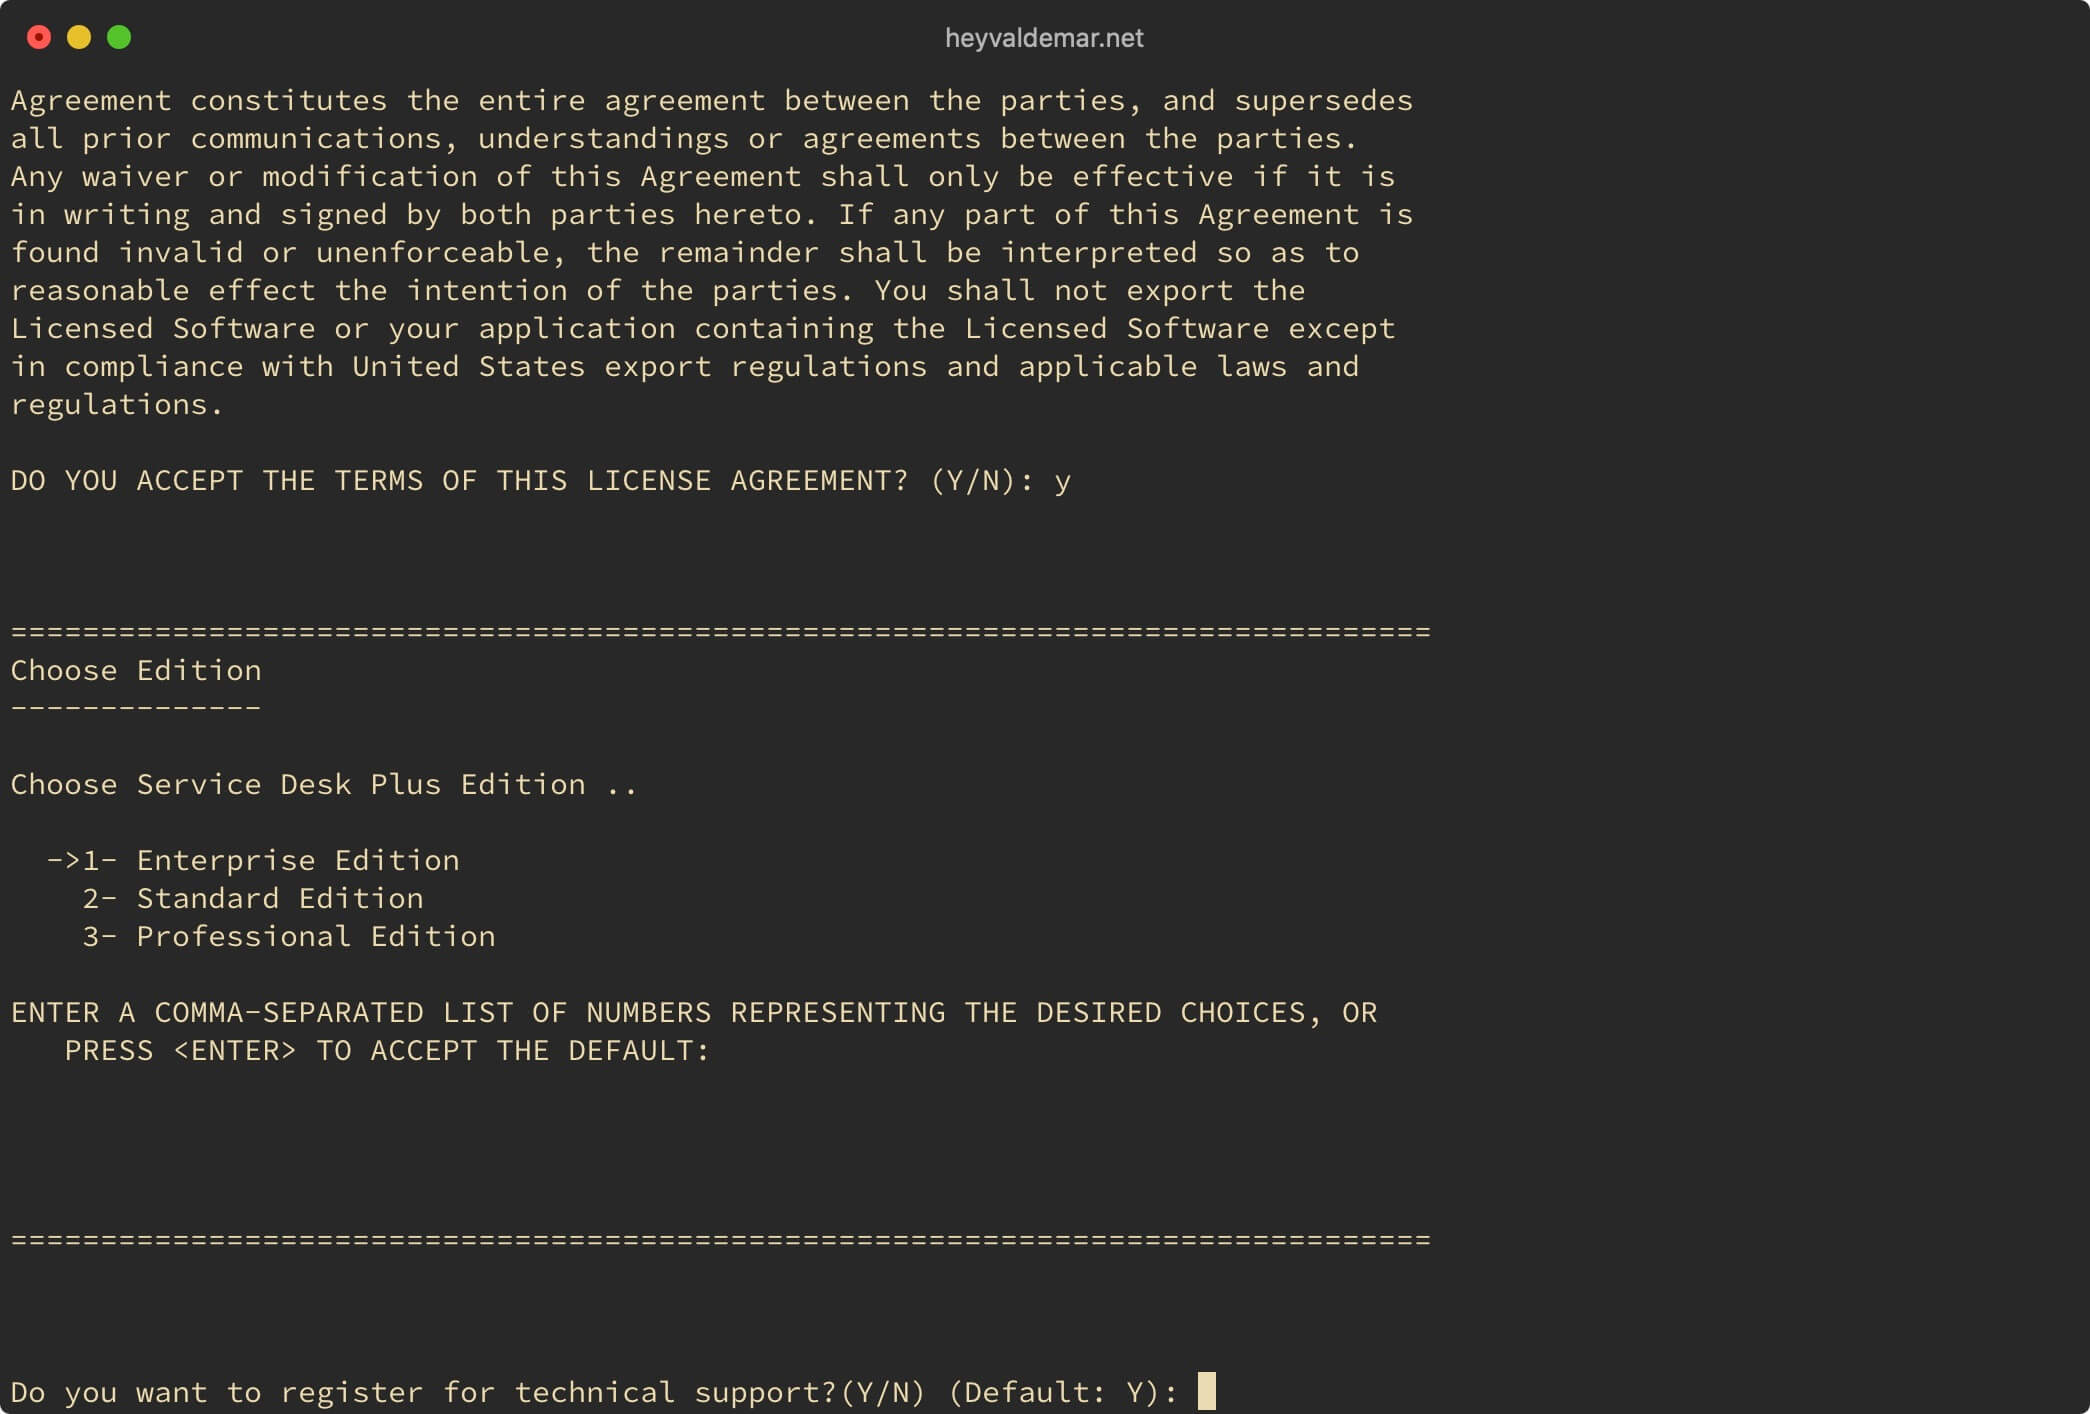
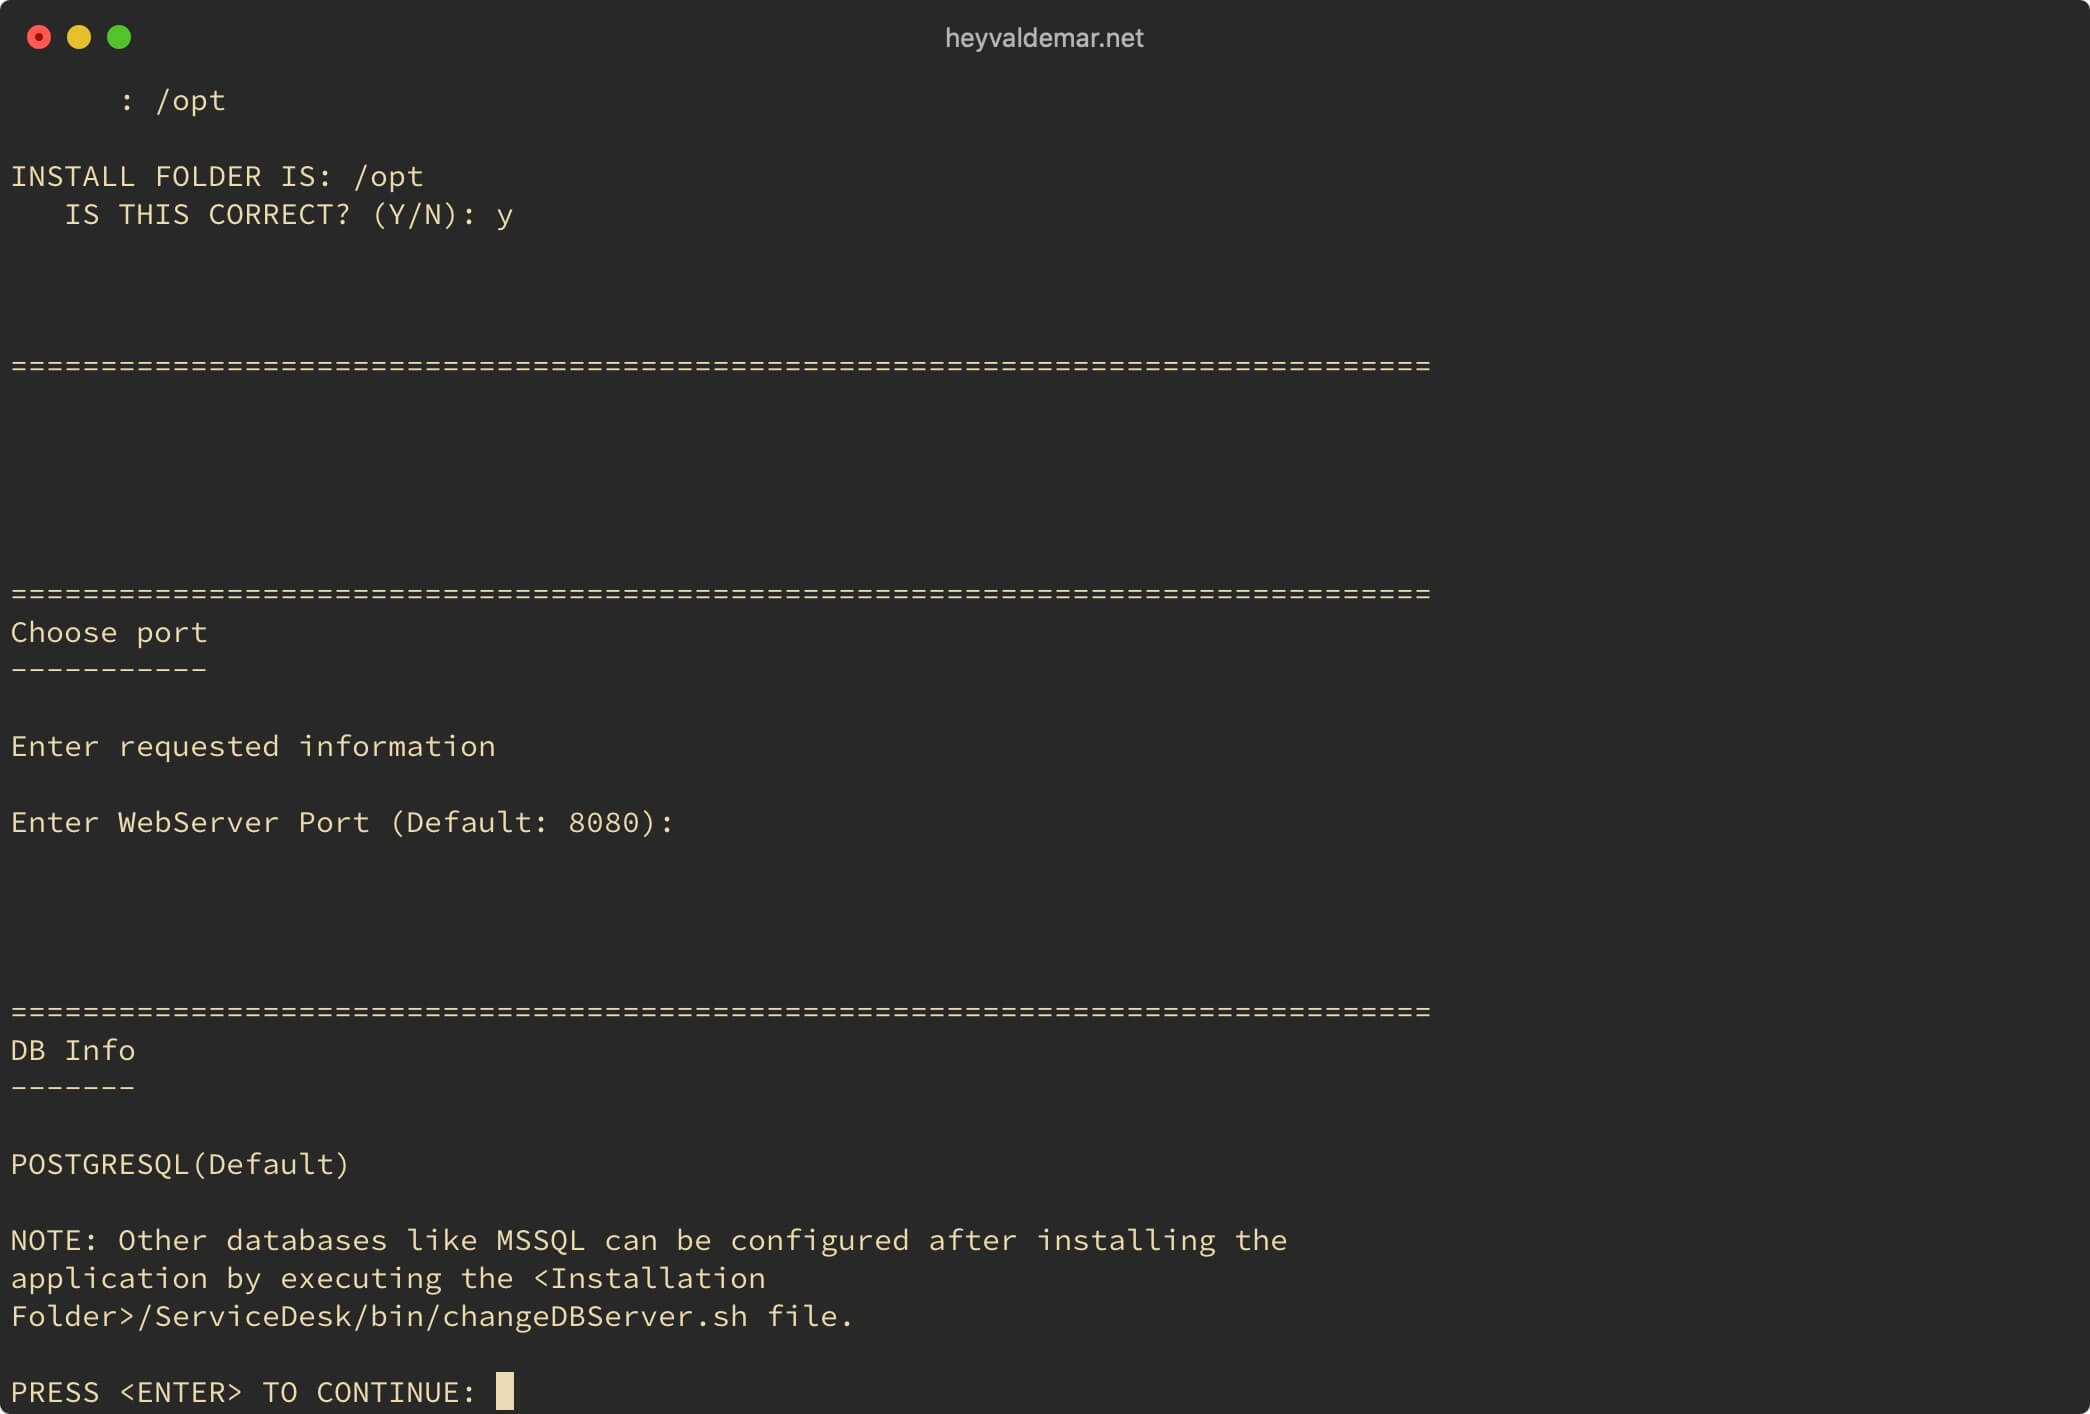
In the next step, you can select the folder where ServiceDesk Plus should be installed.
This tutorial will walk you through installing ServiceDesk Plus into the “/opt” folder.
Specify the desired folder for installing ServiceDesk Plus and press the “Enter” button.
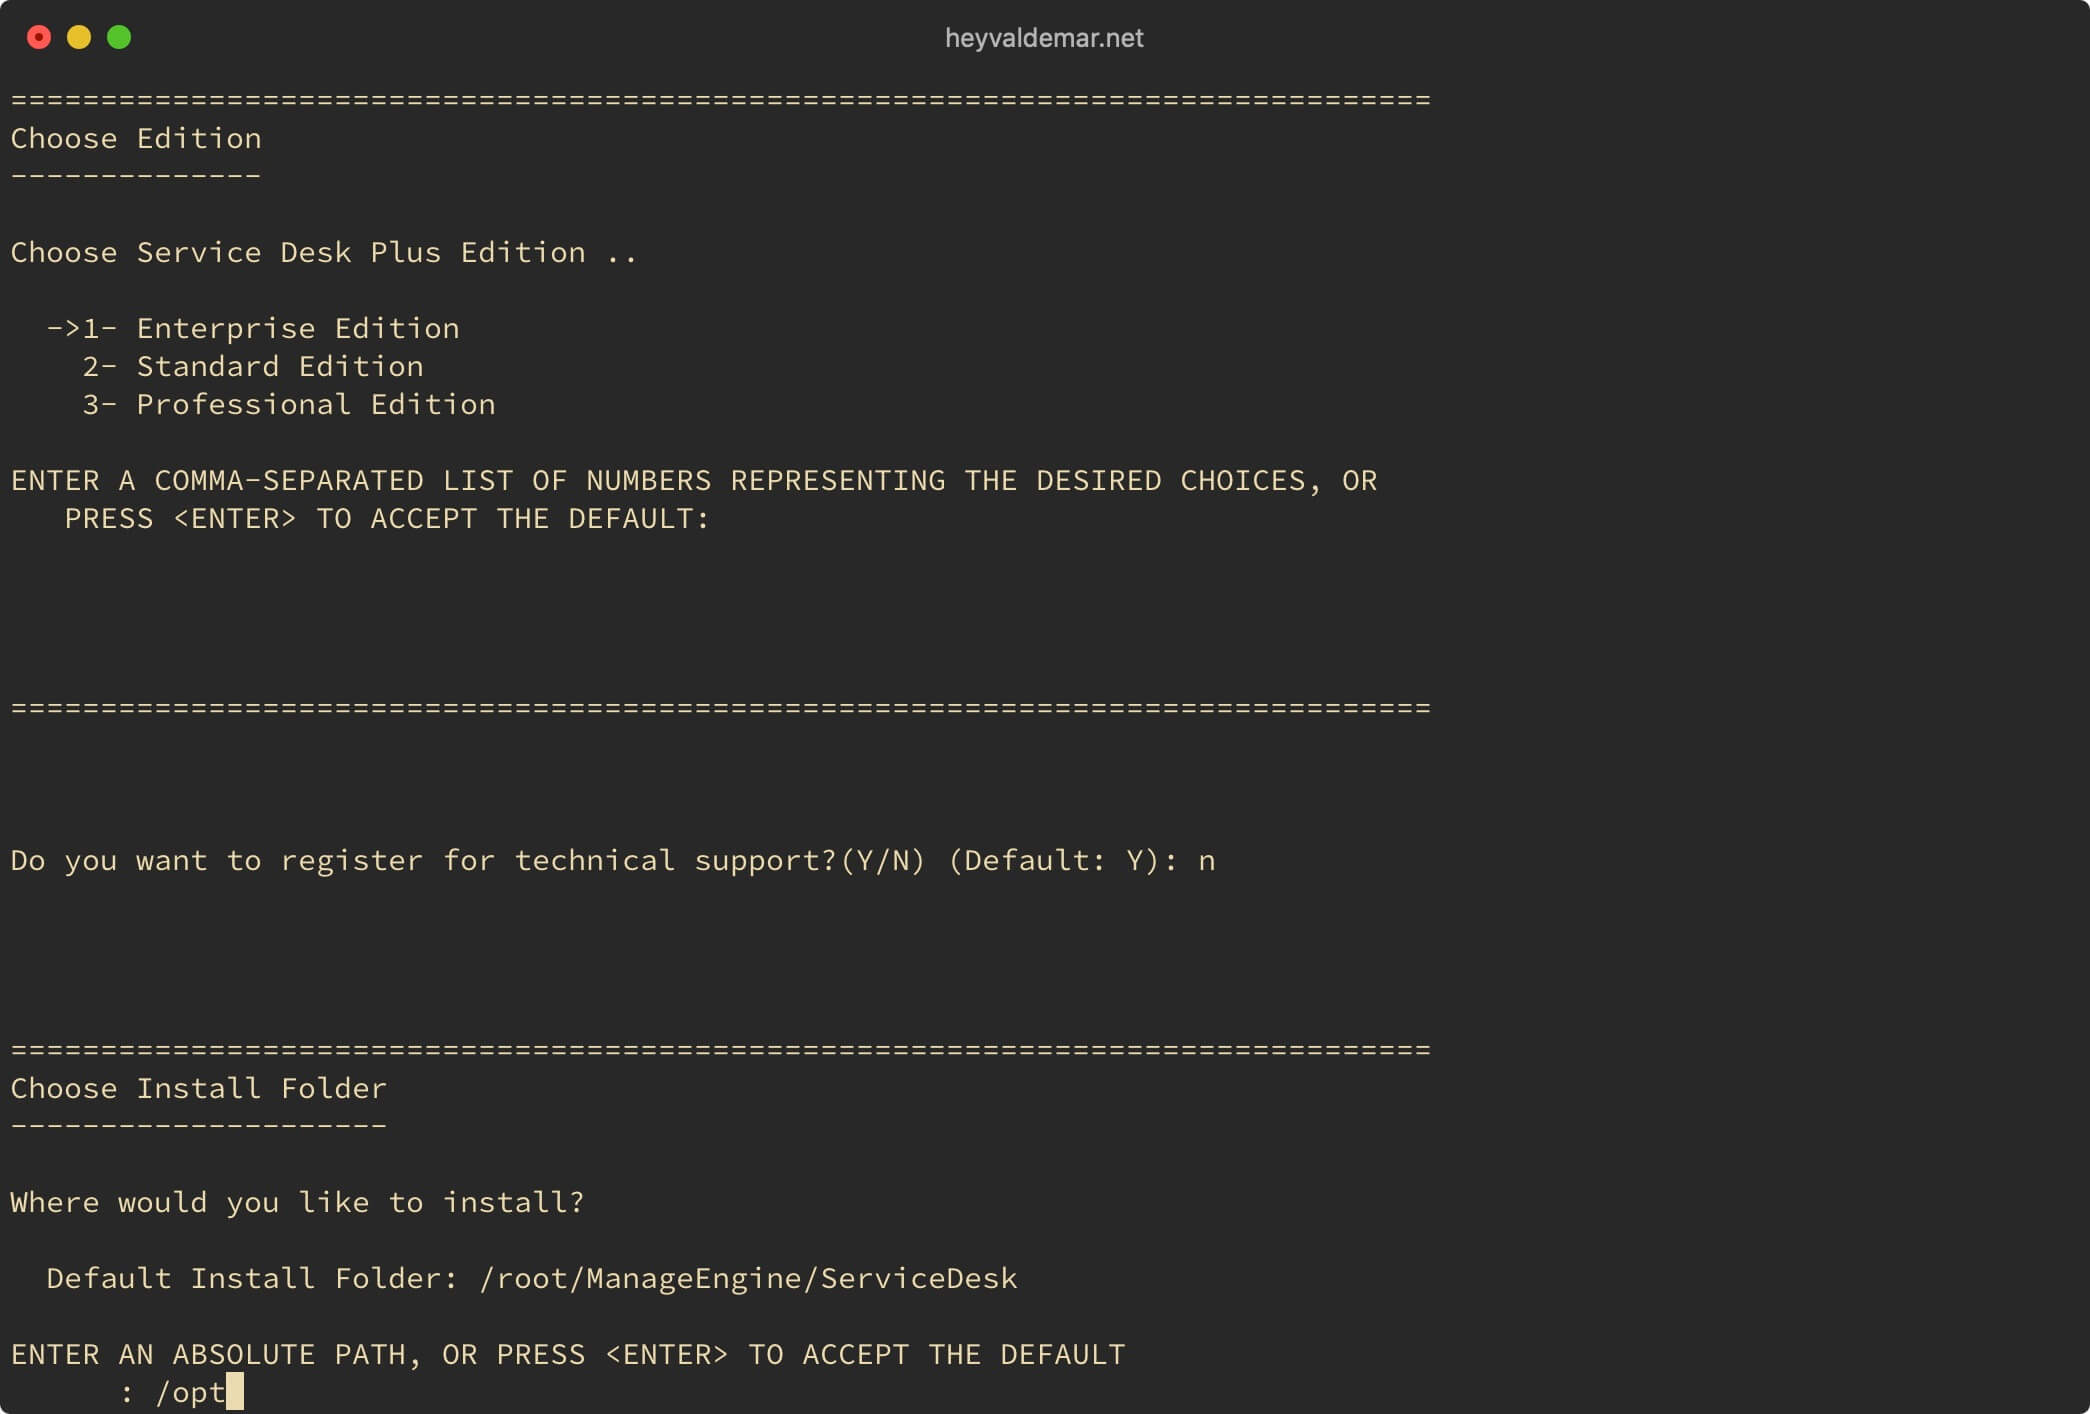
The next step is to confirm the installation of ServiceDesk Plus in the previously specified folder.
Press the “y” button, then “Enter”.
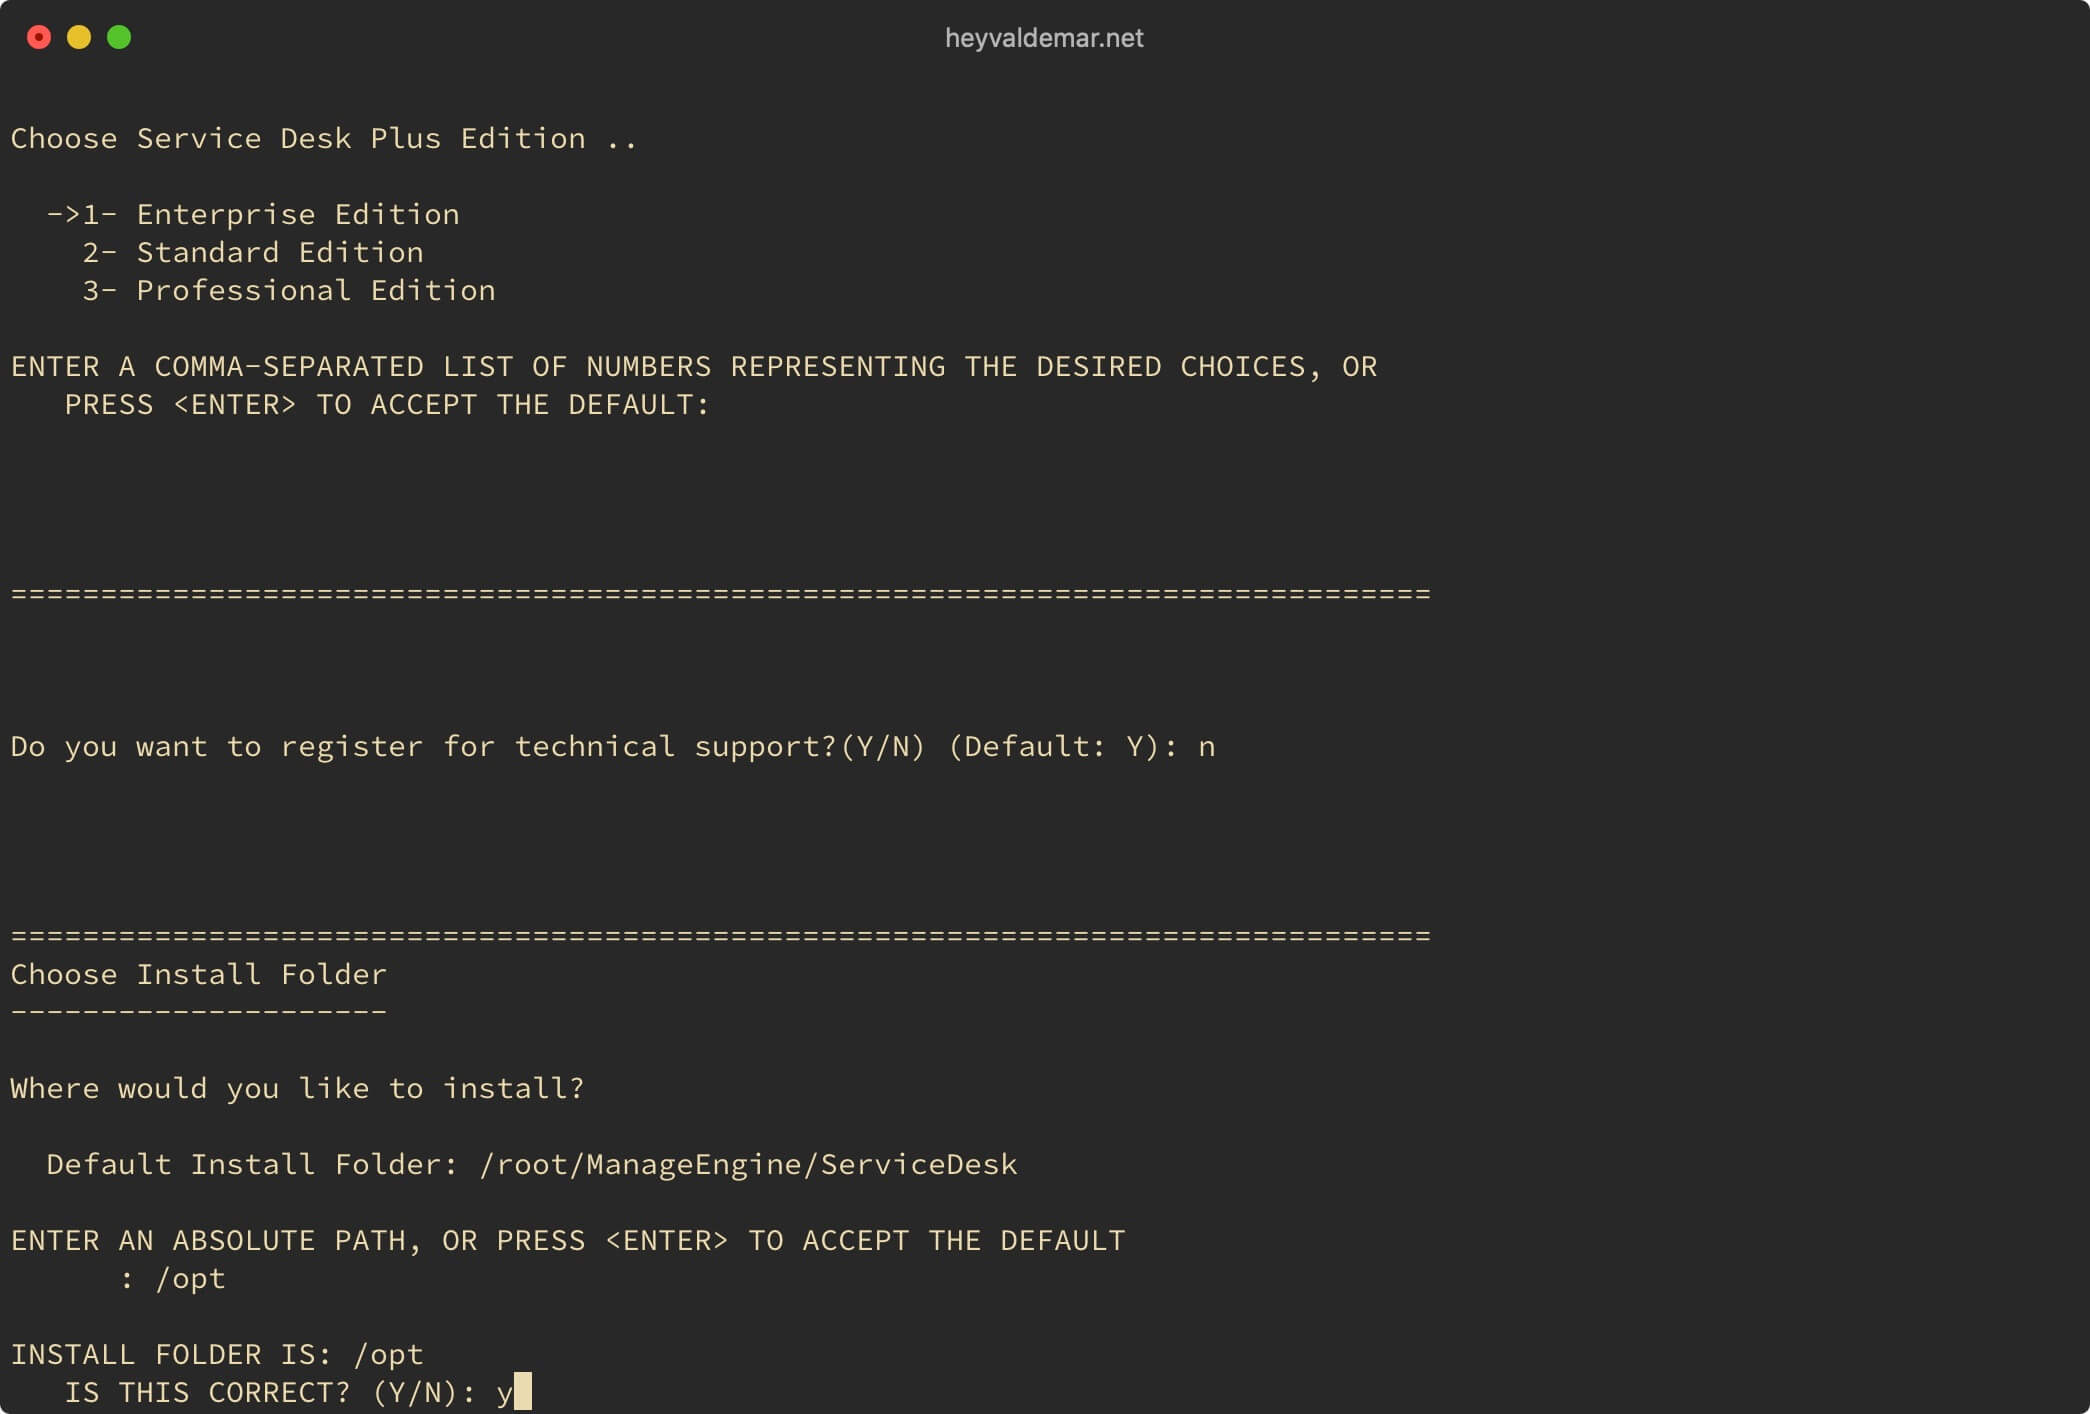
Now you need to select the port on which ServiceDesk Plus will be available.
This guide covers installing ServiceDesk Plus using port 8080.
Leave the default value and press the “Enter” button.
I highly recommend leaving the default port value.
Note that the port can be changed later in the ServiceDesk Plus control panel.
By default, ServiceDesk Plus uses PostgreSQL as its database management system.
Note that if you need to use a different system to manage your databases, after installing ServiceDesk Plus, you can use the prepared script (changeDBServer.sh) in the “bin” folder.
Press the “Enter” button.
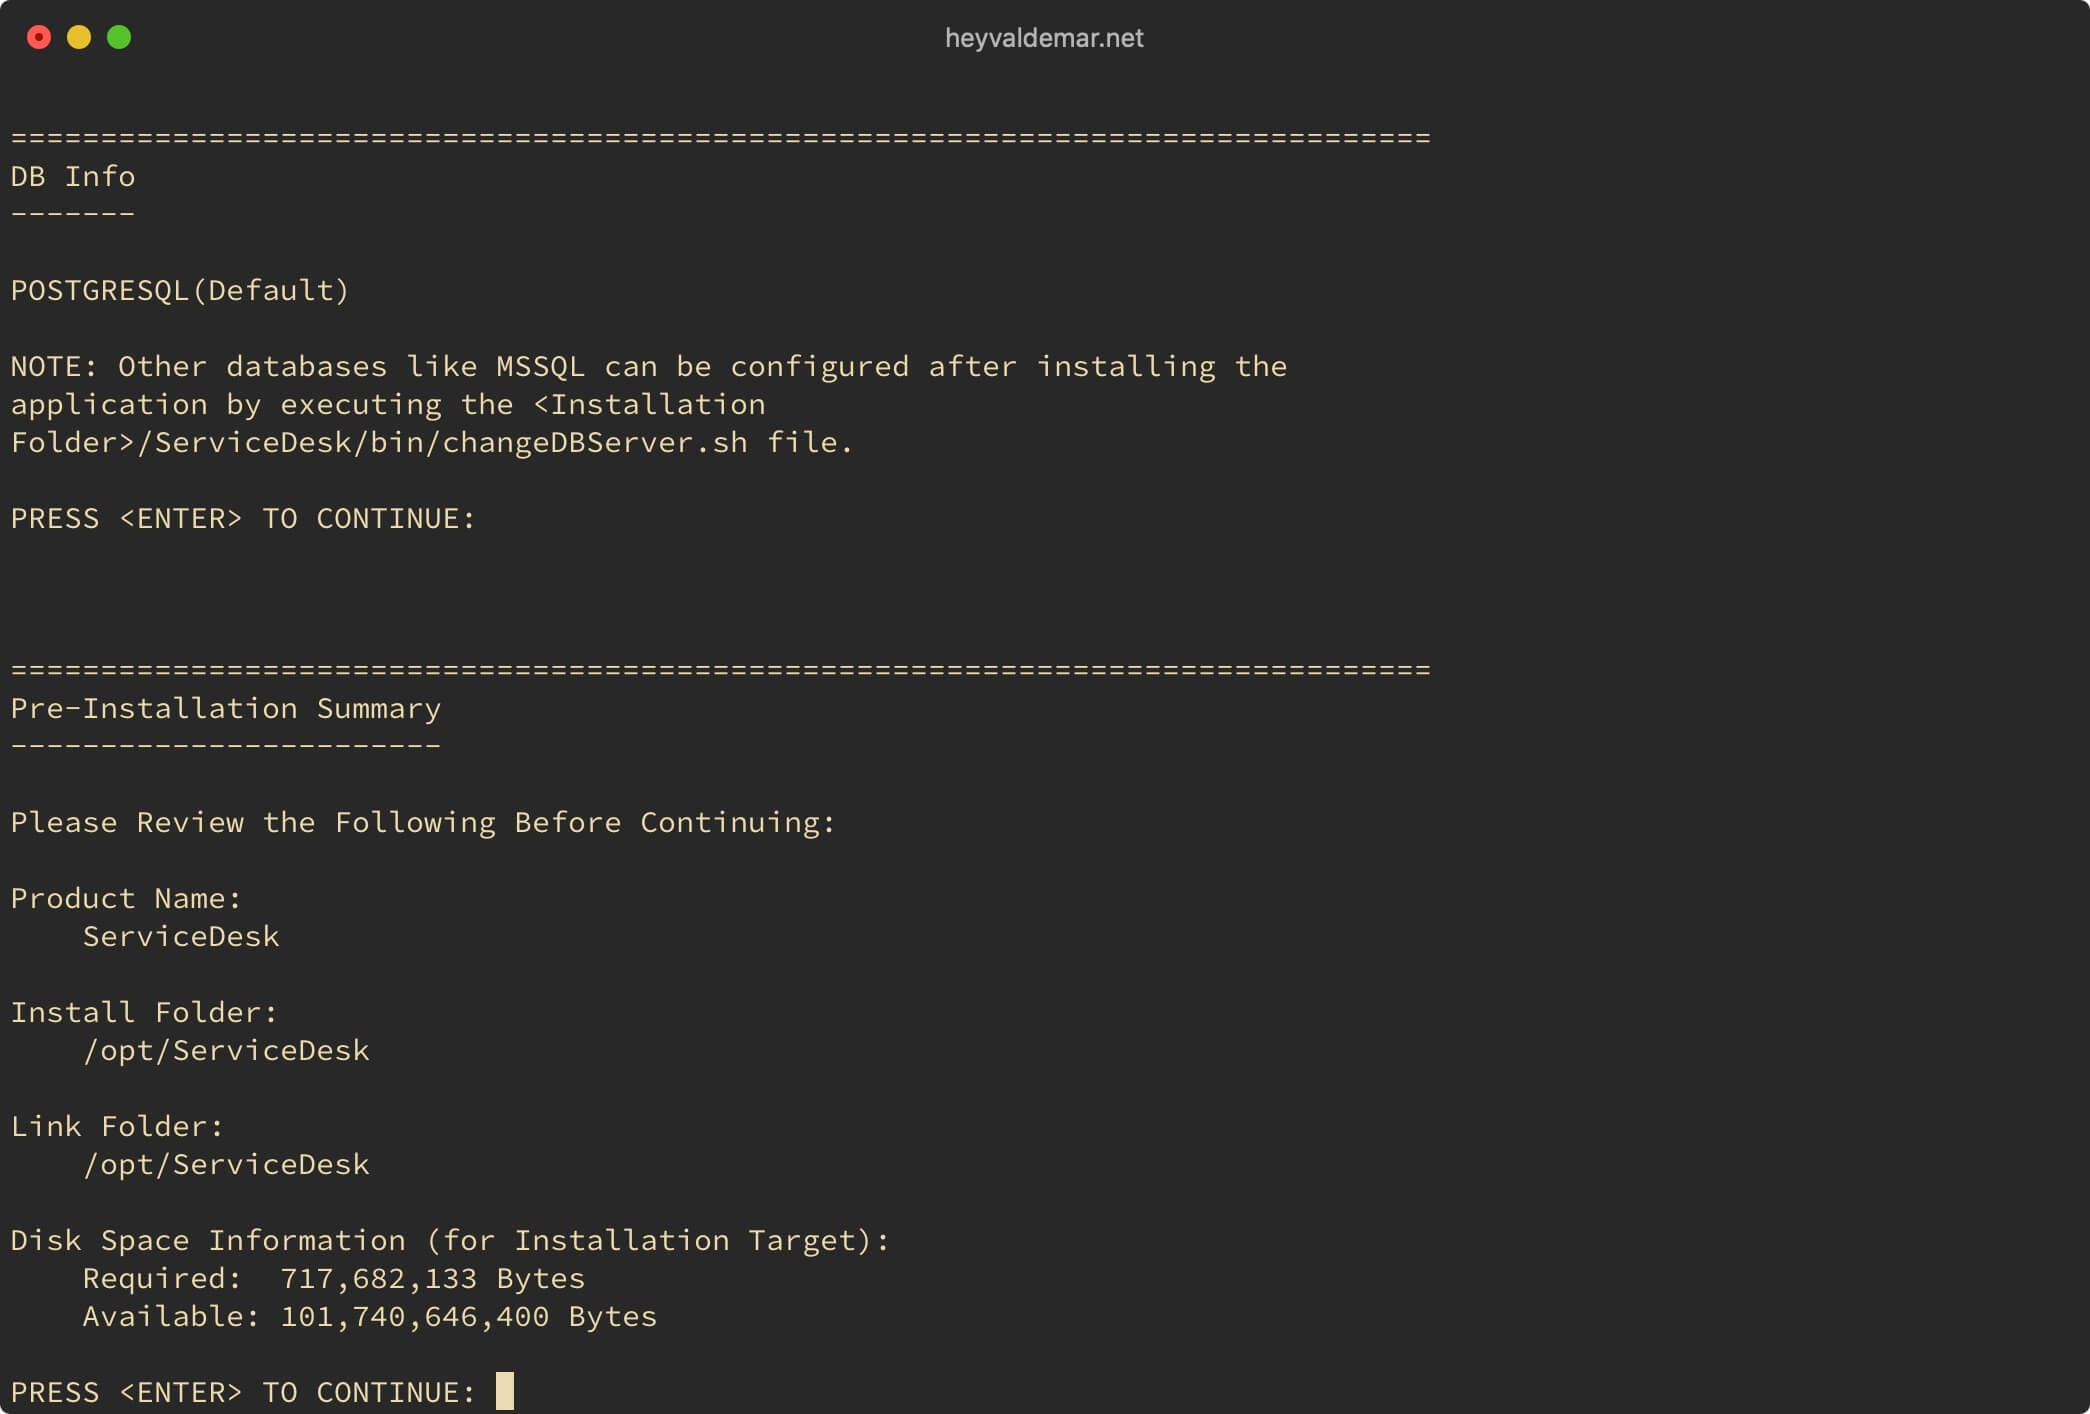
The next step will show the disk space available and required to install ServiceDesk Plus.
Press the “Enter” button.
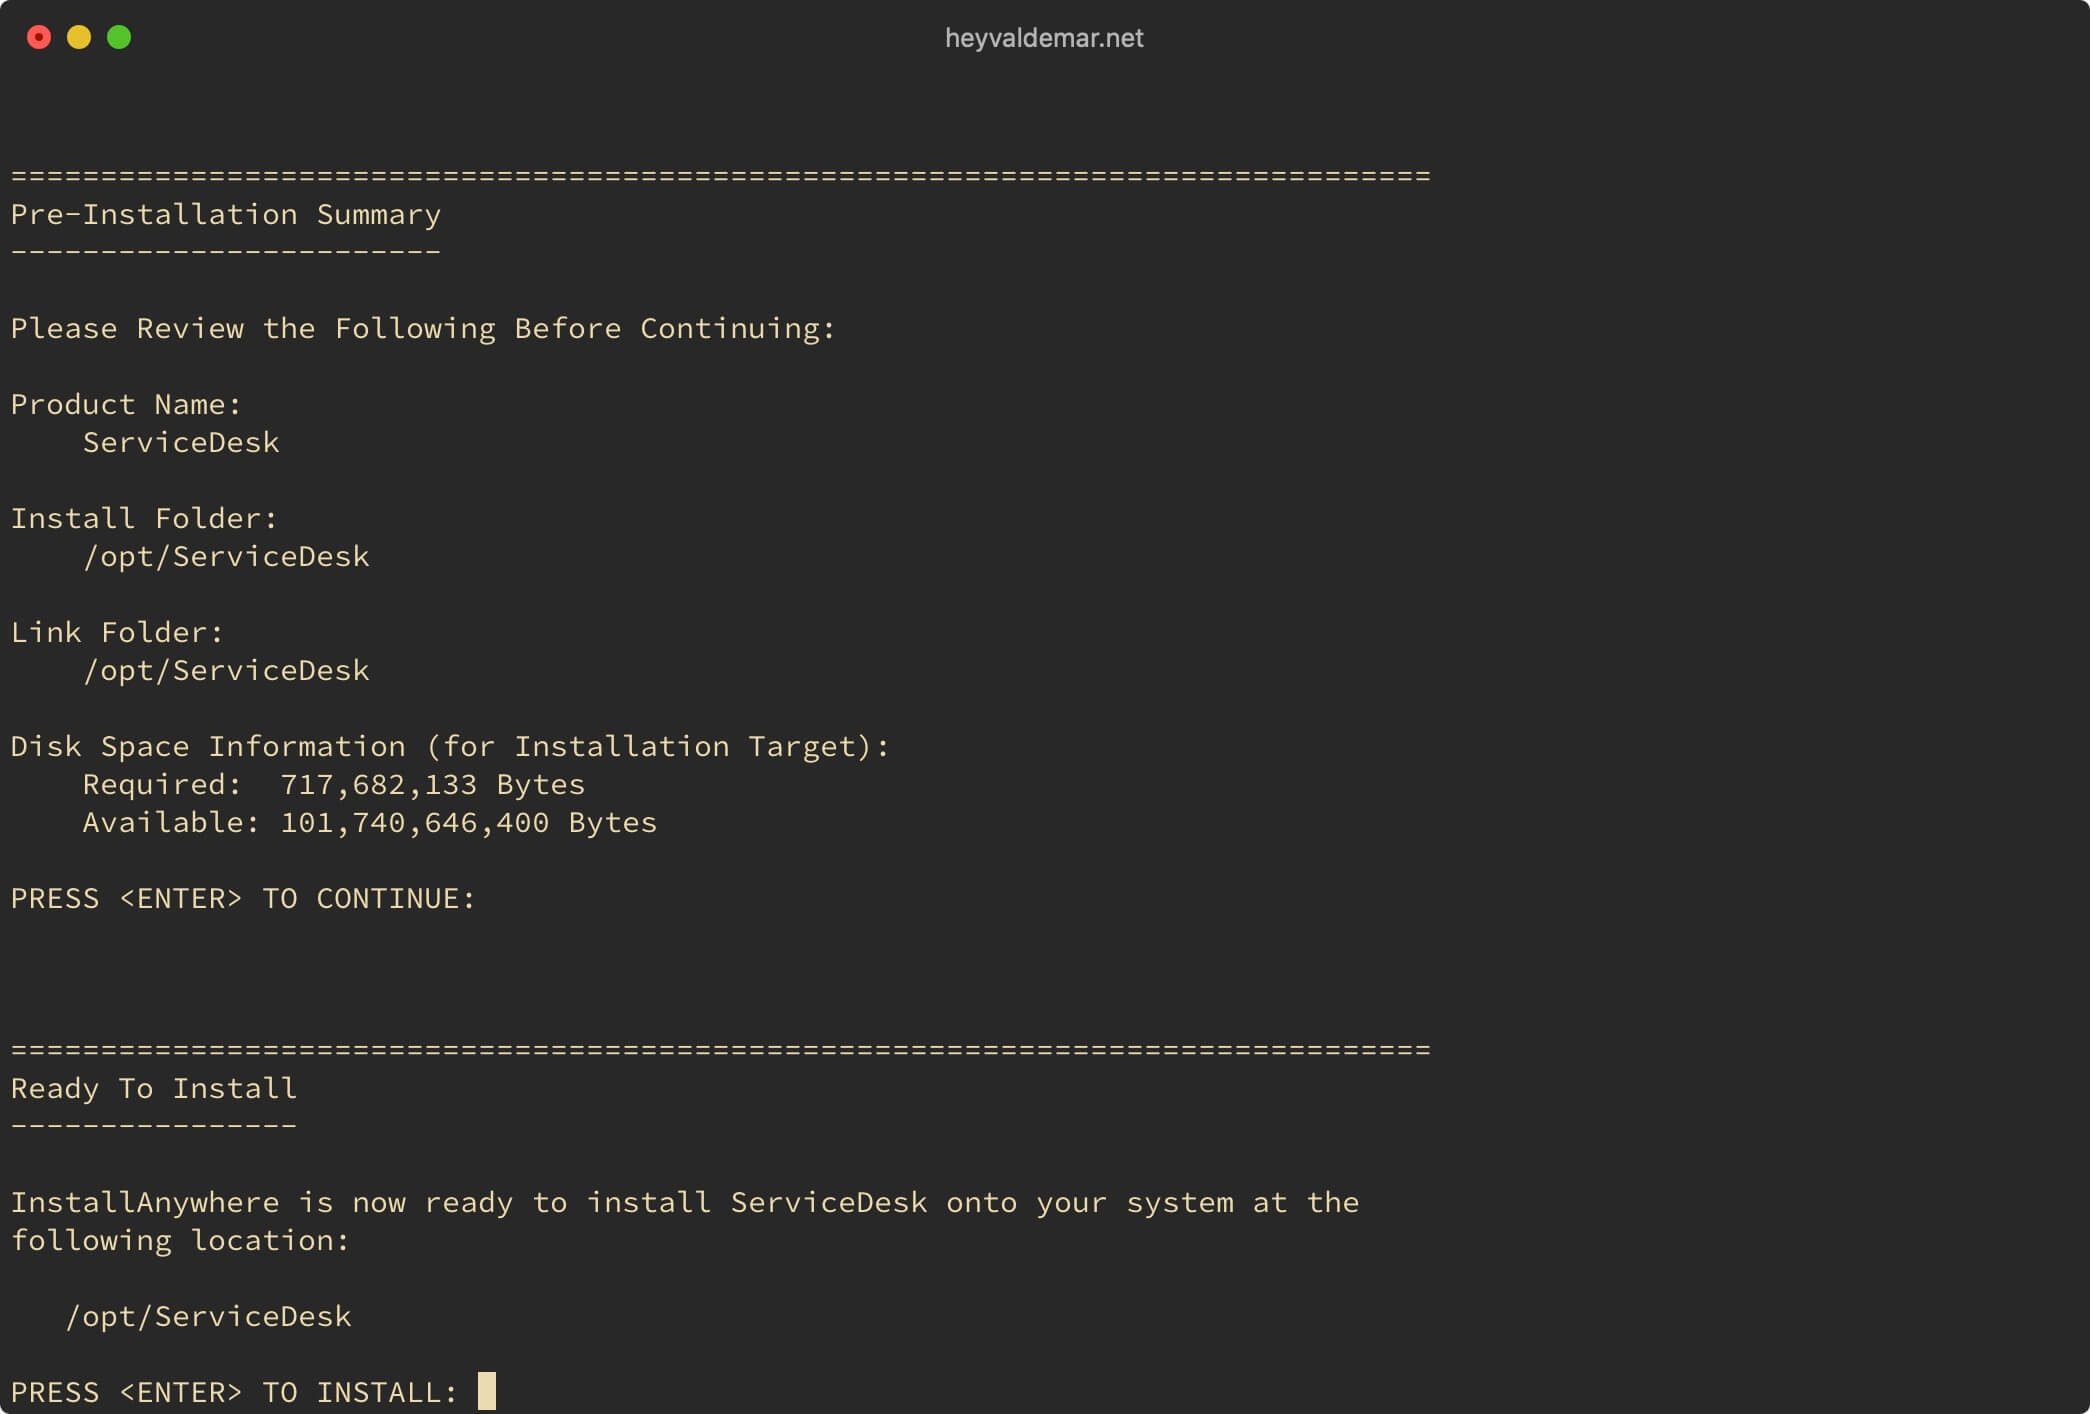
Everything is ready to start installing ServiceDesk Plus.
Press the “Enter” button.
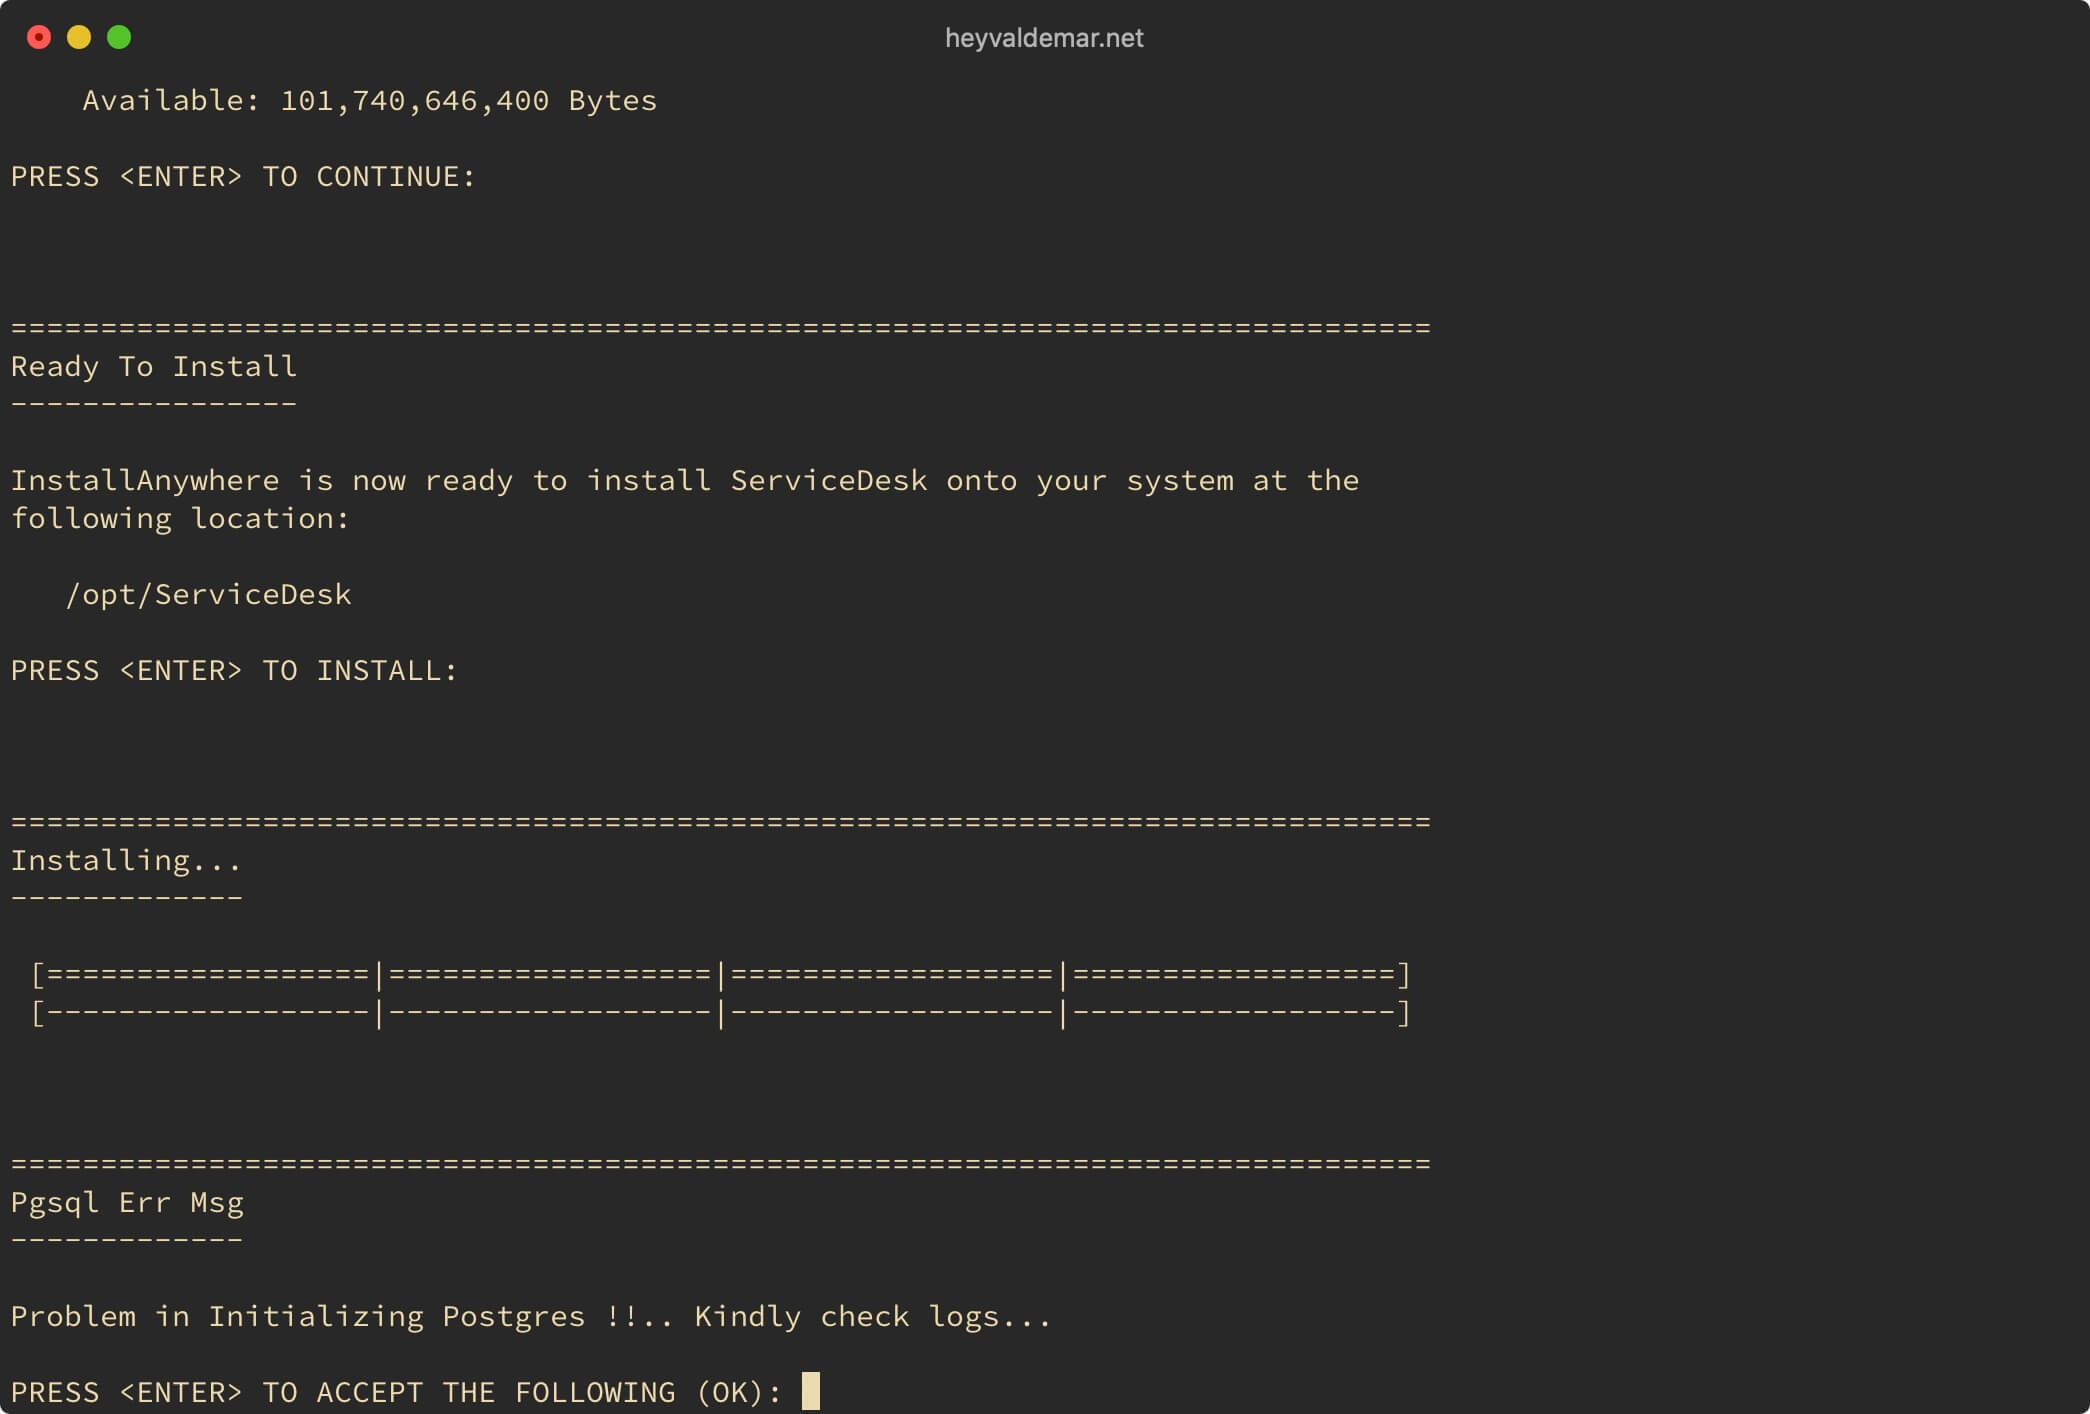
ServiceDesk Plus installation completed successfully.
Note that the Problem in Initializing Postgres !!.. Kindly check logs… message should be ignored as initialization will occur the first time ServiceDesk Plus is started.
You can read more by clicking on the link.
Press the “Enter” button.
Now you need to run ServiceDesk Plus for the first time.
Go to the “bin” folder using the command:
cd /opt/ServiceDesk/bin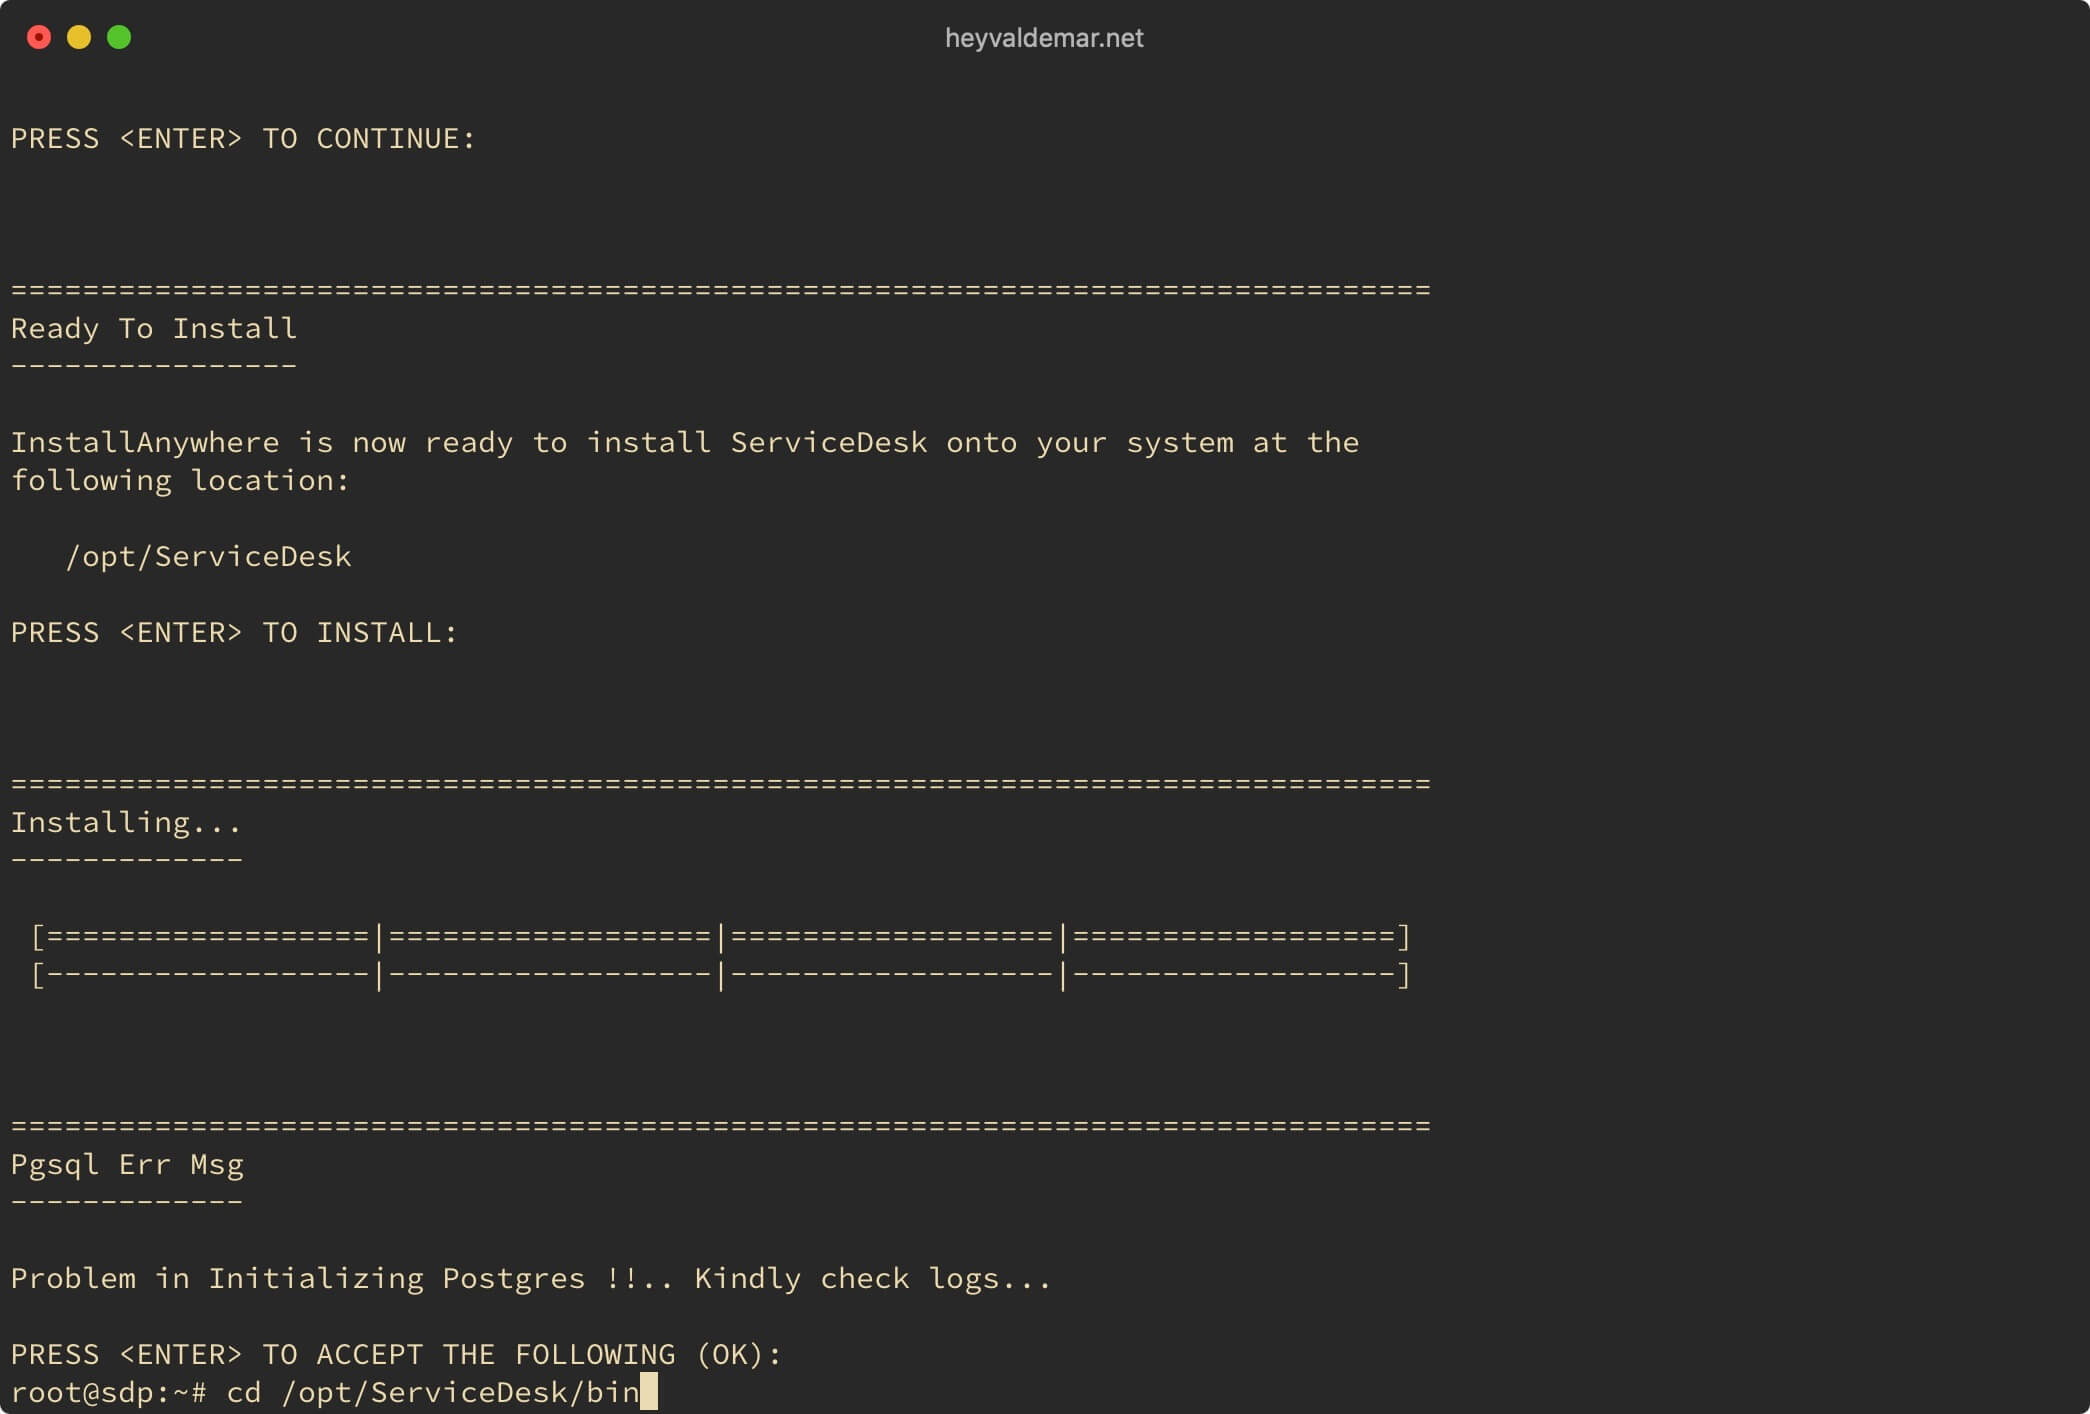
Launch ServiceDesk Plus using the command:
sh run.sh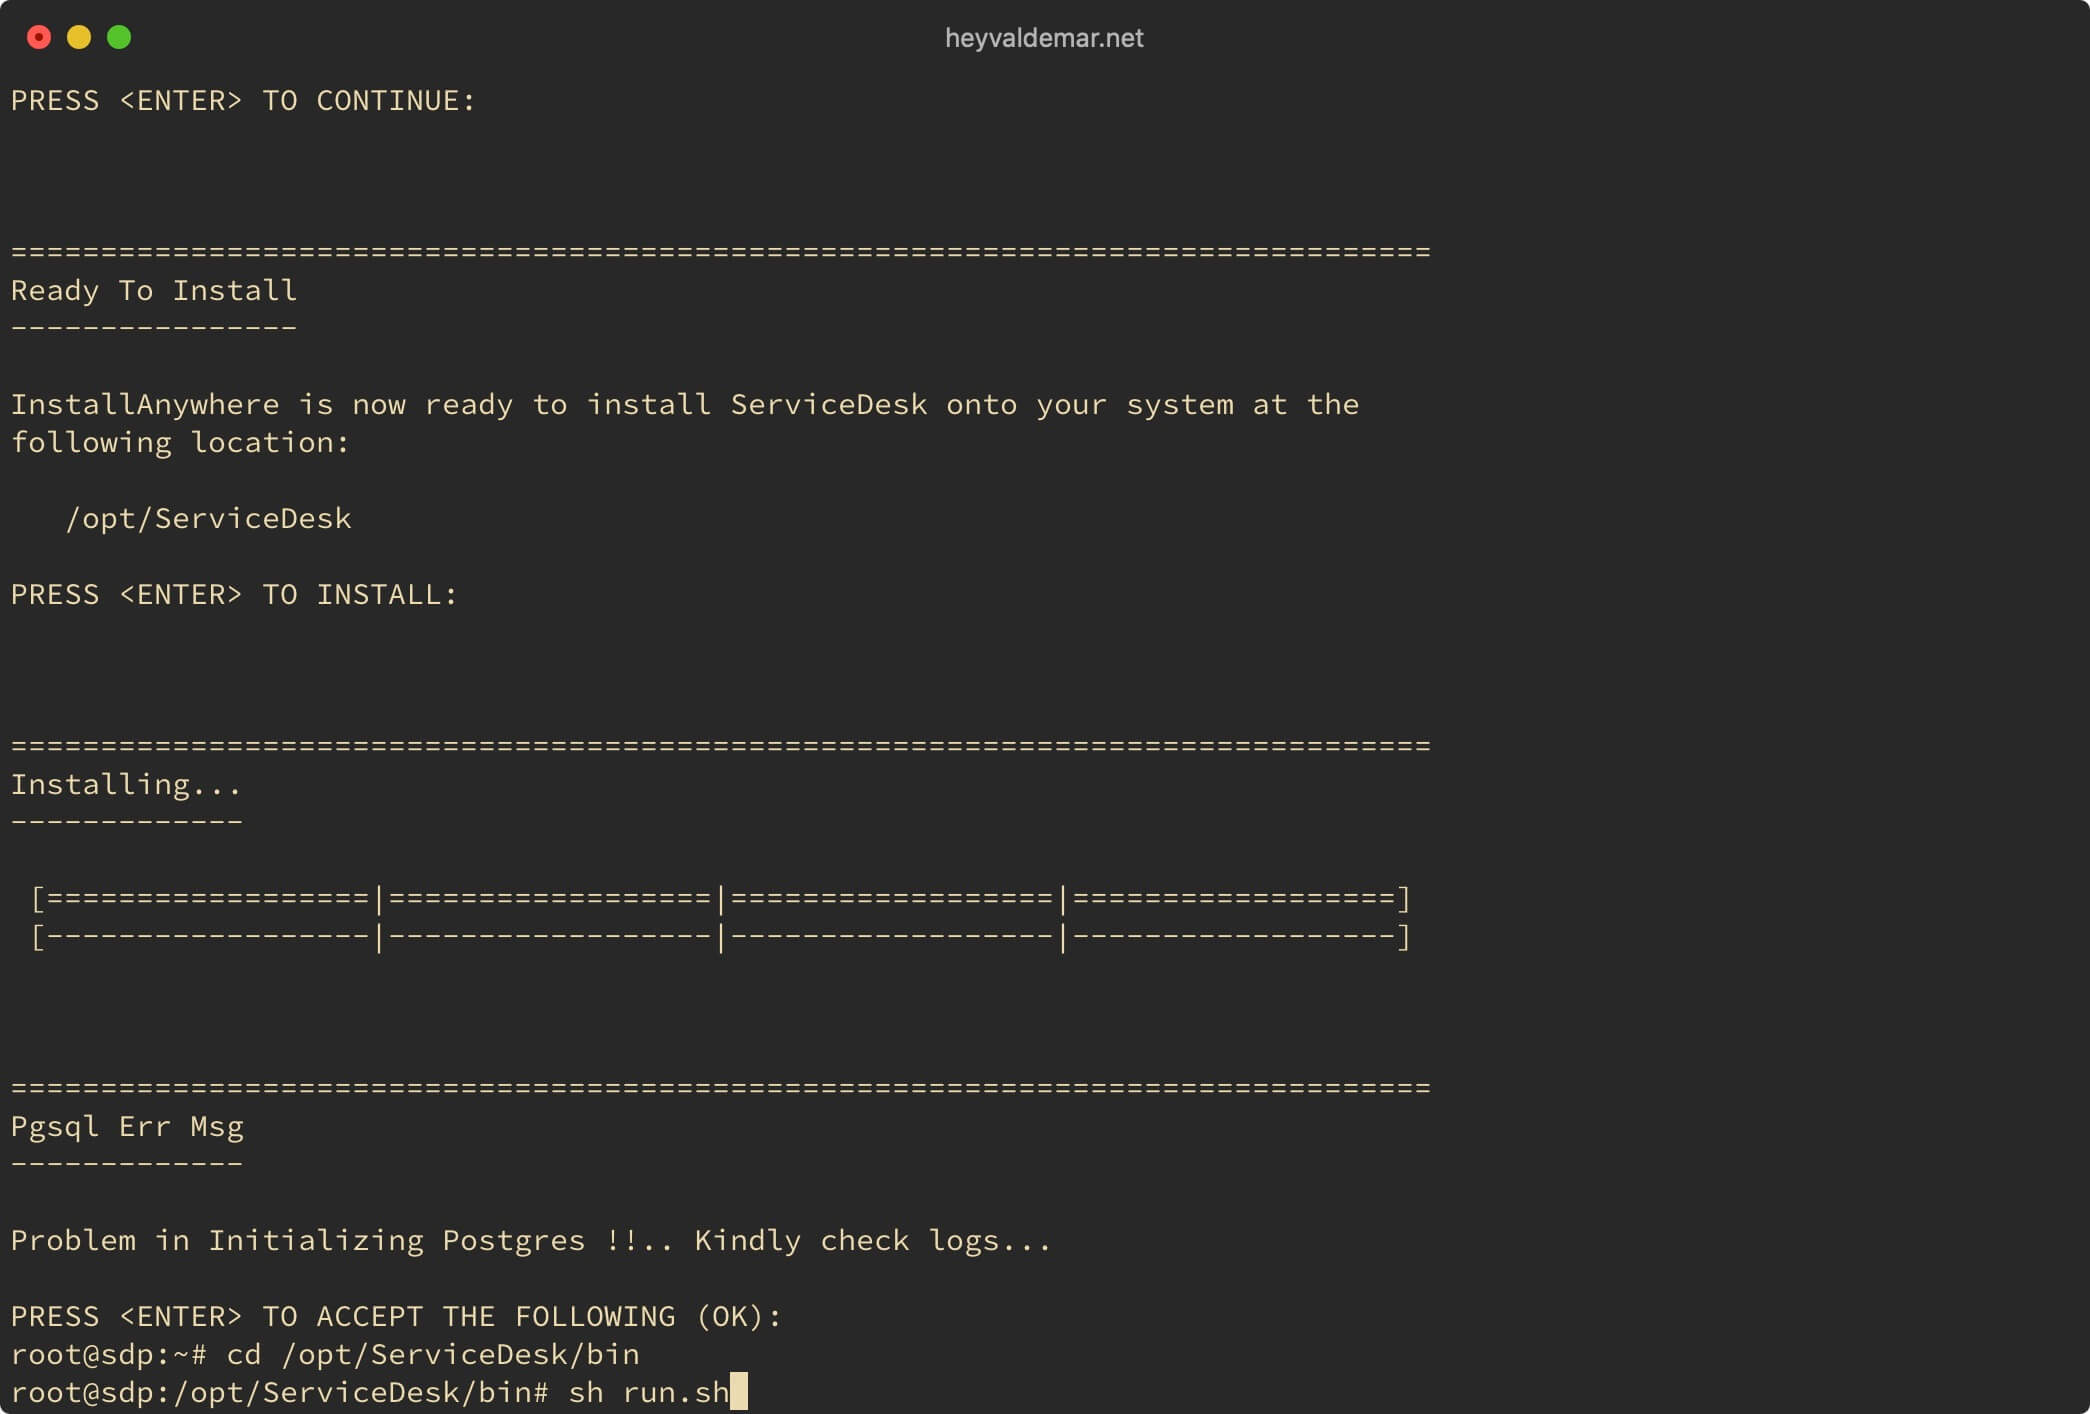
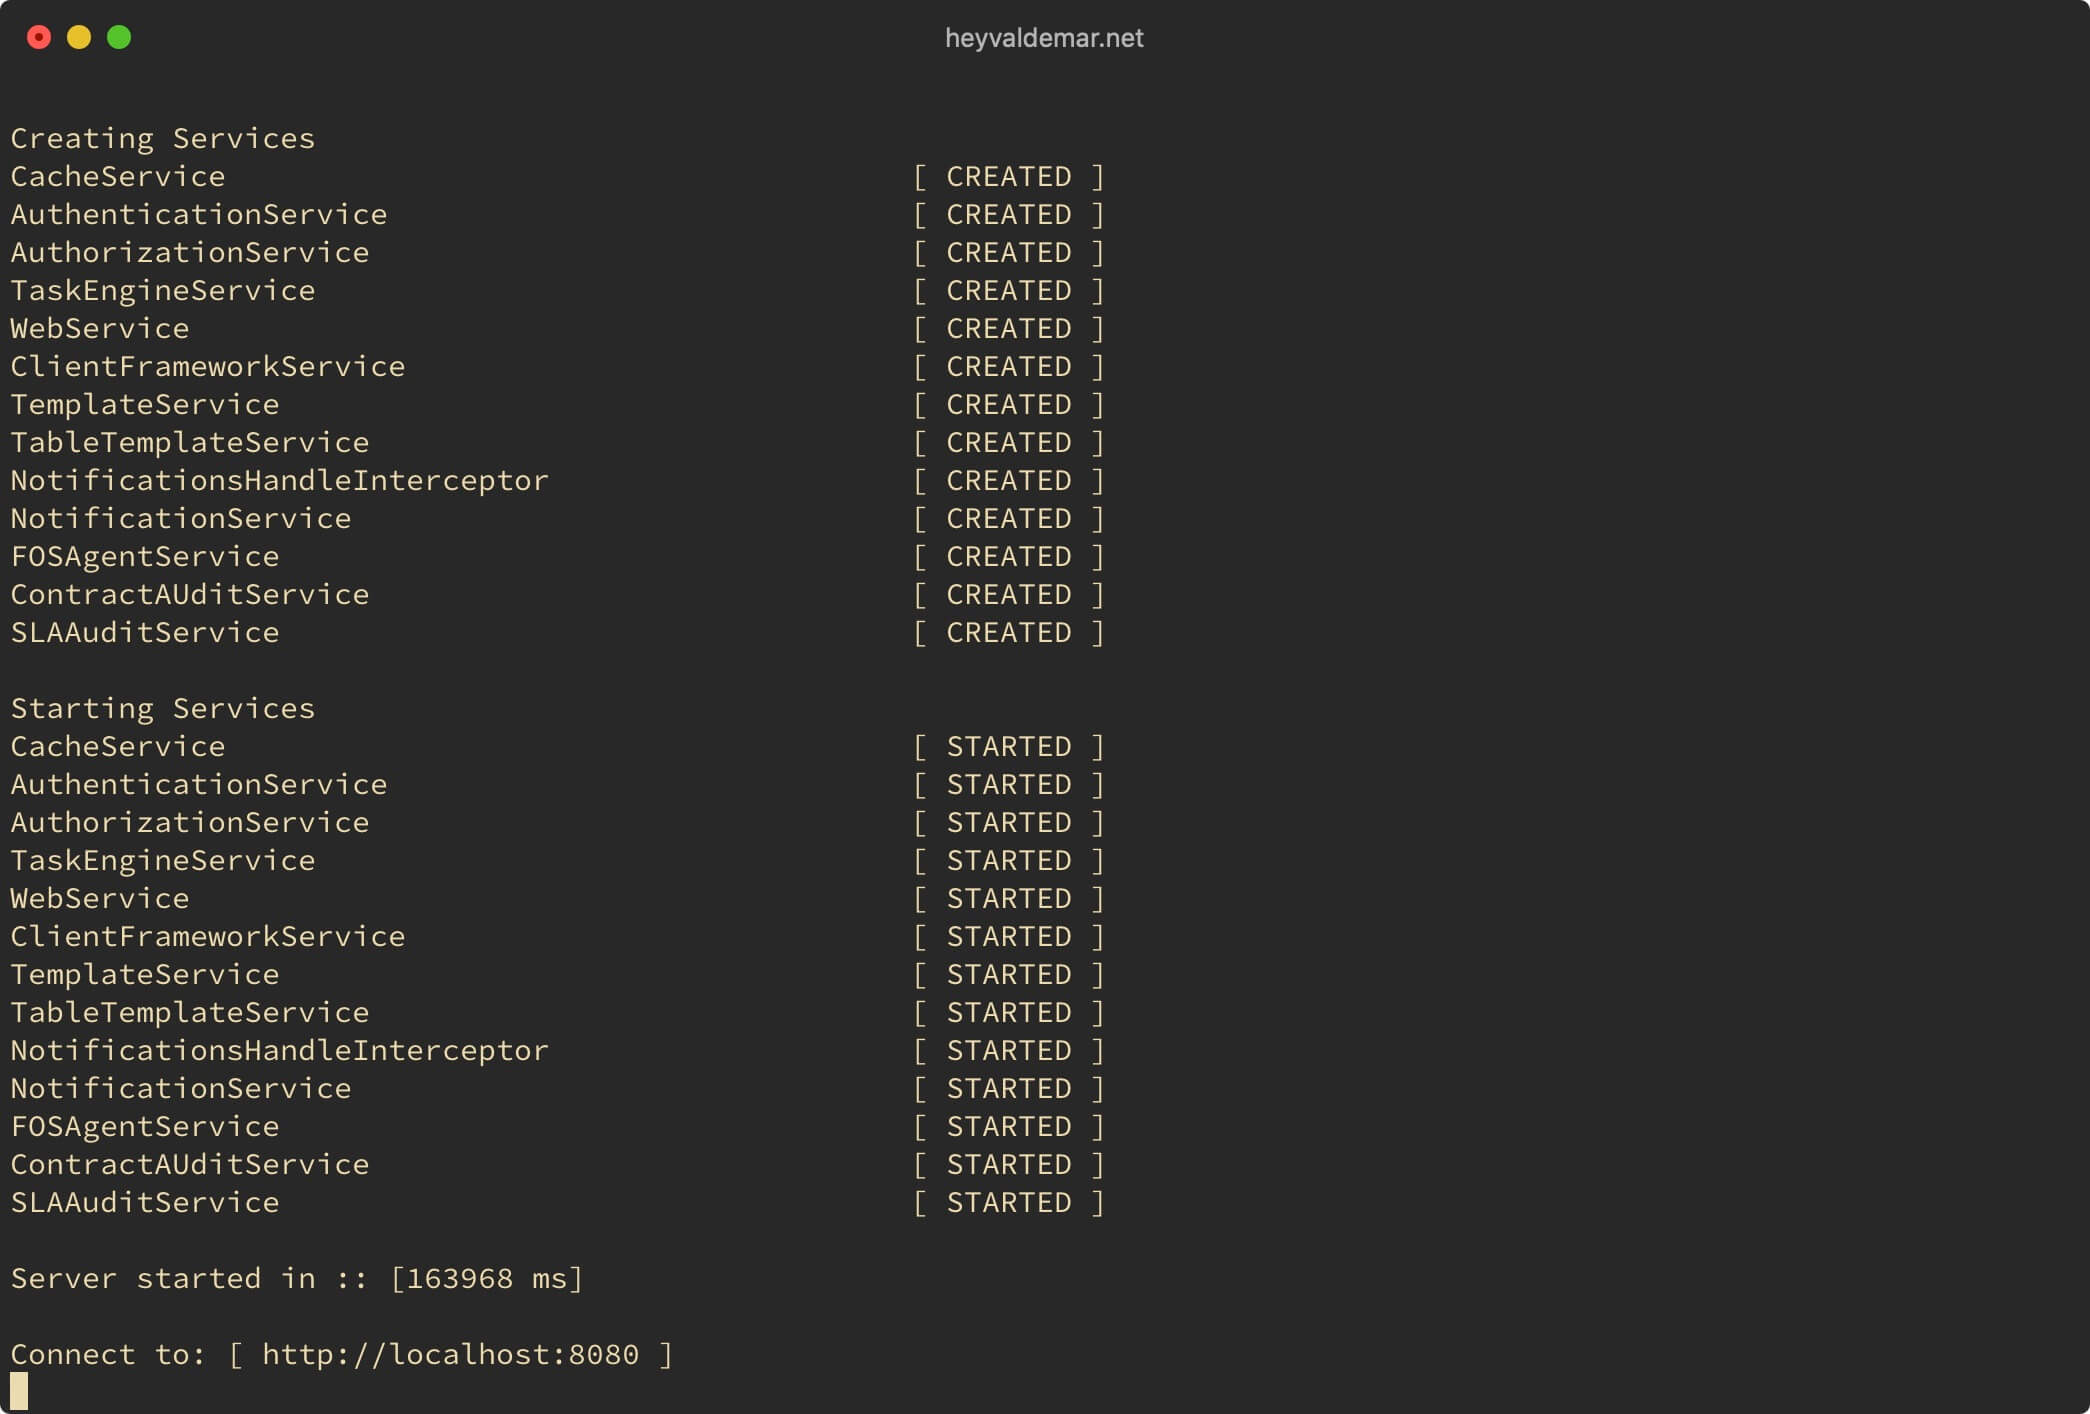
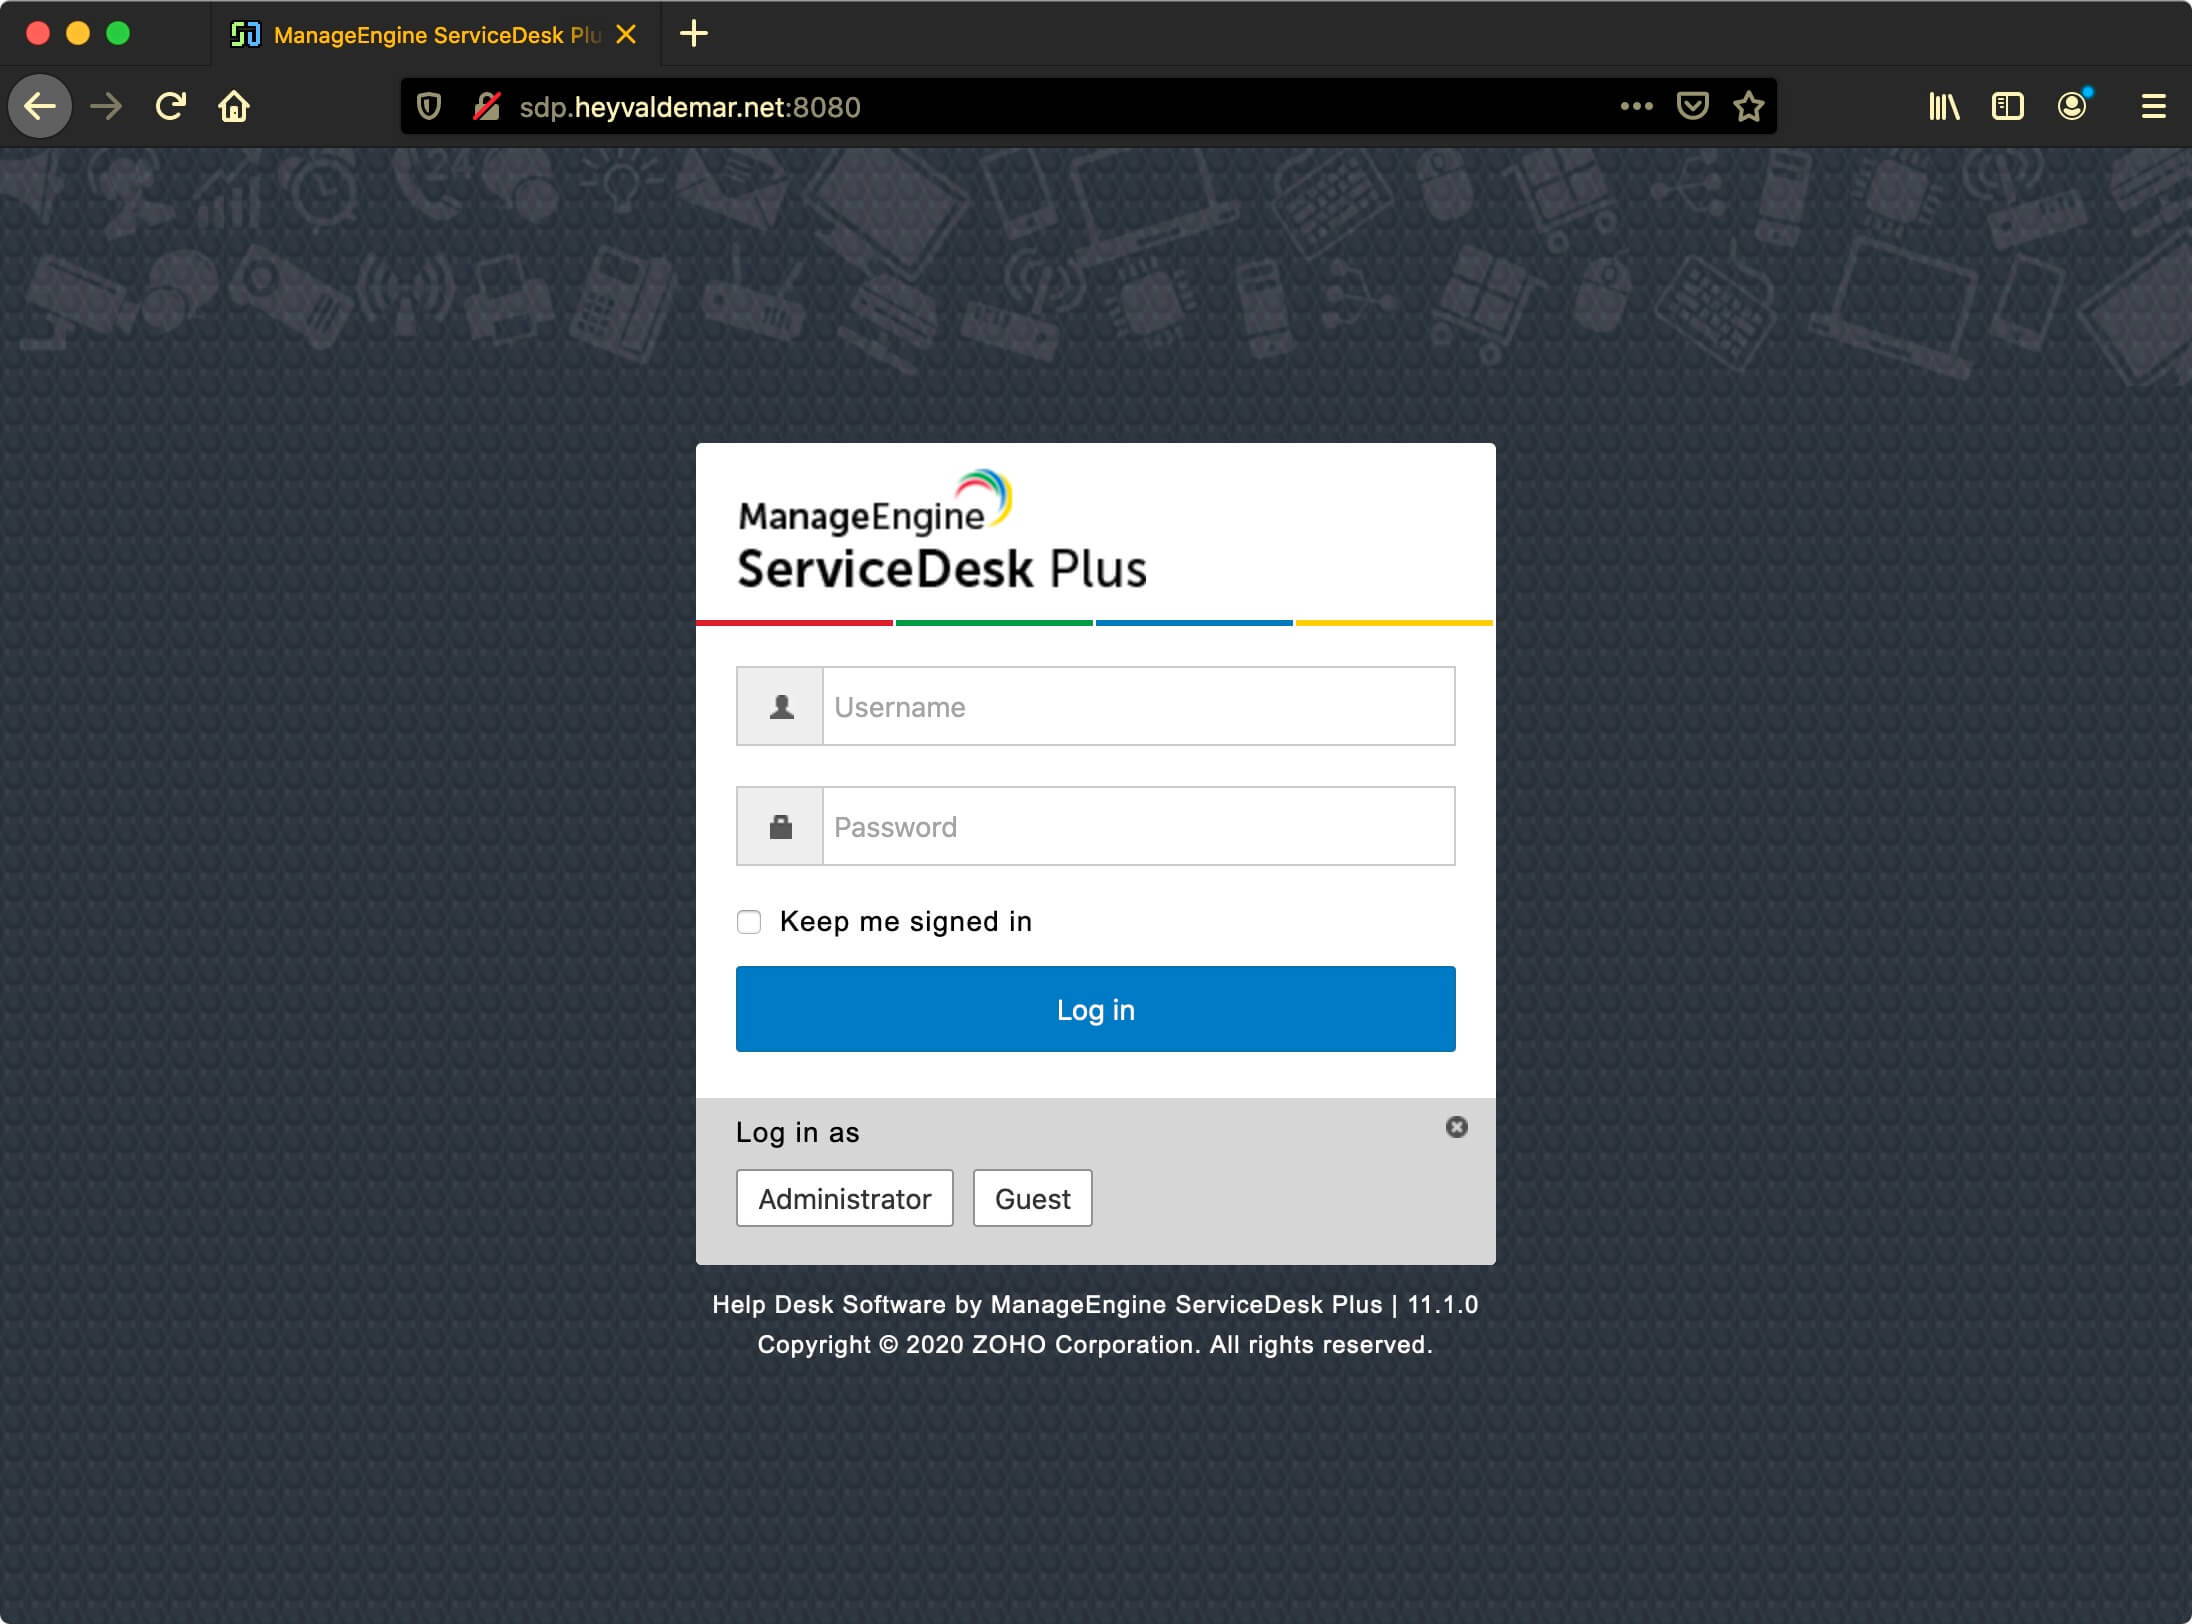
Now you need to wait a few minutes, then you need to go from the workstation to the link http://sdp.heyvaldemar.net:8080, where sdp.heyvaldemar.net is the name of my server. Accordingly, you need to provide the name or IP address of your server with ServiceDesk Plus installed.
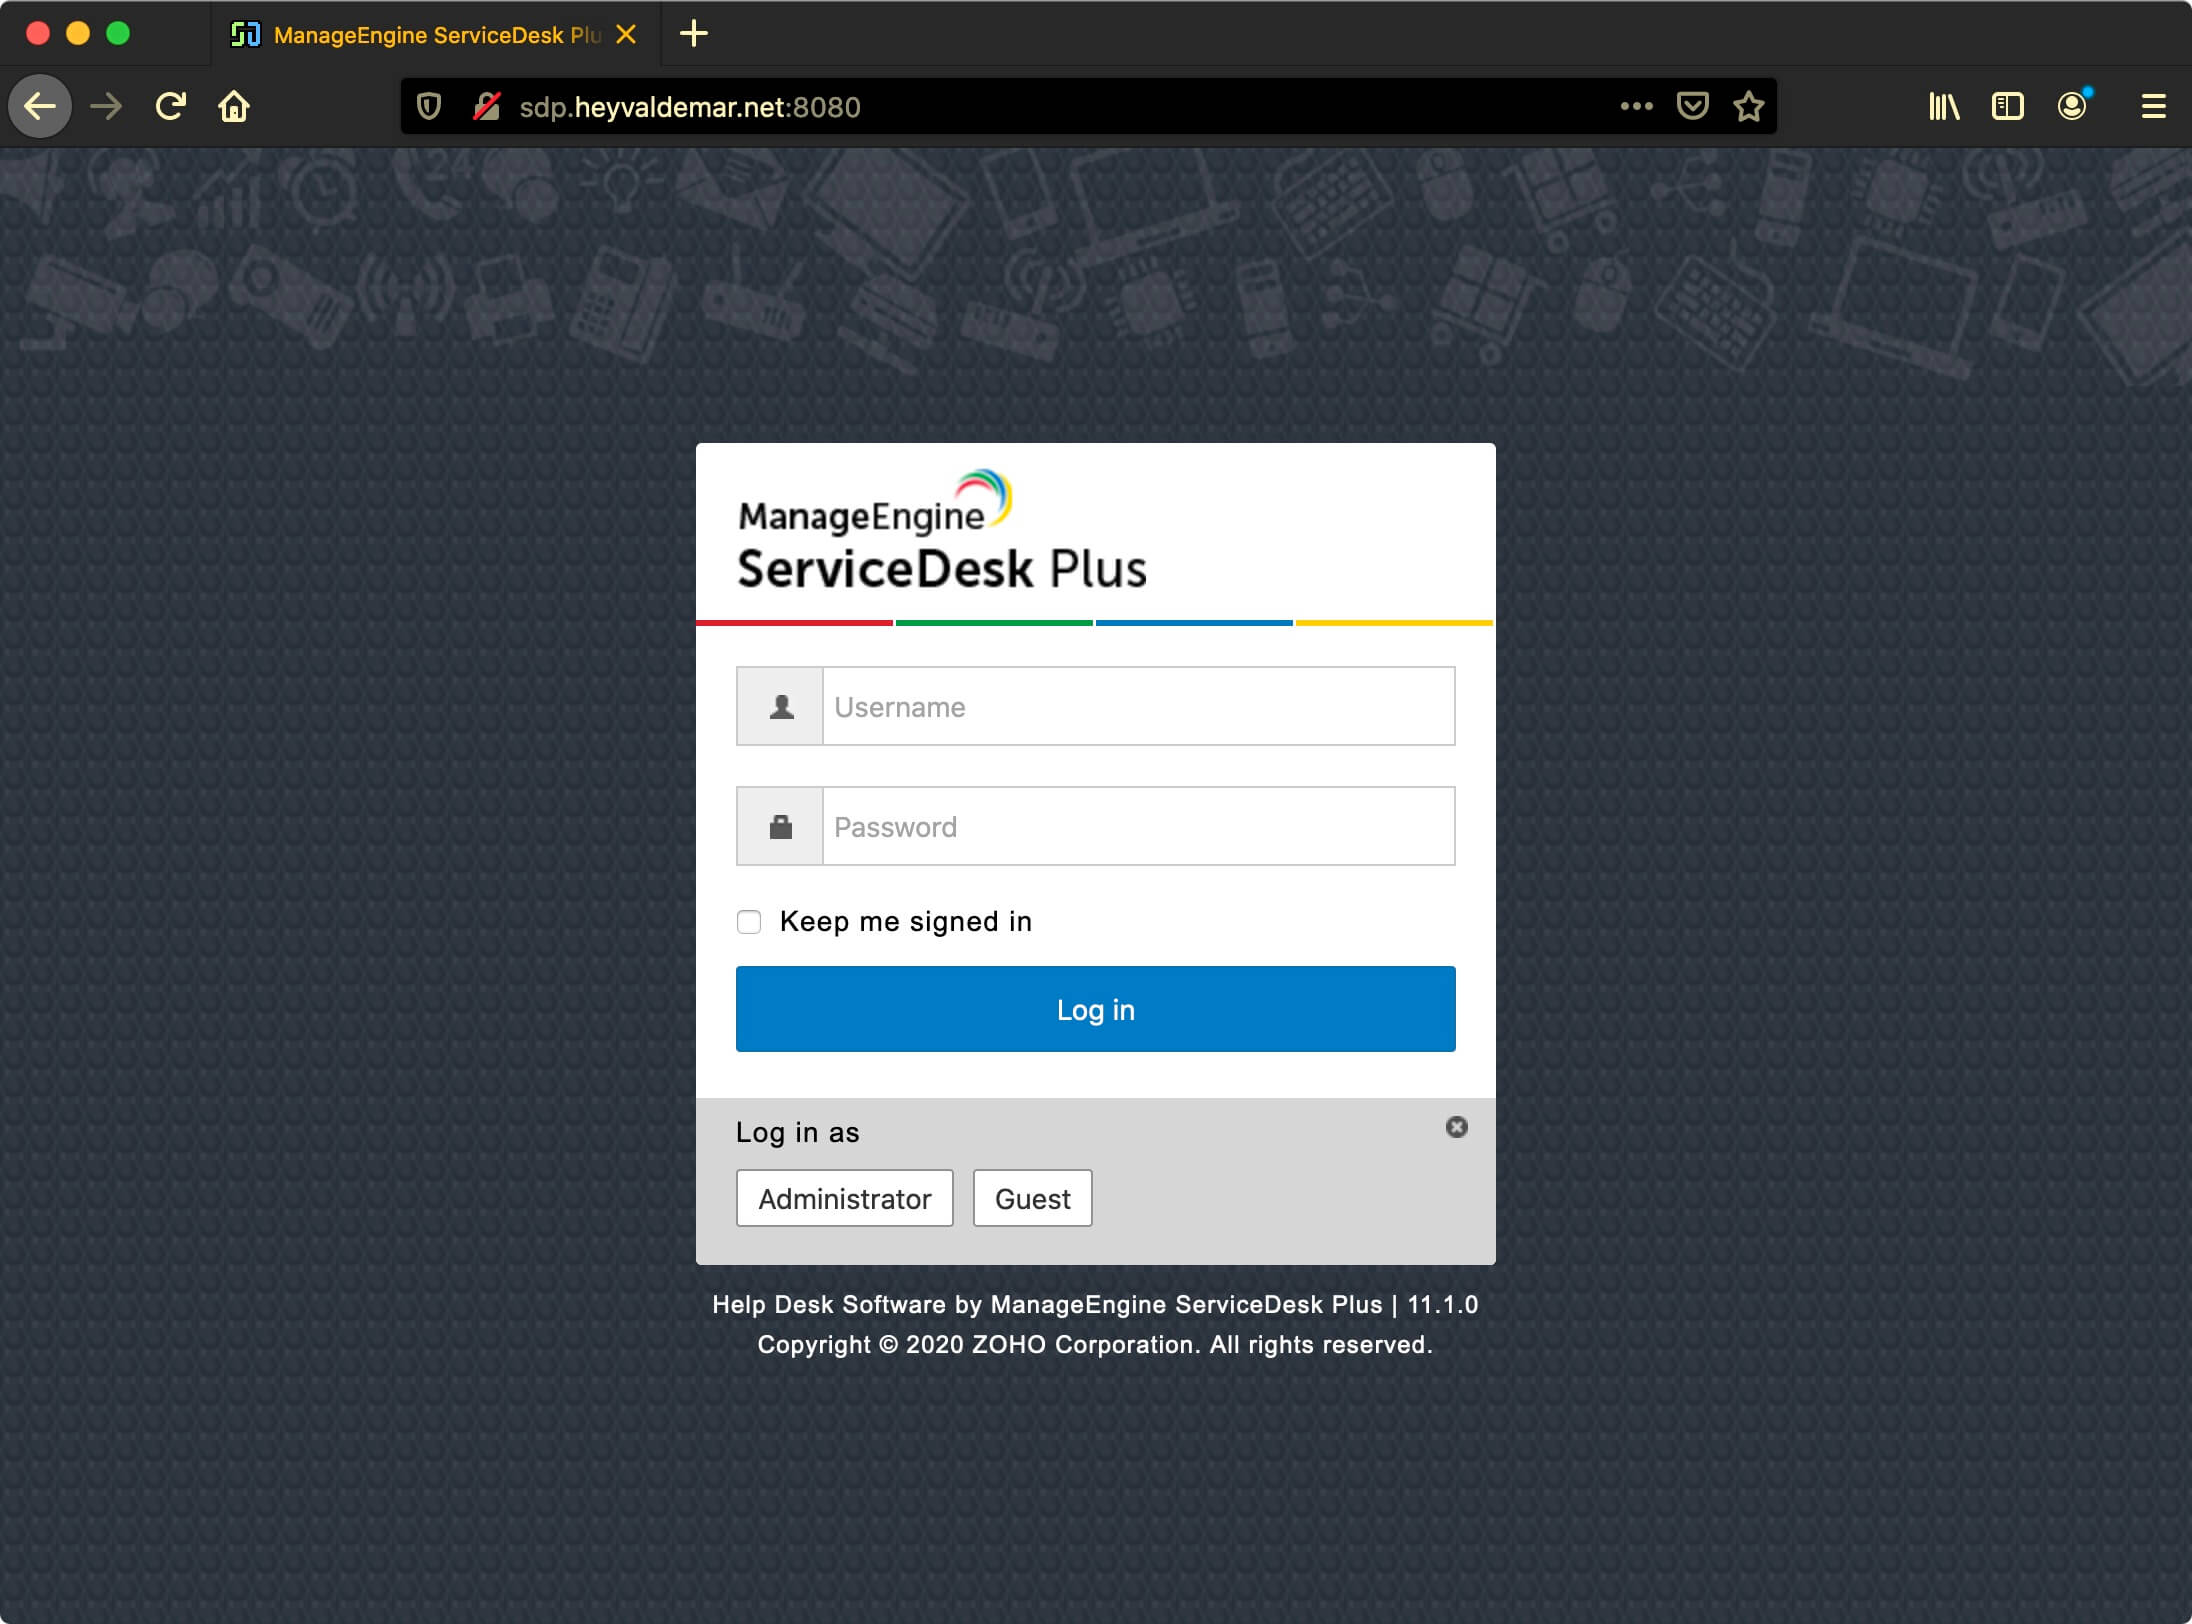
The default login for the ServiceDesk Plus administrator account is administrator
The default password for the ServiceDesk Plus administrator account is administrator
Specify the username and password of an account with ServiceDesk Plus administrator rights and click on the “Log in” button.
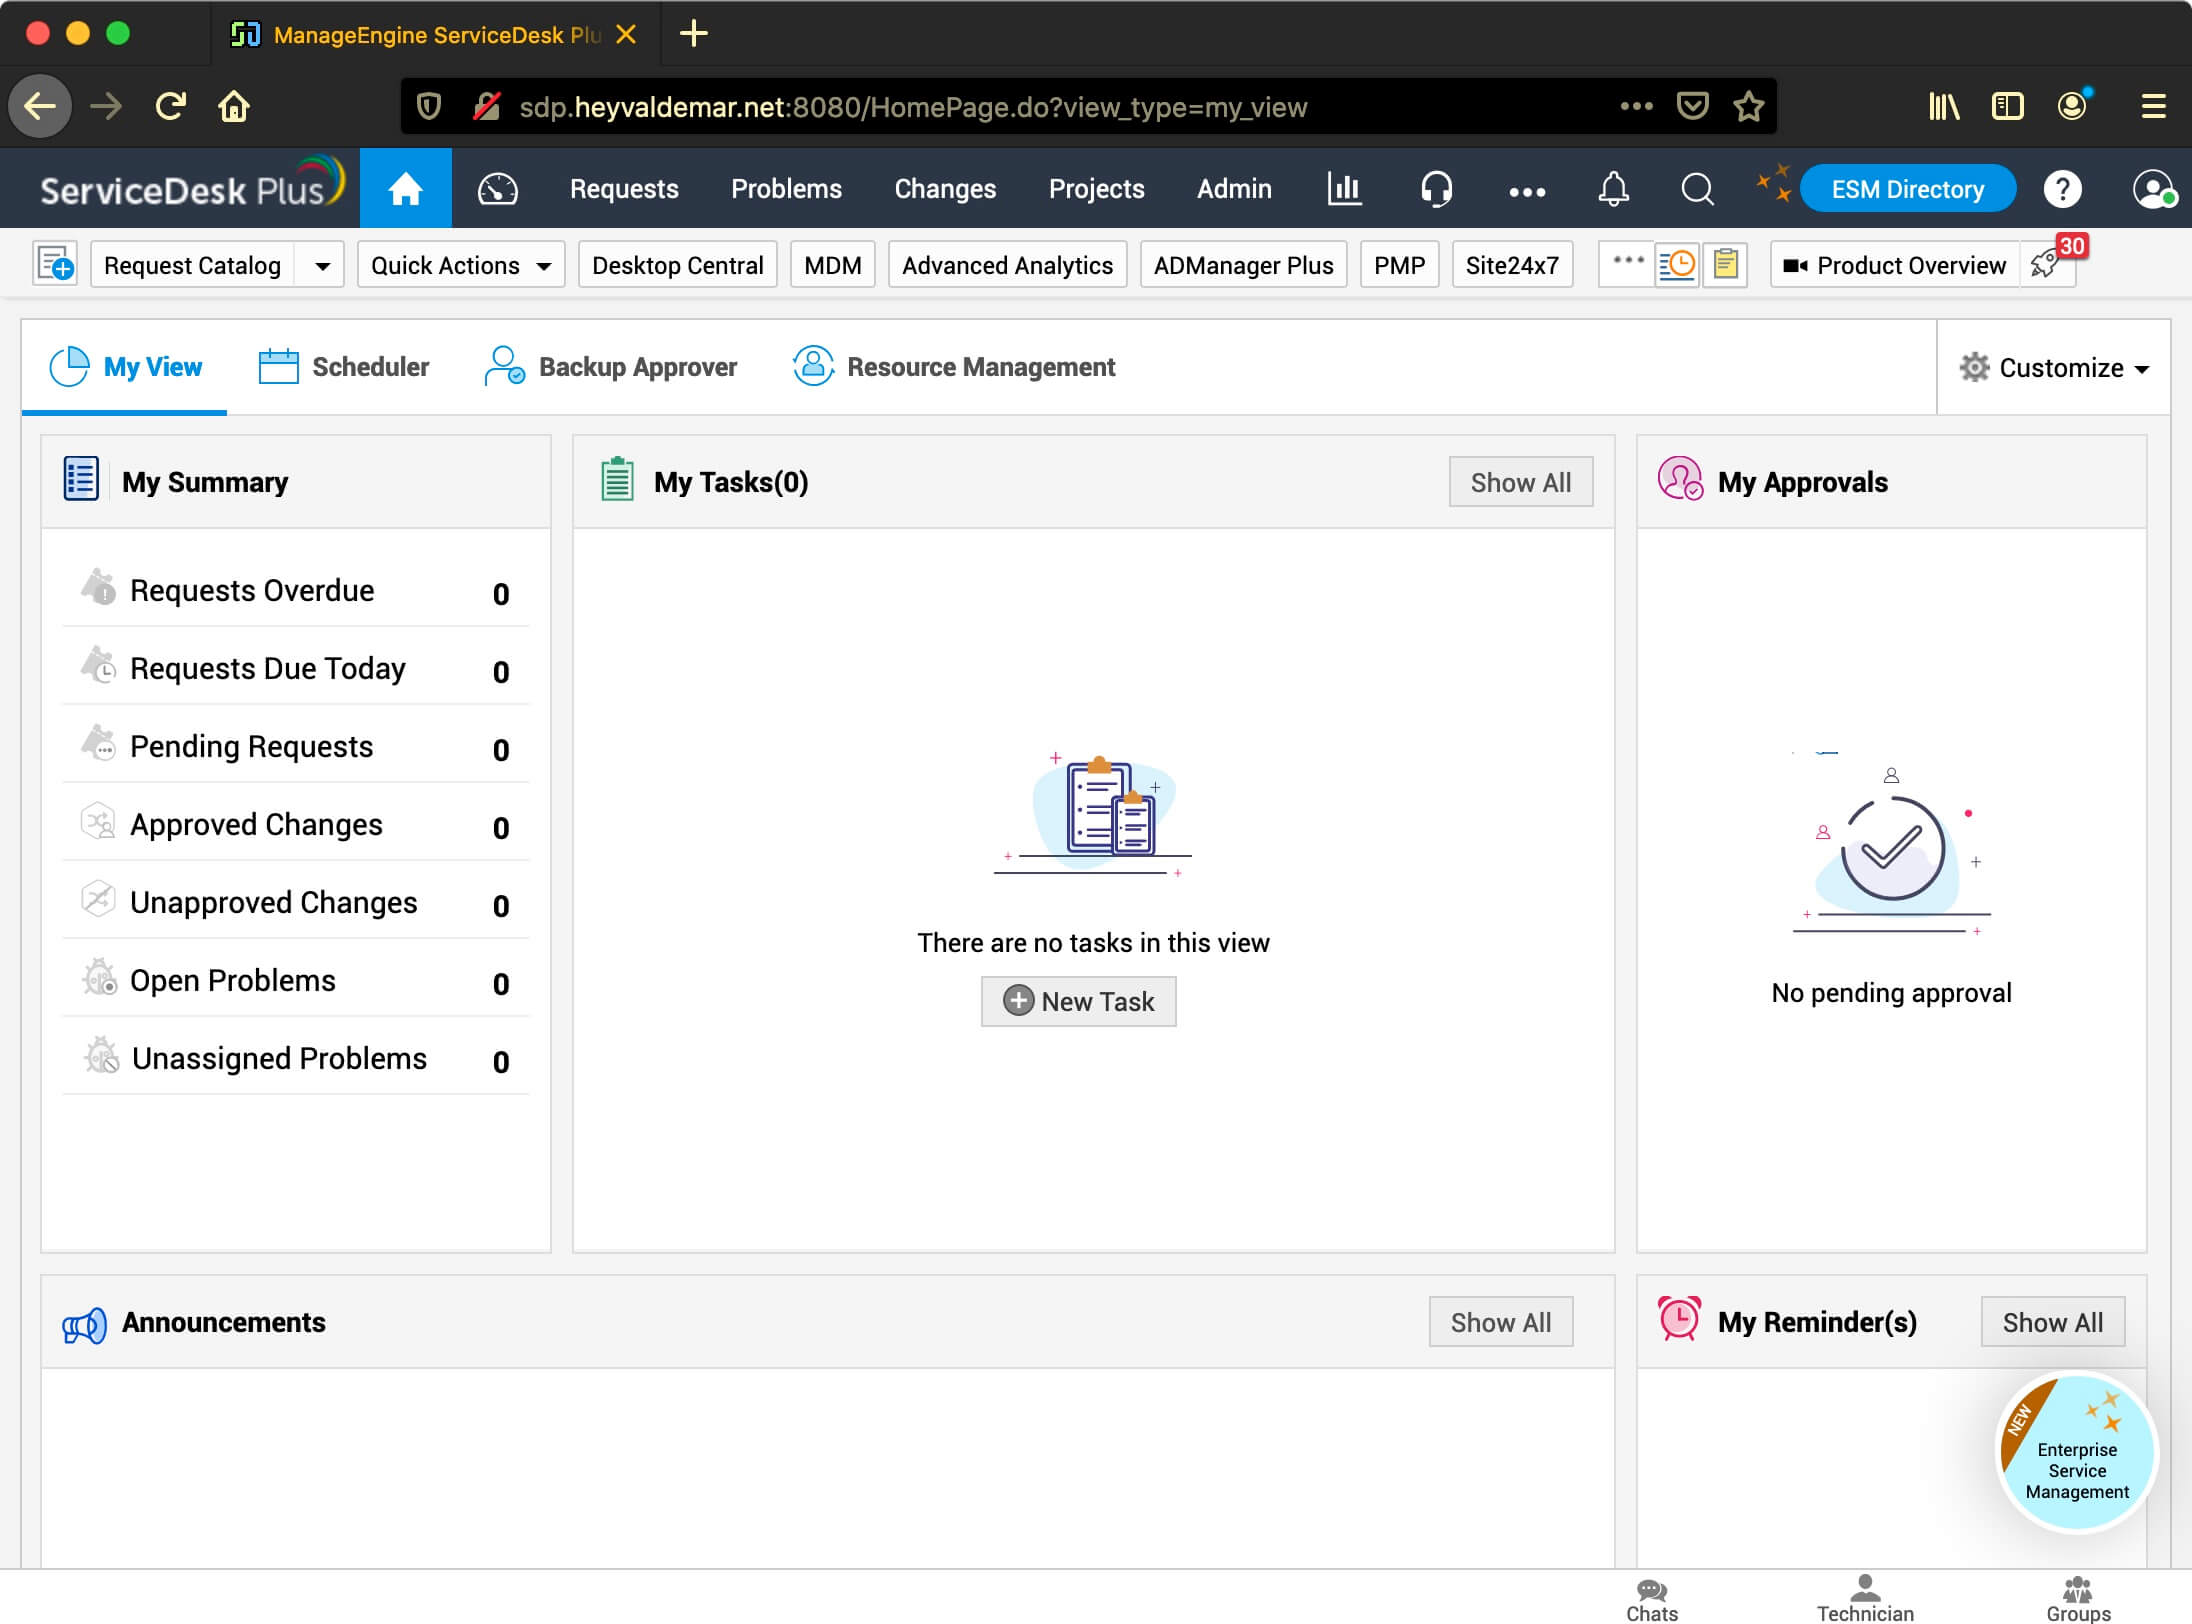
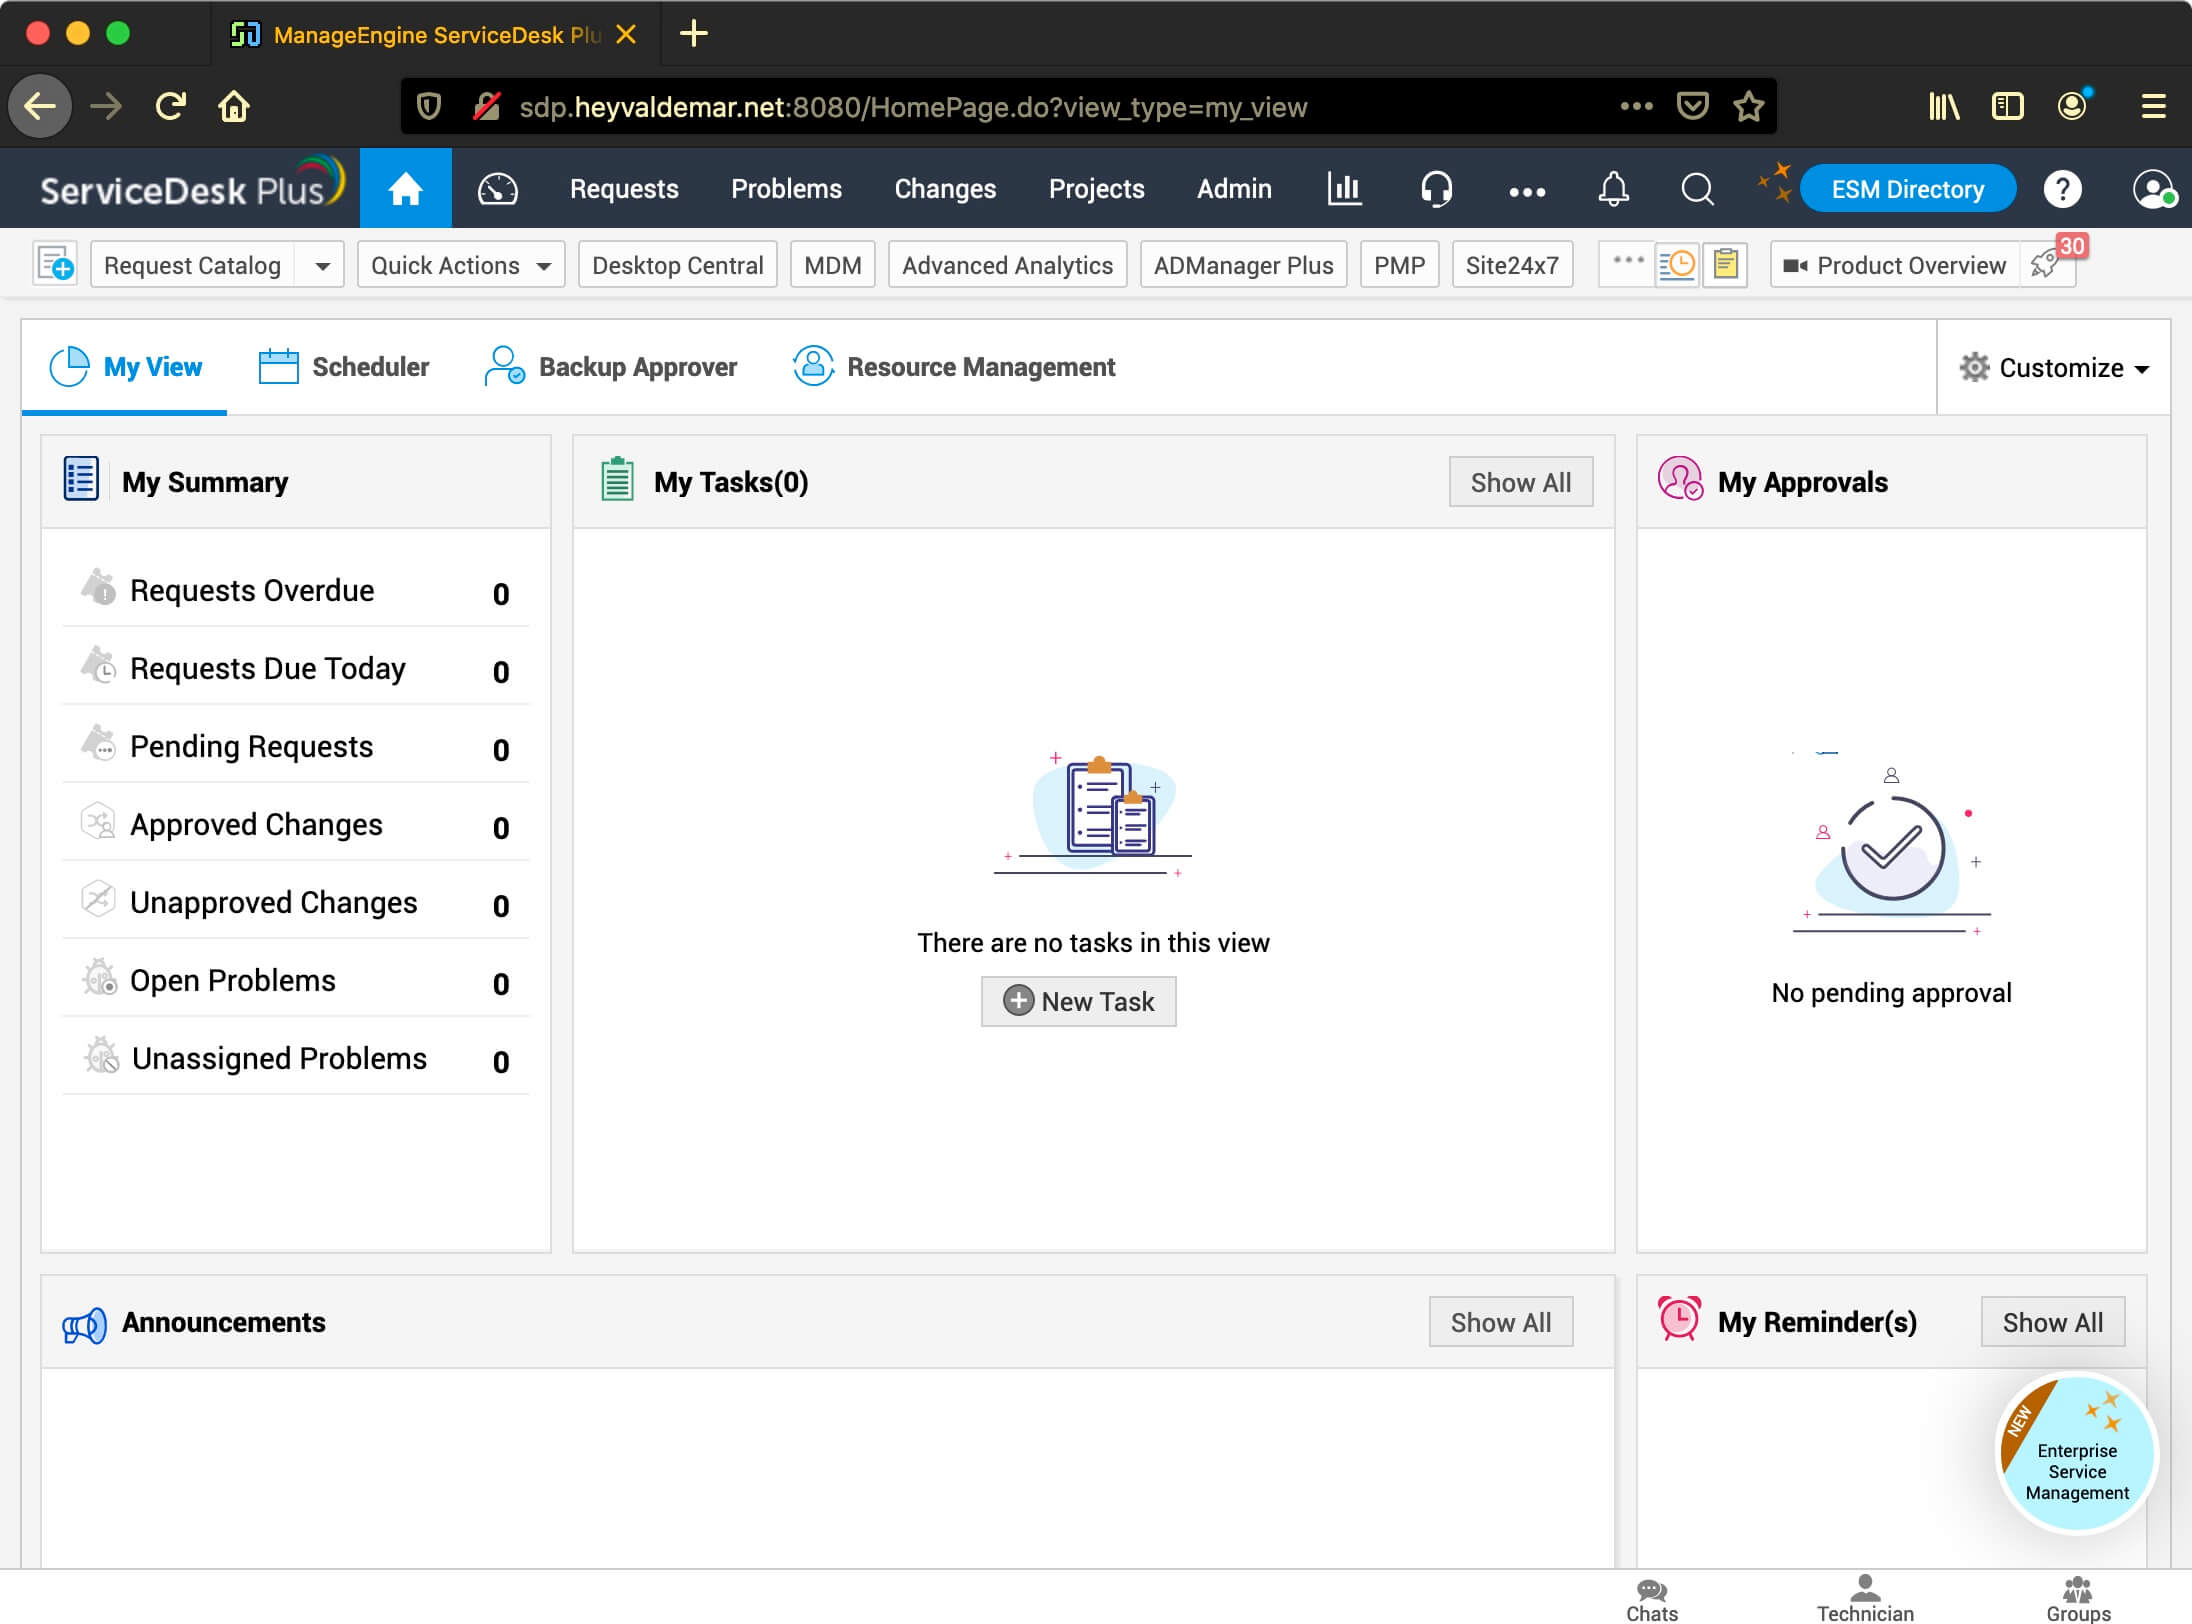
Welcome to the ServiceDesk Plus dashboard.
Next, you need to configure the service Autostart ServiceDesk Plus when the operating system starts.
Return to the terminal emulator and press the “Ctrl” and “c” keys on the keyboard to stop all ServiceDesk Plus services.
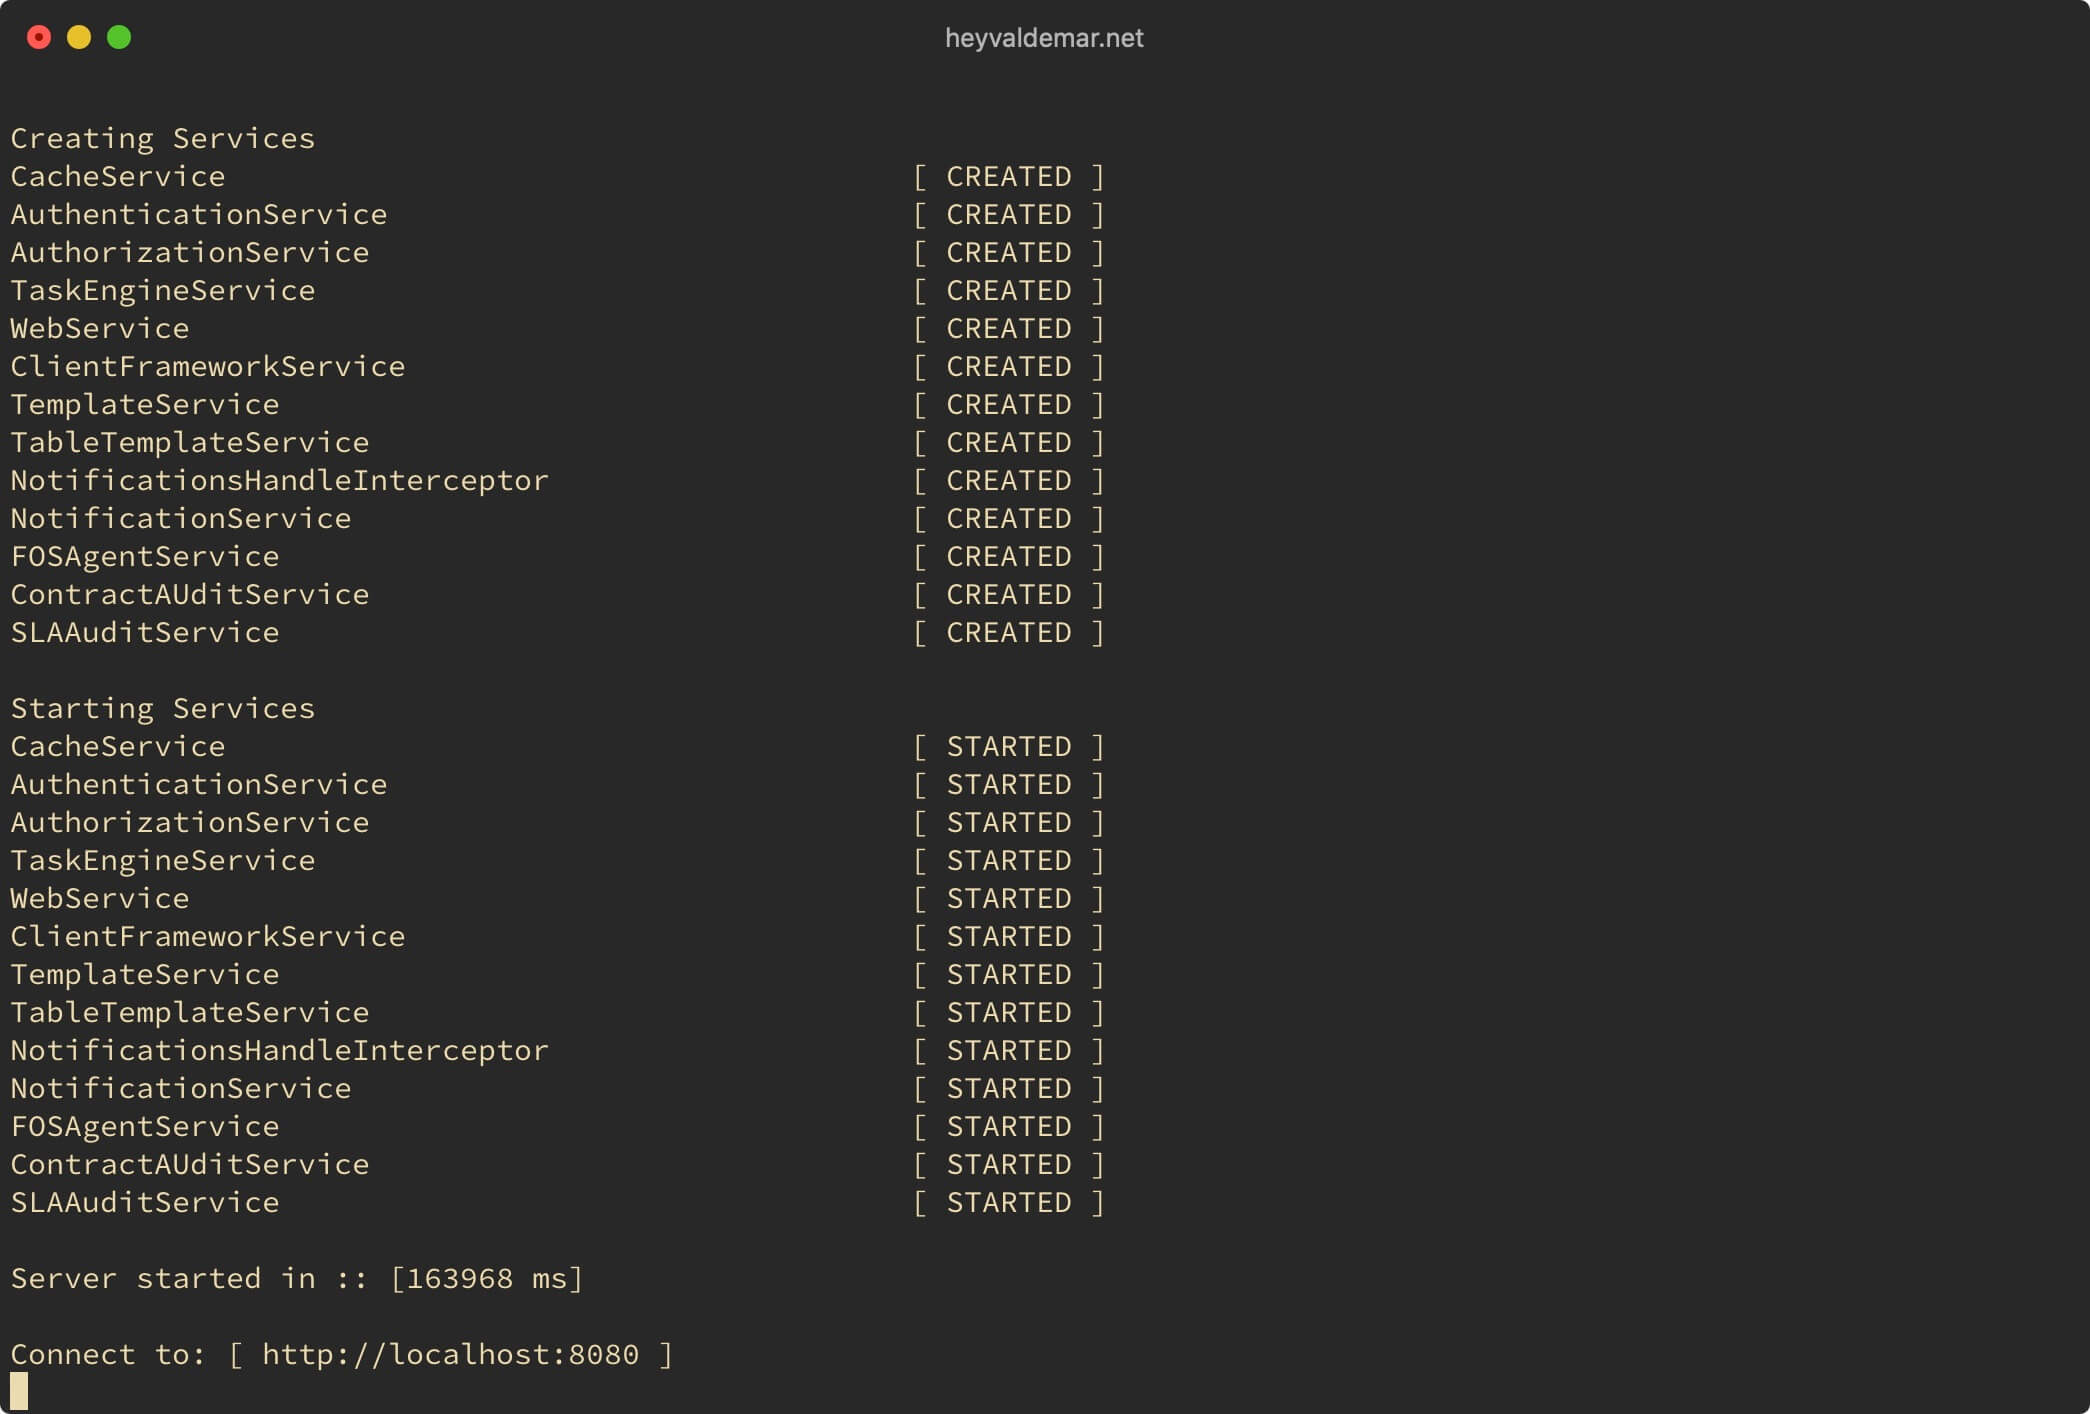
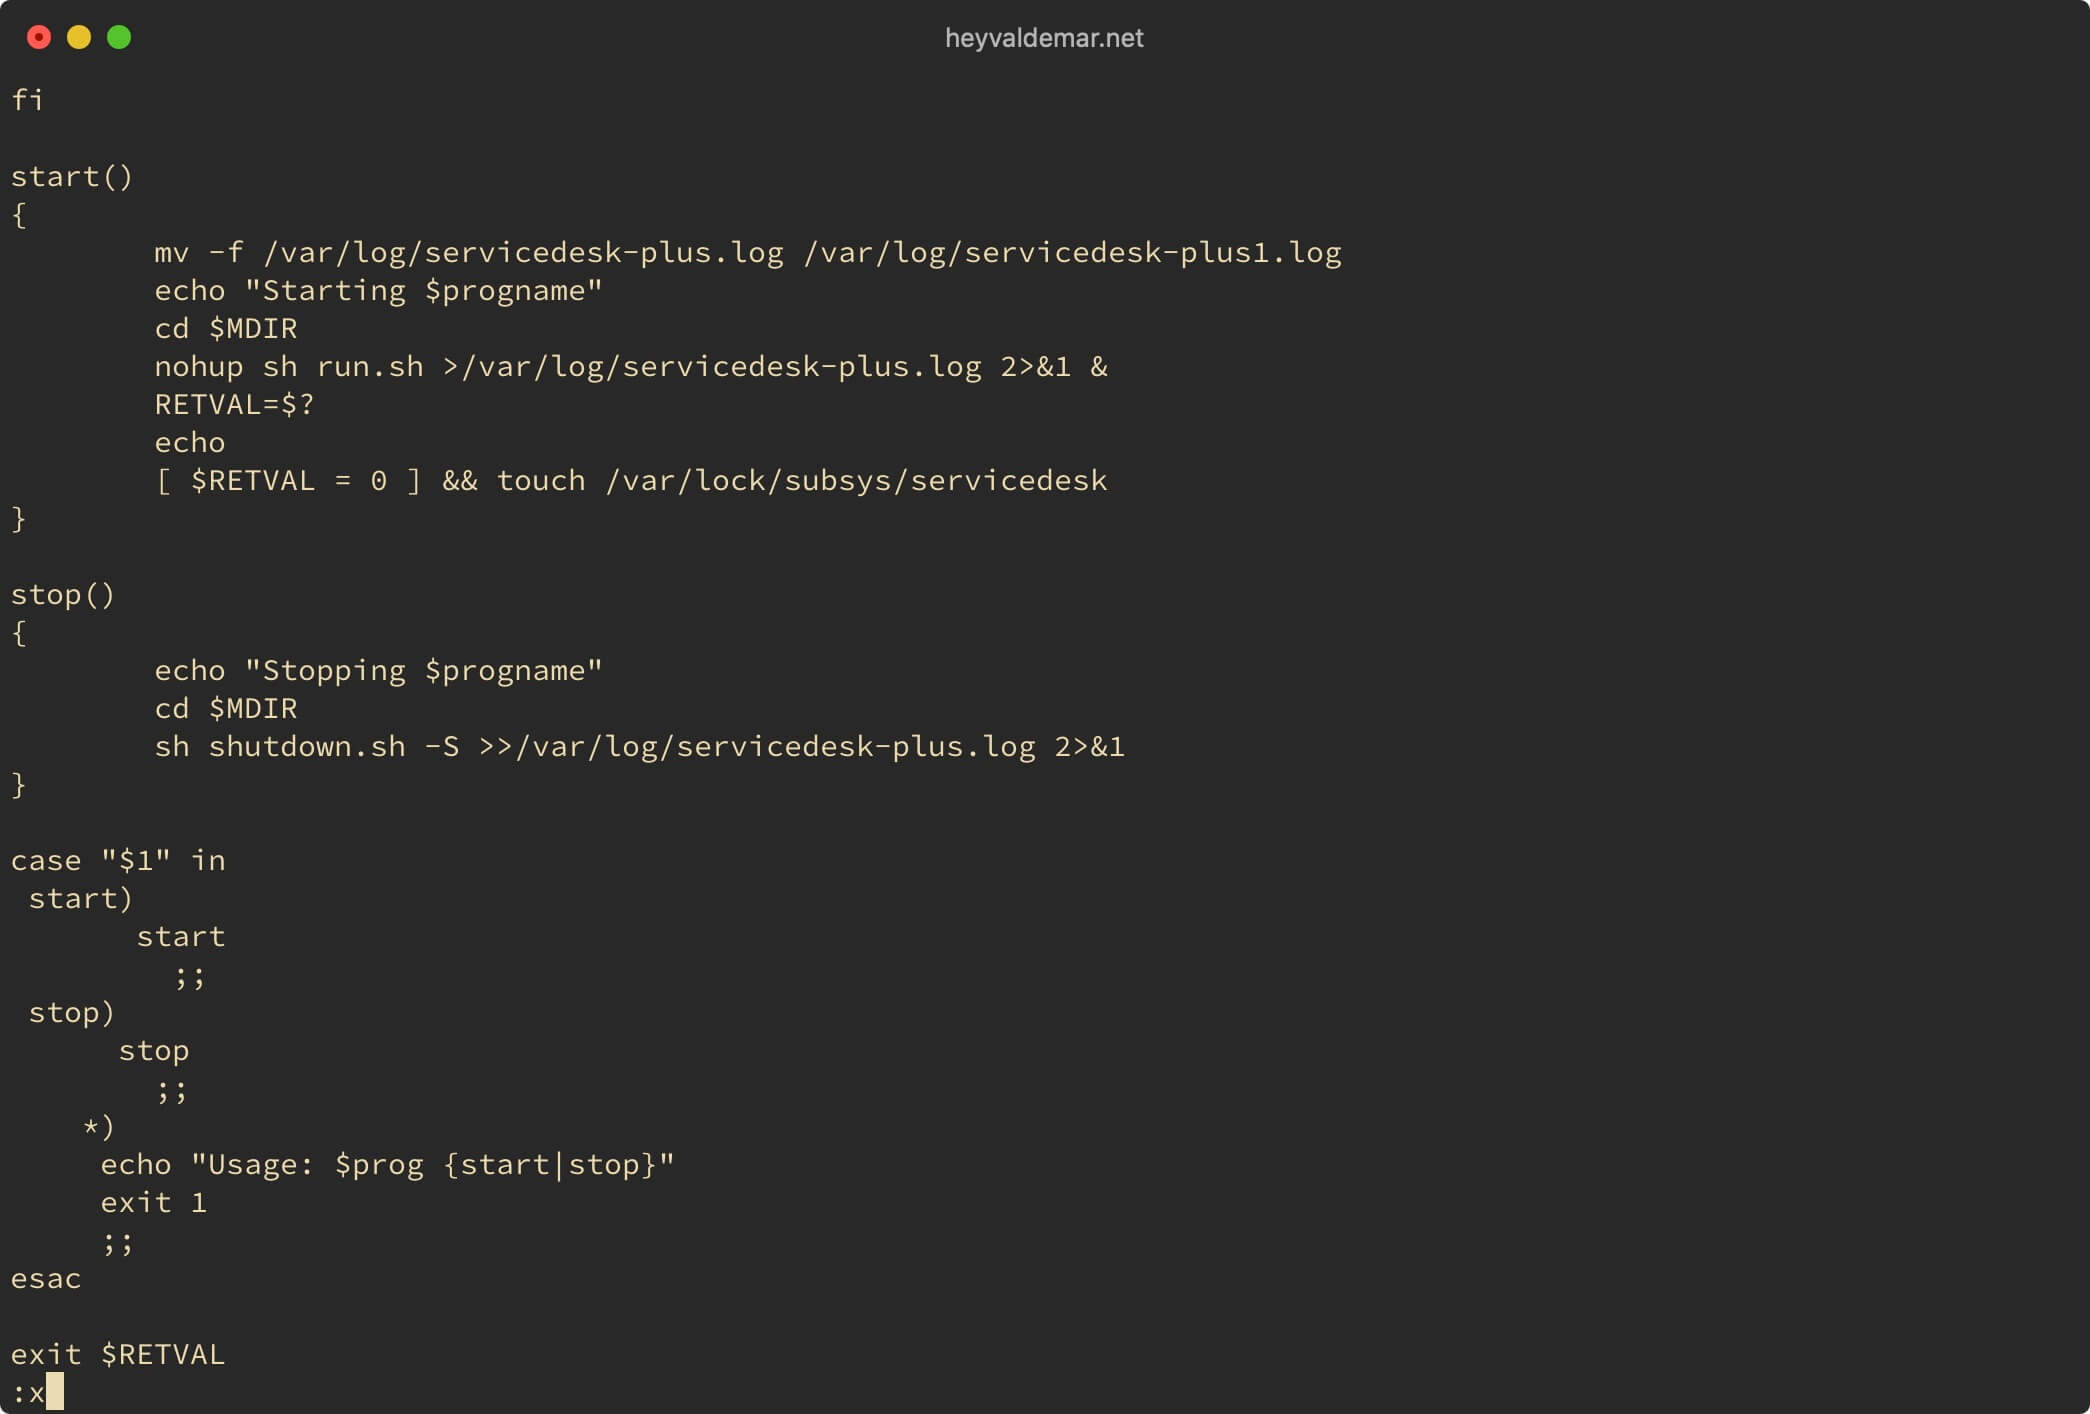
Now let’s create a script that will contain the necessary configuration for the ServiceDesk Plus service in the “/etc/init.d/” folder using the command:
vim /etc/init.d/servicedesk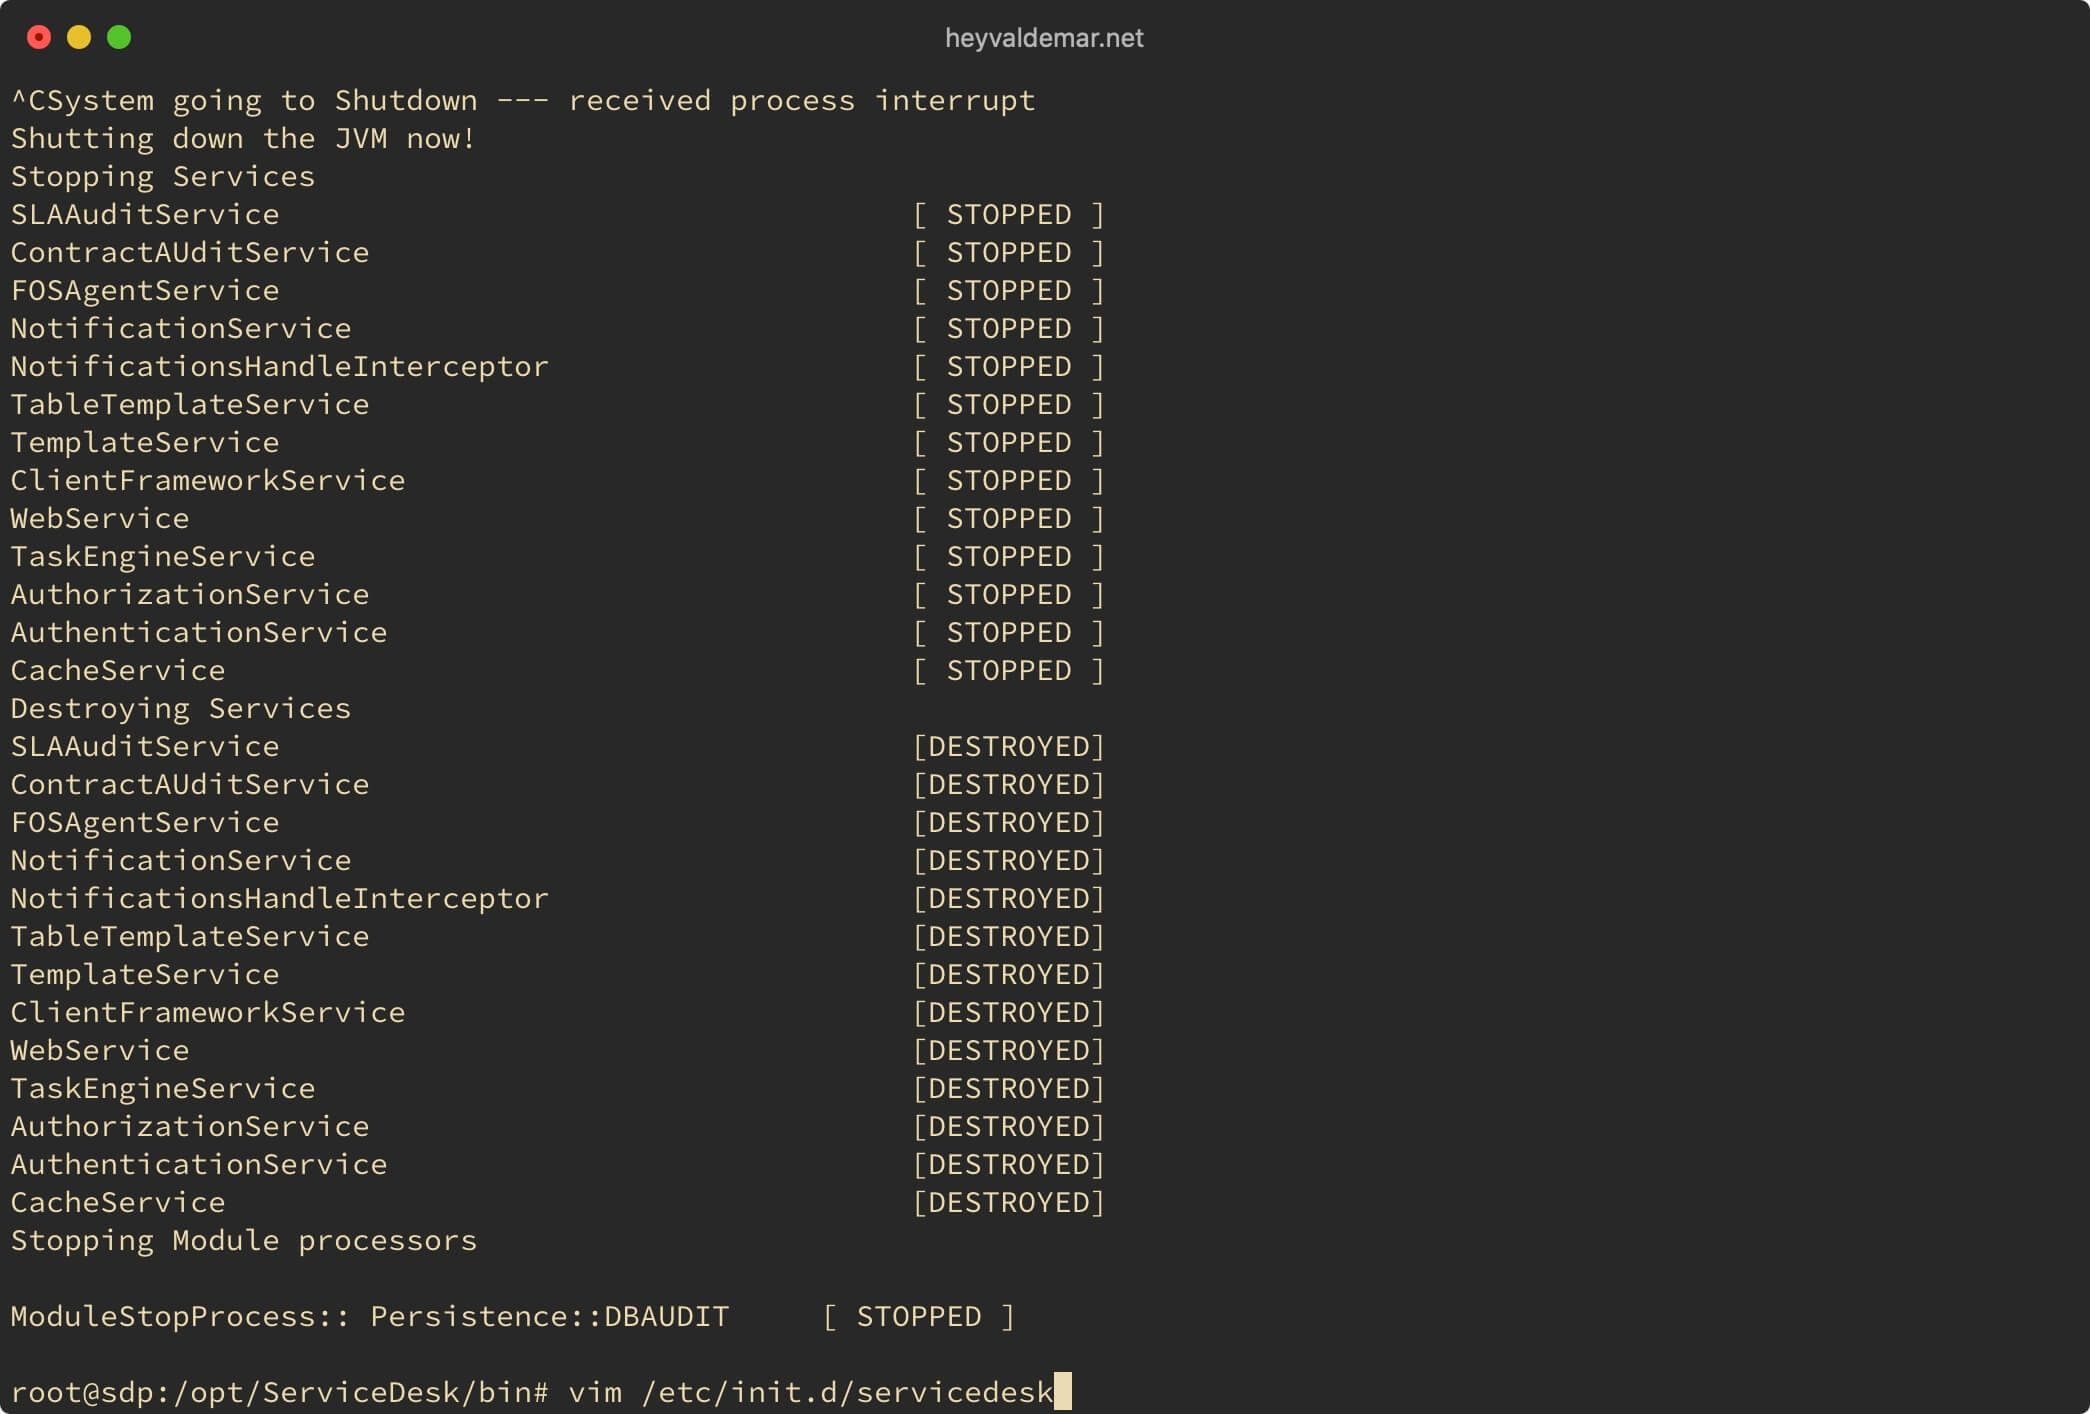
Hit the “i” button to go into edit mode, then insert the configuration.
Next, we find the “MDIR” parameter and check its value.
Please note that in the “MDIR” parameter you must specify the folder where ServiceDesk Plus was installed.
In this tutorial, ServiceDesk Plus was installed in the “/opt” folder.
An example of the value for the “MDIR” parameter when installing ServiceDesk Plus in the “/opt/” folder:
MDIR=/opt/ServiceDesk/bin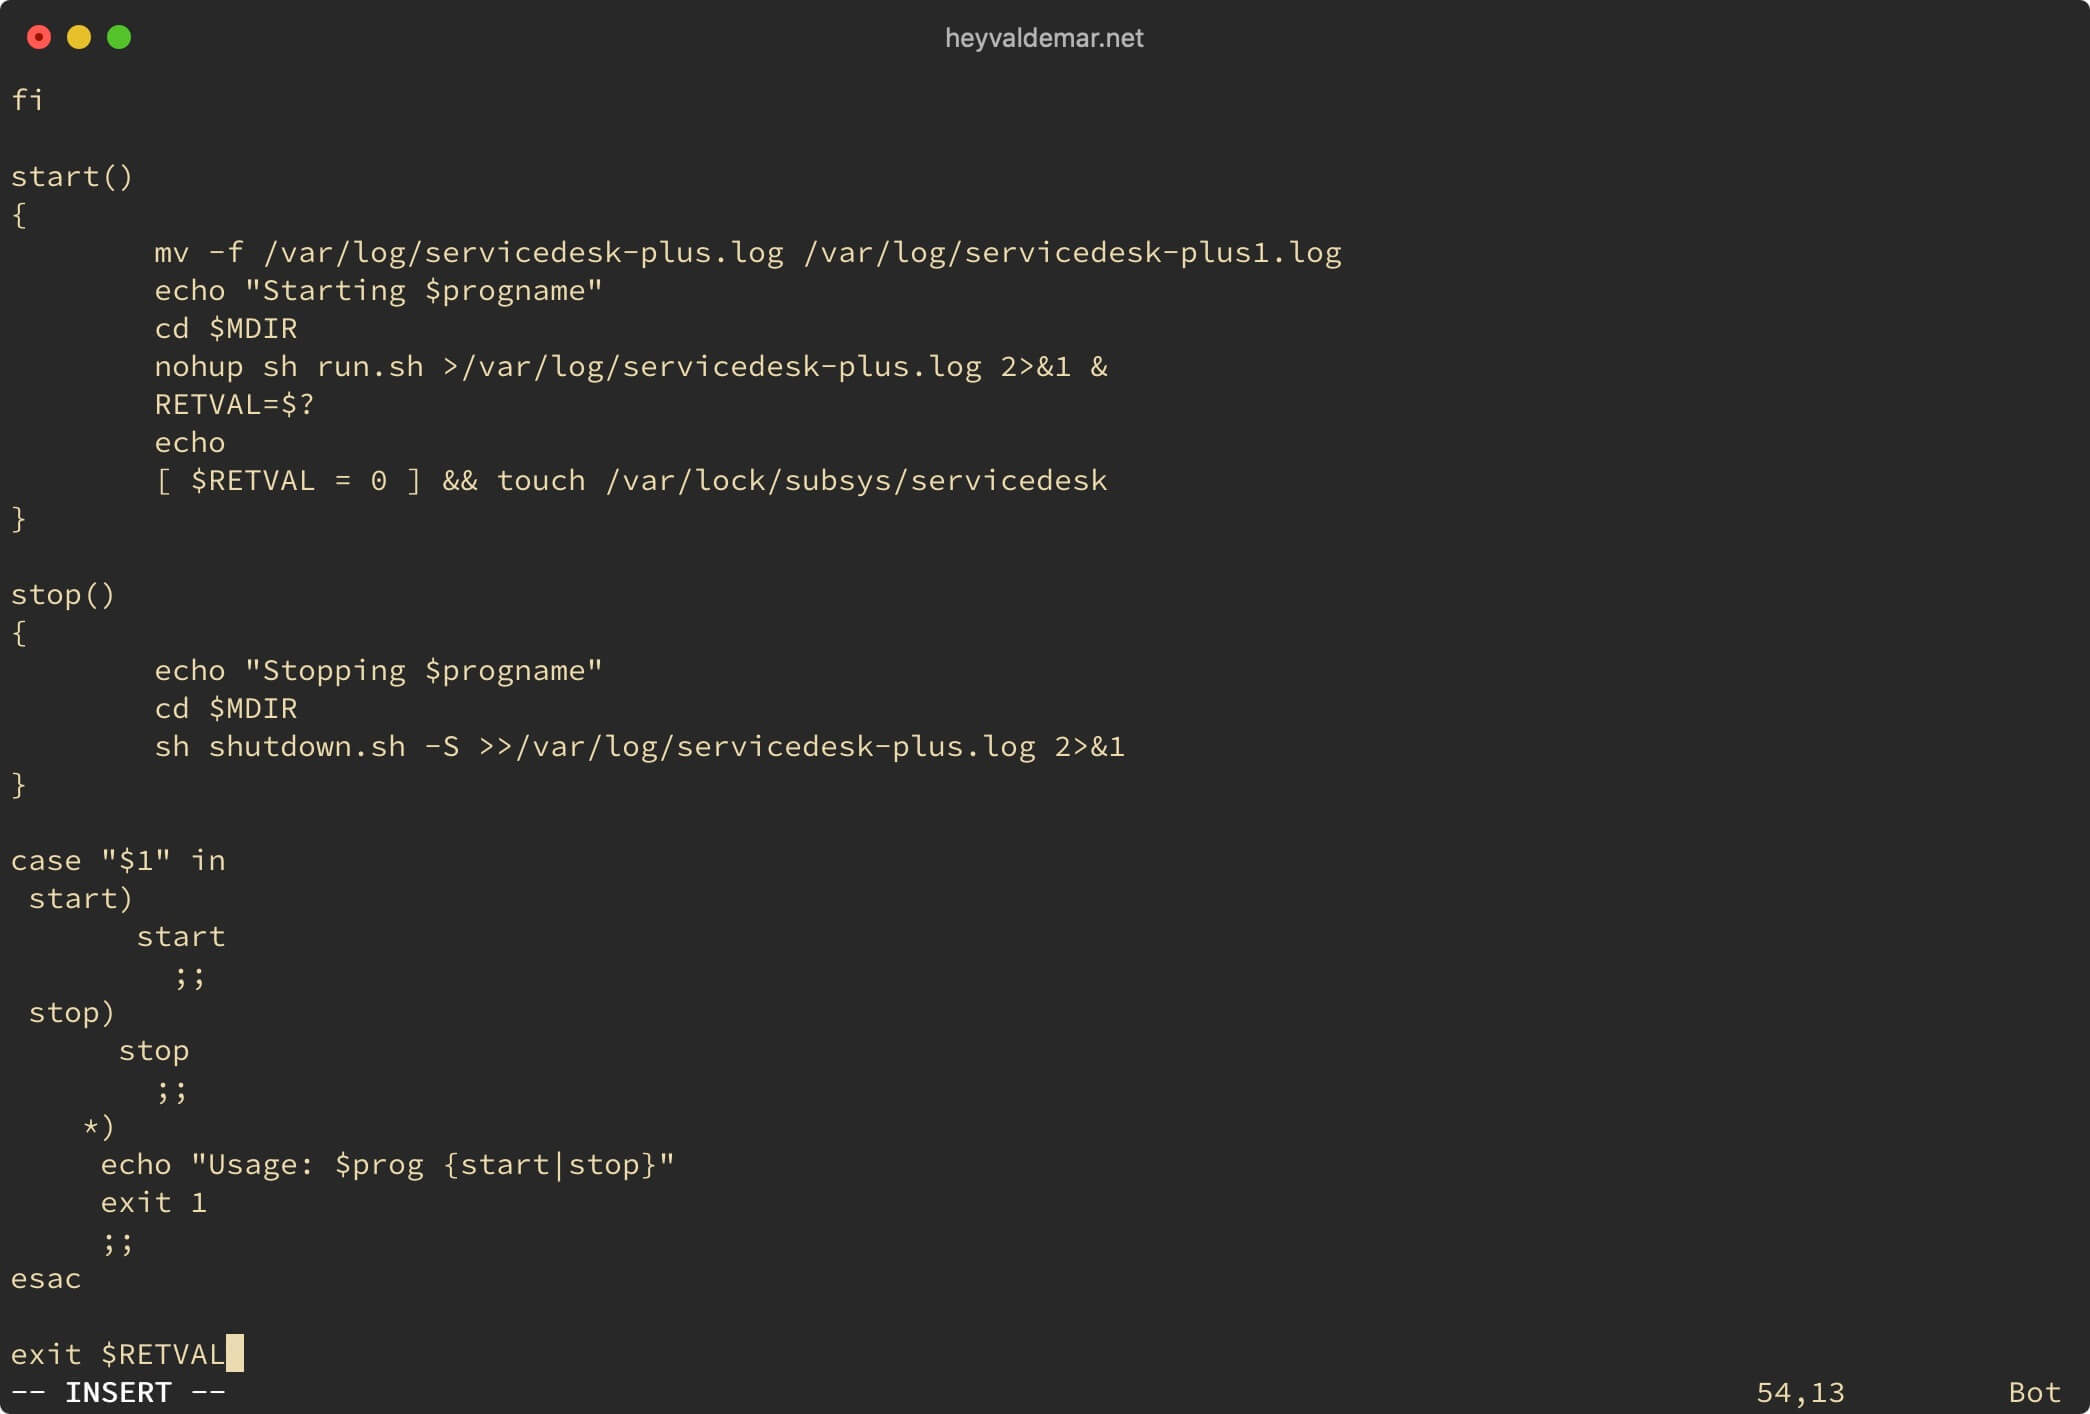
Now press the “Esc” button to exit edit mode, then type “:x” and press the “Enter” button to save your changes and exit the editor.
Assign correct permissions for the script “/etc/init.d/servicedesk” using the command:
chmod 755 /etc/init.d/servicedesk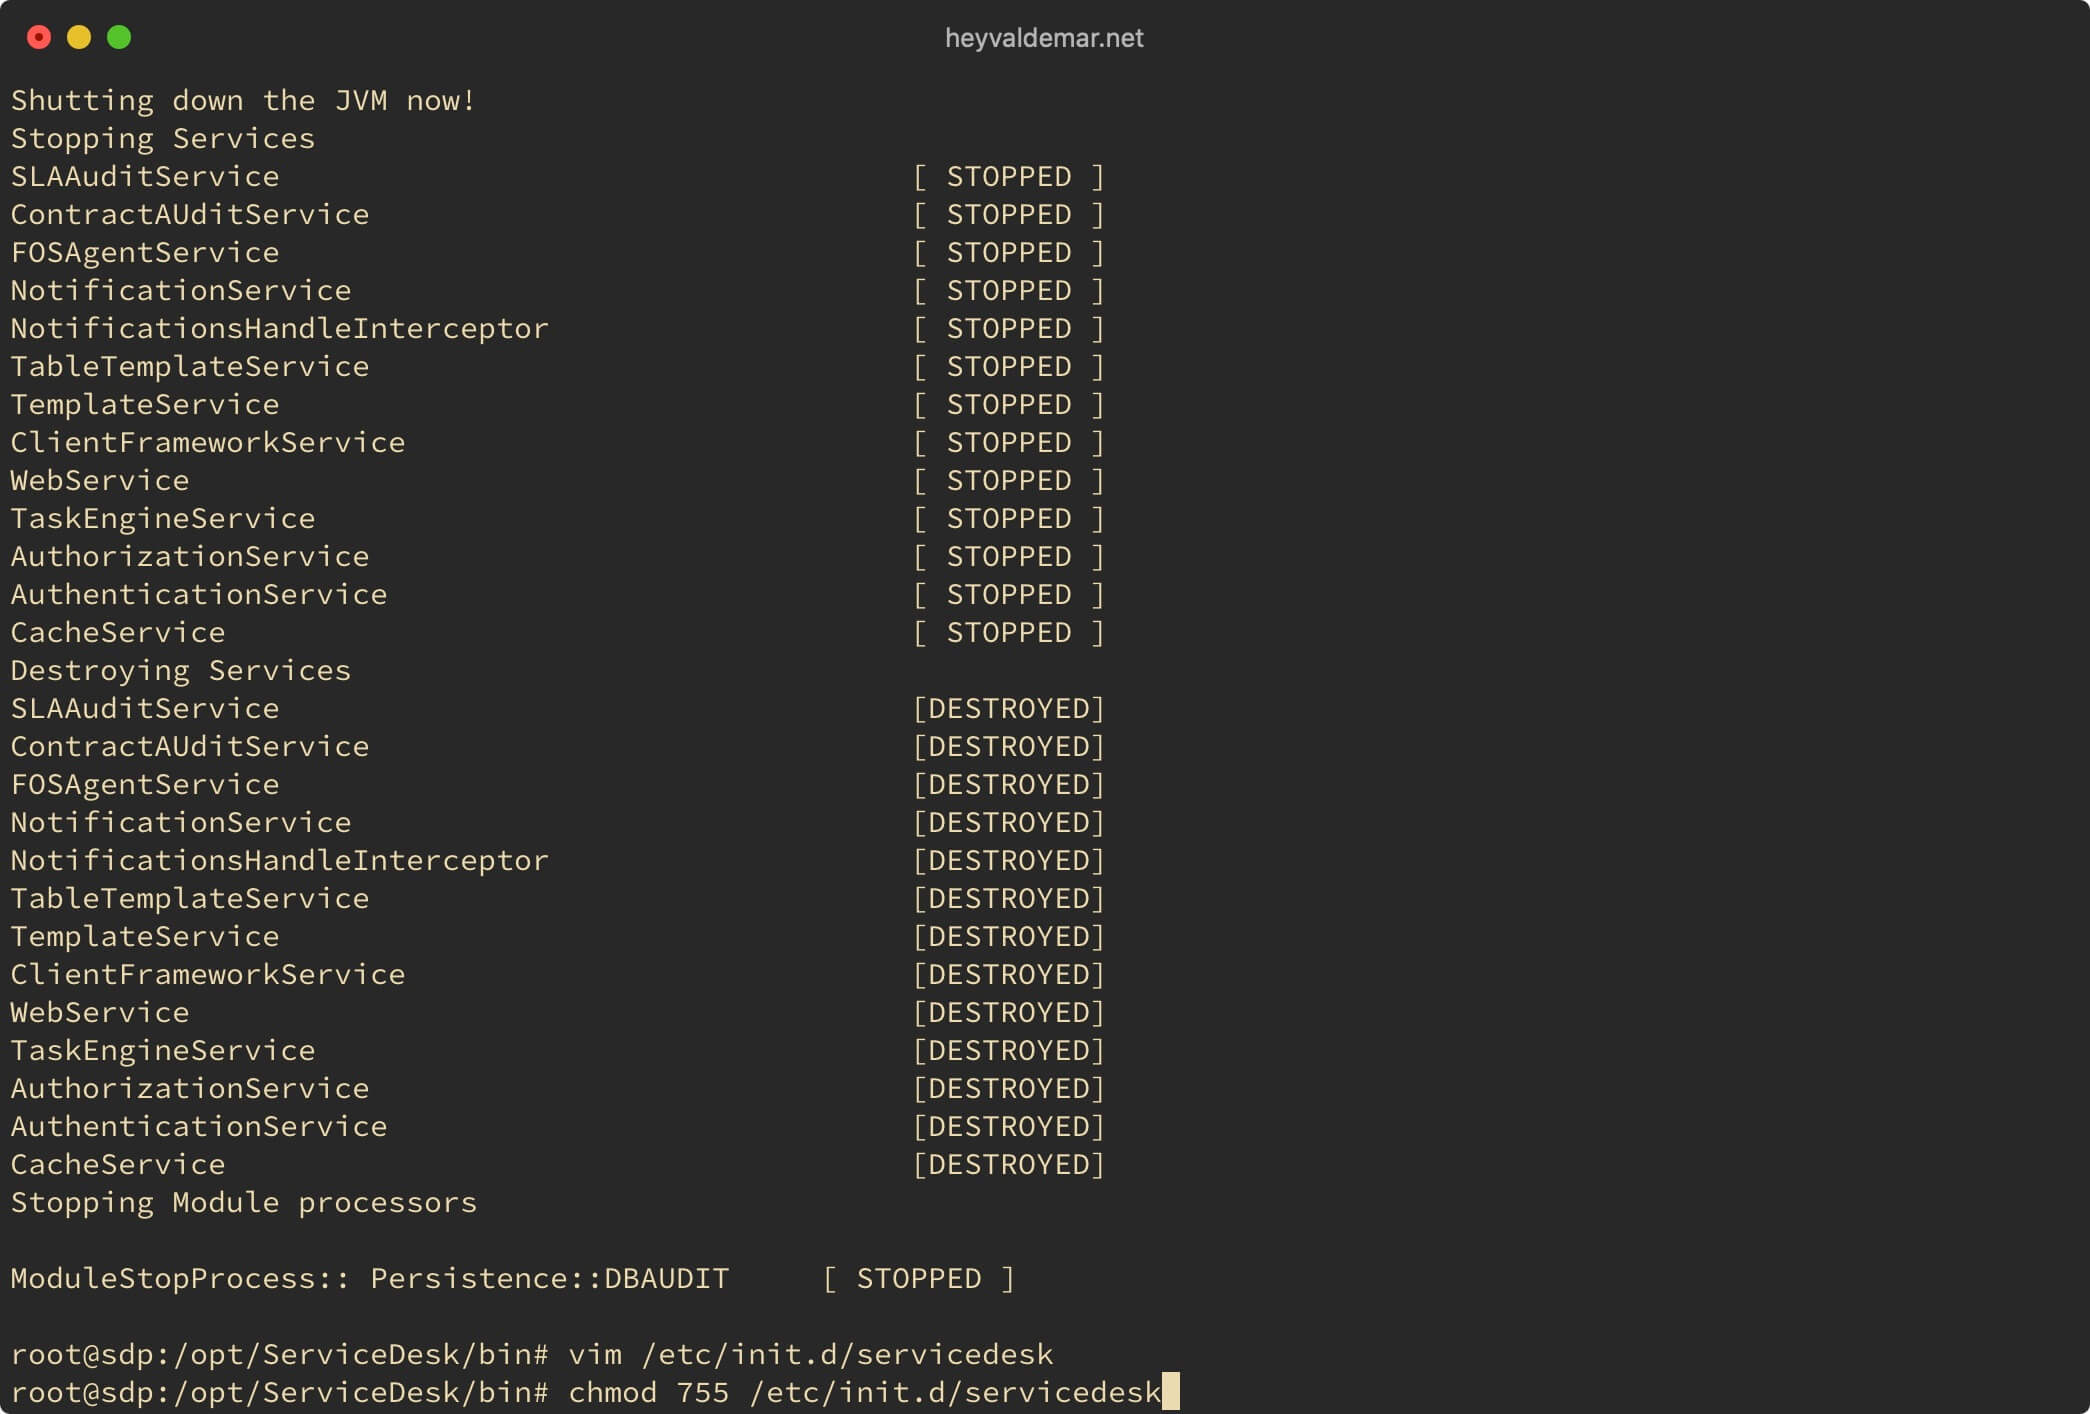
Add a script to startup when the operating system starts using the command:
update-rc.d servicedesk defaults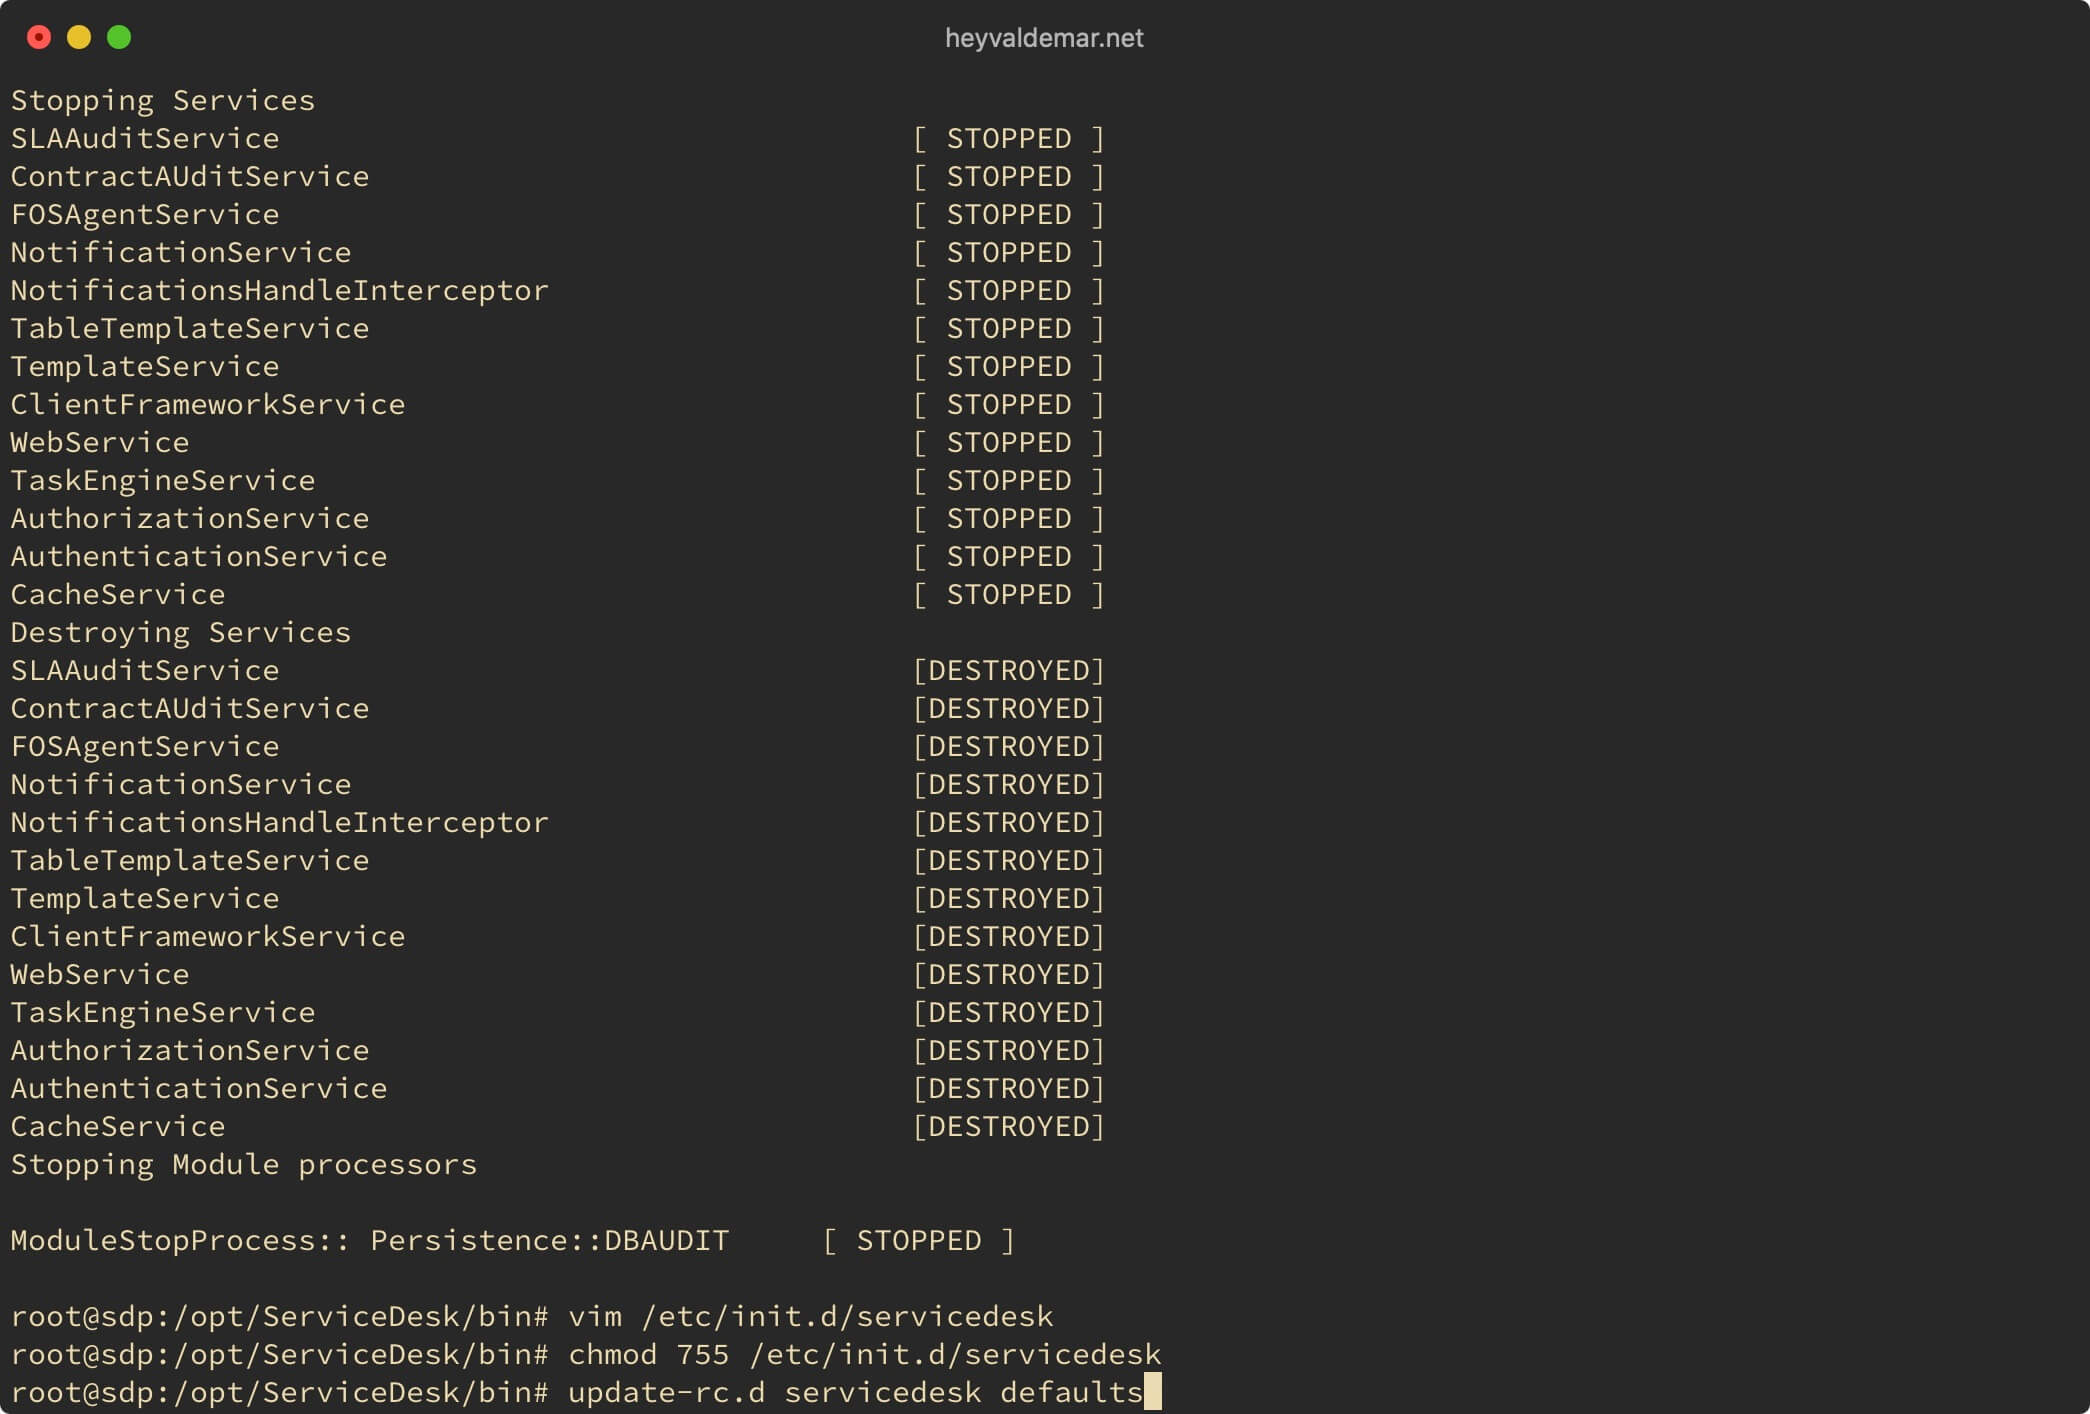
Next, create a file to store the ServiceDesk Plus log using the command:
touch /var/log/servicedesk-plus.log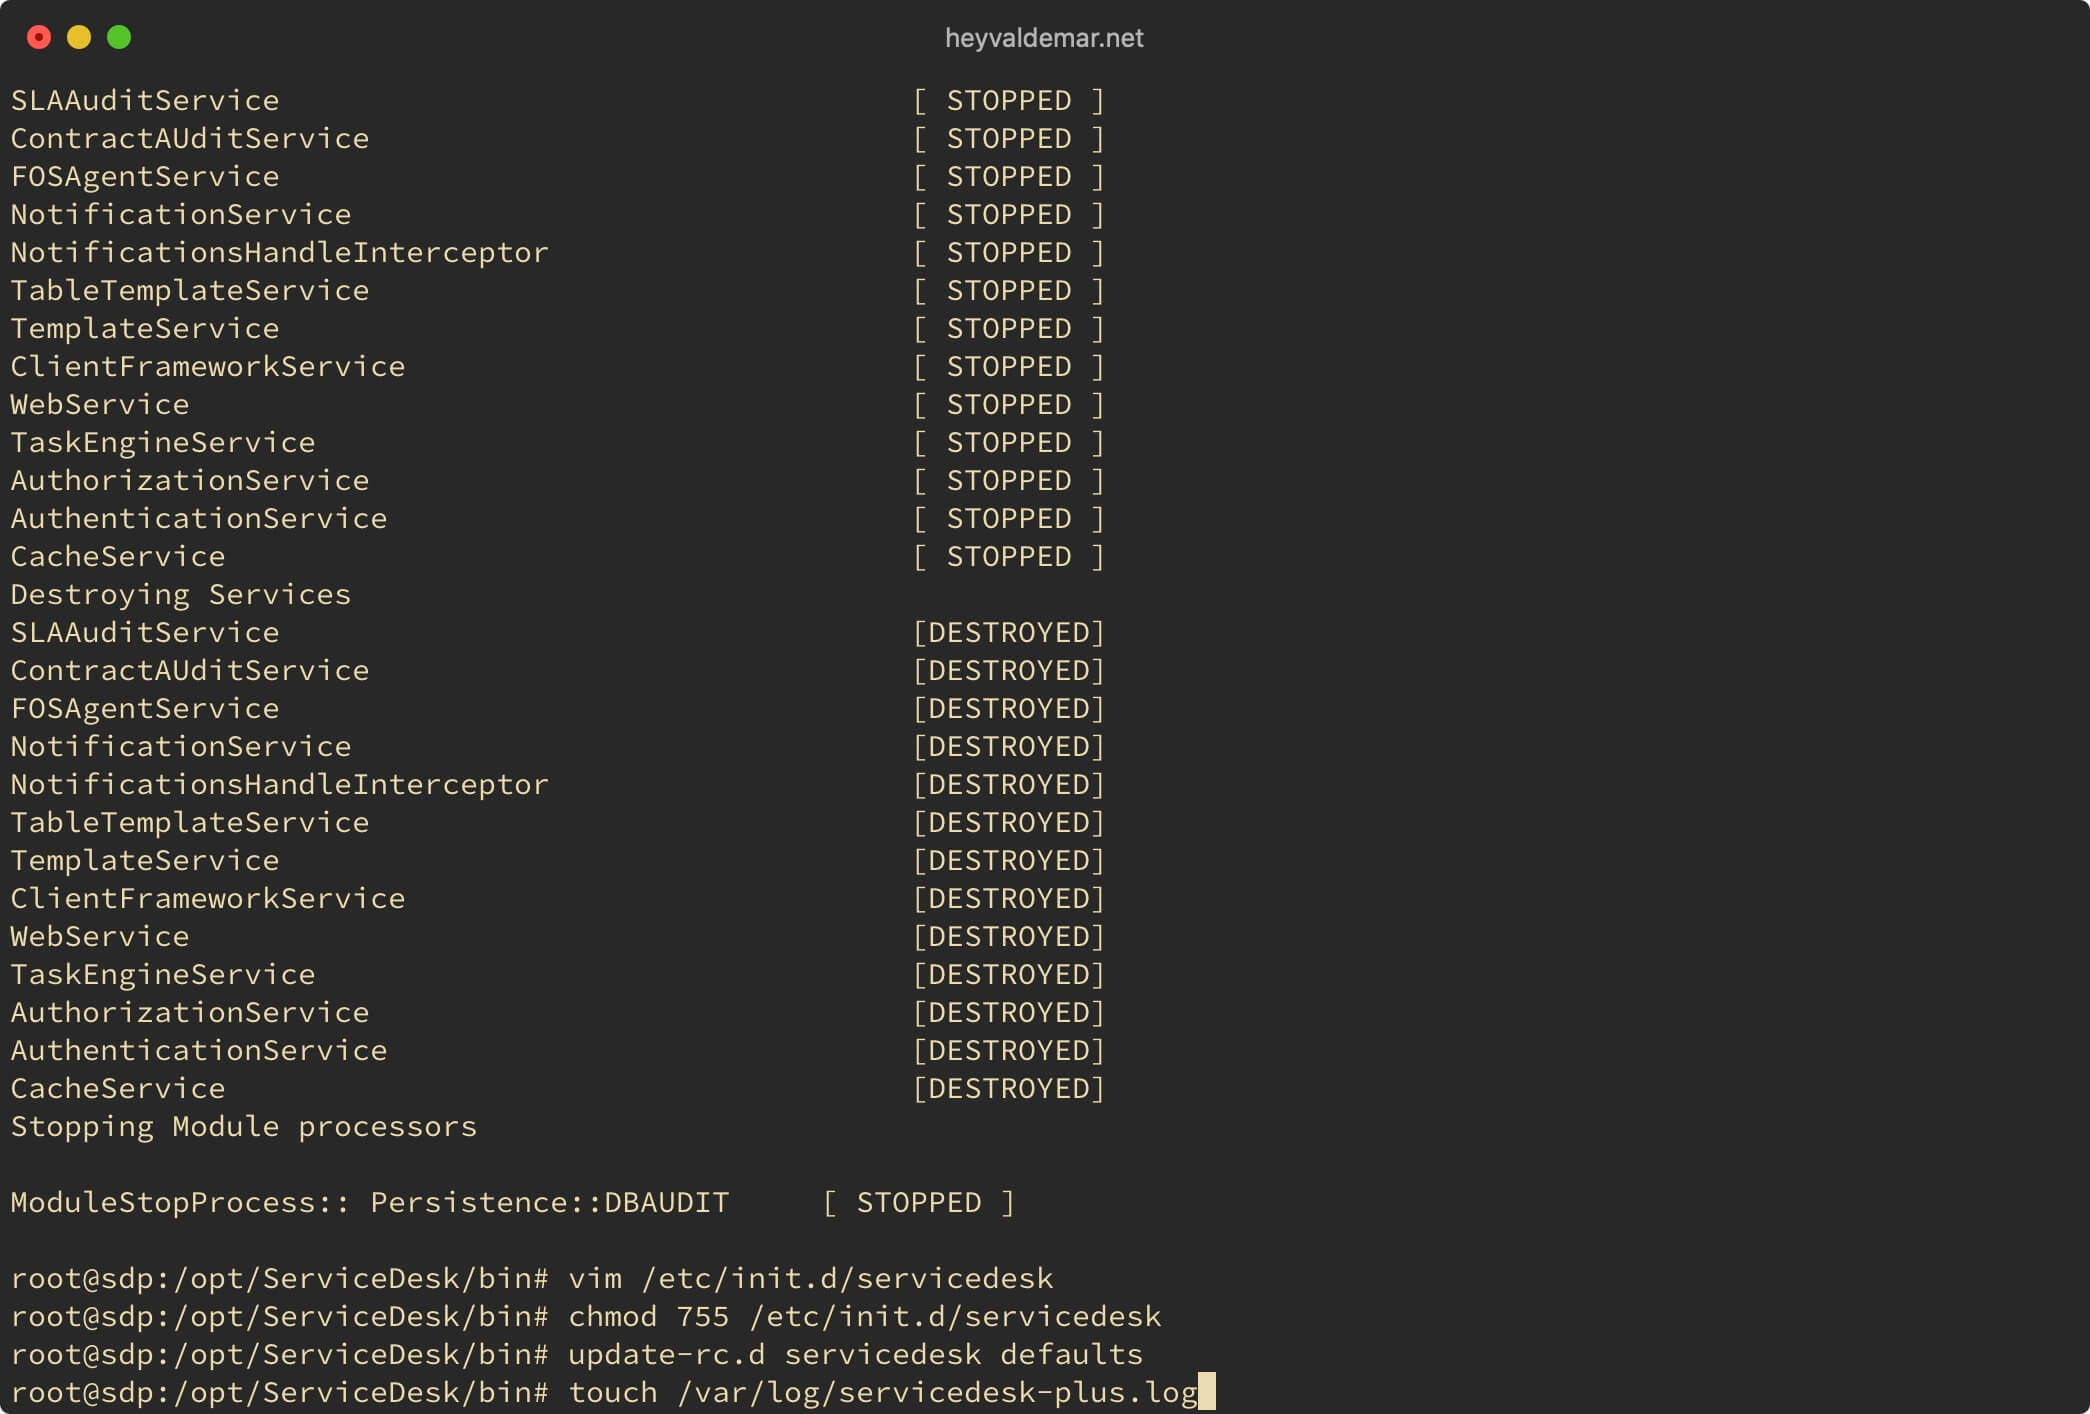
Launch ServiceDesk Plus using the command:
systemctl start servicedesk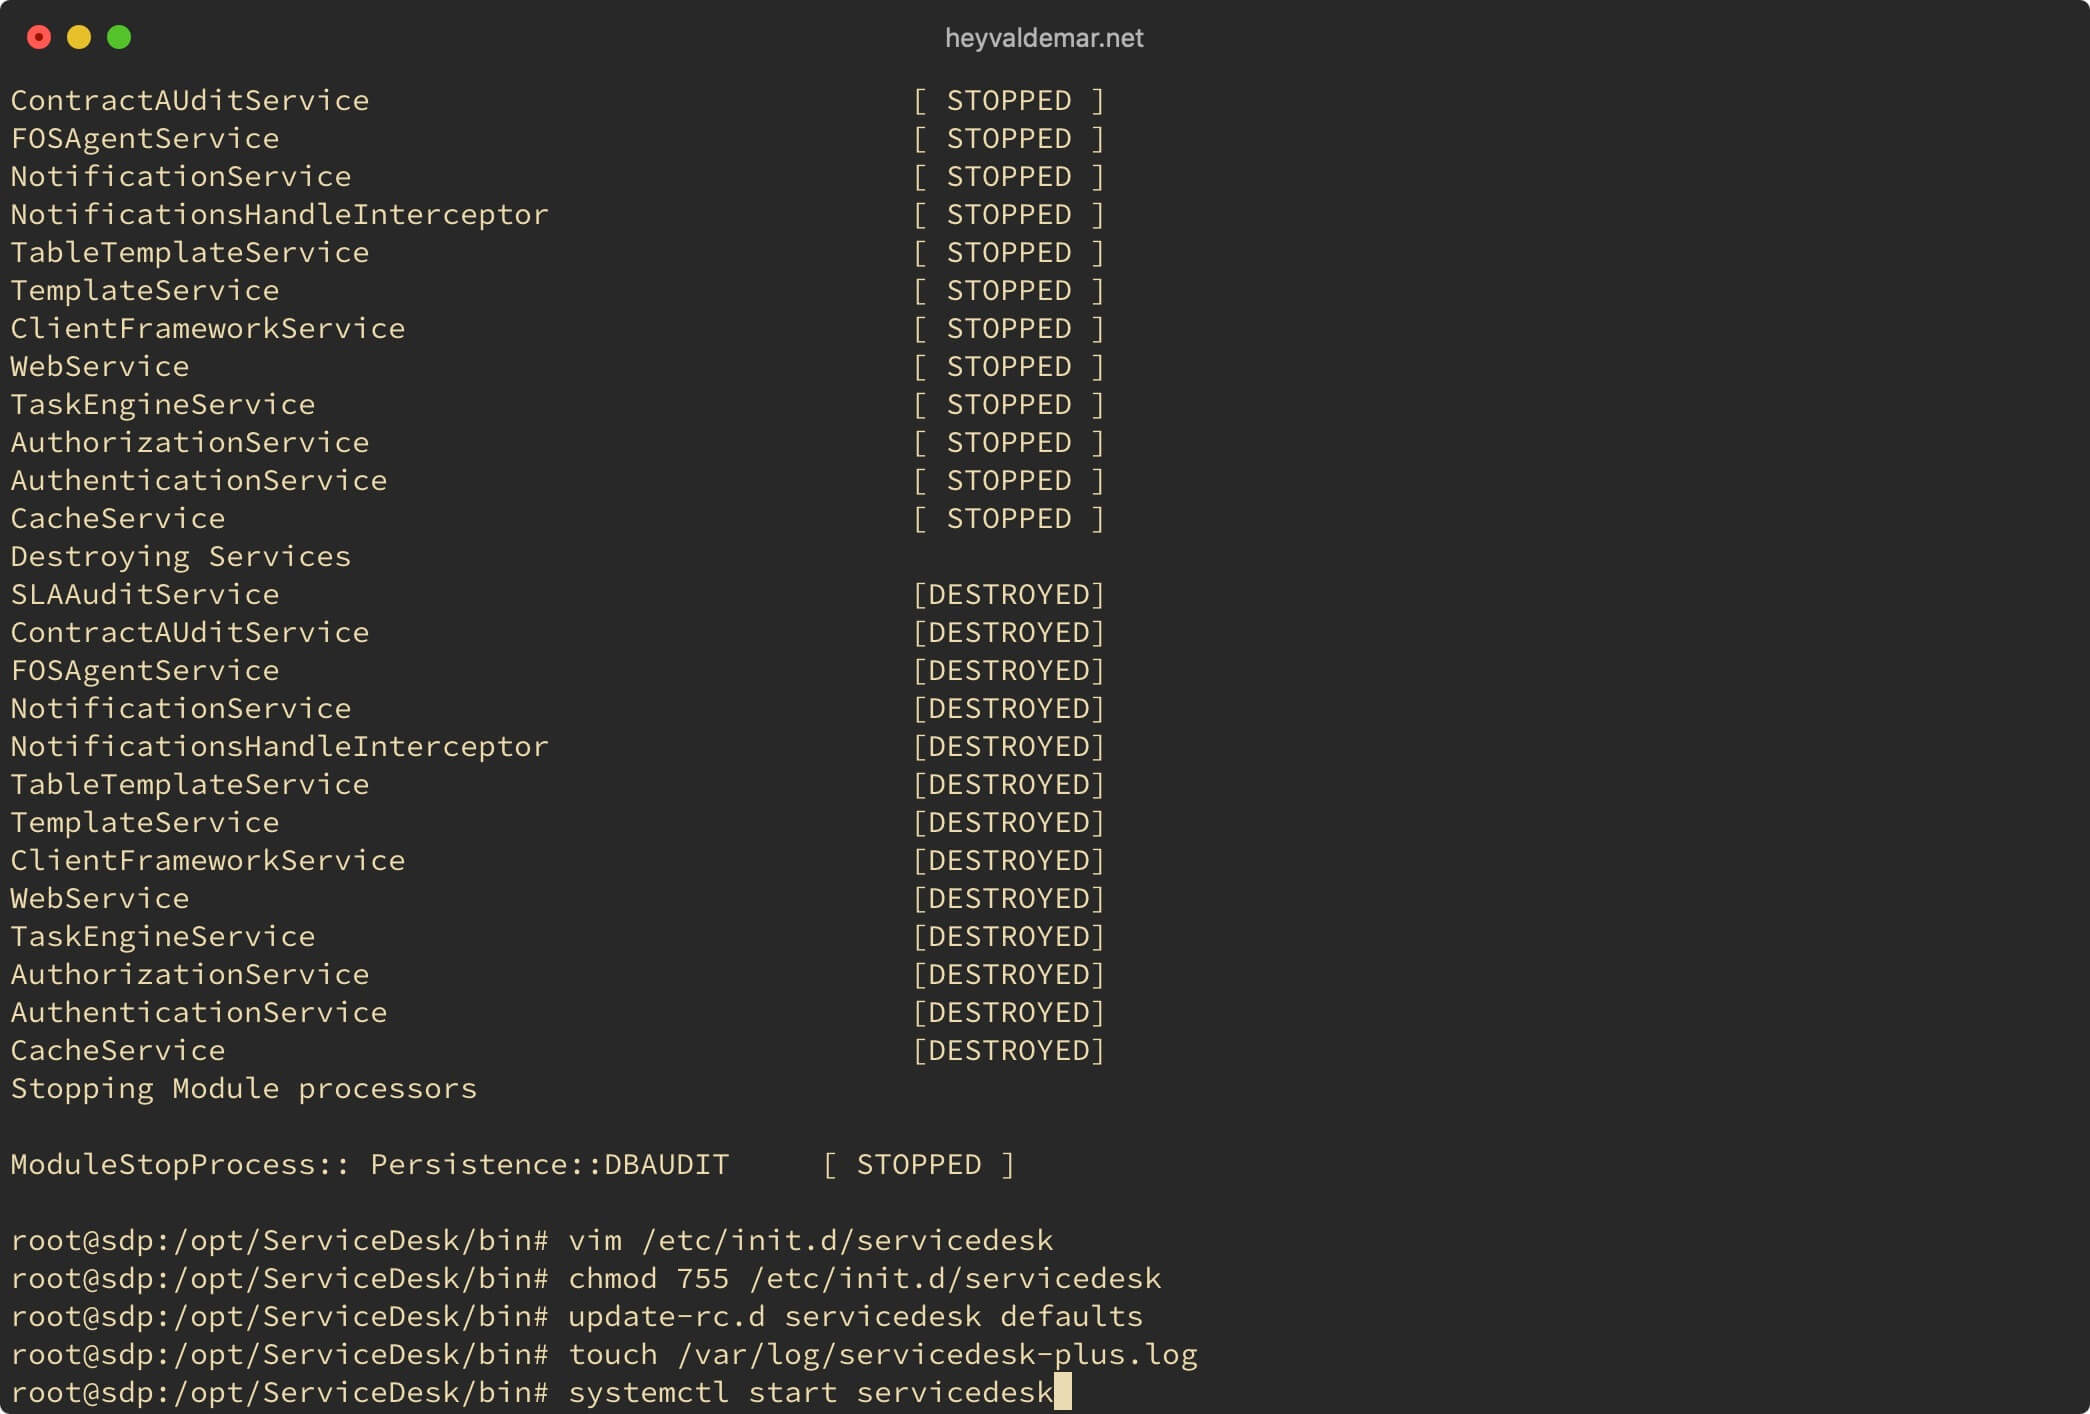
Open the ServiceDesk Plus log to check that all ServiceDesk Plus services have started correctly using the command:
less /var/log/servicedesk-plus.log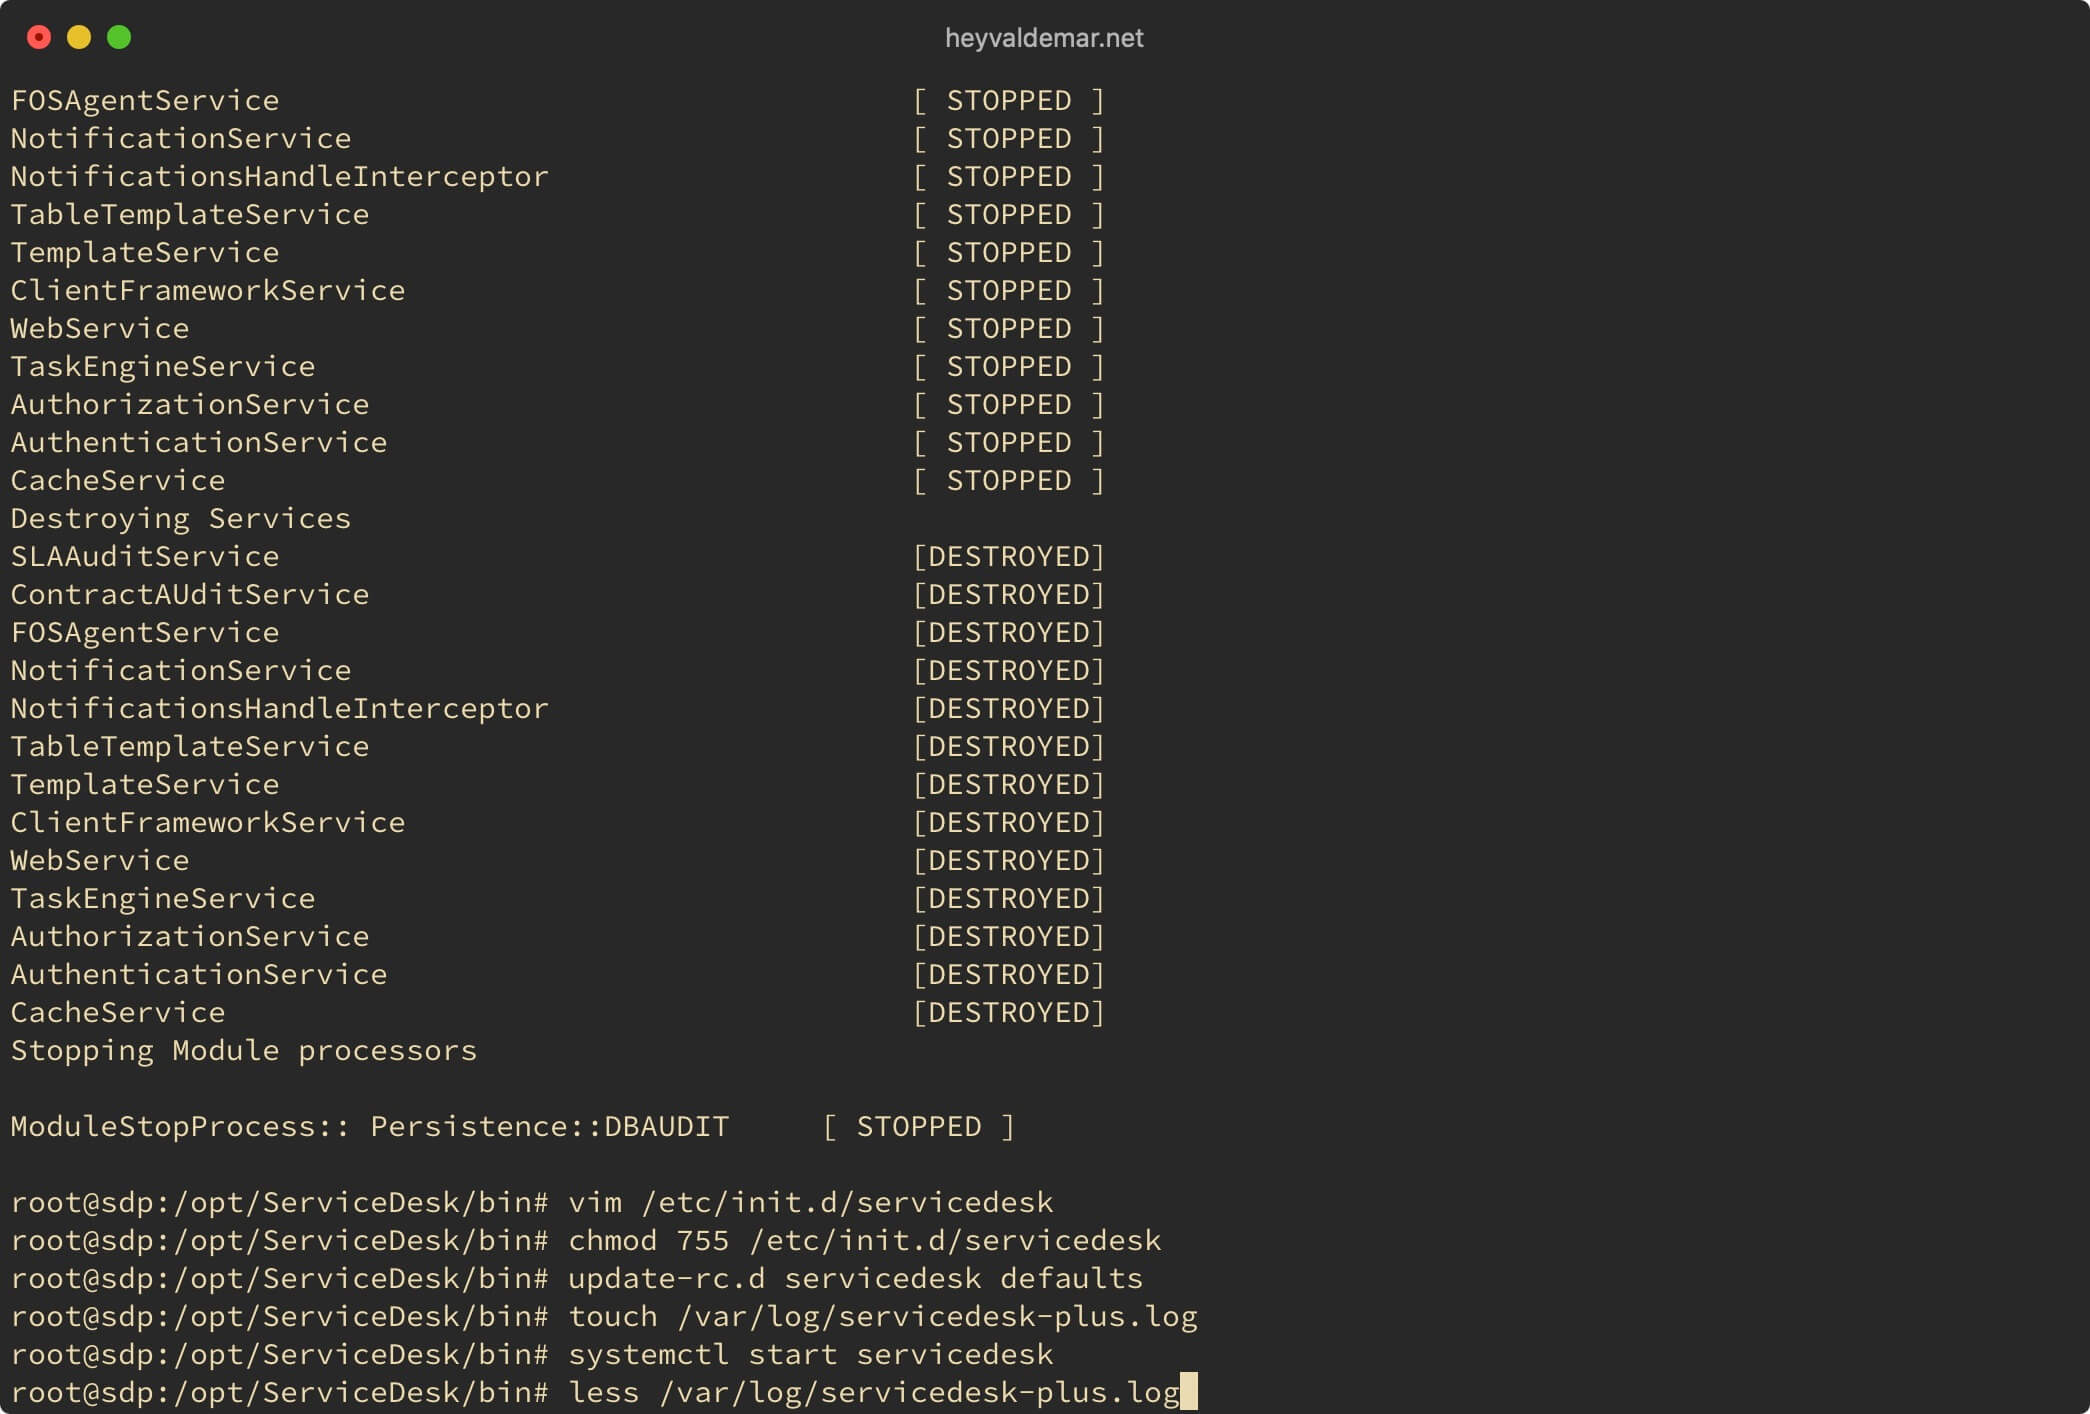
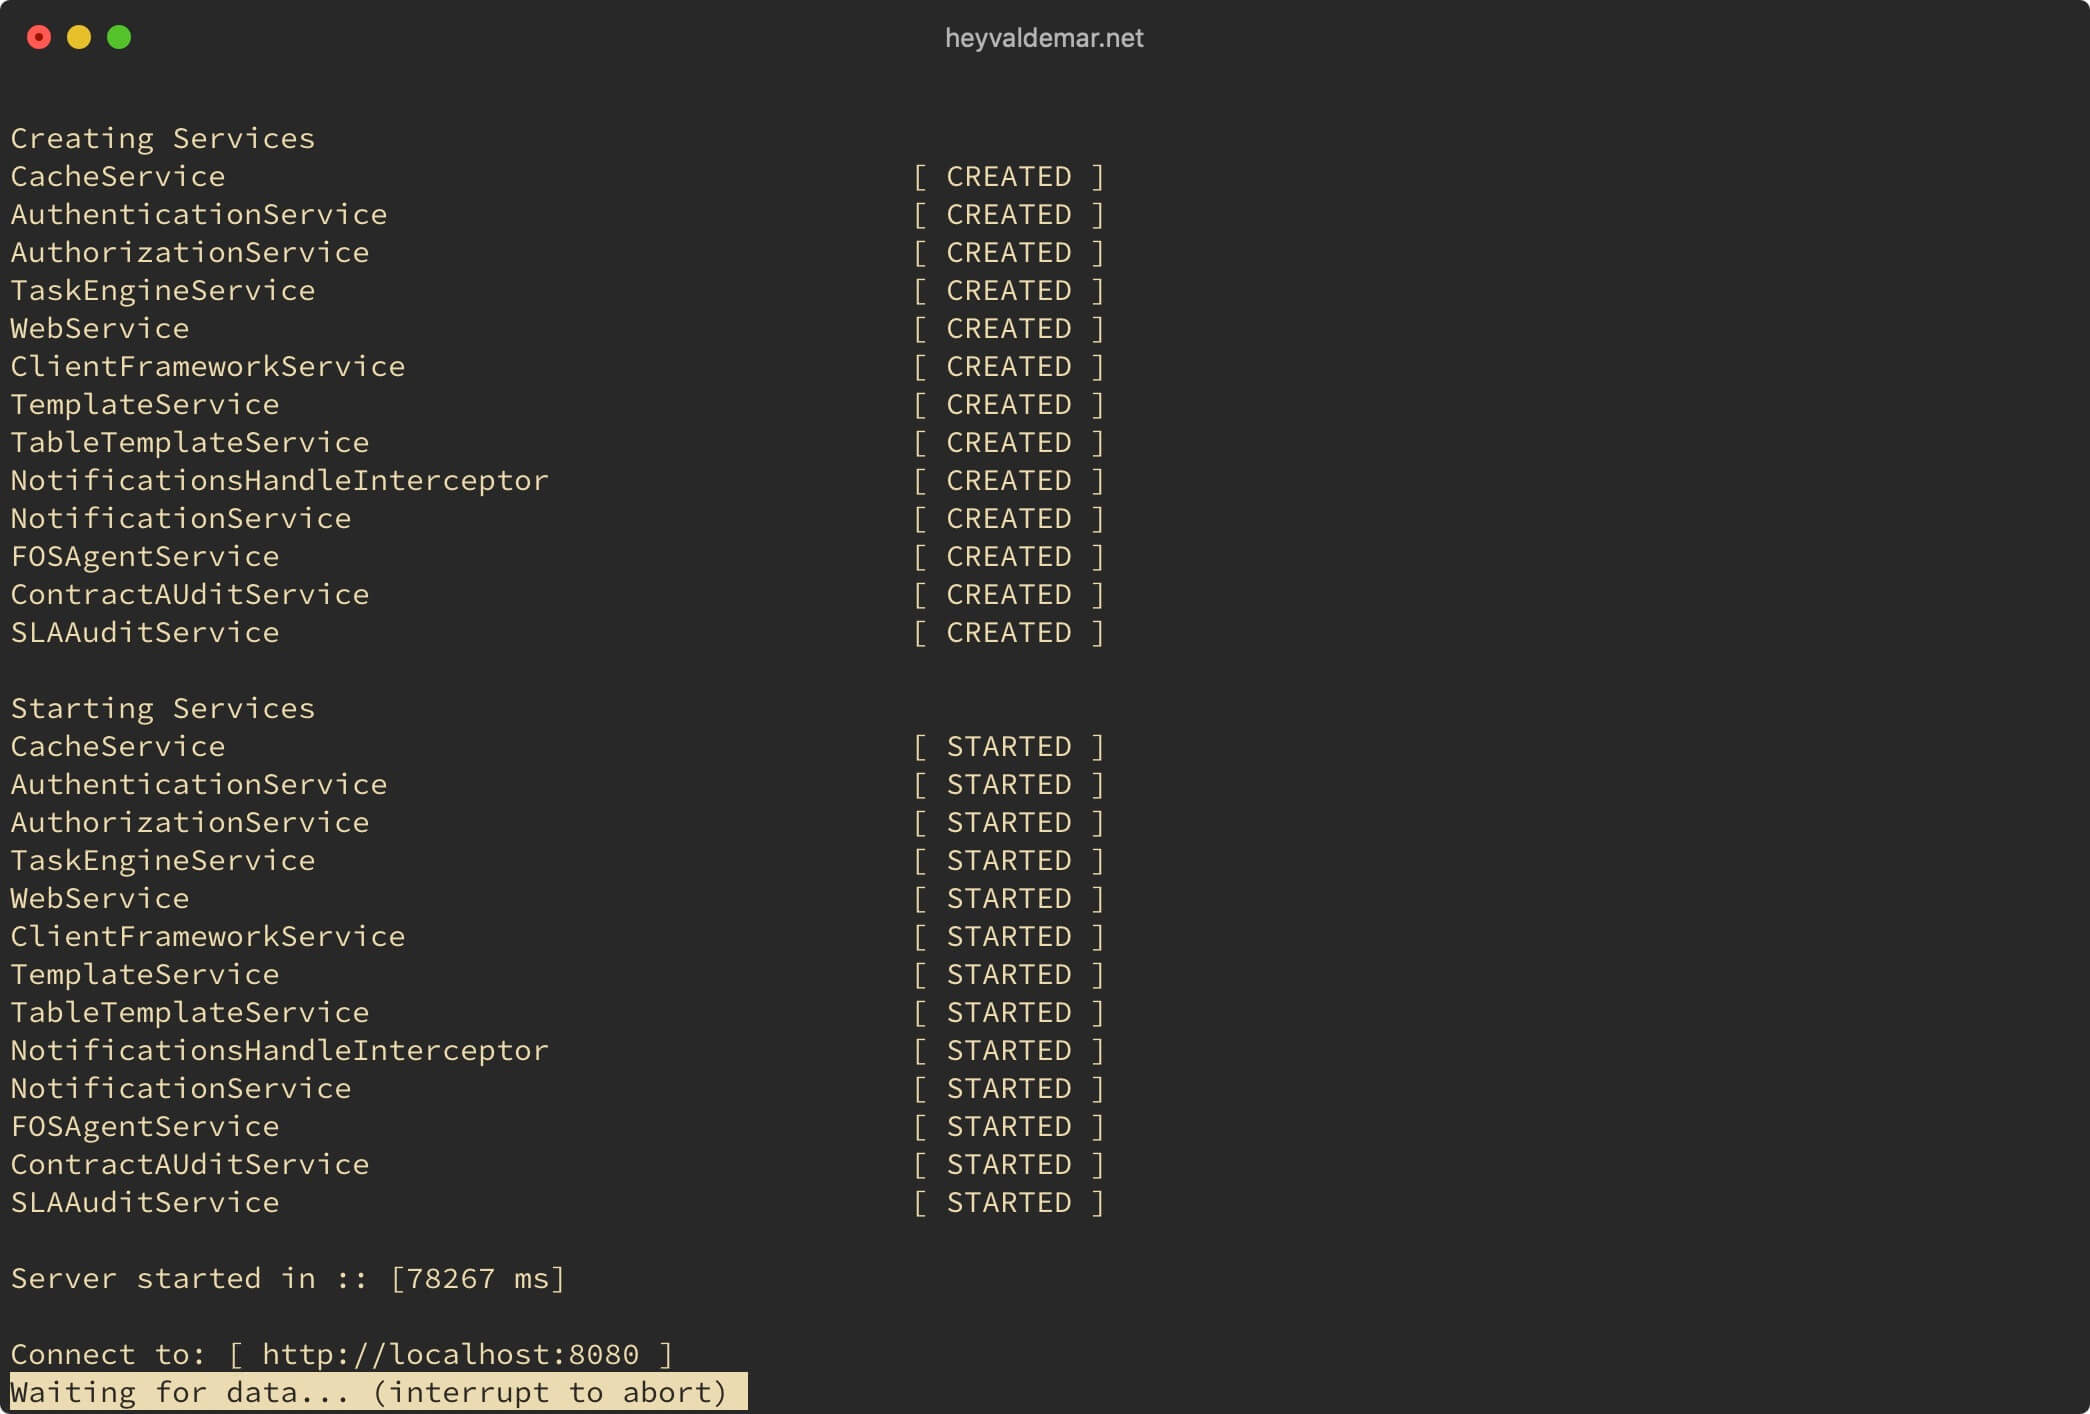
On the keyboard, press the “Shift” and “f” keys to start monitoring changes in the ServiceDesk Plus log in real-time.
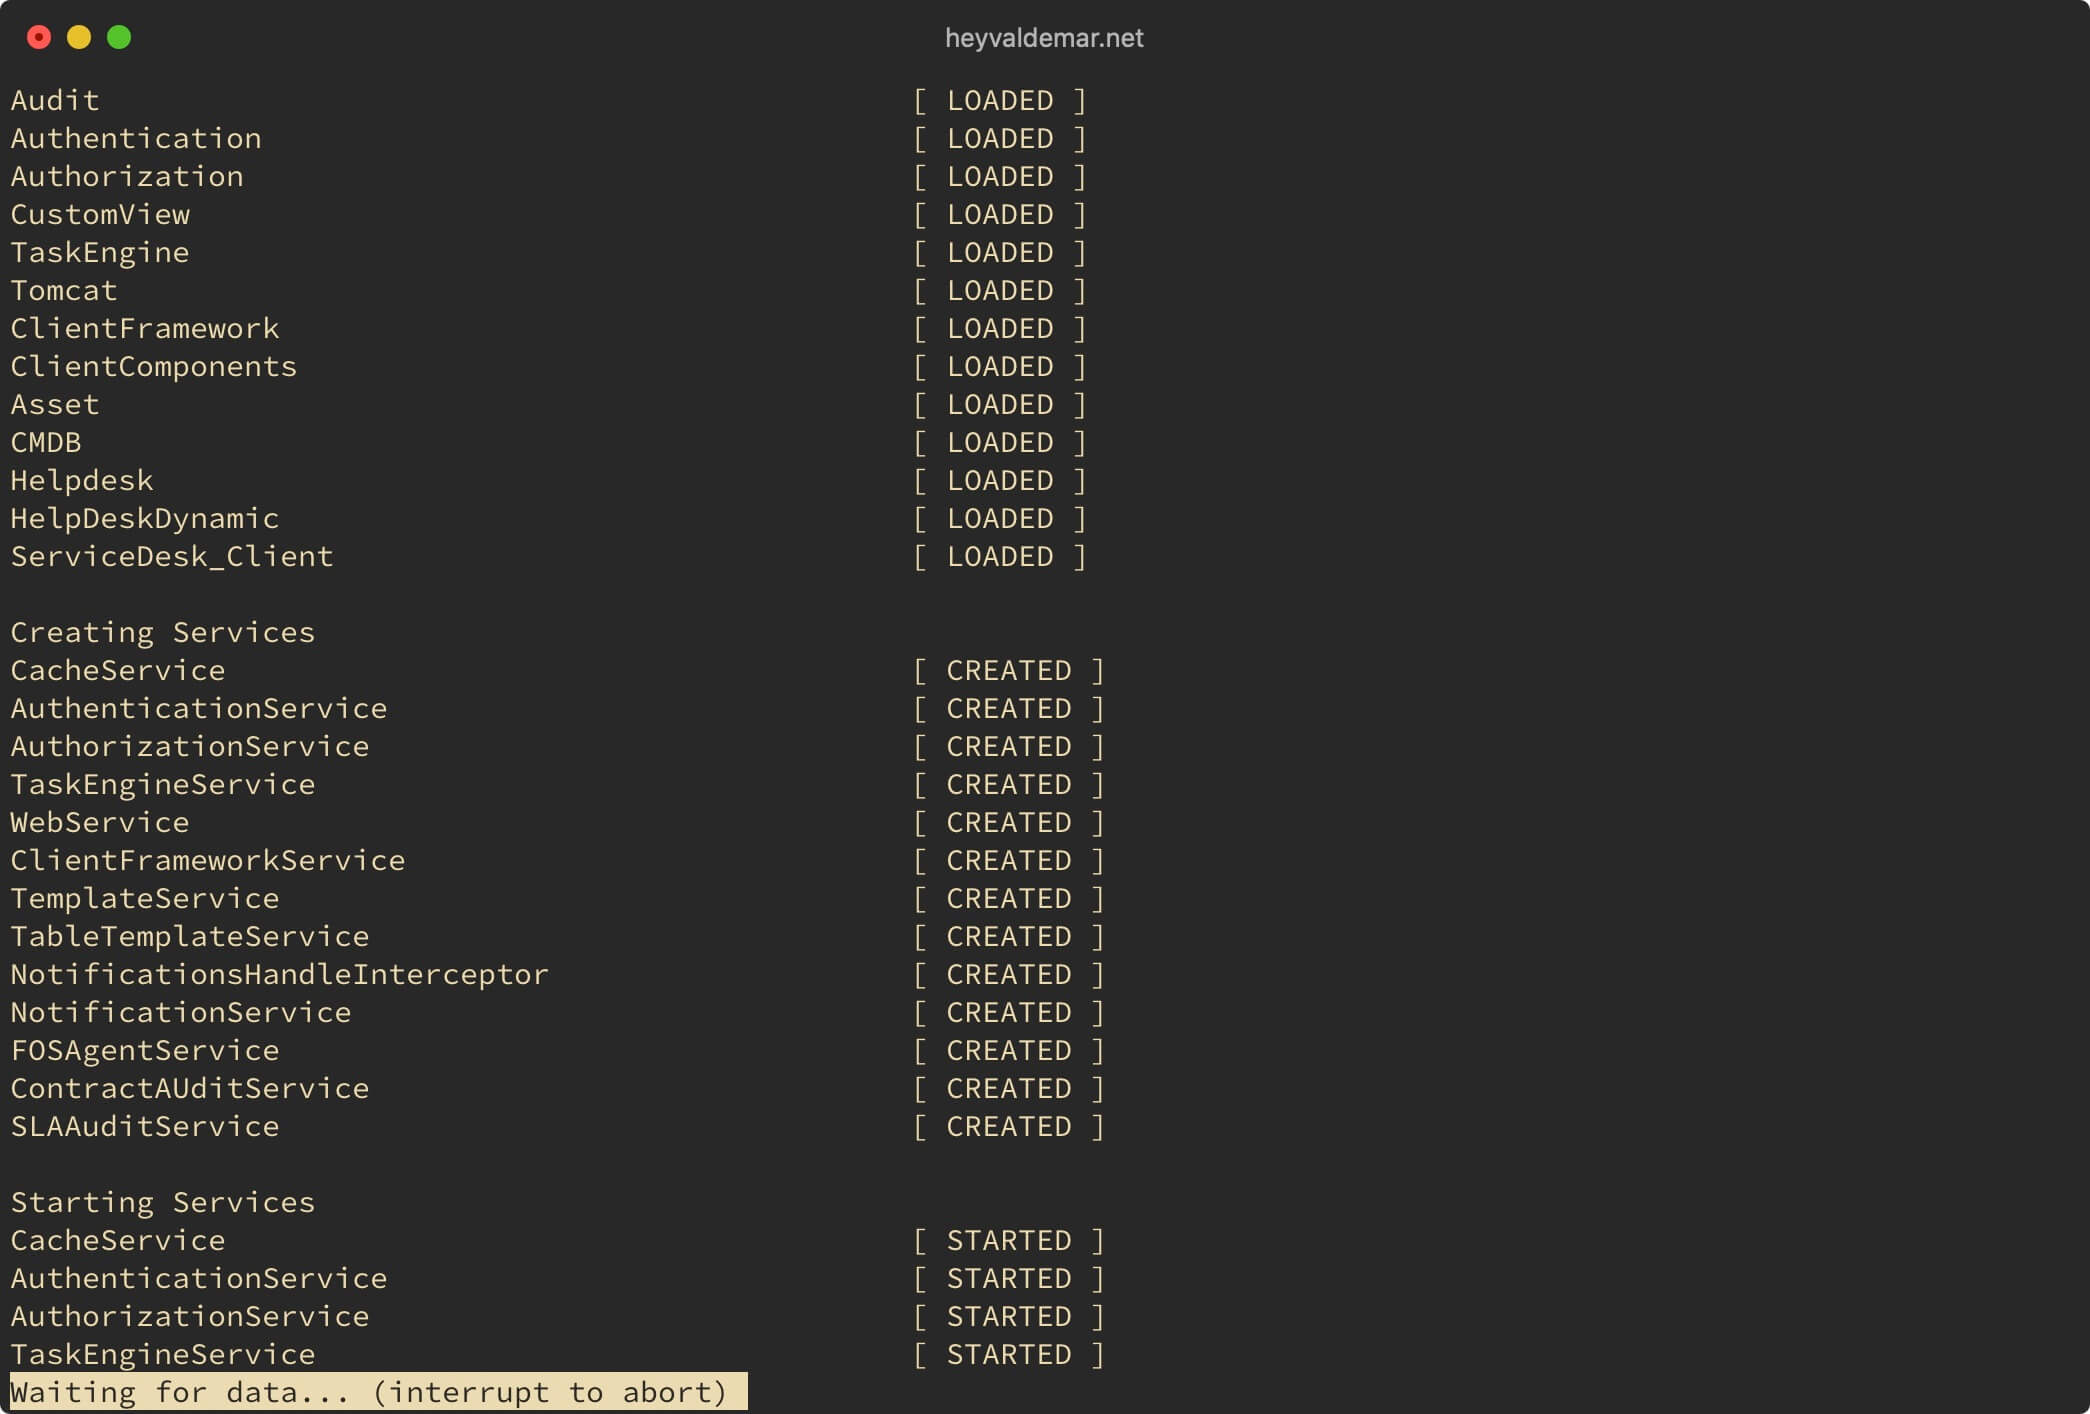
All necessary services have been successfully launched.
On the keyboard, press the key combination “Ctrl” and “c”, then “q” to close the ServiceDesk Plus log.
From the workstation, go to the link http://sdp.heyvaldemar.net:8080, where sdp.heyvaldemar.net is the name of my server. Accordingly, you need to provide the name or IP address of your server with ServiceDesk Plus installed.
The default login for the ServiceDesk Plus administrator account is administrator
The default password for the ServiceDesk Plus administrator account is administrator
Specify the username and password of an account with ServiceDesk Plus administrator rights and click on the “Log in” button.
You can now start working with ServiceDesk Plus.
Patreon Exclusives
Join my Patreon and dive deep into the world of Docker and DevOps with exclusive content tailored for IT enthusiasts and professionals. As your experienced guide, I offer a range of membership tiers designed to suit everyone from newbies to IT experts so you will get
What You’ll Get
🏆 Patron-Only Posts: Gain access to in-depth posts that provide a closer look at Docker and DevOps techniques, including step-by-step guides, advanced tips, and detailed analysis not available to the general public.
🏆 Early Access: Be the first to view new content and tutorials, giving you a head start on the latest technologies and methods in the IT world.
🏆 Priority Support: Have your specific questions and challenges addressed with priority, ensuring you get the most tailored and direct support possible.
🏆 Influence Future Content: Your suggestions and feedback directly influence the topics and tutorials I create, making sure the content is highly relevant and useful to your needs.
🏆 Recognition and Interaction: Active participants and supporters receive shout-outs in videos and public streams, acknowledging your important role in our community.
🏆 Special Discounts: Enjoy discounts on courses and future events, exclusively available to Patreon members.
🏆 Networking Opportunities: Connect with other IT professionals and enthusiasts in a supportive and engaging environment, expanding your network and learning collaboratively.
🏆 Heartfelt Gratitude and Updates: My personal thanks for your support, which fuels the creation of more content and allows continuous improvement and expansion.
Join me now and start your journey to mastering Docker and DevOps with exclusive insights and a supportive community!
My Courses
🎓 Dive into my comprehensive IT courses designed for enthusiasts and professionals alike. Whether you’re looking to master Docker, conquer Kubernetes, or advance your DevOps skills, my courses provide a structured pathway to enhancing your technical prowess.
My Services
💼 Take a look at my service catalog and find out how we can make your technological life better. Whether it’s increasing the efficiency of your IT infrastructure, advancing your career, or expanding your technological horizons — I’m here to help you achieve your goals. From DevOps transformations to building gaming computers — let’s make your technology unparalleled!
Refill My Coffee Supplies
💖 PayPal
🏆 Patreon
💎 GitHub
🥤 BuyMeaCoffee
🍪 Ko-fi
Follow Me
🎬 YouTube
🐦 Twitter
🎨 Instagram
🐘 Mastodon
🧵 Threads
🎸 Facebook
🧊 Bluesky
🎥 TikTok
💻 LinkedIn
📣 daily.dev Squad
🧩 LeetCode
🐈 GitHub
Is this content AI-generated?
Nope! Each article is crafted by me, fueled by a deep passion for Docker and decades of IT expertise. While I employ AI to refine the grammar—ensuring the technical details are conveyed clearly—the insights, strategies, and guidance are purely my own. This approach may occasionally activate AI detectors, but you can be certain that the underlying knowledge and experiences are authentically mine.
