Run a Minecraft Server with Multicraft
This article is for those looking for a detailed and clear guide on how to run a Minecraft Server with Multicraft.
In this guide, we will consider the case when you already have a server with the Ubuntu Server 22.04 LTS operating system installed on it.
You can read more about how to install Ubuntu Server 22.04 LTS in my guide “Install Ubuntu Server 22.04 LTS”.
Also, Multicraft must be installed on the server, and Spigot must be updated.
You can find out how to install Multicraft on Ubuntu Server by reading “Install Multicraft на Ubuntu Server”.
Also in my guide “Upgrade Spigot on Ubuntu Server with Multicraft” you can learn how to upgrade Spigot on Ubuntu Server with Multicraft.
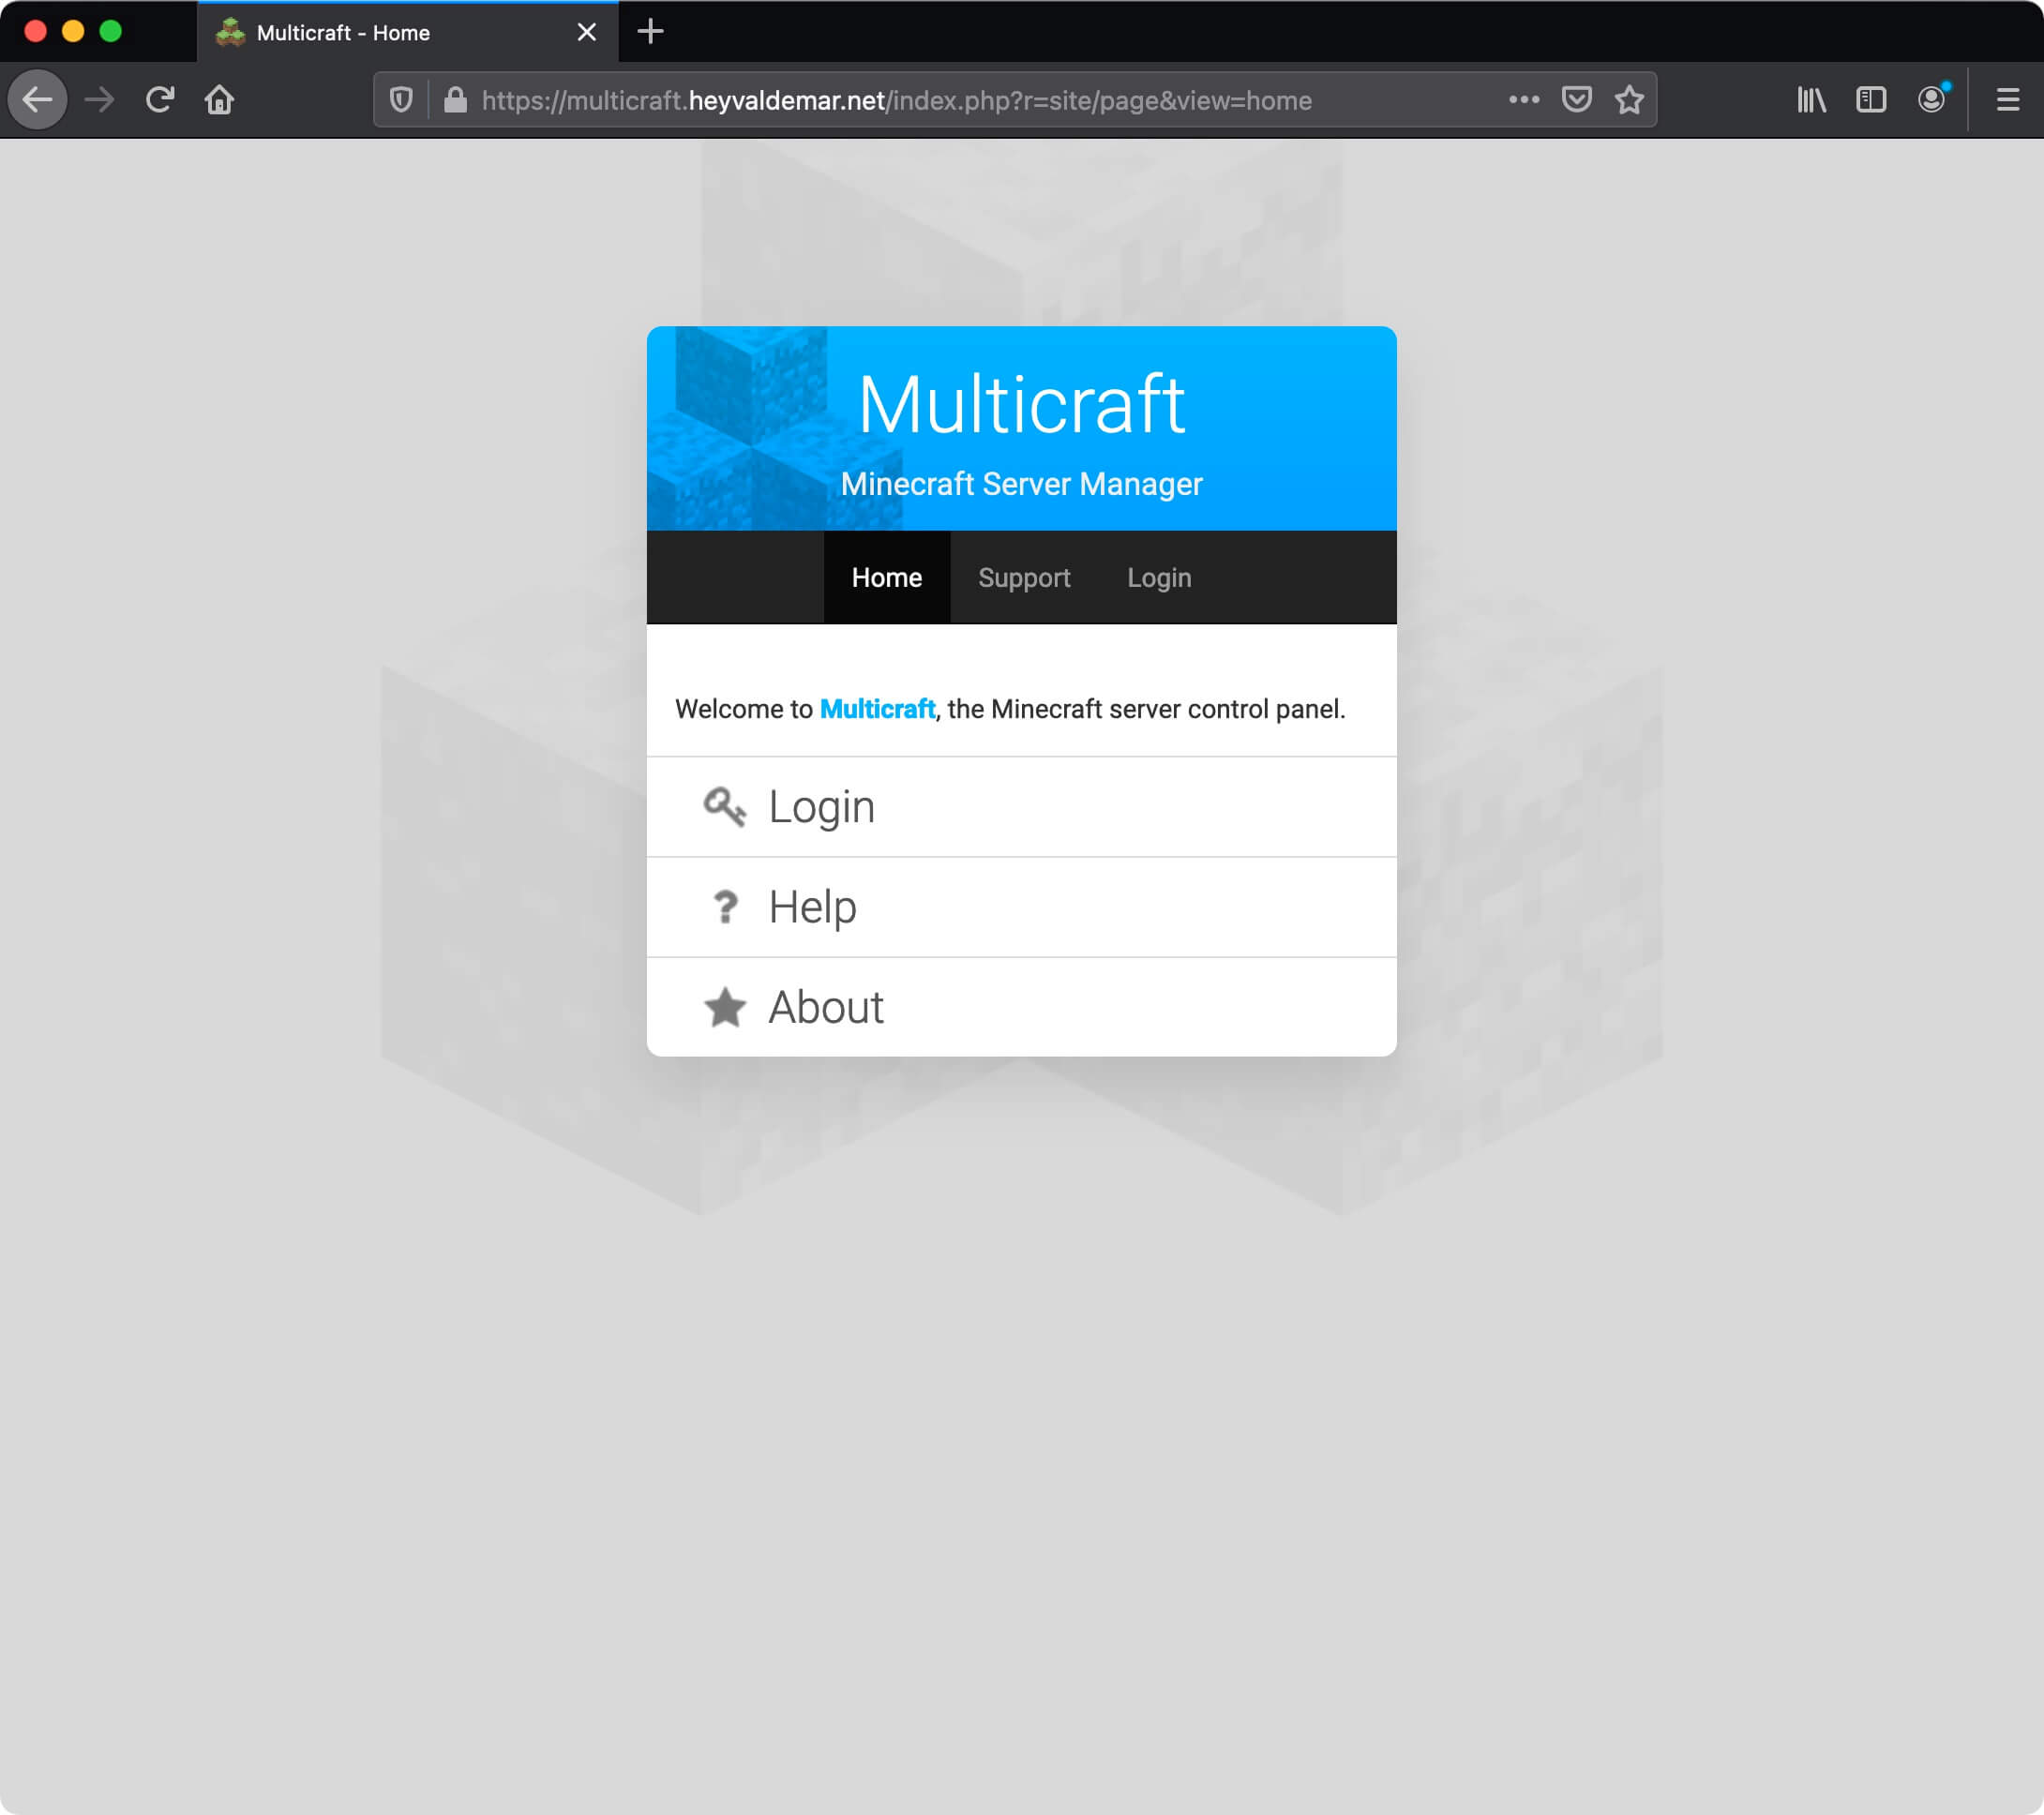
Open the Multicraft control panel and click on the “Login” button.
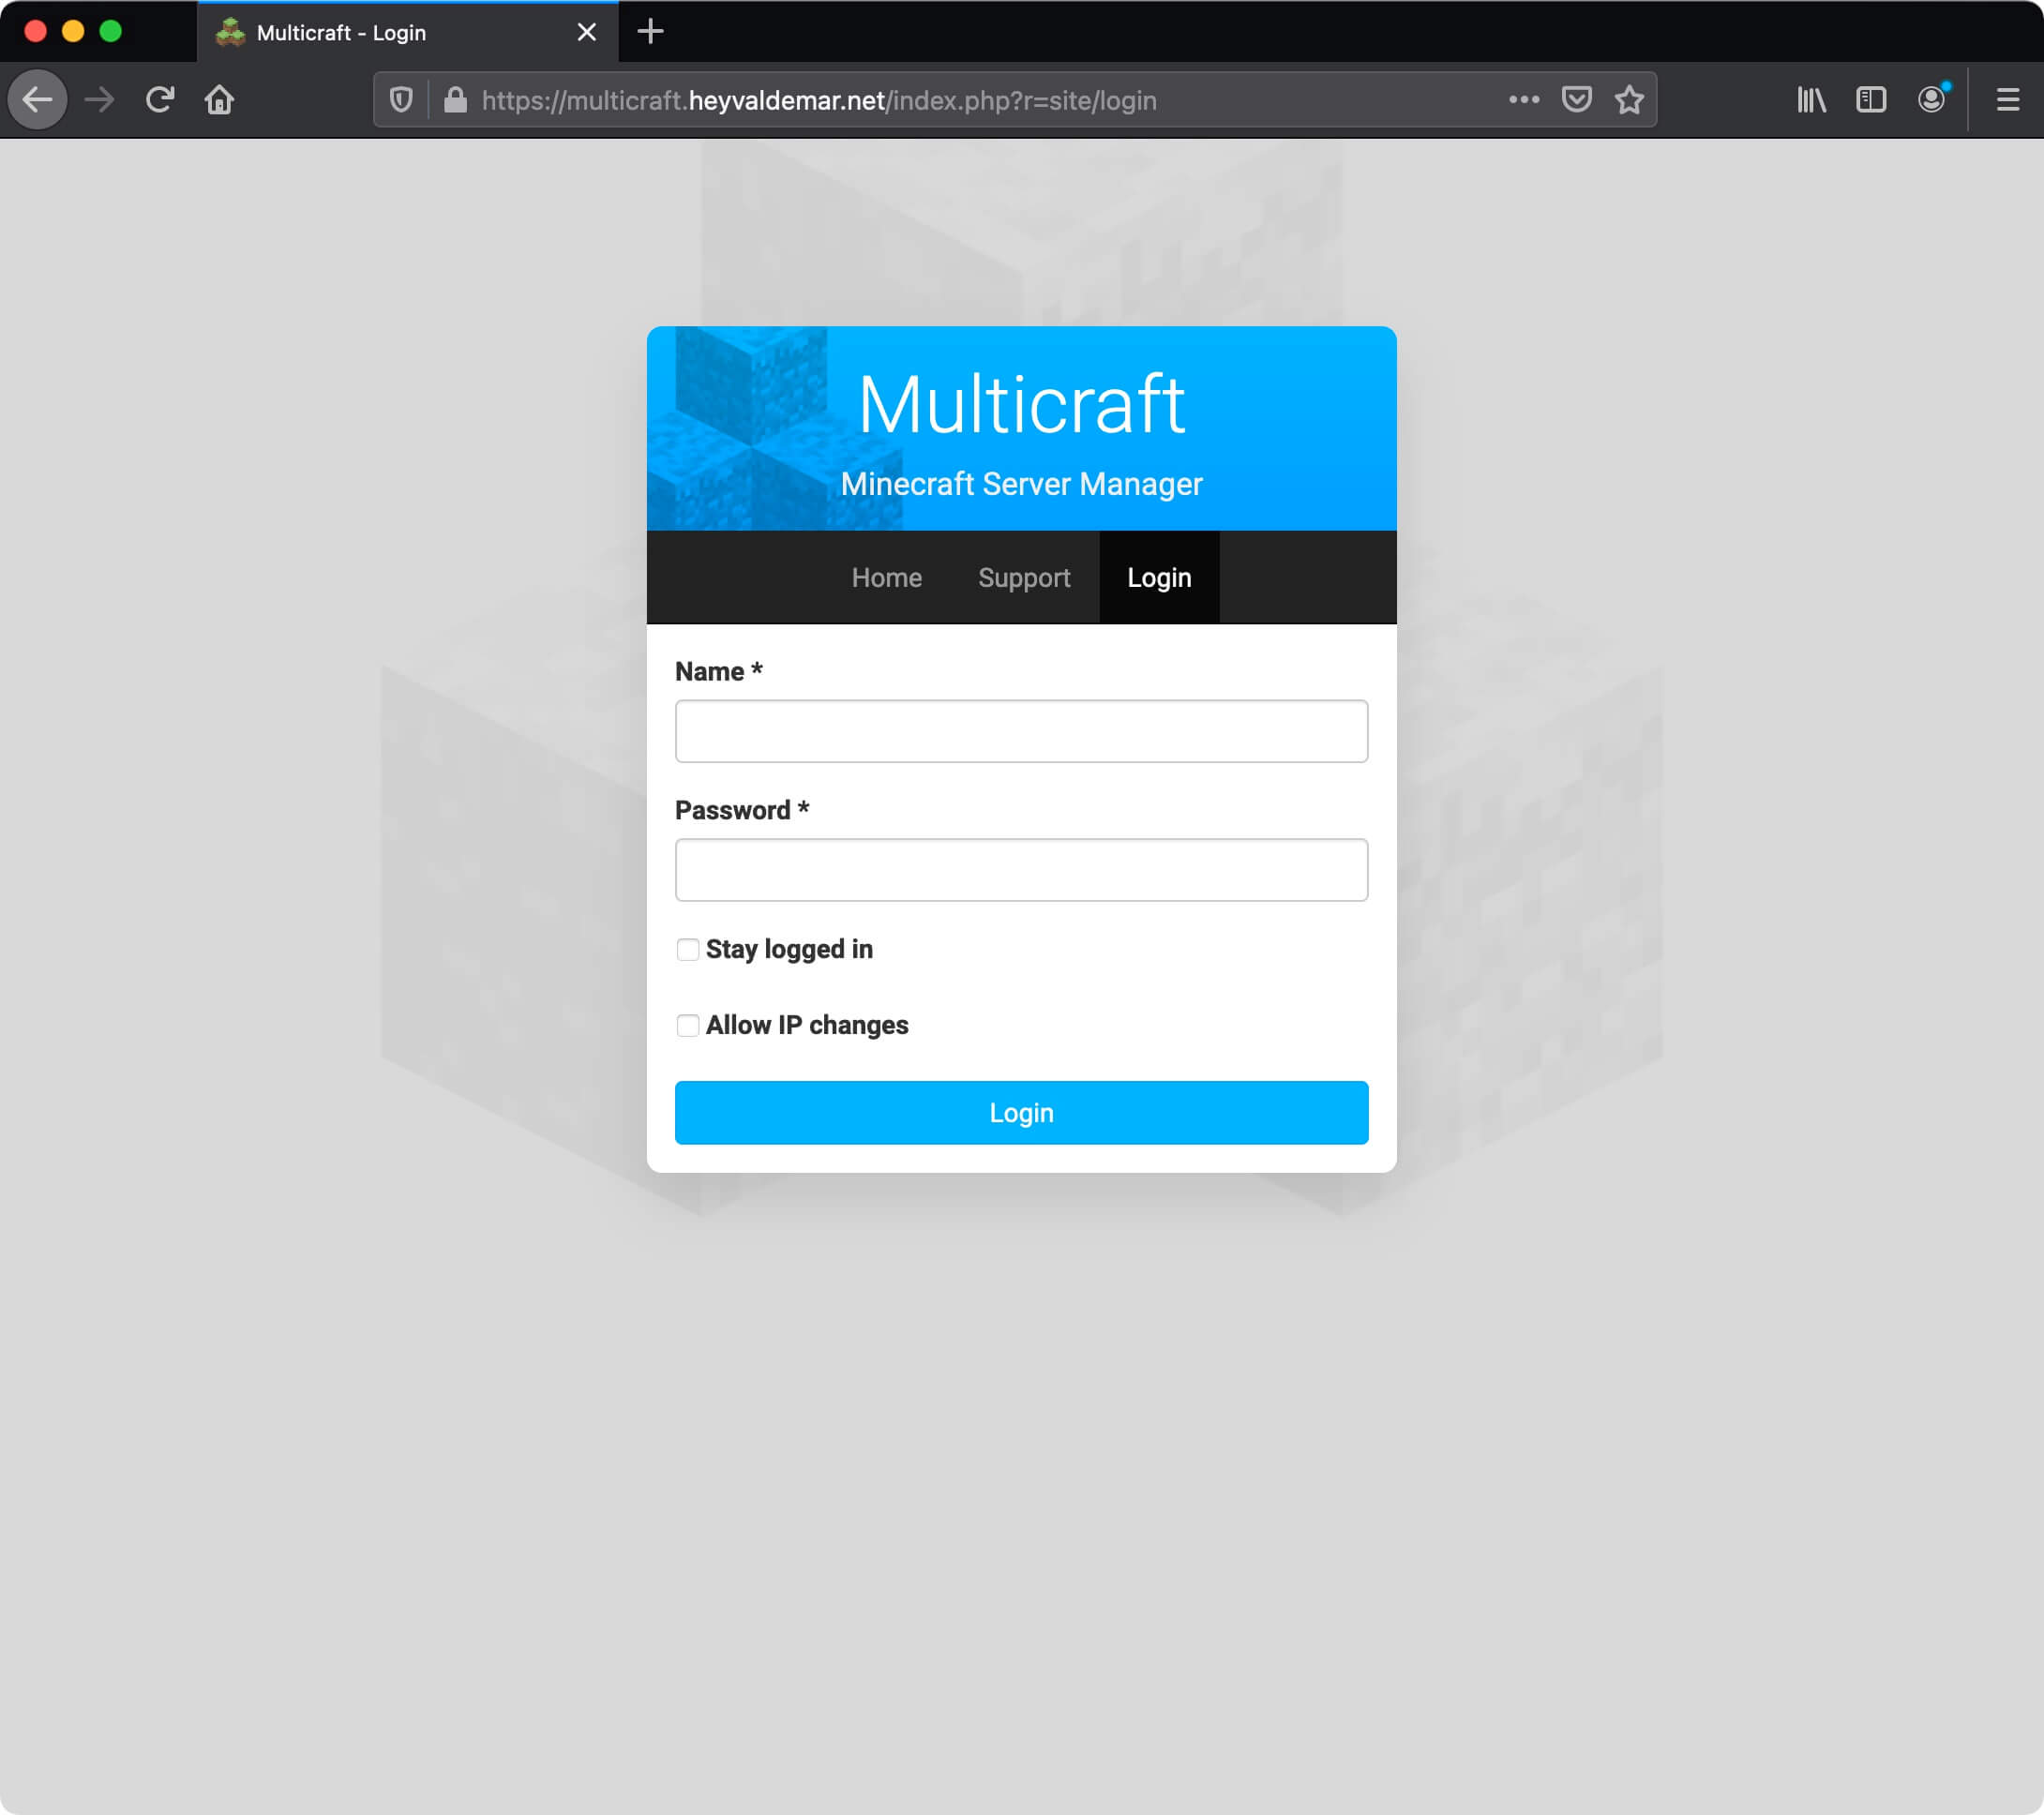
Next, you need to specify the username and password of an account with administrator rights in the Multicraft control panel.
Click on the “Login” button.
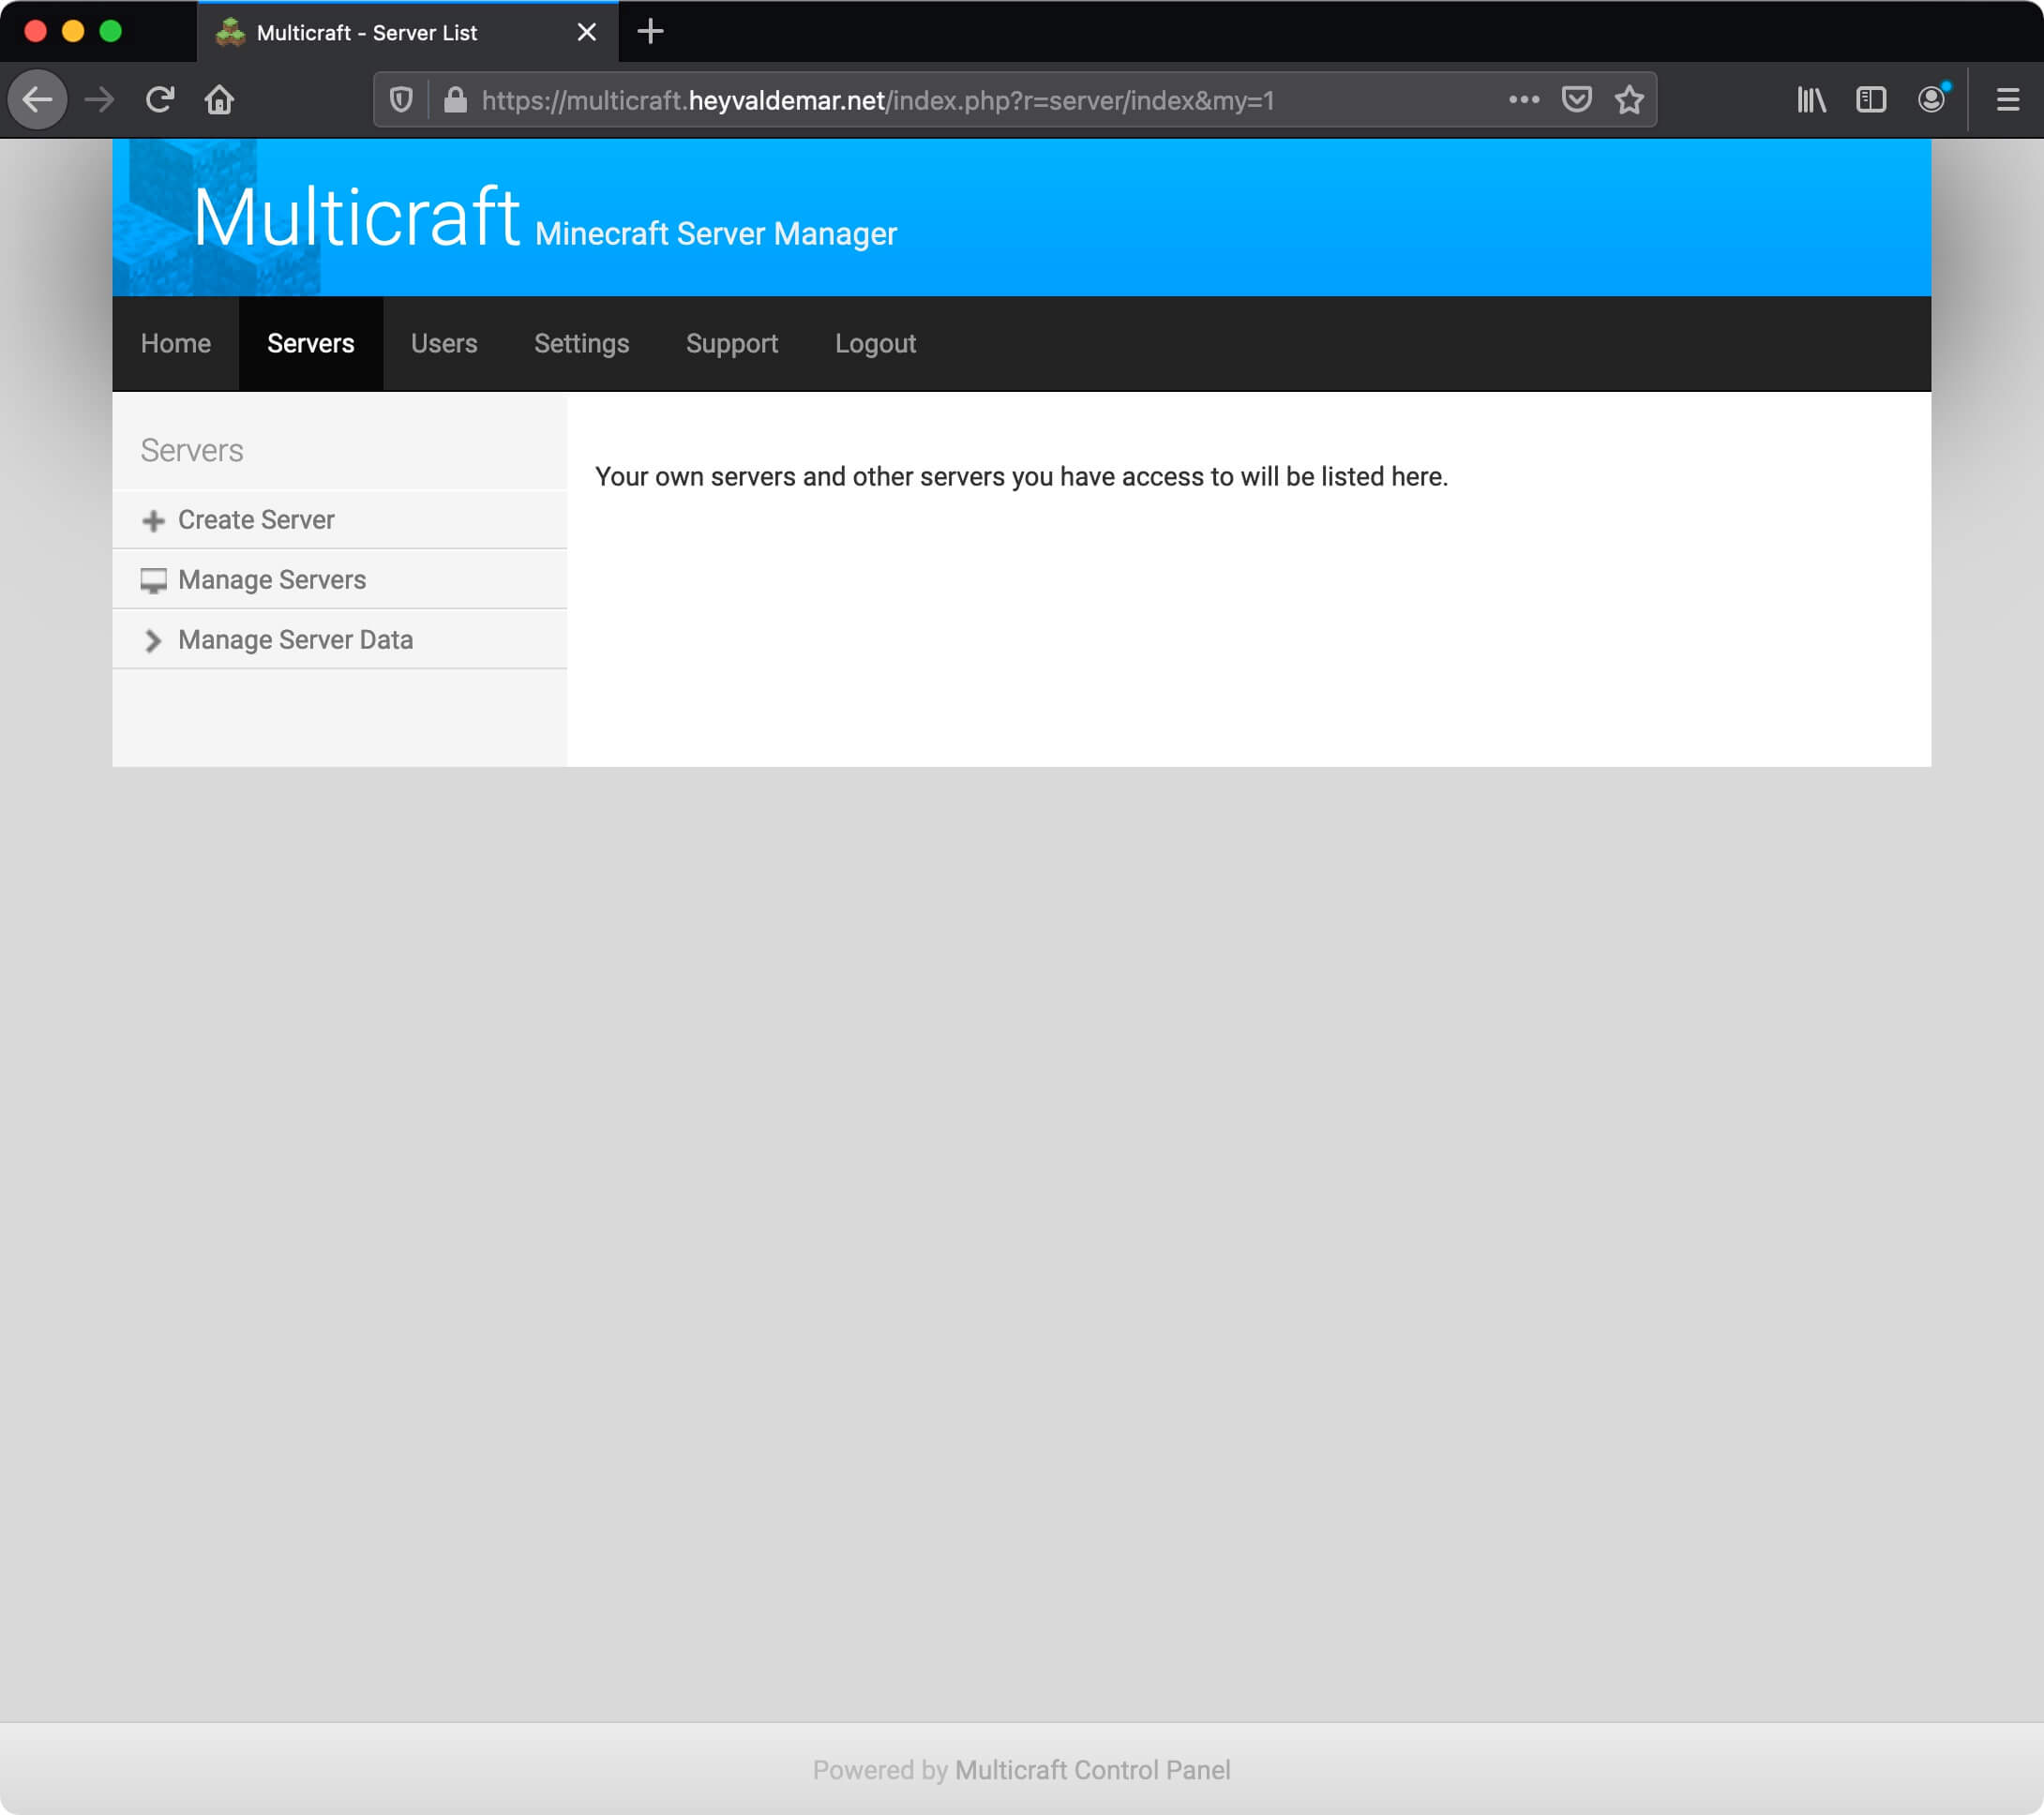
To create a new server, click on the “Create Server” button on the “Servers” tab.
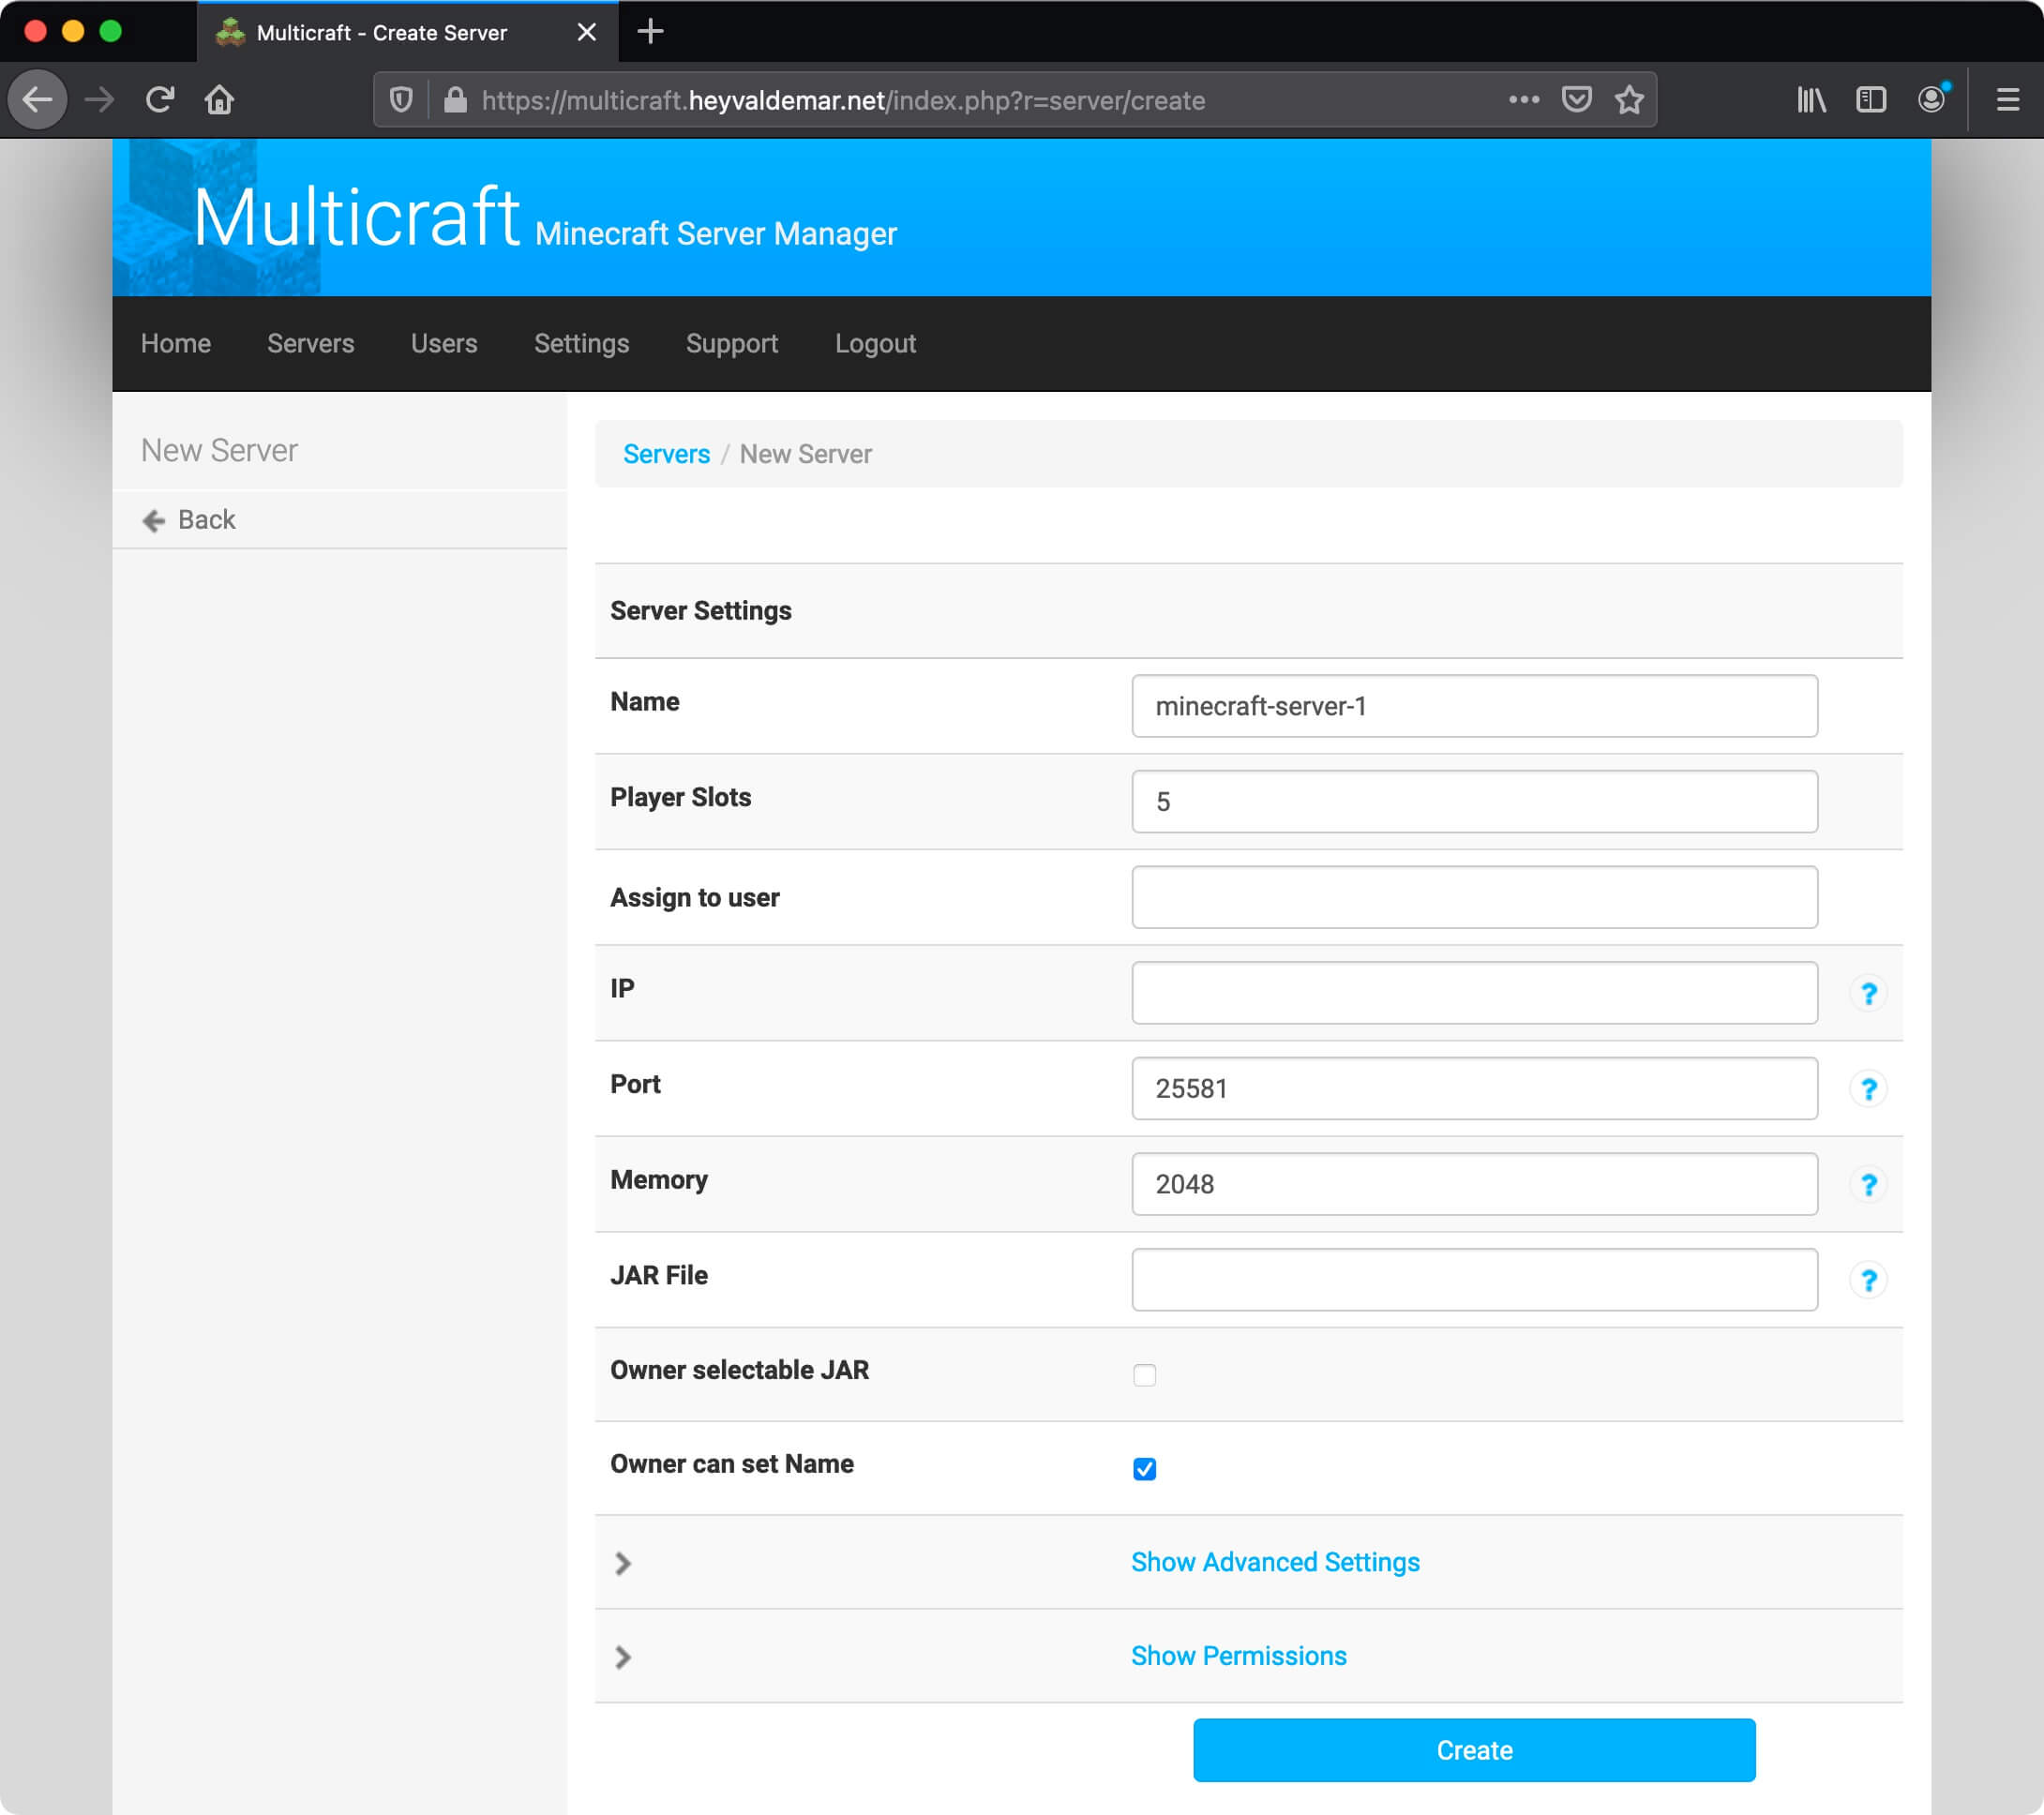
In the “Name” field, specify the desired name for the new Minecraft server.
In the field “Player Slots” we indicate the maximum number of places for players on the Minecraft server.
In the “Port” field, specify the port for the Minecraft client to access the Minecraft server.
Note that port 25565 is used by default to connect a Minecraft client to a Minecraft server, but you can use other ports to run multiple Minecraft servers. For example, the first Minecraft server launched with Multicraft will use port 25581; the second server, launched with Multicraft, will use port 25582, and so on. In this case, in the Minecraft client, you will need to specify not only the IP address or name of the Minecraft server but also the port through which to connect to the server. For example minecraft.heyvaldemar.net:25581.
In this tutorial, the Minecraft server will be started using port 25581.
In the “Memory” field, indicate the maximum allowable size of RAM allocated for the Minecraft server.
Click on the “Create” button.
The server has been successfully created.
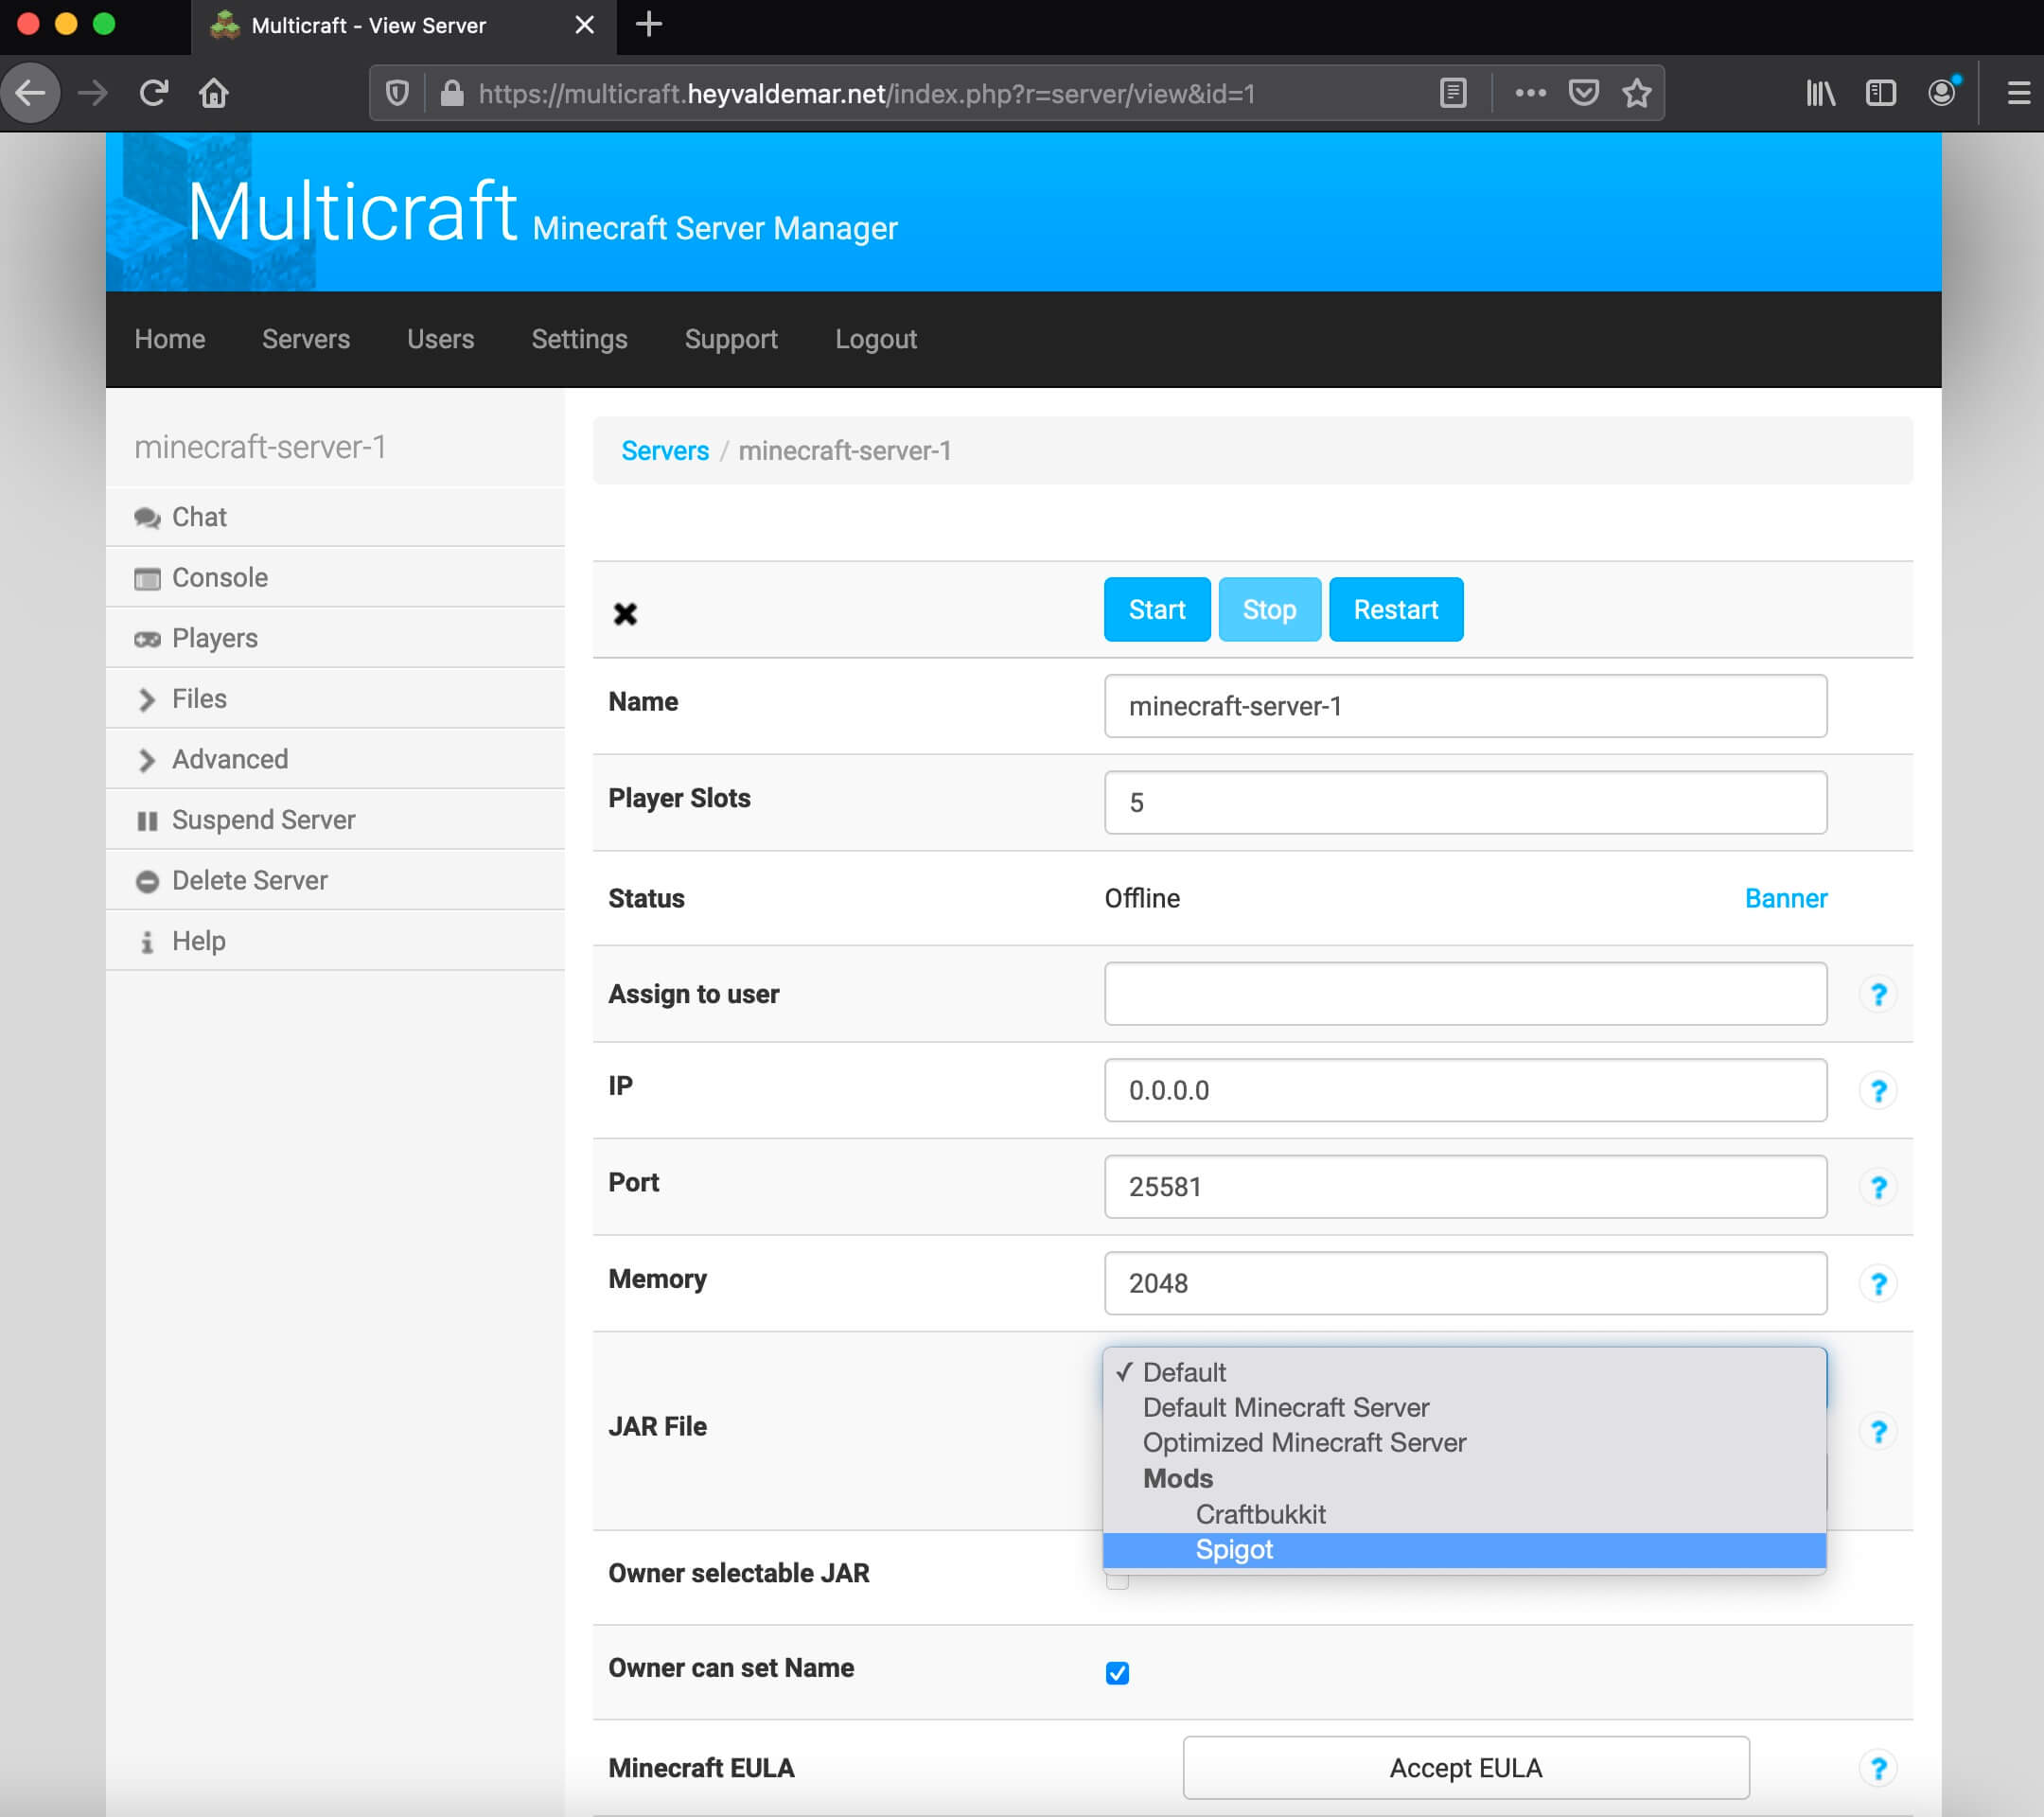
Now you need to select the JAR file that will be used when starting the Minecraft server.
This tutorial will use Spigot, a modified Minecraft server built on top of the CraftBukkit core. Spigot is known for its stability, performance, support for a large number of plugins and is intended to replace CraftBukkit.
Please note that Spigot needs to be updated in order for it to start correctly.
You can find out how to update Spigot by reading “Upgrade Spigot on Ubuntu Server with Multicraft”.
In the “JAR File” field, select “Spigot” and click on the “Save” button.
Next, click on the “Accept EULA” button if you agree with the Minecraft license agreement.
More details on the Minecraft license agreement can be found at the link.
Everything is ready to start the Minecraft server.
Click on the “Start” button.
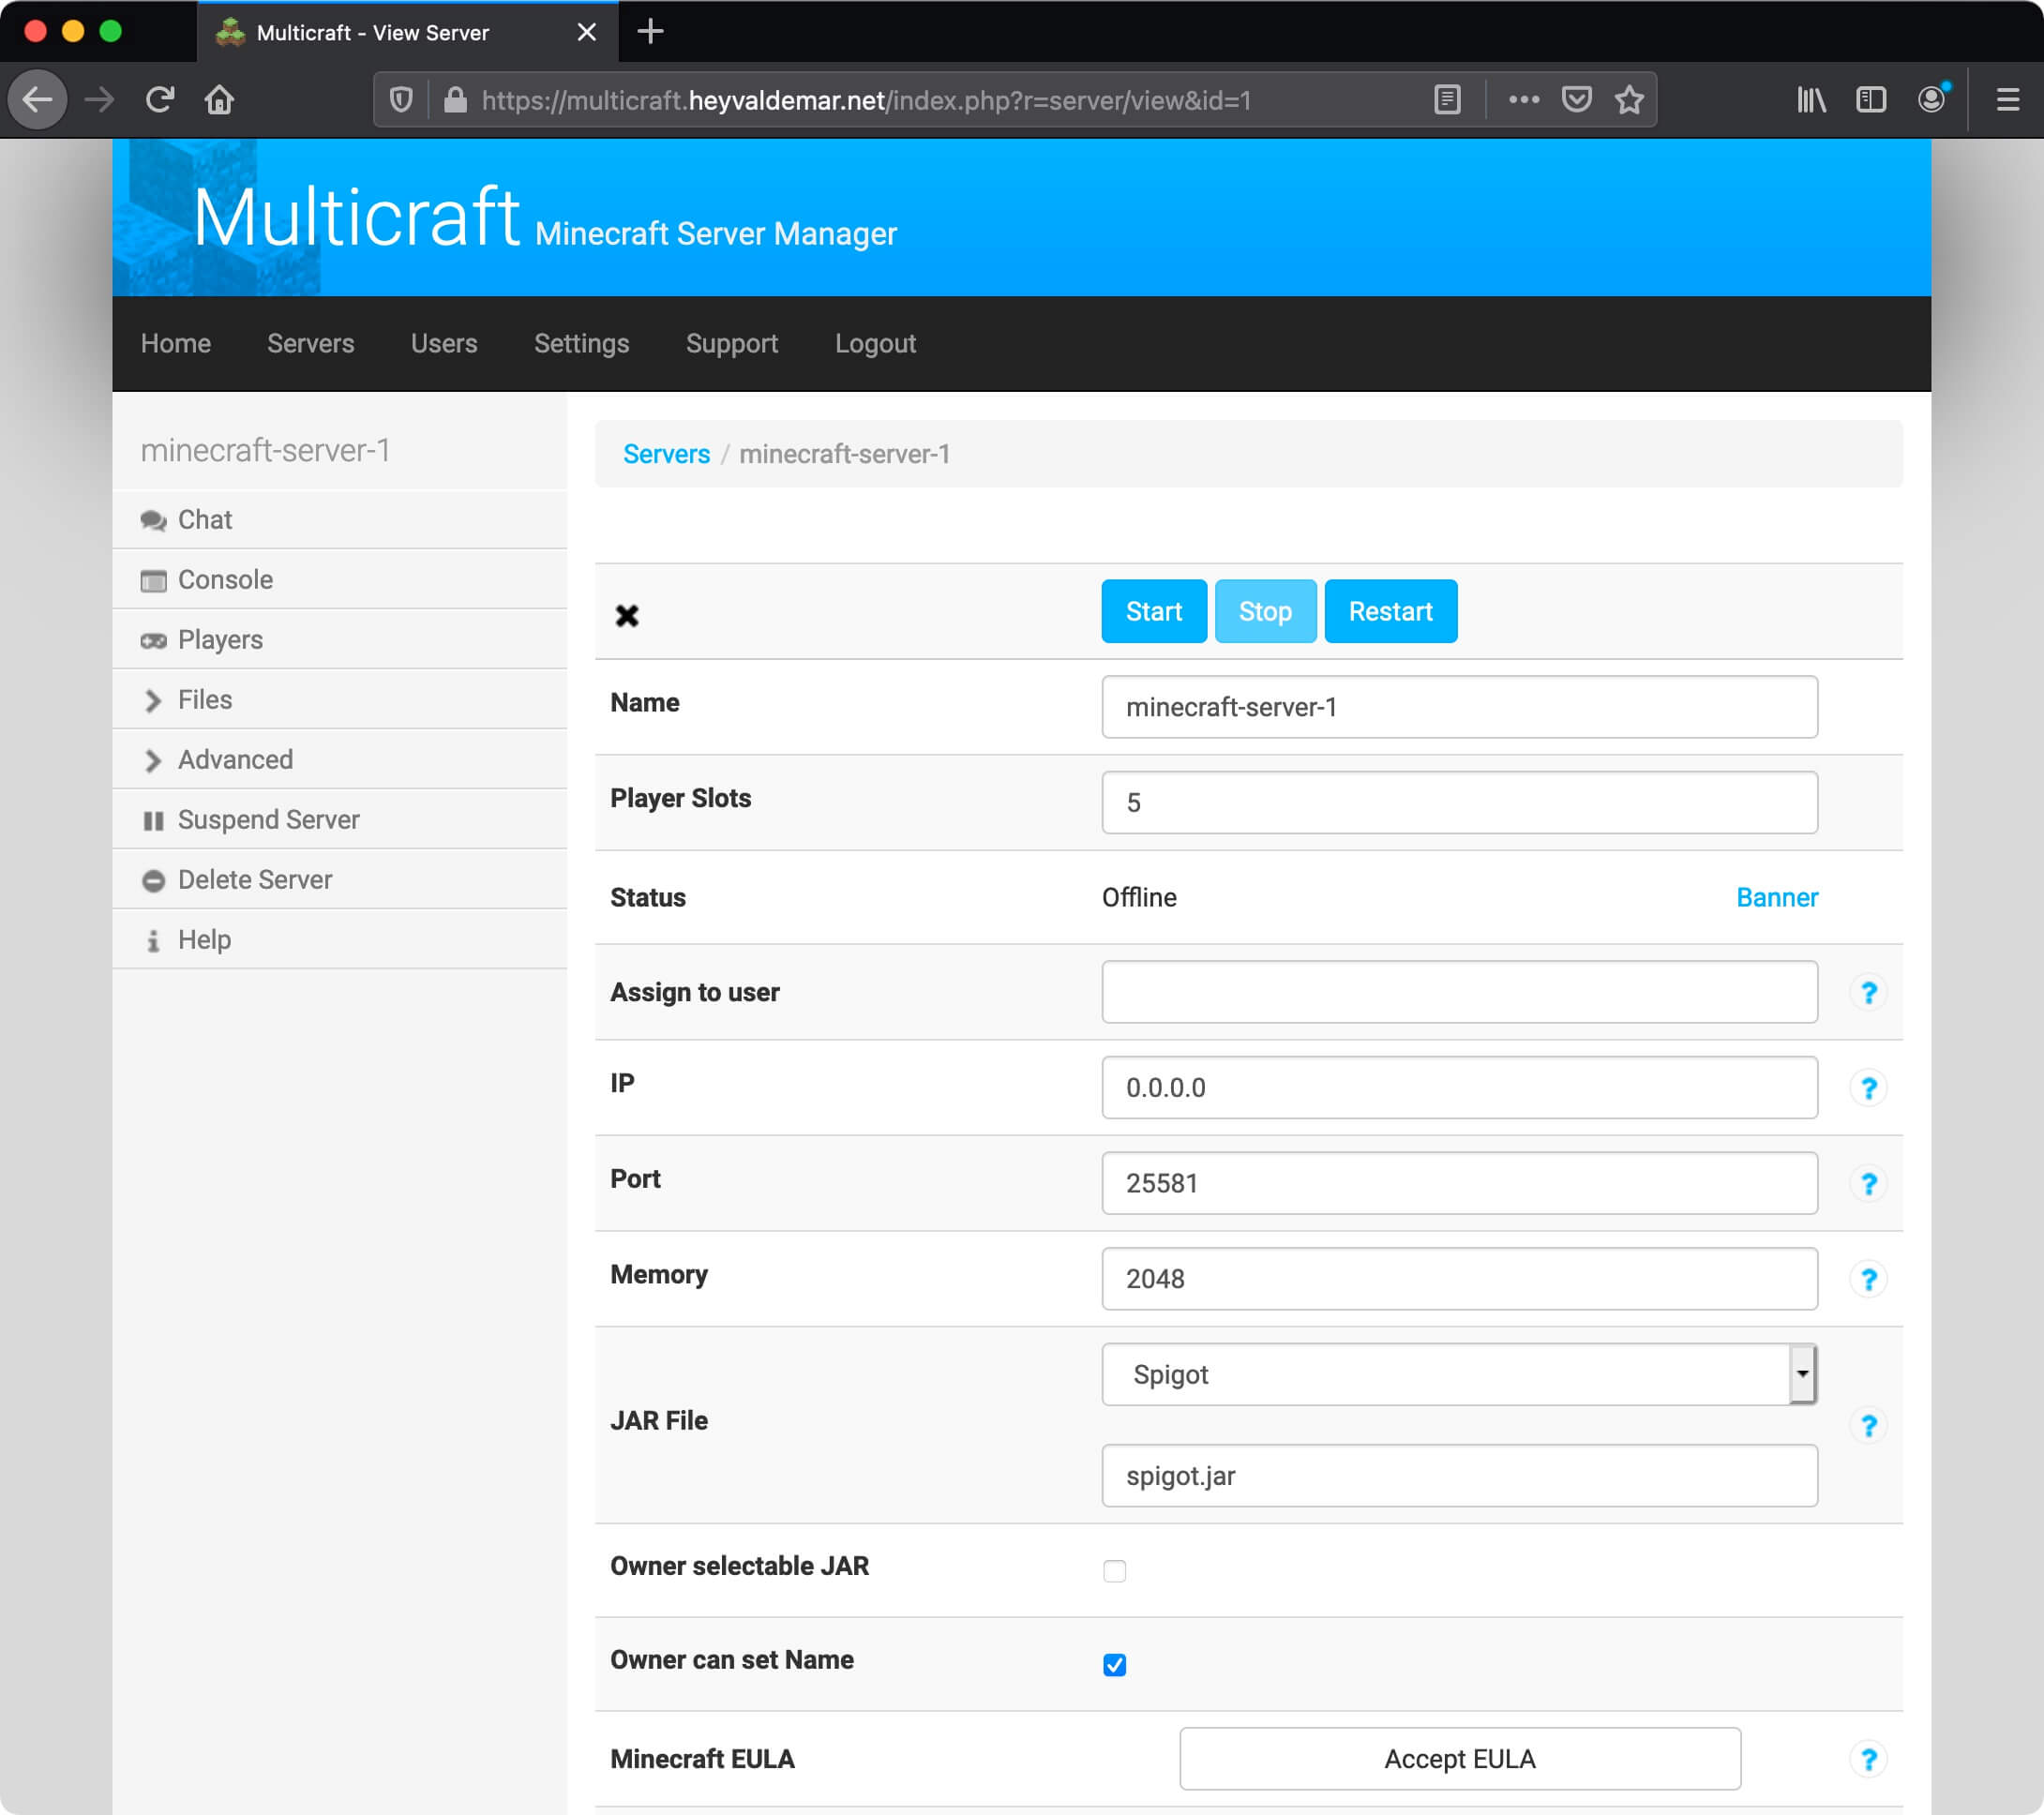
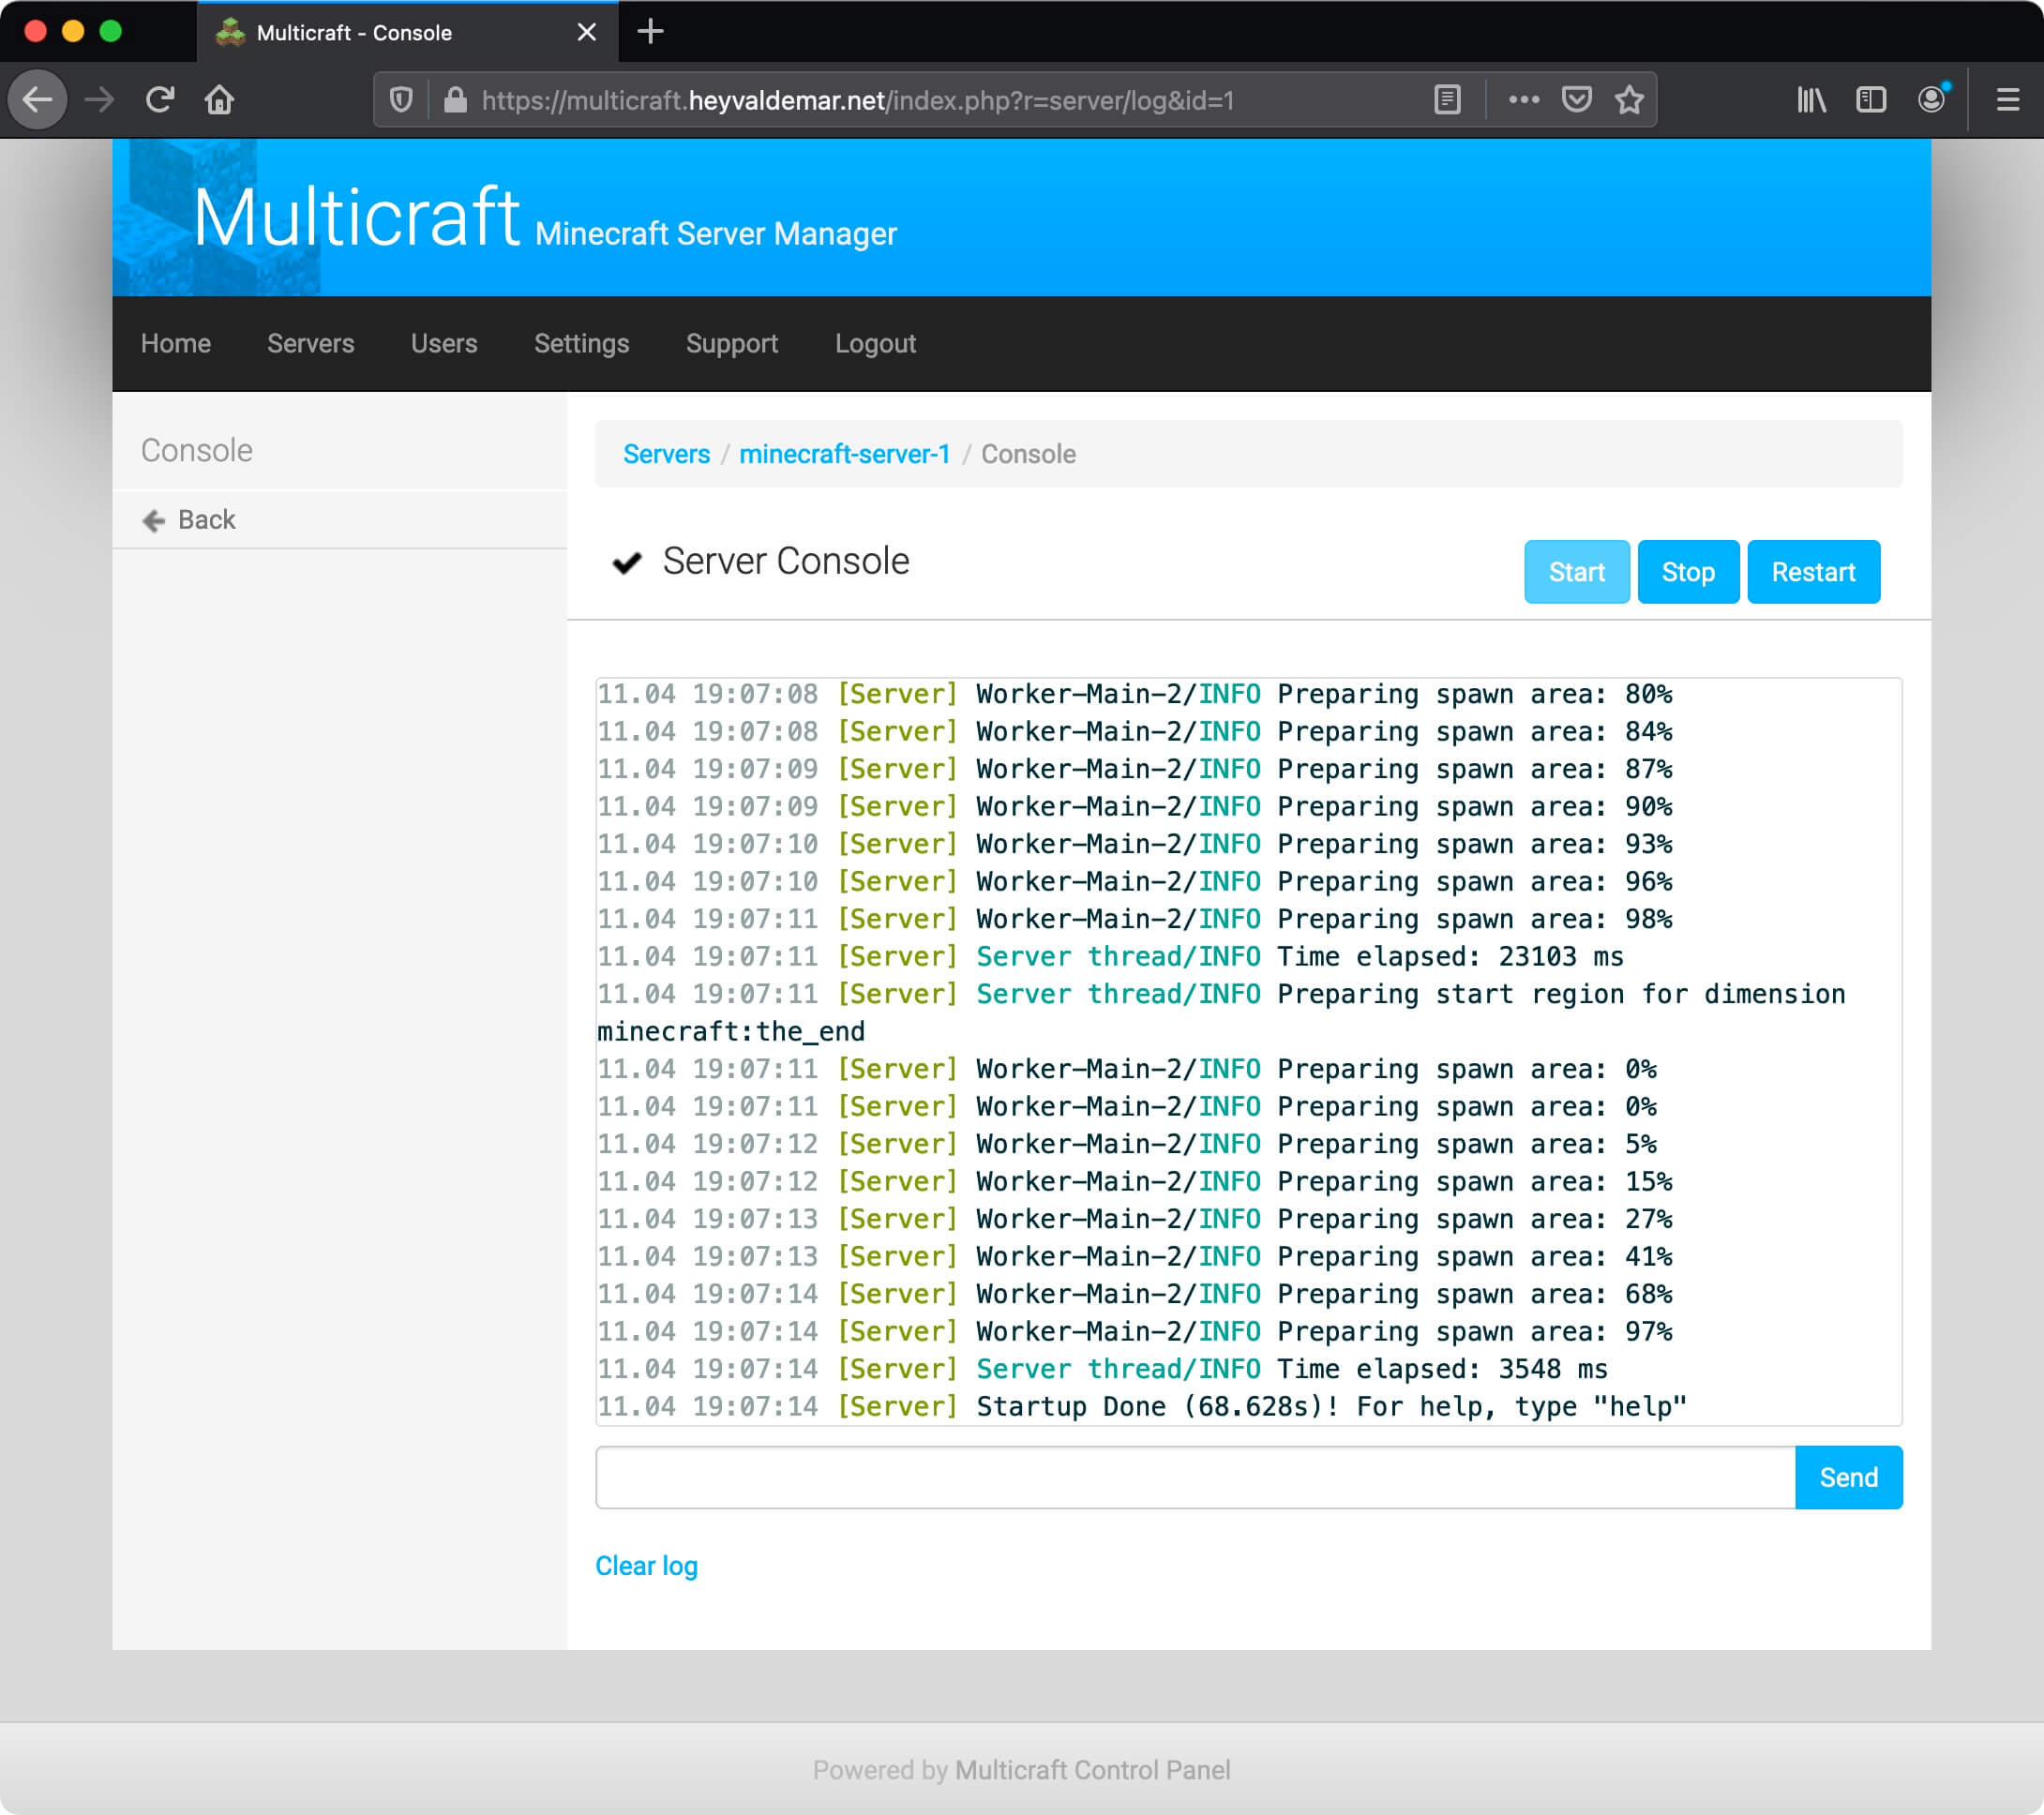
The Minecraft server will start to start.
Next, you need to make sure that the server has started successfully.
Click on the “Console” button in the left menu.
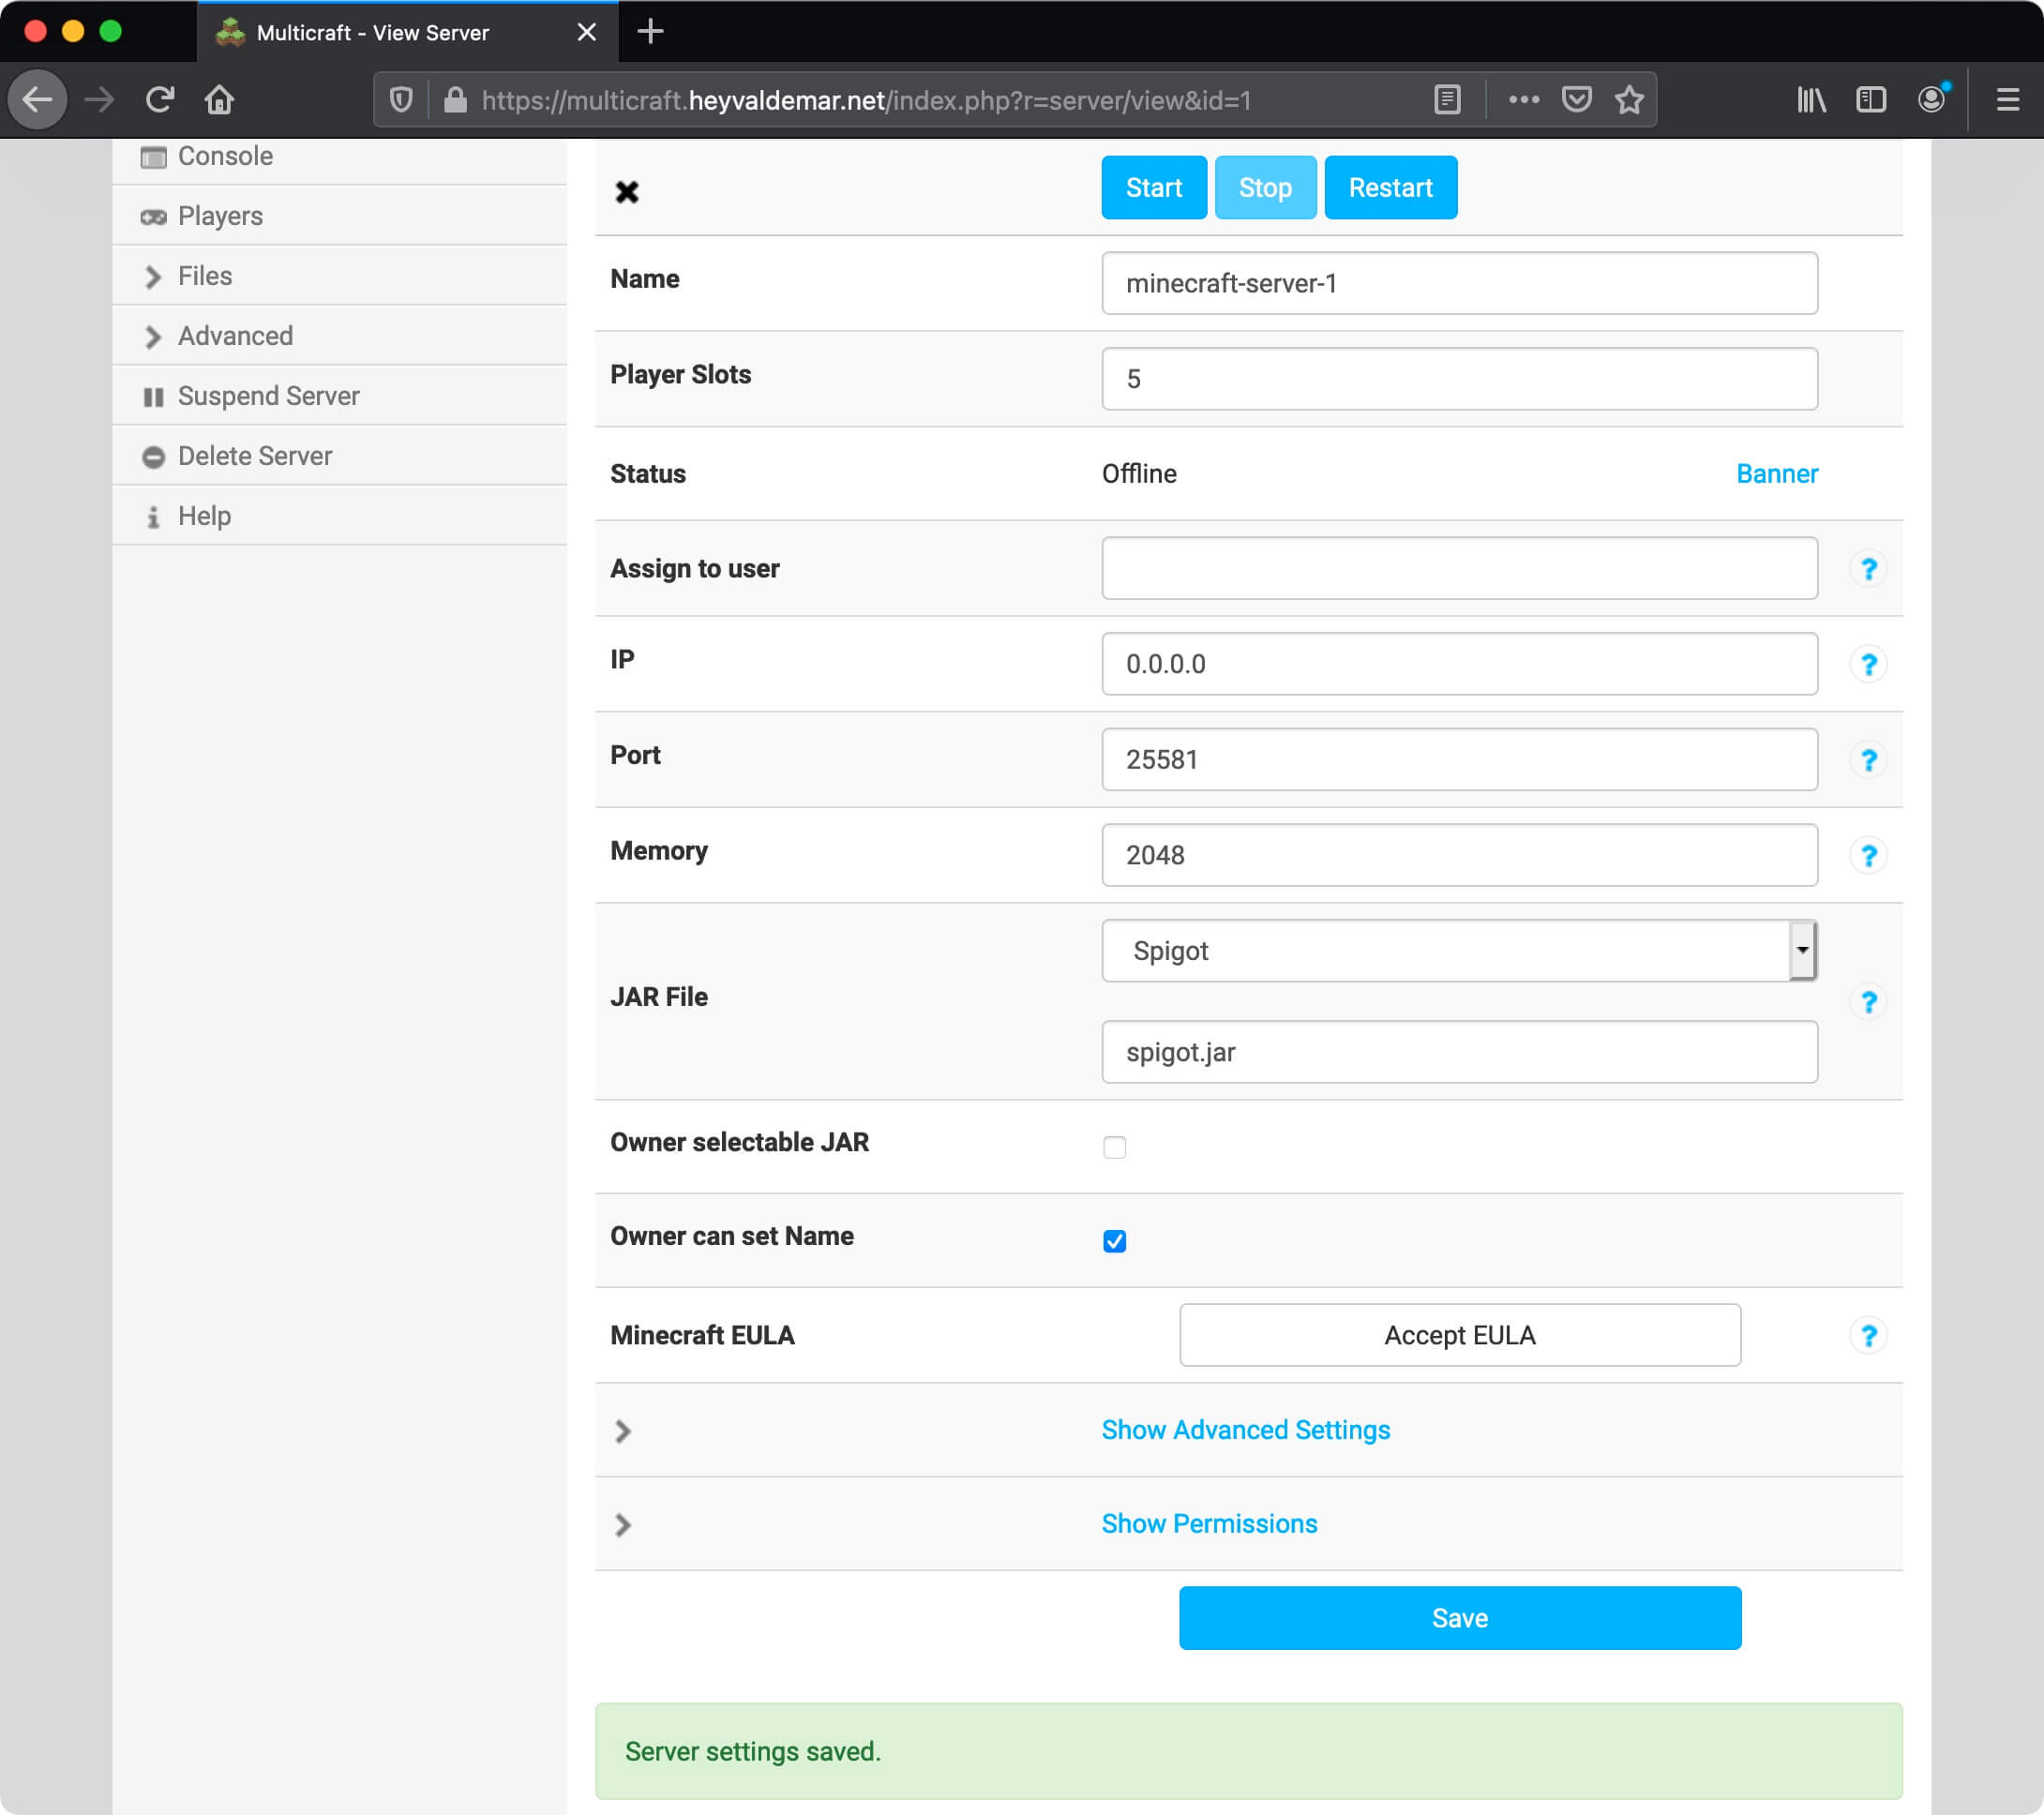
After a few minutes, you should see a “Startup Done” message, which indicates that the Minecraft server is running.
Now, in the Minecraft client, you will need to specify not only the IP address or name of the Minecraft server but also the port through which to connect to the server. For example minecraft.heyvaldemar.net:25581.
My Courses
🎓 Dive into my comprehensive IT courses designed for enthusiasts and professionals alike. Whether you’re looking to master Docker, conquer Kubernetes, or advance your DevOps skills, my courses provide a structured pathway to enhancing your technical prowess.
My Services
💼 Take a look at my service catalog and find out how we can make your technological life better. Whether it’s increasing the efficiency of your IT infrastructure, advancing your career, or expanding your technological horizons — I’m here to help you achieve your goals. From DevOps transformations to building gaming computers — let’s make your technology unparalleled!
Refill My Coffee Supplies
💖 PayPal
🏆 Patreon
💎 GitHub
🥤 BuyMeaCoffee
🍪 Ko-fi
Follow Me
🎬 YouTube
🐦 Twitter
🎨 Instagram
🐘 Mastodon
🧵 Threads
🎸 Facebook
🧊 Bluesky
🎥 TikTok
🐈 GitHub
Is this content AI-generated?
Nope! Each article is crafted by me, fueled by a deep passion for Docker and decades of IT expertise. While I employ AI to refine the grammar—ensuring the technical details are conveyed clearly—the insights, strategies, and guidance are purely my own. This approach may occasionally activate AI detectors, but you can be certain that the underlying knowledge and experiences are authentically mine.
