Configure Amazon S3 for Rocket.Chat File Sharing
This article is for those looking for a detailed and clear guide on how to configure Amazon S3 for Rocket.Chat file sharing.
Rocket.Chat is an open-source fully customizable communications platform developed in JavaScript for organizations with high standards of data protection.
You can read more about how to install Rocket.Chat on Ubuntu Server in my guide “Install Rocket.Chat on Ubuntu Server”
You must also have an account with administrator rights to Amazon Web Services.
Please note that to set up file sharing, you need to have administrator rights in Rocket.Chat.
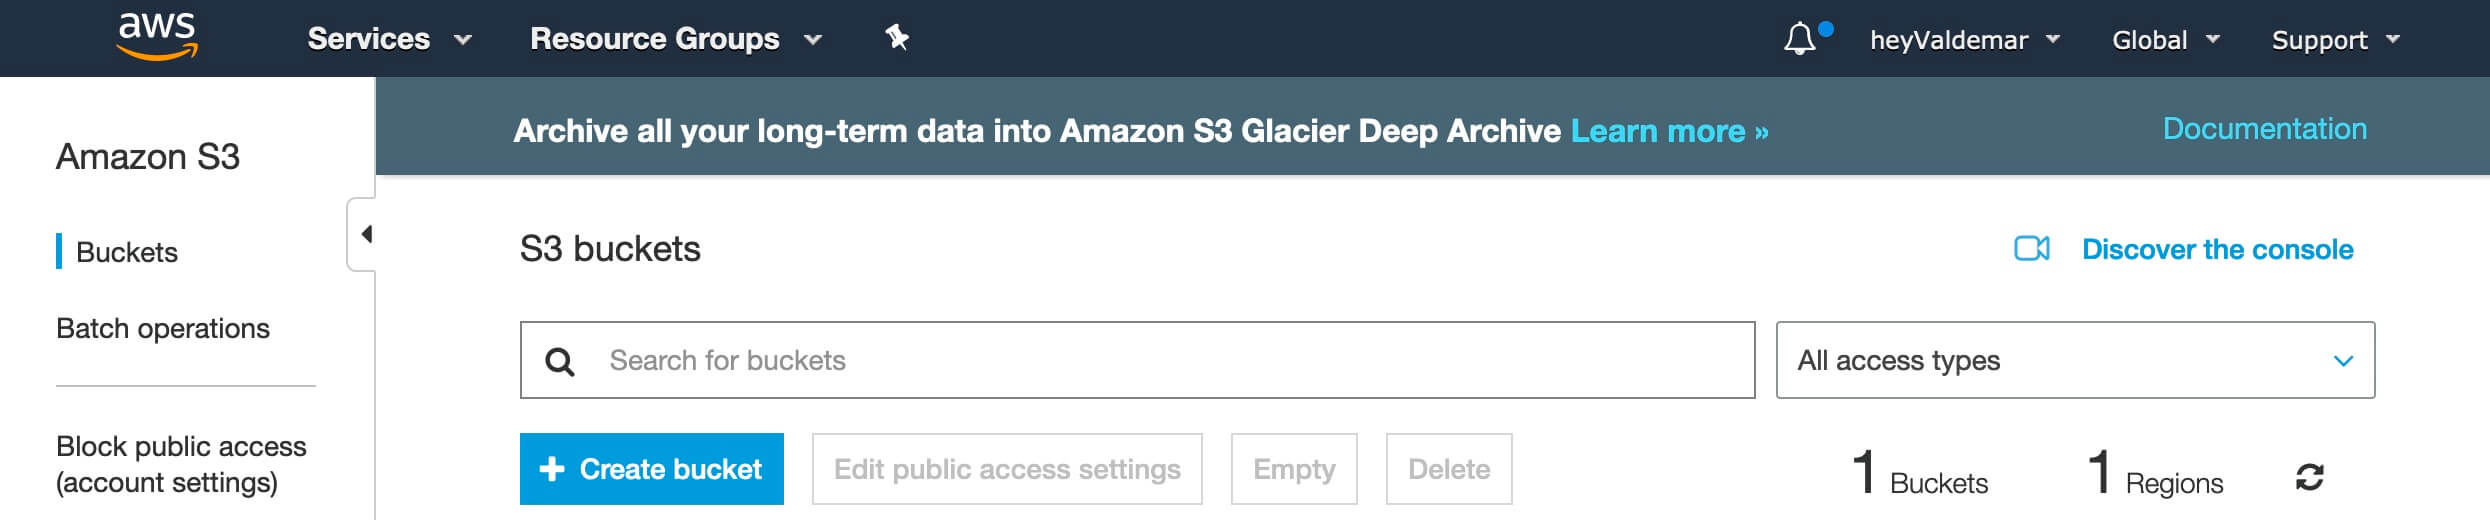
First, let’s create a bucket using Amazon S3. It will allow you to store files that Rocket.Chat users will exchange.
Follow the link, specify, if necessary, the username and password of an account with administrator rights in Amazon Web Services, and click on the “Create bucket” button.
In the “Bucket name” field, specify a unique DNS-compatible name for the bucket.
Note a few important things when creating a new bucket name:
- The bucket name must be unique across all existing buckets in Amazon S3.
- Once the basket is created, you cannot change its name.
- Choose a bucket name that reflects the purpose of the items you plan to store in it. This is important because the bucket name appears in the URL that points to the items in it.
This tutorial will use “rocketchat-heyvaldemar” as the bucket name.
In the “Region” field, indicate the desired region in which the basket will be created.
Click on the “Create” button.

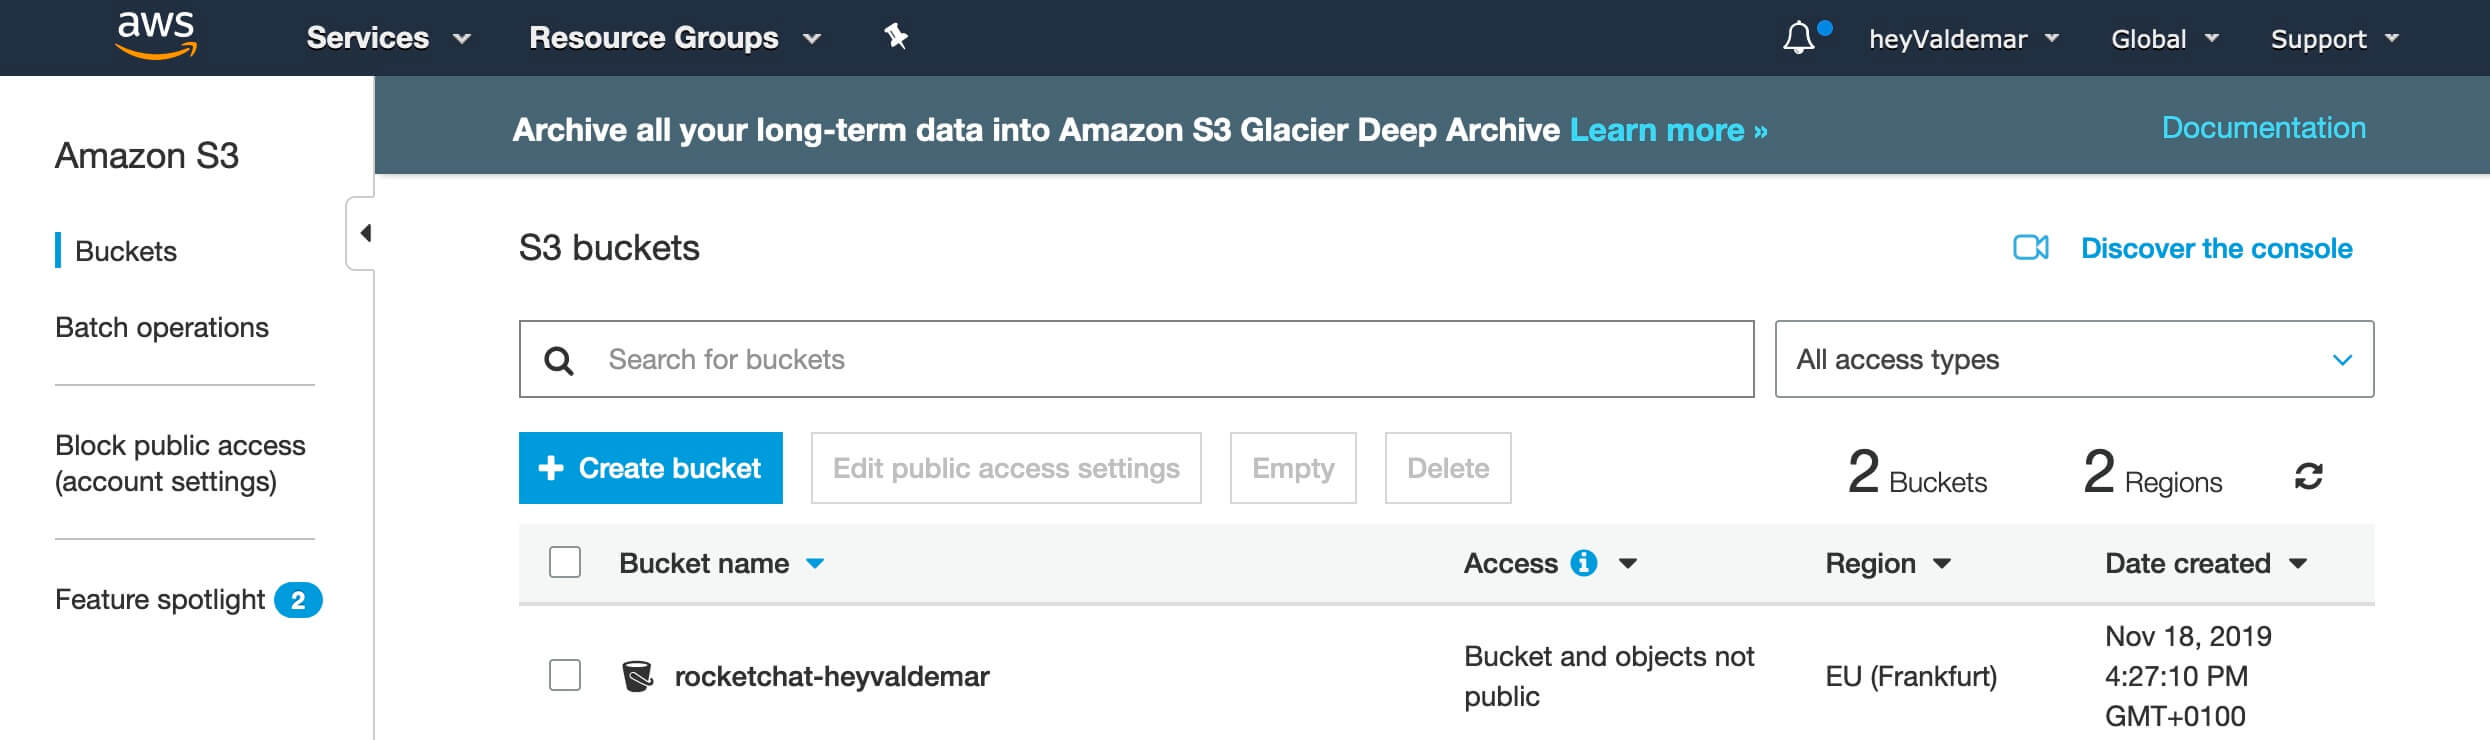
The cart has been successfully created.
Now you need to configure the access rights to the basket so that Rocket.Chat users can share files using this basket.
We select the previously created basket.
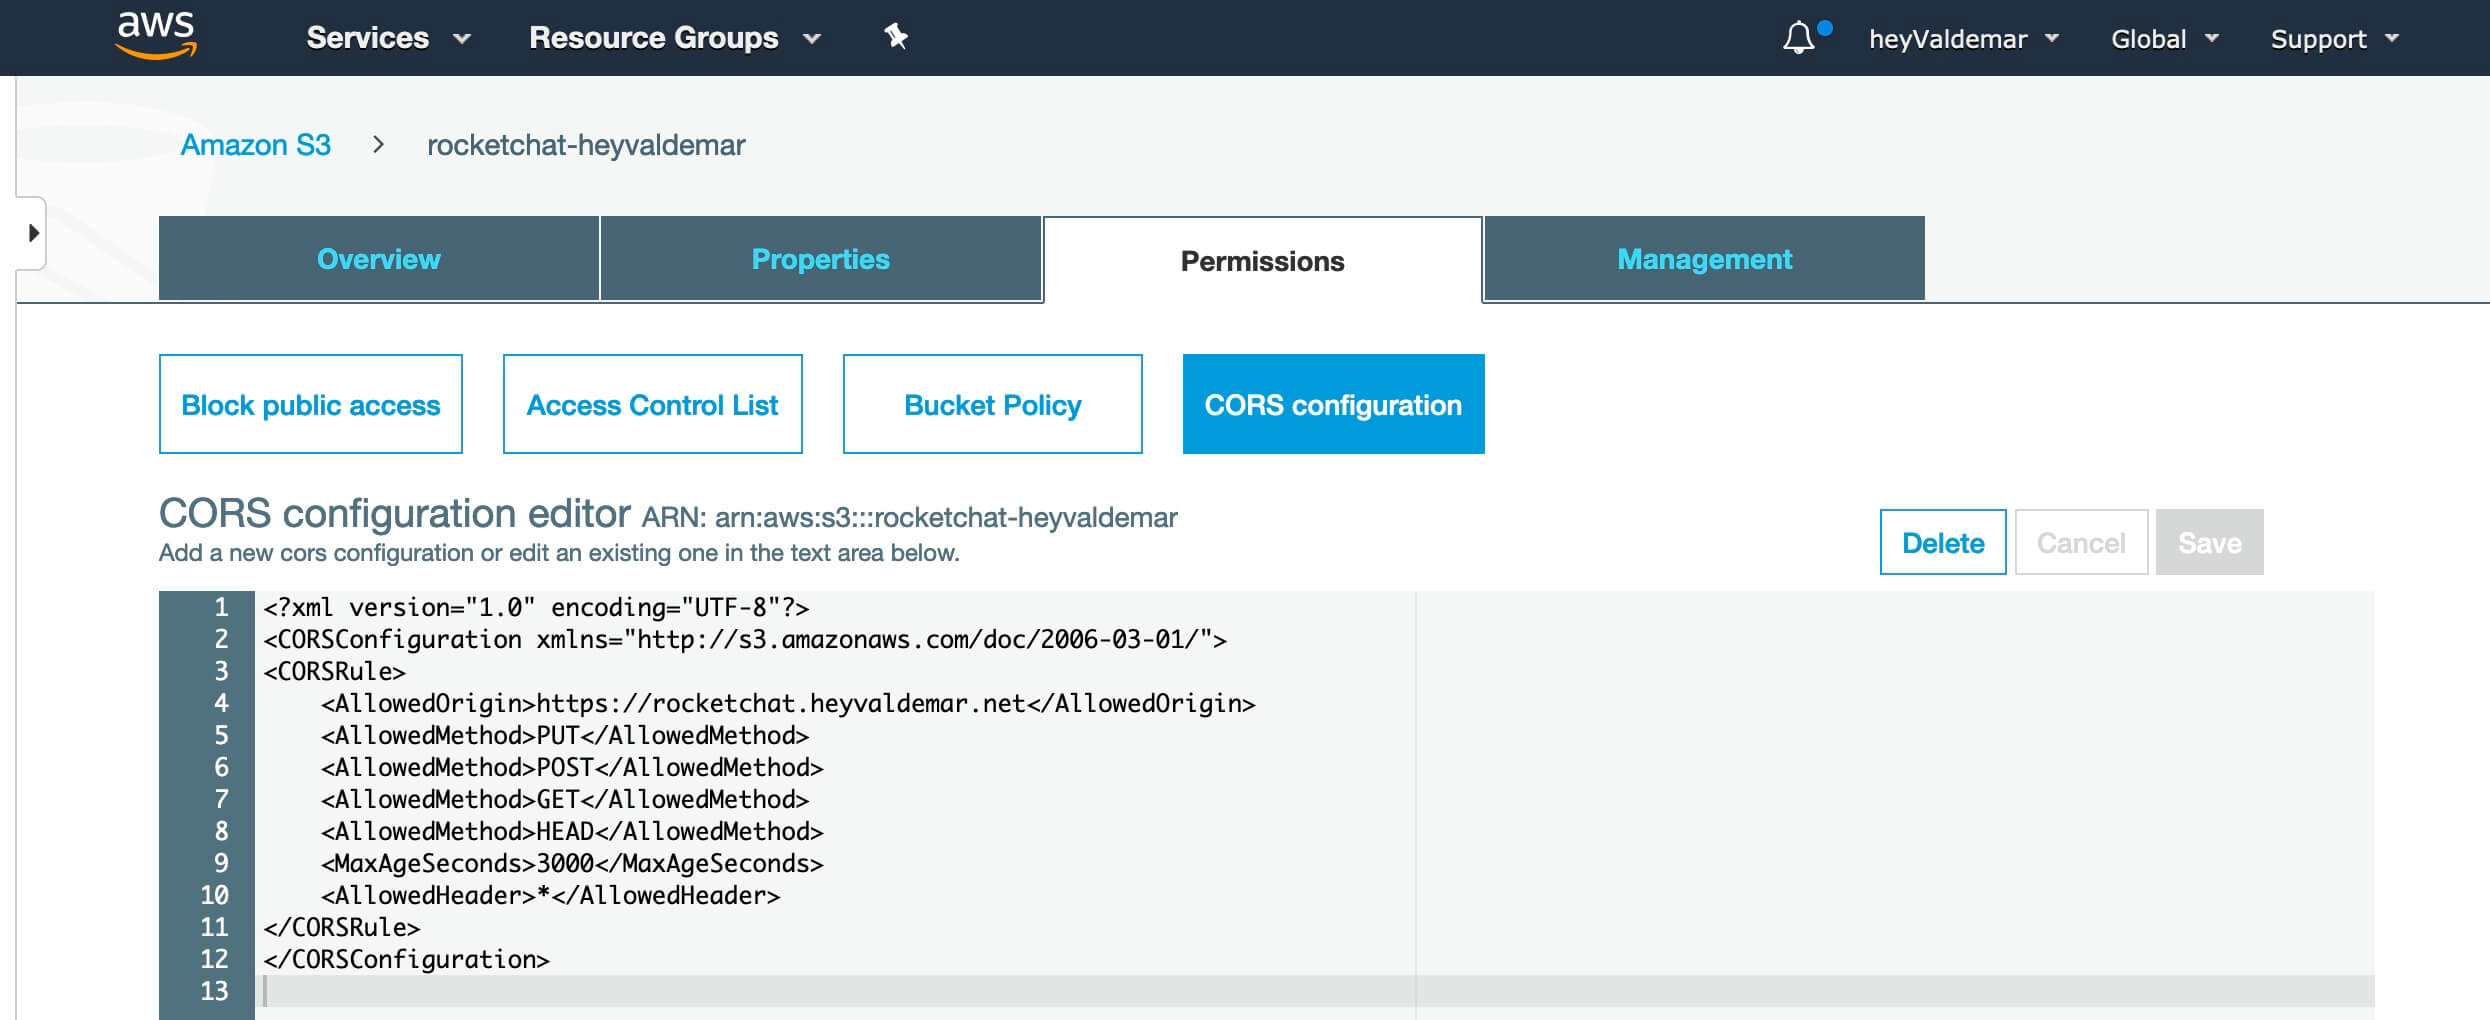
Go to the “Permissions” tab, then select “CORS configuration”.
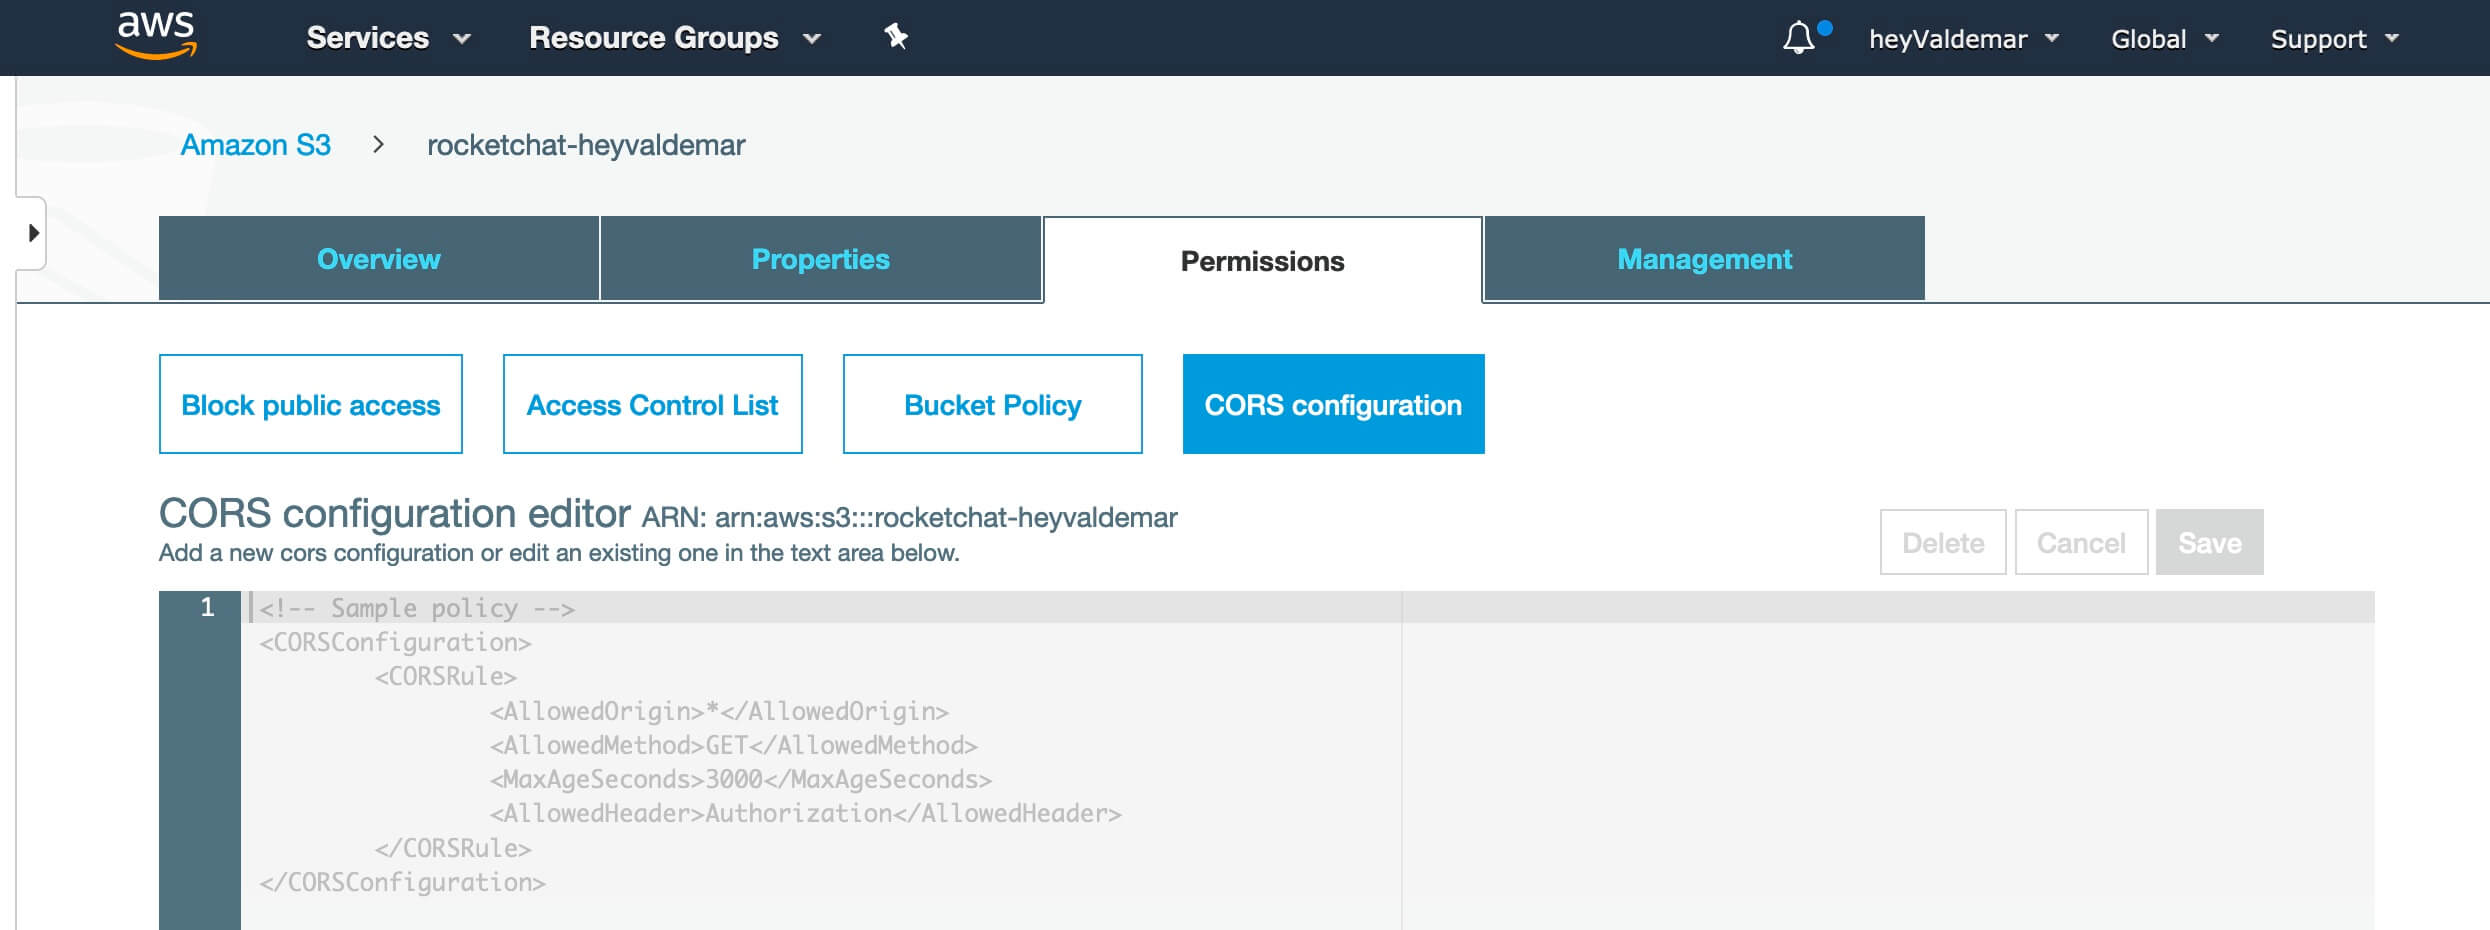
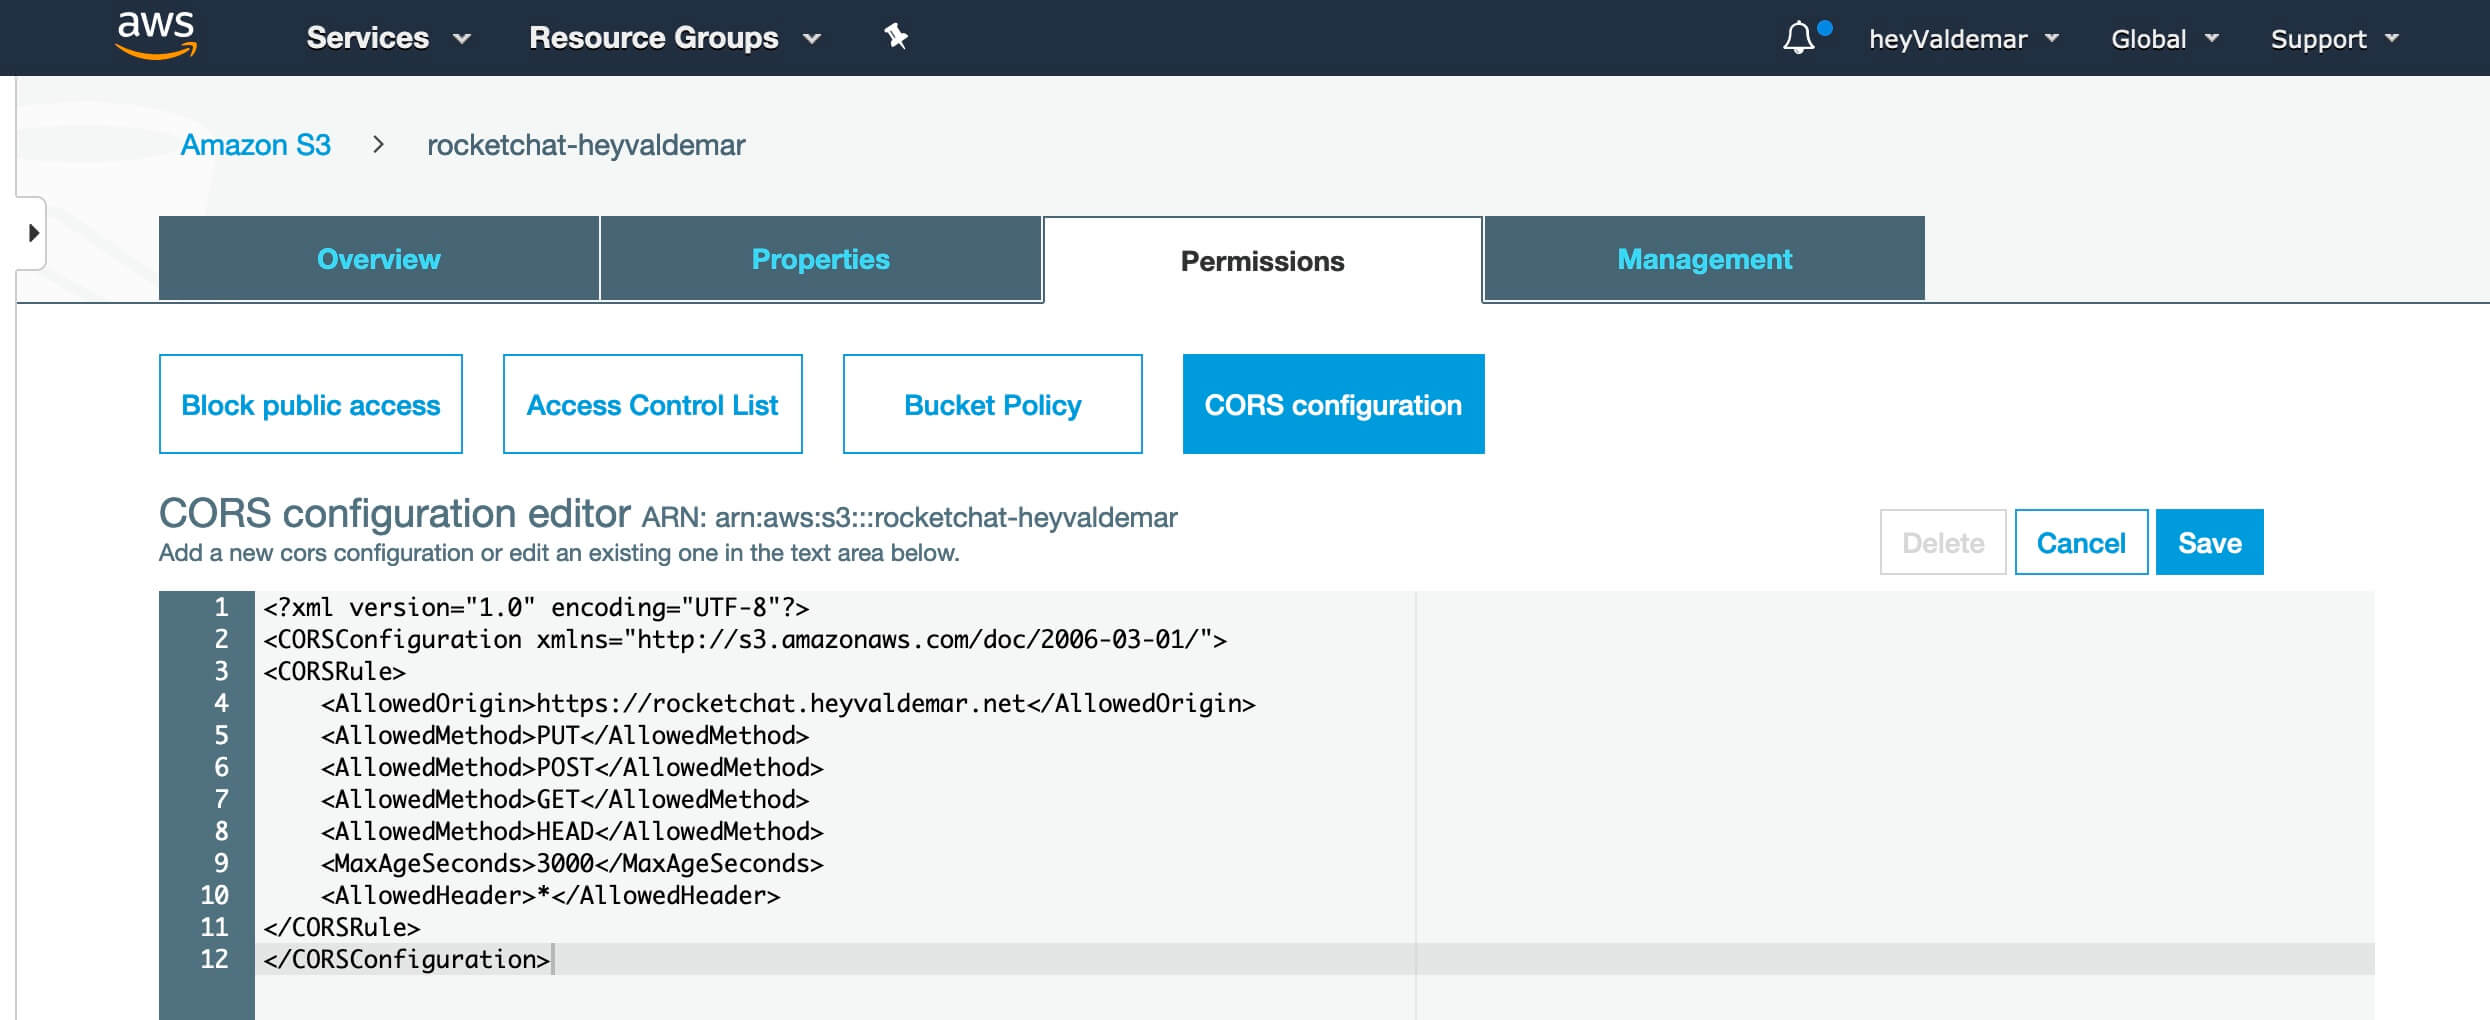
Next, we insert the following configuration for the basket to work.
In this guide, you will use the rocketchat.heyvaldemar.net subdomain to access Rocket.Chat from the Internet. You will need to specify your domain or subdomain by which Rocket.Chat will be accessible from the Internet.
Click on the “Save” button.
The changes were saved successfully.
Now you need to create a policy to access the previously created S3 bucket.
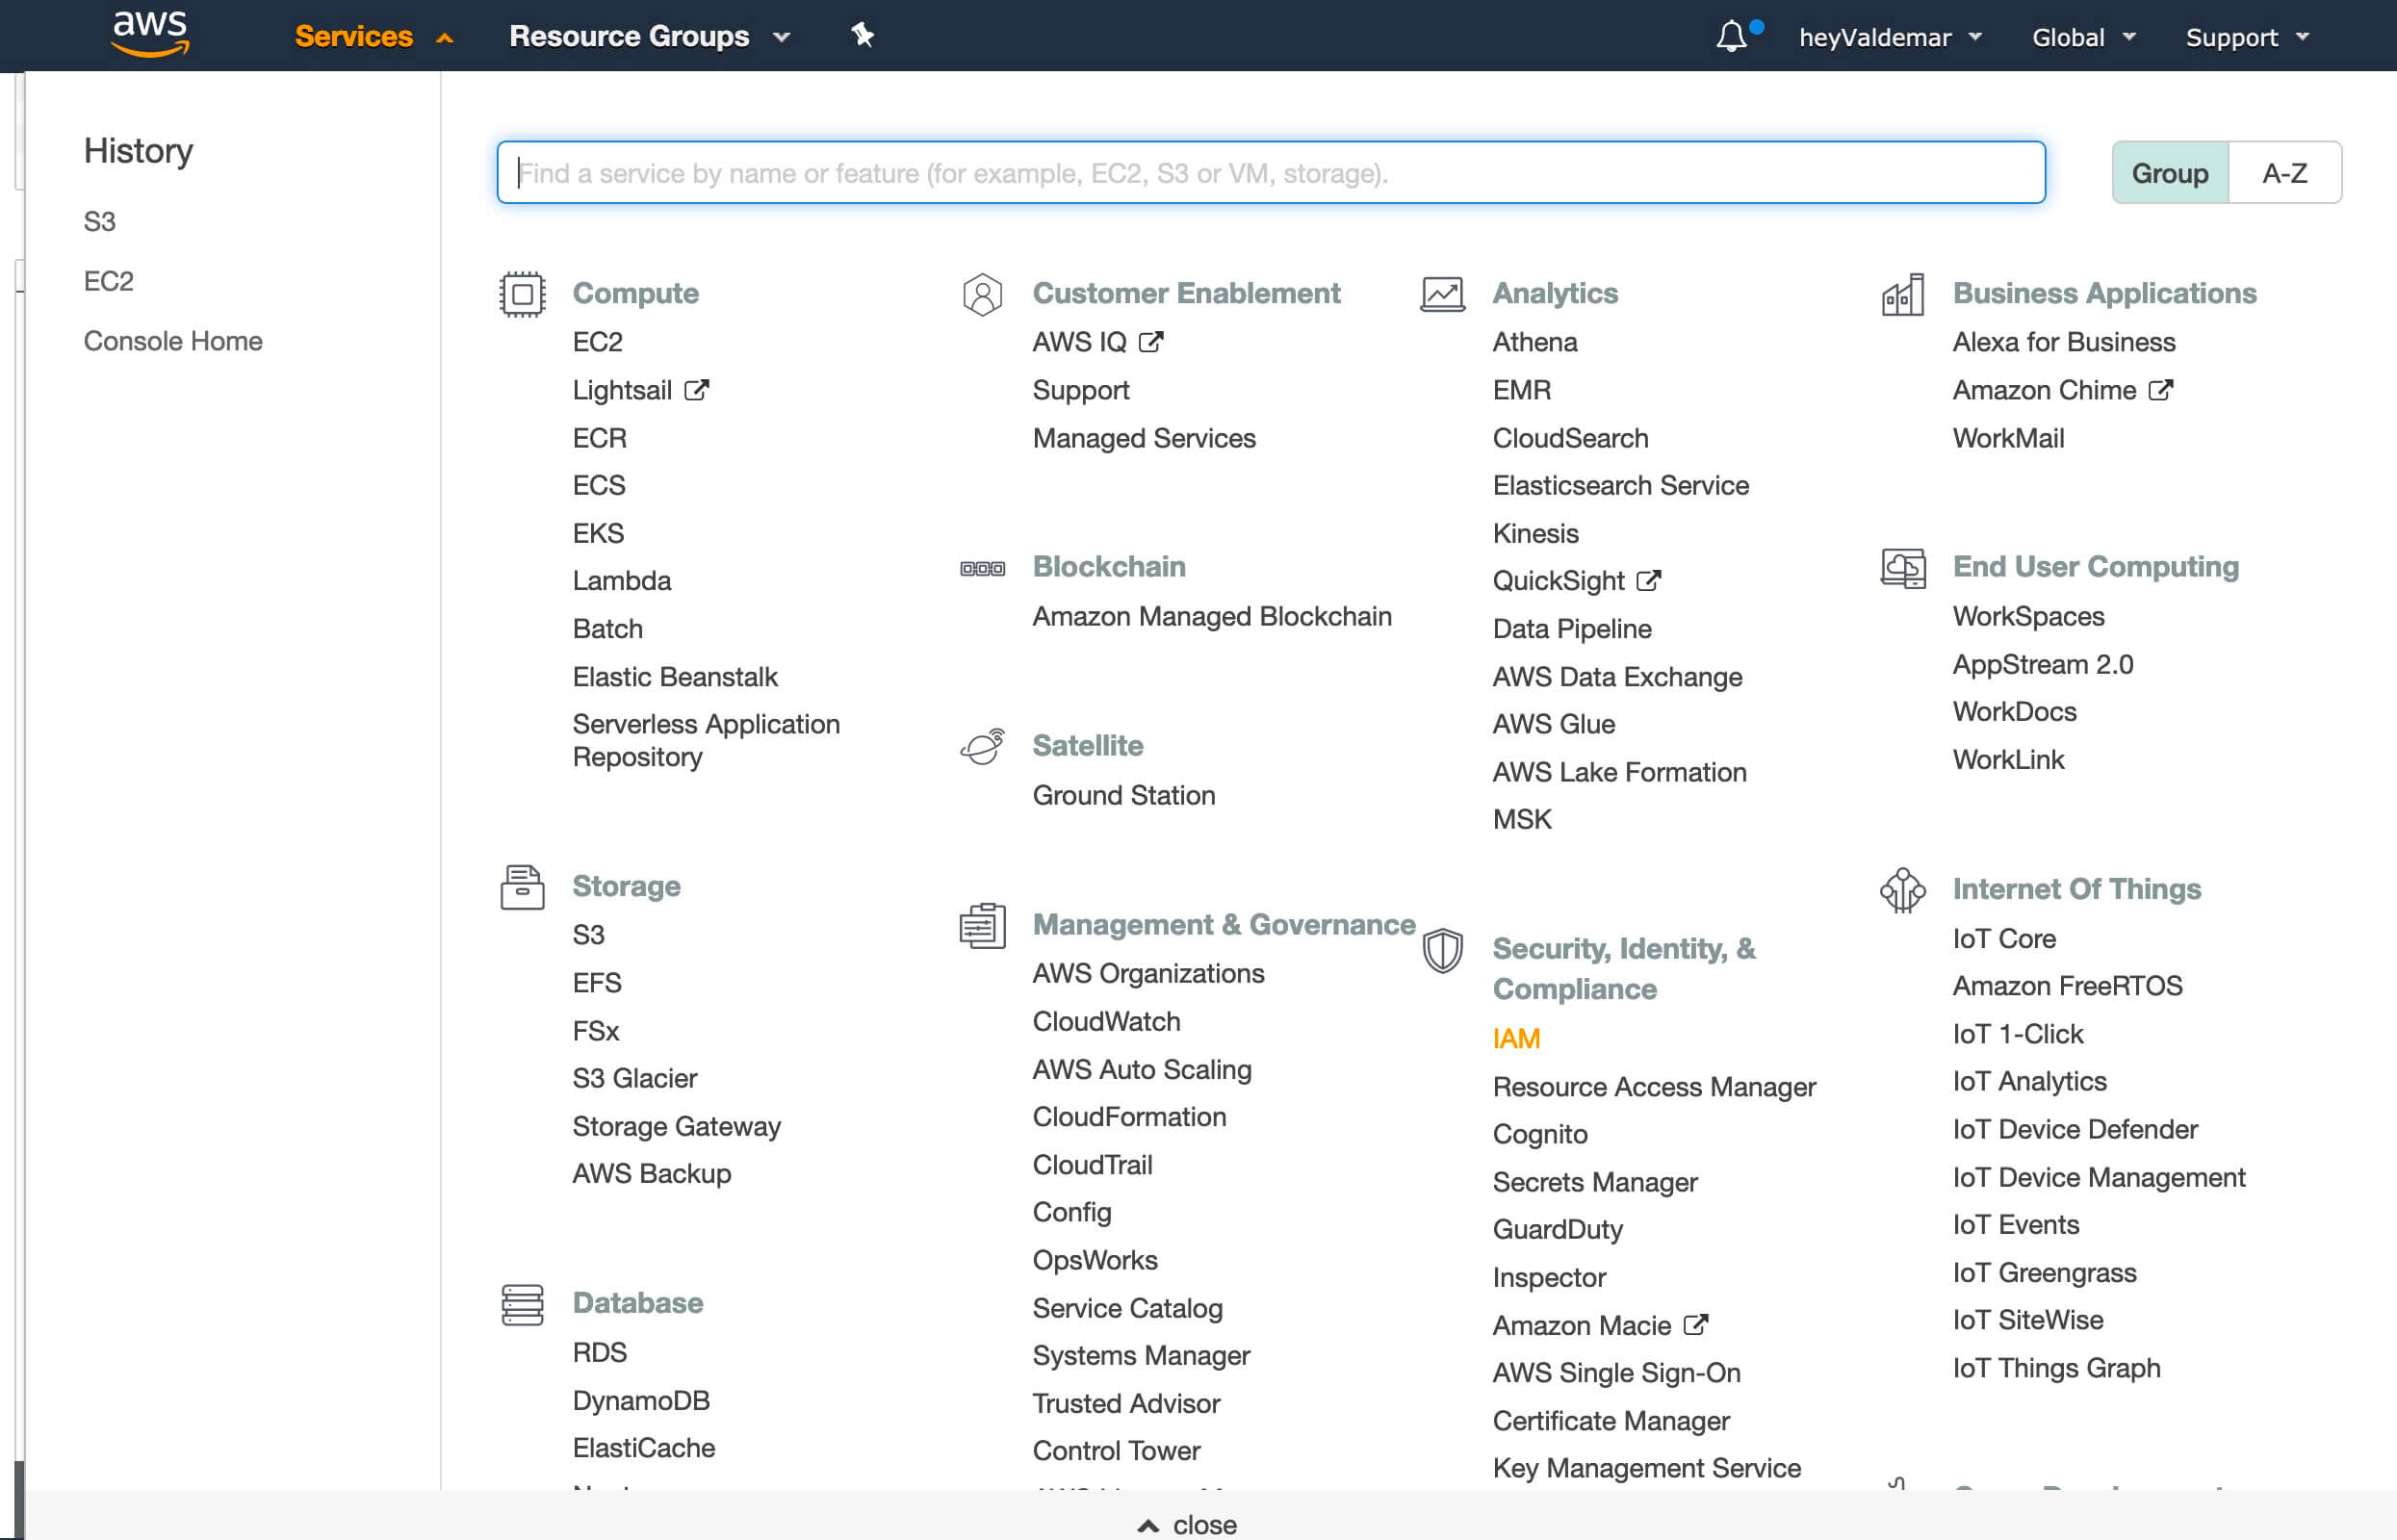
Click on the “Services” button and select “IAM” in the “Security, Identity & Compliance” section.
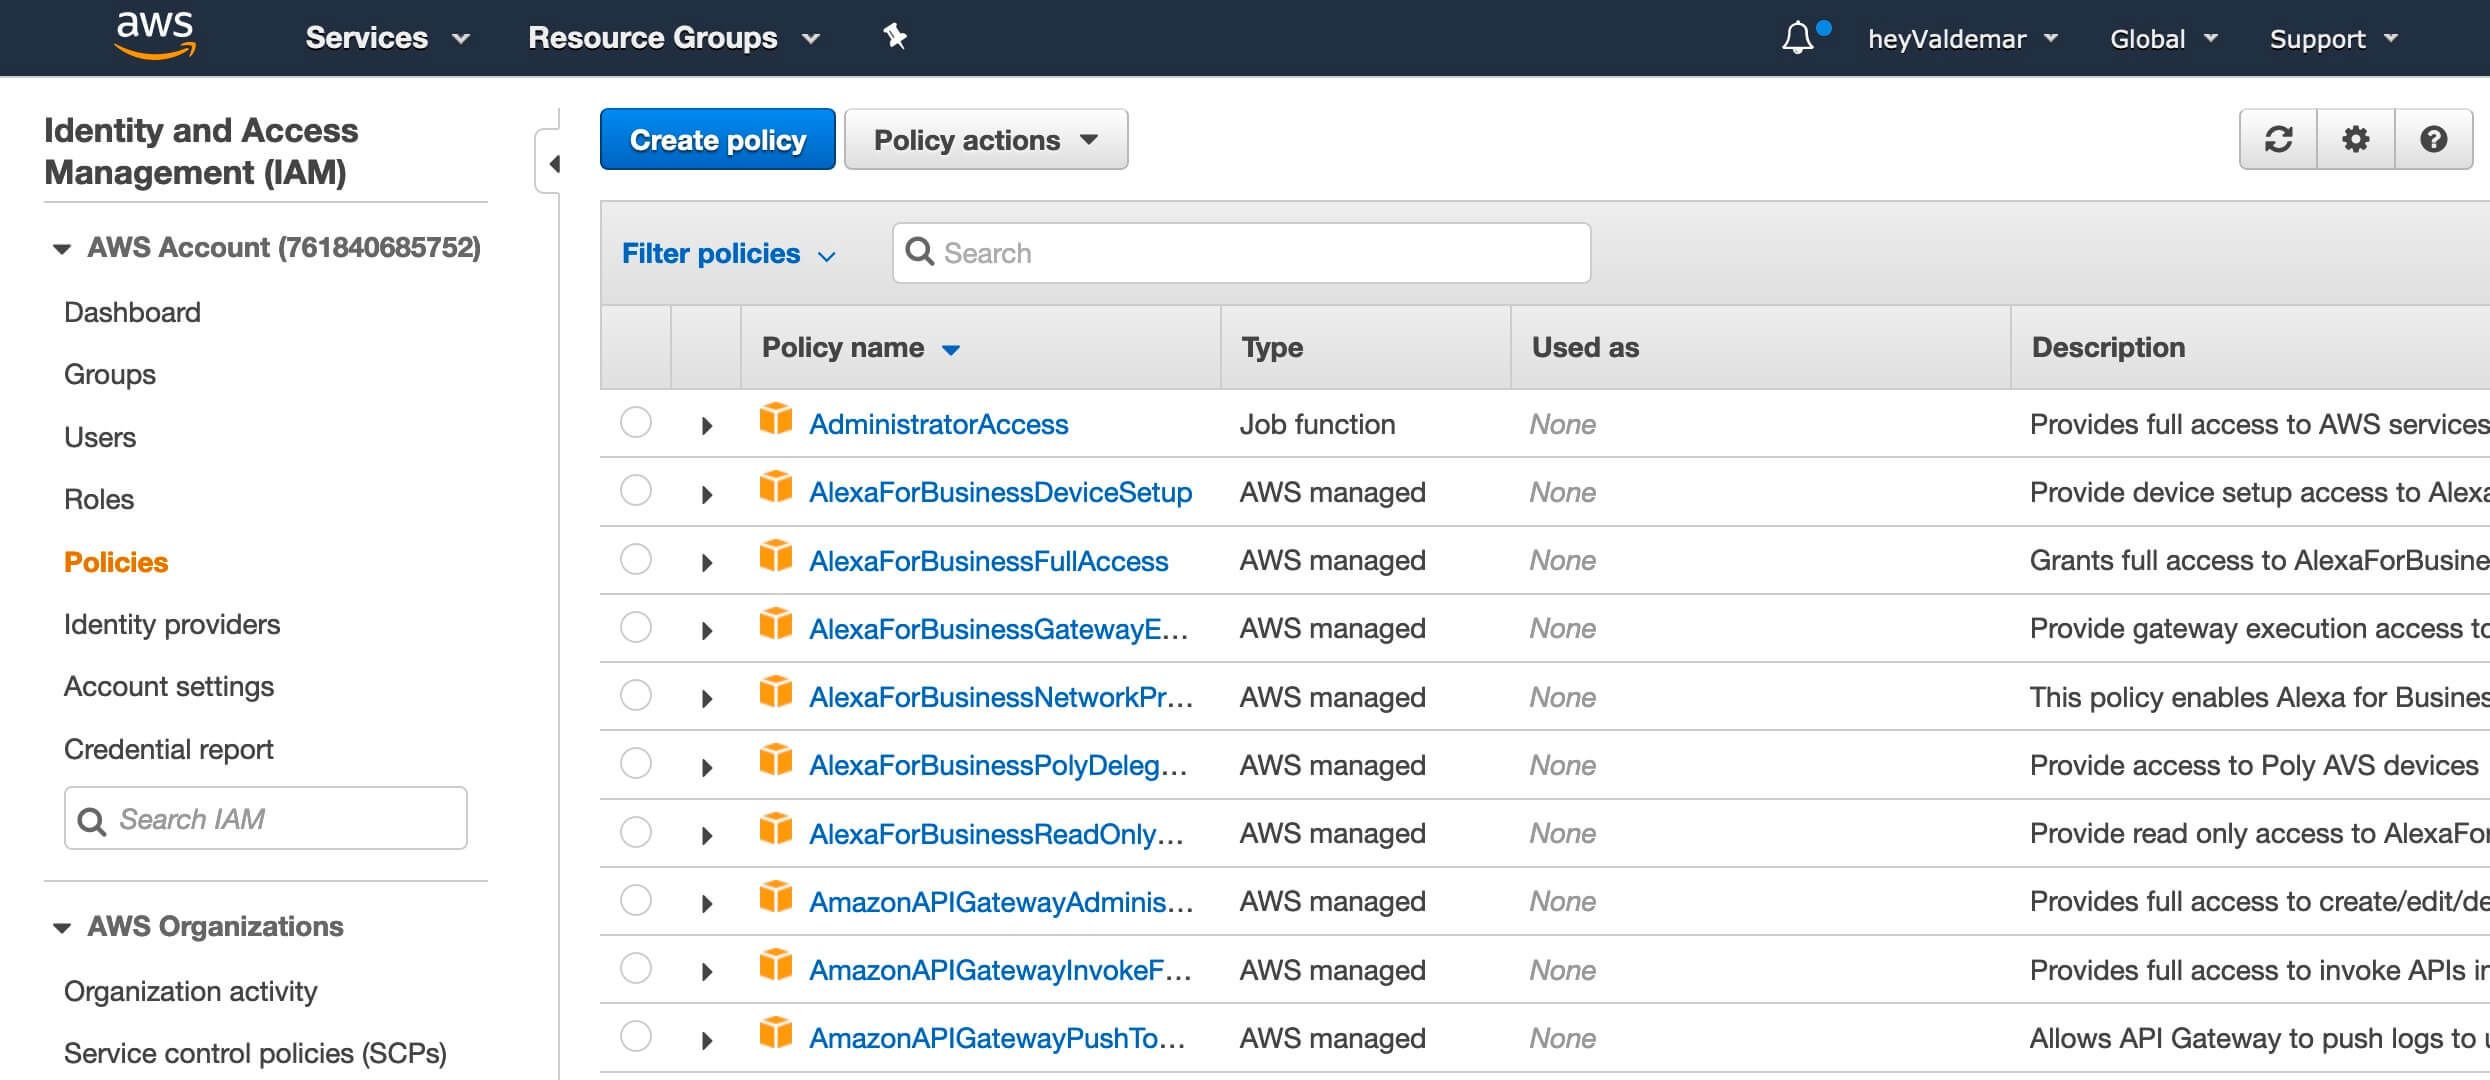
Next, go to the “Policies” section and click on the “Create policy” button.
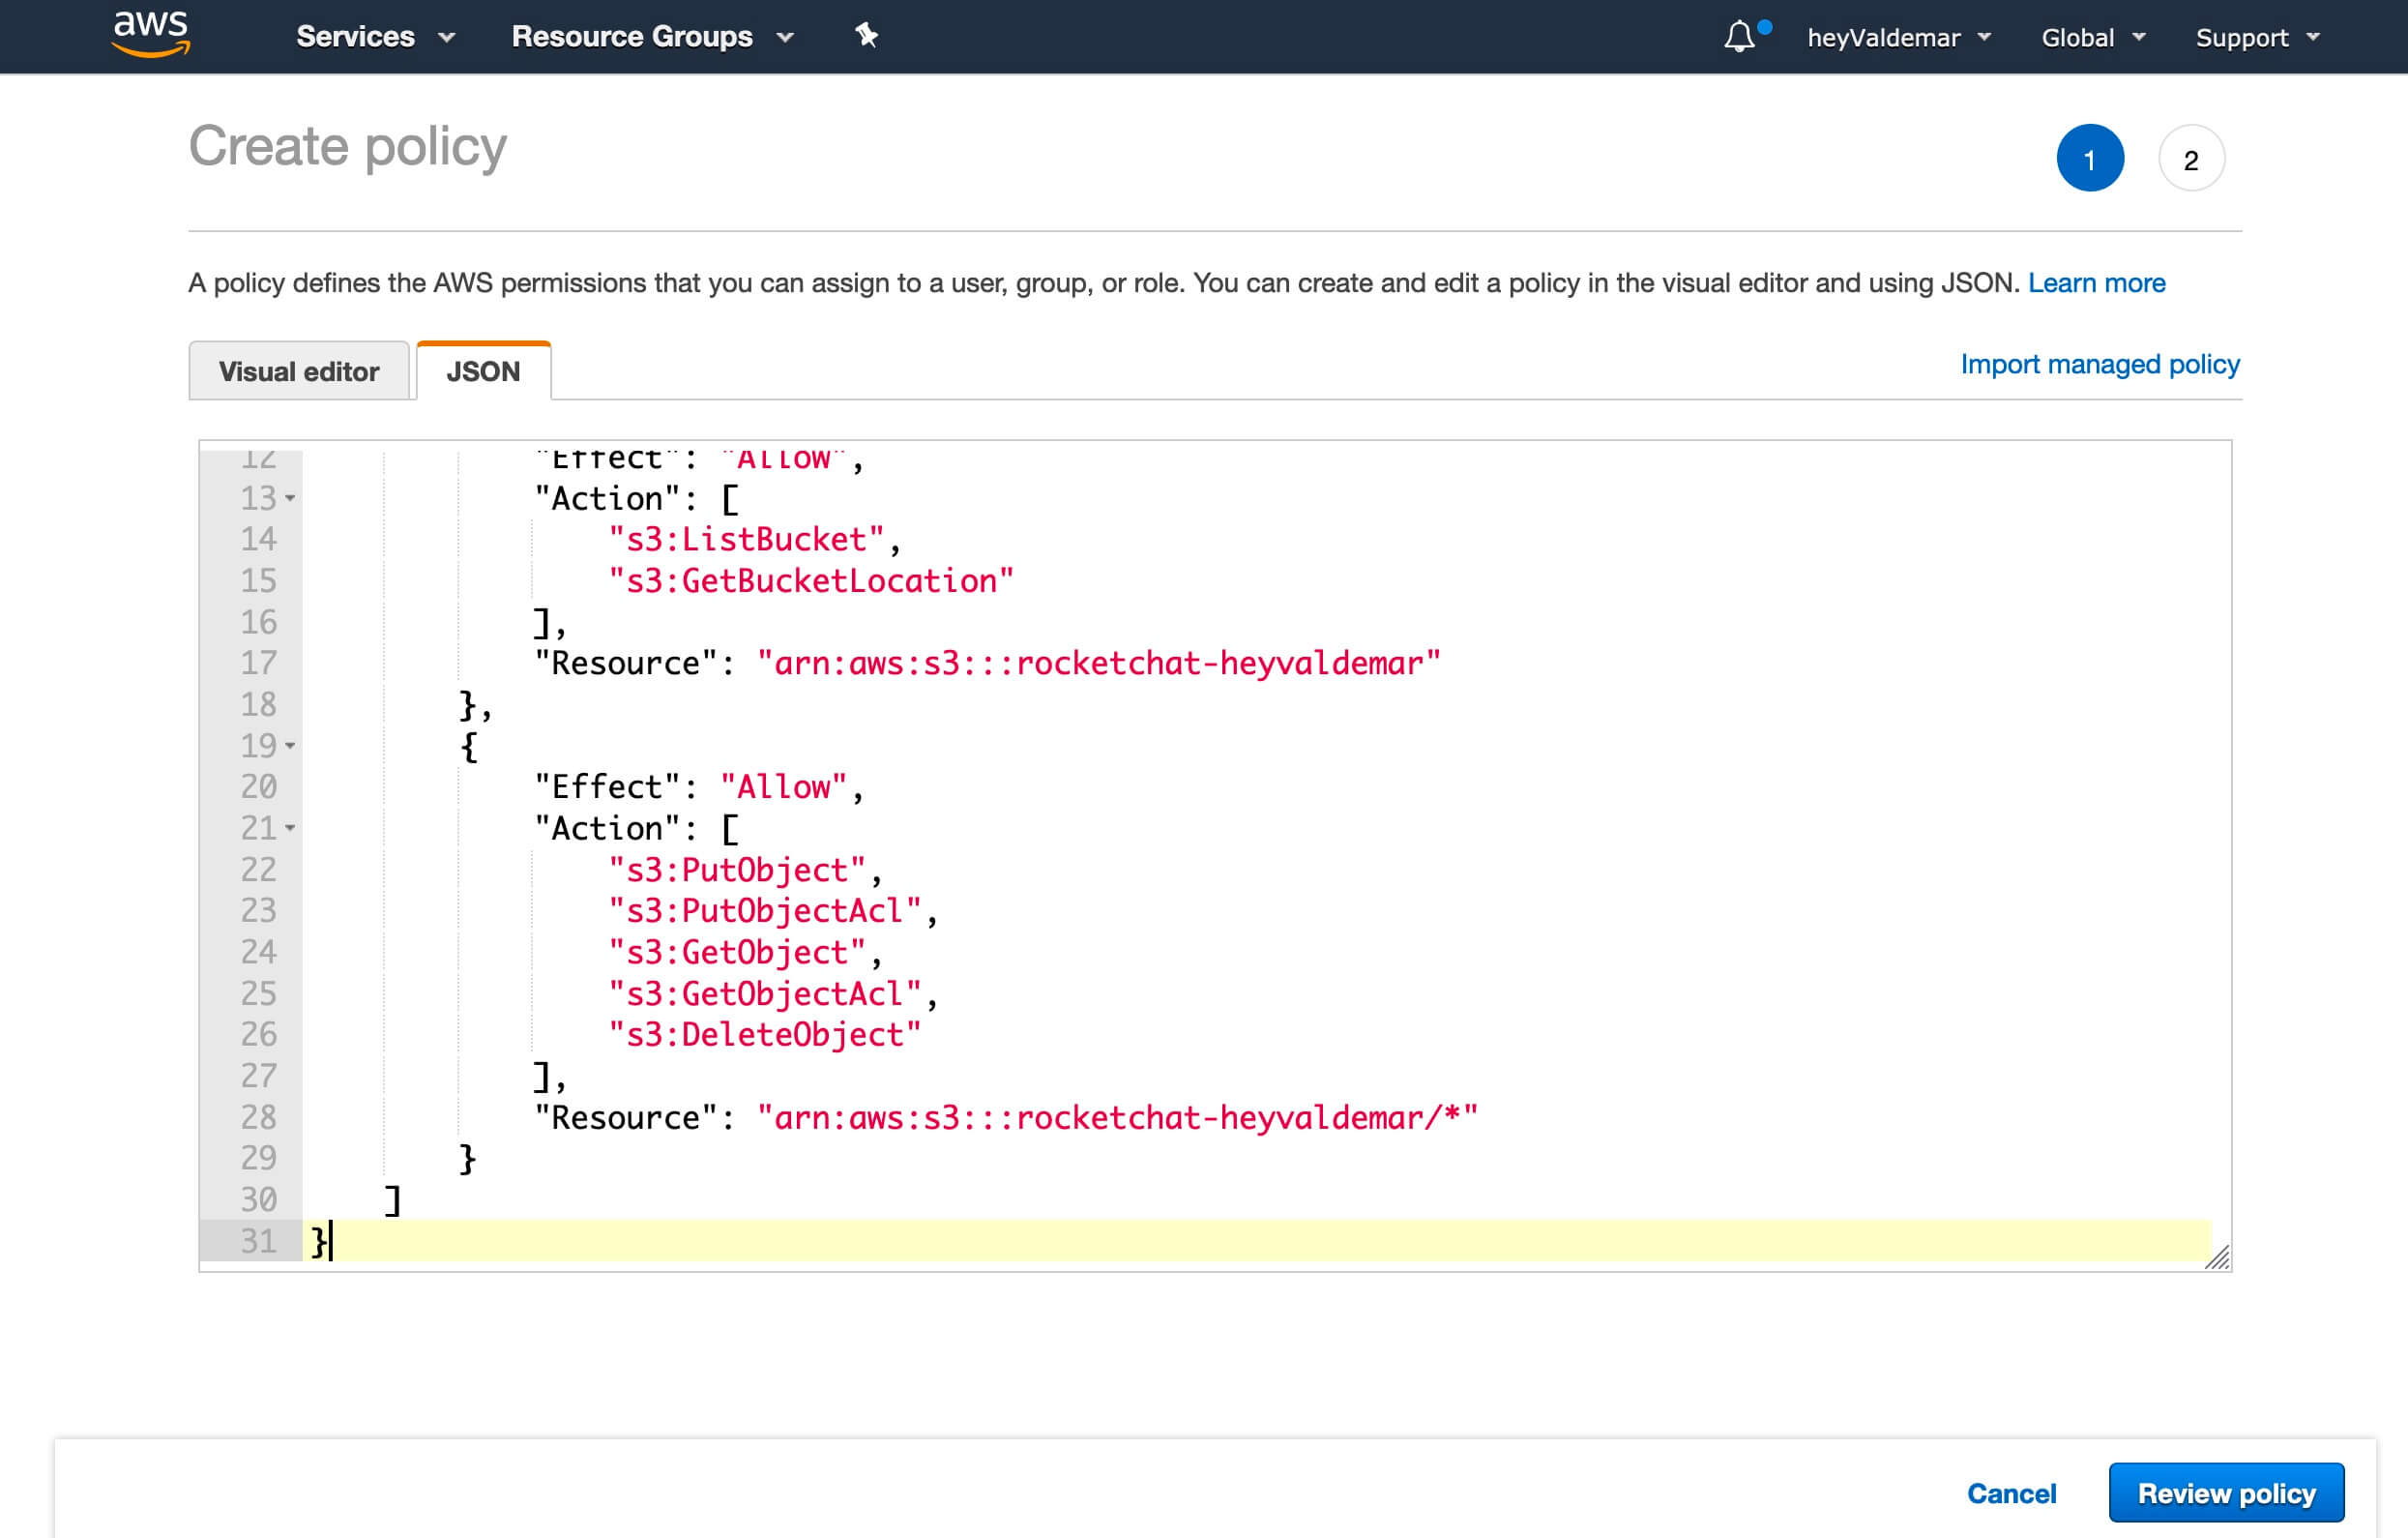
Go to the “JSON” tab.
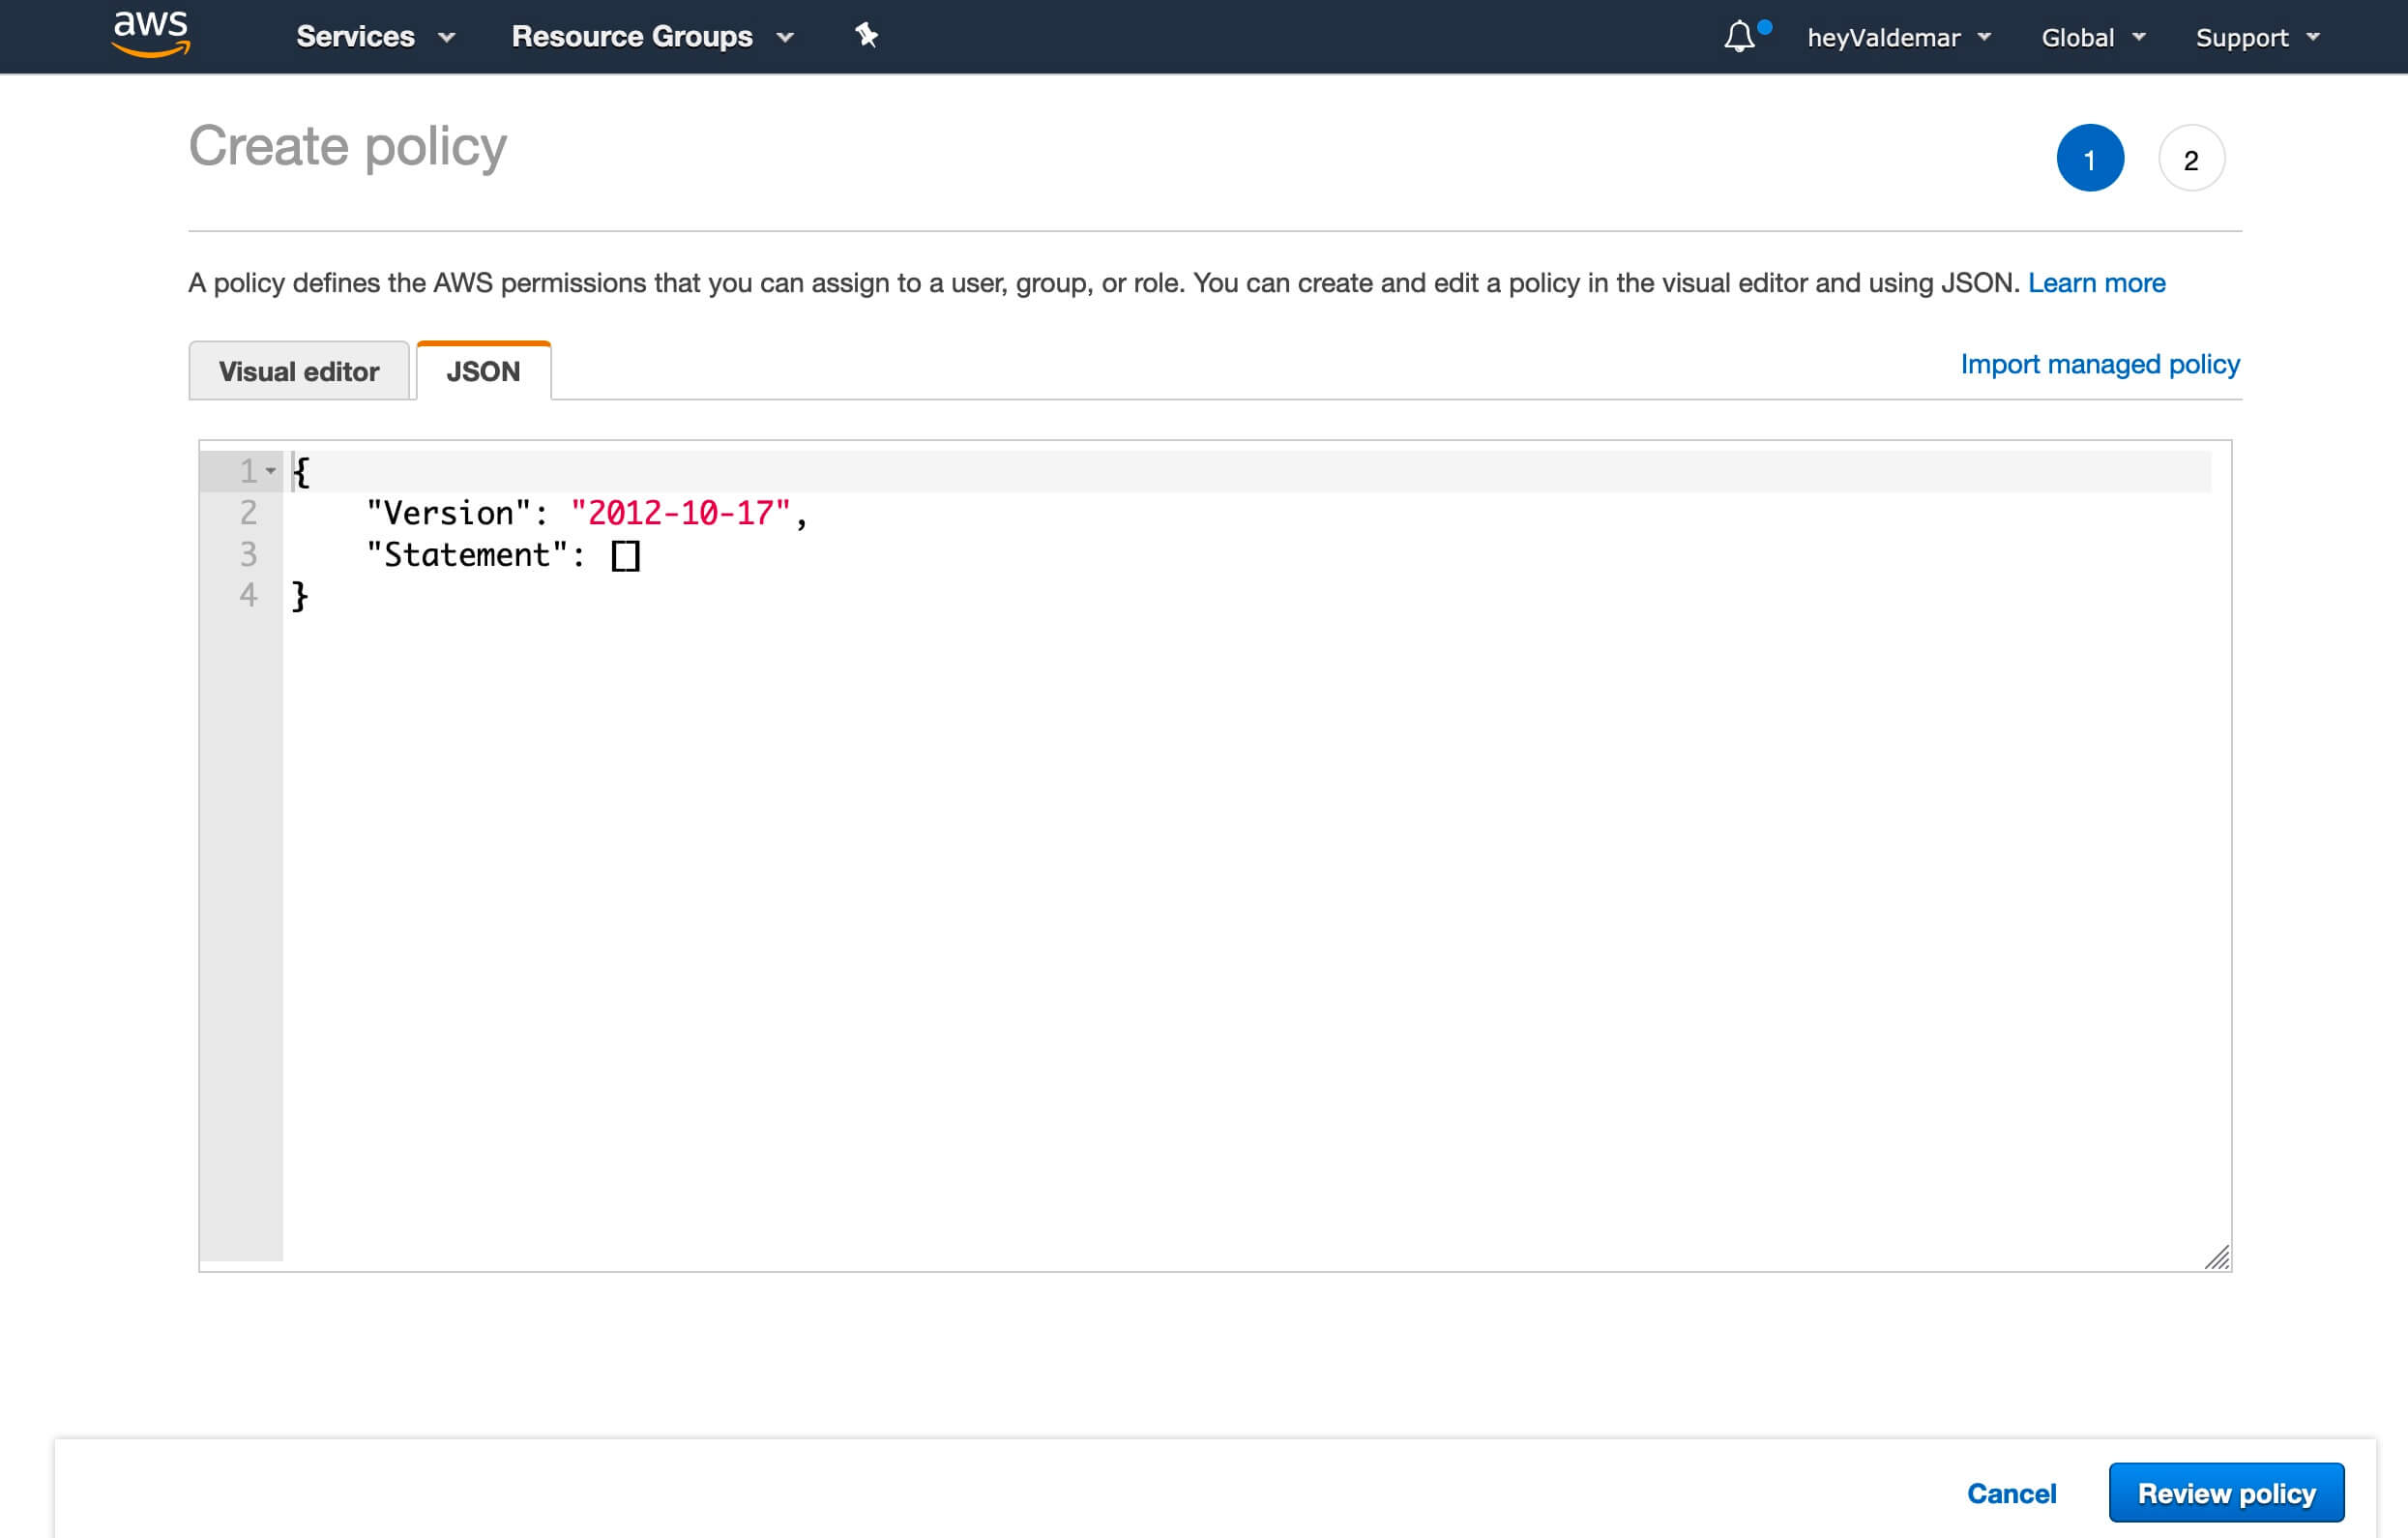
Insert the following parameters for the policy.
This guide uses “rocketchat-heyvaldemar” as the bucket name. You will need to provide your cart name.
Click on the “Review policy” button.
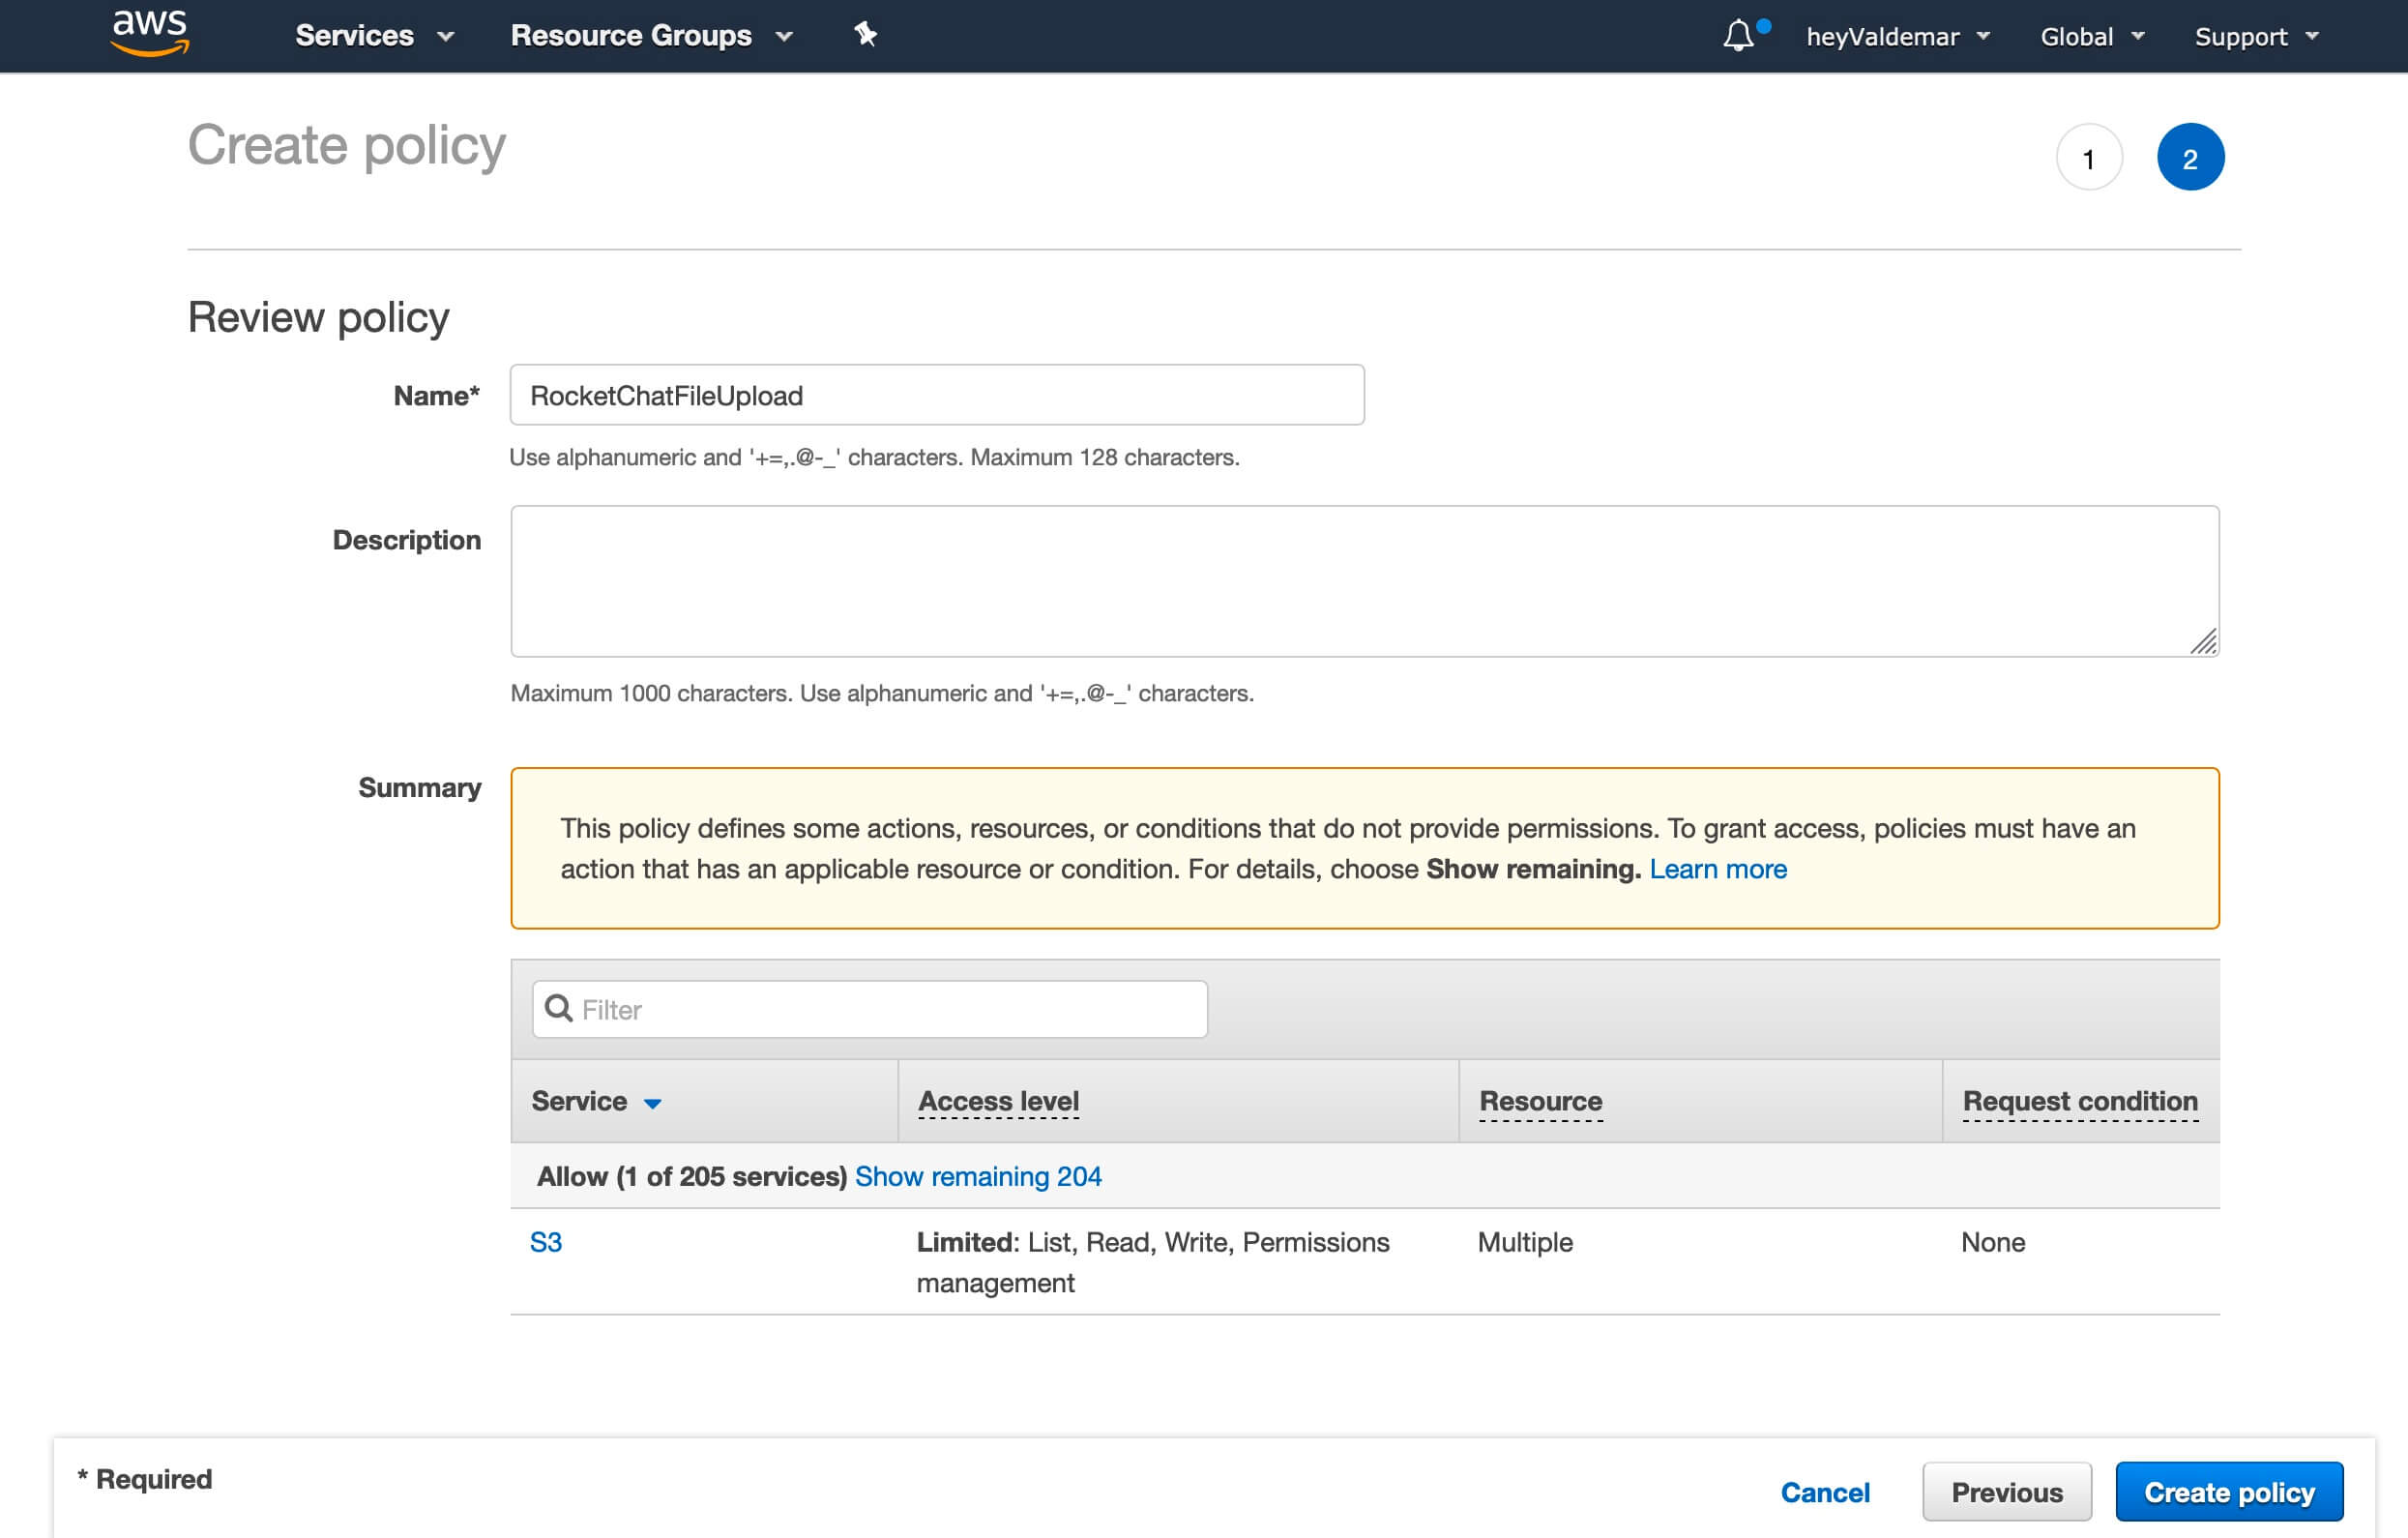
In the “Name” field, specify the name for the new policy and click on the “Create Policy” button.
In this tutorial, “RocketChatFileUpload” will be used as the policy name to access the previously created bucket.
The policy has been successfully created.
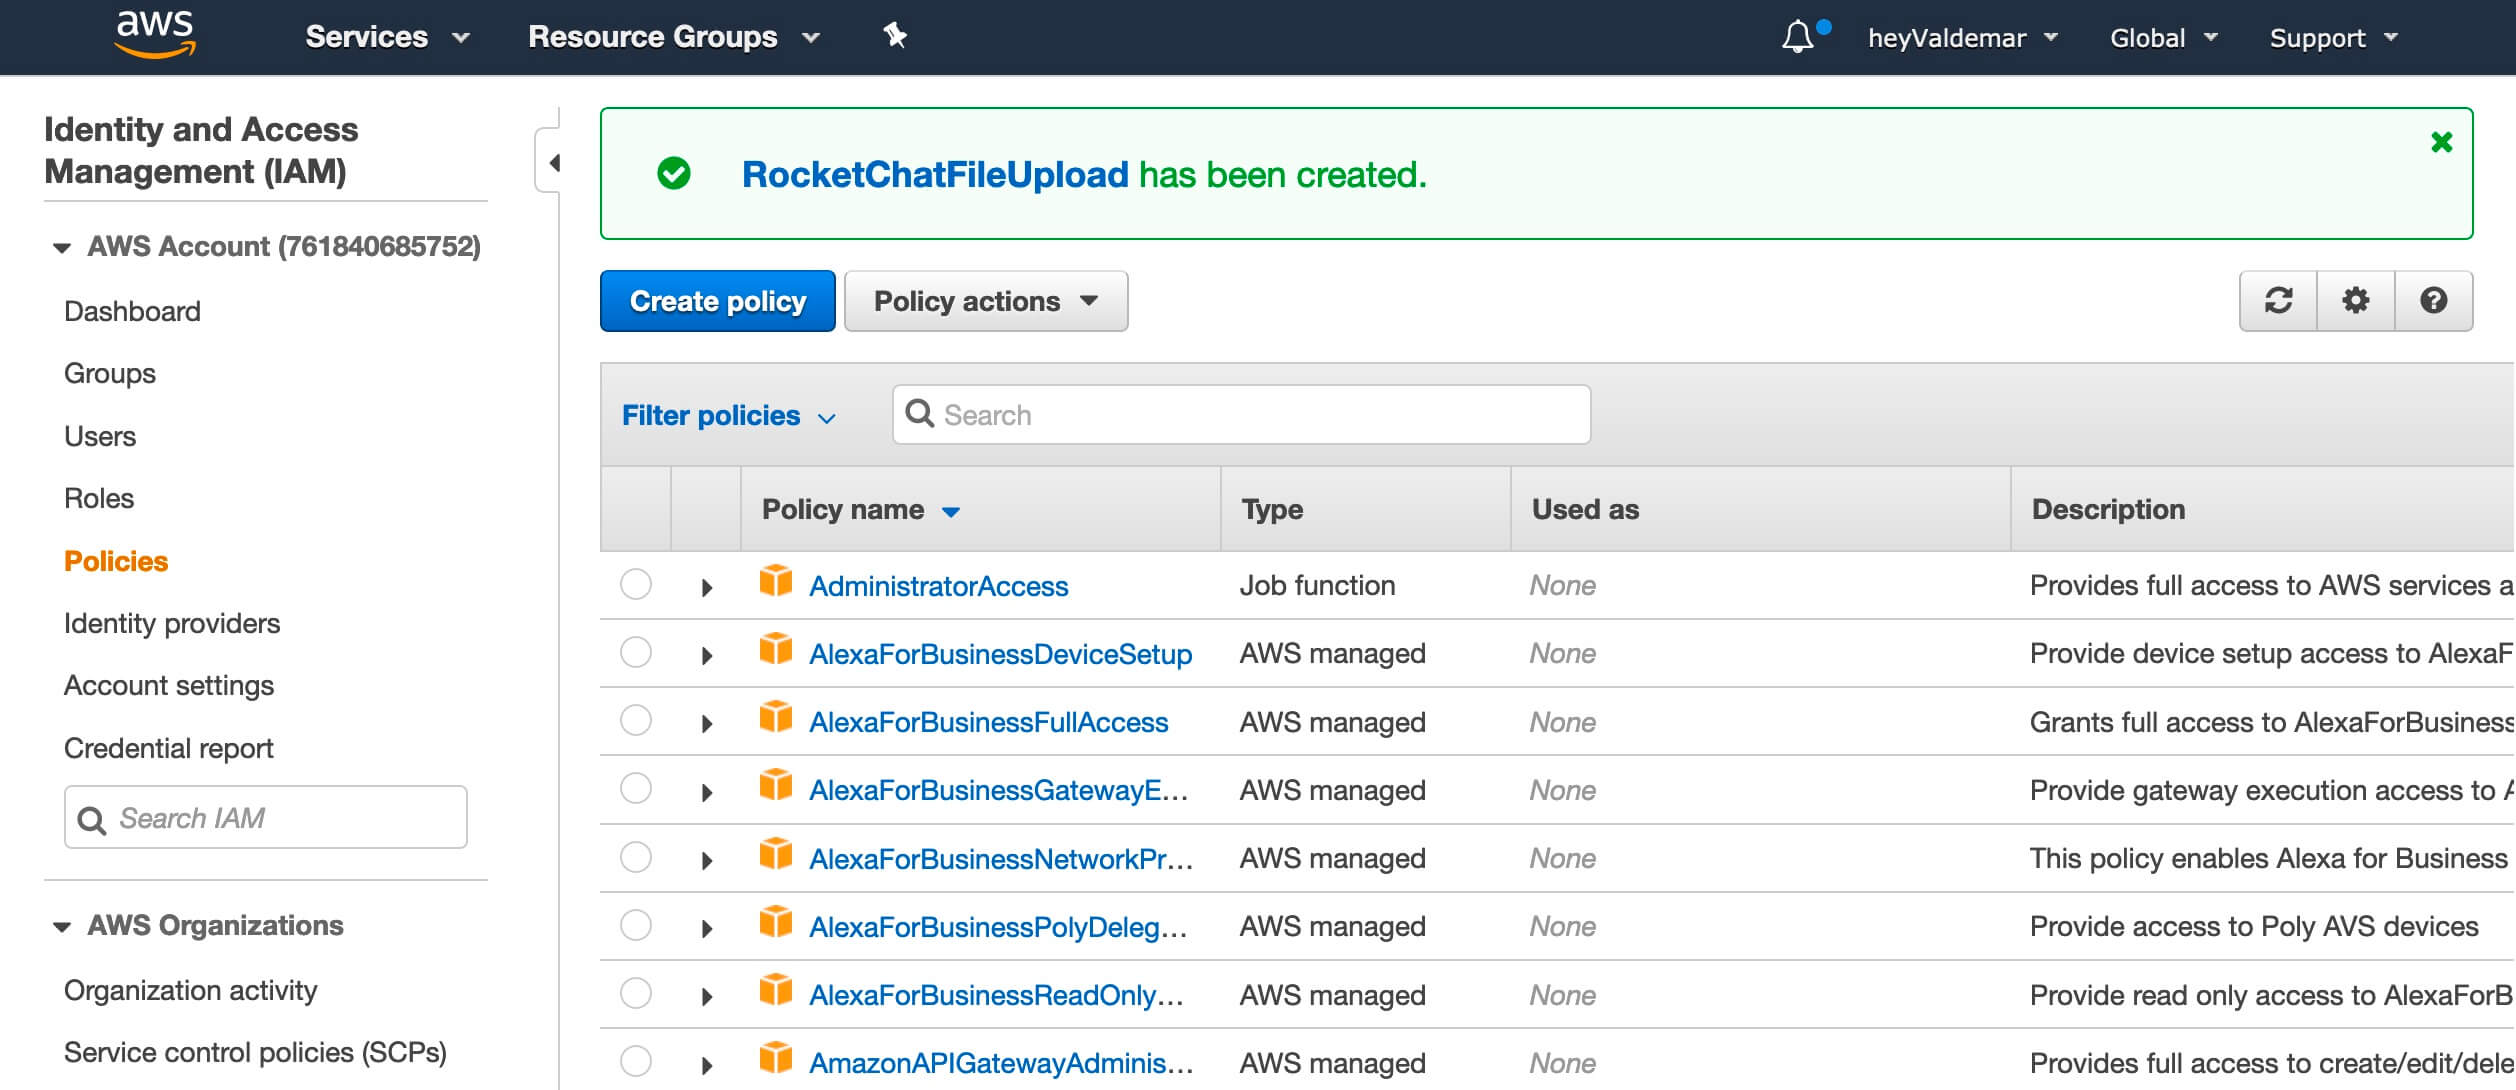
Now you need to create a new user and assign him the previously created basket access policy. This user will be required to connect Rocket.Chat to S3 bucket.
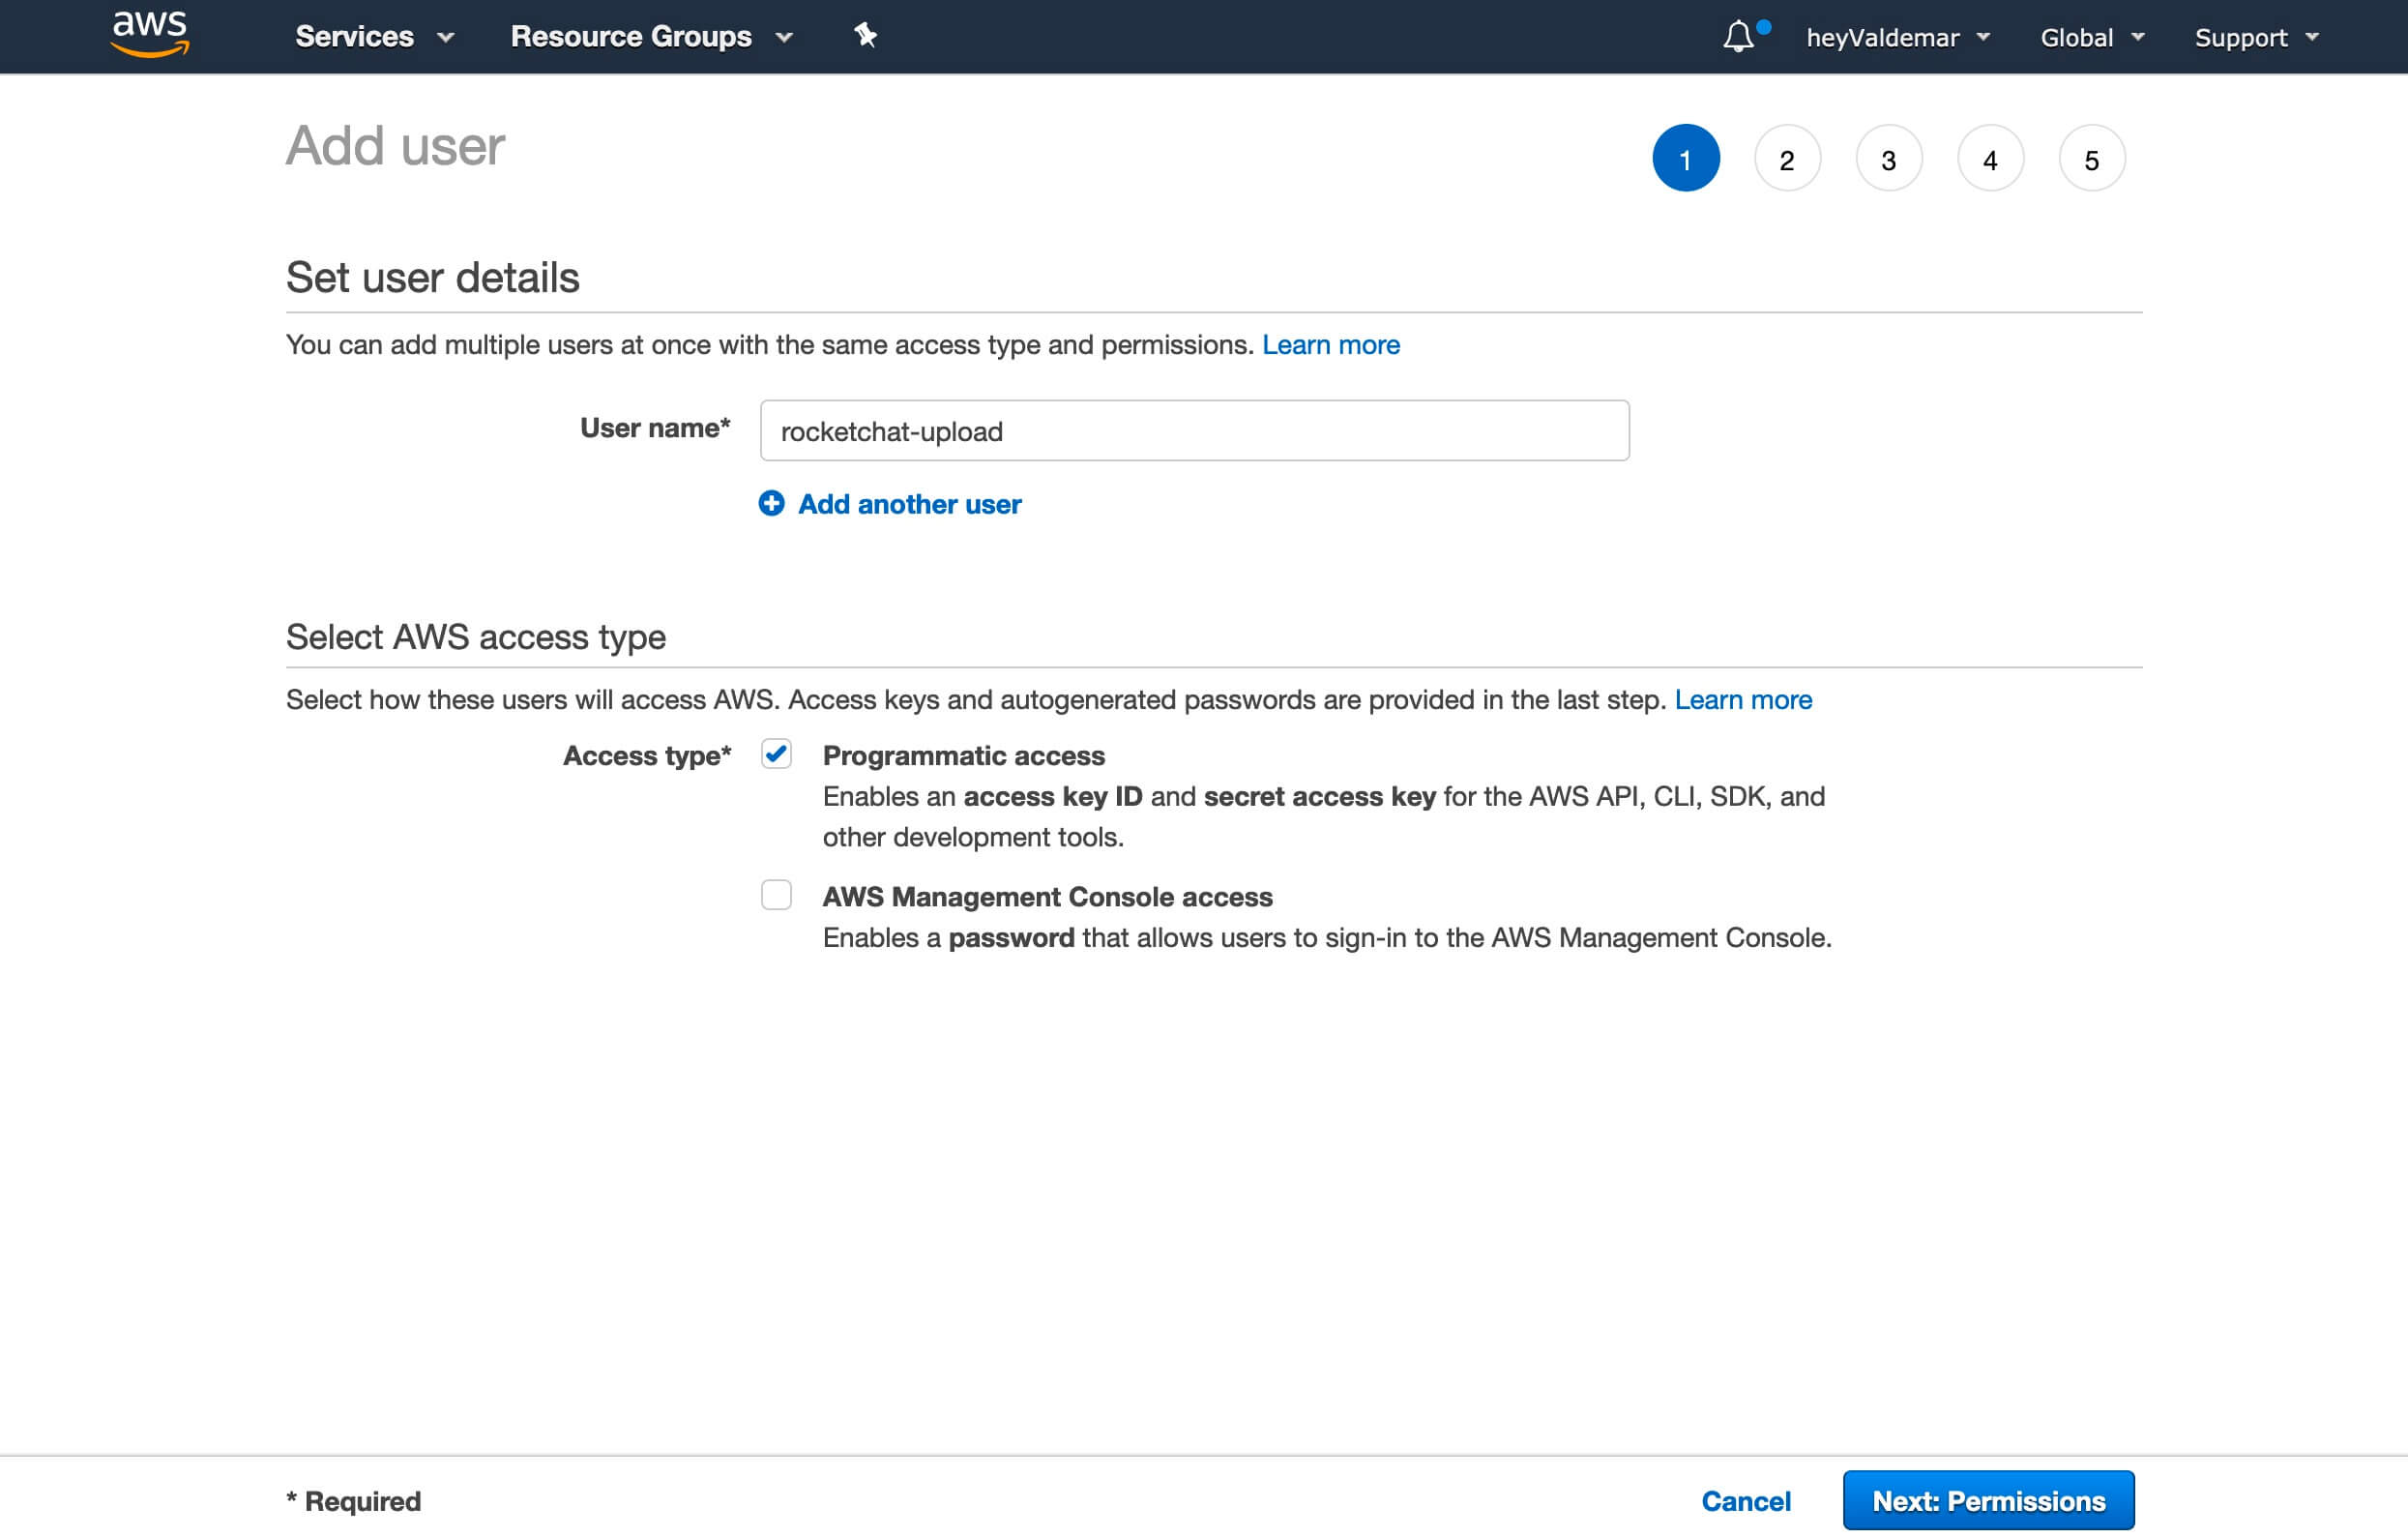
Go to the “Users” section and click on the “Add users” button.
In the “User name” field, specify the name for the new user and click on the “Next: Permissions” button.
In this manual, “rocketchat-upload” will be used as the username.
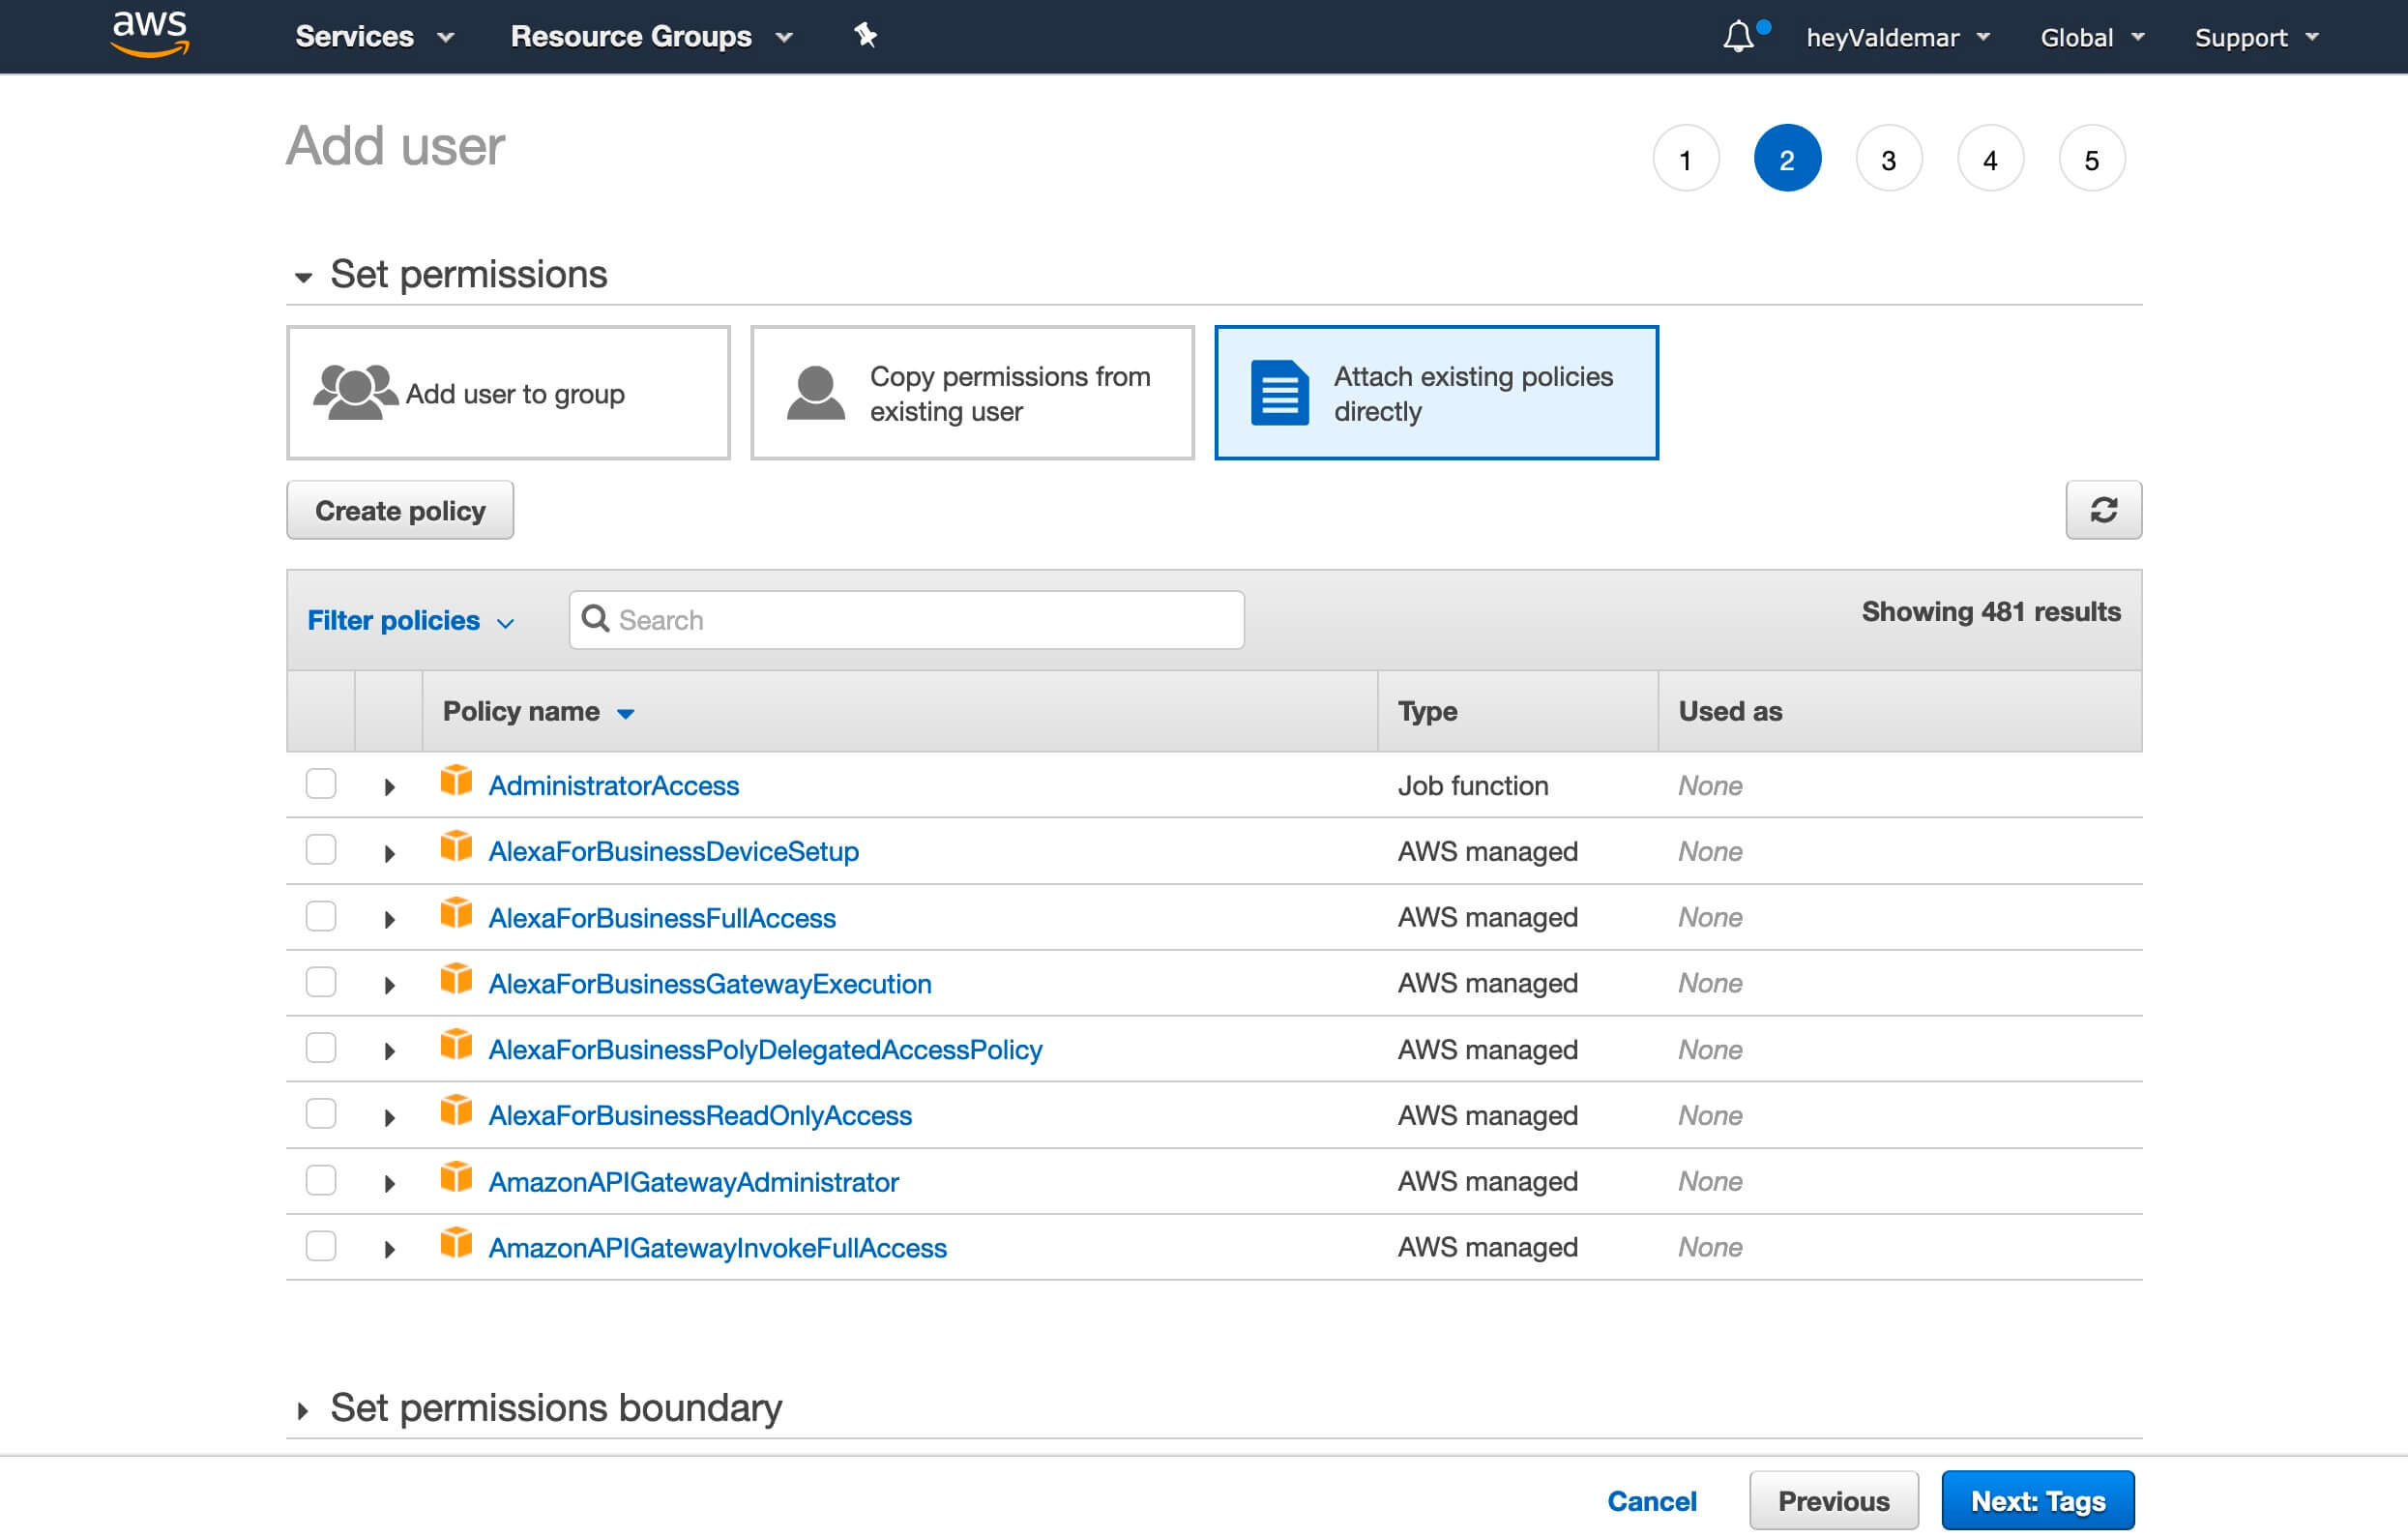
Next, select “Attach existing policies directly”.
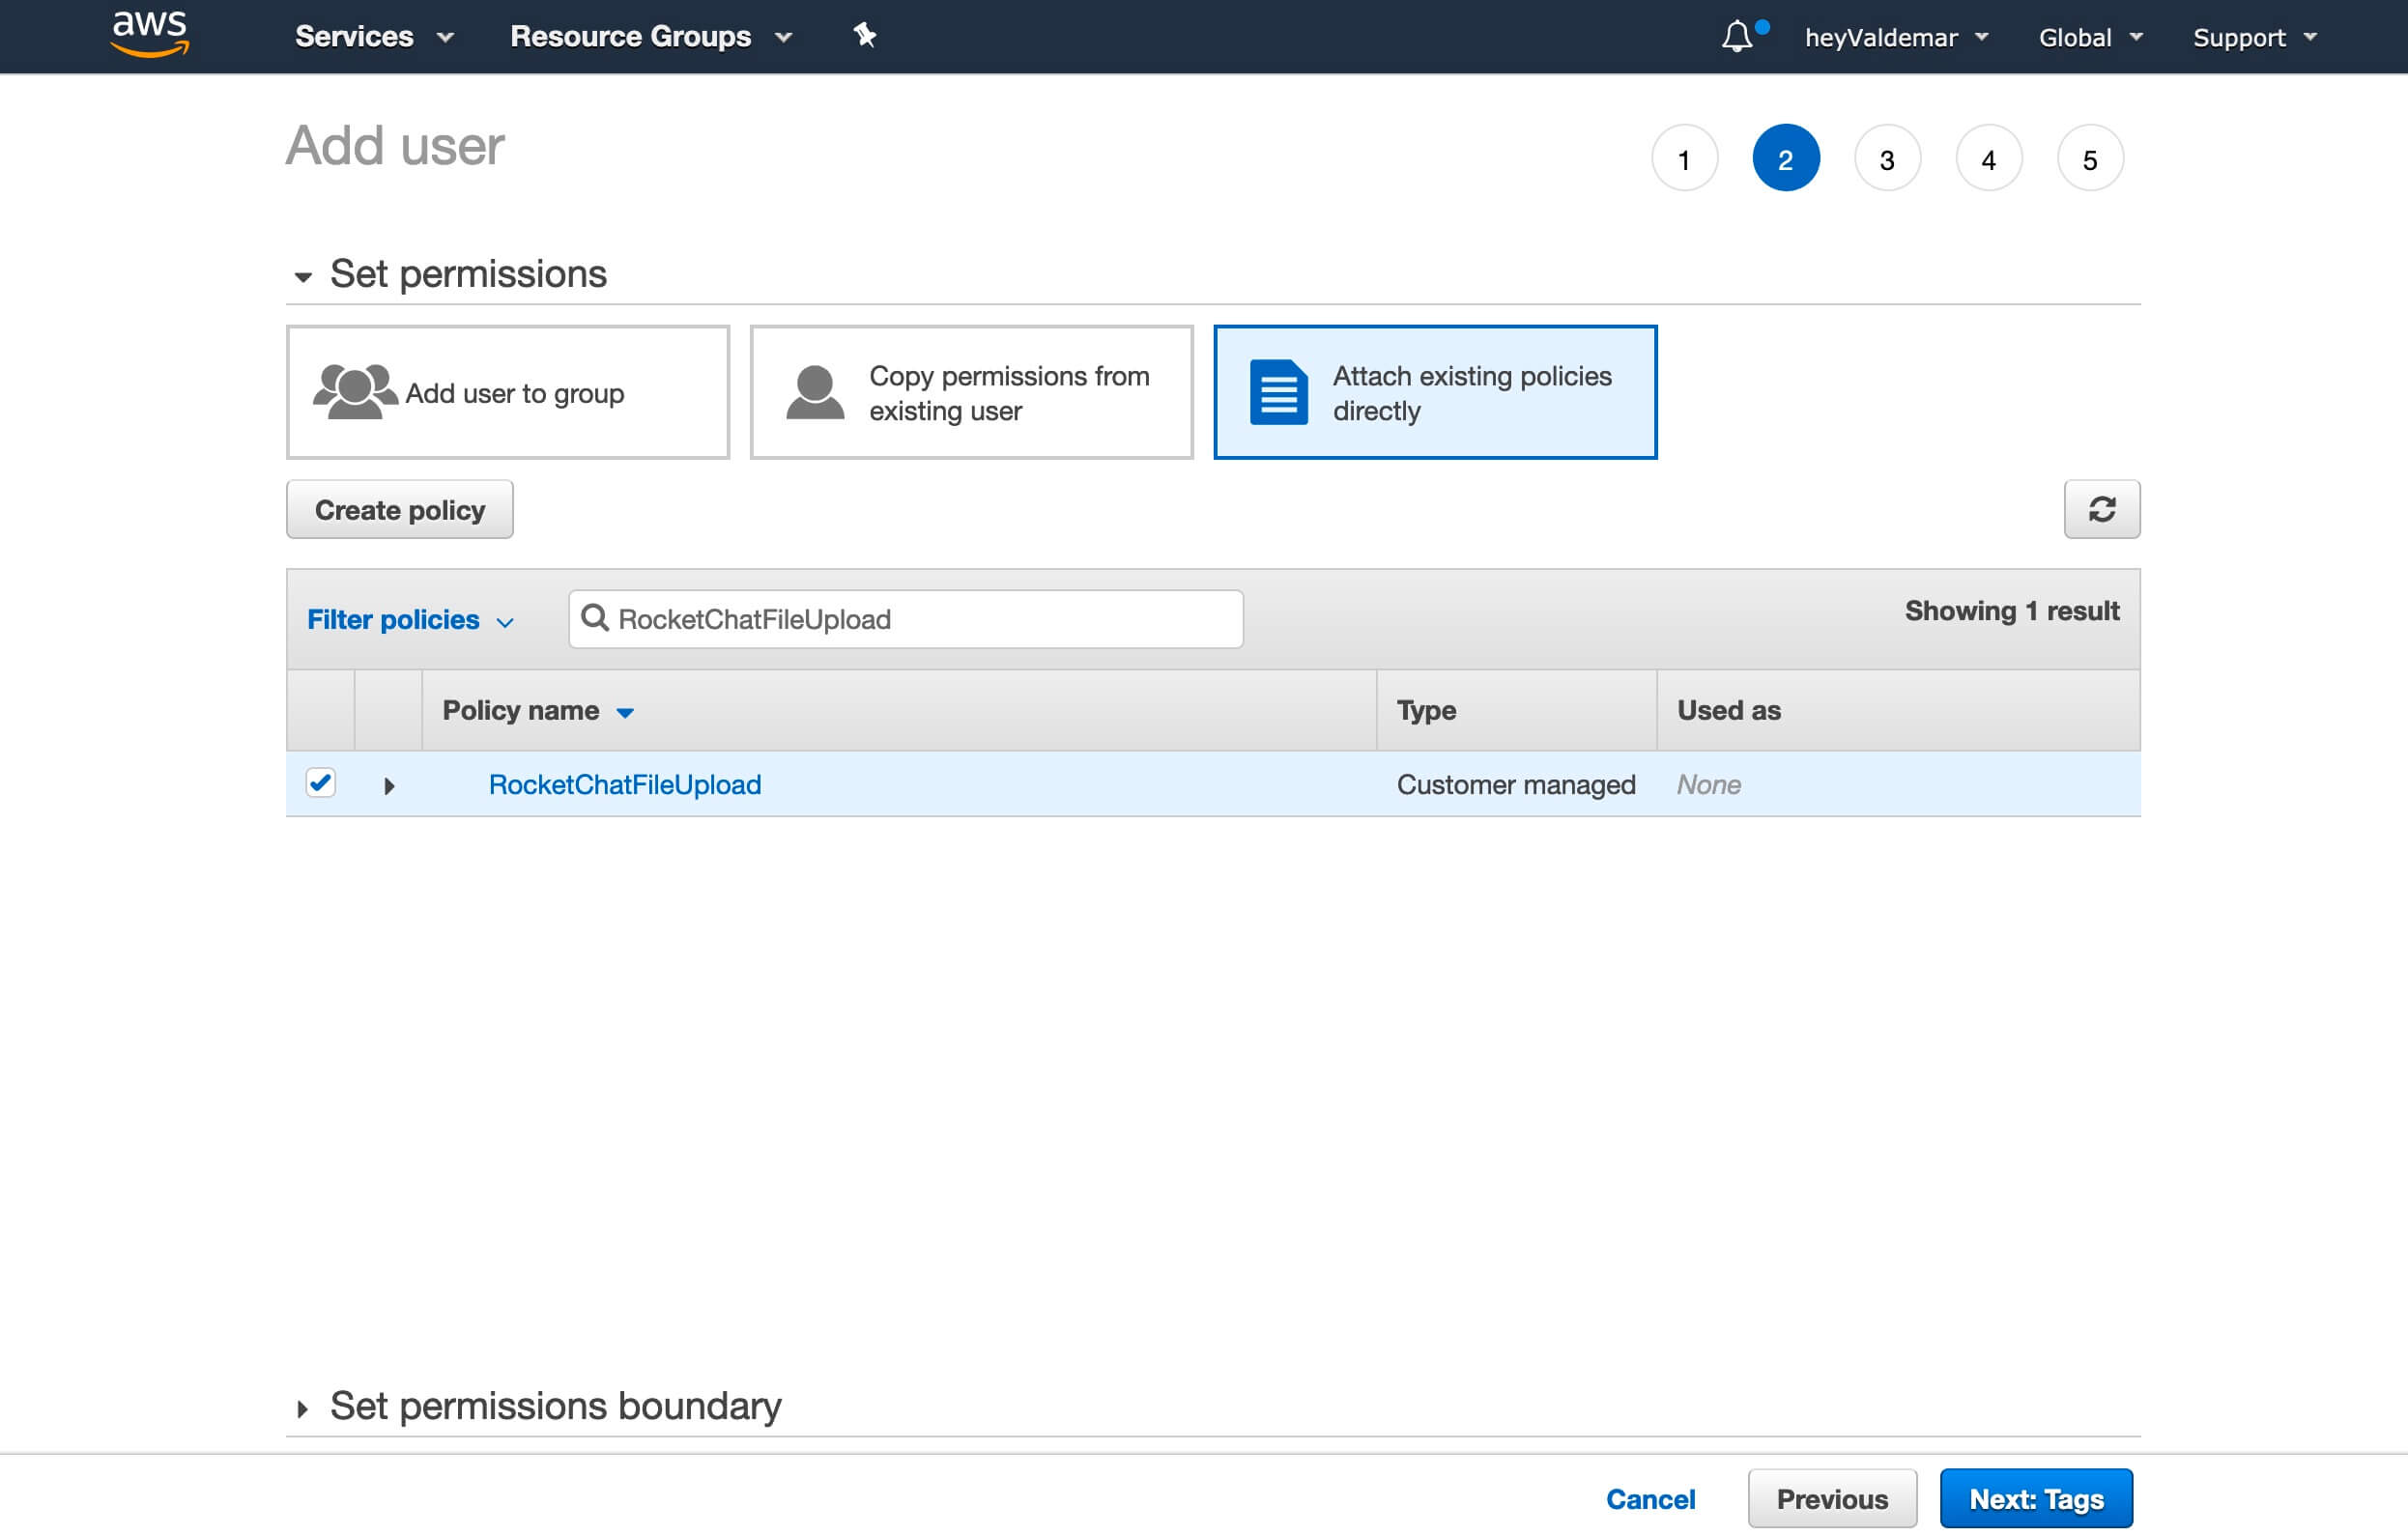
In the search bar, specify the name of the previously created policy and in the search result, select the desired policy.
In this tutorial, “RocketChatFileUpload” is used as the name of the policy to access the previously created bucket.
Click on the “Next: Tags” button.
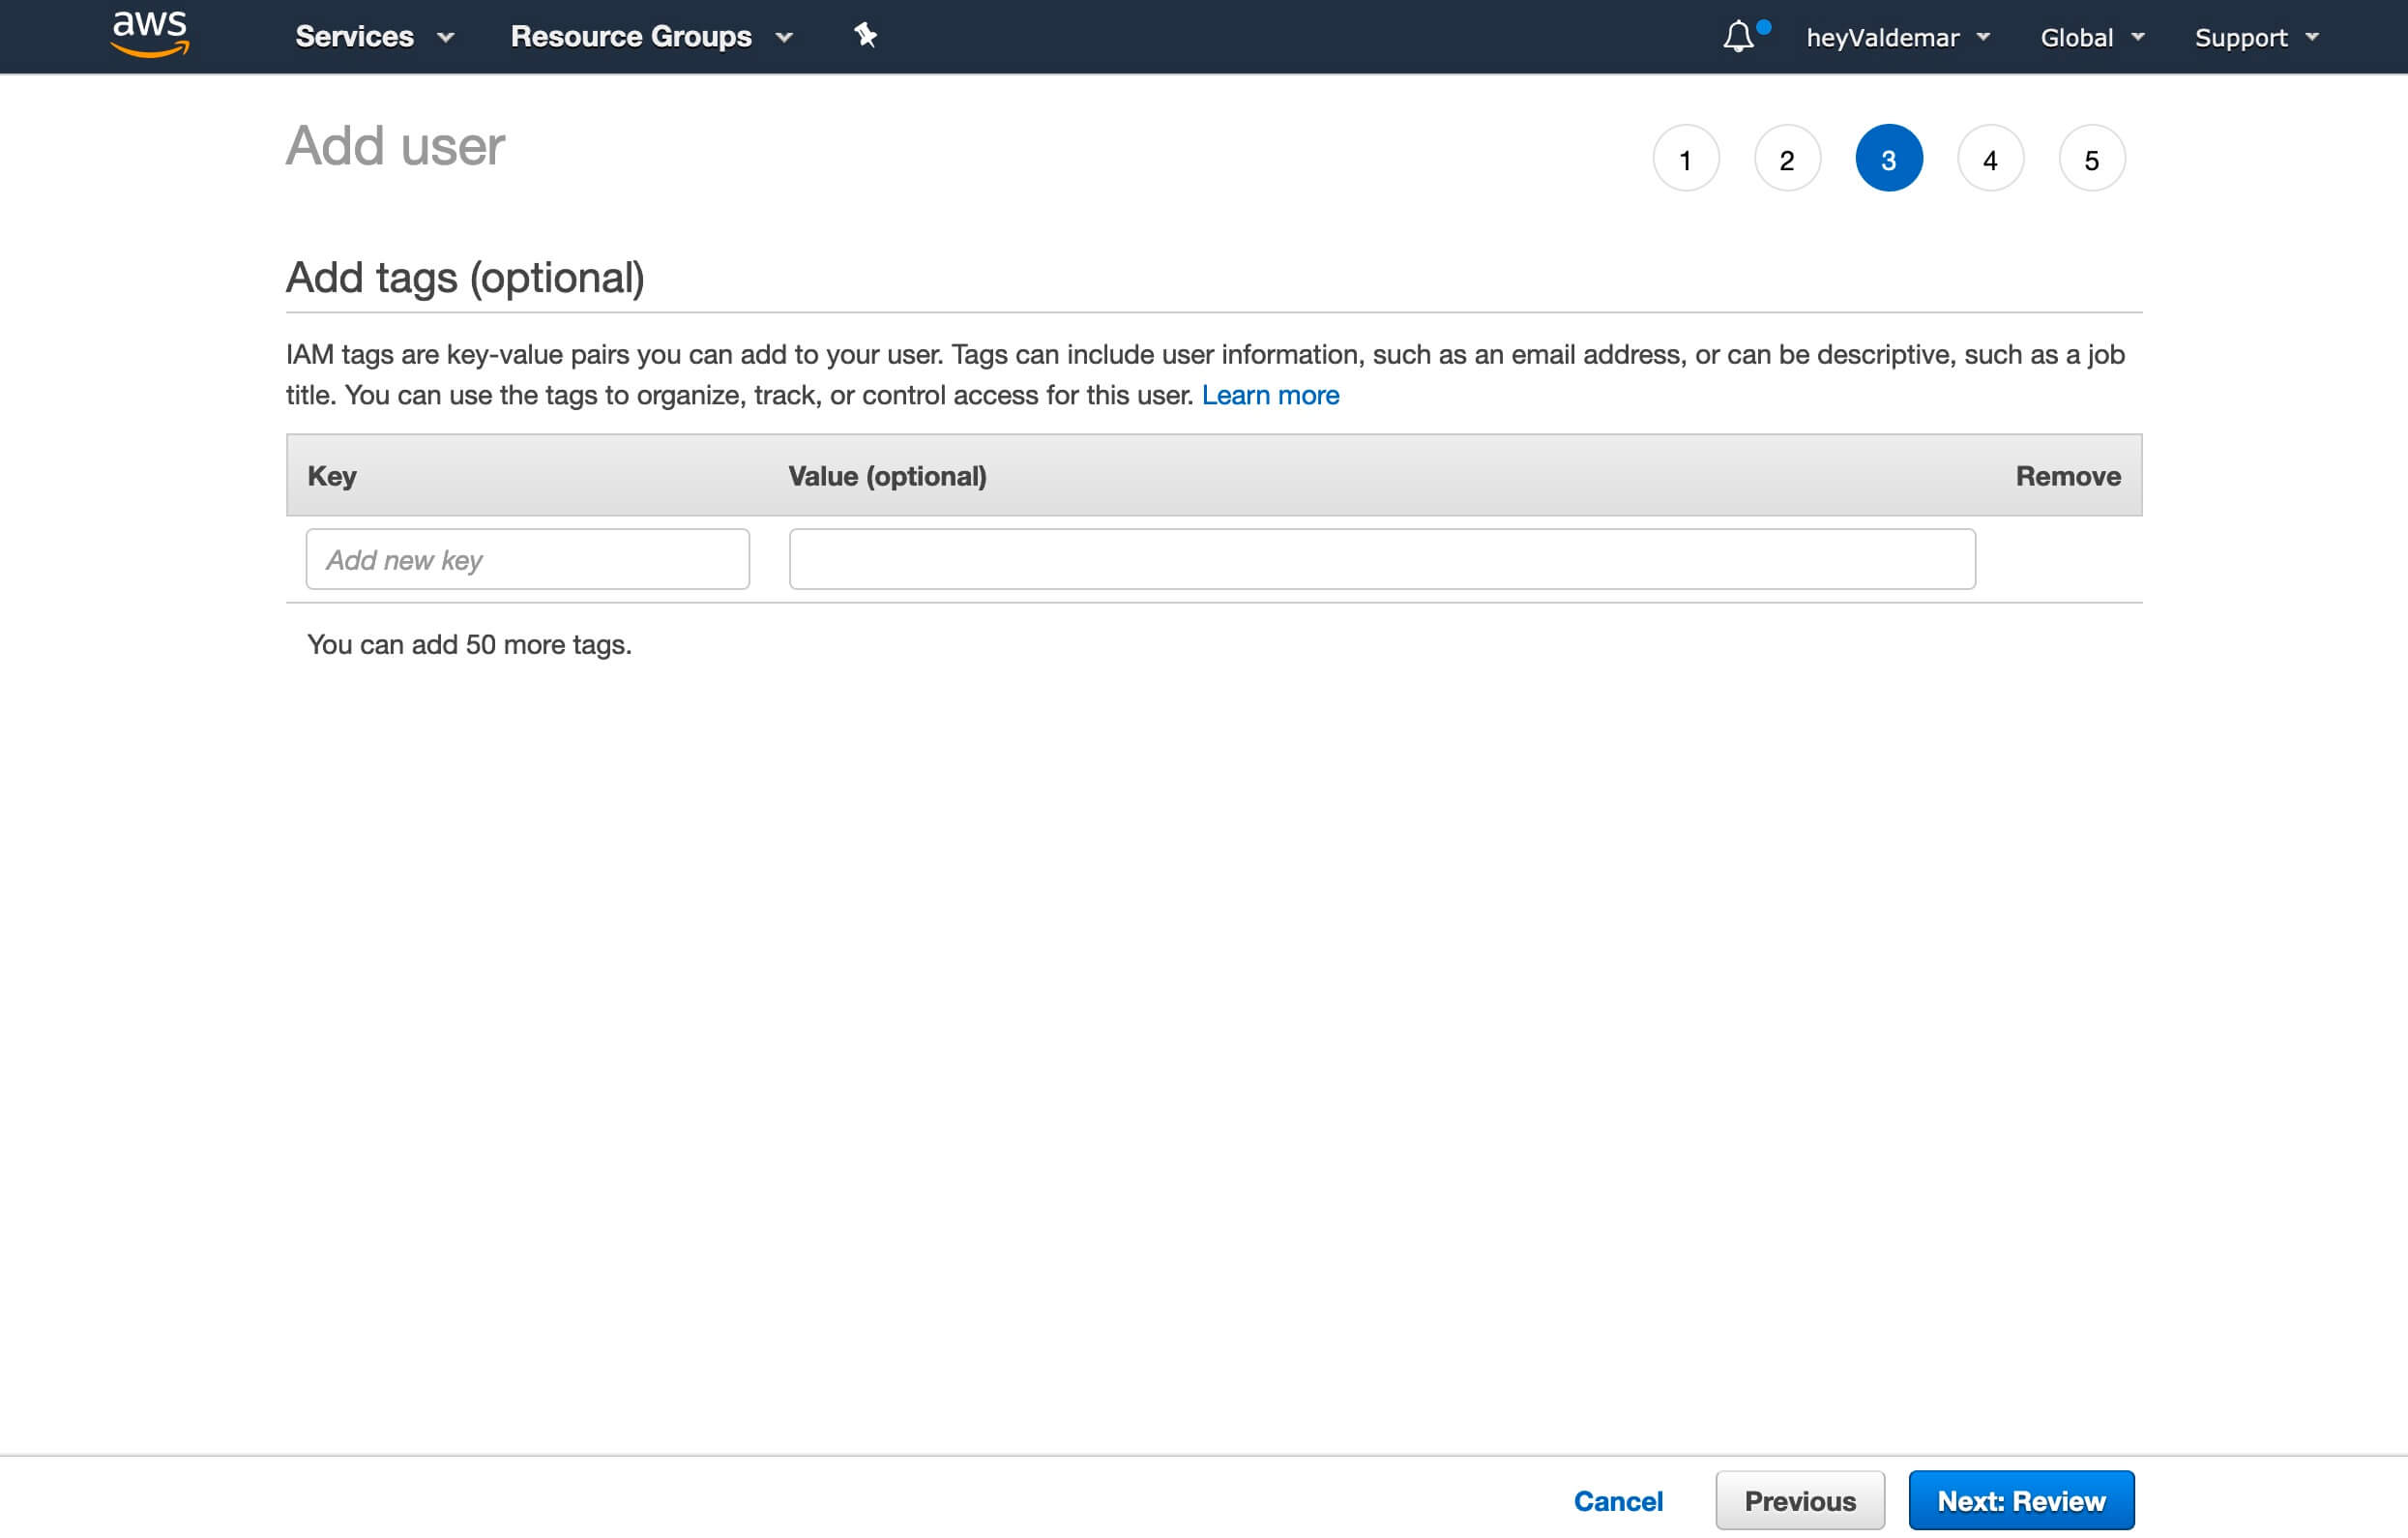
In the next step, you do not have to make any changes.
Click on the “Next: Review” button.
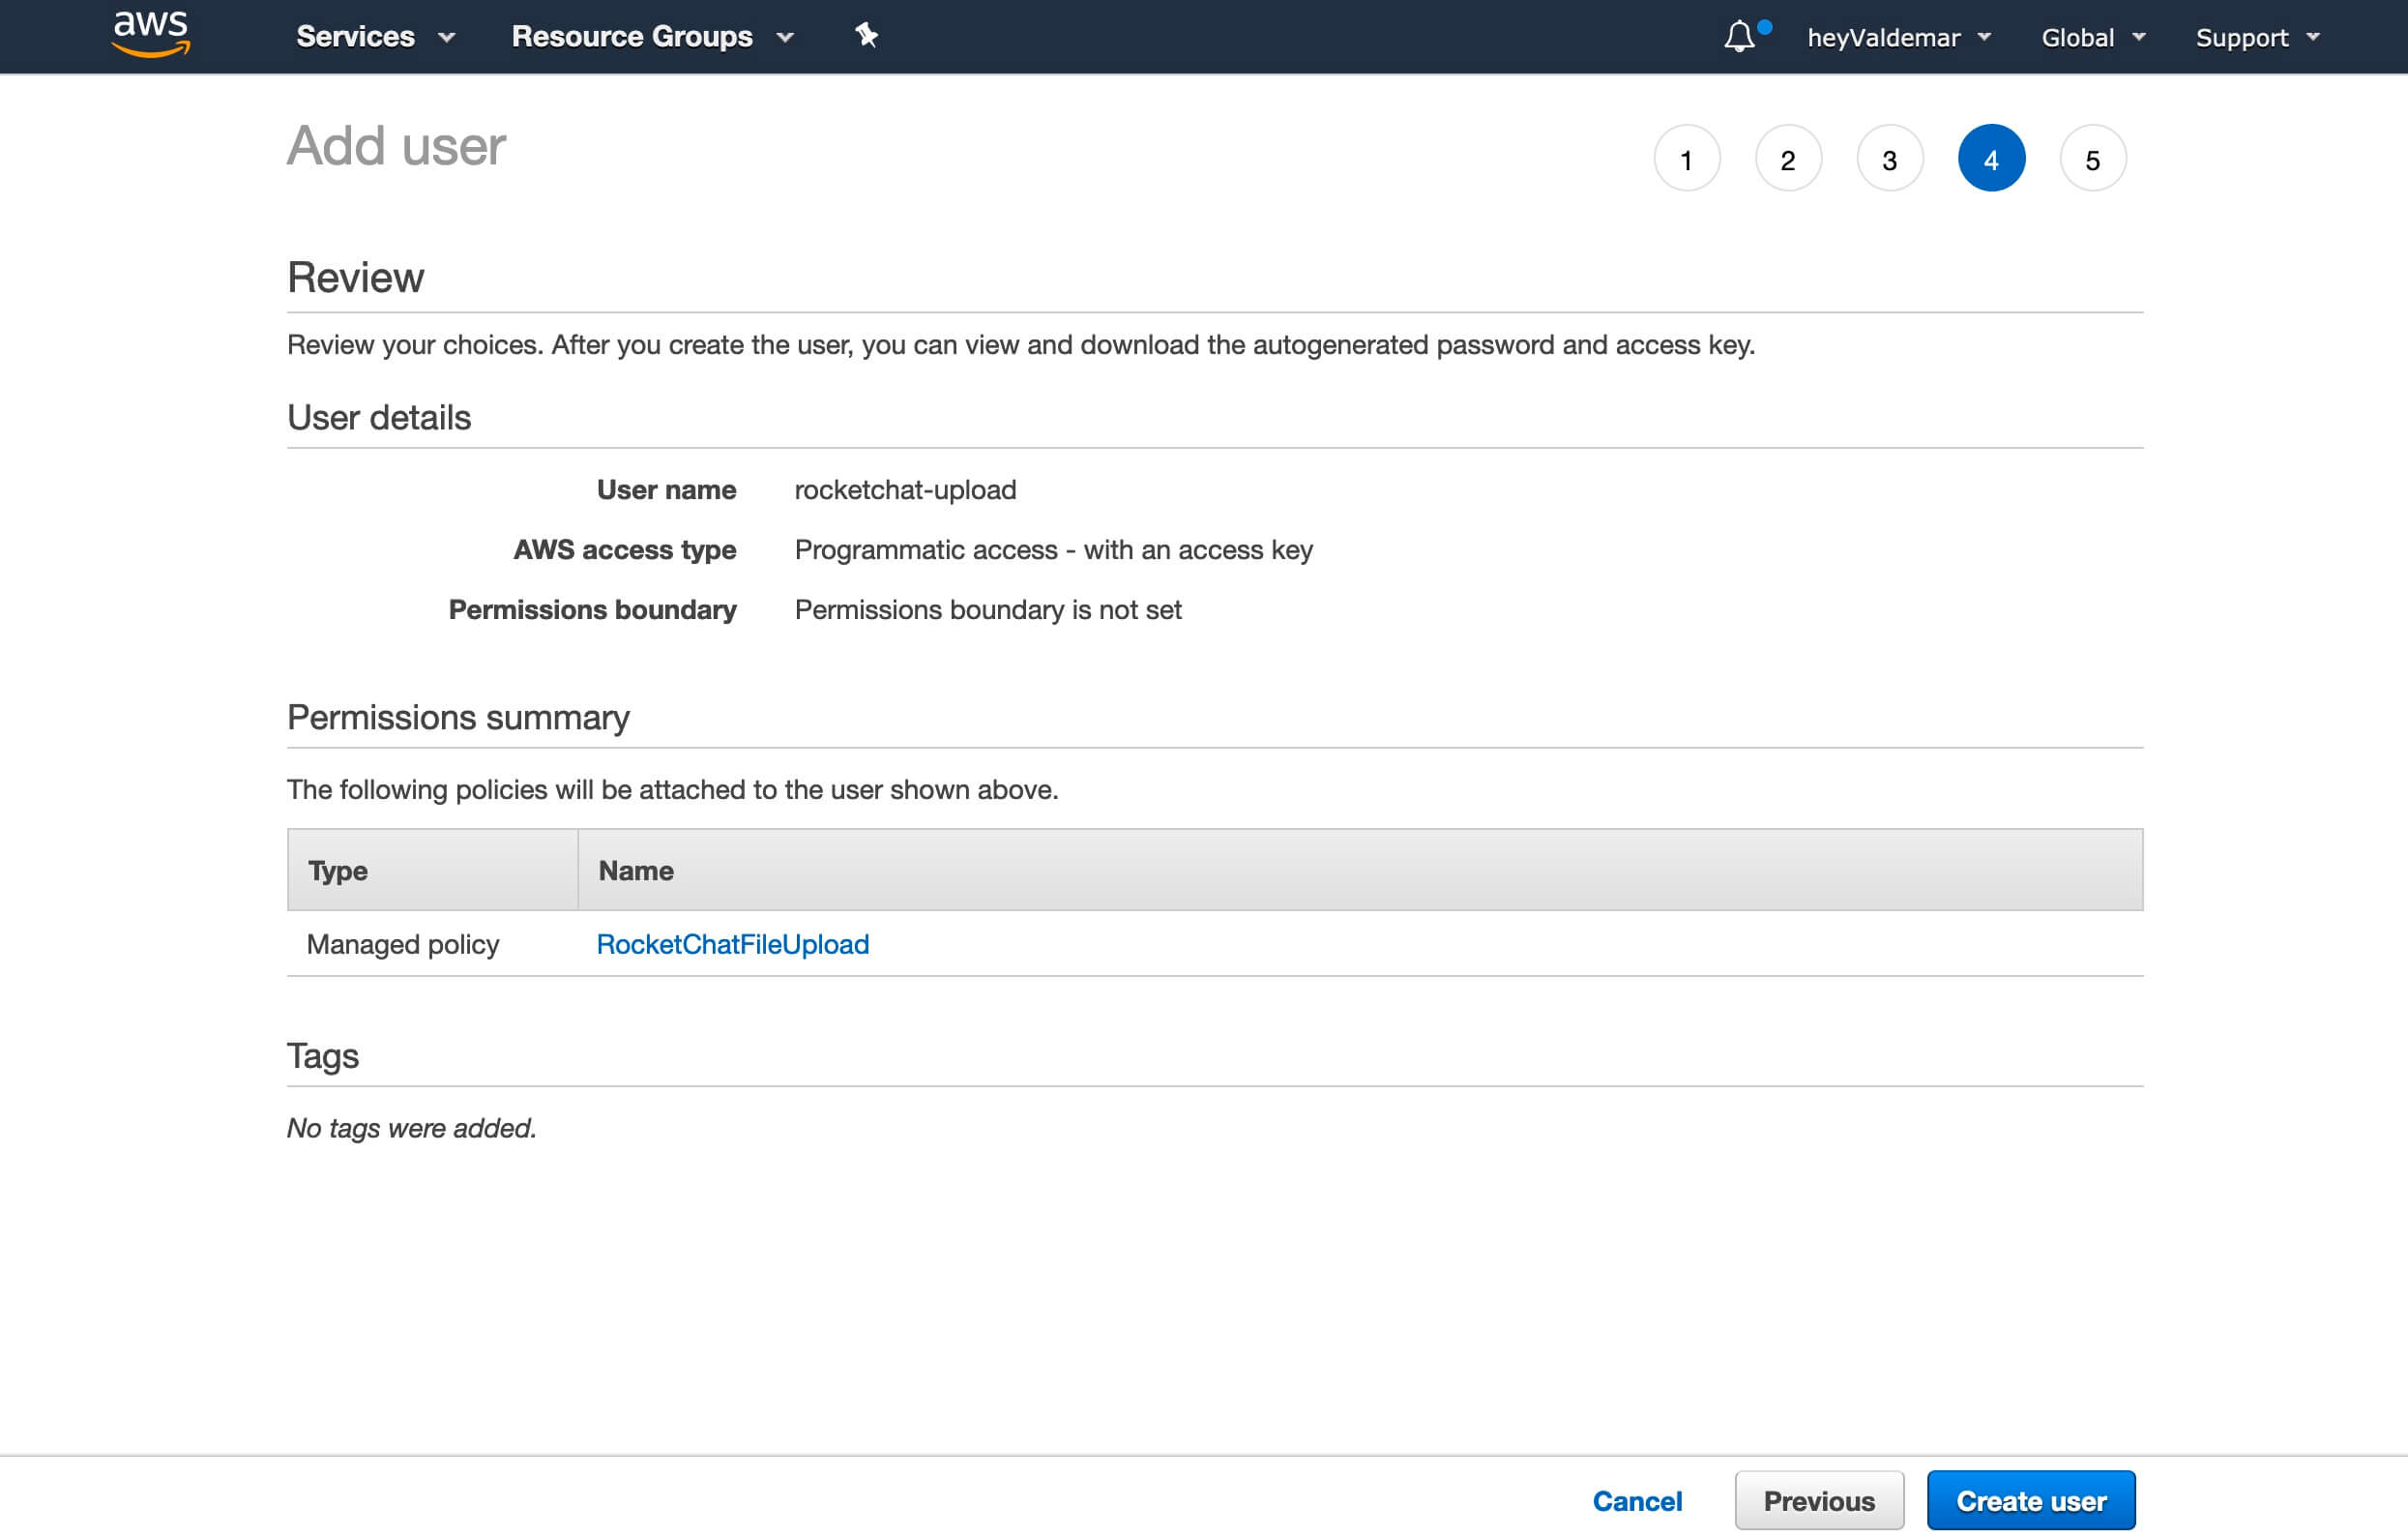
Everything is ready to create a new user.
Click on the “Create user” button.
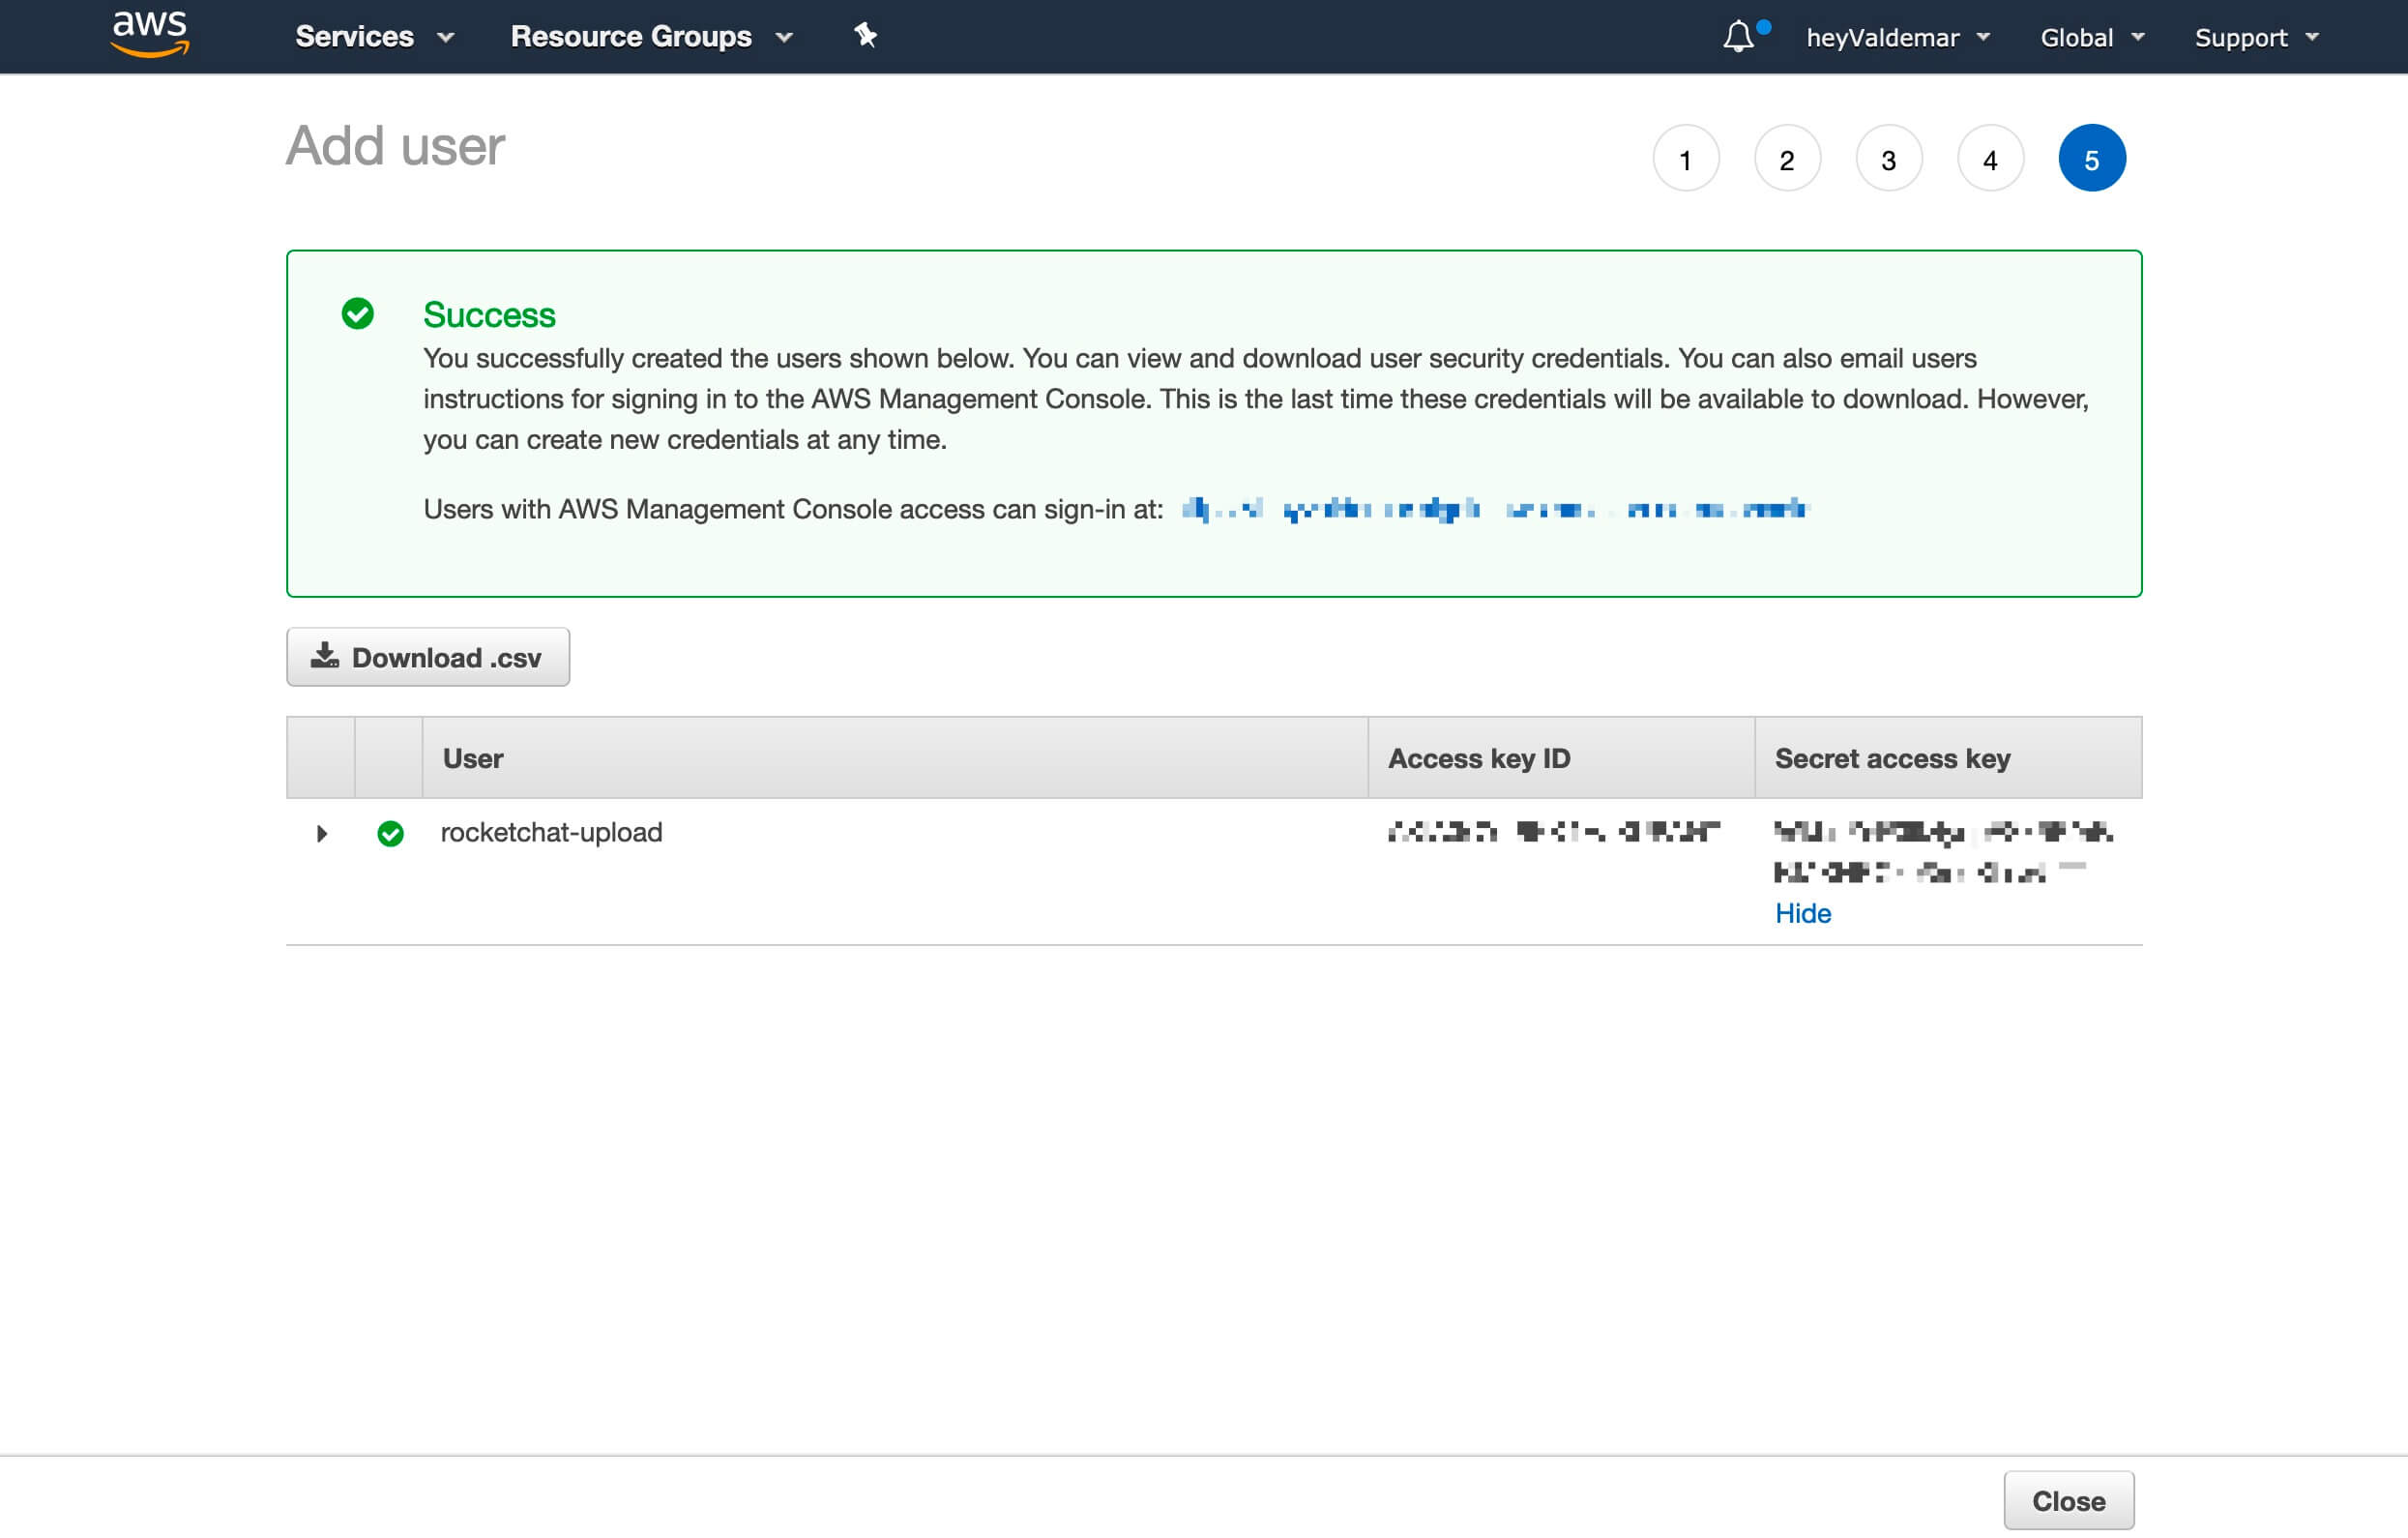
The user has been successfully created and has the necessary permissions to access the previously created S3 bucket.
Now you need to save the received “Access key ID” and “Secret access key”. This data will be needed to connect Rocket.Chat to a previously created basket.
Click on the “Show” button to display the contents of the “Secret access key” section and save the contents of the section to a safe place.
Click on the “Close” button.
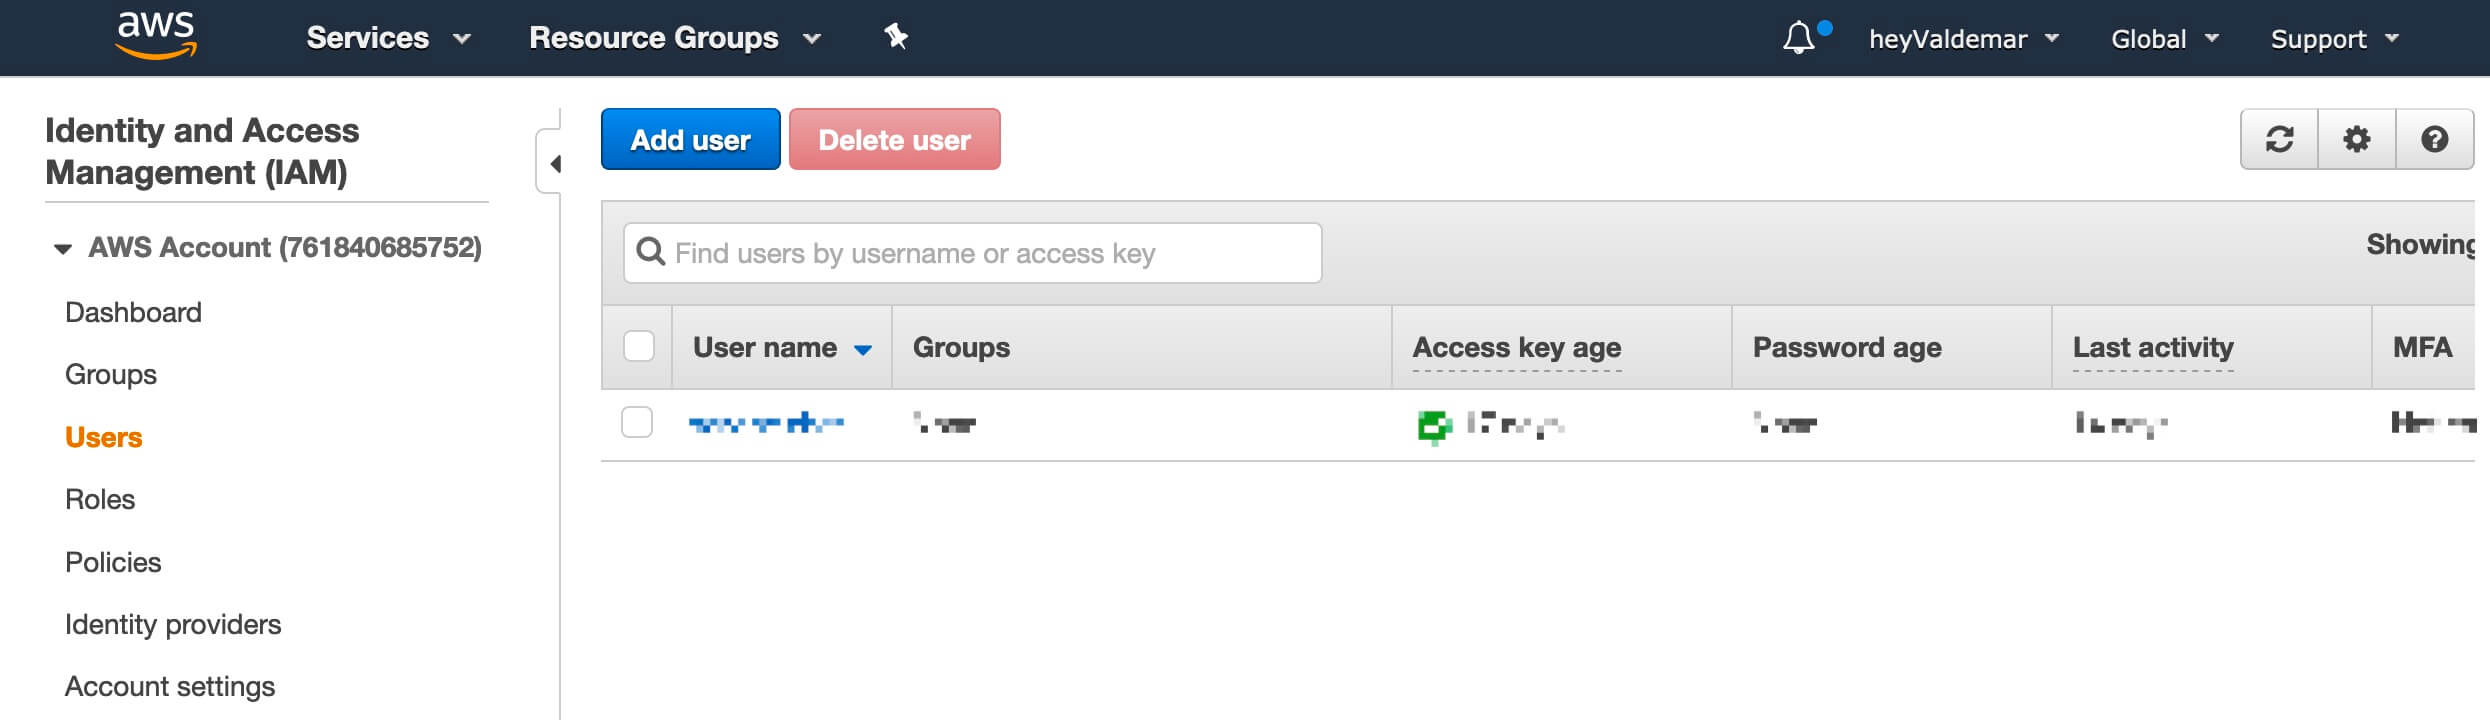
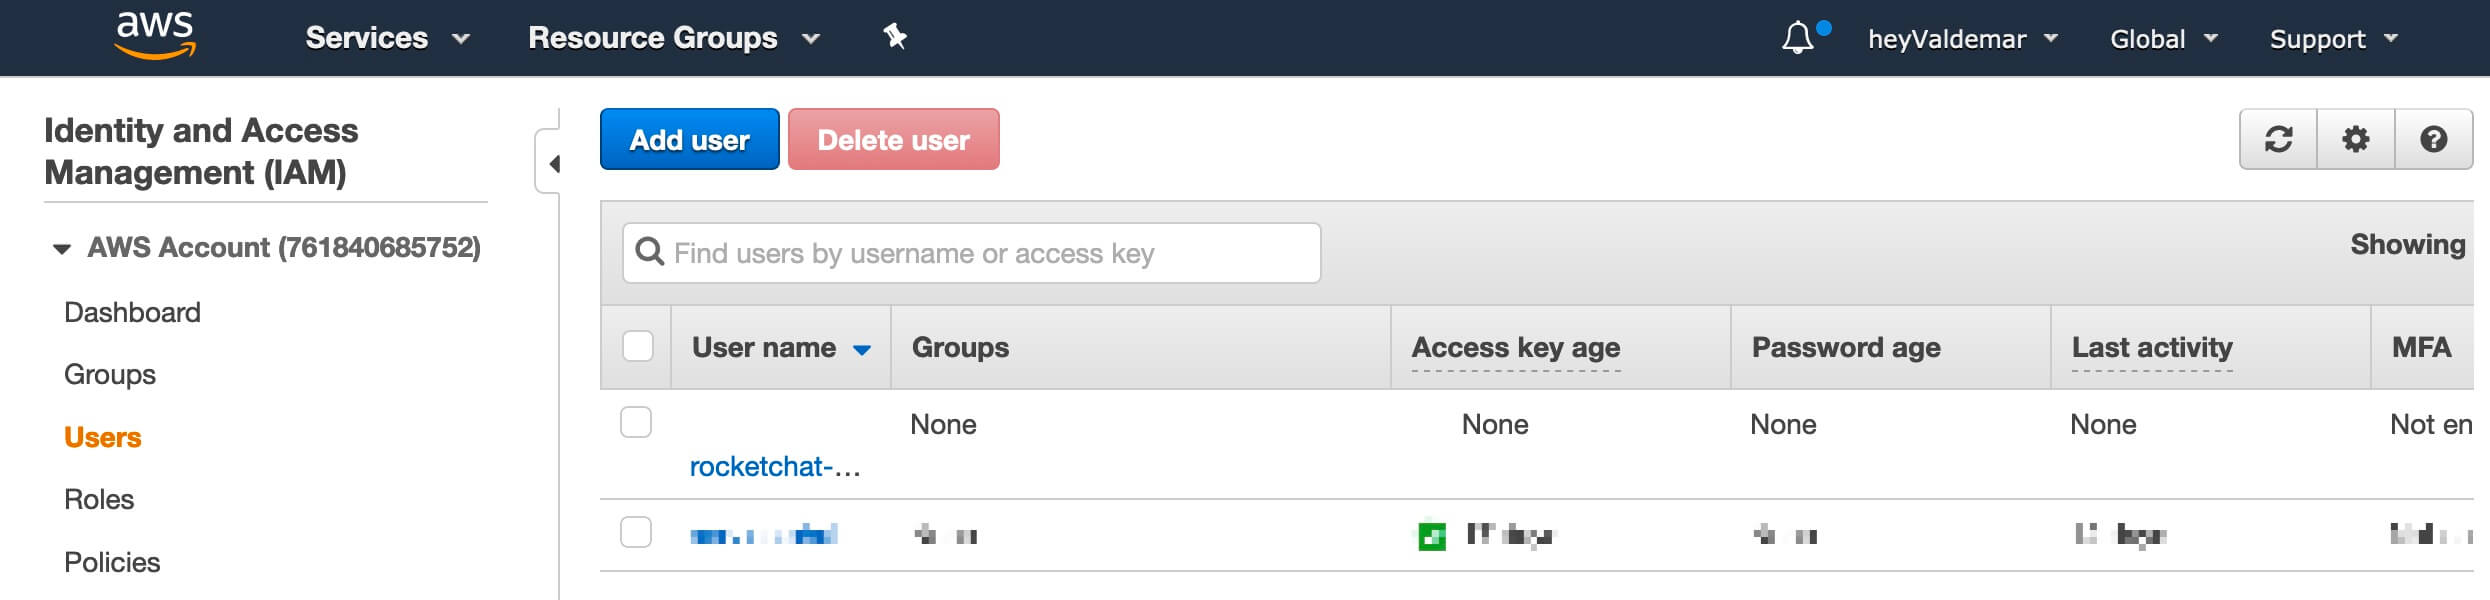
The new user will appear in the “Users” section.
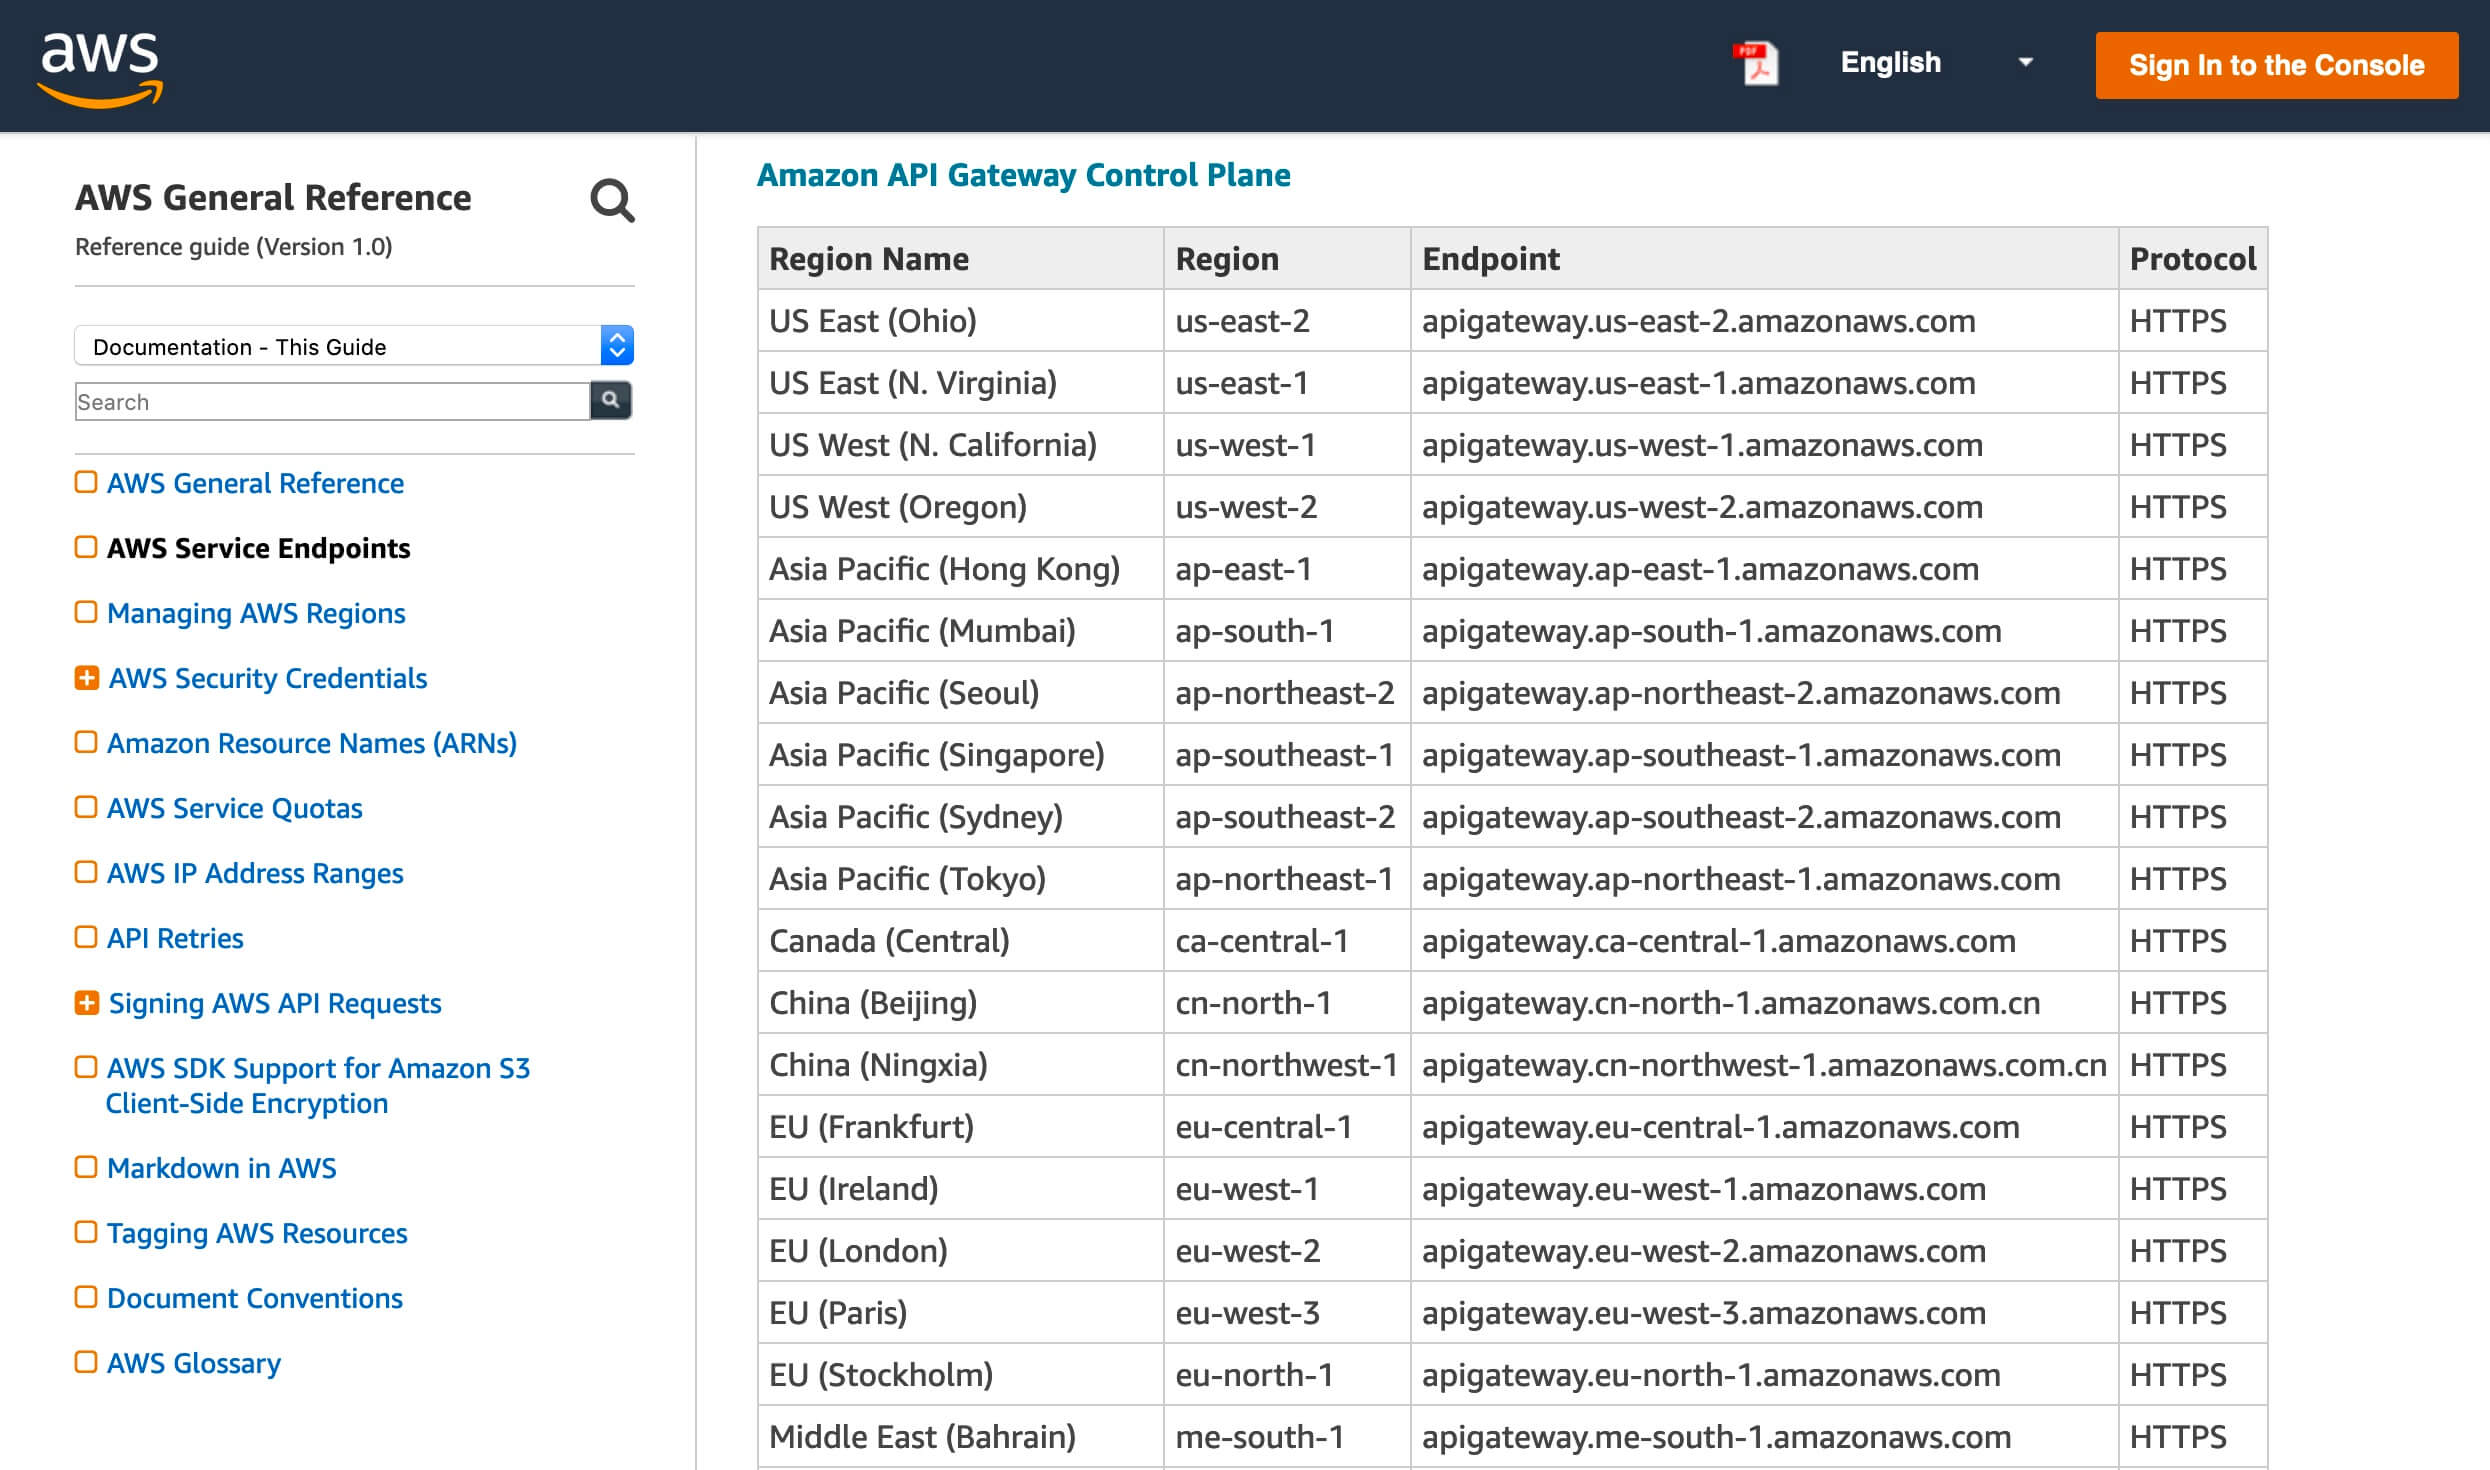
Now we need to find the code for the region in which the cart was created.
Follow the link and find the required region code in the “Region” column next to the “Region Name” column, the value which must correspond to the region in which the basket was created.
In this manual, the bucket was created in the “EU (Frankfurt)” region, so the required region code value is “eu-central-1”.
Now you need to specify the parameters for connecting Rocket.Chat to the previously created basket.
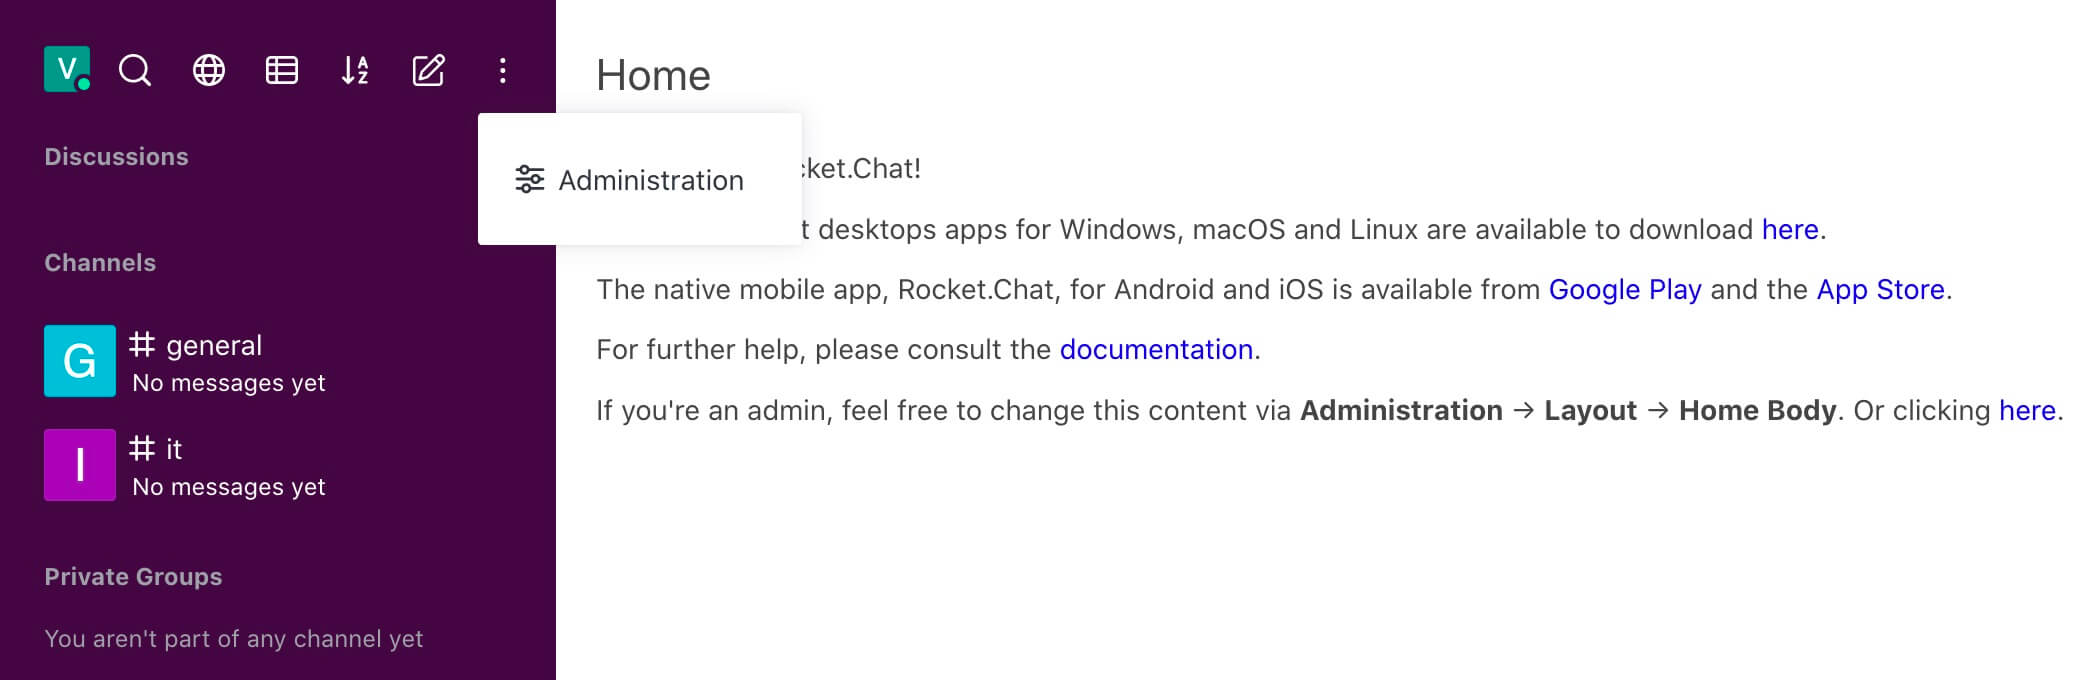
Go to Rocket.Chat under an account with administrator rights, click on the icon with three dots in the upper left corner of the screen and select “Administration”.
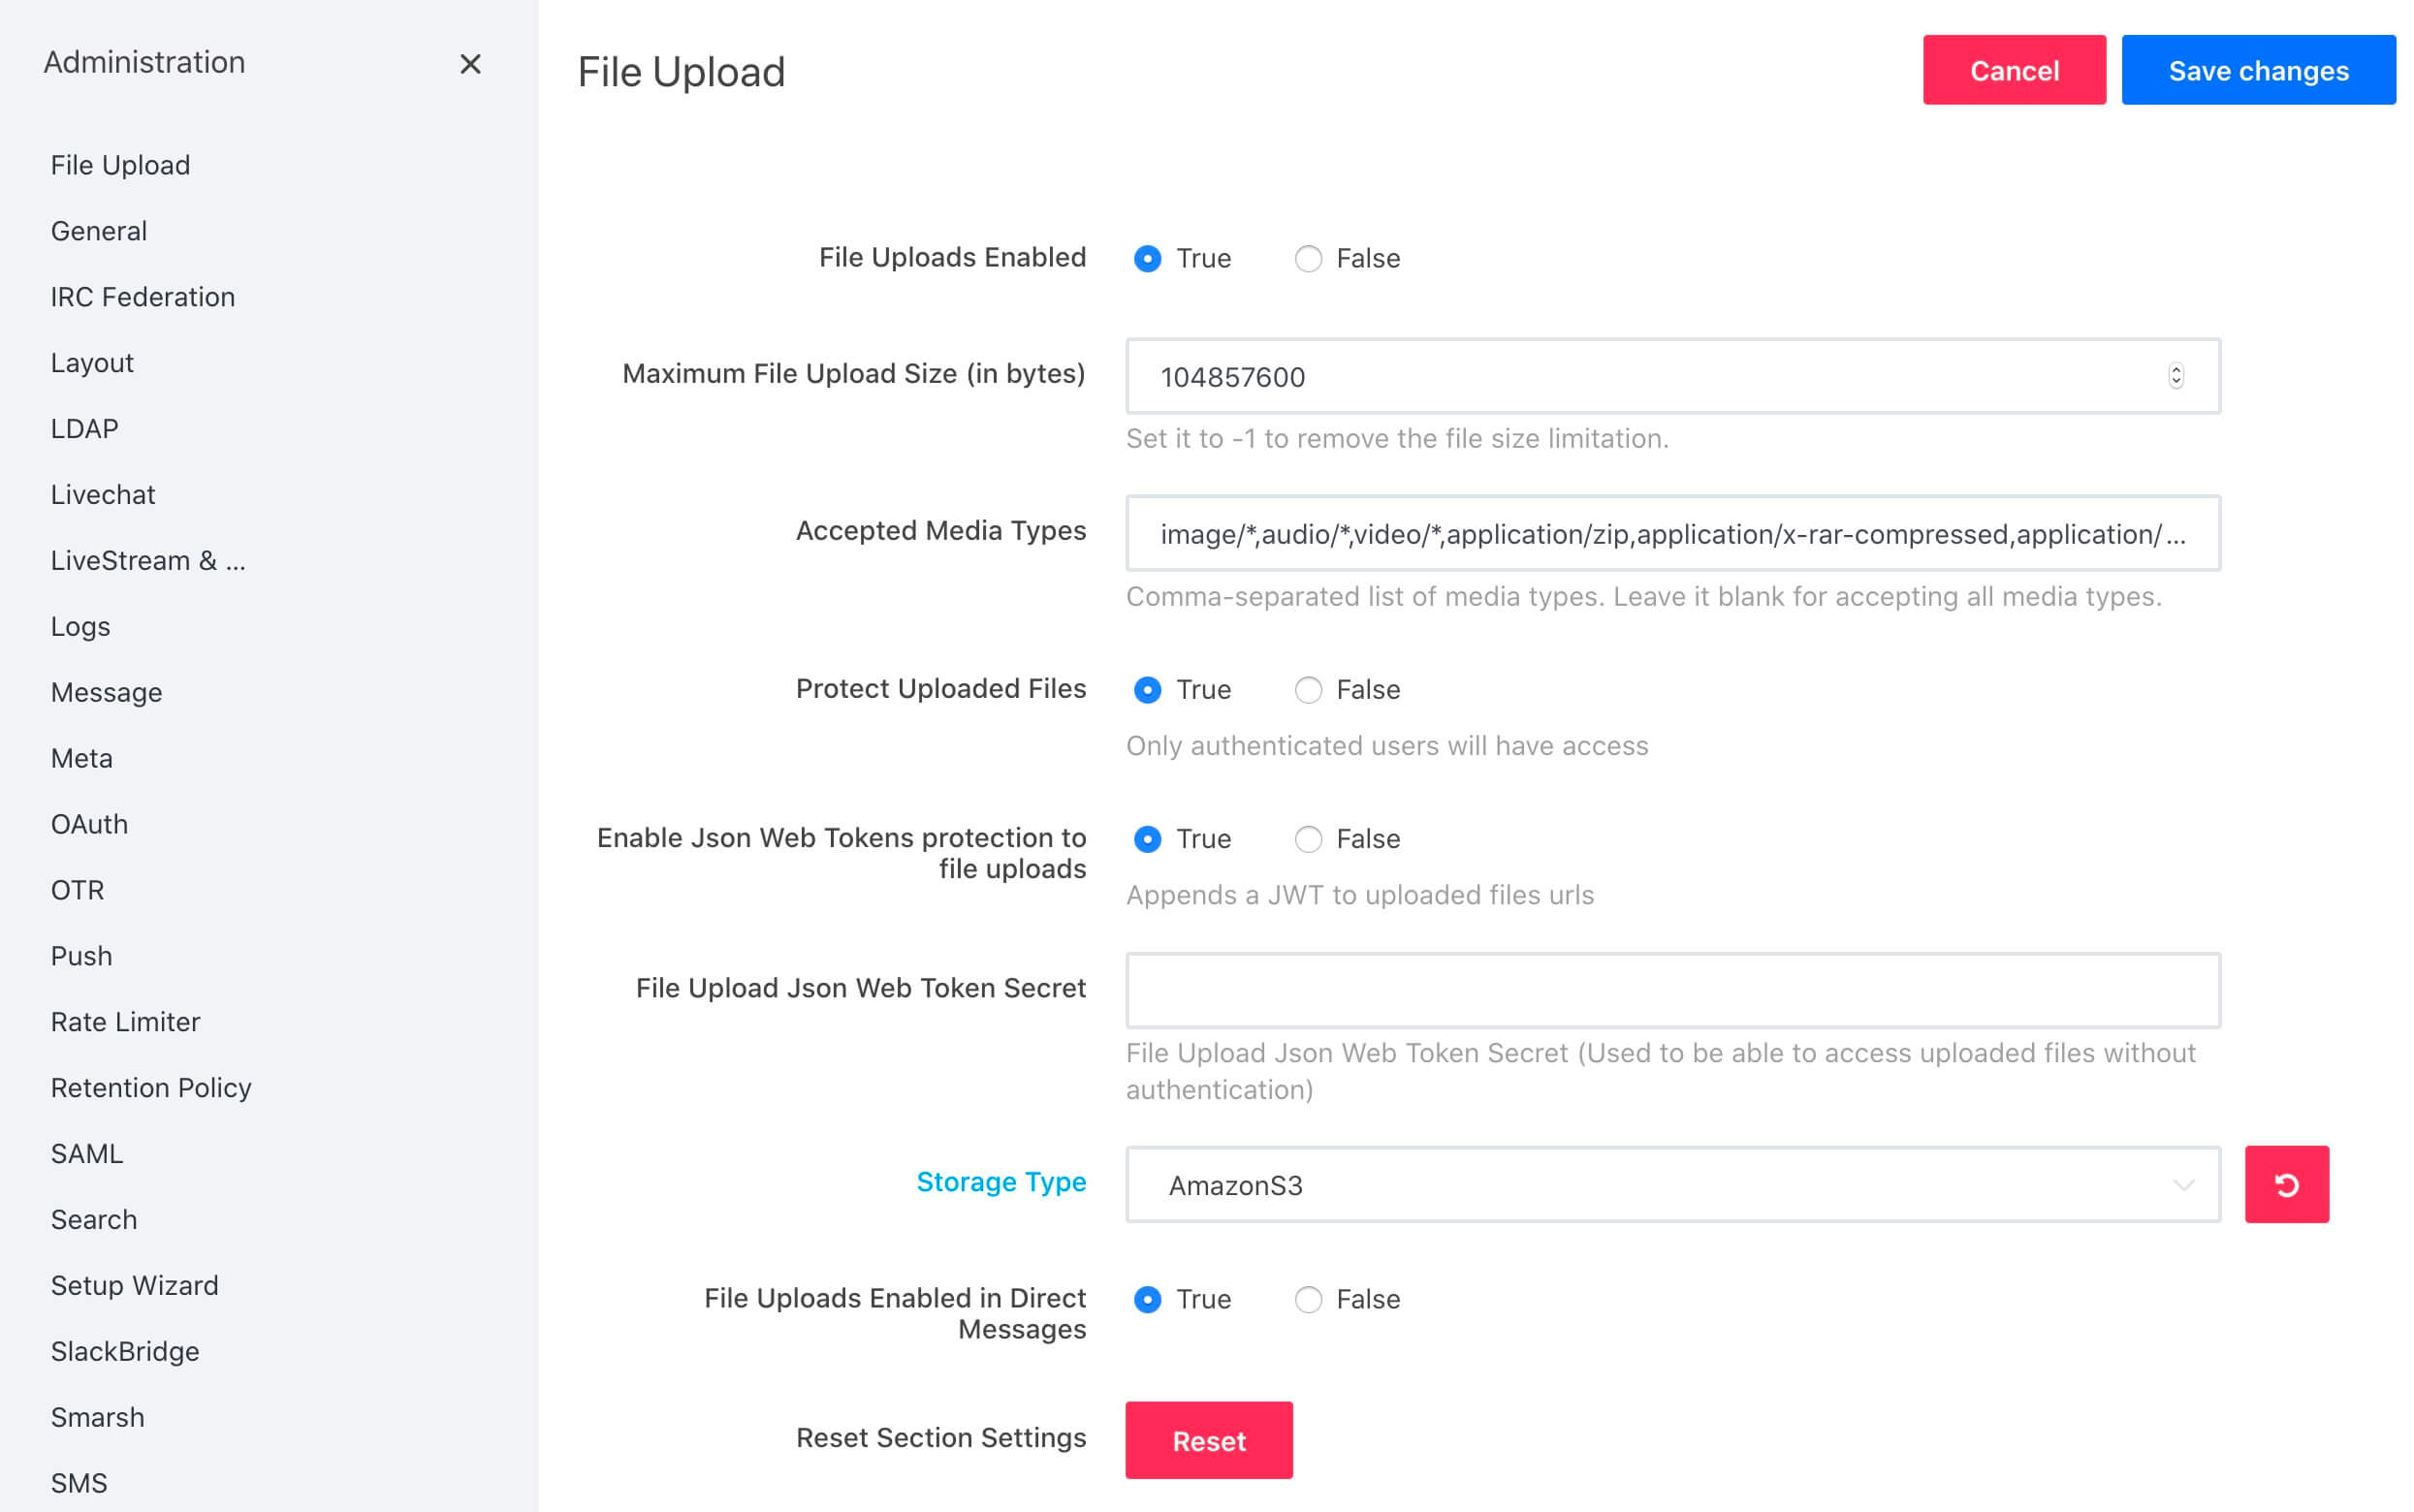
Next, we find the “File Upload” section.
File Uploads Enabled must be set to True.
Protect Uploaded Files must be set to True.
File Uploads Enabled must be set to True.
The “Enable Json Web Tokens protection to file uploads” parameter must be set to “True”.
In the “Storage Type” field, select “AmazonS3”.
File Uploads Enabled in Direct Messages must be set to True.
Click on the “Save Changes” button.
Next, you need to specify the parameters in the “Amazon S3” subsection.
In the “Bucket name” field, specify the name of the previously created bucket.
In the “Access Key” field, specify the “Access key ID” obtained earlier after creating a user.
In the “Secret Key” field, enter the “Secret access key” obtained earlier after creating the user.
In the “Region” field, specify the basket region code obtained earlier from the link.
The “Proxy Avatars” parameter must be set to “True”.
Proxy Uploads must be True.
Click on the “Save Changes” button.

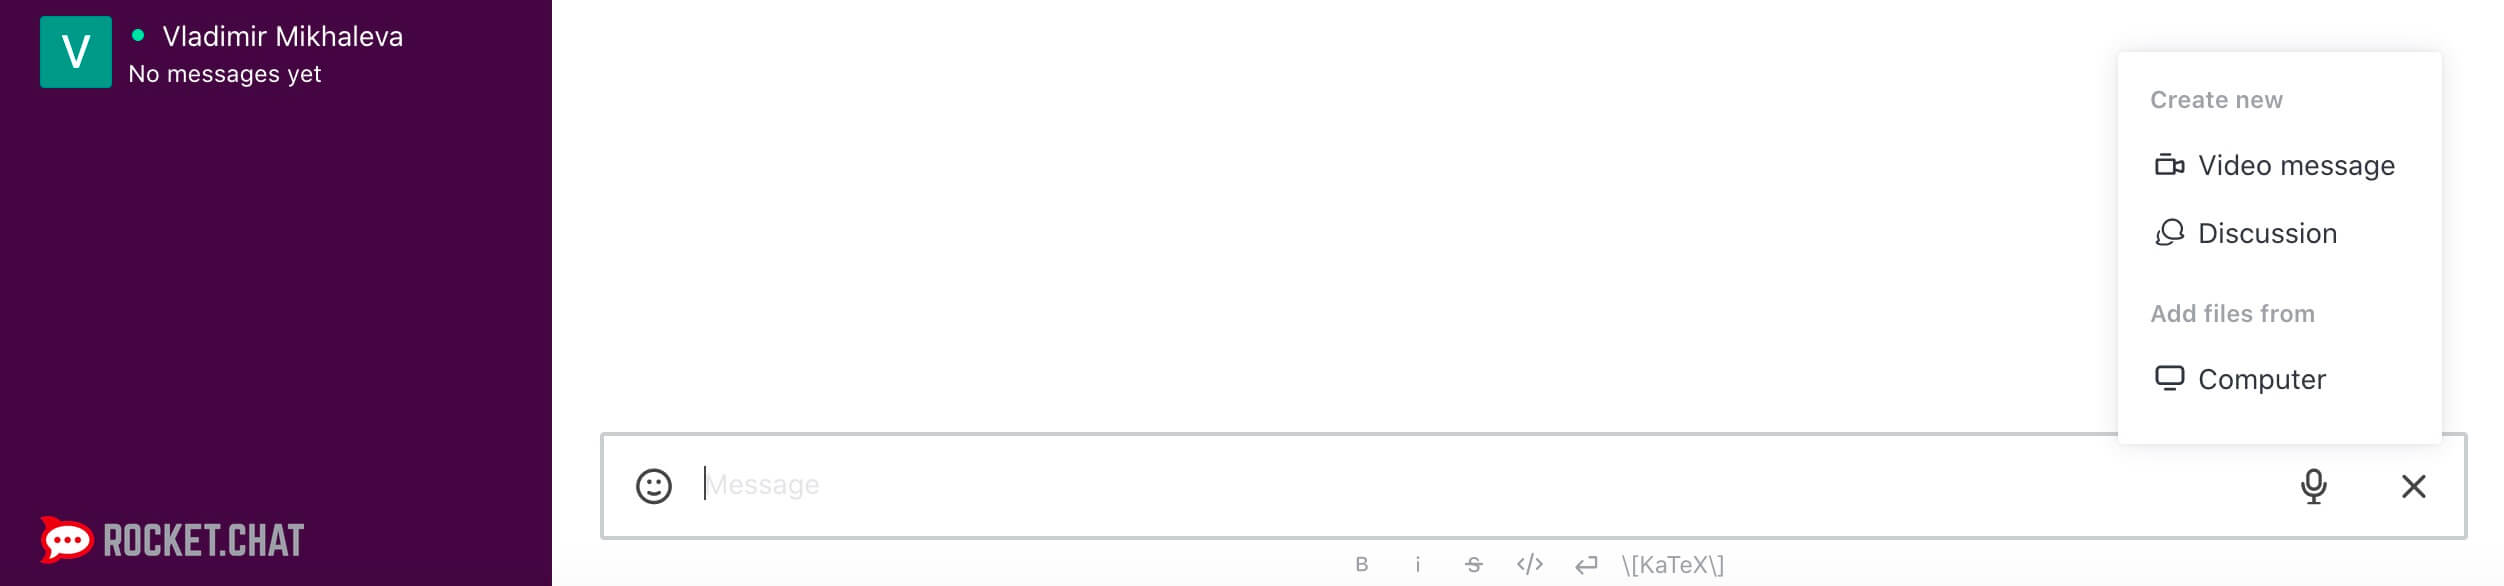
Now let’s upload a file from a computer to a common channel called IT in order to check the correctness of uploading files to Rocket.Chat using the Amazon S3 service.
Open a channel in Rocket.Chat, then in the lower right corner of the screen, click on the plus icon and select “Computer”.
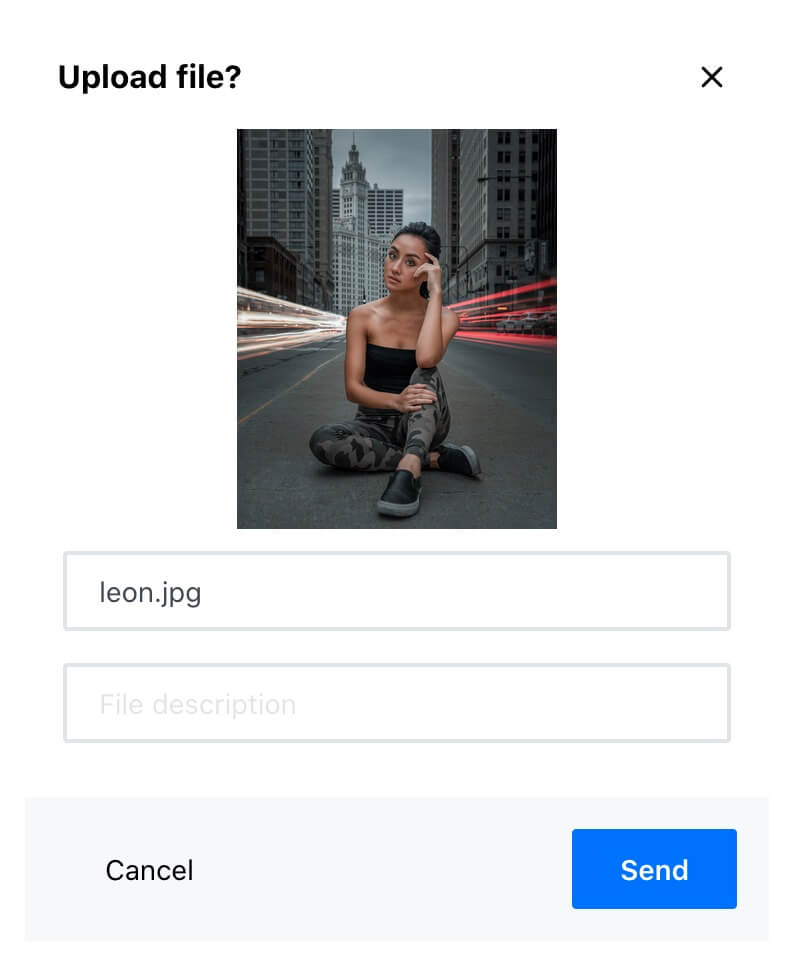
Select the file you want to upload.
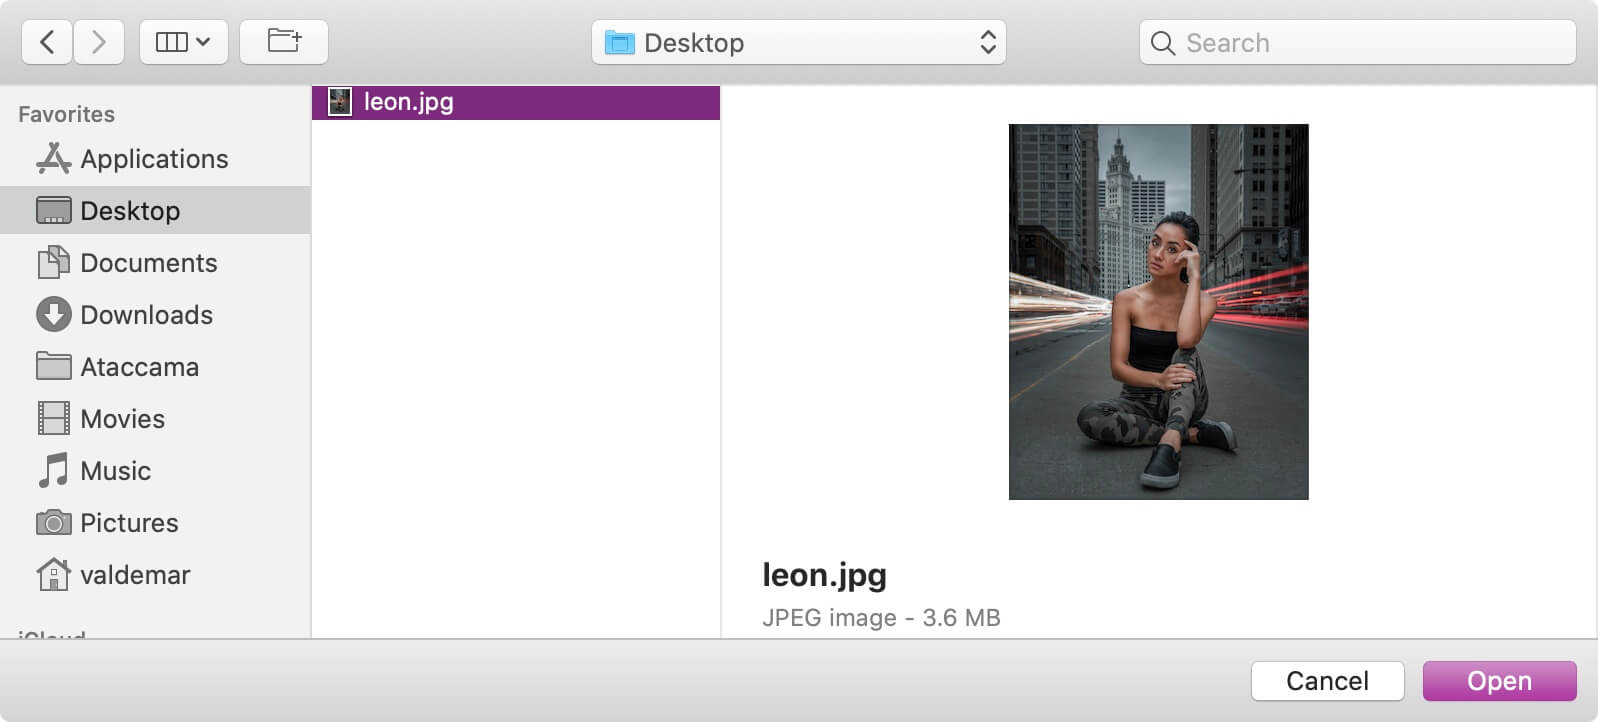
The file is ready to upload.
Click on the “Send” button.
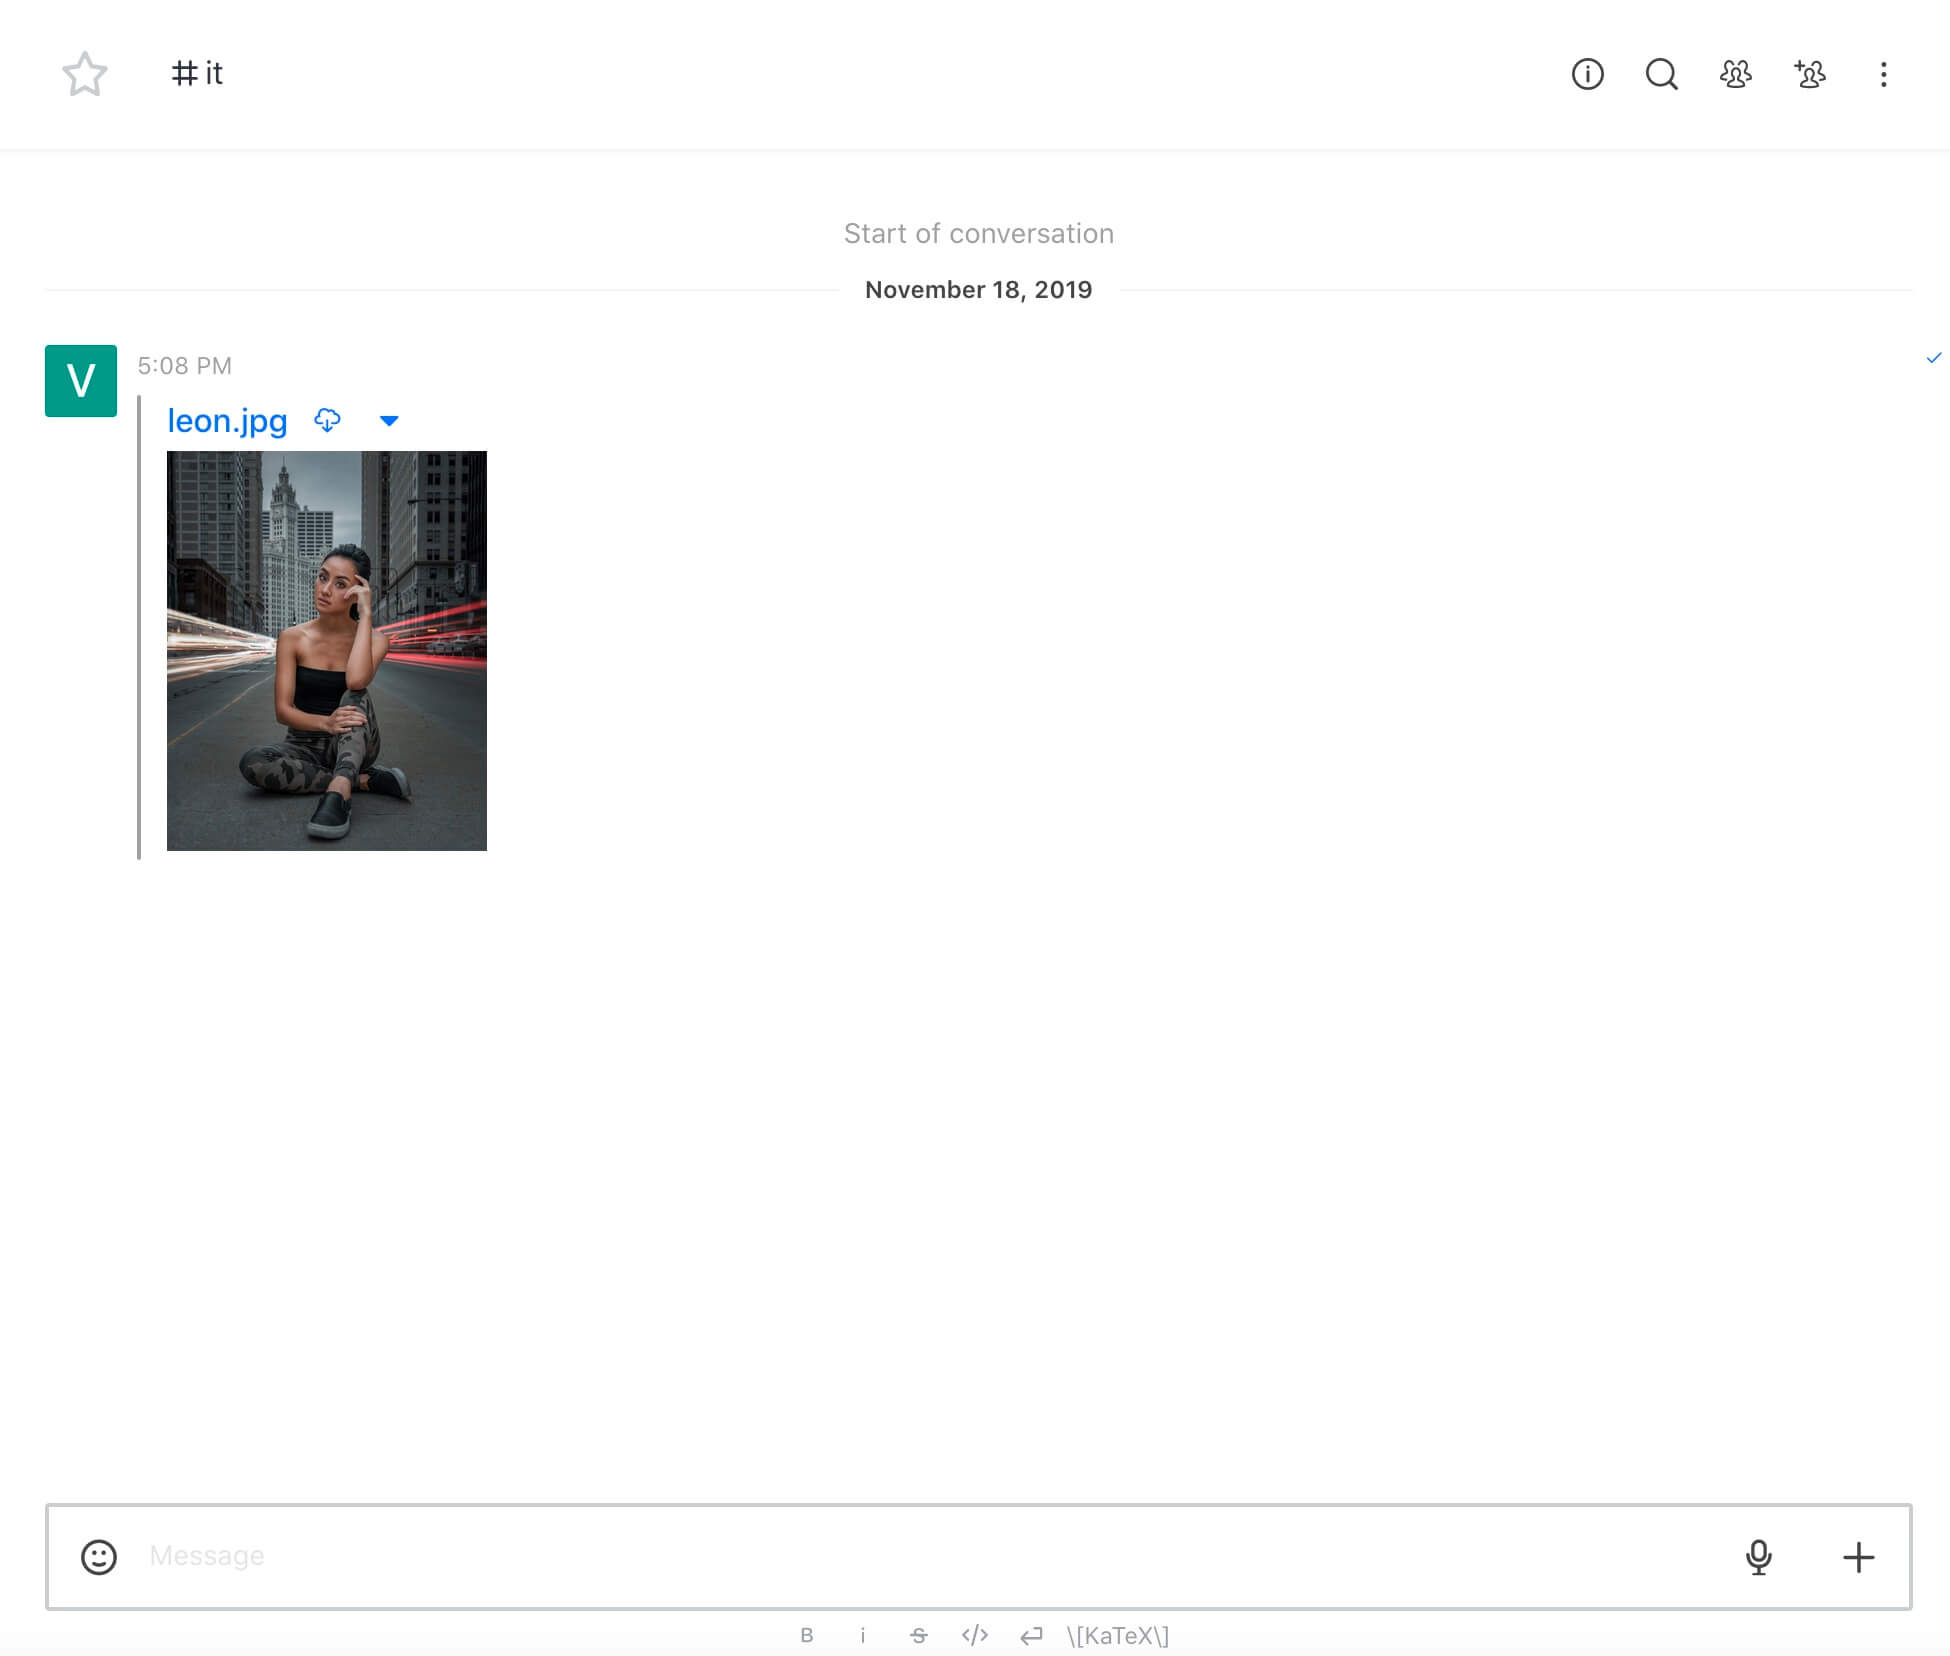
The file has been uploaded successfully and is available to all members of the IT channel in Rocket.Chat.
Rocket.Chat users can now share files using the Amazon S3 service.
Follow Me
🎬 YouTube
🐦 X / Twitter
🎨 Instagram
🐘 Mastodon
🧵 Threads
🎸 Facebook
🧊 Bluesky
🎥 TikTok
💻 LinkedIn
📣 daily.dev Squad
🧩 LeetCode
🐈 GitHub
Community of IT Experts
👾 Discord
Is this content AI-generated?
Nope! Each article is crafted by me, fueled by a deep passion for Docker and decades of IT expertise. While I employ AI to refine the grammar—ensuring the technical details are conveyed clearly—the insights, strategies, and guidance are purely my own. This approach may occasionally activate AI detectors, but you can be certain that the underlying knowledge and experiences are authentically mine.
