Install Bitwarden on Ubuntu Server 20.04 LTS
This article is for those looking for a detailed and straightforward guide on installing Bitwarden on Ubuntu Server 20.04 LTS.
You can learn how to install Bitwarden on Ubuntu Server 22.04 LTS by reading “Install Bitwarden on Ubuntu Server 22.04 LTS”.
Bitwarden is a free open-source password manager with the ability to sync your account information across all devices.
In this guide, we will consider the case when you already have a server running Ubuntu Server 20.04 LTS.
You can read more about how to install Ubuntu Server 20.04 LTS in my guide “Install Ubuntu Server 20.04 LTS”.
Also, the server must have Docker Engine and Docker Compose installed.
You can learn how to install Docker Engine and Docker Compose on Ubuntu Server by reading “Install Docker Engine and Docker Compose on Ubuntu Server”.
In addition, OpenSSH must be installed on the server, and port 22 must be open in order to be able to connect to the server using the SSH protocol.
To install OpenSSH on a server, you can use the command:
sudo apt install openssh-serverIf you plan to connect to the server using the Windows operating system, you can use PuTTY or MobaXterm.
This guide describes how to connect to a server using the iTerm2 terminal emulator installed on the macOS operating system.
Please note that you will need to open the following TCP ports to access your server:
- TCP port 80 - to receive a free cryptographic certificate through the Let’s Encrypt CA.
- TCP port 443 - to access the Bitwarden dashboard.
First, you need to request an installation ID and installation key to host Bitwarden on your server. You must use a unique ID and key for each Bitwarden installation.
Follow the link, enter your email address in the “Admin Email Address” field and click on the “Submit” button.
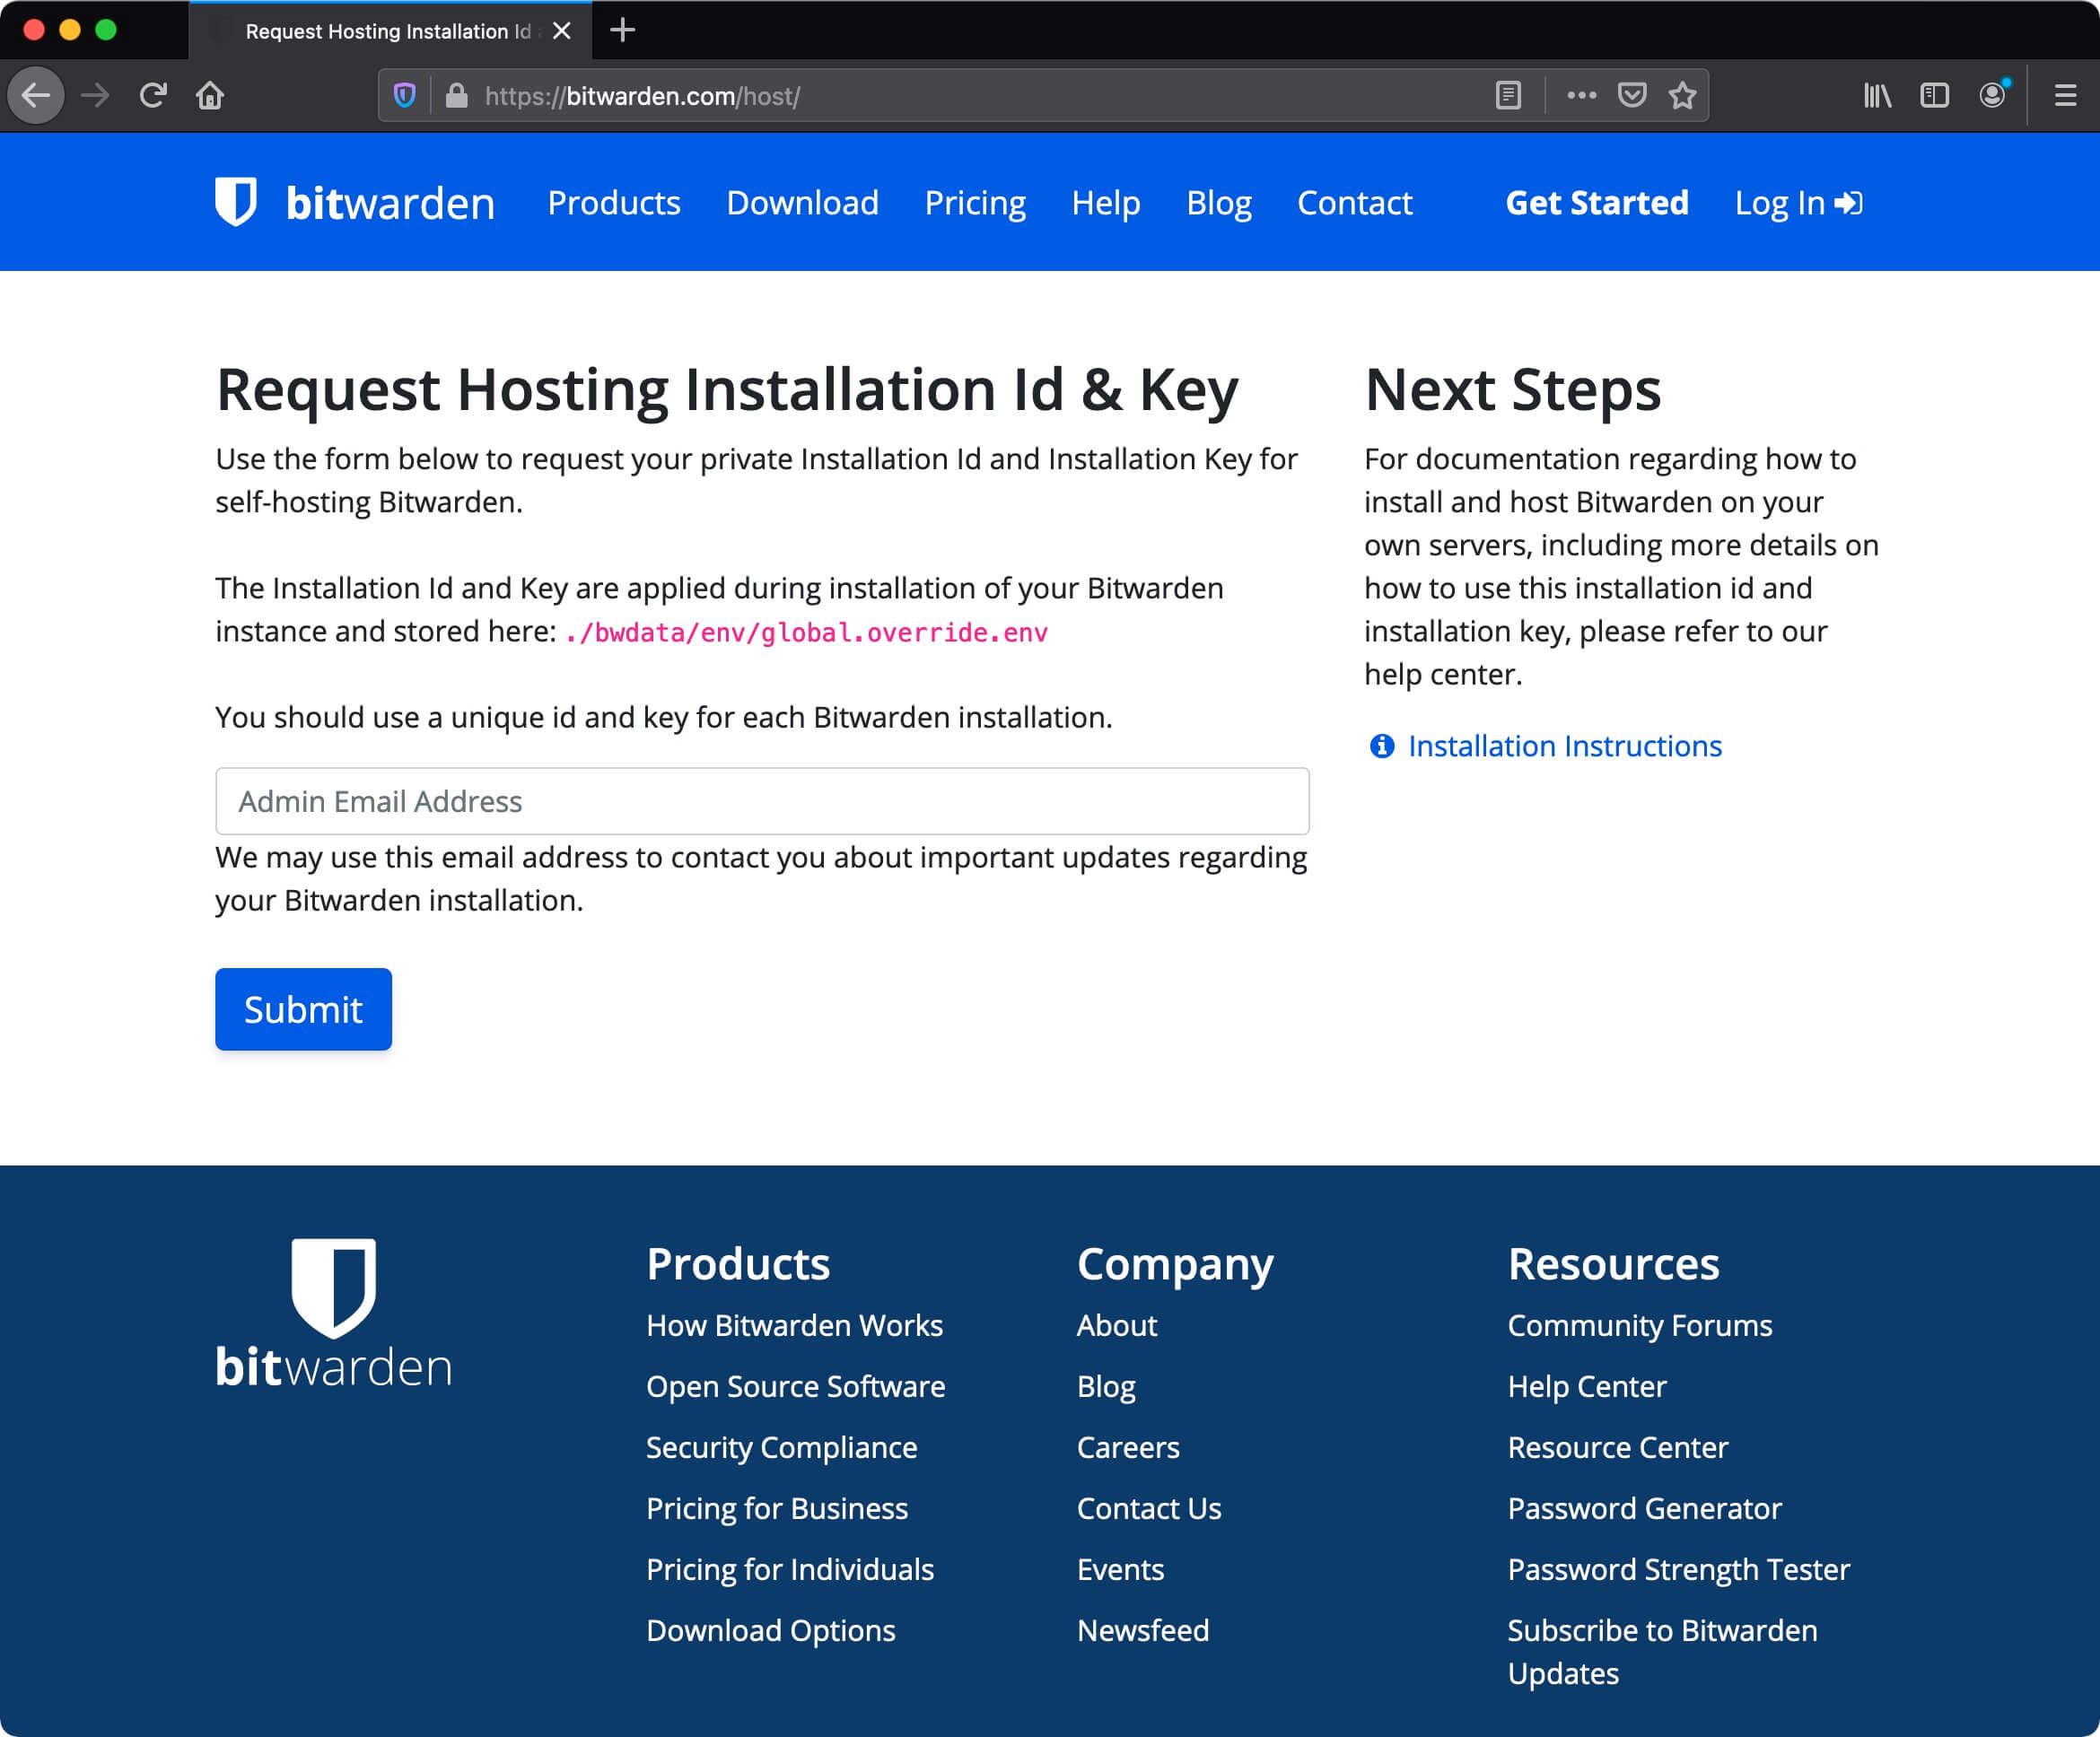
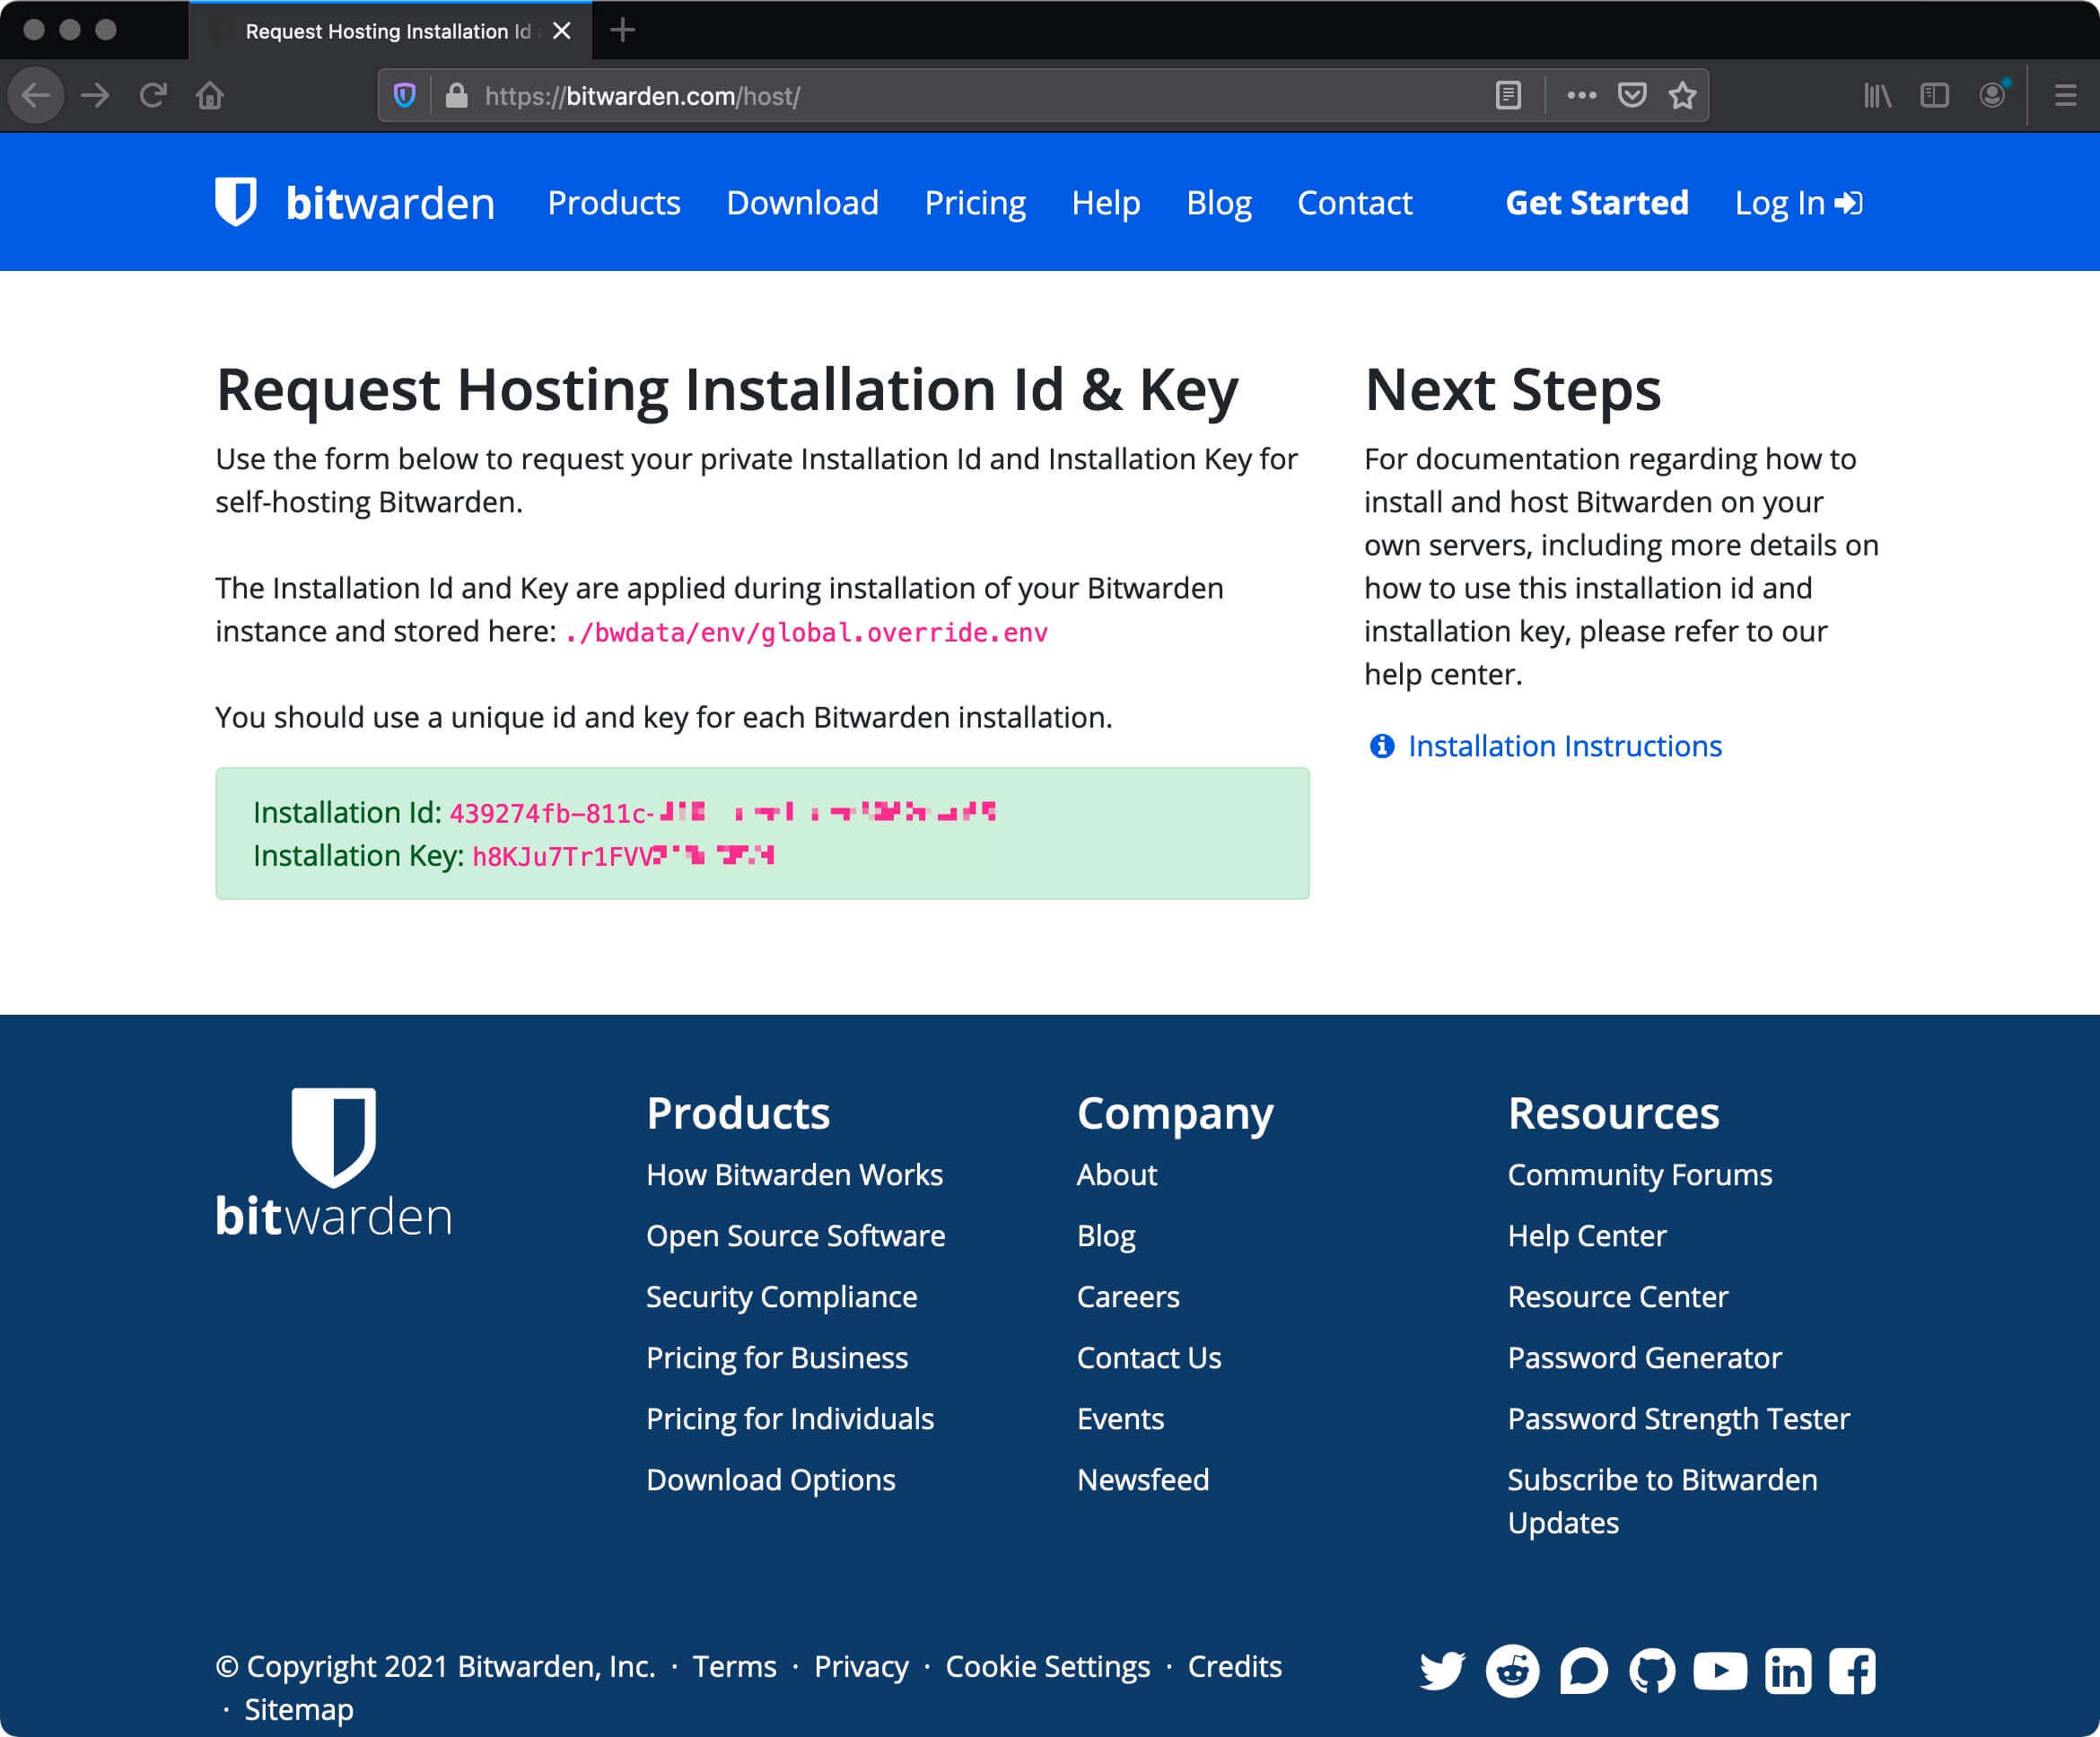
Save the resulting “Installation Id” and “Installation Key”. These values will be required during Bitwarden installation.
We connect to the server on which you plan to install Bitwarden.
Download the Bitwarden installation script using the command:
curl -Lso bitwarden.sh https://go.btwrdn.co/bw-sh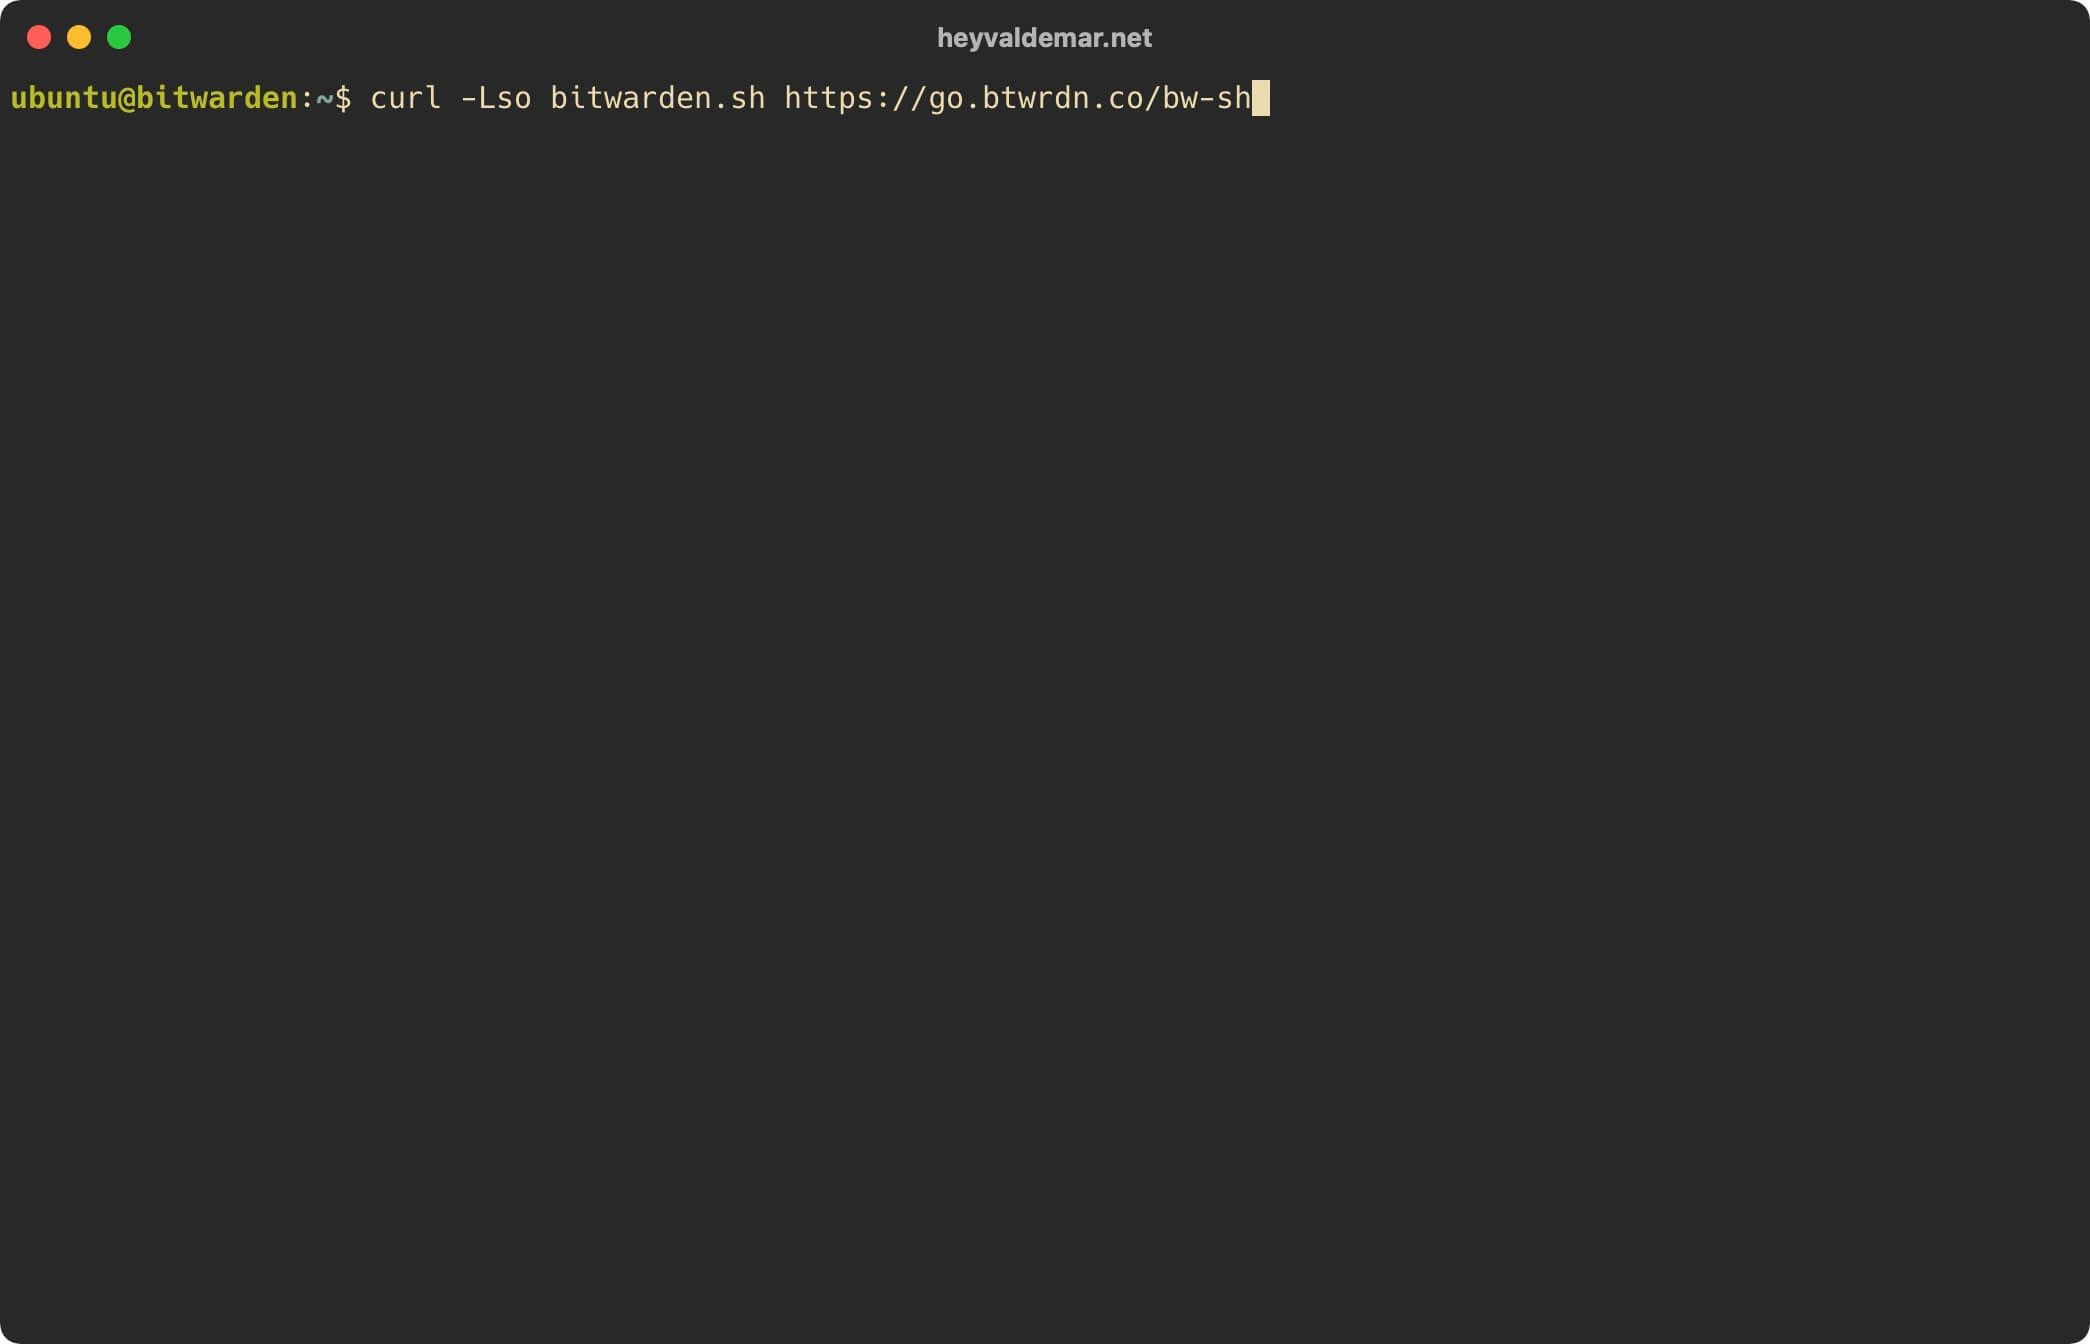
Let’s enable the execution of the file “bitwarden.sh” using the command:
chmod +x bitwarden.sh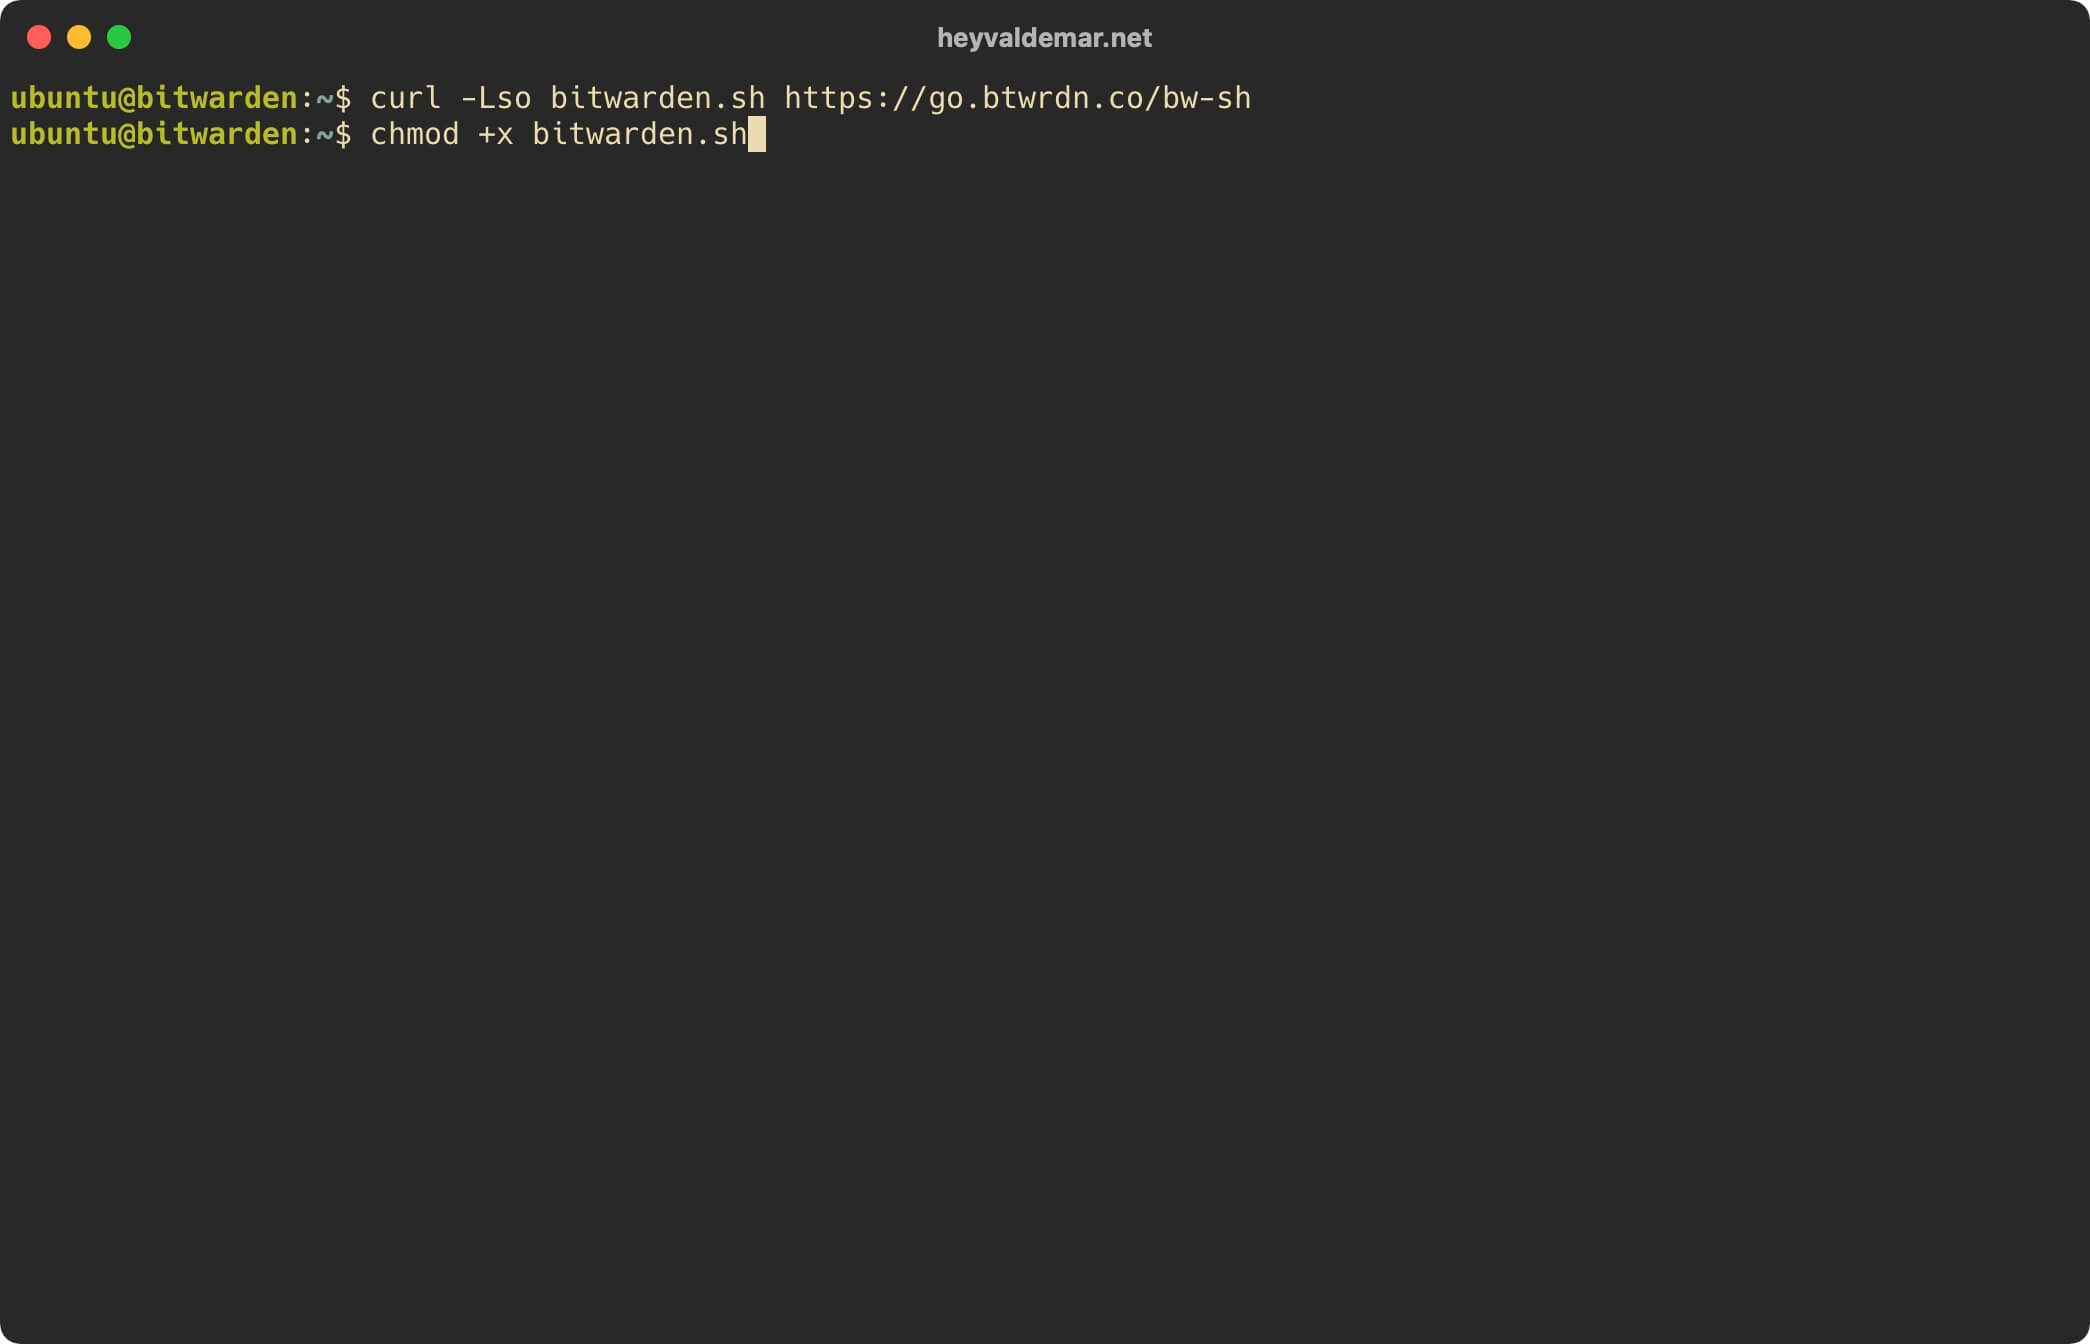
Now let’s start the Bitwarden installation using the command:
sudo ./bitwarden.sh install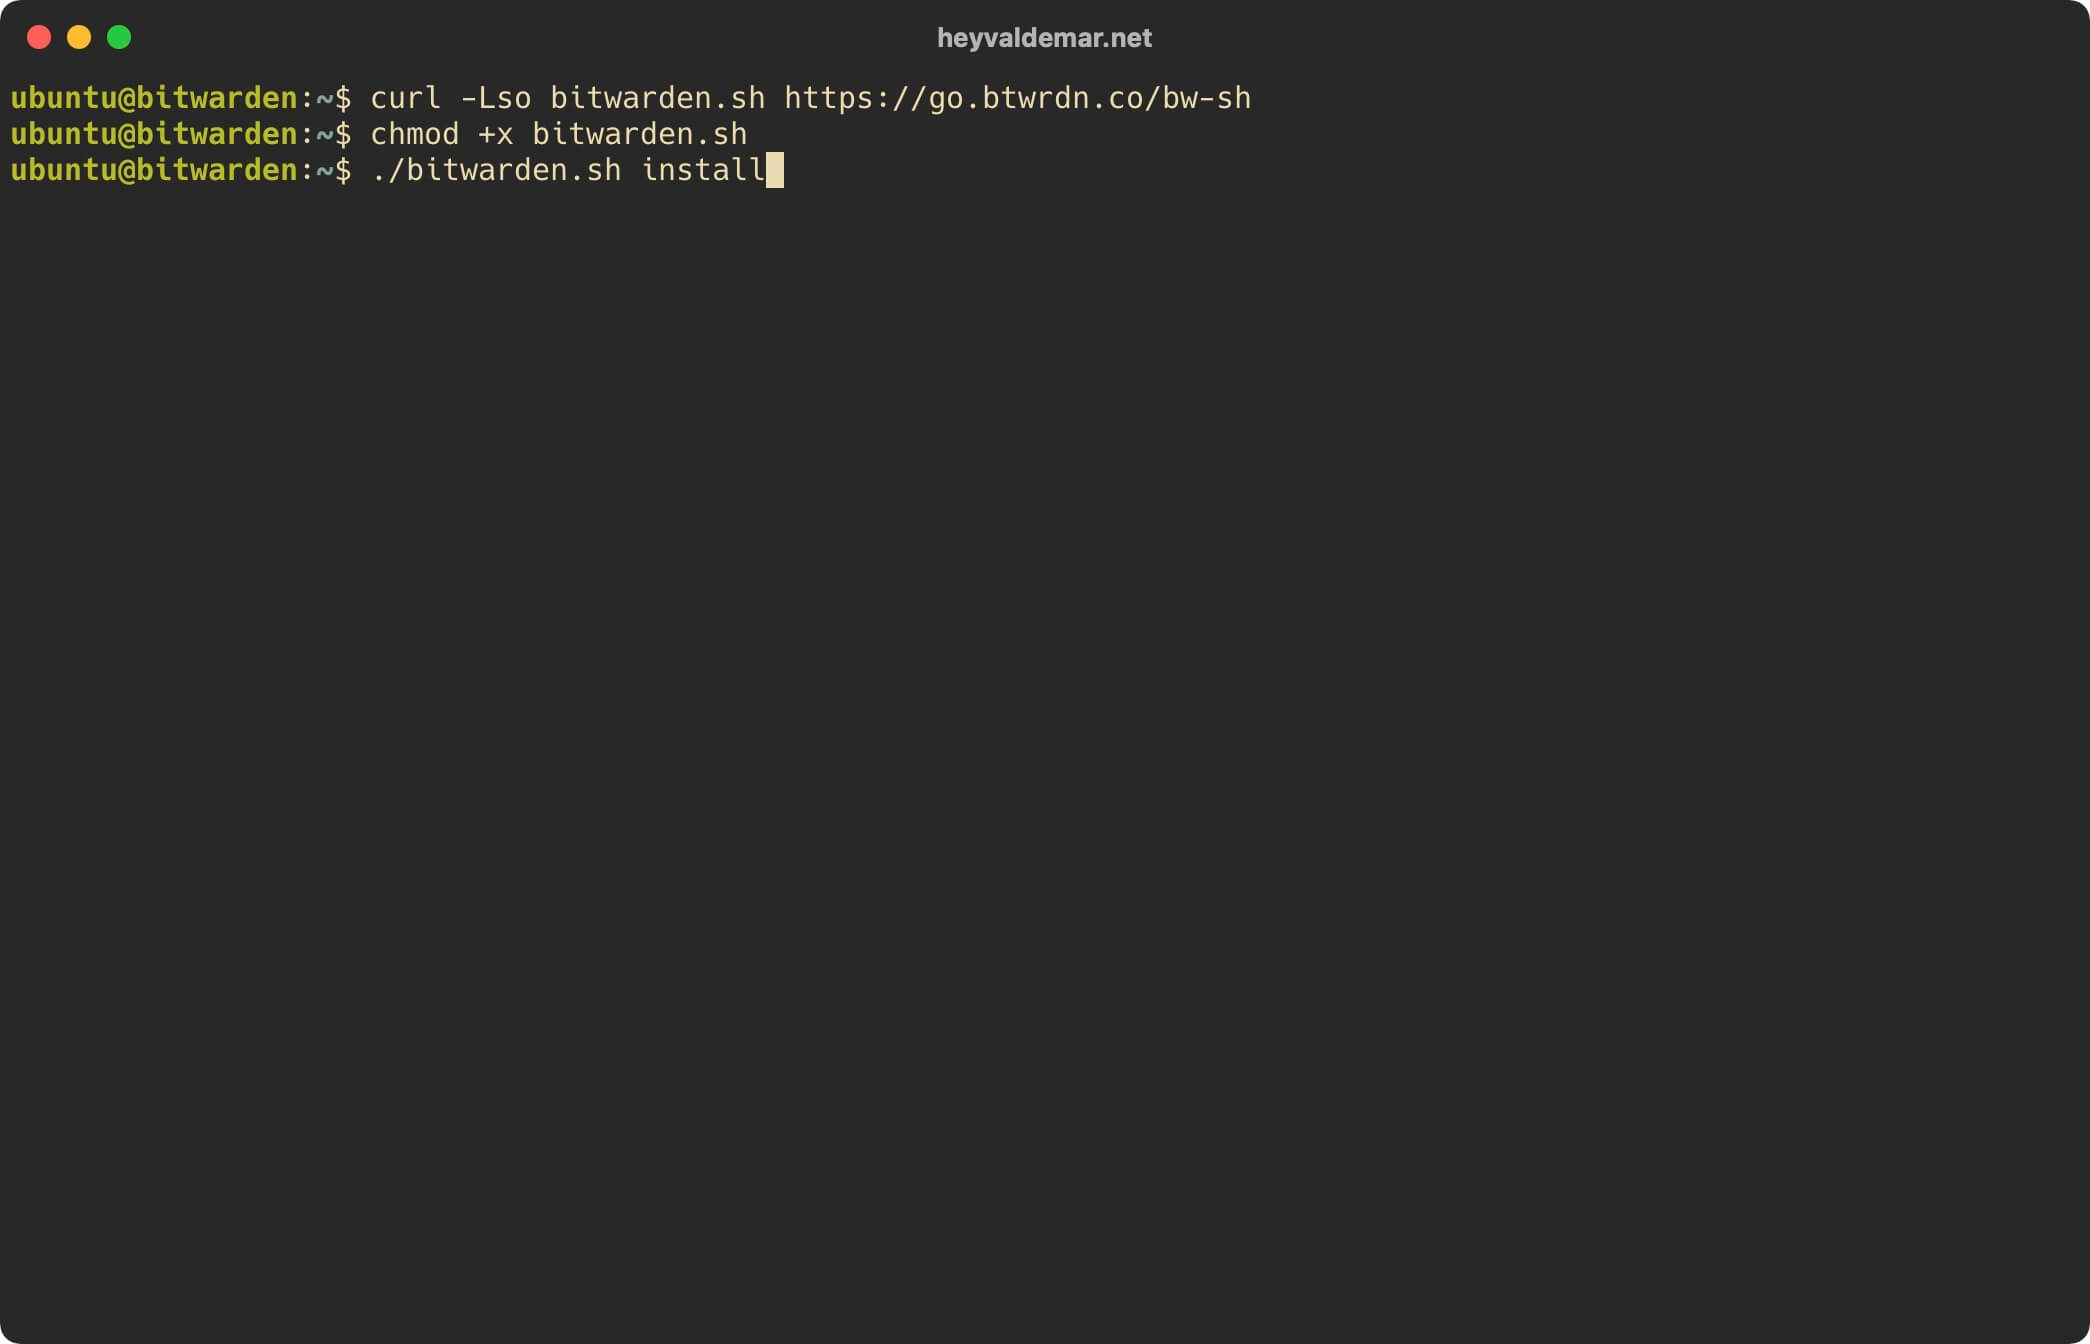
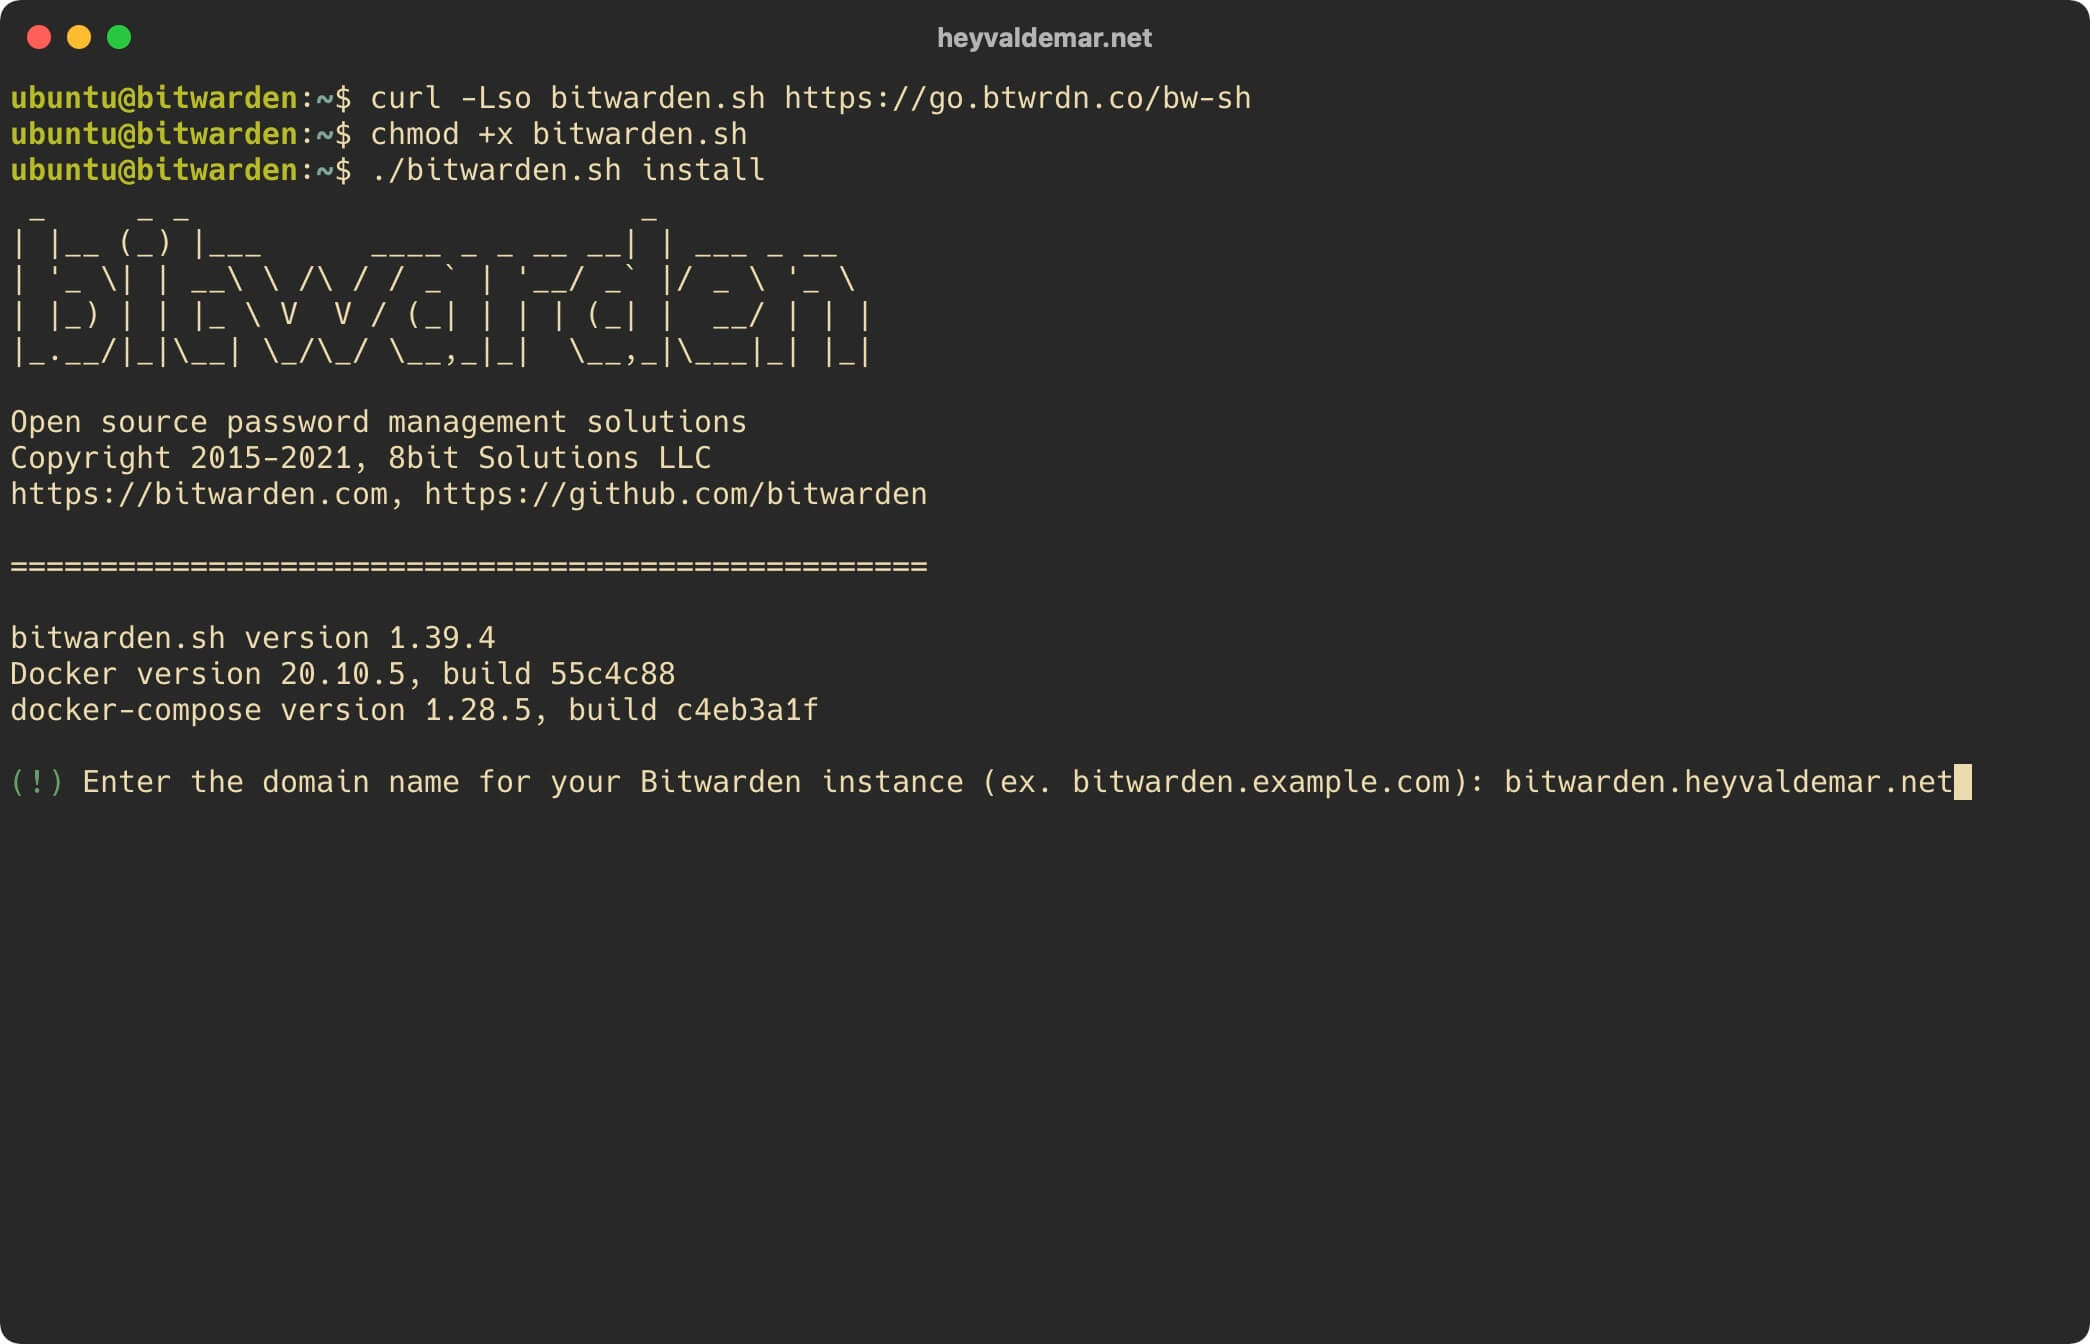
Now you need to specify the domain name that you plan to use to access the Bitwarden dashboard.
Specify the domain name to access Bitwarden and press the “Enter” button.
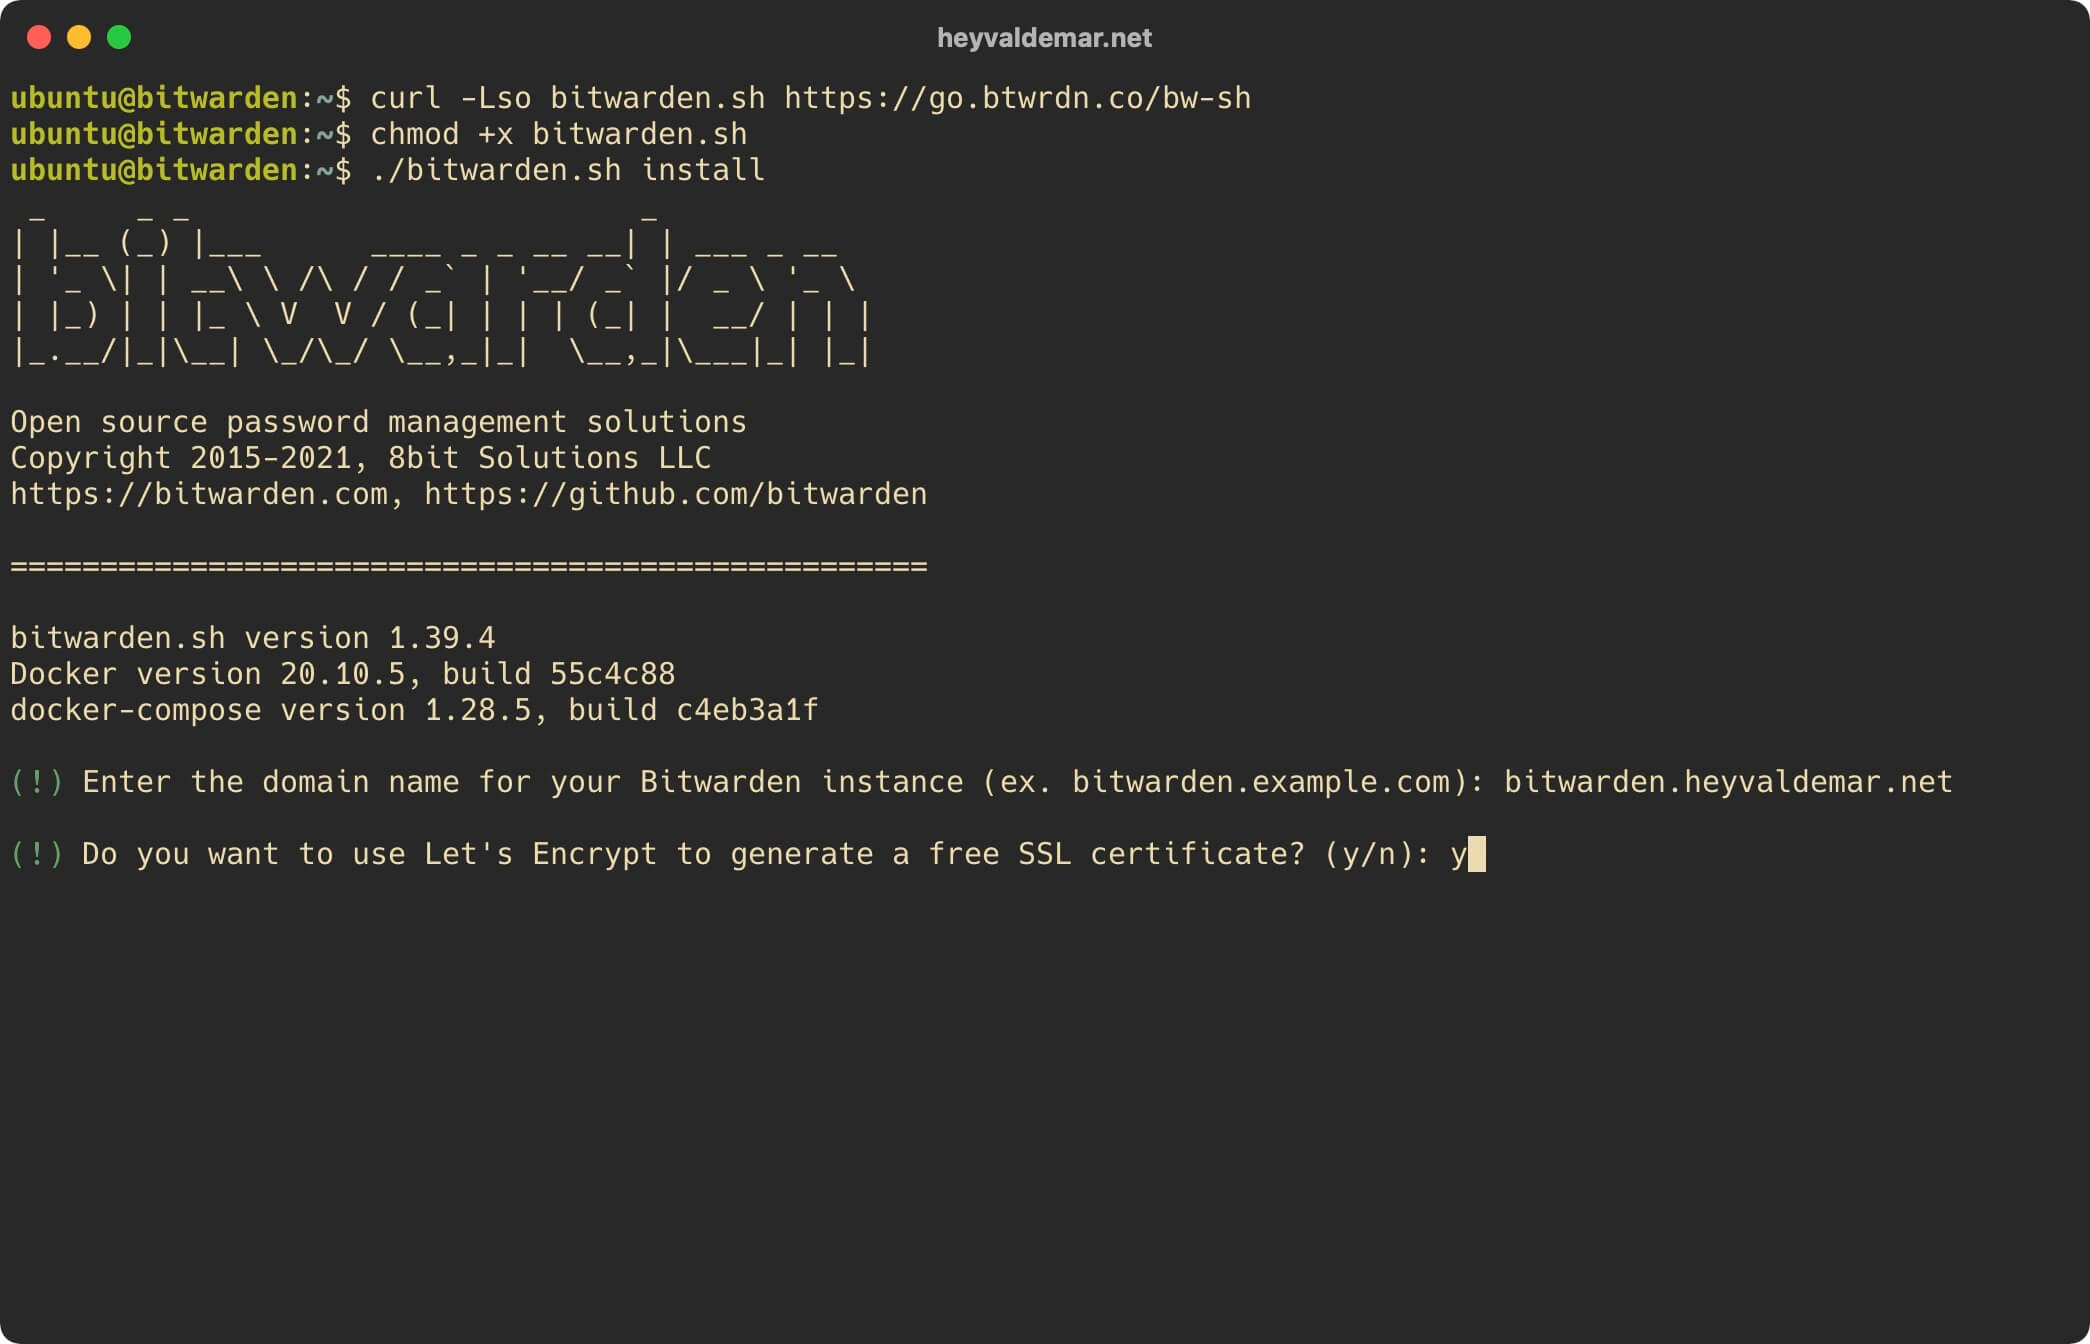
This tutorial walks you through obtaining a free cryptographic certificate through the Let’s Encrypt CA.
Press the “y” button, then “Enter”.
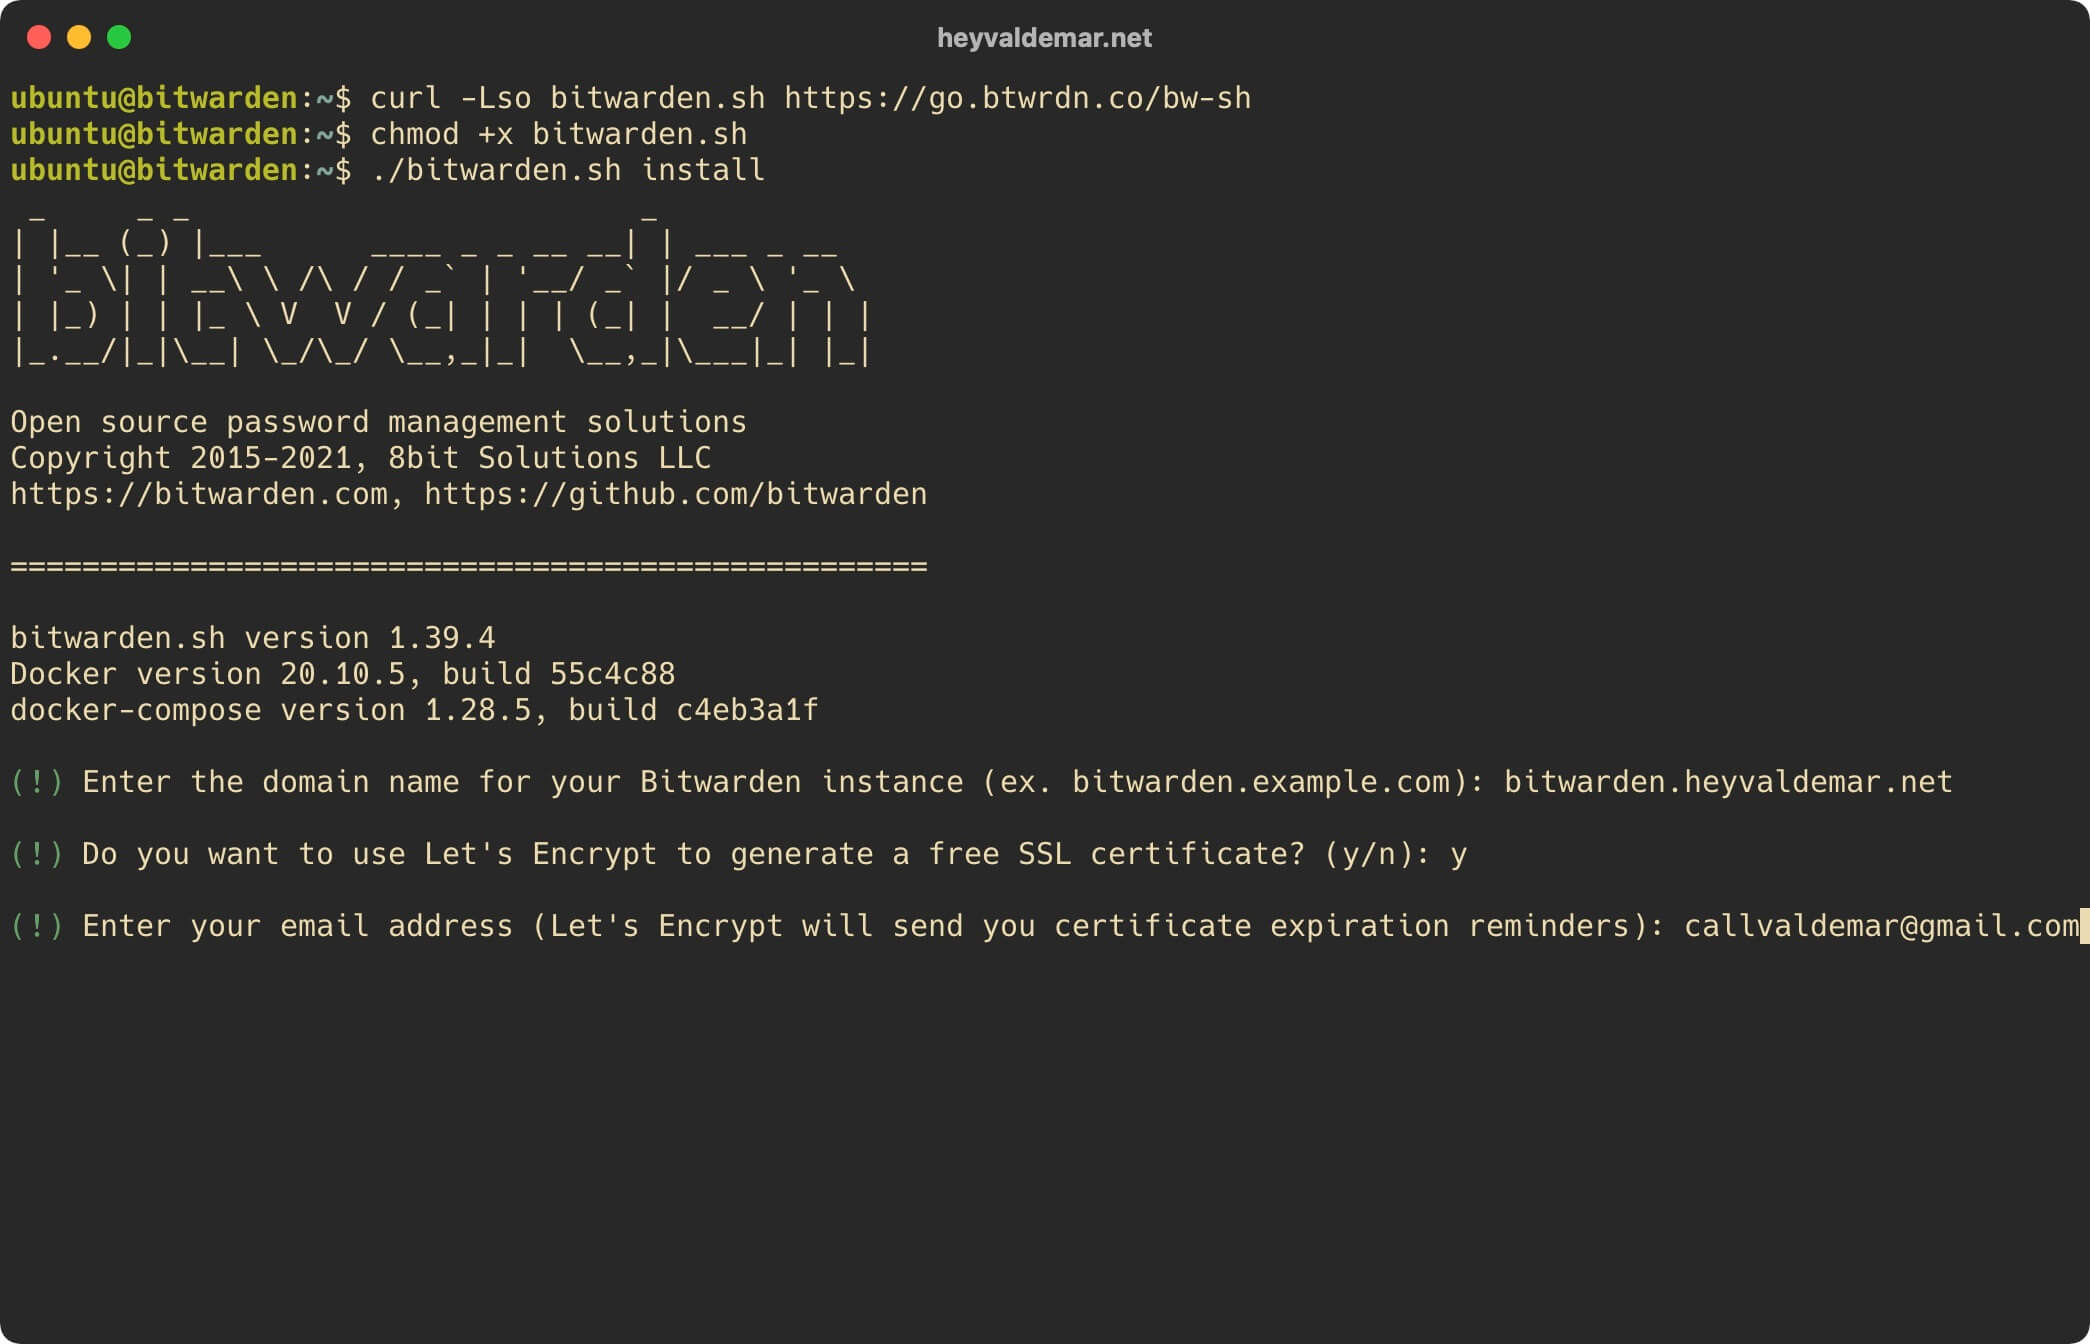
We indicate the email address to which Let’s Encrypt will send notifications about the expiration of the certificate and press the “Enter” button.
Specify the database name for the Bitwarden instance and press the “Enter” button.
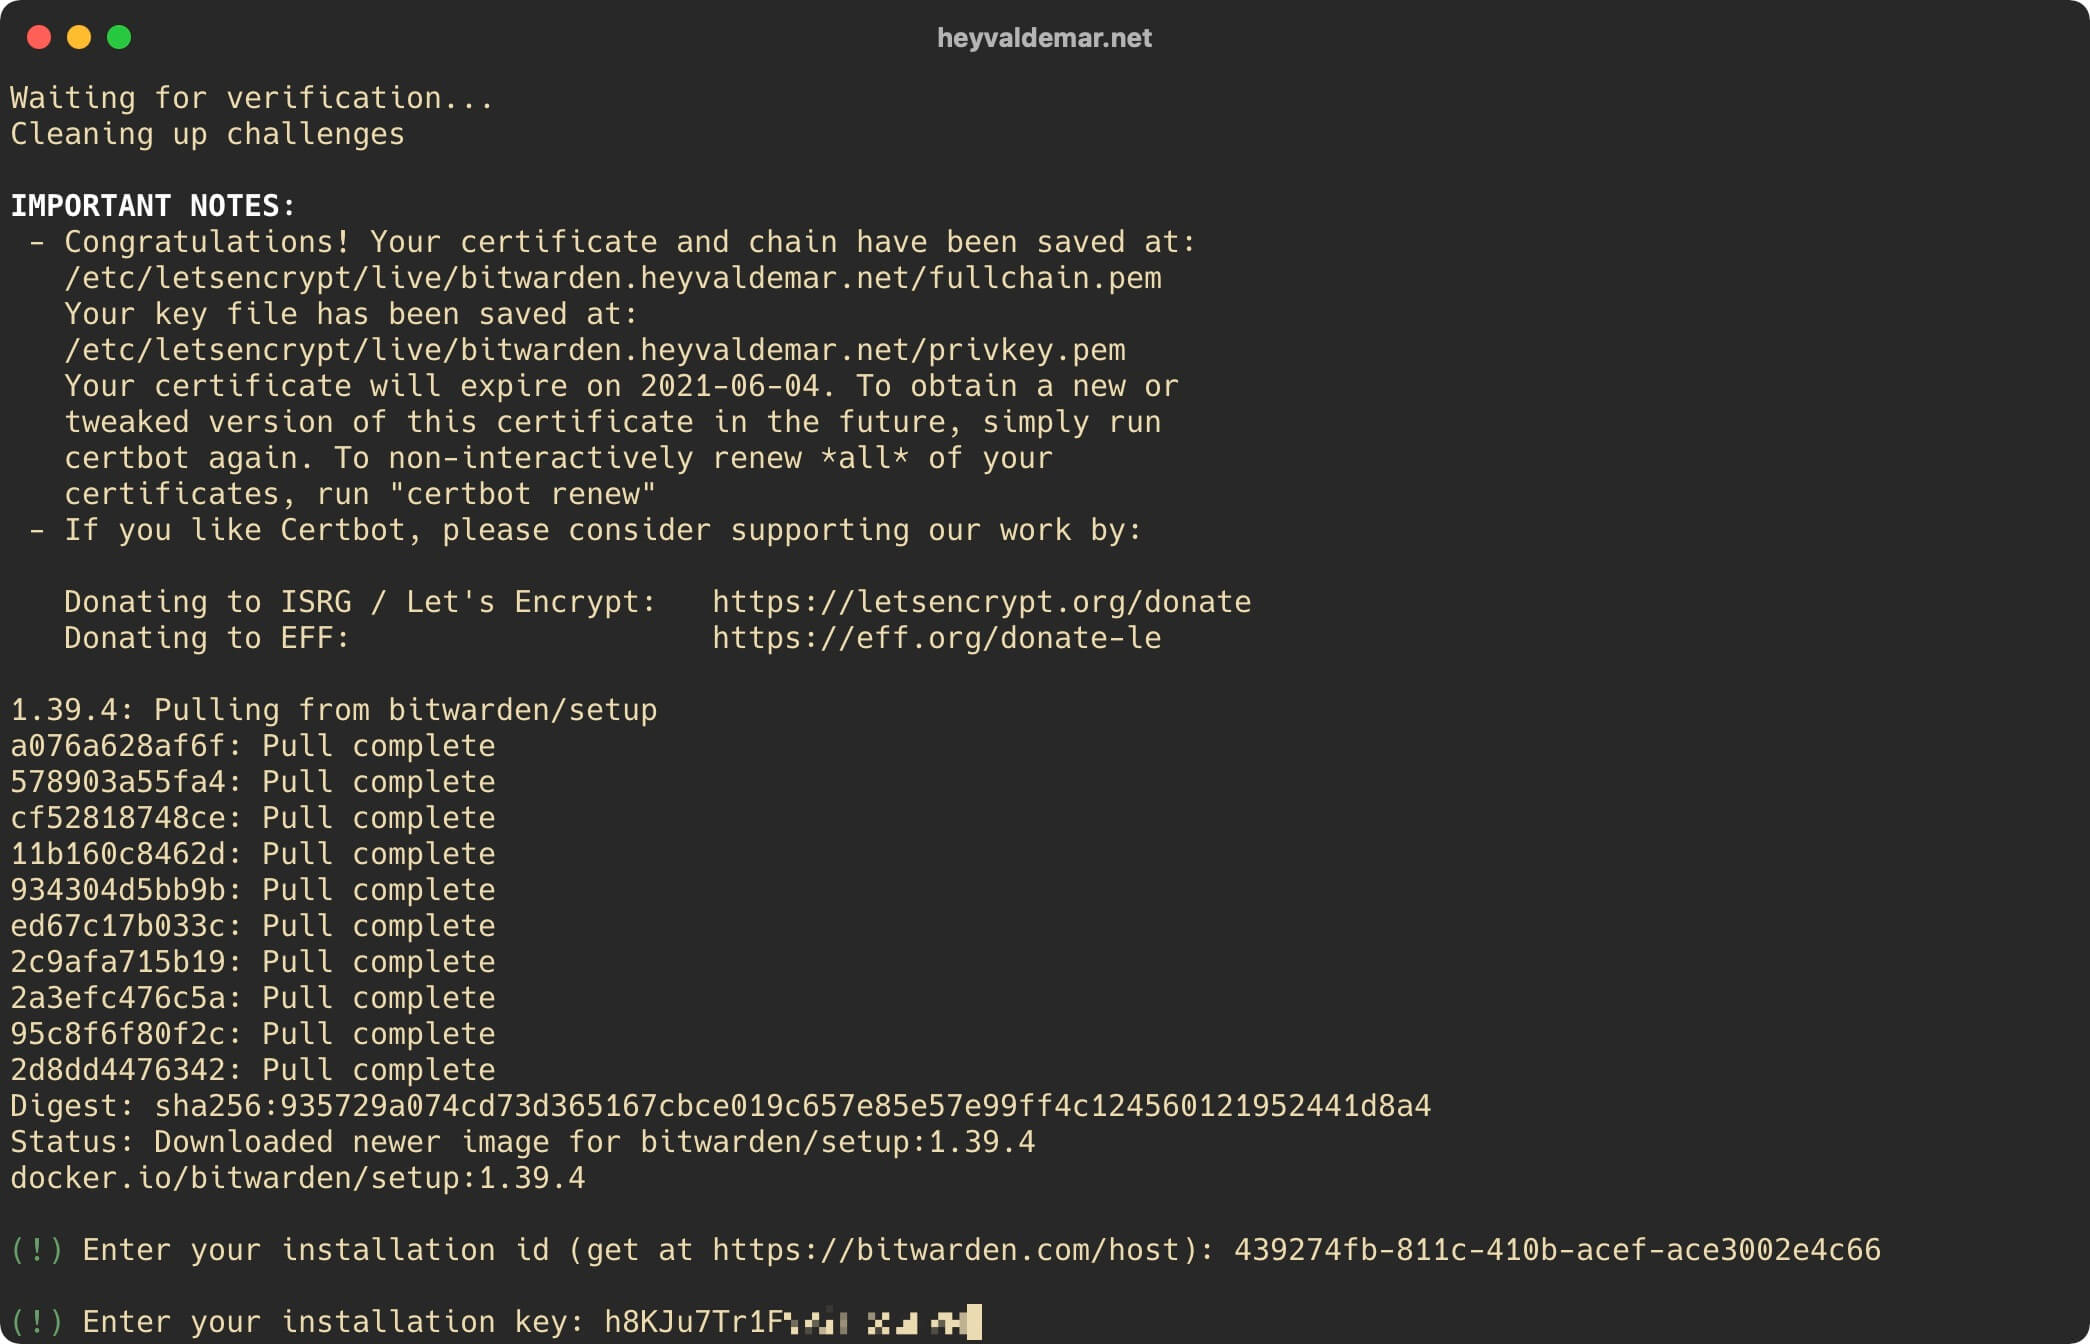
Specify the “Installation Id” obtained earlier and press the “Enter” button.
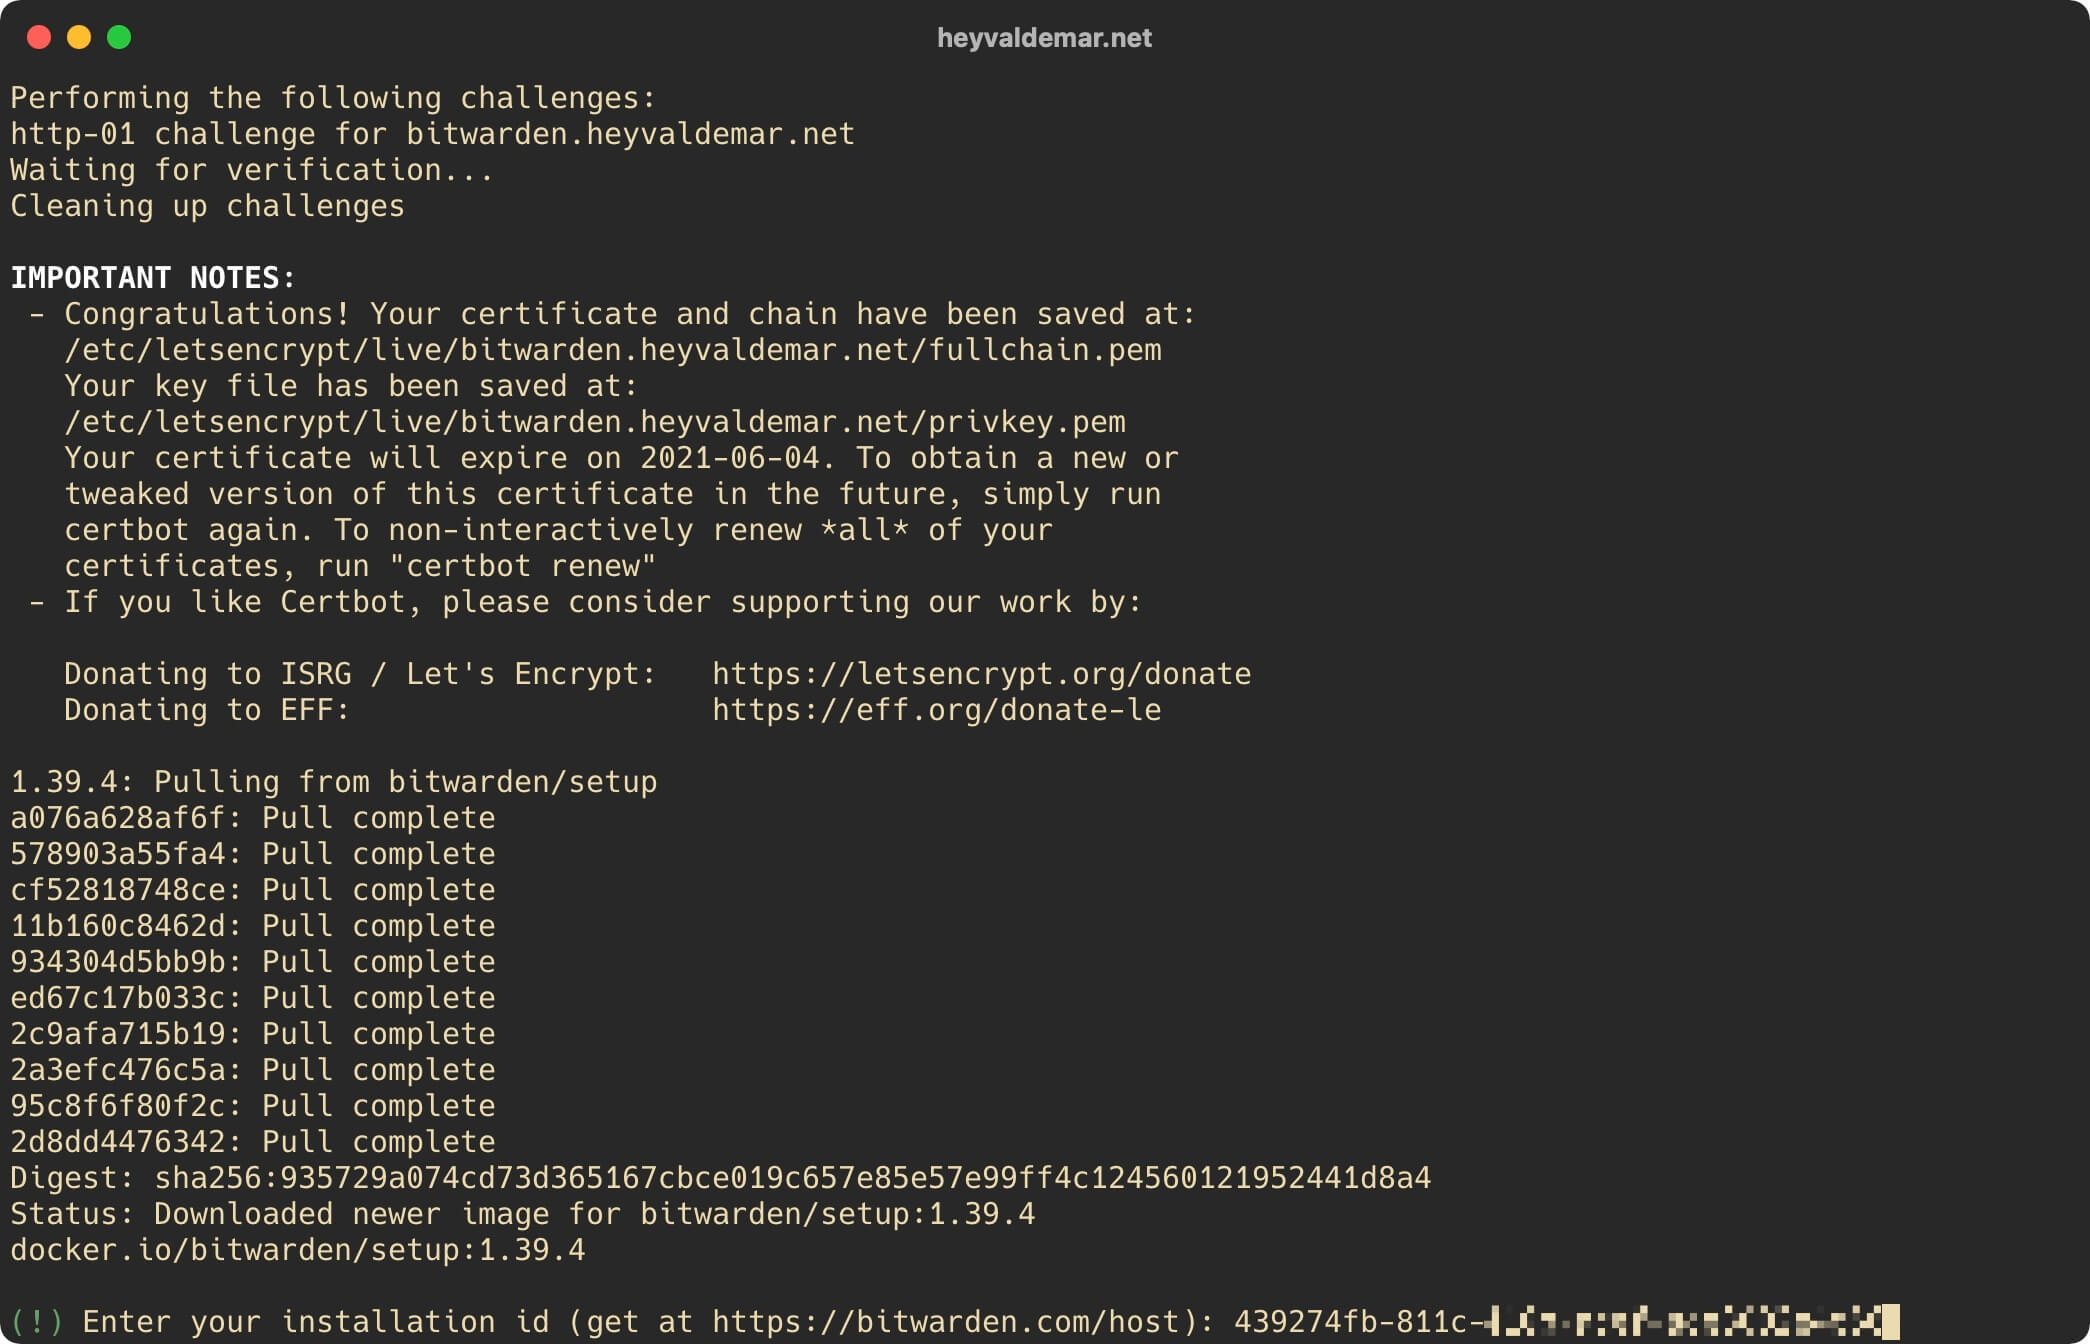
We indicate the “Installation Key” obtained earlier and press the “Enter” button.
Bitwarden installed successfully.
Now let’s start Bitwarden using the command:
sudo ./bitwarden.sh start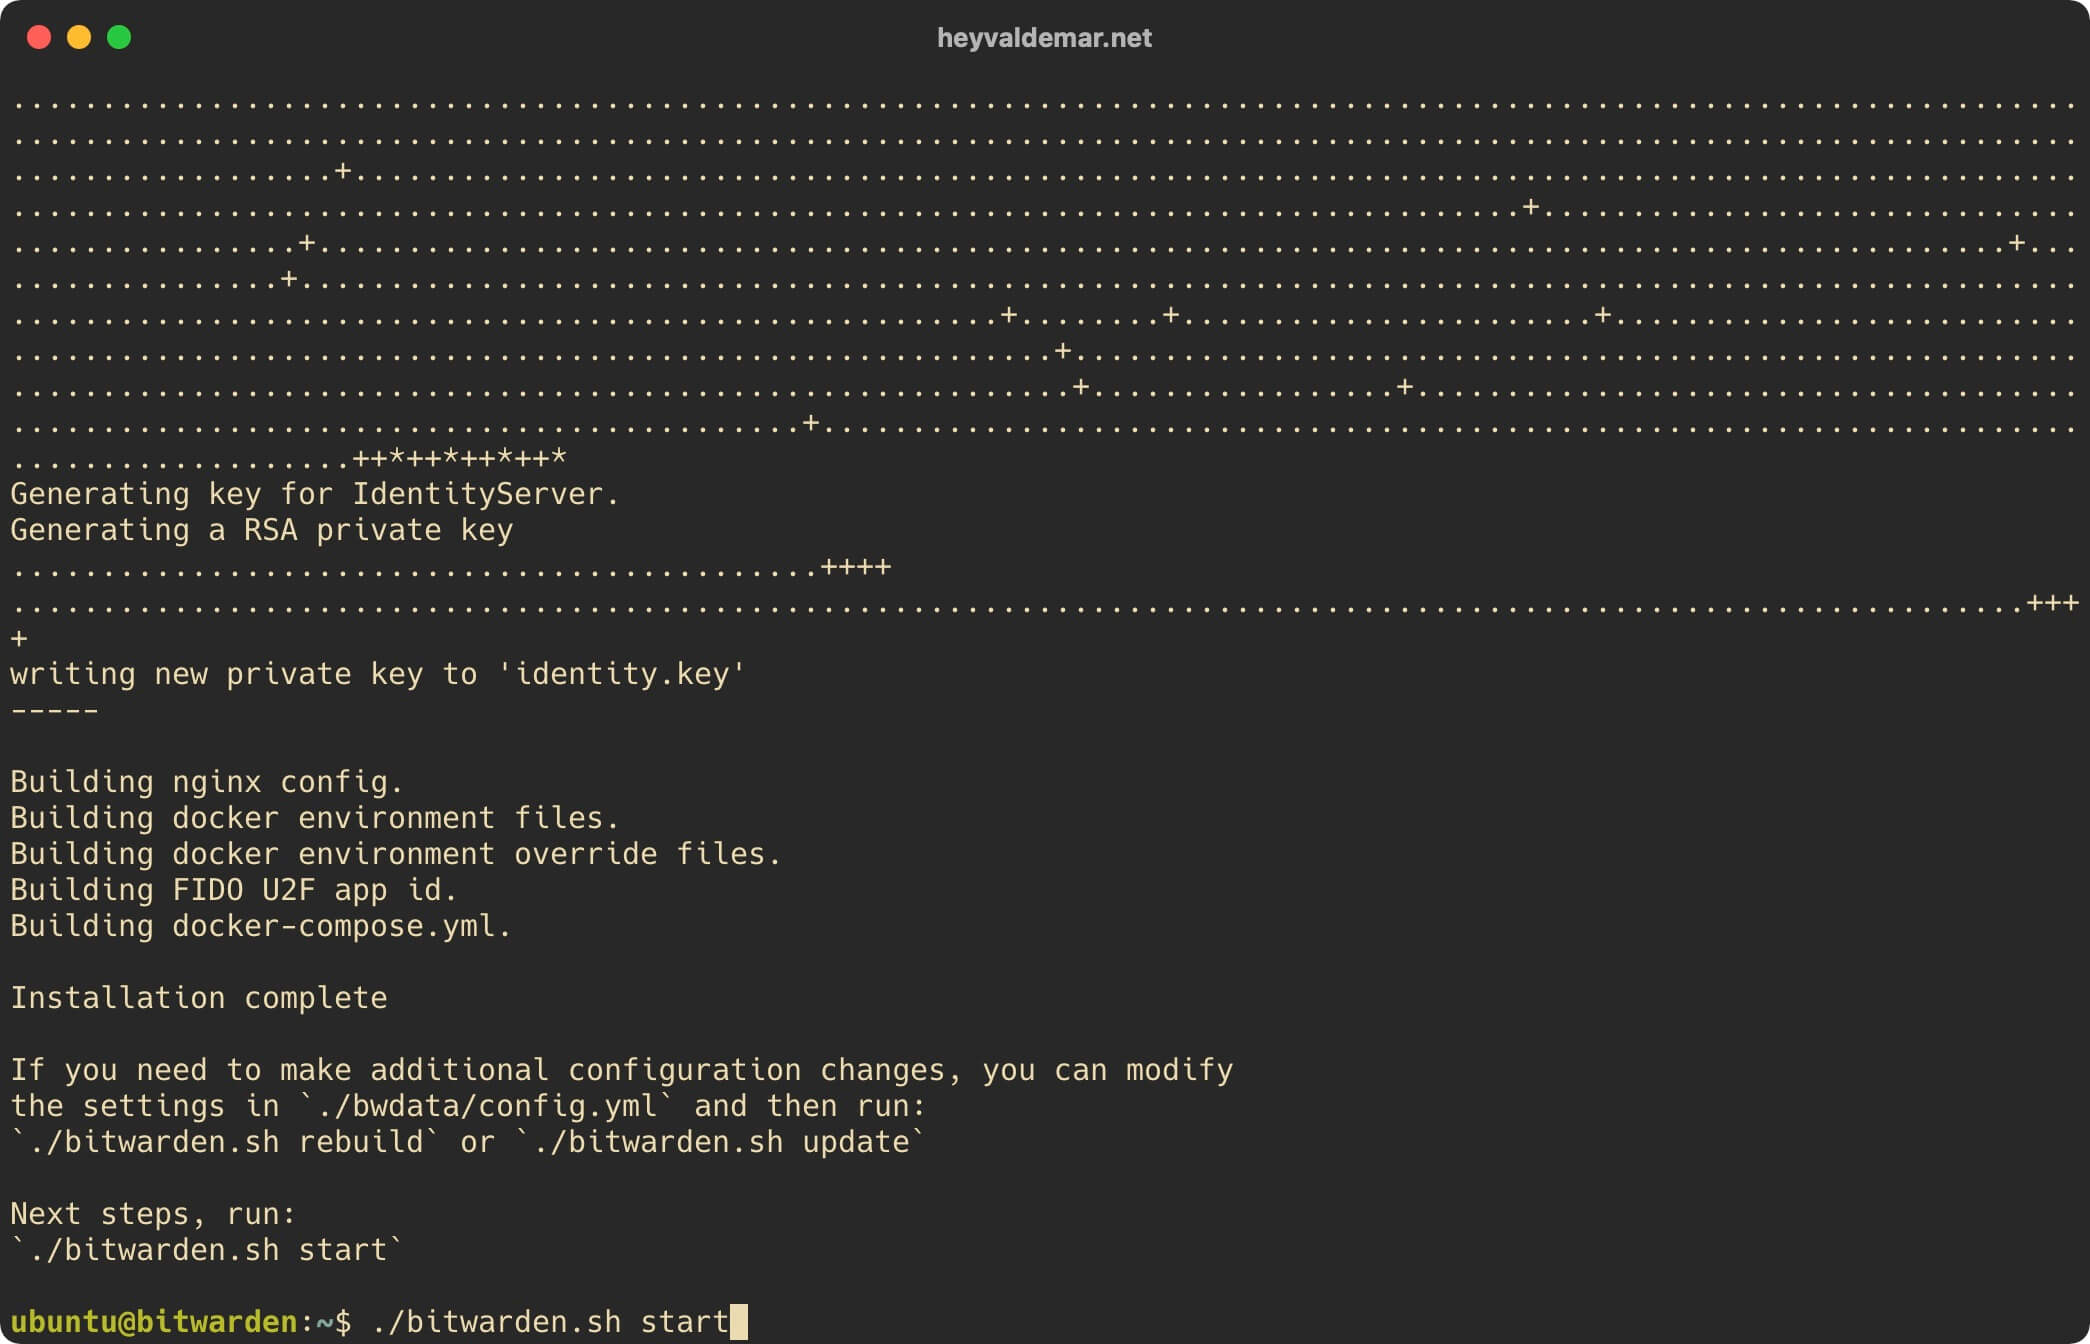
Bitwarden launched successfully.
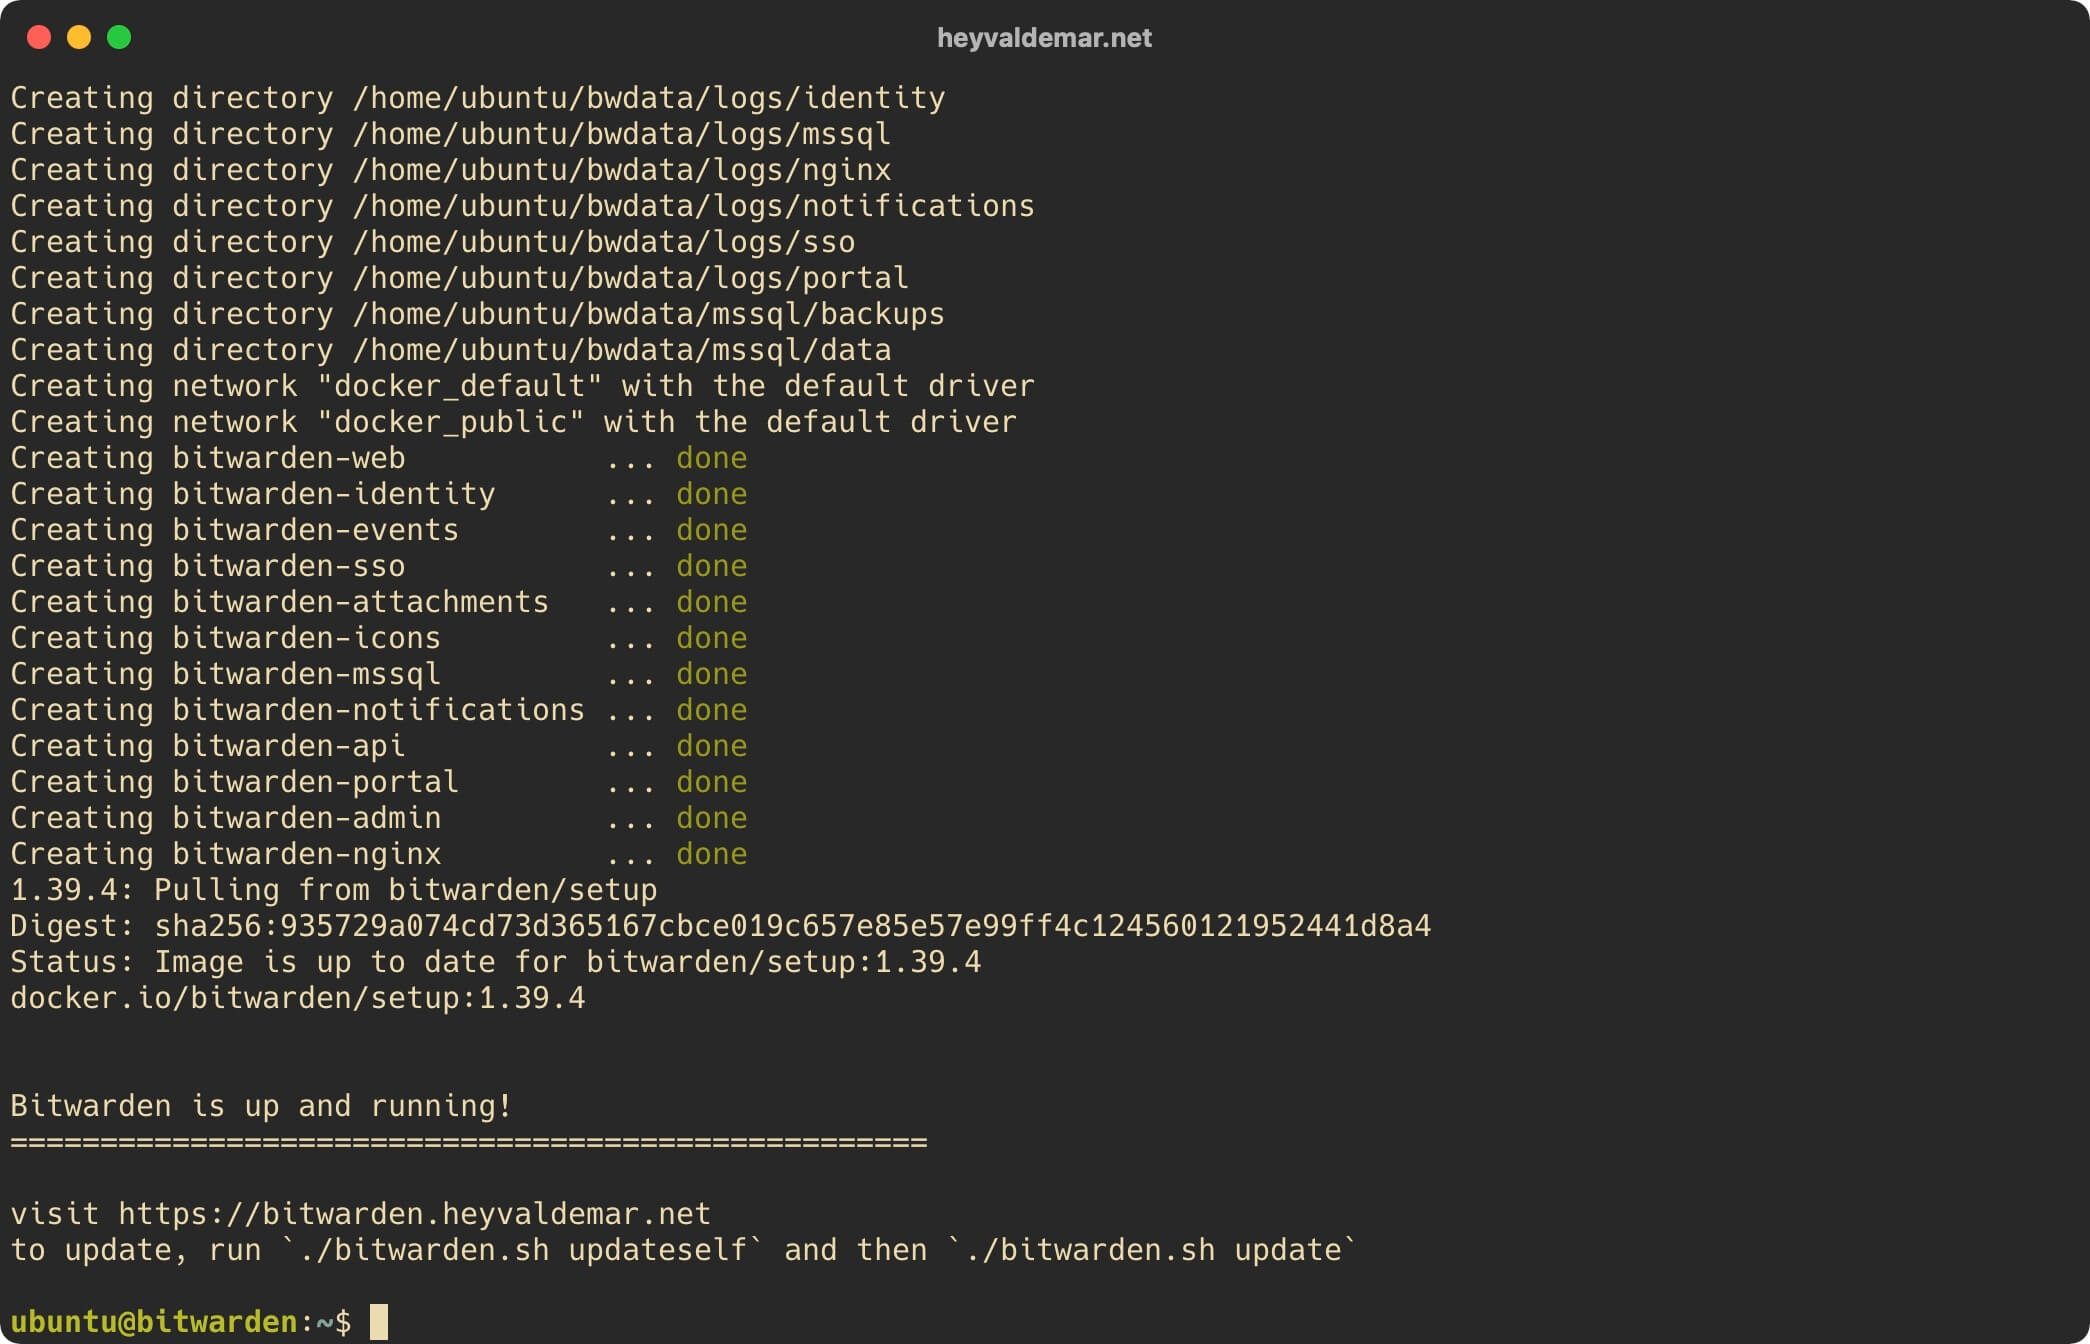
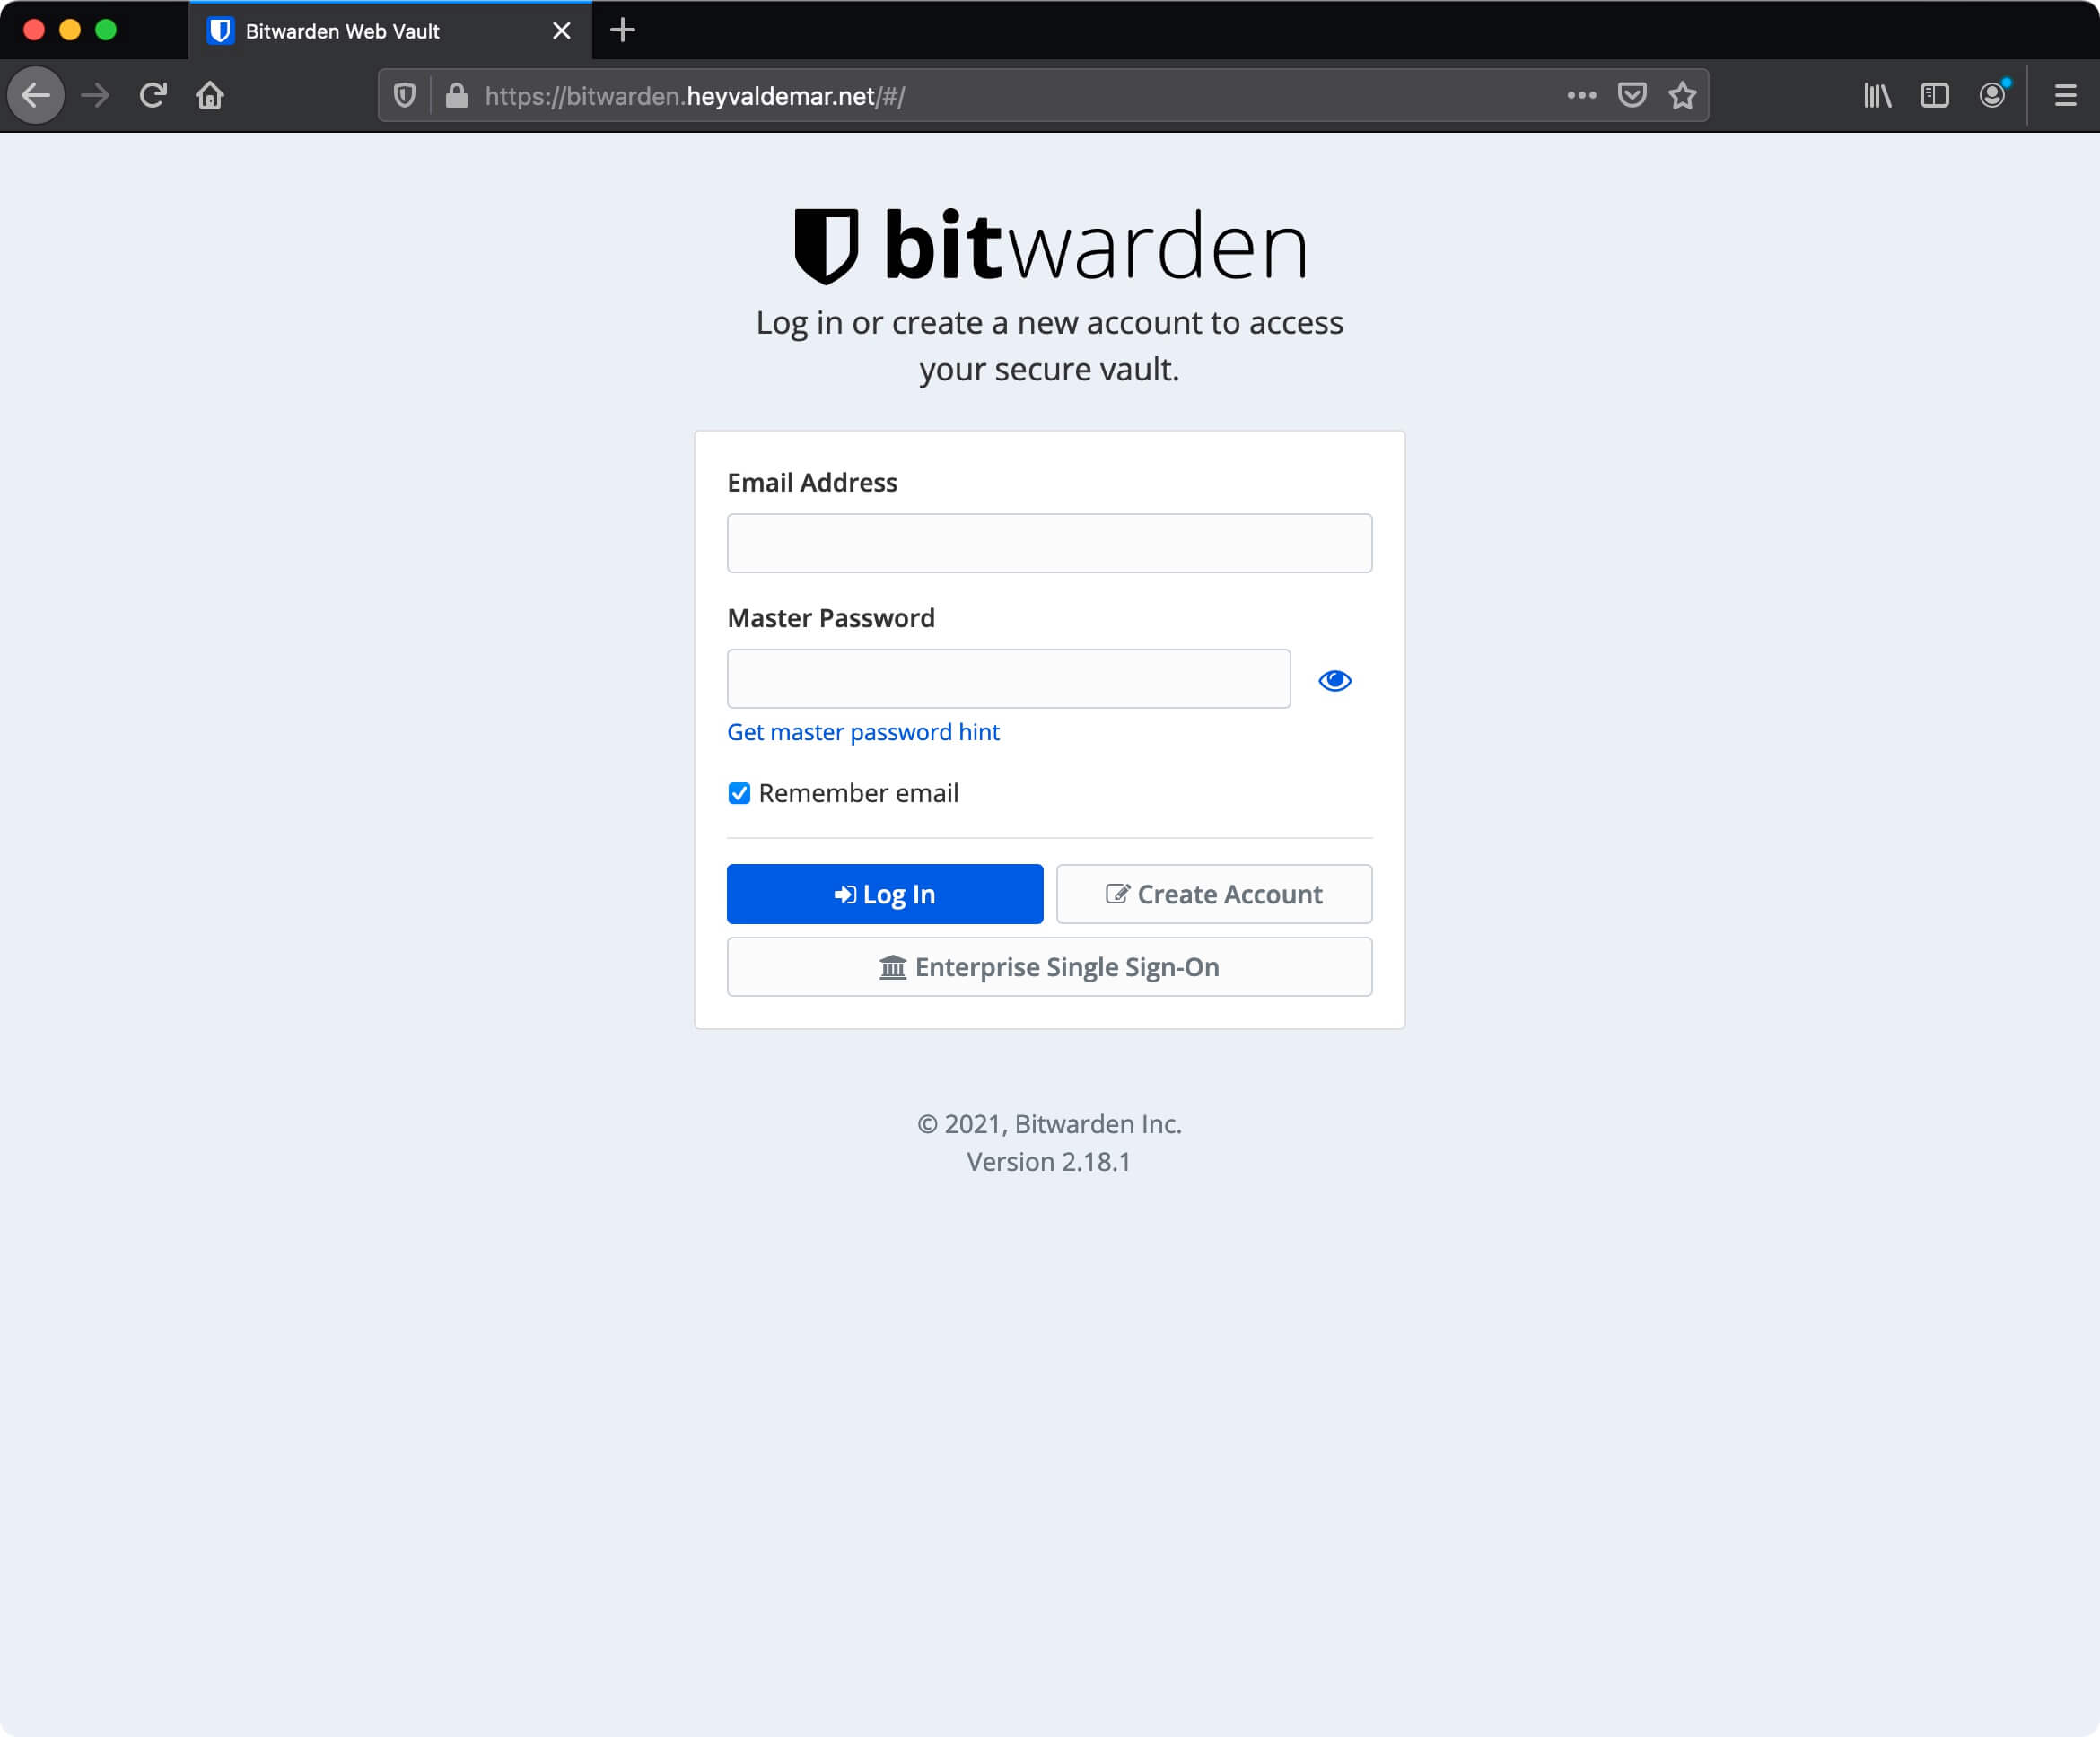
To access the Bitwarden control panel, you need to go from the workstation to the link https://bitwarden.heyvaldemar.net, where bitwarden.heyvaldemar.net is the name of my server. Accordingly, you need to specify the name of your server with Bitwarden installed.
Next, you need to register to start using the Bitwarden dashboard.
Follow Me
🎬 YouTube
🐦 X / Twitter
🎨 Instagram
🐘 Mastodon
🧵 Threads
🎸 Facebook
🧊 Bluesky
🎥 TikTok
💻 LinkedIn
📣 daily.dev Squad
🧩 LeetCode
🐈 GitHub
Community of IT Experts
👾 Discord
Is this content AI-generated?
Nope! Each article is crafted by me, fueled by a deep passion for Docker and decades of IT expertise. While I employ AI to refine the grammar—ensuring the technical details are conveyed clearly—the insights, strategies, and guidance are purely my own. This approach may occasionally activate AI detectors, but you can be certain that the underlying knowledge and experiences are authentically mine.
