Install OpenJDK on Ubuntu Server
This article is for those looking for a detailed and straightforward guide on installing OpenJDK on Ubuntu Server.
With the release of Java 11, Oracle JDK became commercial and is no longer free.
OpenJDK is an open-source implementation of the Java Standard Edition platform with contributions from Oracle and the Java open community. The Oracle JDK build process is built from the OpenJDK source, so there isn’t much difference between Oracle JDK and OpenJDK.
OpenJDK is free but will need to be updated every 6 months.
In this guide, we will consider the case when you already have a server with the Ubuntu Server 22.04 LTS operating system installed on it.
You can read more about how to install Ubuntu Server 22.04 LTS in my guide “Install Ubuntu Server 22.04 LTS”.
In addition, OpenSSH must be installed on the server, and port 22 must be open in order to be able to connect to the server using the SSH protocol.
To install OpenSSH on a server, you can use the command:
sudo apt install openssh-serverThis guide describes how to connect to a server using the iTerm2 terminal emulator installed on the macOS operating system.
We connect to the server on which you plan to install OpenJDK.
Update the local package index to the latest changes in the repositories using the command:
sudo apt update
You may need a Java Development Kit (JDK) in addition to the JRE in order to compile and run certain Java-based software.
To install the JDK, run the following command, which will also install the JRE:
sudo apt-get install -y default-jdk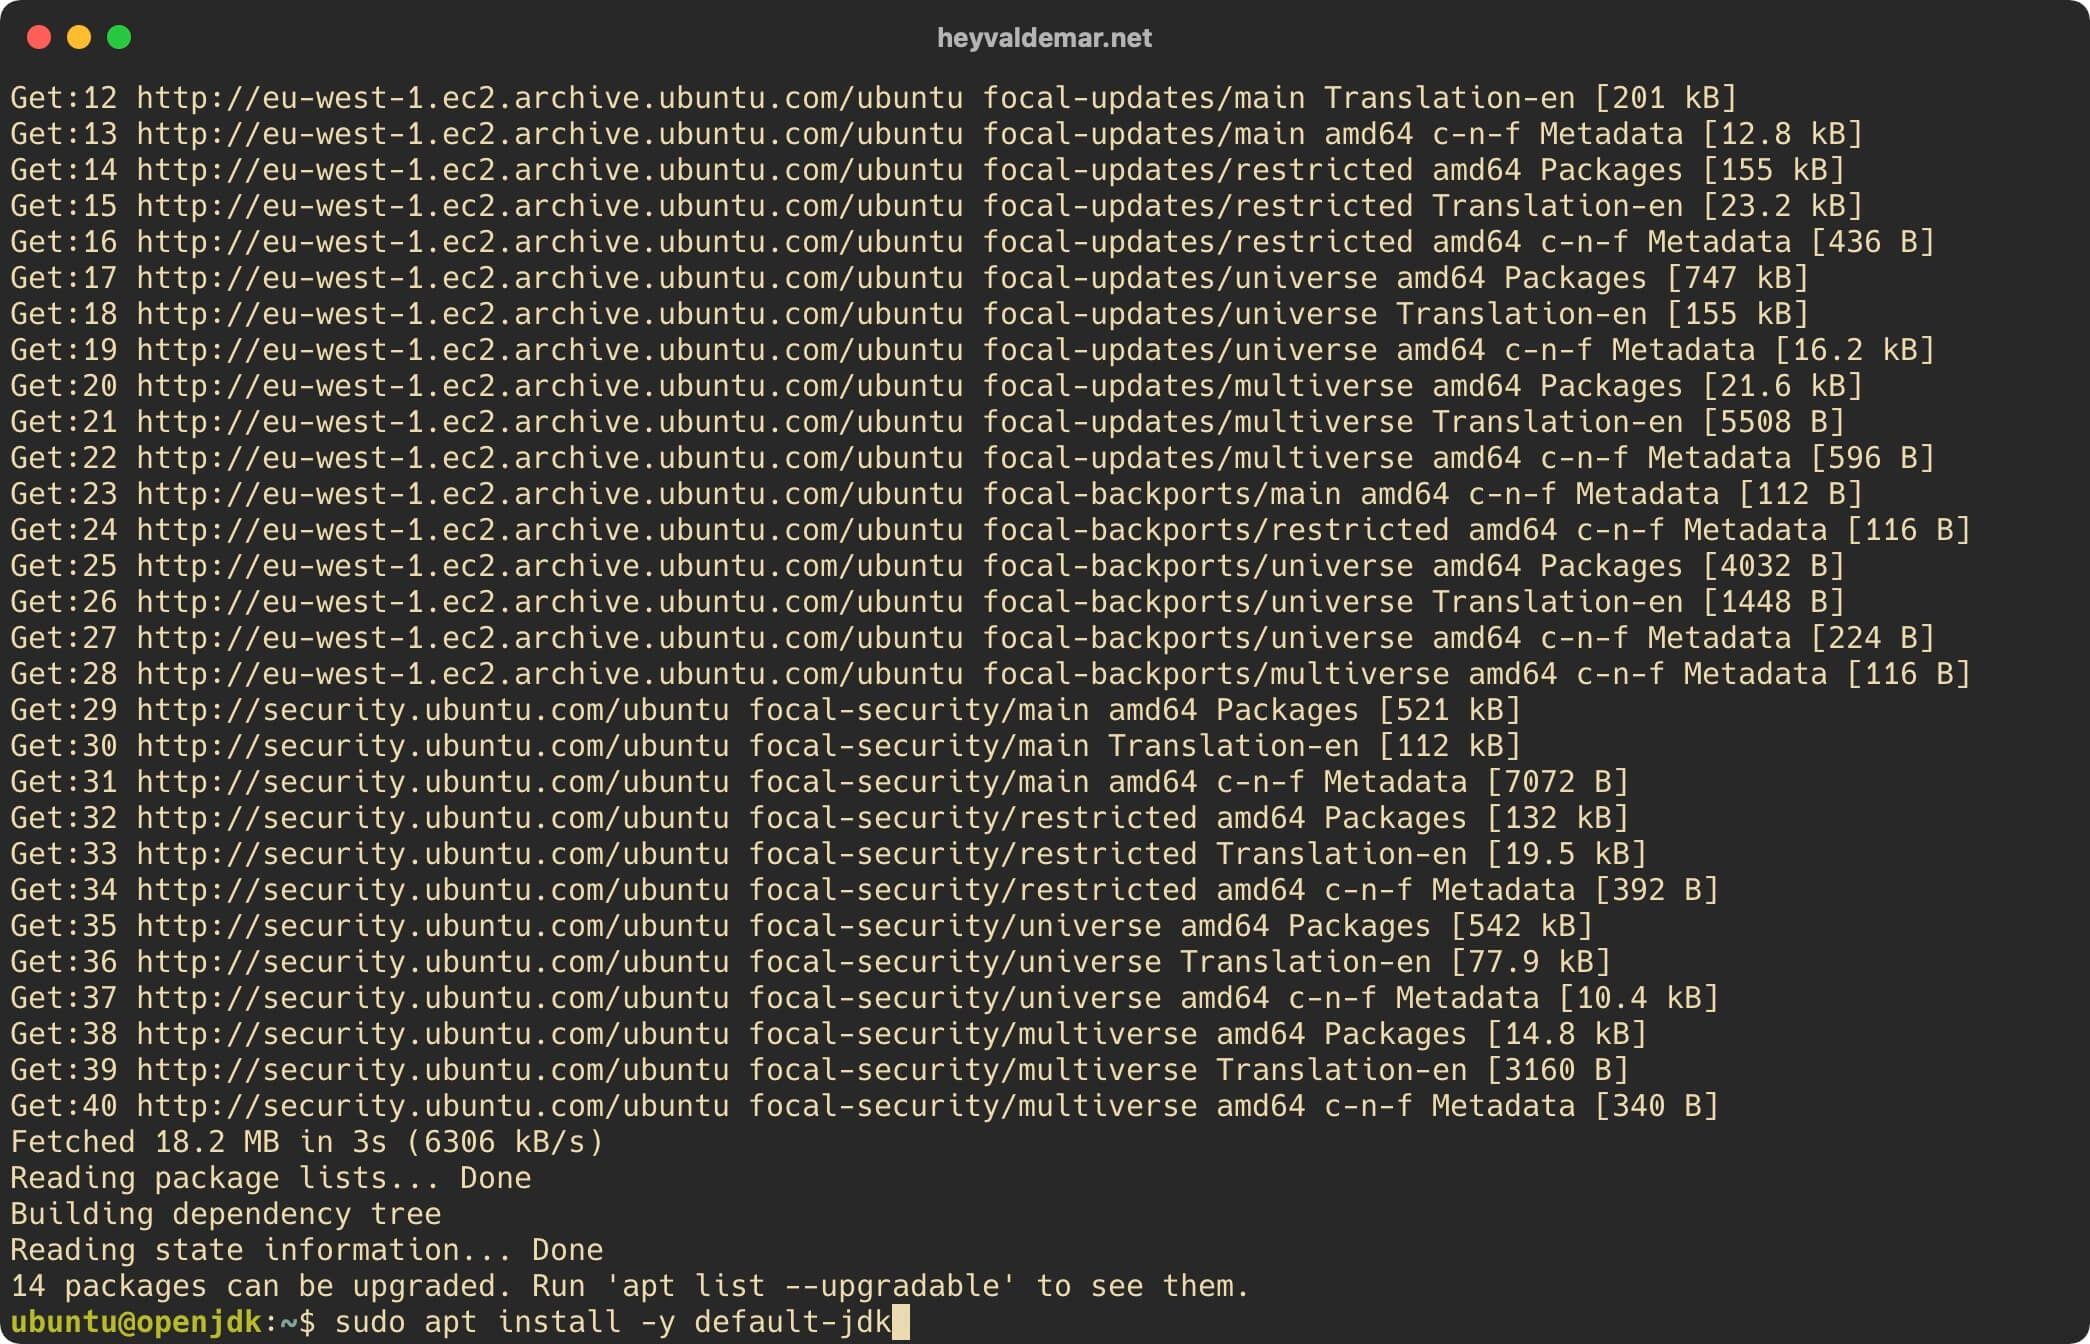
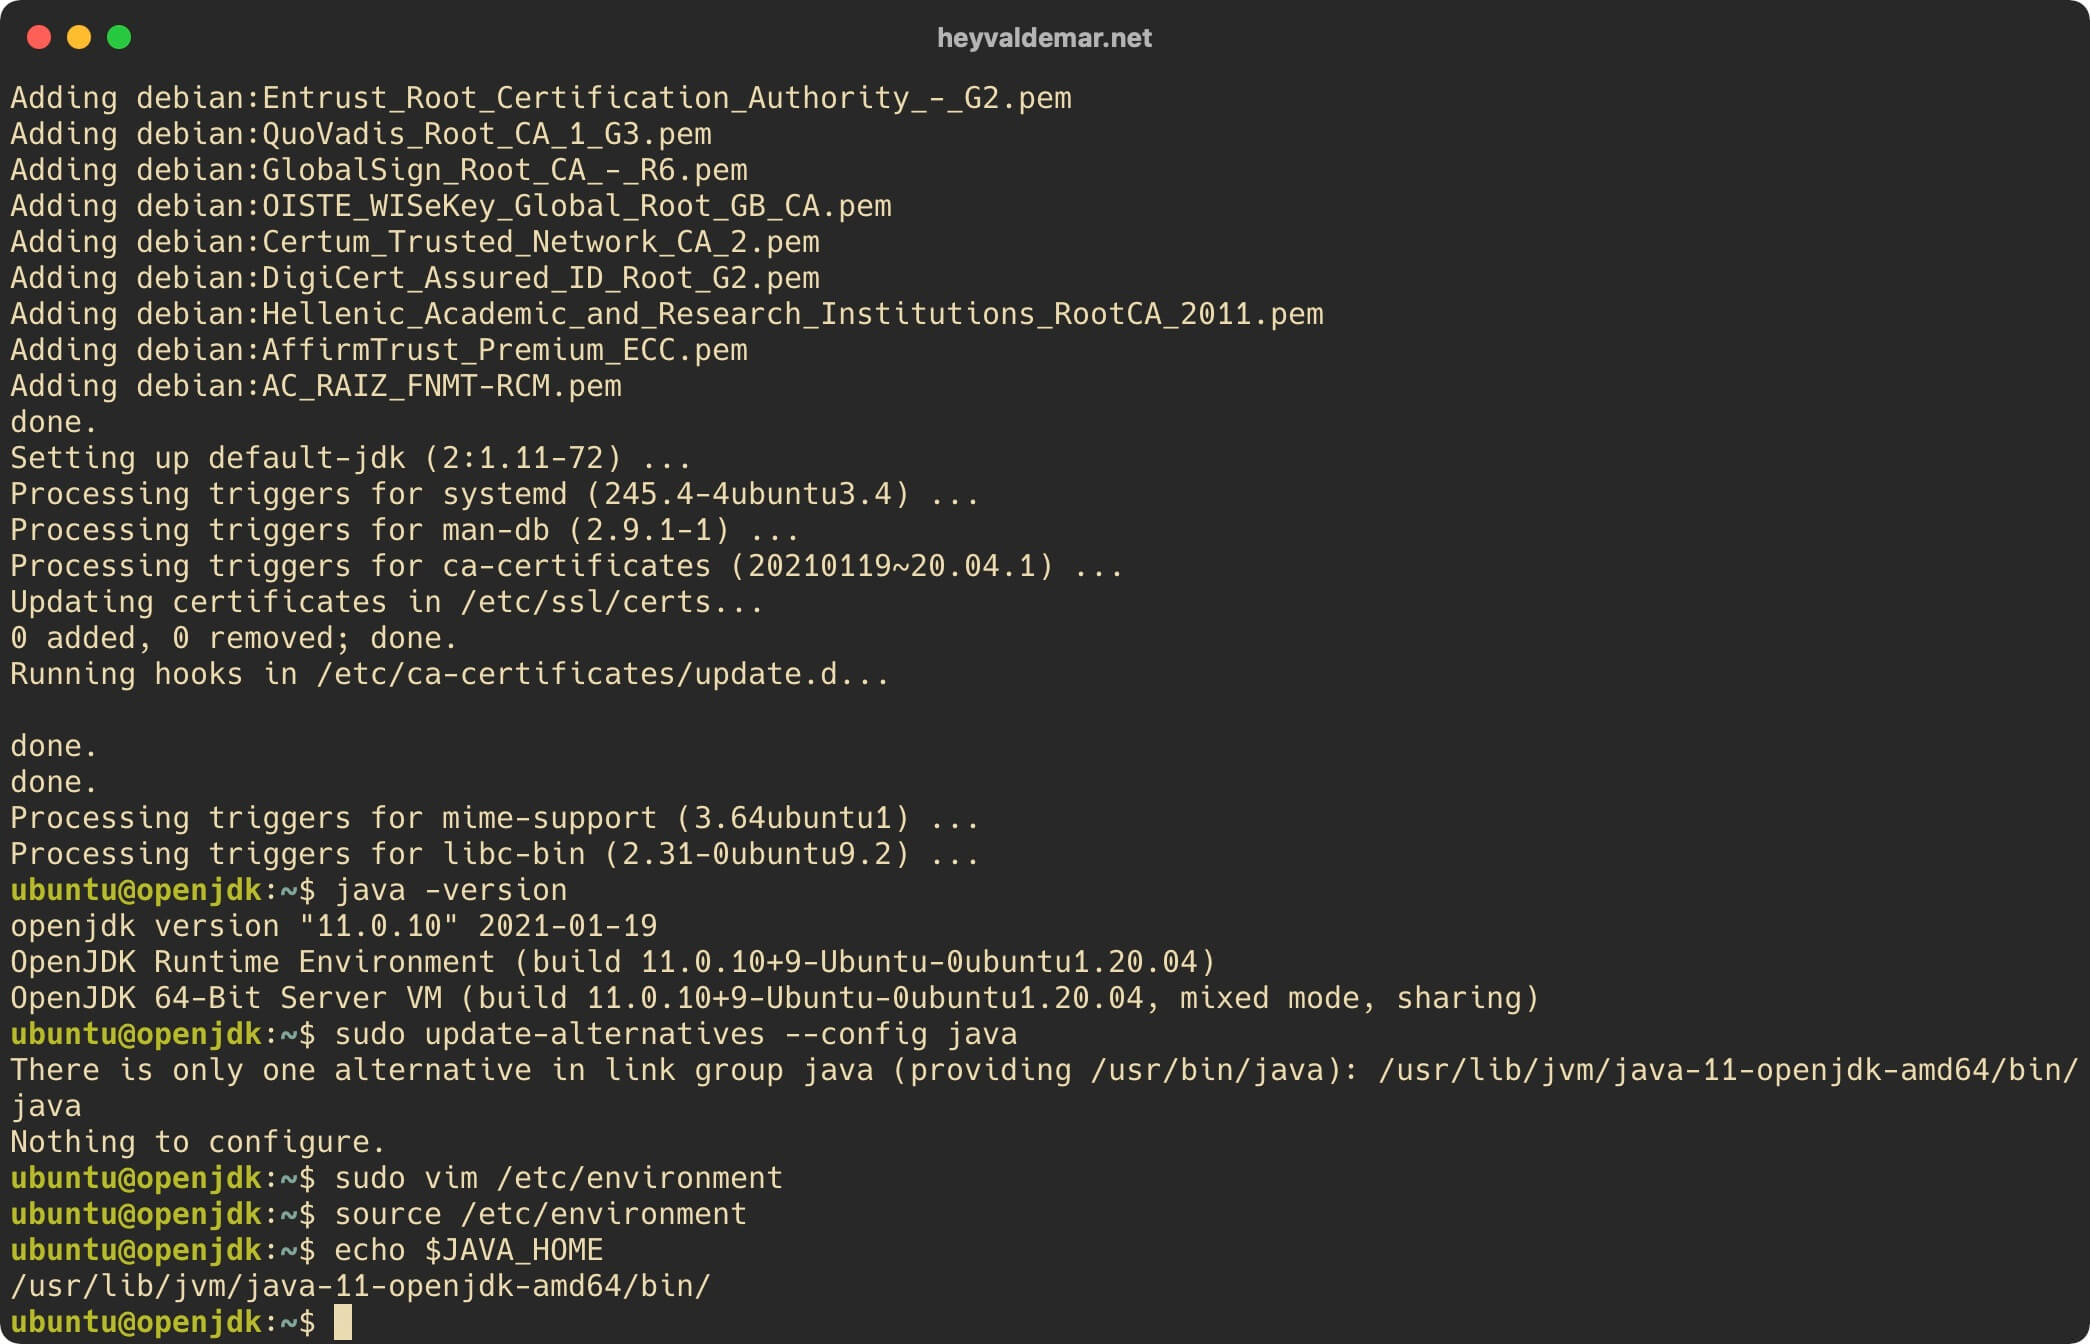
Now you need to make sure that OpenJDK is installed correctly. To do this, you need to run the command:
java -version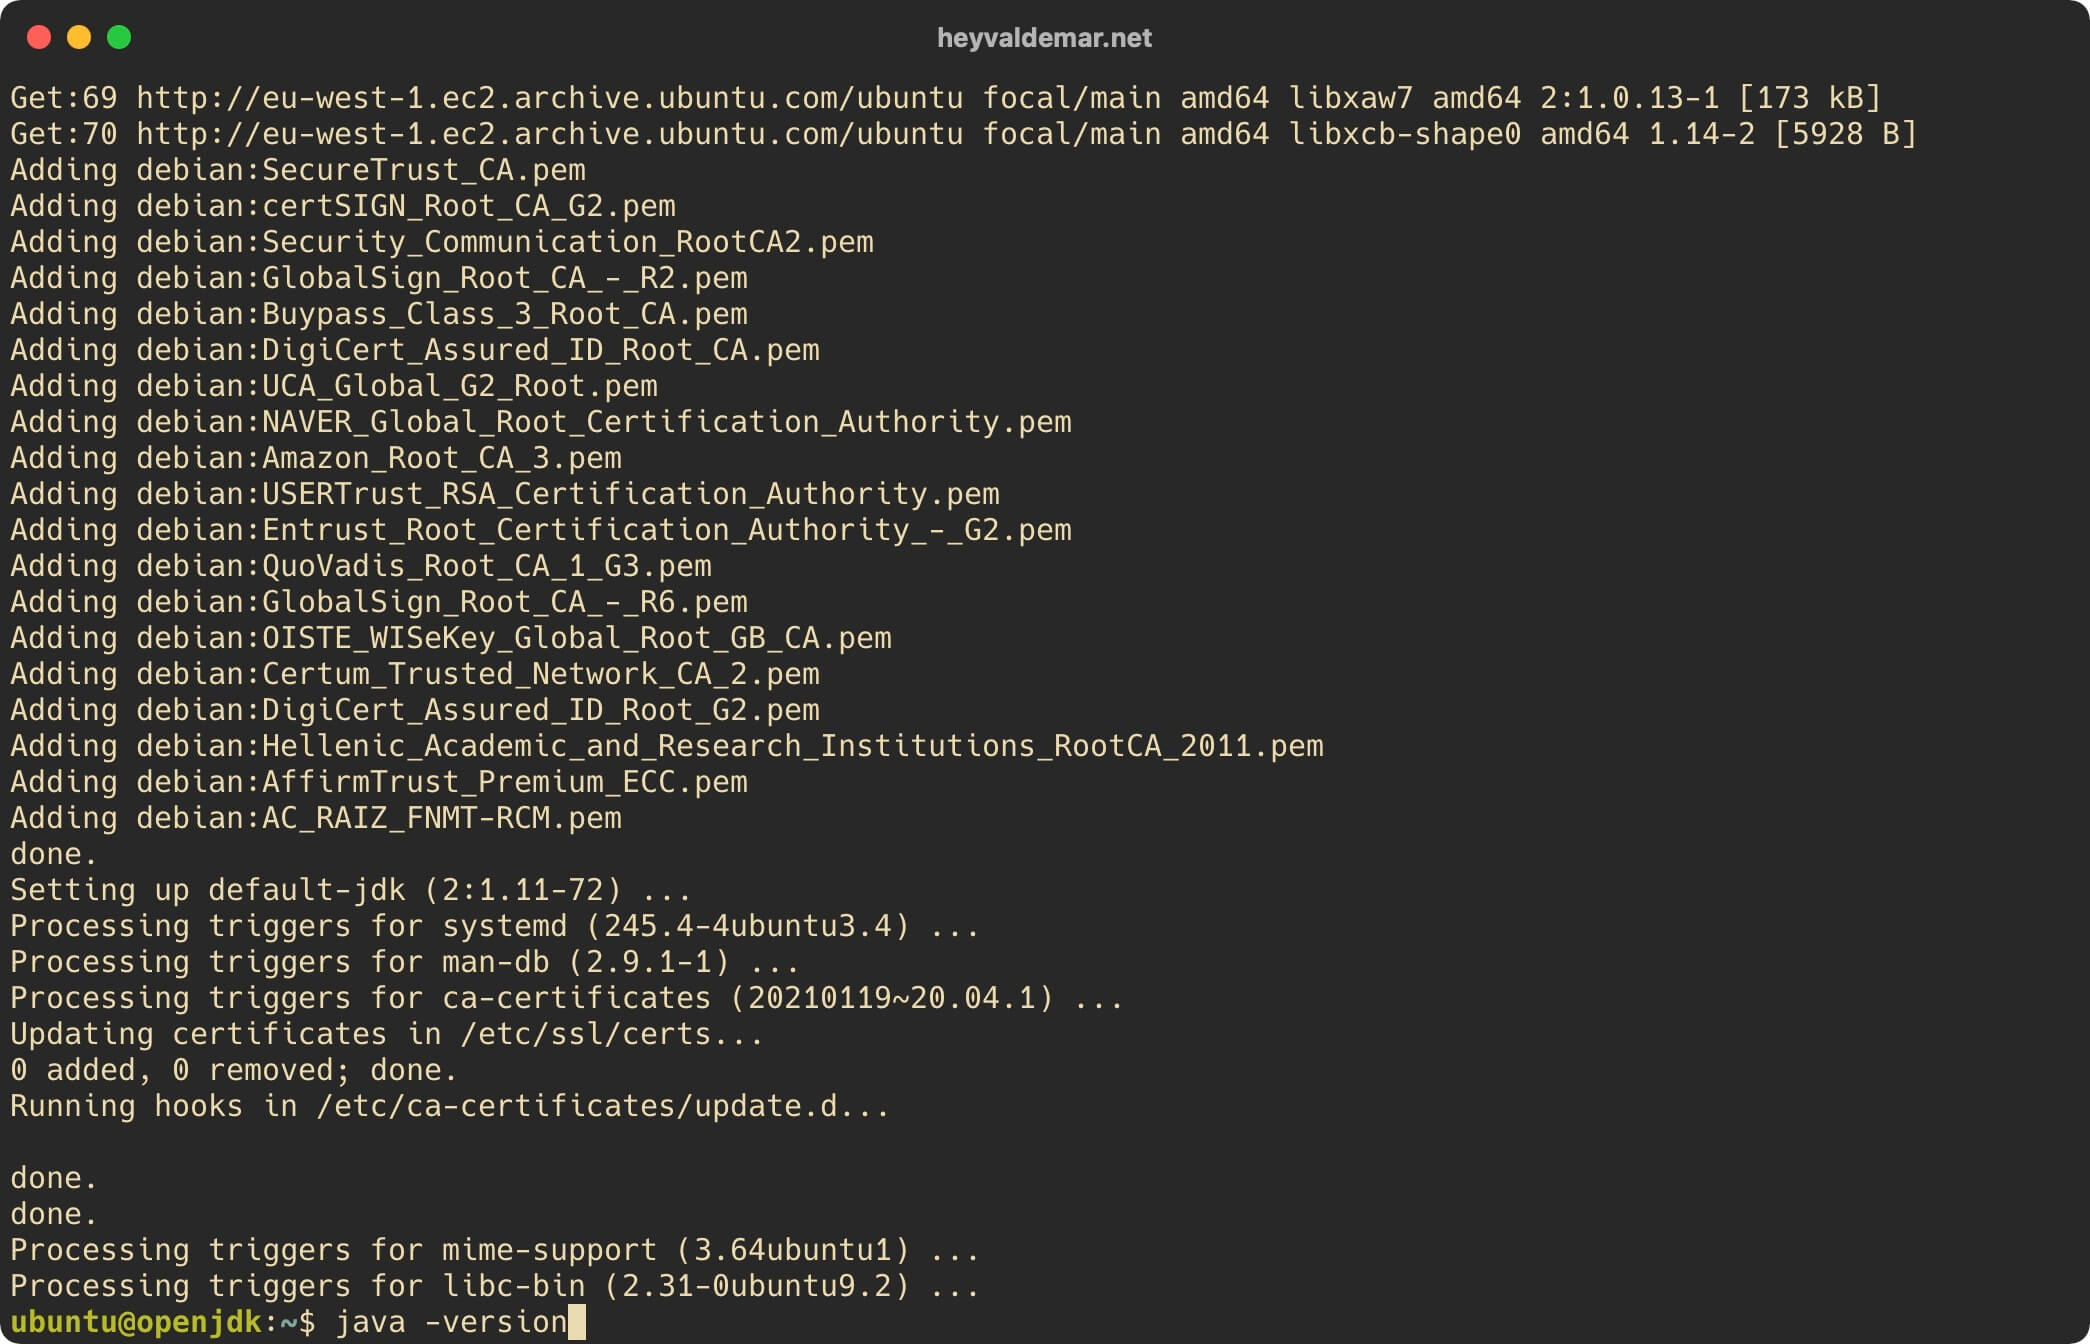
Based on the message received, OpenJDK is installed correctly.
Many programs written with Java use the “JAVA_HOME” environment variable to determine where Java is installed. Therefore, you need to define this variable and assign it a value containing the path to the Java installation location.
Let’s define the path to the Java installation location using the command:
sudo update-alternatives --config java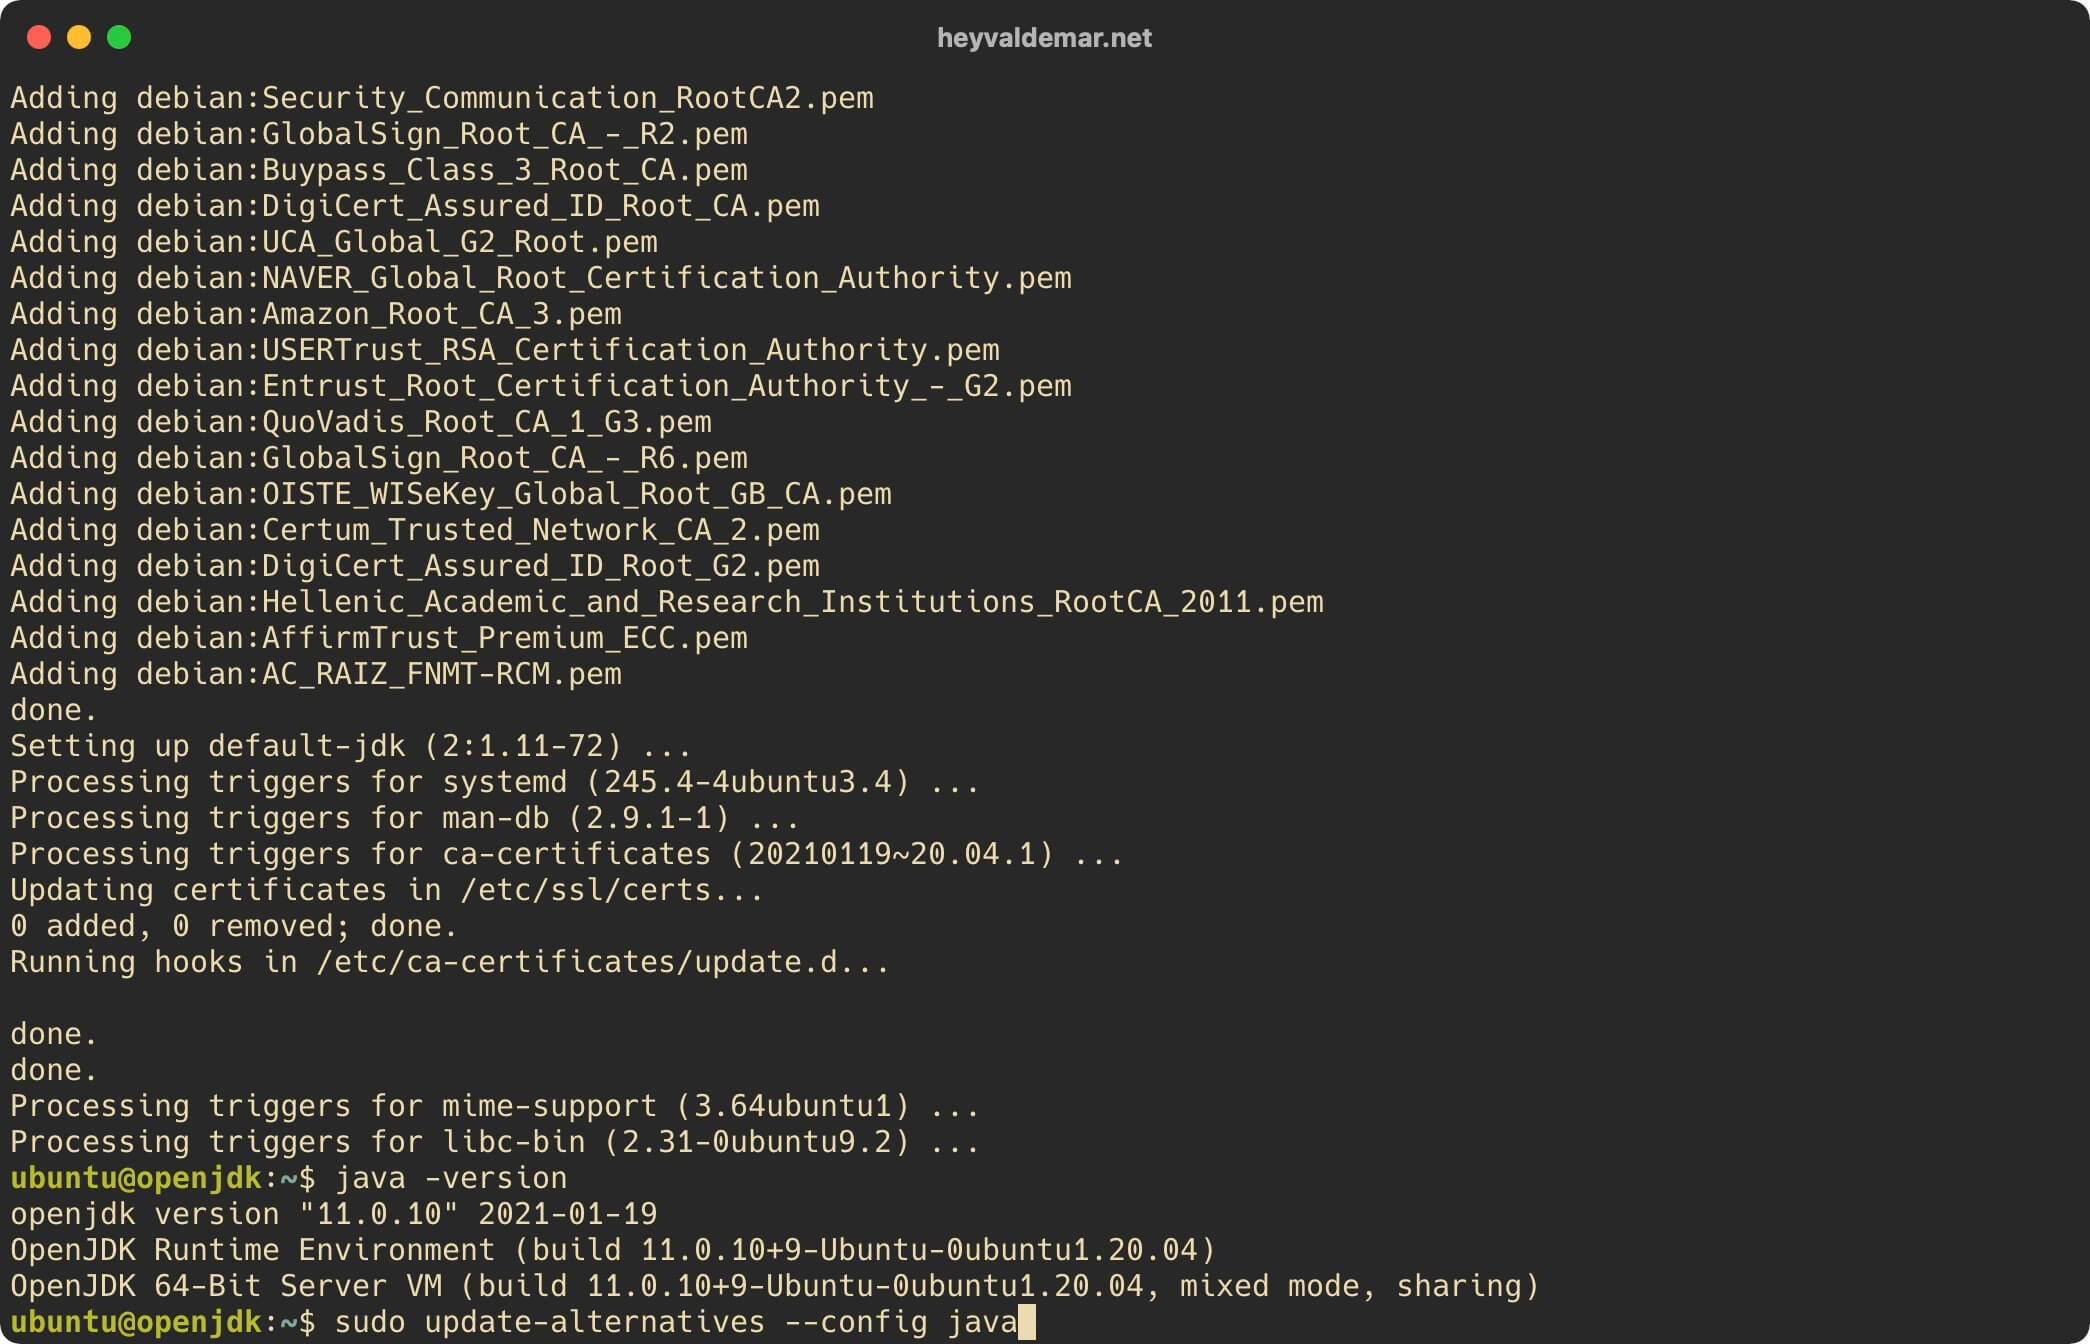
In this example, the path to the Java installation location looks like this:
/usr/lib/jvm/java-11-openjdk-amd64/bin/In order to define an environment variable and assign a value to it, you need to make changes to the “environment” file by opening it in a text editor using the command:
sudo vim /etc/environment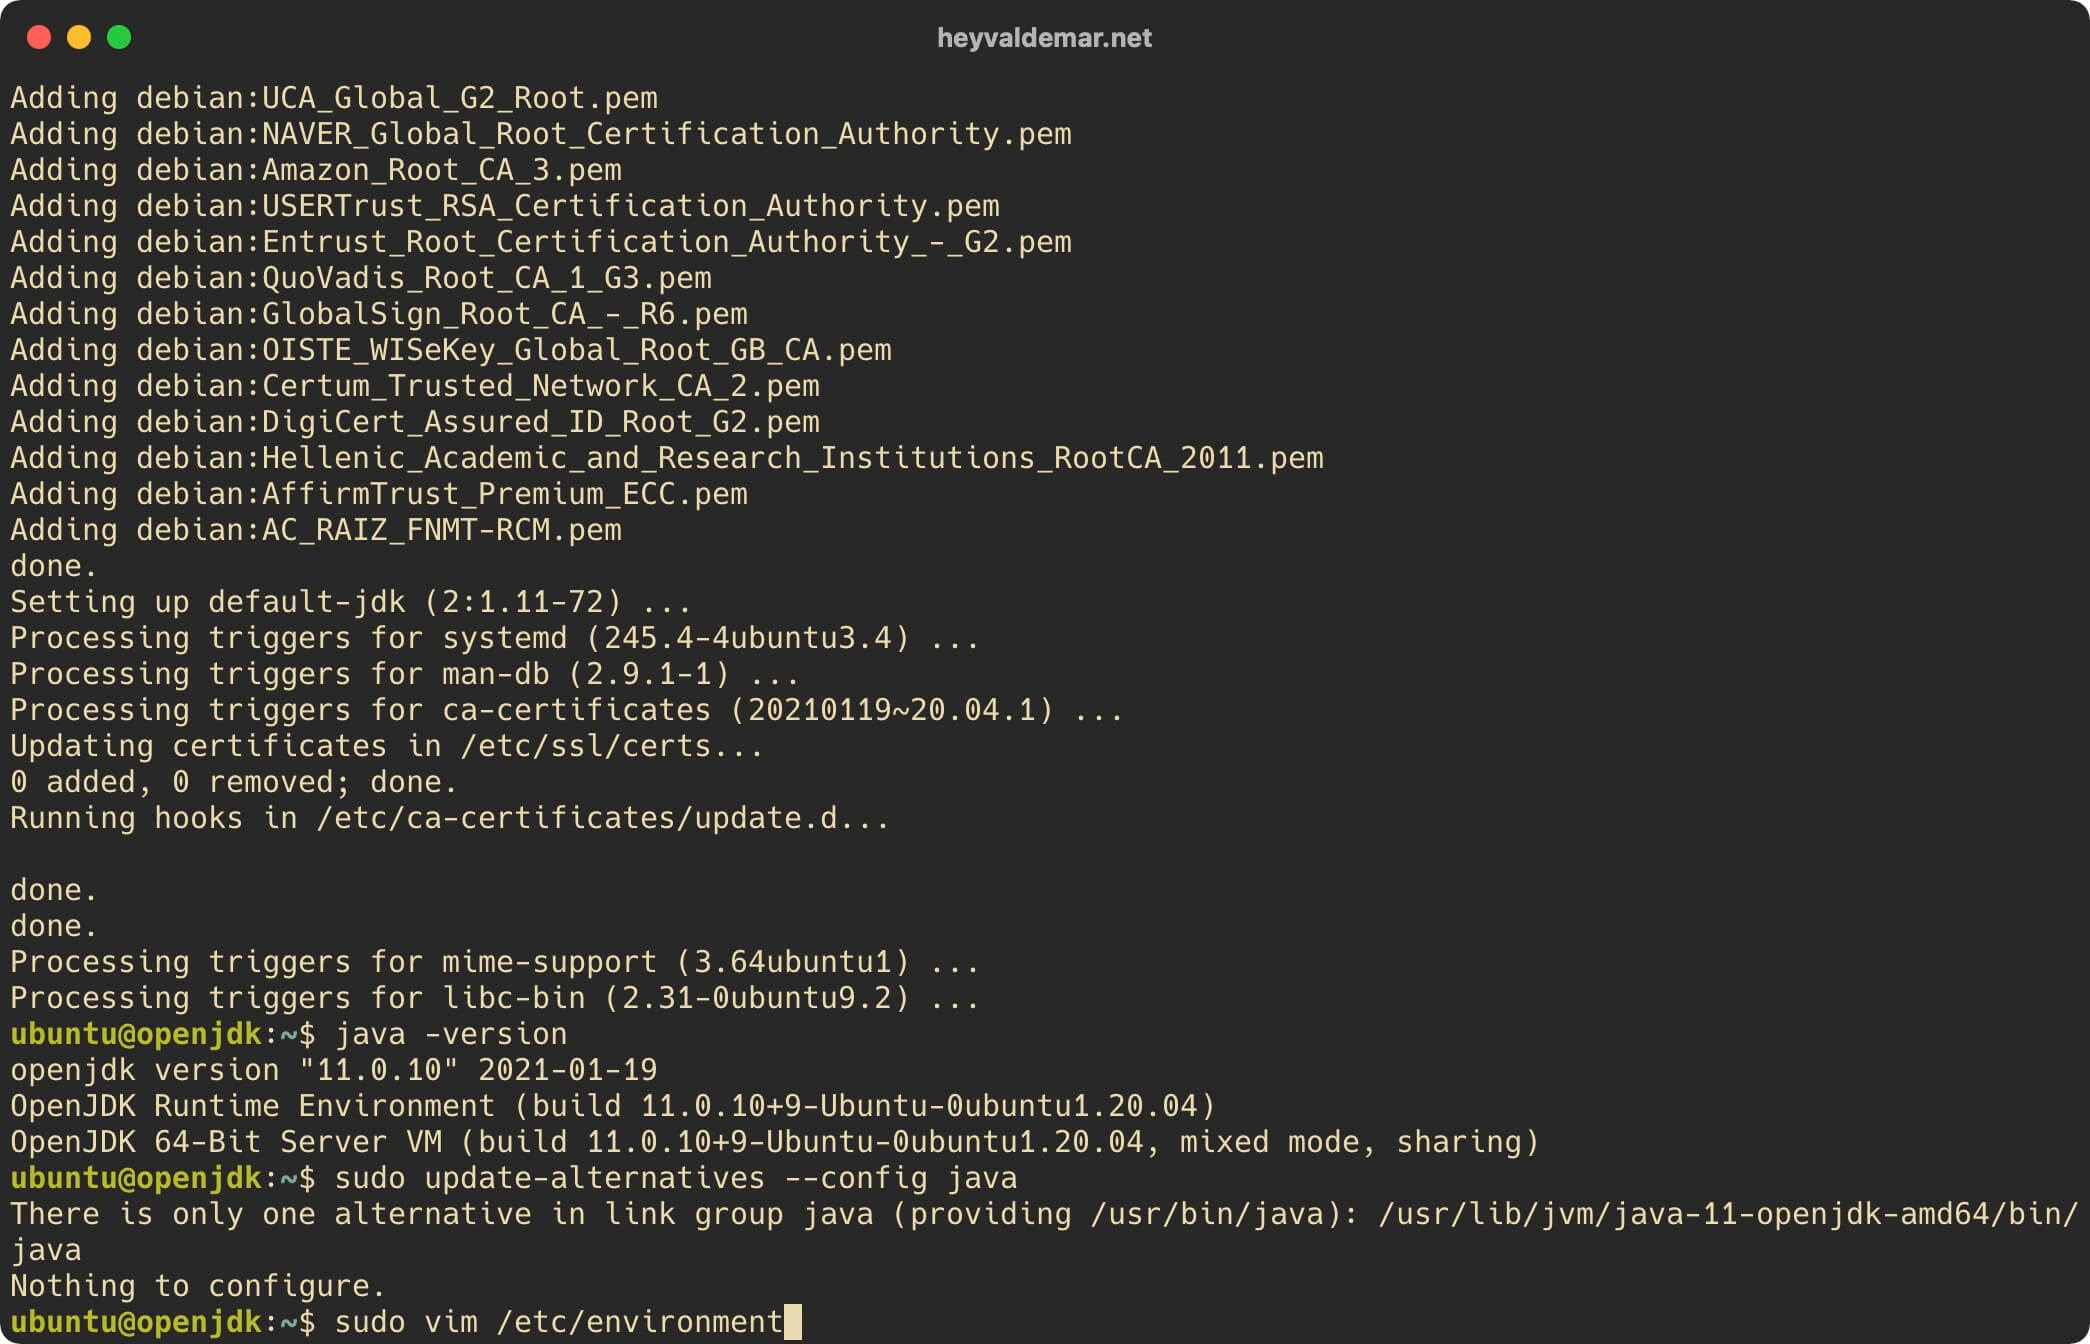
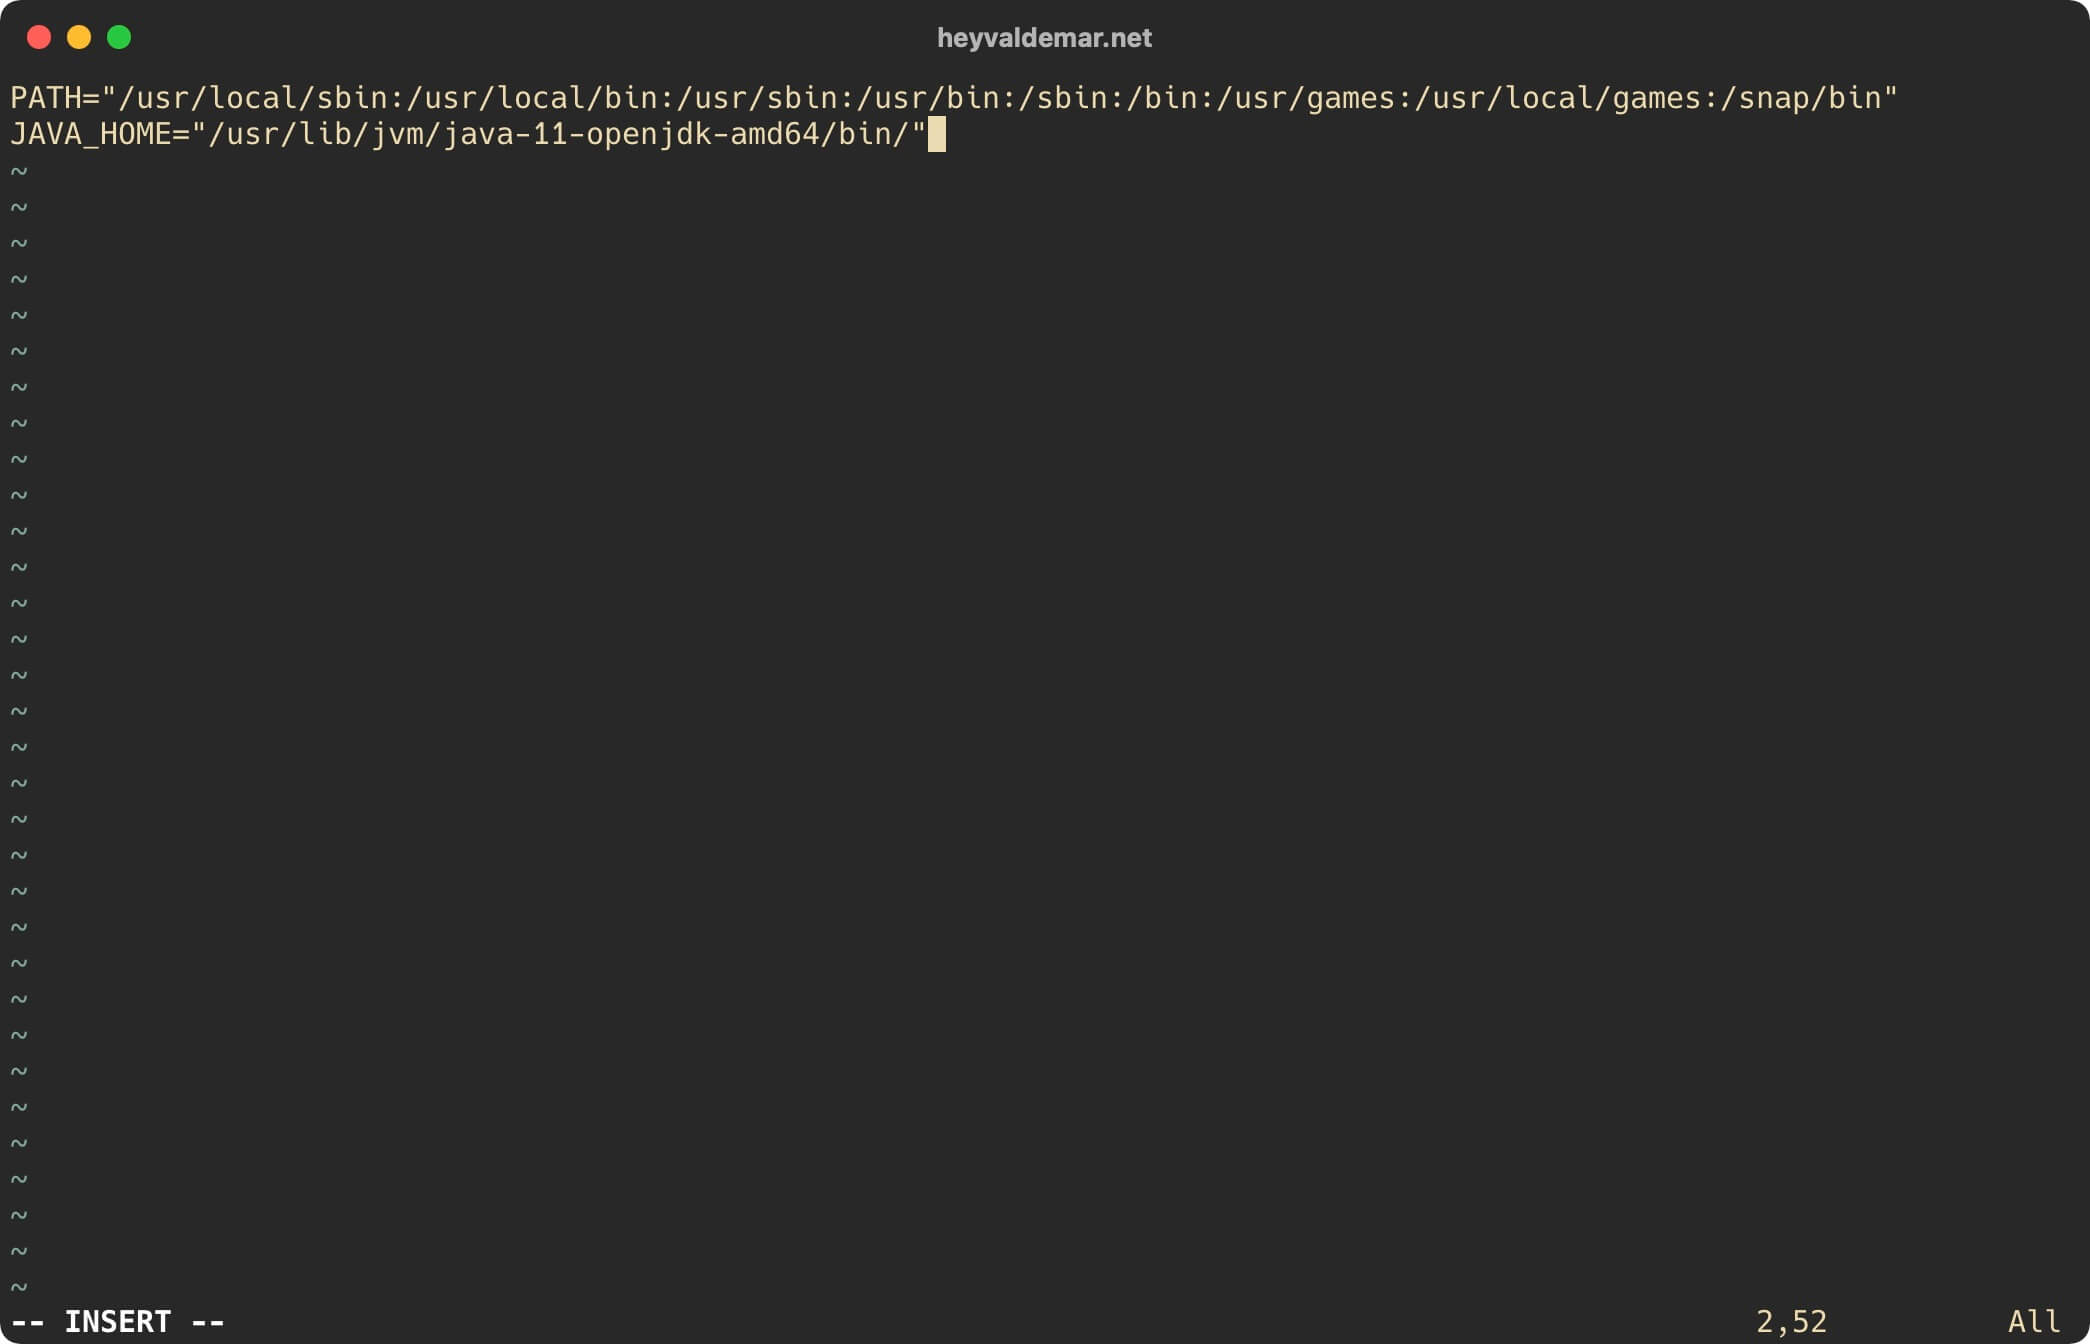
Press the “i” button to switch to edit mode, then at the end of the file define a new variable “JAVA_HOME” and assign it a value containing the path to the Java installation location obtained earlier.
JAVA_HOME="/usr/lib/jvm/java-11-openjdk-amd64/bin/"Please note that the path to the Java installation location must be specified up to and including the “bin” folder.
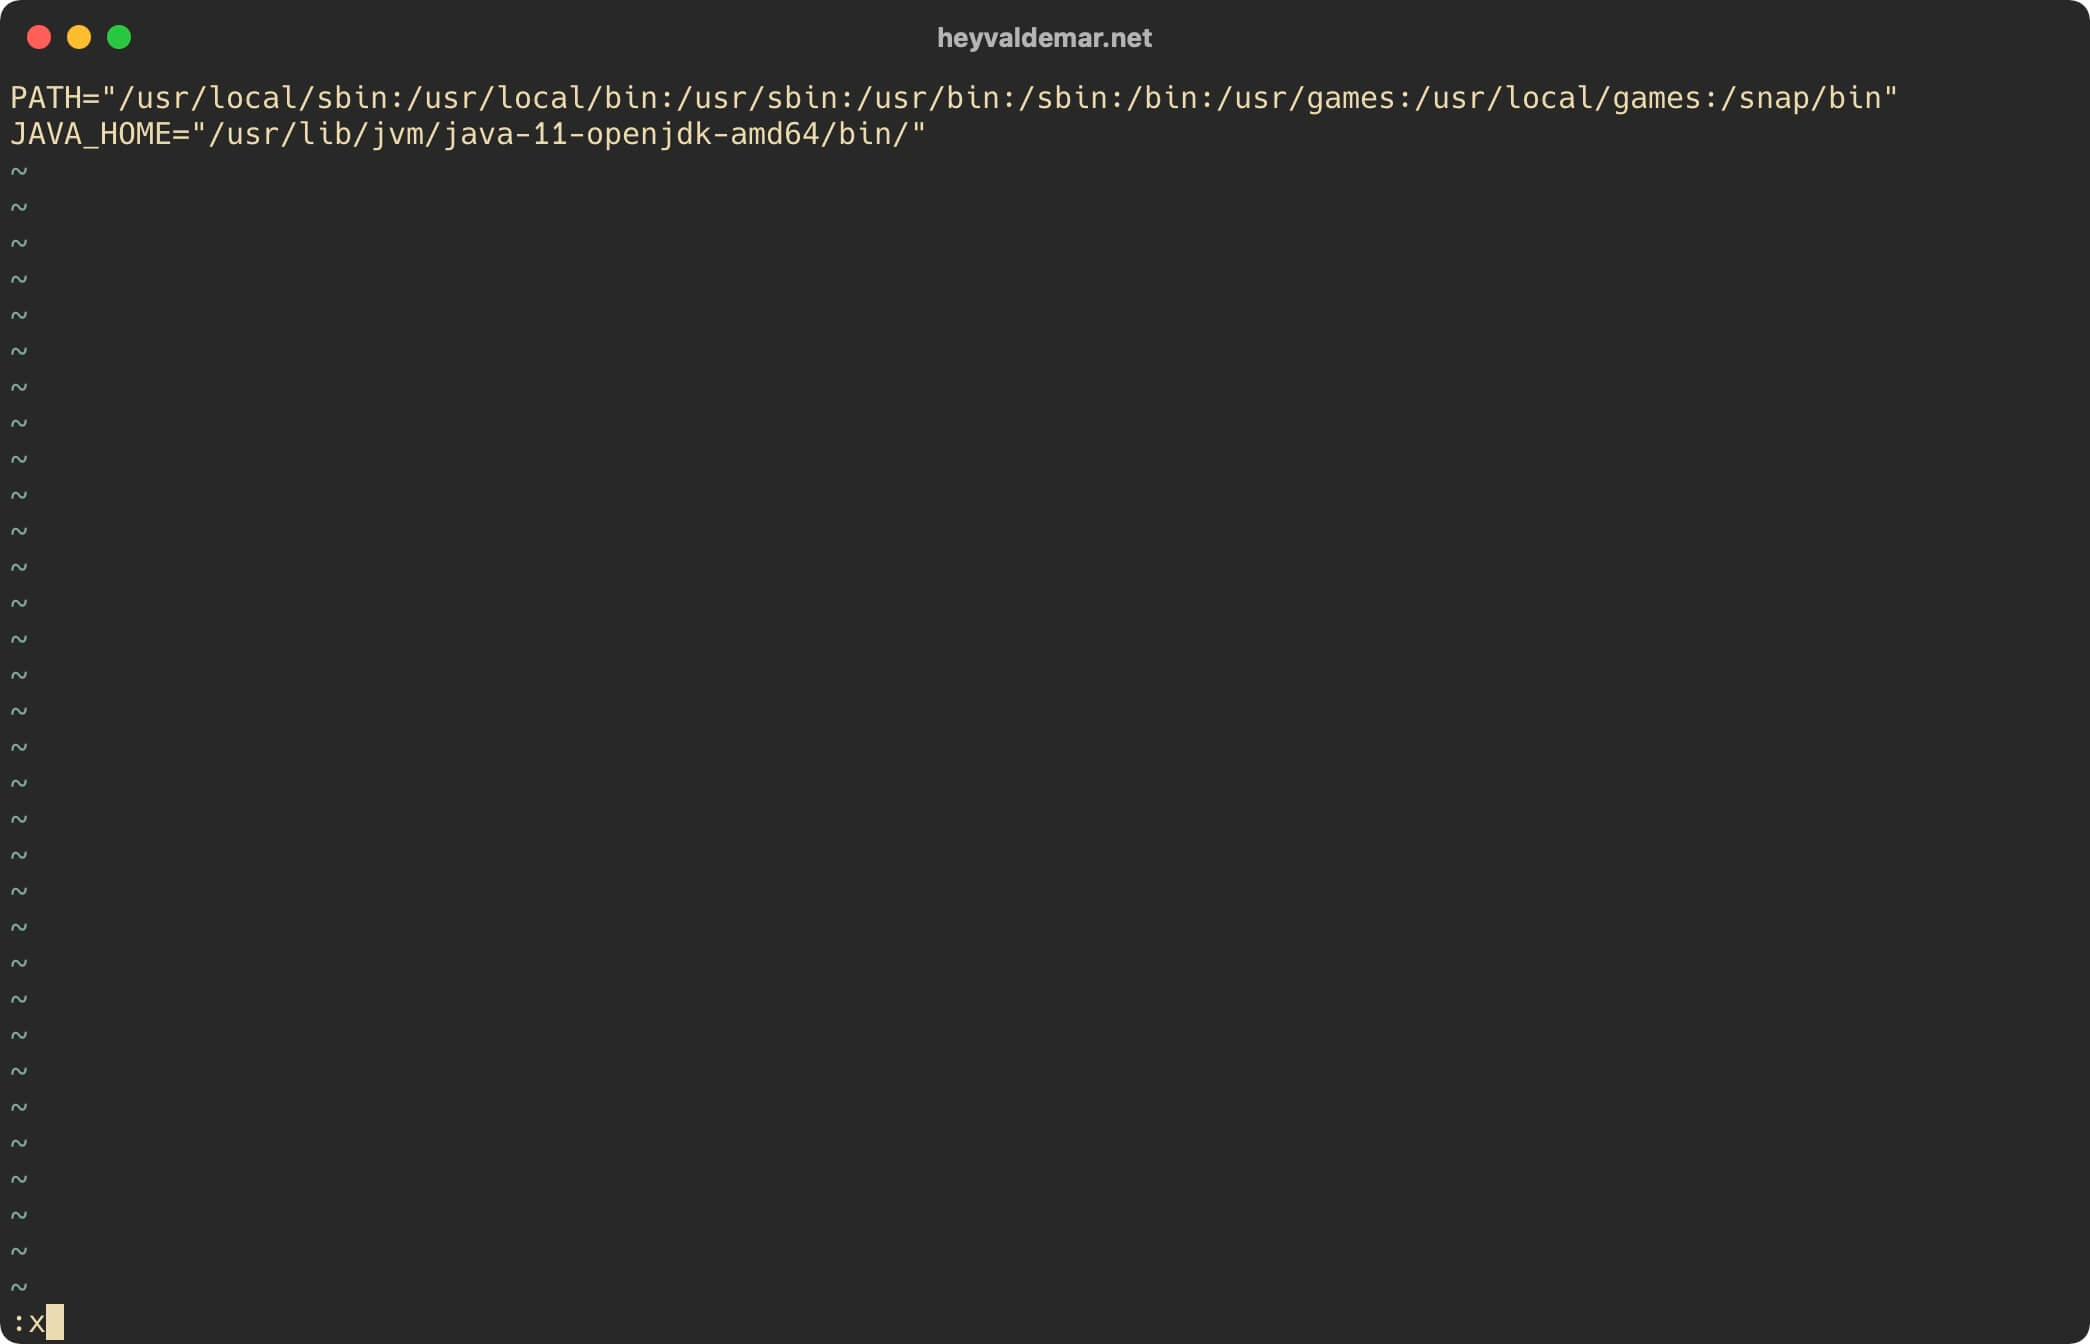
Now press the “Esc” button to exit edit mode, then type “:x” and press the “Enter” button to save your changes and exit the editor.
Next, you need to apply the changes made to the current session using the command:
source /etc/environment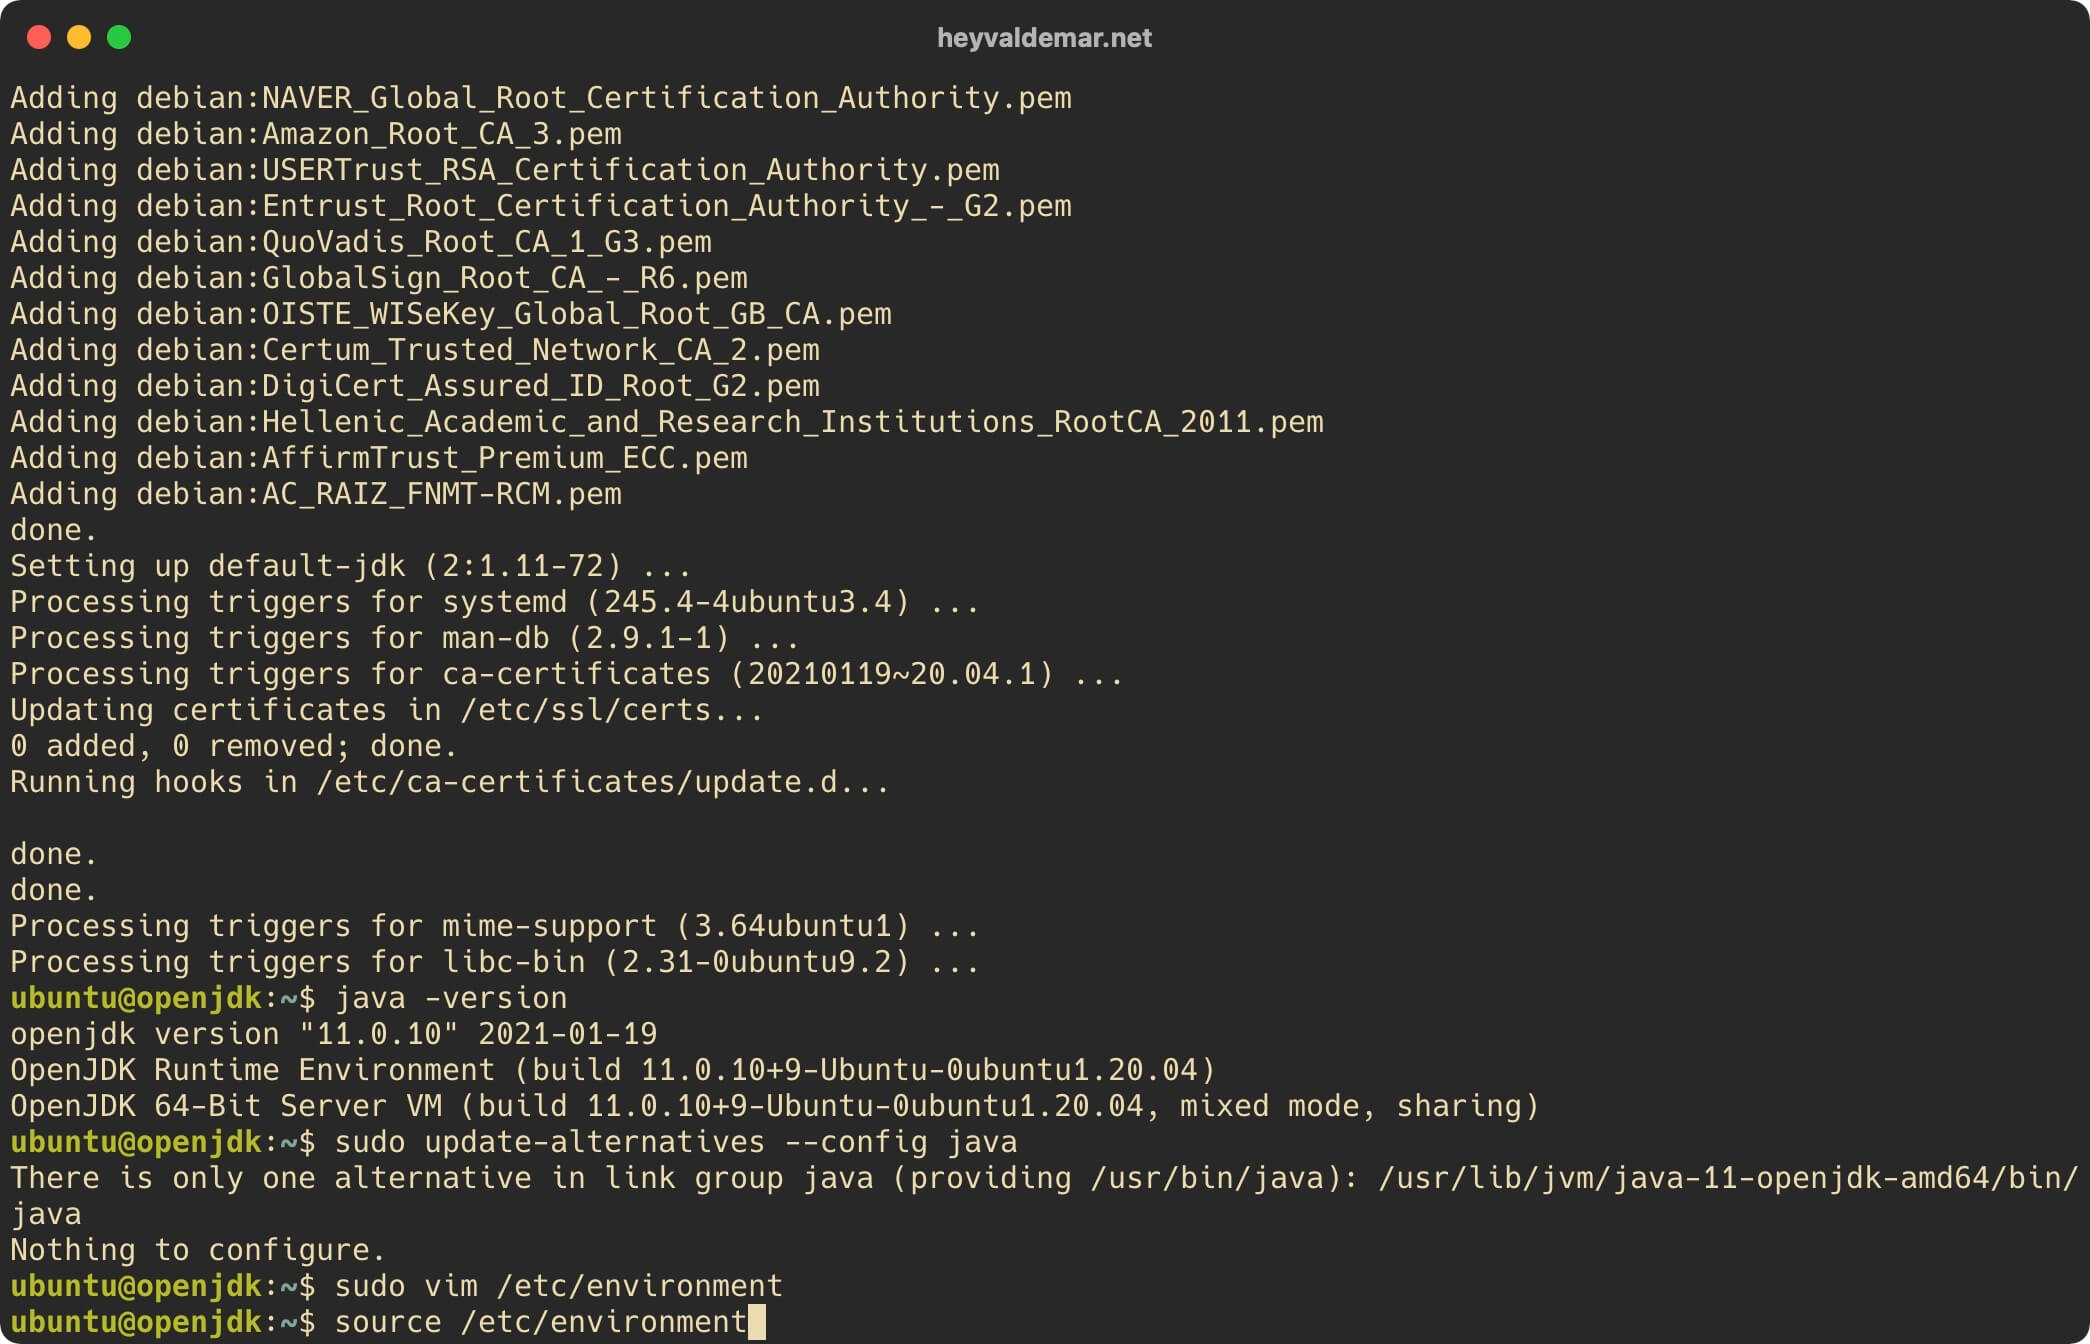
Now let’s make sure that the environment variable has the correct value using the command:
echo $JAVA_HOME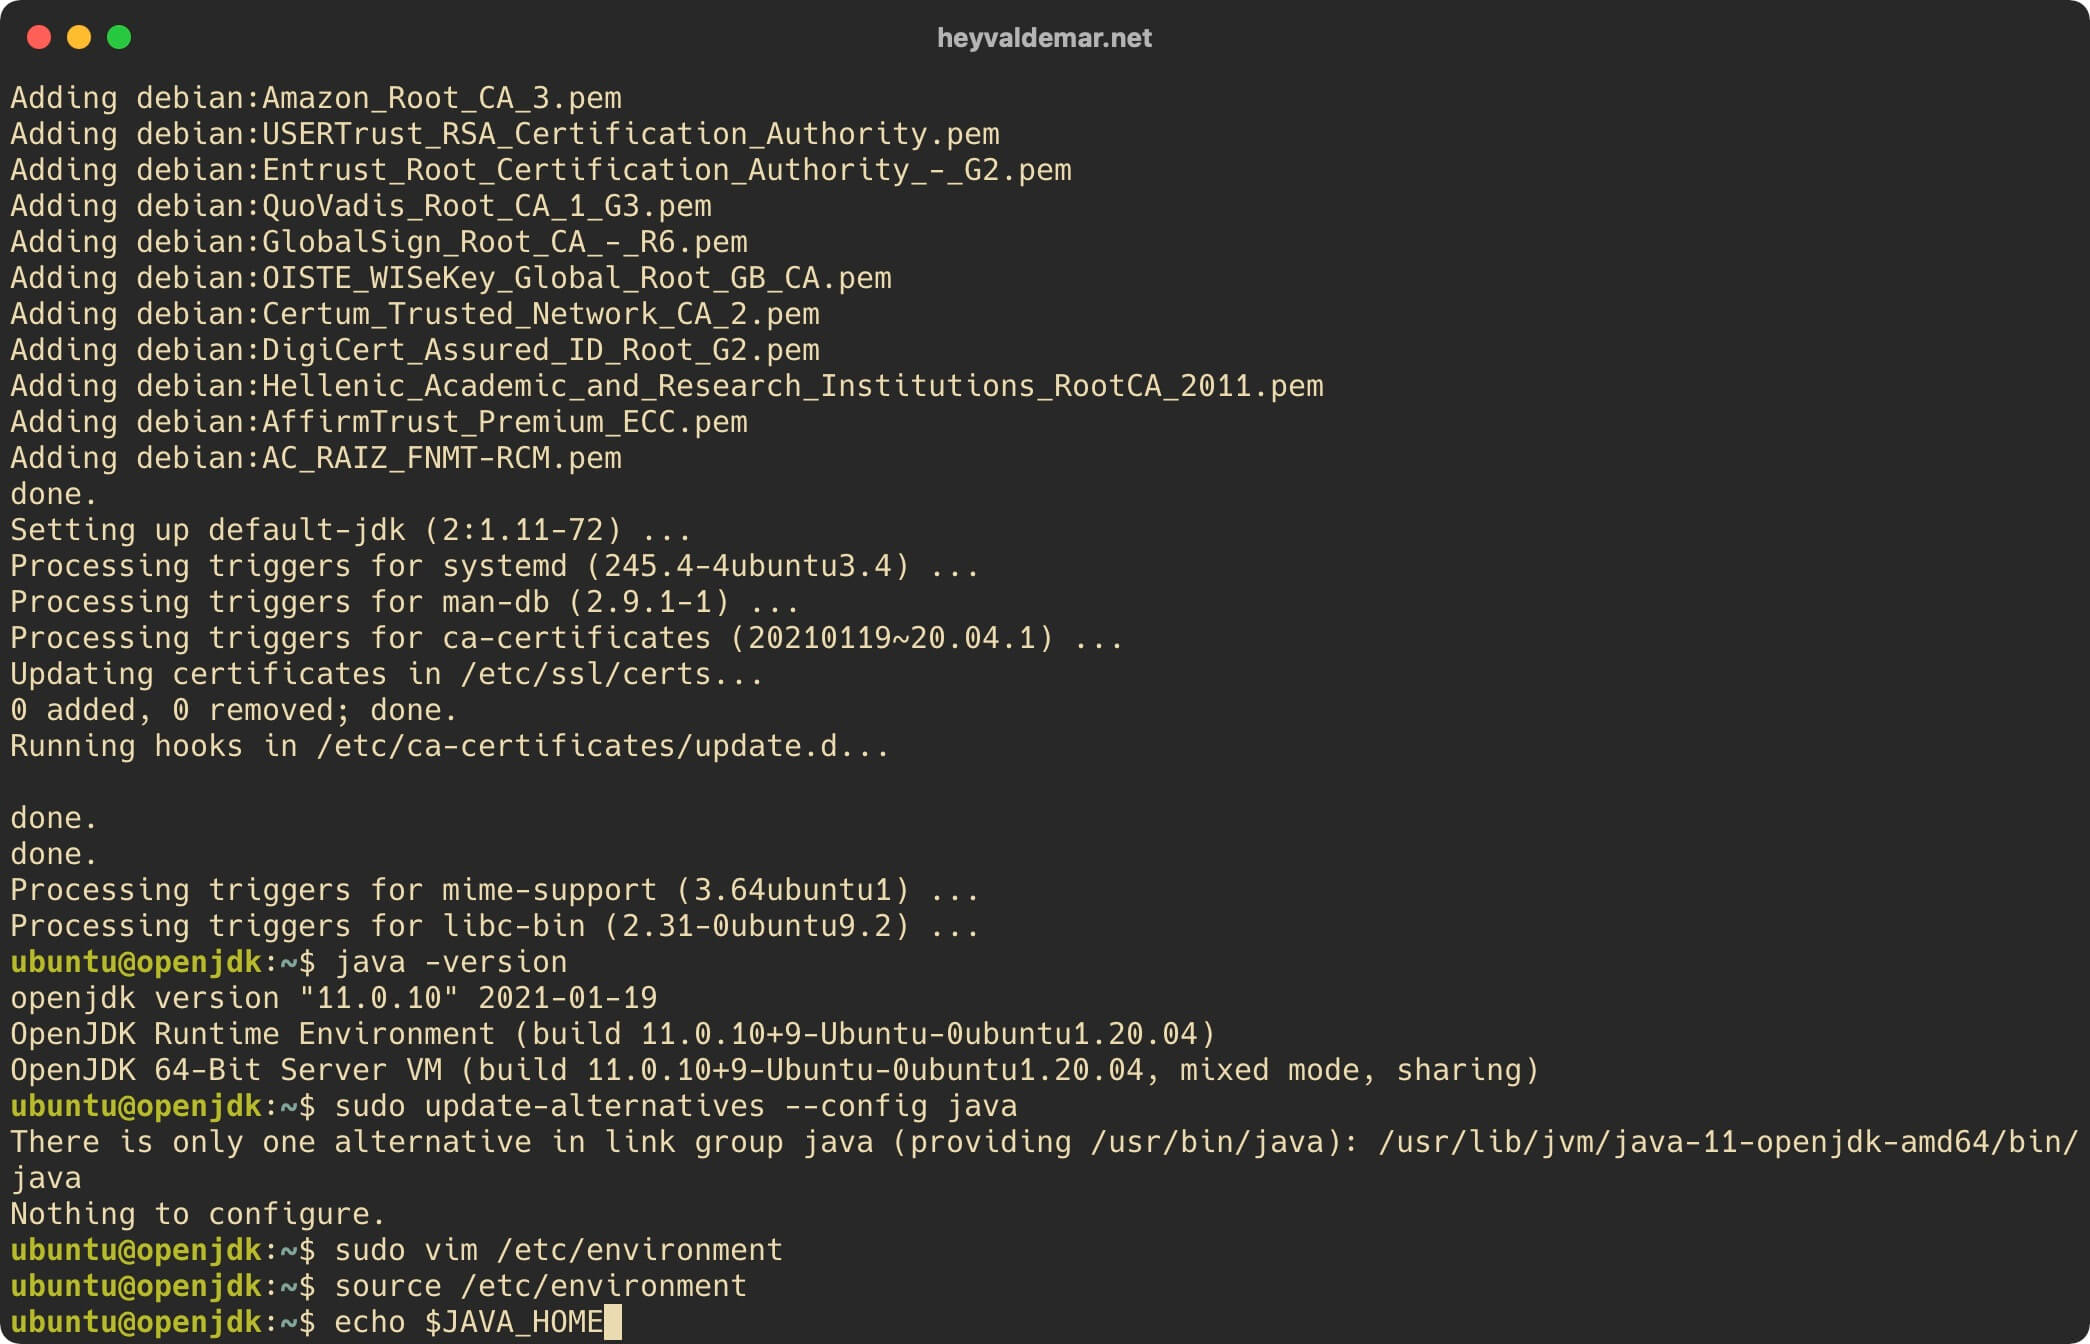
Based on the message received, the environment variable has the correct value.
My Courses
🎓 Dive into my comprehensive IT courses designed for enthusiasts and professionals alike. Whether you’re looking to master Docker, conquer Kubernetes, or advance your DevOps skills, my courses provide a structured pathway to enhancing your technical prowess.
My Services
💼 Take a look at my service catalog and find out how we can make your technological life better. Whether it’s increasing the efficiency of your IT infrastructure, advancing your career, or expanding your technological horizons — I’m here to help you achieve your goals. From DevOps transformations to building gaming computers — let’s make your technology unparalleled!
Refill My Coffee Supplies
💖 PayPal
🏆 Patreon
💎 GitHub
🥤 BuyMeaCoffee
🍪 Ko-fi
Follow Me
🎬 YouTube
🐦 Twitter
🎨 Instagram
🐘 Mastodon
🧵 Threads
🎸 Facebook
🧊 Bluesky
🎥 TikTok
🐈 GitHub
Is this content AI-generated?
Nope! Each article is crafted by me, fueled by a deep passion for Docker and decades of IT expertise. While I employ AI to refine the grammar—ensuring the technical details are conveyed clearly—the insights, strategies, and guidance are purely my own. This approach may occasionally activate AI detectors, but you can be certain that the underlying knowledge and experiences are authentically mine.
