Install Windows Admin Center on Windows Server 2019 Server Core
This article is for those looking for a detailed and straightforward guide on installing Windows Admin Center on Windows Server 2019 Server Core.
We will consider the case when you already have two servers with the Windows Server 2019 Server Core operating system installed on them.
You can read more about how to install Windows Server 2019 in my guide “Install Windows Server 2019 Server Core”.
In addition, one of the servers must have the Active Directory Domain Services role installed, and the second server must be domain joined.
To learn how to install Active Directory Domain Services on Windows Server 2019 with a GUI, you can read “Install Active Directory Domain Services on Windows Server 2019”.
Also in my guide “Install Active Directory Domain Services on Windows Server 2019 Server Core”, you can learn how to install Active Directory Domain Services on Windows Server 2019 Server Core without a GUI.
In this guide, “heva-server-2.heyvaldemar.net” will be used as the name of the server on which Windows Admin Center is installed.
We go into the system under an account with administrator rights and start Windows PowerShell using the command:
powershell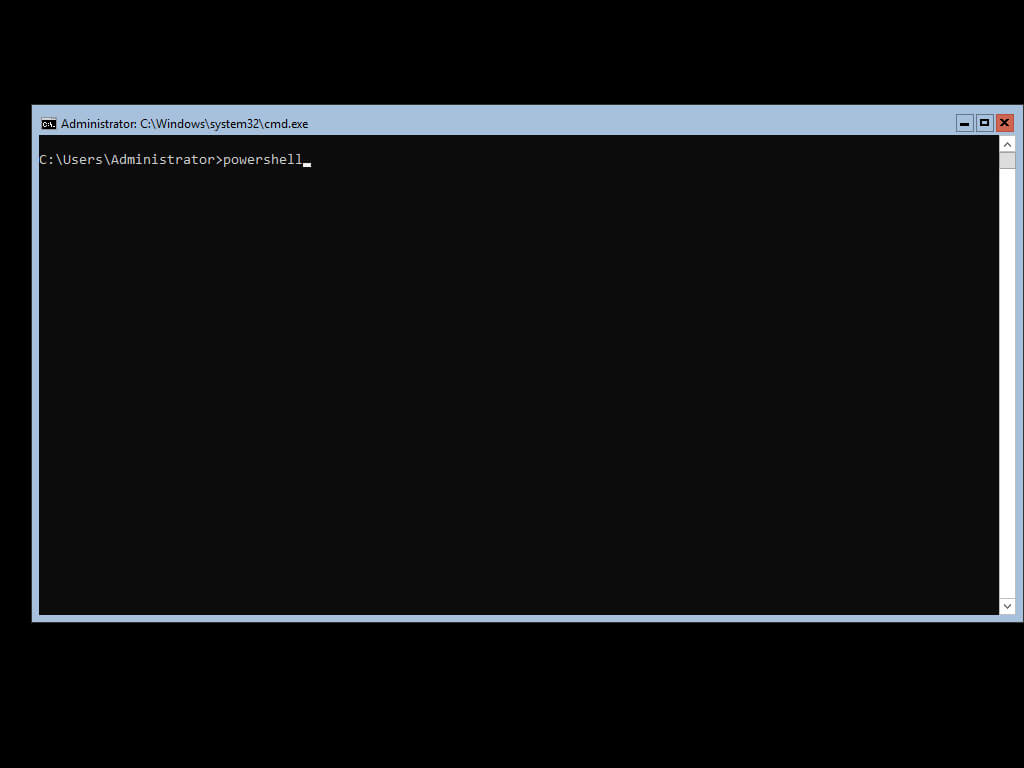
Download the Windows Admin Center installer to the Temp folder using the command:
Start-BitsTransfer -Source http://aka.ms/WACDownload -Destination C:\Windows\Temp\wac.msi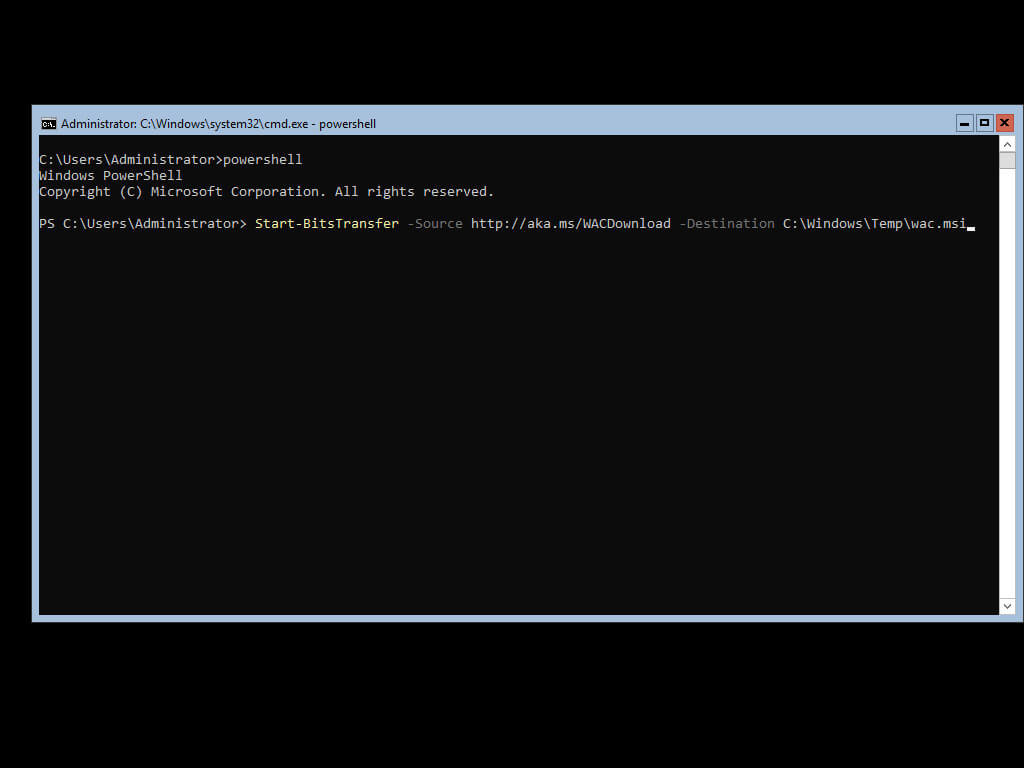
The Windows Admin Center Installer download process has begun.
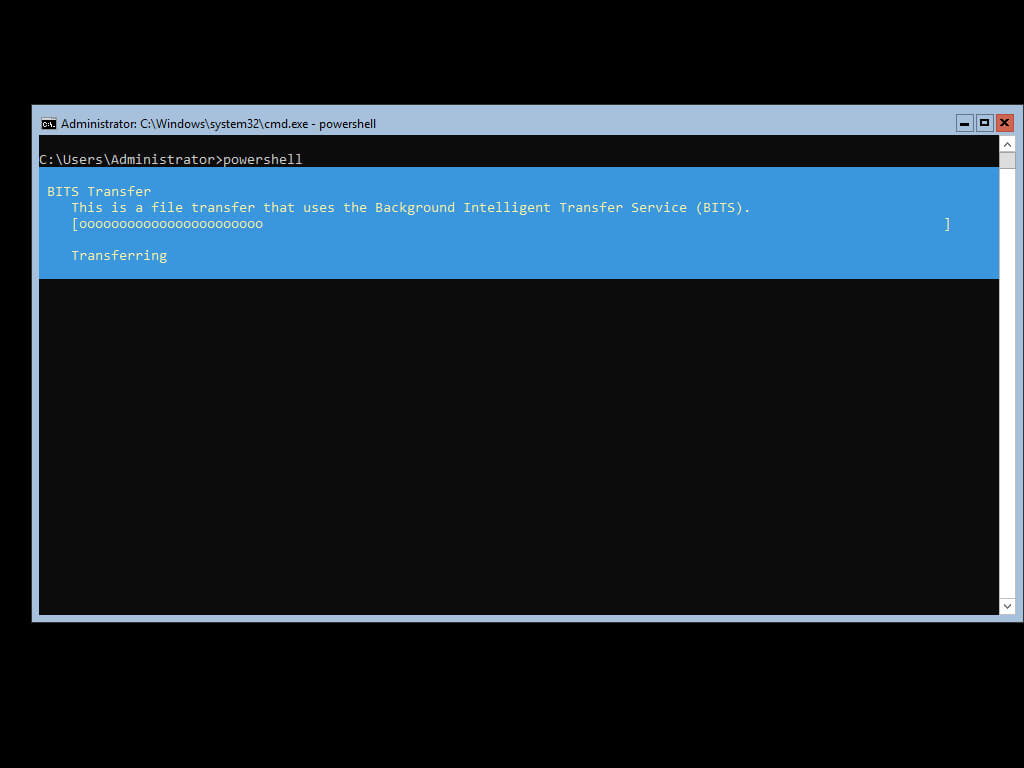
The installer has been successfully downloaded to the “Temp” folder.
Now let’s start the Windows Admin Center installation using the command:
msiexec /i C:\Windows\Temp\wac.msi /qn /L*v log.txt SME_PORT=443 SSL_CERTIFICATE-OPTION=generate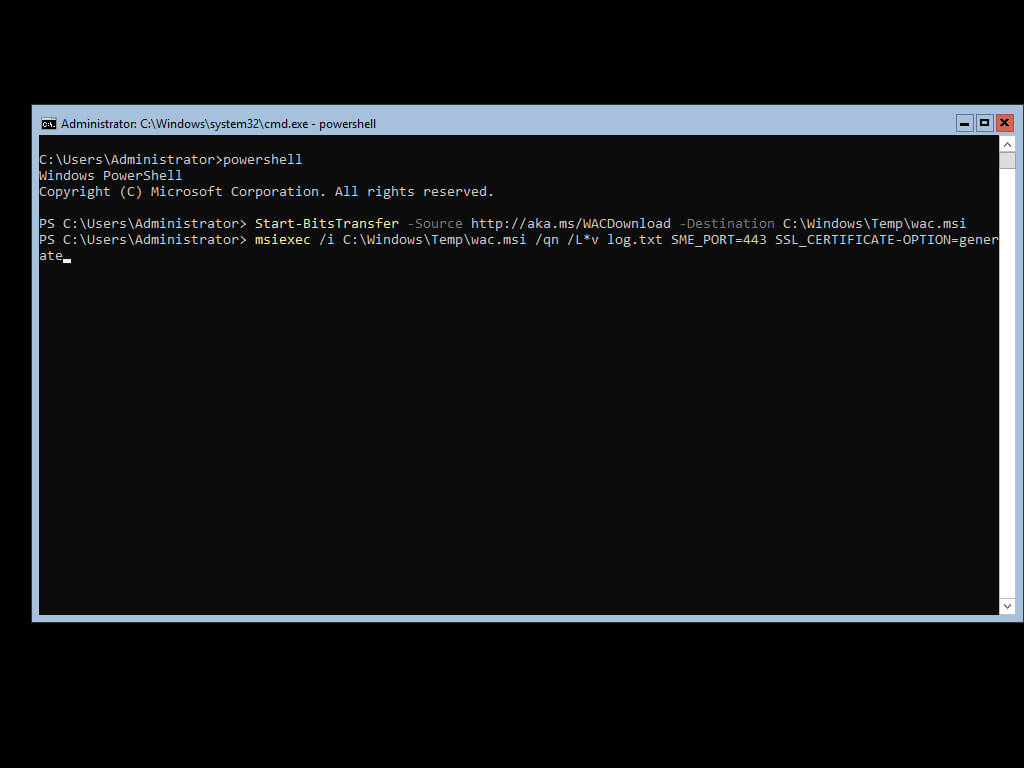
Windows Admin Center has been successfully installed.
To access the Windows Admin Center control panel, you need to go to the link https://heva-server-2.heyvaldemar.net from a workstation, where heva-server-2.heyvaldemar.net is the name of my server. Accordingly, you need to specify the name or IP address of your server with Windows Admin Center installed.
In this manual, Google Chrome is used as the web browser to connect to the “Windows Admin Center”.
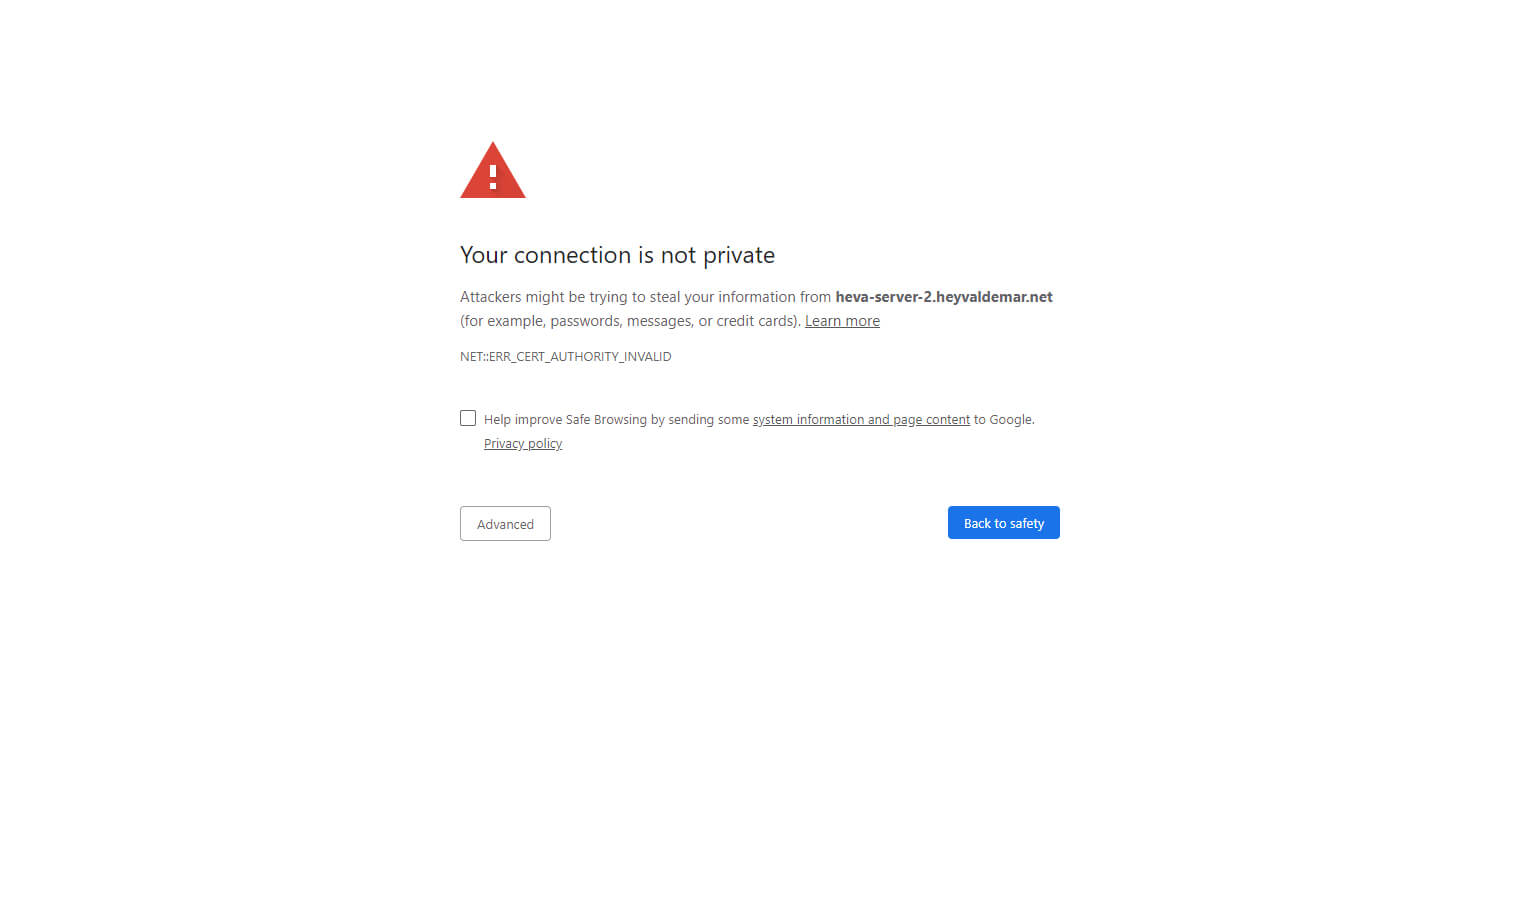
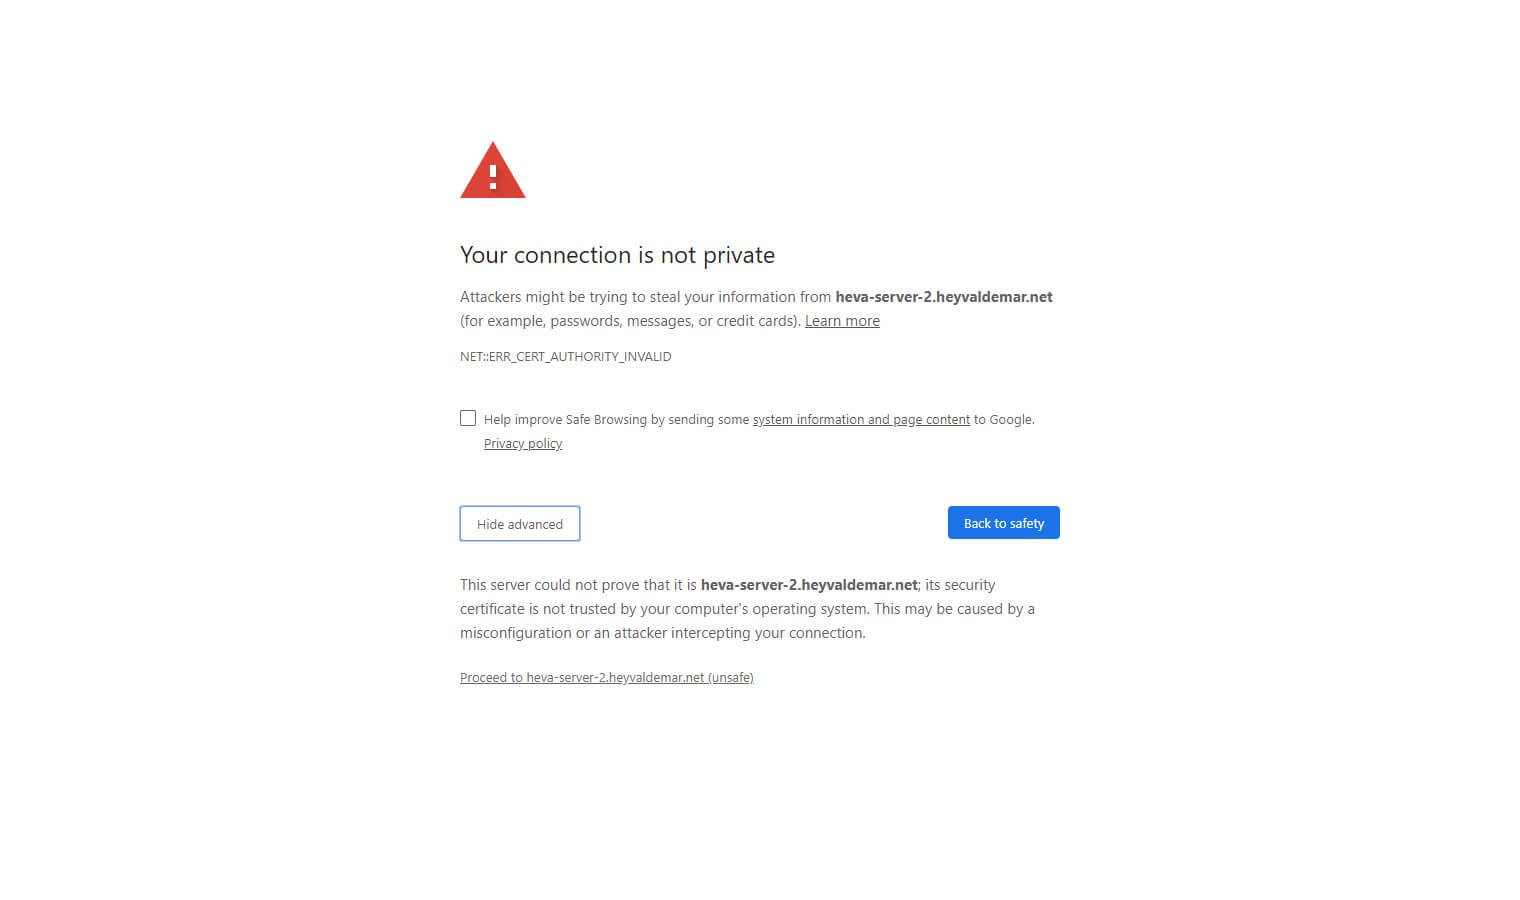
In the next step, you can see the warning “Your connection is not private”.
Click on the button “Proceed to heva-server-2.heyvaldemar.net (unsafe)”.
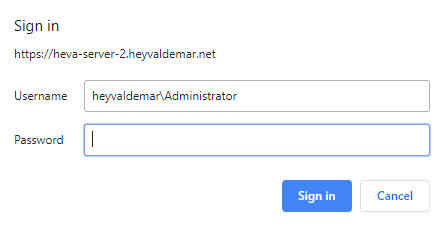
Next, you need to specify the username and password of an account with administrator rights on the server with Windows Admin Center installed.
Click on the “Sign in” button.
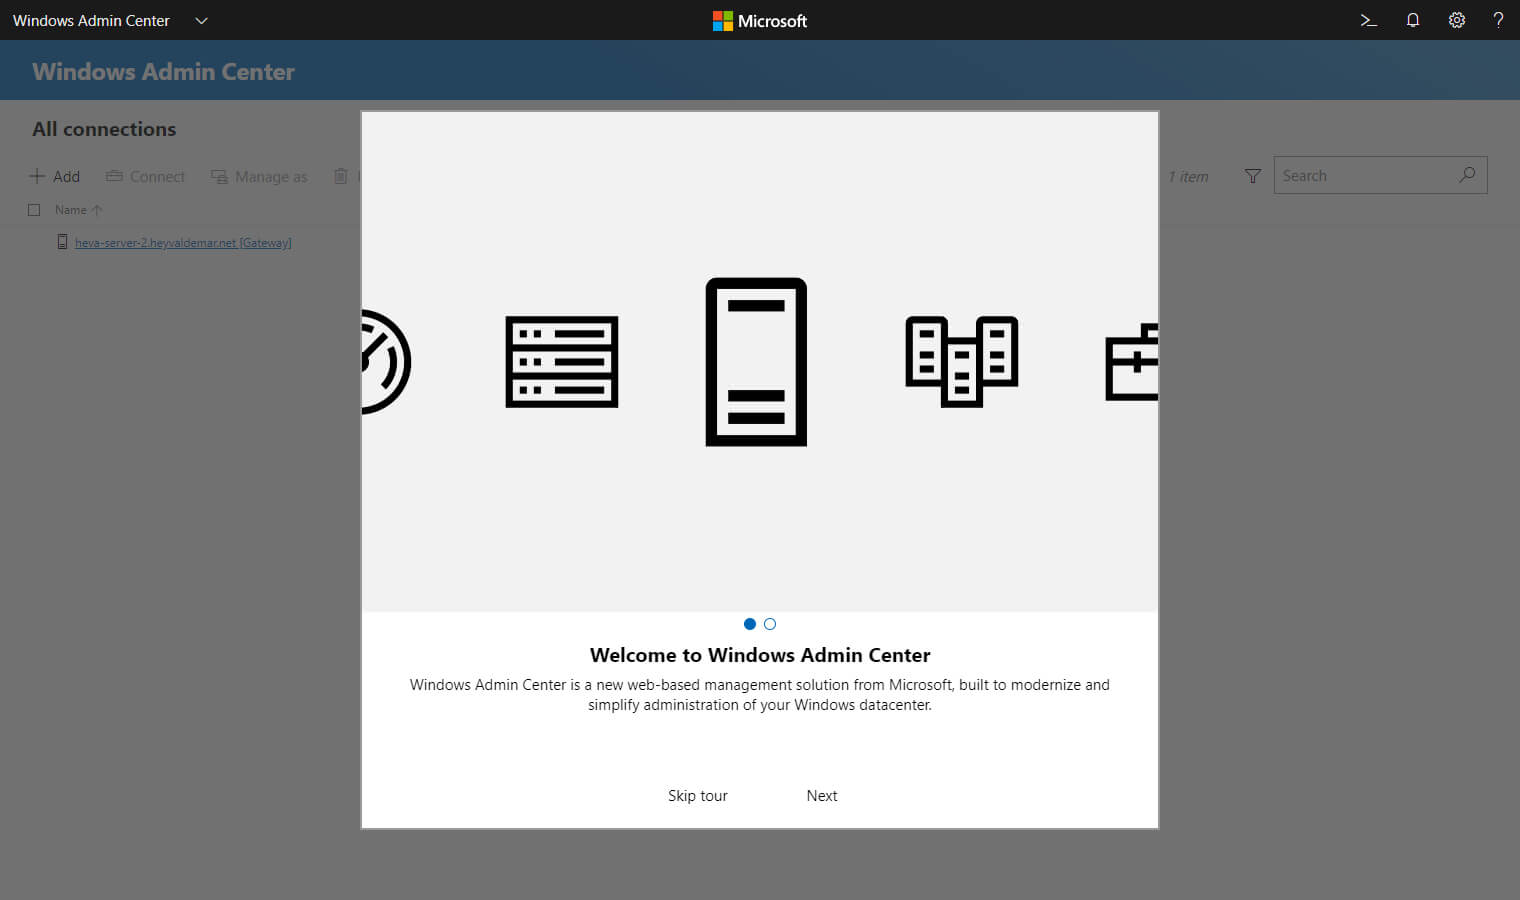
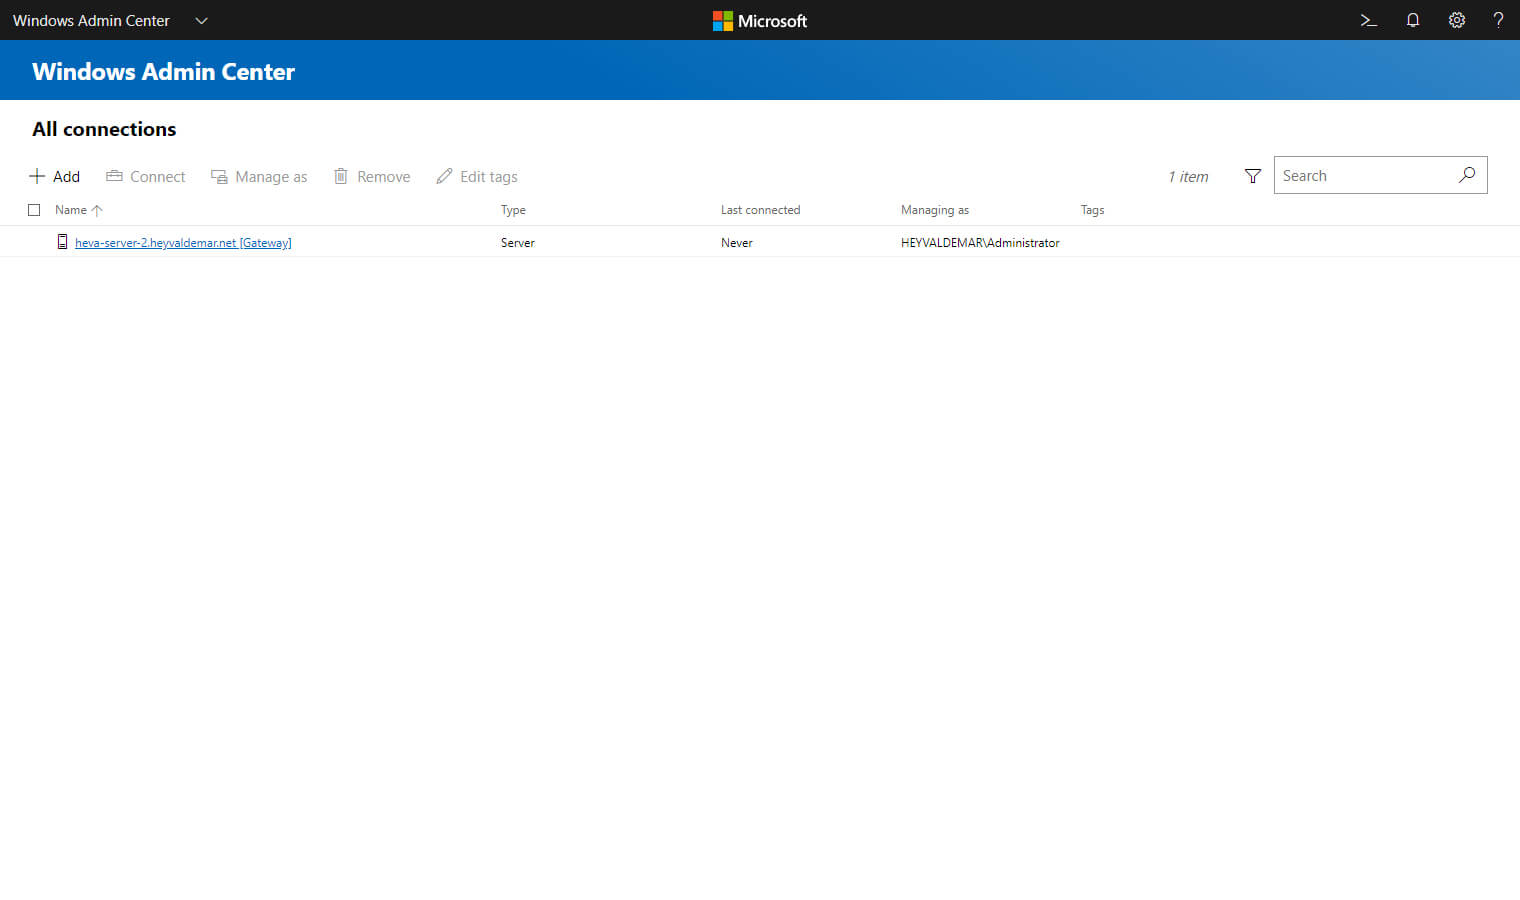
Welcome to the Windows Admin Center Control Panel.
Click on the “Skip tour” button to immediately start working with Windows Admin Center.
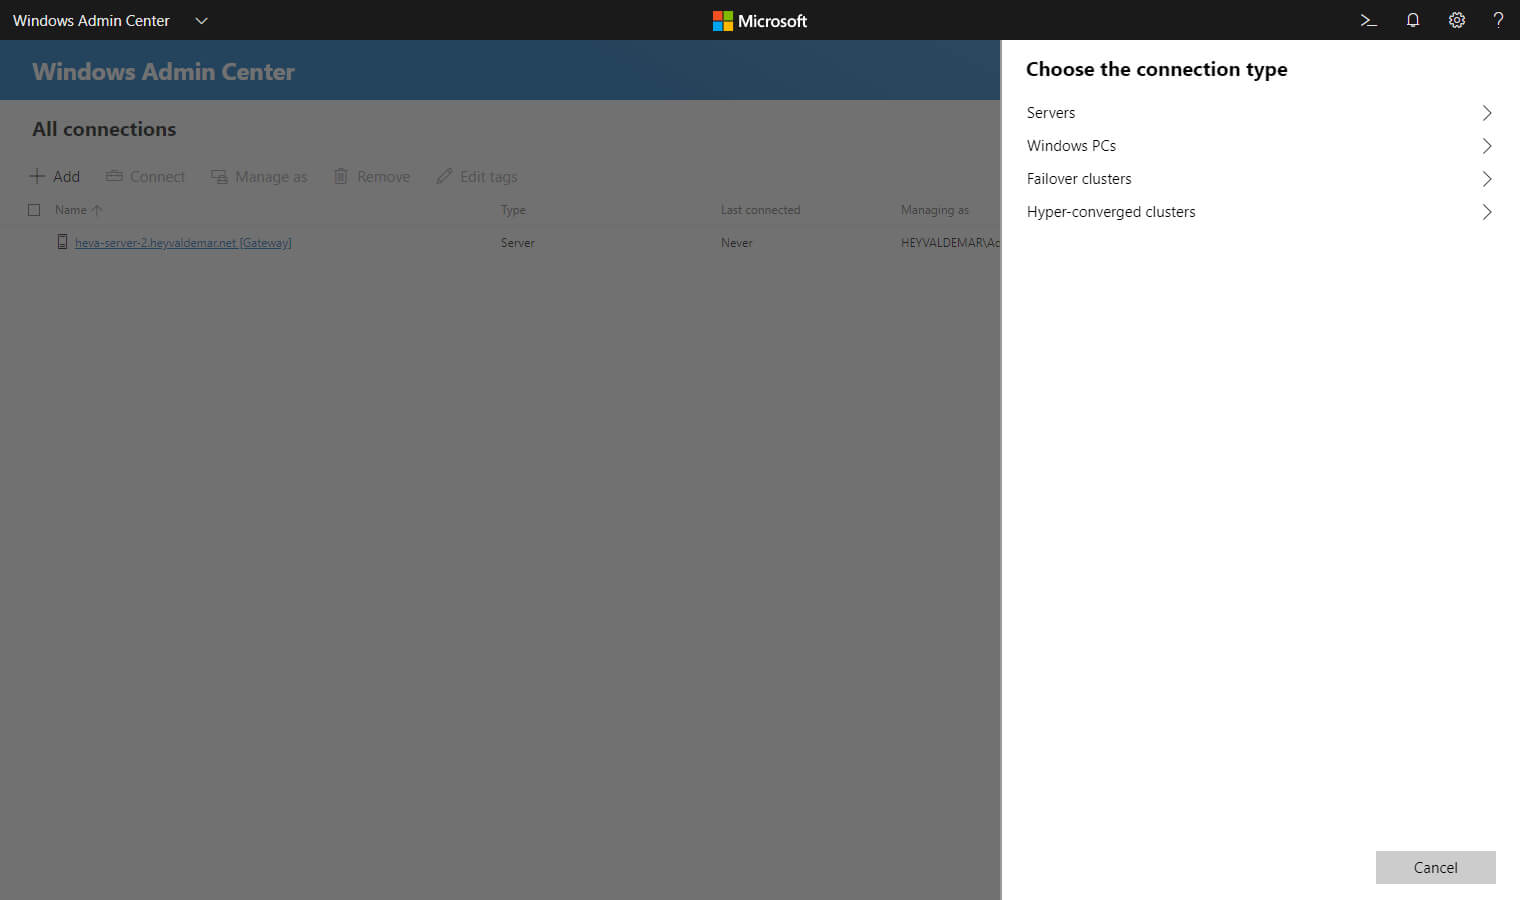
Now let’s add the server that we plan to manage using Windows Admin Center.
Click on the “Add” button located in the upper left corner of the screen.
In the menu that opens, select “Servers”.
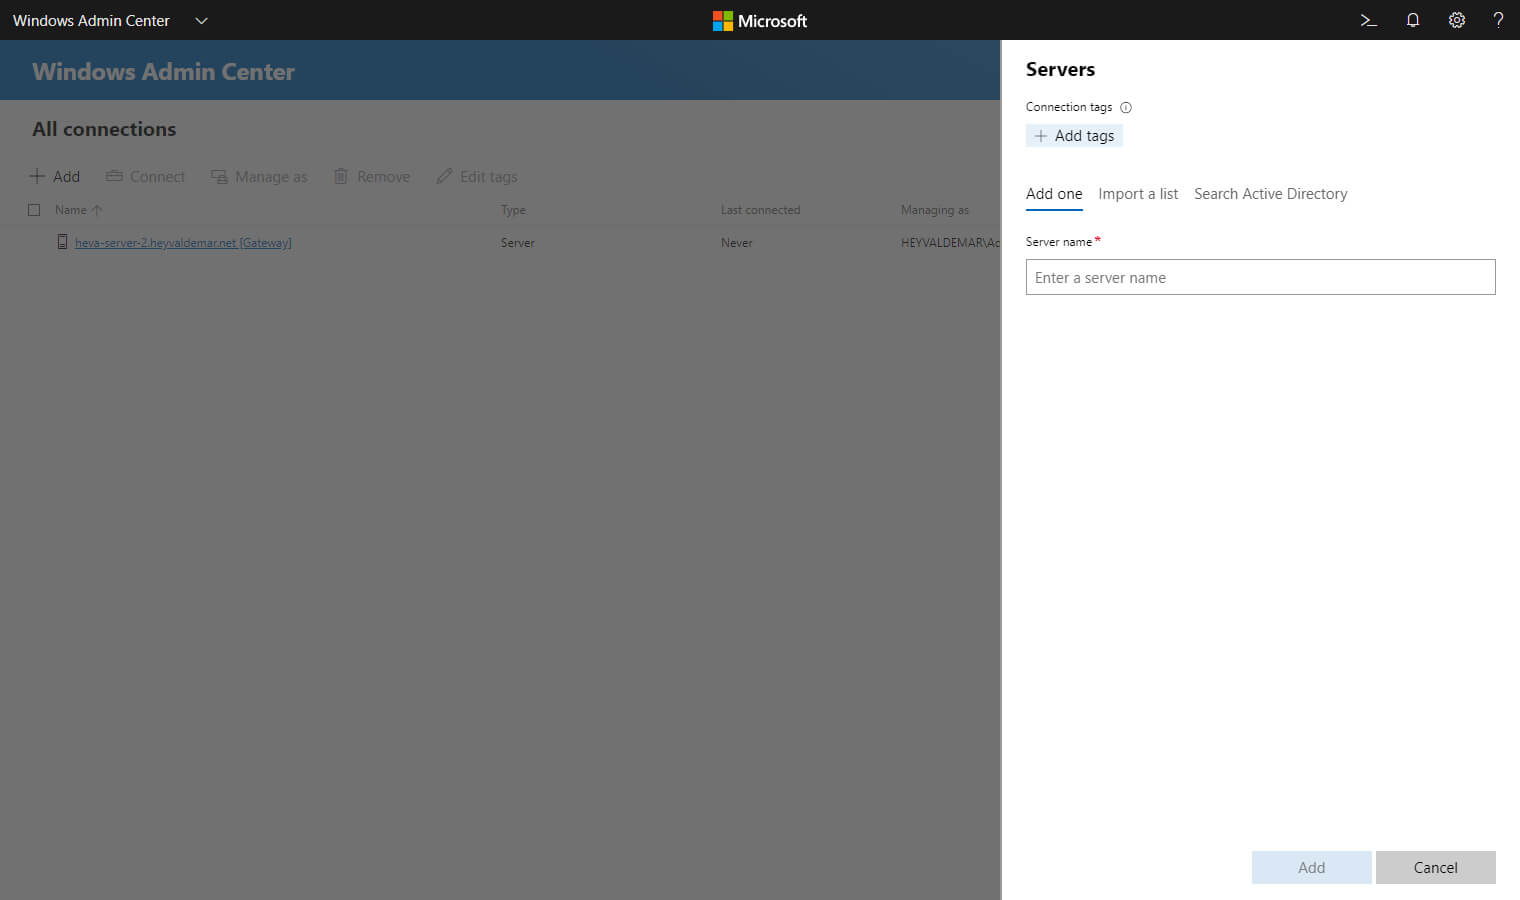
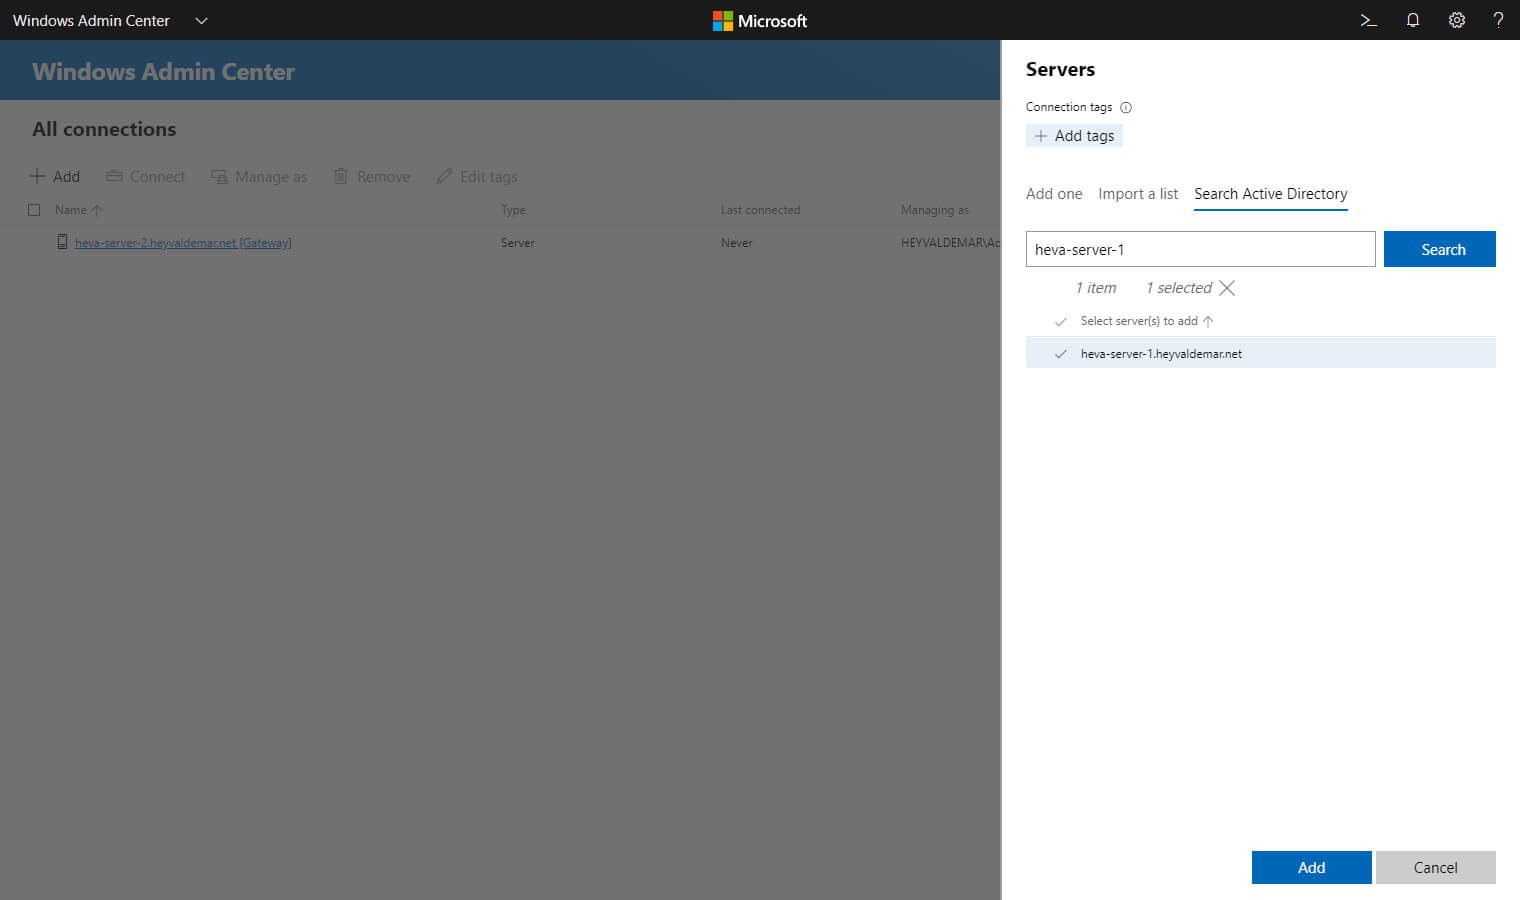
Next, you need to go to the “Search Active Directory” tab to add a server that is included in the domain.
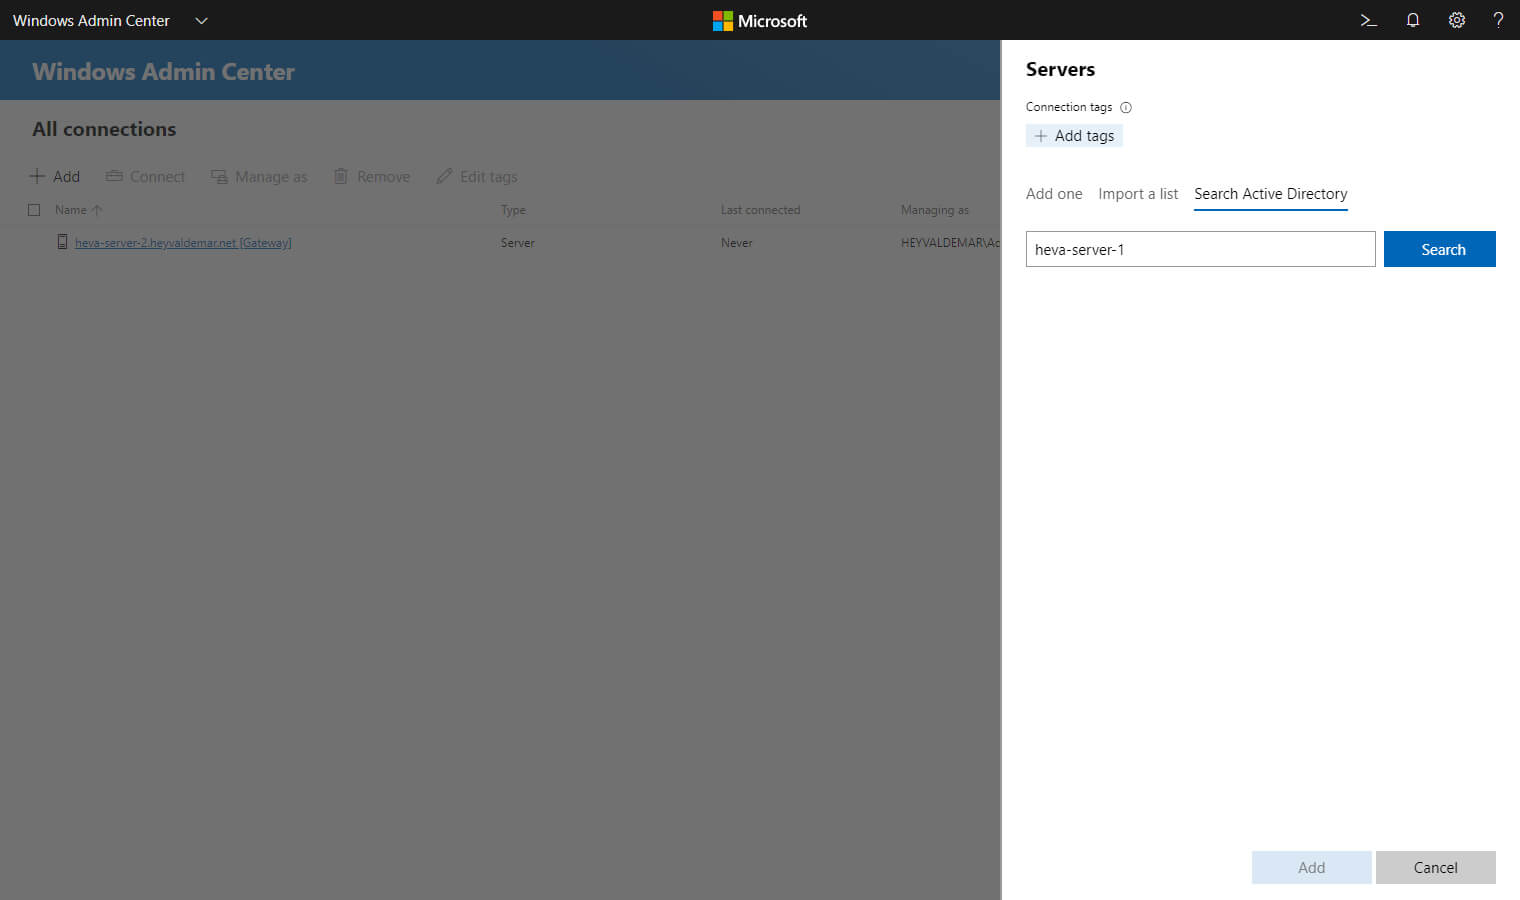
In the “Server name” field, specify the name of the server and click on the “Search” button.
In this tutorial, “heva-server-1.heyvaldemar.net” will be used as the server that you plan to add to the Windows Admin Center.
Select the found server and click on the “Add” button.
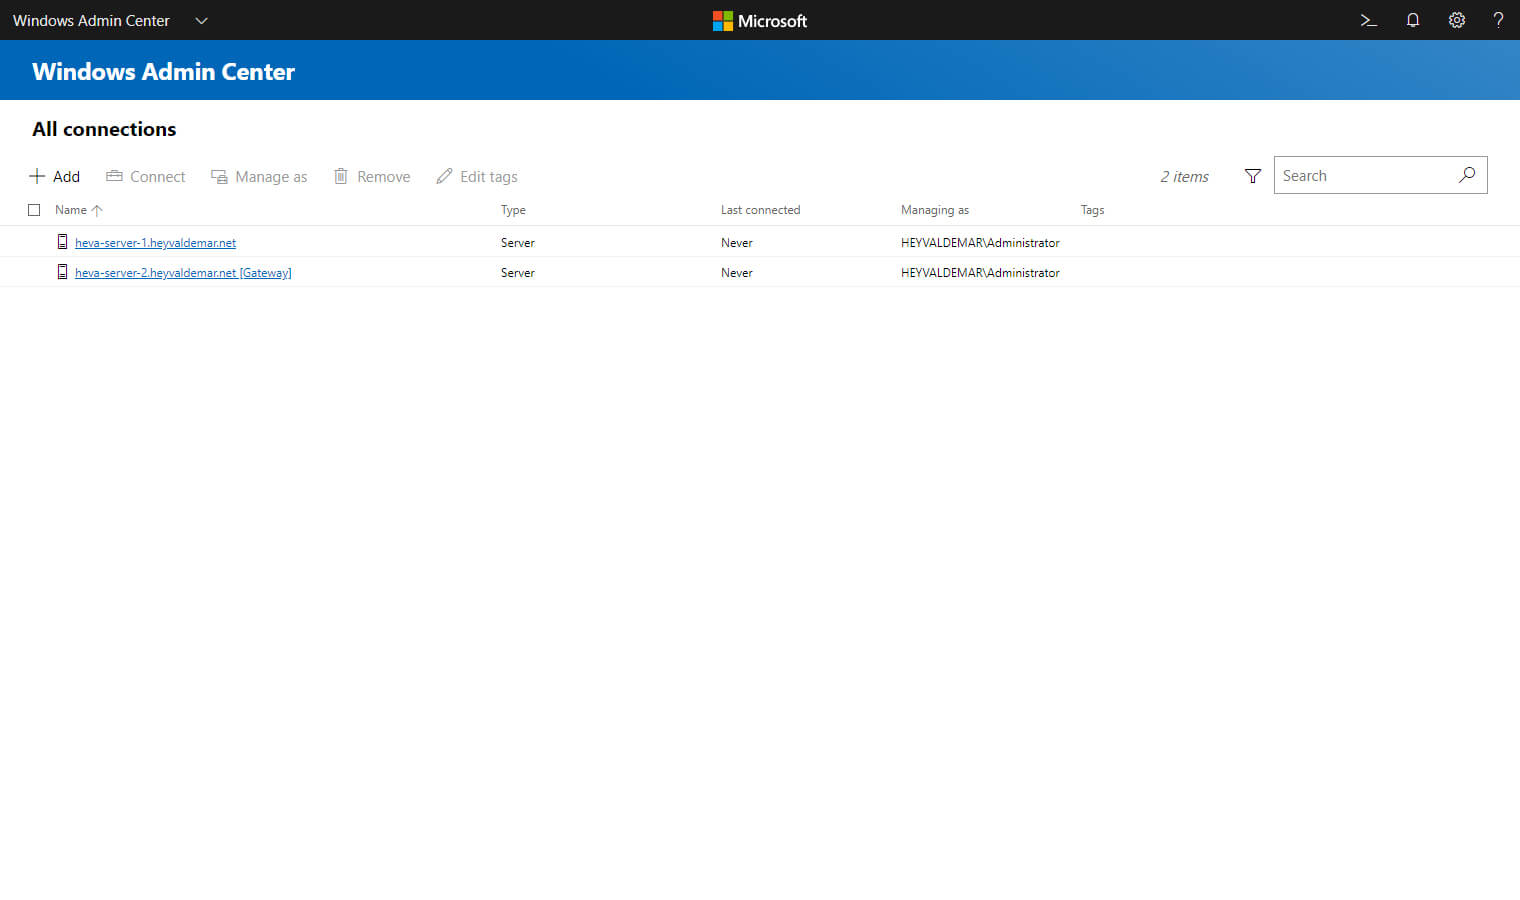
The server has been successfully added to Windows Admin Center.
Now you can connect to it and control it.
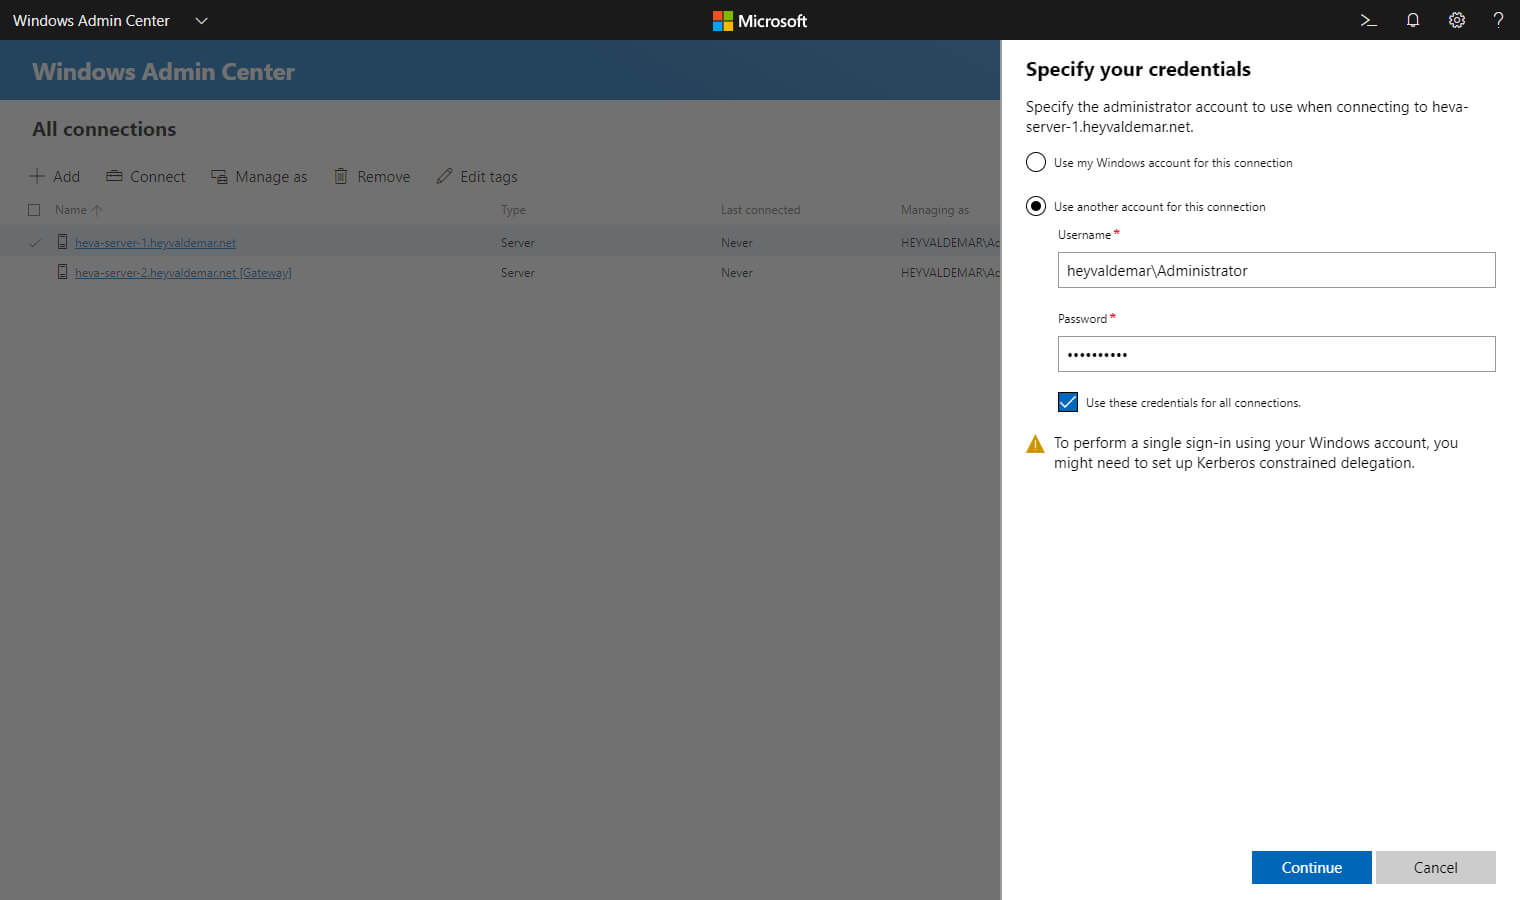
We click once with the left mouse button on the server you plan to manage in order to connect to it.
Next, you need to select “Use another account for this connection” and specify the username and password of an account with administrator rights on the server that you plan to manage.
You can also check the box “Use these credentials for all connections” to use the specified account for other connections.
Click on the “Continue” button.
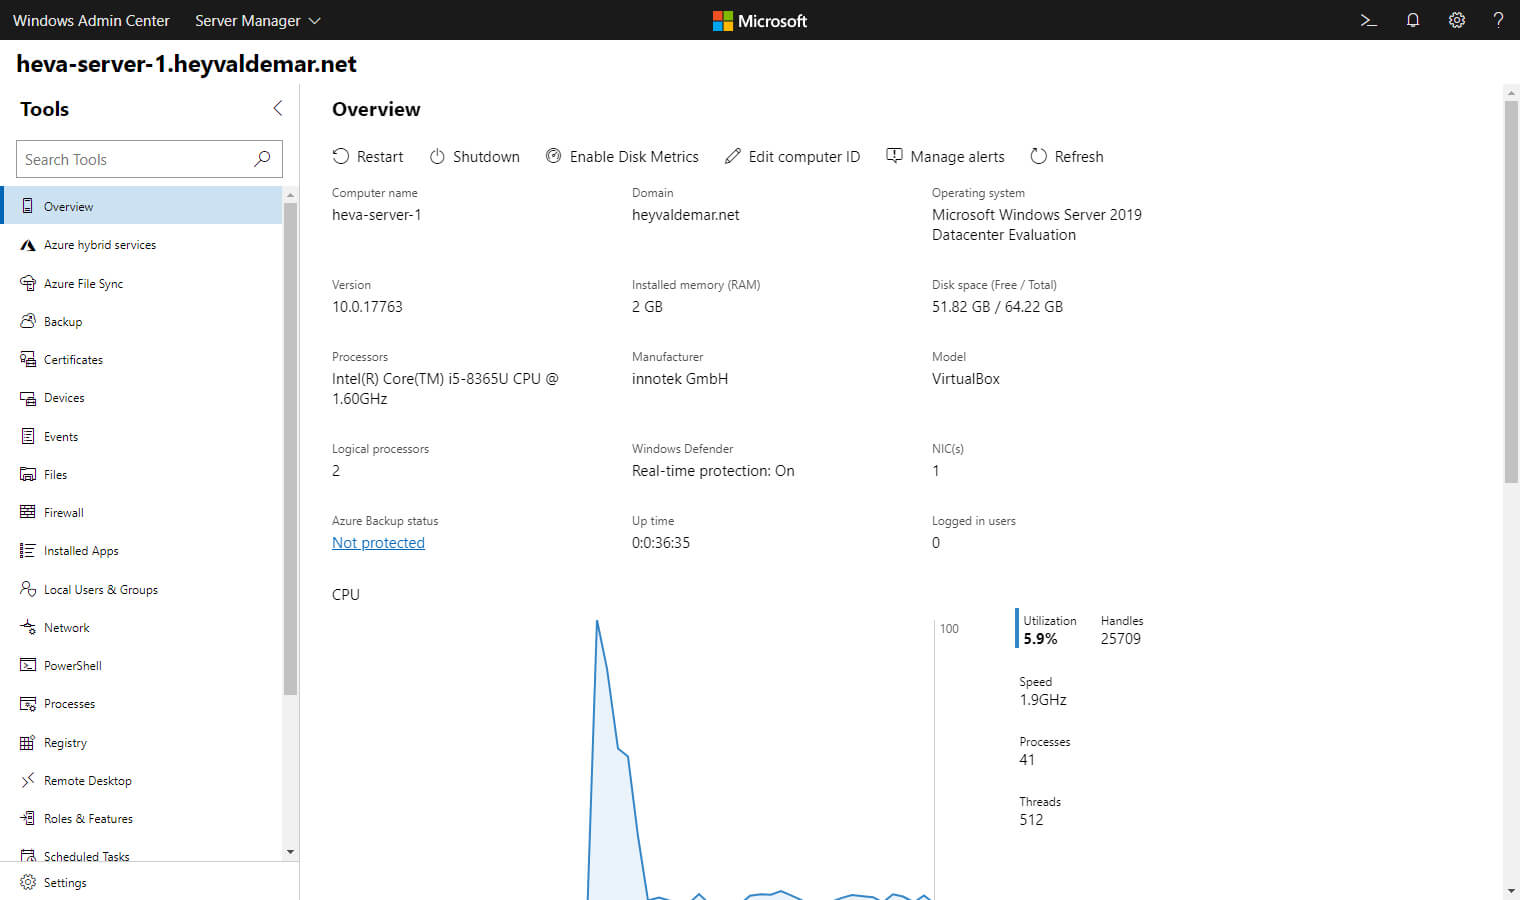
The connection to the server has been successfully established.
You can now manage the server using Windows Admin Center.
My Courses
🎓 Dive into my comprehensive IT courses designed for enthusiasts and professionals alike. Whether you’re looking to master Docker, conquer Kubernetes, or advance your DevOps skills, my courses provide a structured pathway to enhancing your technical prowess.
My Services
💼 Take a look at my service catalog and find out how we can make your technological life better. Whether it’s increasing the efficiency of your IT infrastructure, advancing your career, or expanding your technological horizons — I’m here to help you achieve your goals. From DevOps transformations to building gaming computers — let’s make your technology unparalleled!
Refill My Coffee Supplies
💖 PayPal
🏆 Patreon
💎 GitHub
🥤 BuyMeaCoffee
🍪 Ko-fi
Follow Me
🎬 YouTube
🐦 Twitter
🎨 Instagram
🐘 Mastodon
🧵 Threads
🎸 Facebook
🧊 Bluesky
🎥 TikTok
🐈 GitHub
Is this content AI-generated?
Nope! Each article is crafted by me, fueled by a deep passion for Docker and decades of IT expertise. While I employ AI to refine the grammar—ensuring the technical details are conveyed clearly—the insights, strategies, and guidance are purely my own. This approach may occasionally activate AI detectors, but you can be certain that the underlying knowledge and experiences are authentically mine.
